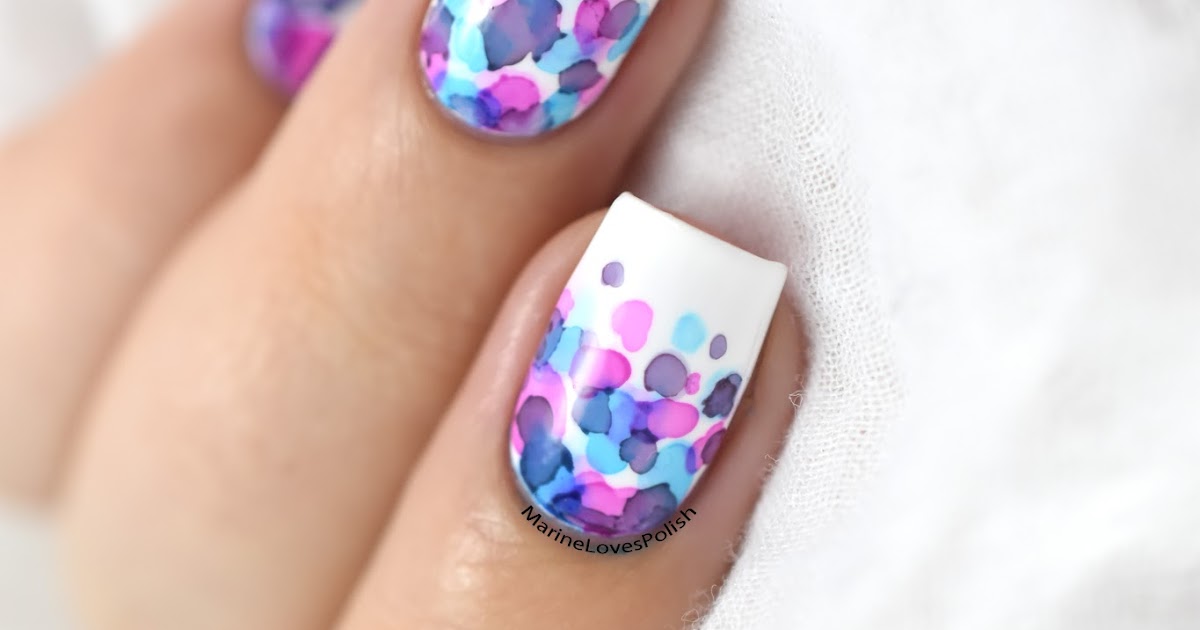
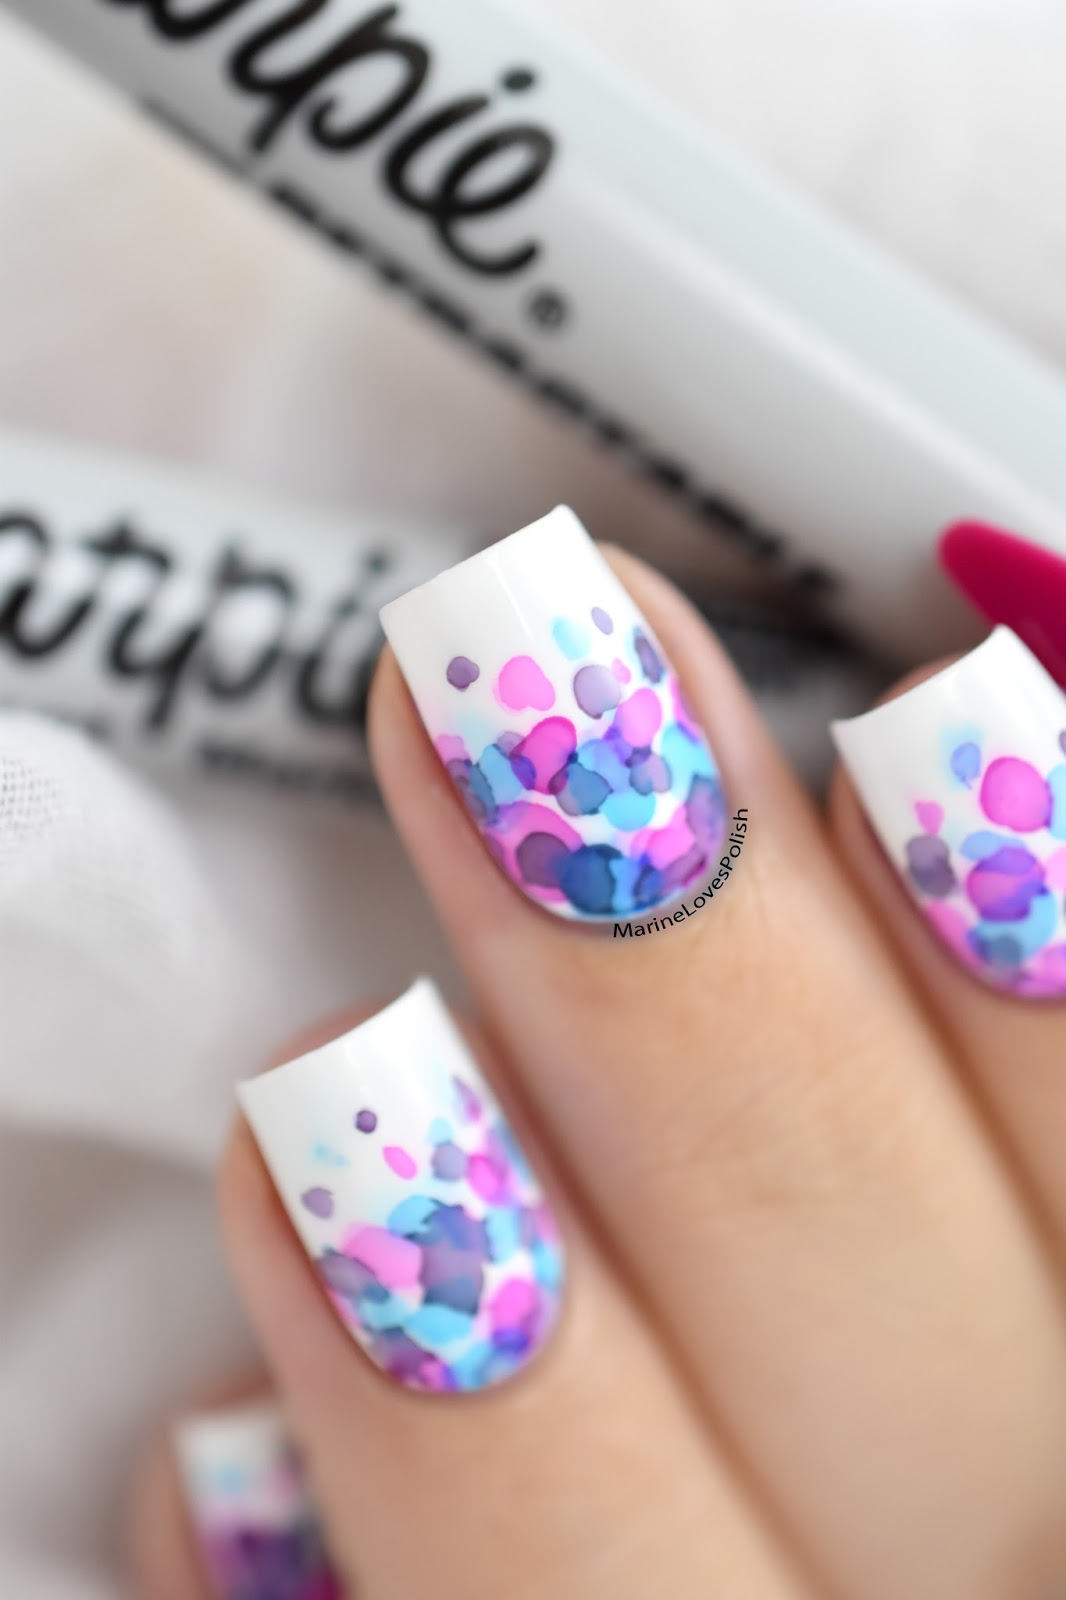
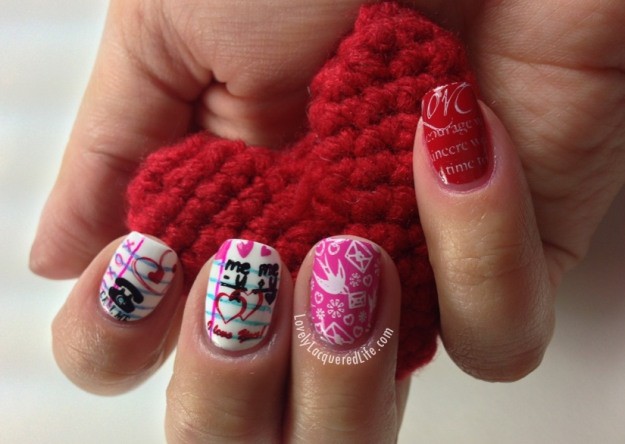
Are you tired of the same old nail art designs and looking for a fun and easy way to spice up your nails? Look no further than Sharpies! These permanent markers are not just for writing on paper, they can also be used to create stunning flower nail art. In this article, we will show you 10 easy designs to try using sharpies.1. Flower Nail Art with Sharpies: 10 Easy Designs to Try

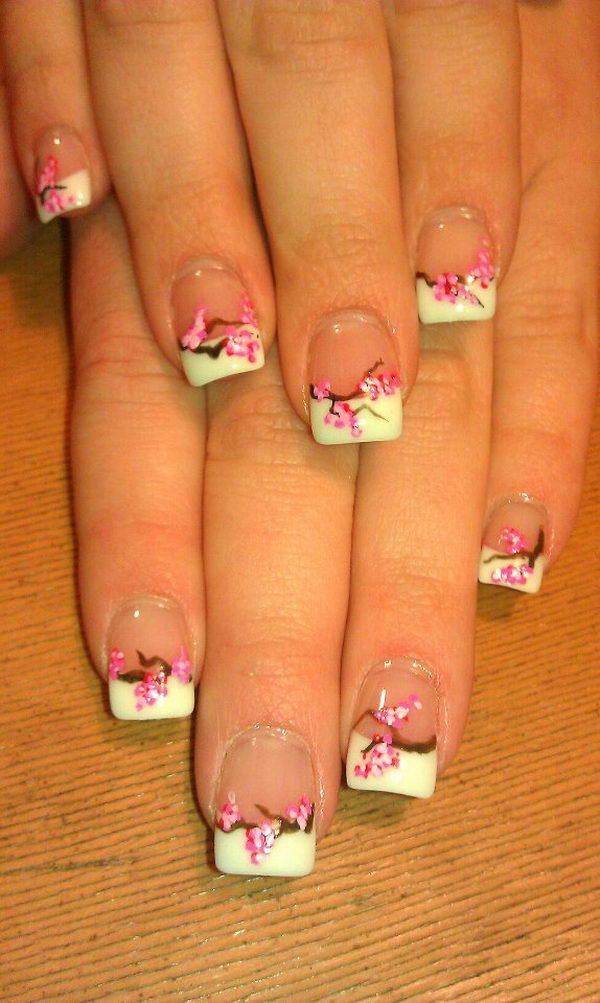
1. Flower Nail Art with Sharpies: 10 Easy Designs to Try


Why spend money at a nail salon when you can create your own beautiful flower nail art at home? With just a few simple steps and some colorful sharpies, you can achieve a salon-worthy look without breaking the bank. So grab your markers and let's get started!2. DIY Sharpie Nail Art: Flower Nails

2. DIY Sharpie Nail Art: Flower Nails


If you're new to using sharpies for nail art, you may be wondering how to achieve those perfect flower designs. Don't worry, it's easier than you think! Start by painting your nails with a base color of your choice. Then, use your sharpies to draw flowers in different sizes and colors on your nails. Finish off with a top coat for a glossy finish.3. How to Create Stunning Flower Nail Art with Sharpies

3. How to Create Stunning Flower Nail Art with Sharpies


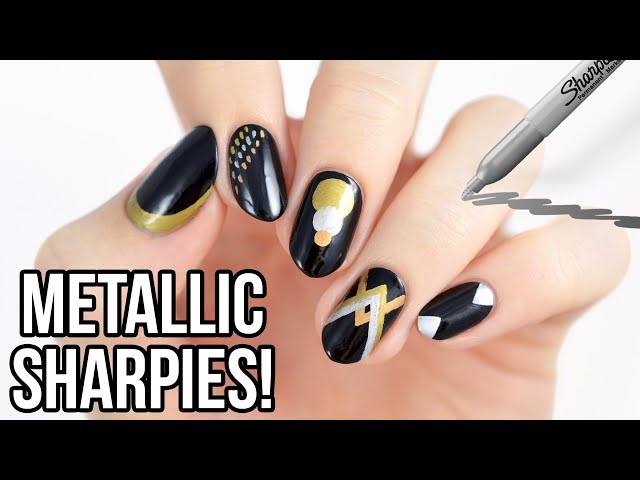
Flower nail art is all about embracing your inner flower child and unleashing your creativity. With sharpies, you have the freedom to experiment with different colors and designs. Let your imagination run wild and create your own unique flower power nails.4. Sharpie Nail Art: Flower Power


4. Sharpie Nail Art: Flower Power


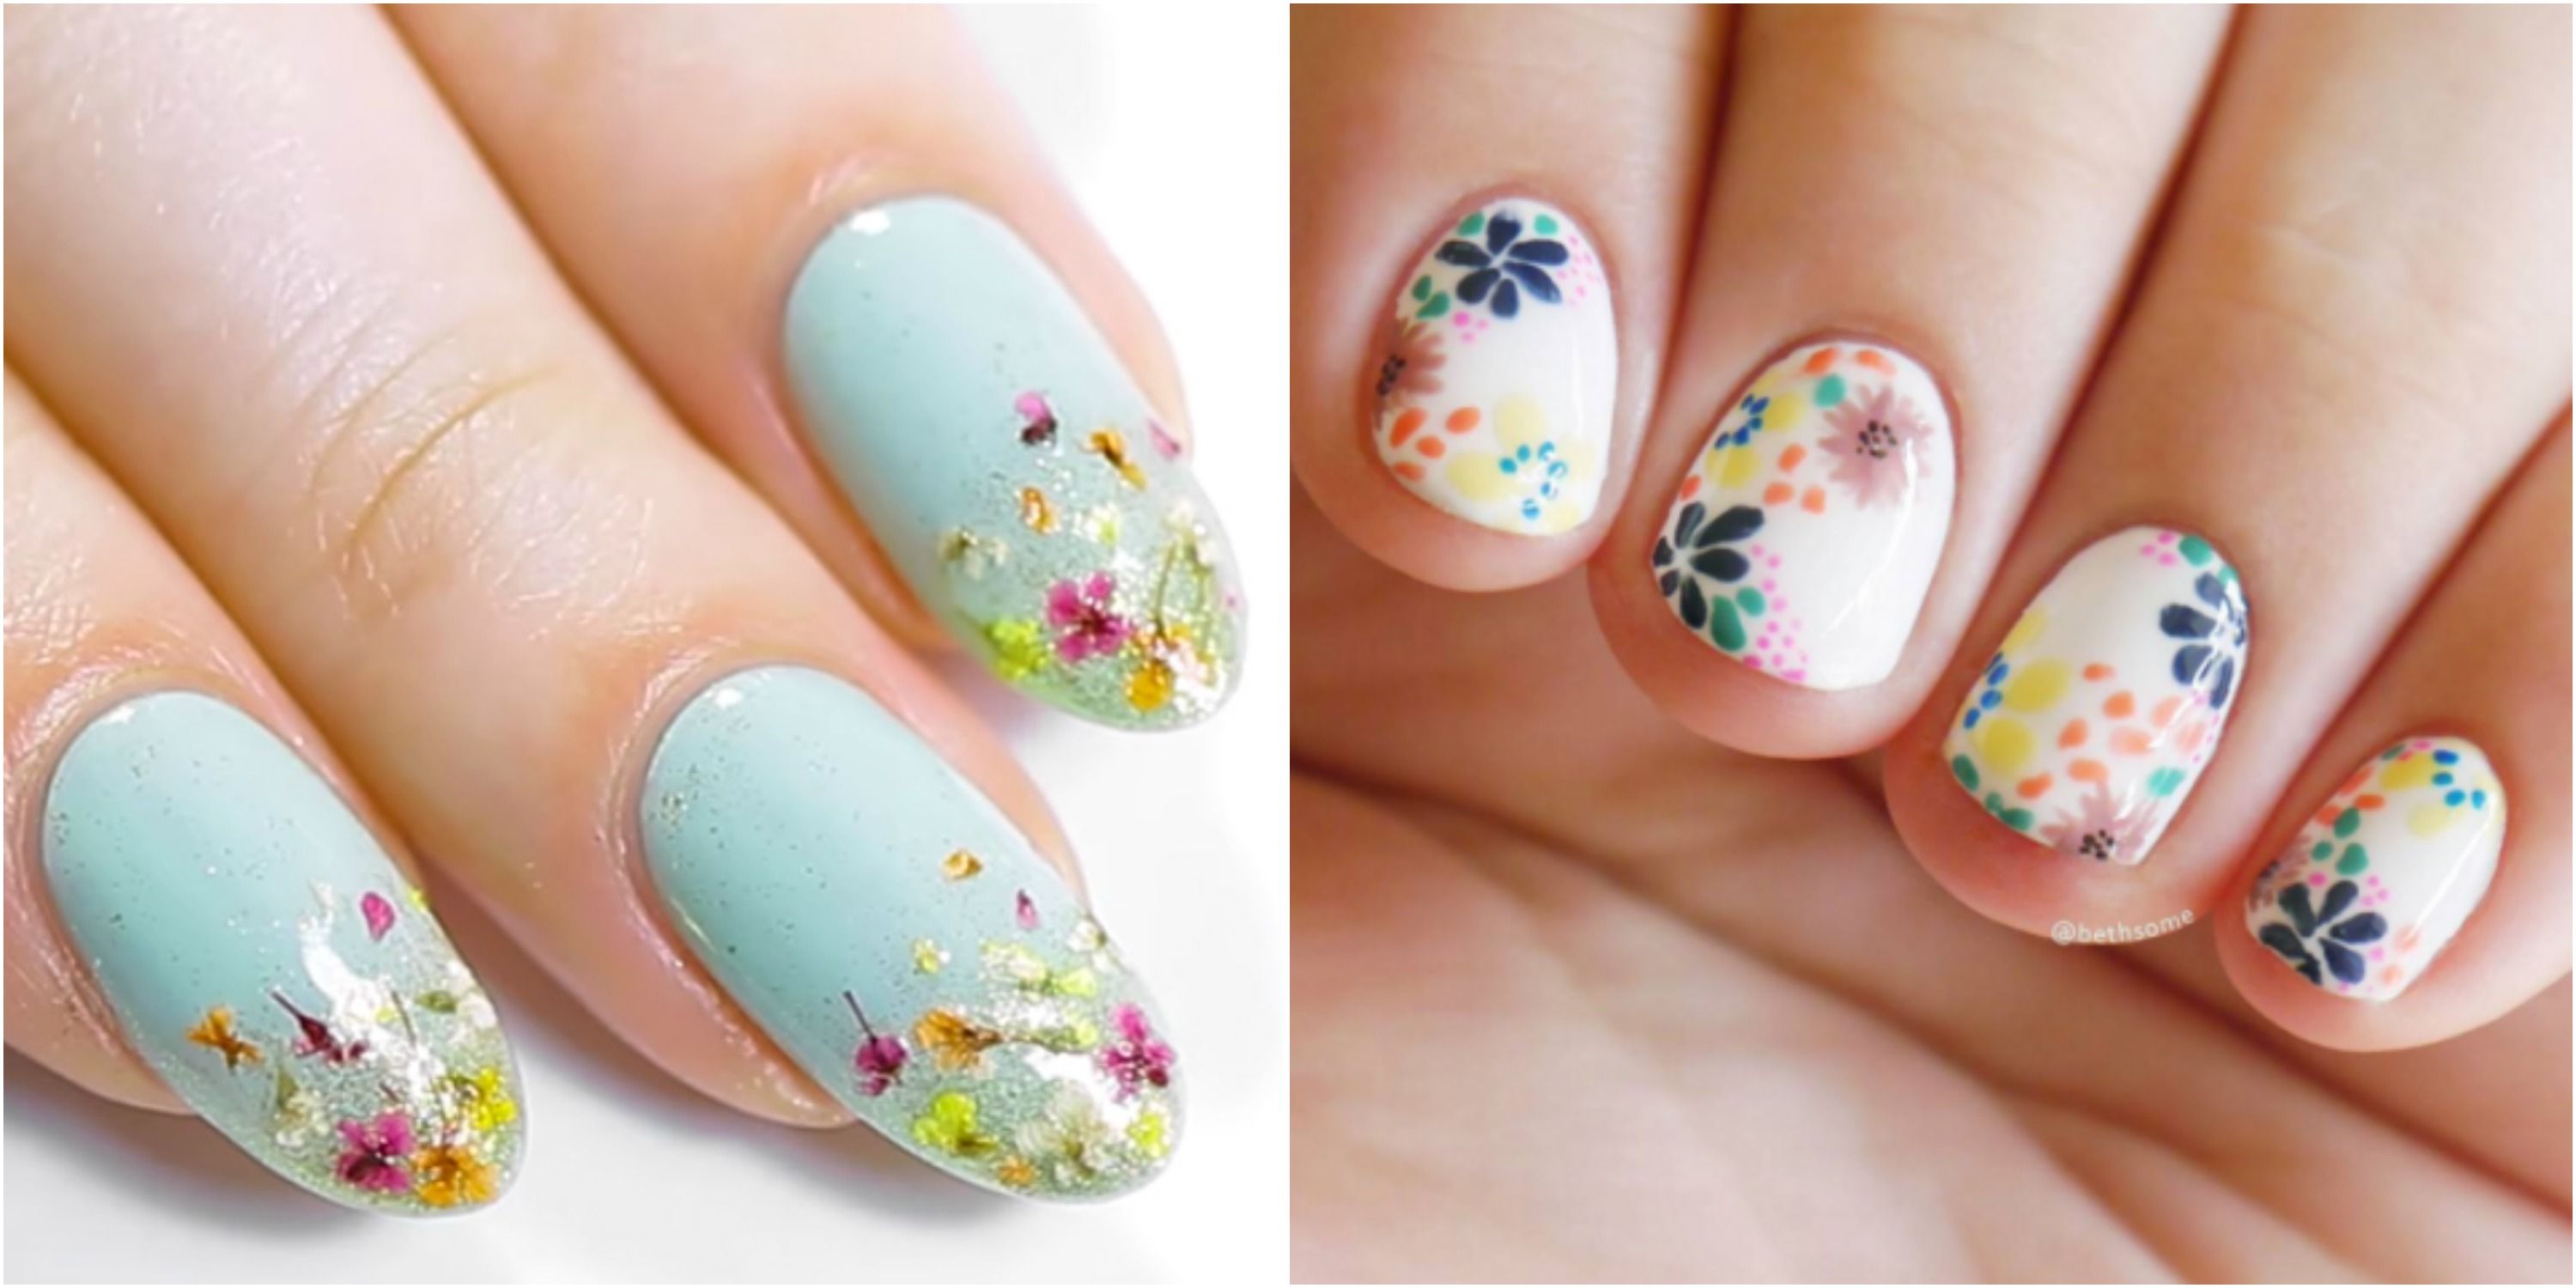
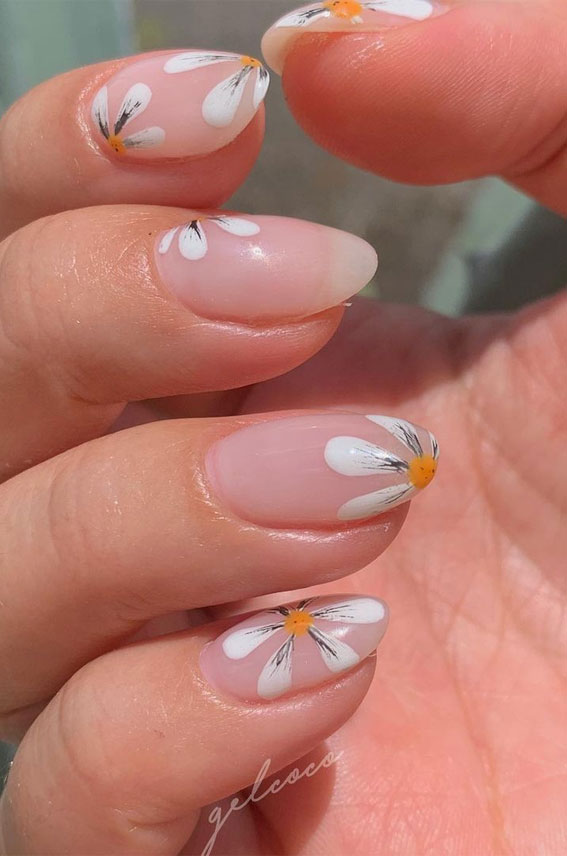
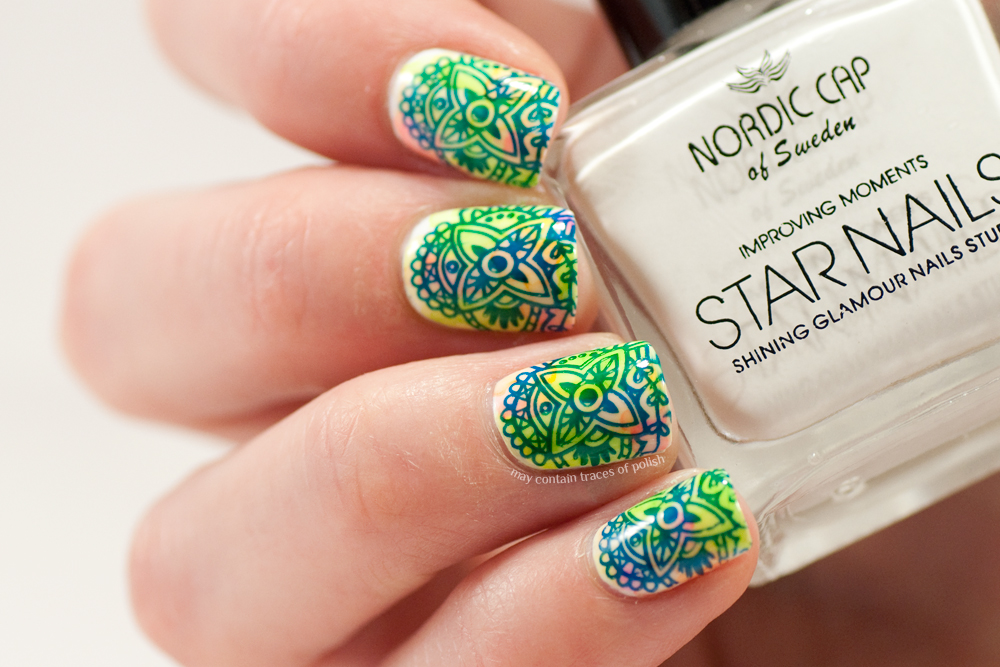
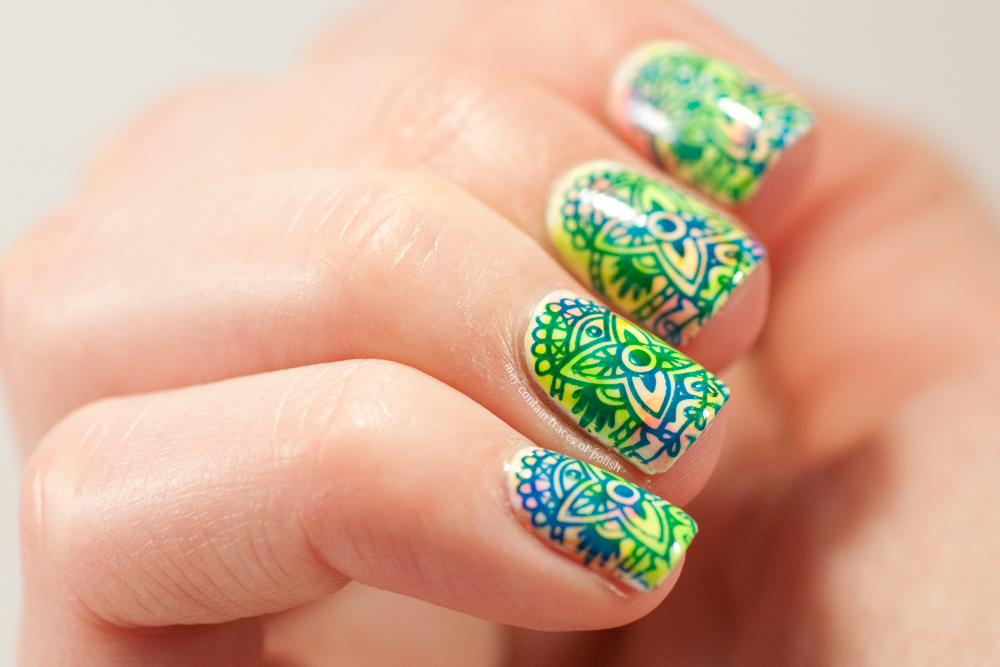
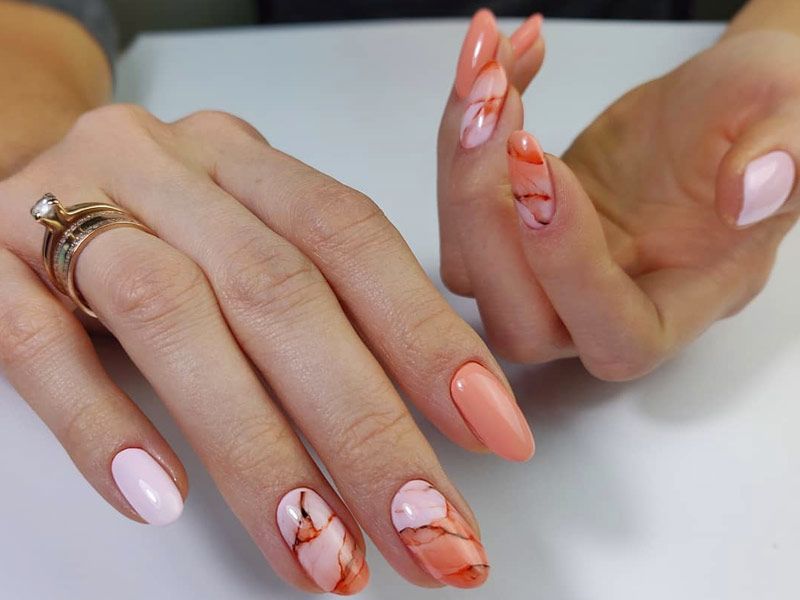
If you're in need of some inspiration, we've got you covered. Here are 10 creative flower nail art designs that you can easily recreate with sharpies. From simple daisies to intricate roses, there's something for every skill level and taste.5. 10 Creative Flower Nail Art Designs Using Sharpies

5. 10 Creative Flower Nail Art Designs Using Sharpies


Don't worry if you're not a nail art pro, these sharpie designs are easy enough for anyone to do. For a quick and easy flower nail art tutorial, check out our step-by-step guide. You'll have gorgeous floral nails in no time!6. Easy Flower Nail Art Tutorial with Sharpies

6. Easy Flower Nail Art Tutorial with Sharpies


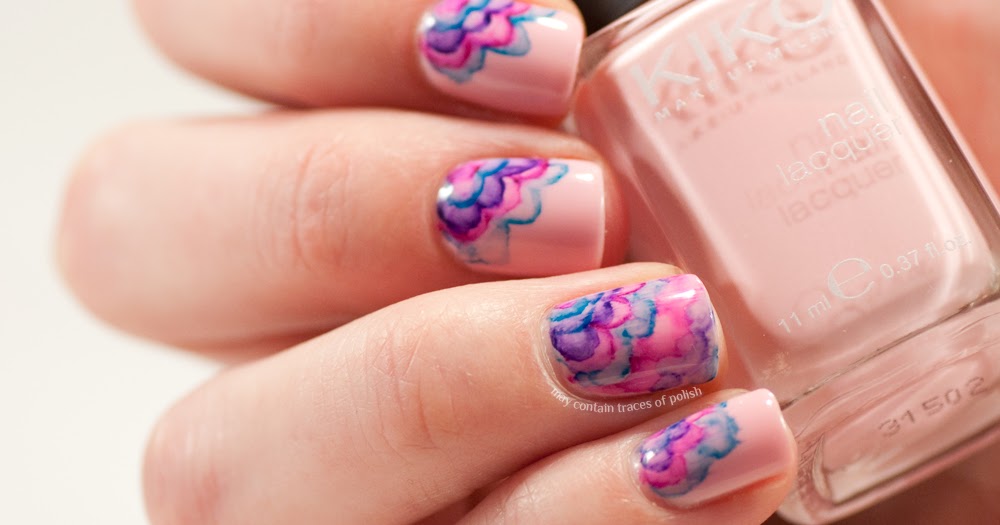
Flower nail art is not just for spring, it can be worn all year round and for any occasion. From weddings to holidays, there's a sharpie flower design for every event. So why not add a touch of floral to your nails and make a statement?7. Sharpie Nail Art: Floral Designs for Every Occasion
7. Sharpie Nail Art: Floral Designs for Every Occasion
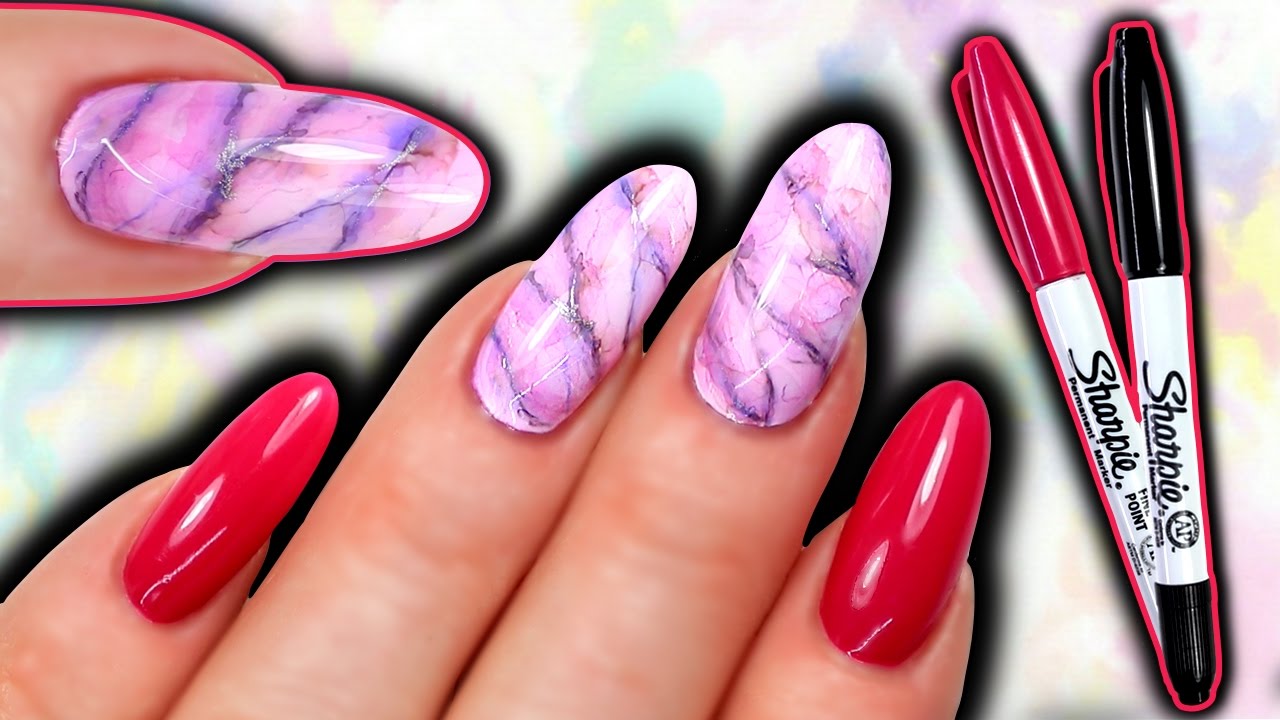
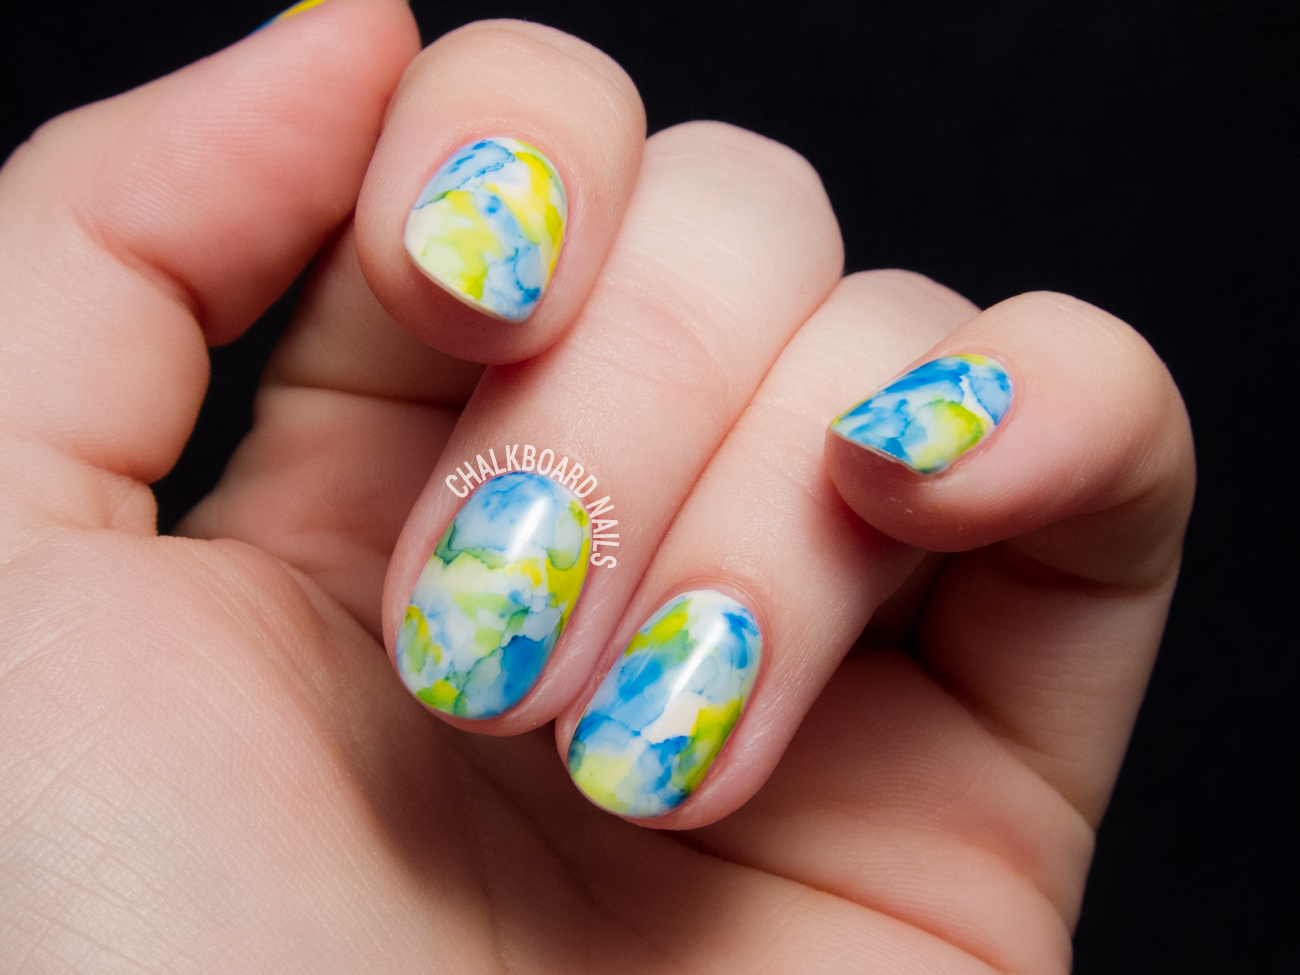

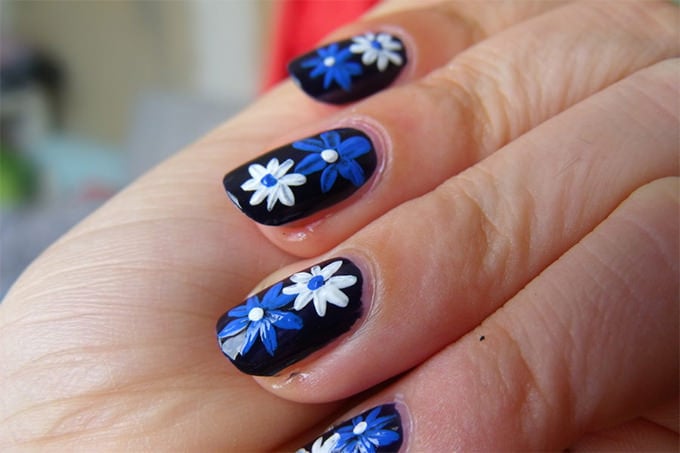
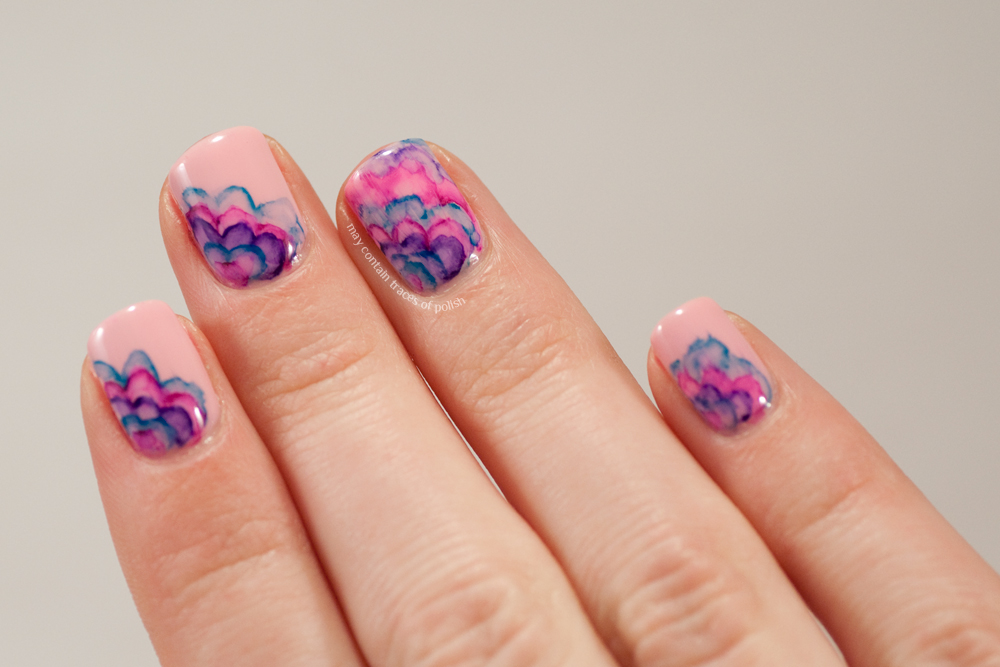
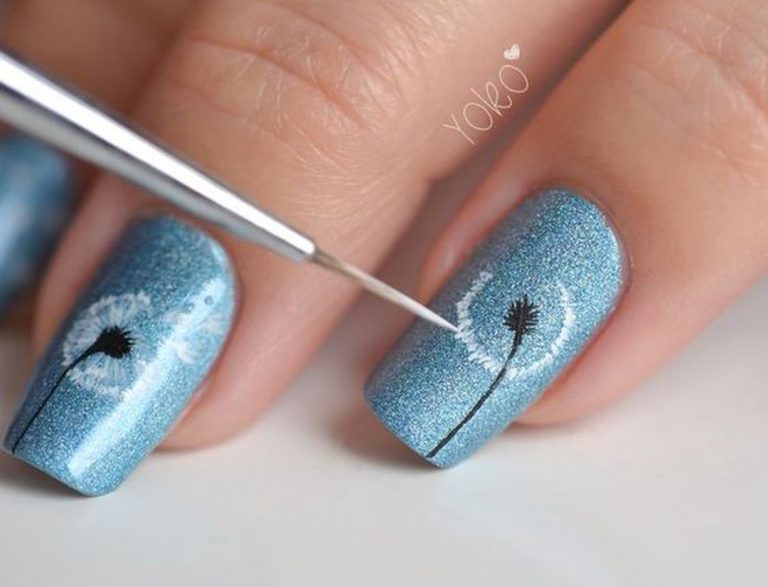
To achieve the perfect flower nail art with sharpies, here are some helpful tips and tricks to keep in mind. Use a white sharpie as a base for your designs to make the colors pop. You can also use a clear top coat to blend and smudge the colors for a watercolor effect.8. Flower Nail Art with Sharpies: Tips and Tricks


8. Flower Nail Art with Sharpies: Tips and Tricks


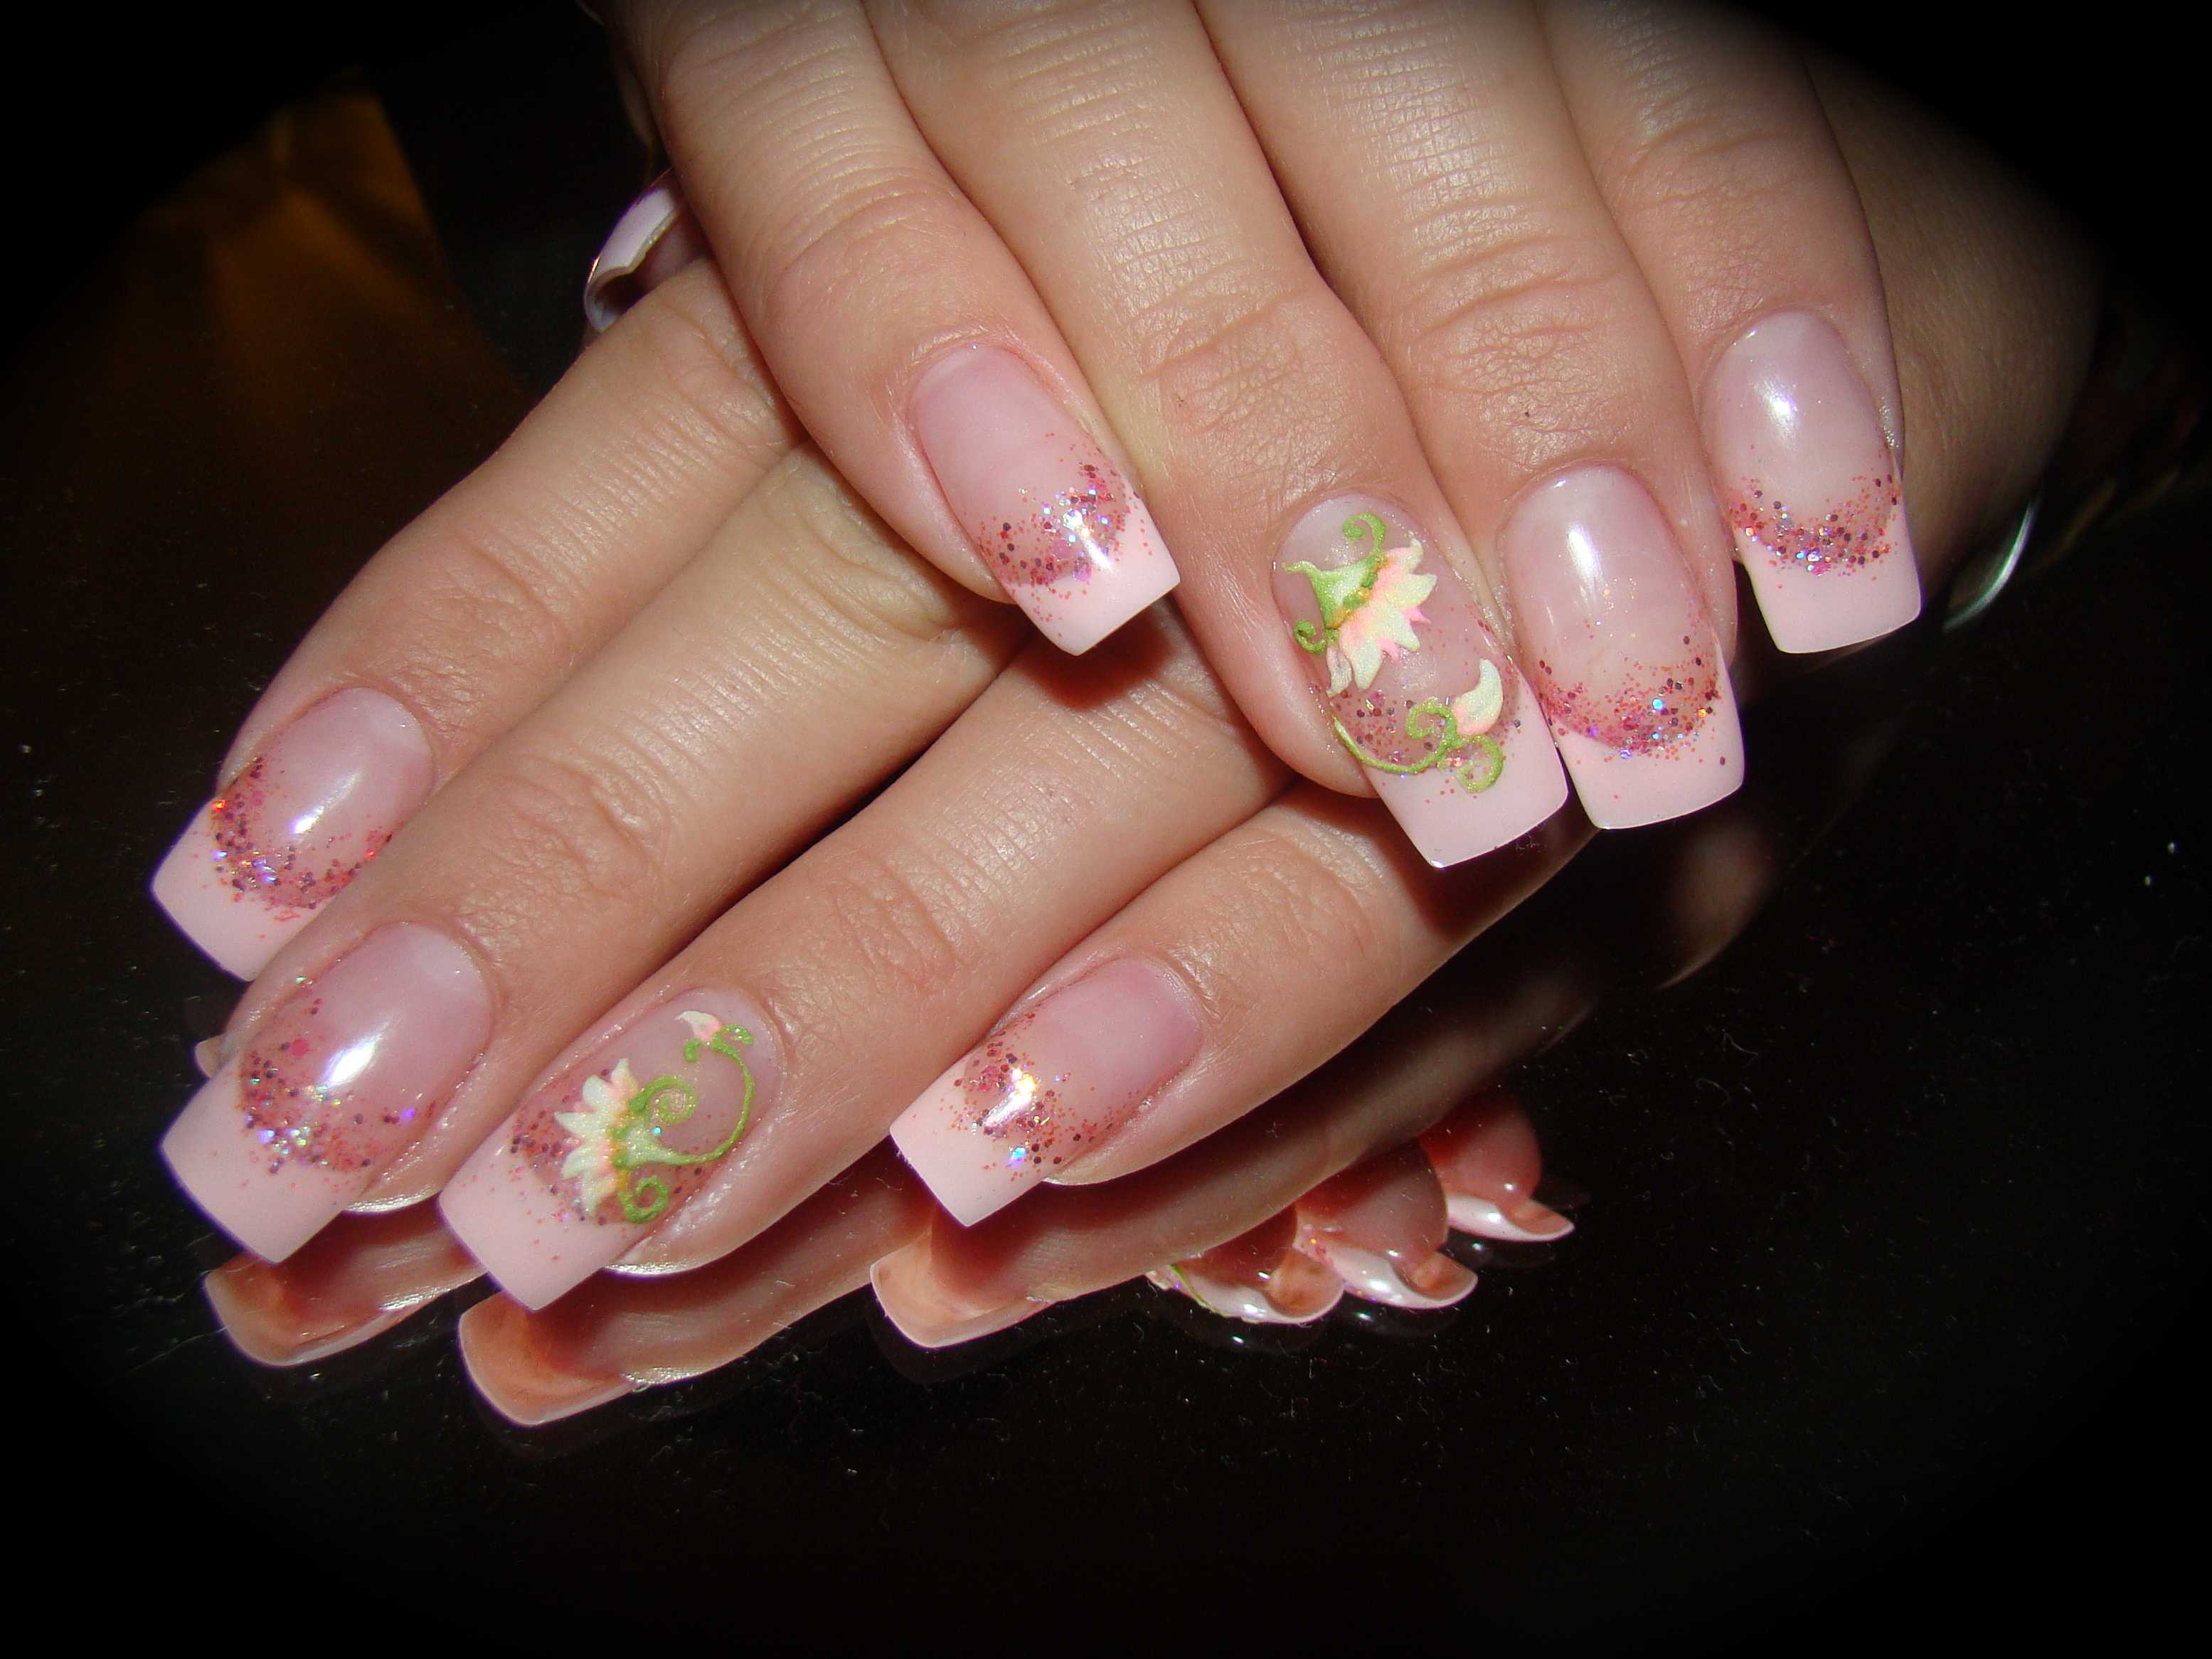
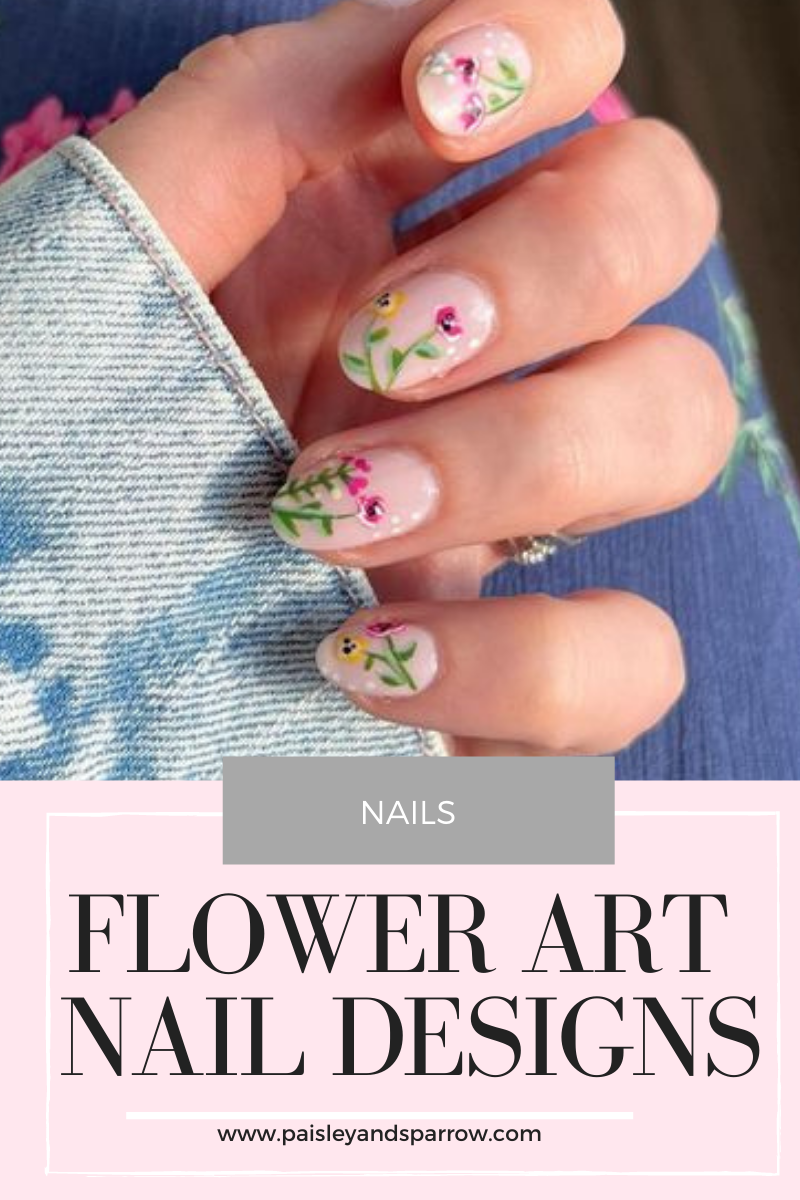
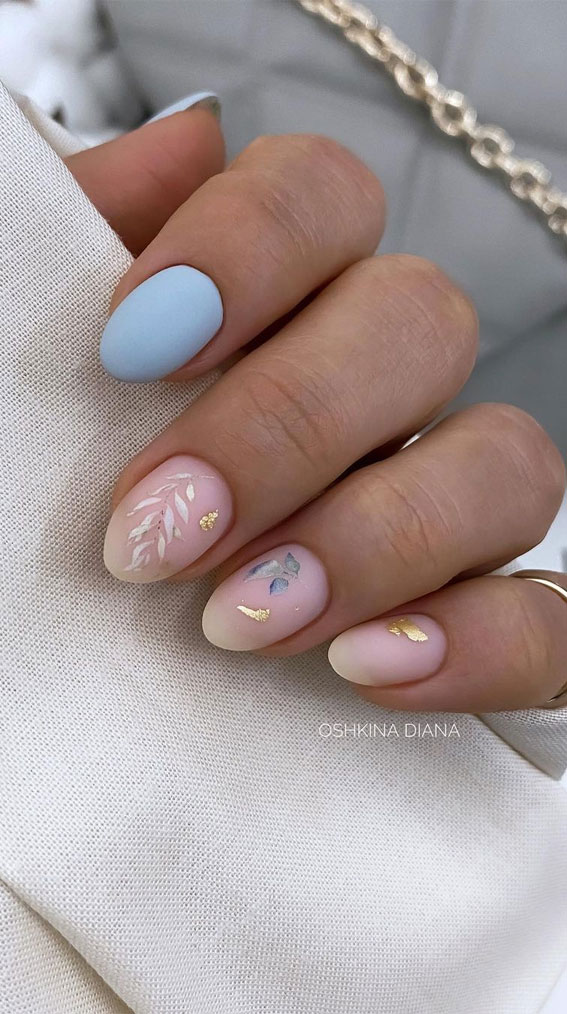
If you can't get enough of flower nail art, here are 15 more beautiful ideas to inspire your next manicure. From delicate cherry blossoms to bold sunflowers, these designs will make your nails look like a blooming garden.9. 15 Beautiful Flower Nail Art Ideas Using Sharpies


9. 15 Beautiful Flower Nail Art Ideas Using Sharpies


Ready to get started on your own flower nail art with sharpies? Our step-by-step guide will walk you through the process, from prepping your nails to adding the final touches. With these easy-to-follow instructions, you'll be a sharpie nail art pro in no time!10. How to Make Flower Nail Art with Sharpies: Step-by-Step Guide


10. How to Make Flower Nail Art with Sharpies: Step-by-Step Guide
How to Create Stunning Flower Nail Art with Sharpies
Adding a Pop of Color to Your Nails
 When it comes to nail art, there are endless possibilities for creating unique and eye-catching designs. One of the most popular and budget-friendly options is using sharpies to create intricate and colorful flower designs on your nails. This DIY technique is perfect for those who want to add a touch of personalization to their nails without breaking the bank. With a few simple steps, you can create stunning flower nail art that will make your nails stand out from the crowd.
Gathering Your Materials
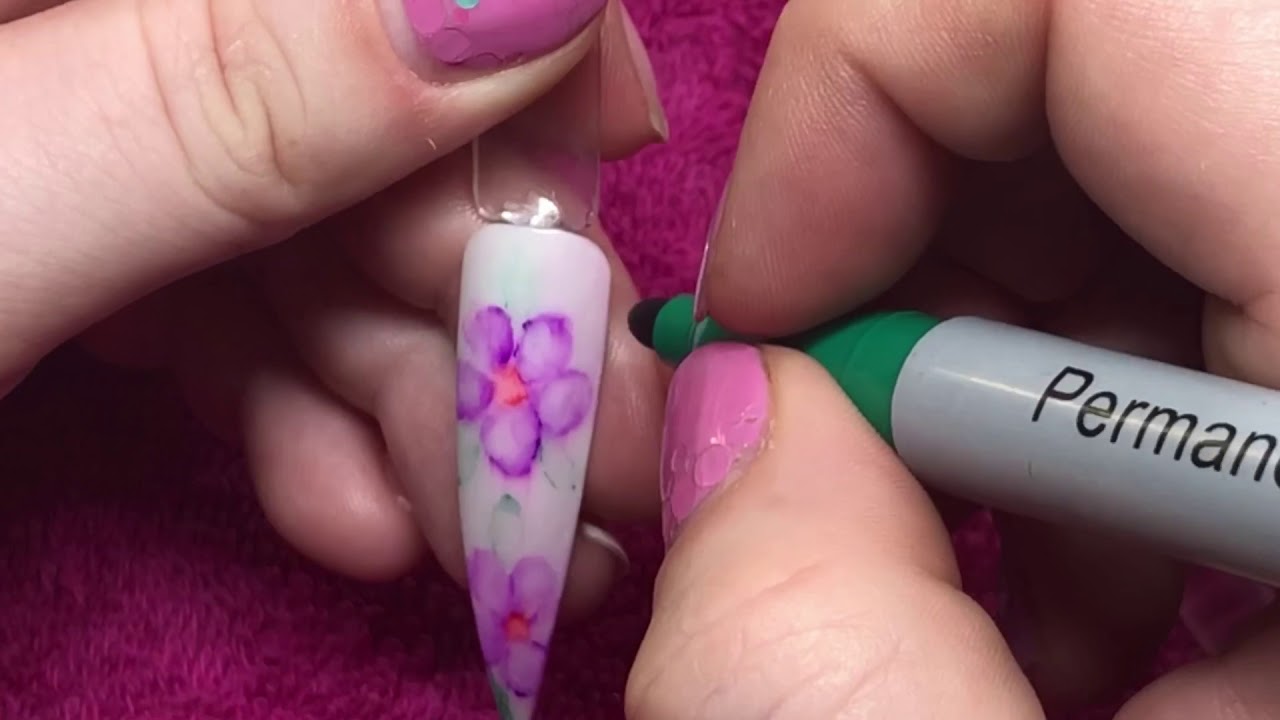
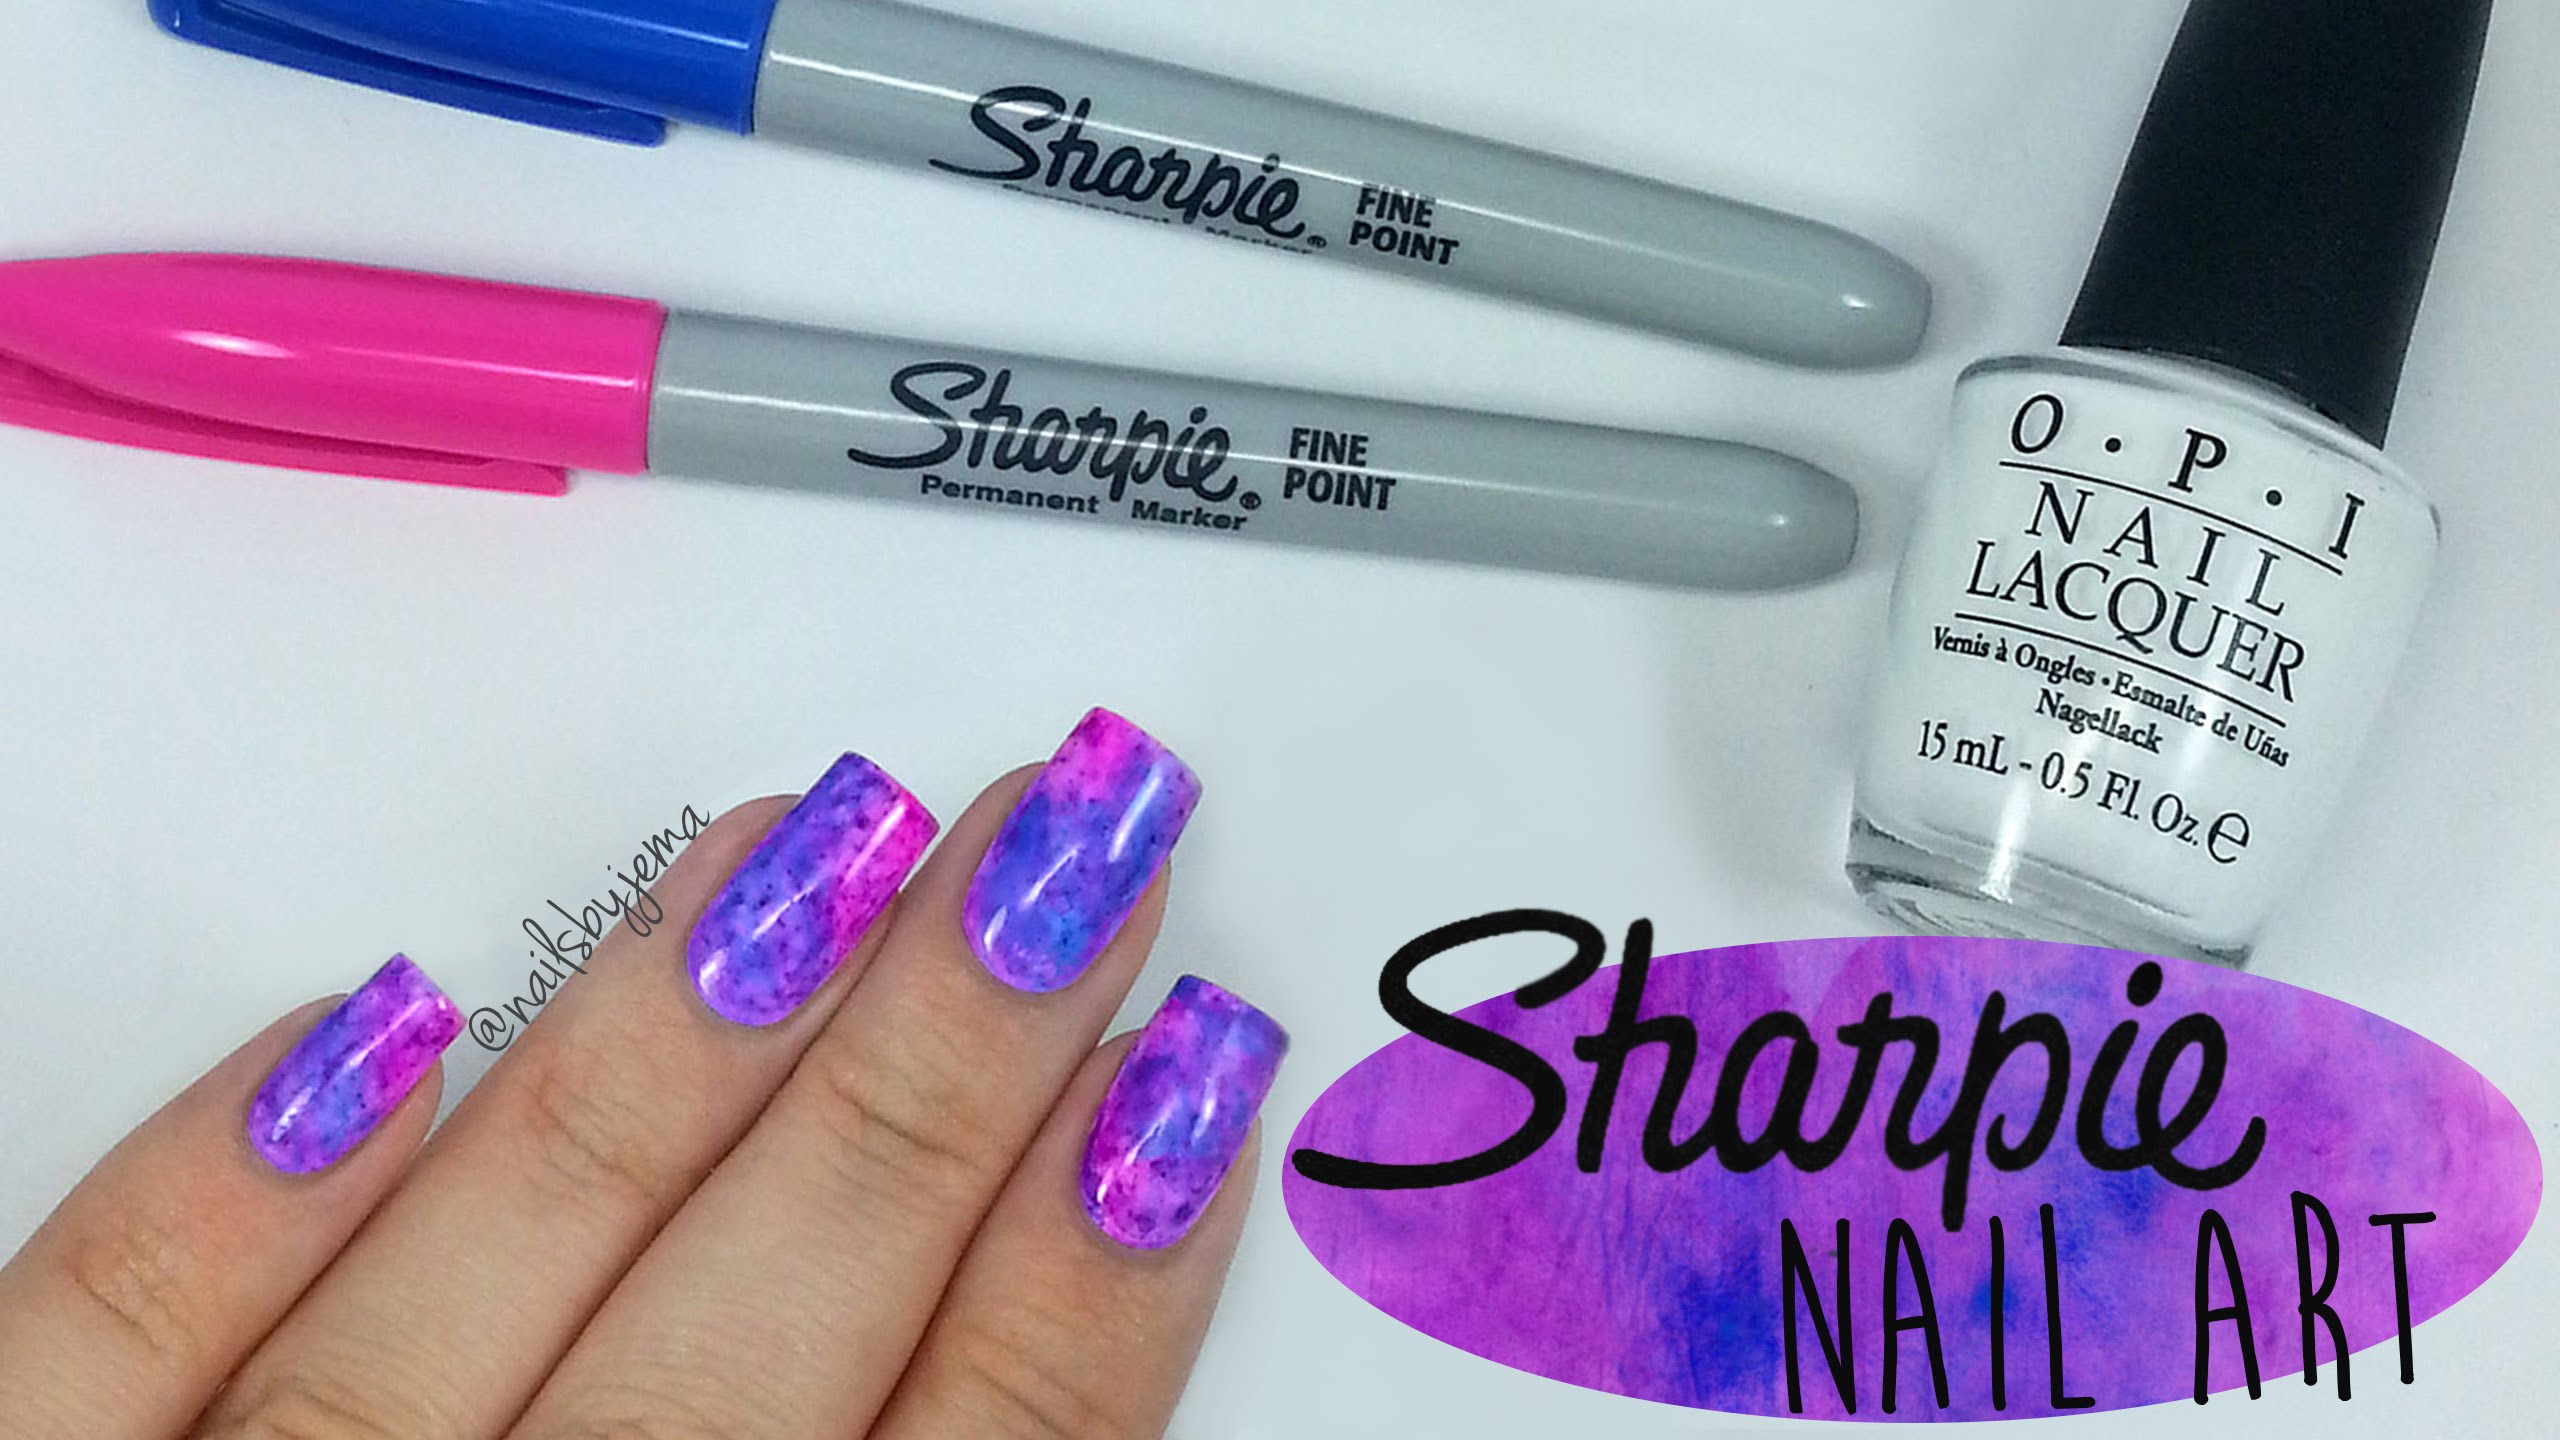
 The key to creating beautiful flower nail art with sharpies is having the right materials. To get started, you will need a base coat, a top coat, a white nail polish, a pack of sharpies in various colors, and a clear nail polish. Make sure to choose sharpies that are specifically meant for drawing on surfaces, as these will work best on your nails. You can also use a toothpick or a small paintbrush to help with creating details in your design.
Step-by-Step Guide
 1. Begin by applying a base coat to your nails to protect them and help the sharpie design last longer.
2. Once the base coat is dry, use the white nail polish to paint your nails. This will act as a canvas for your sharpie design and make the colors pop.
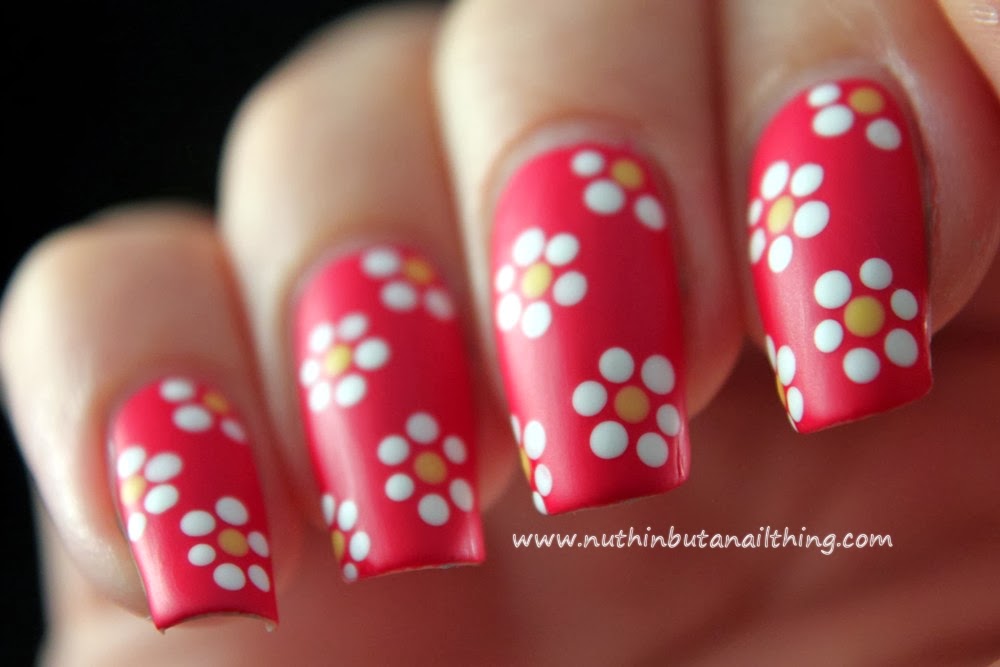
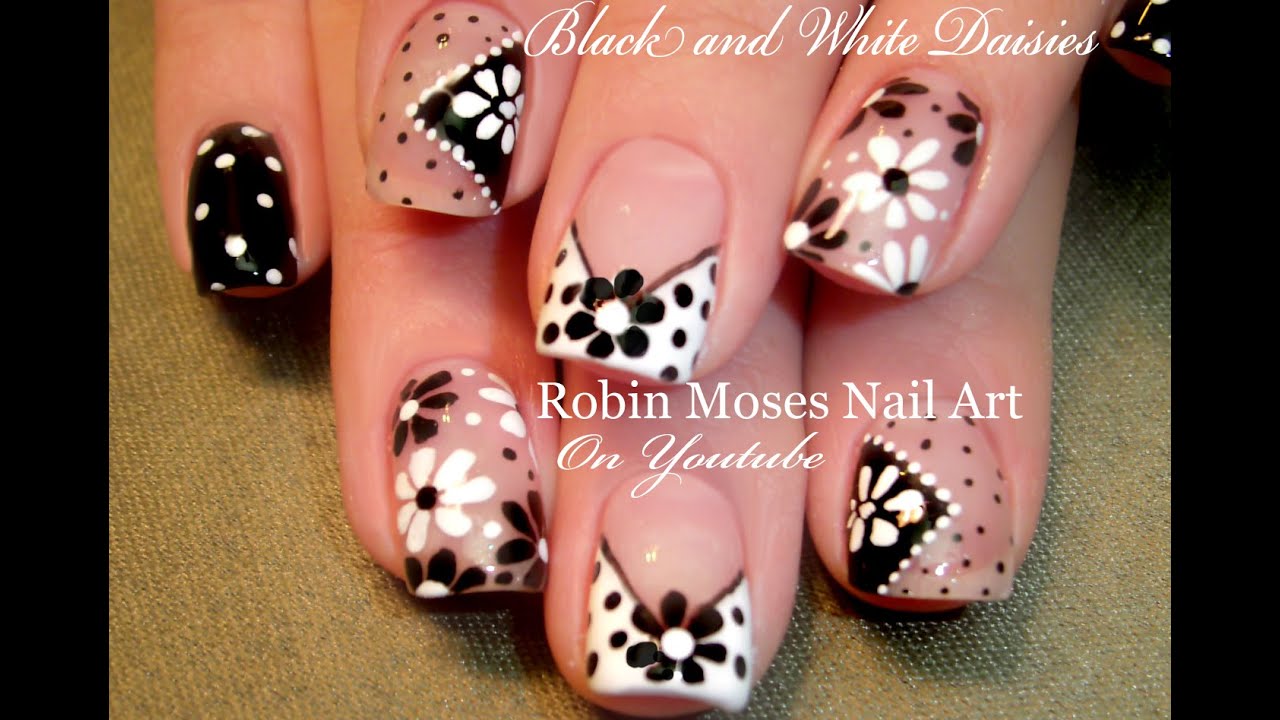
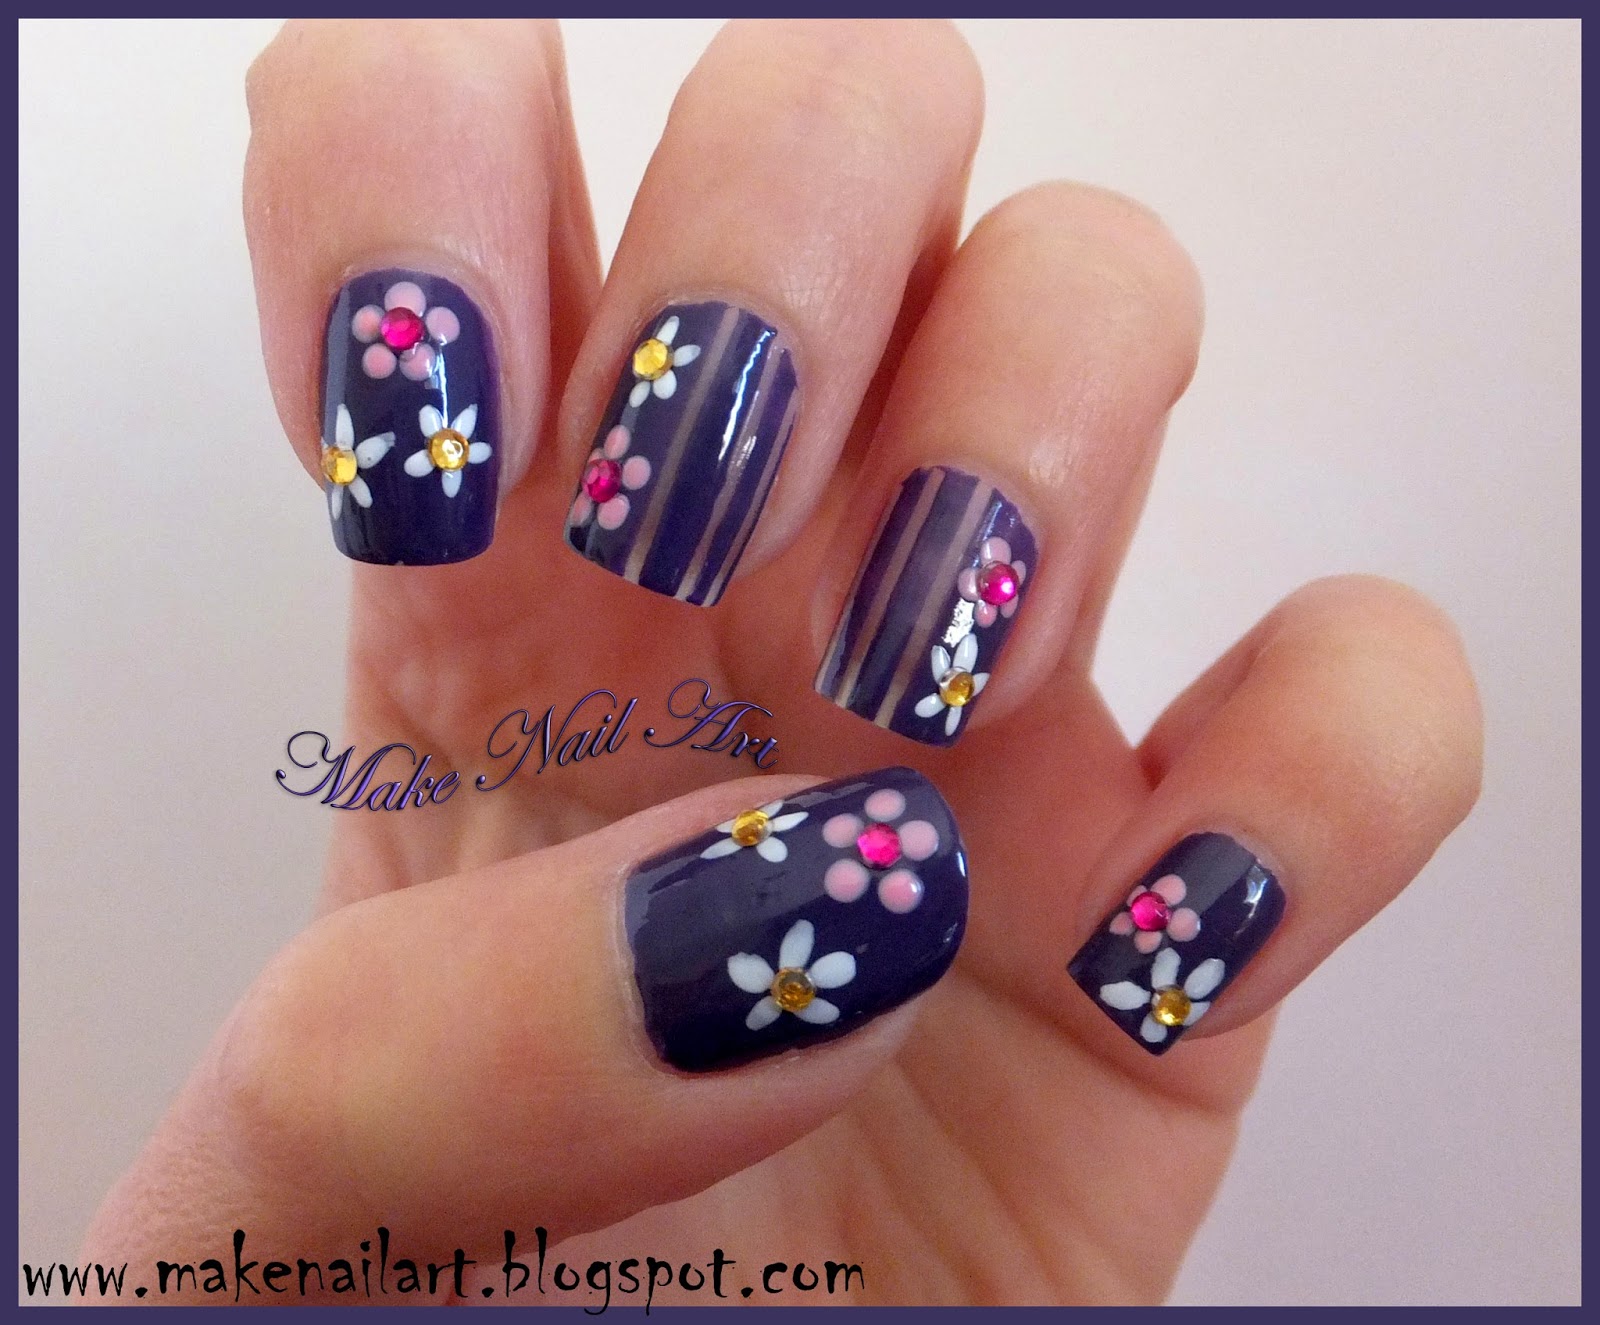
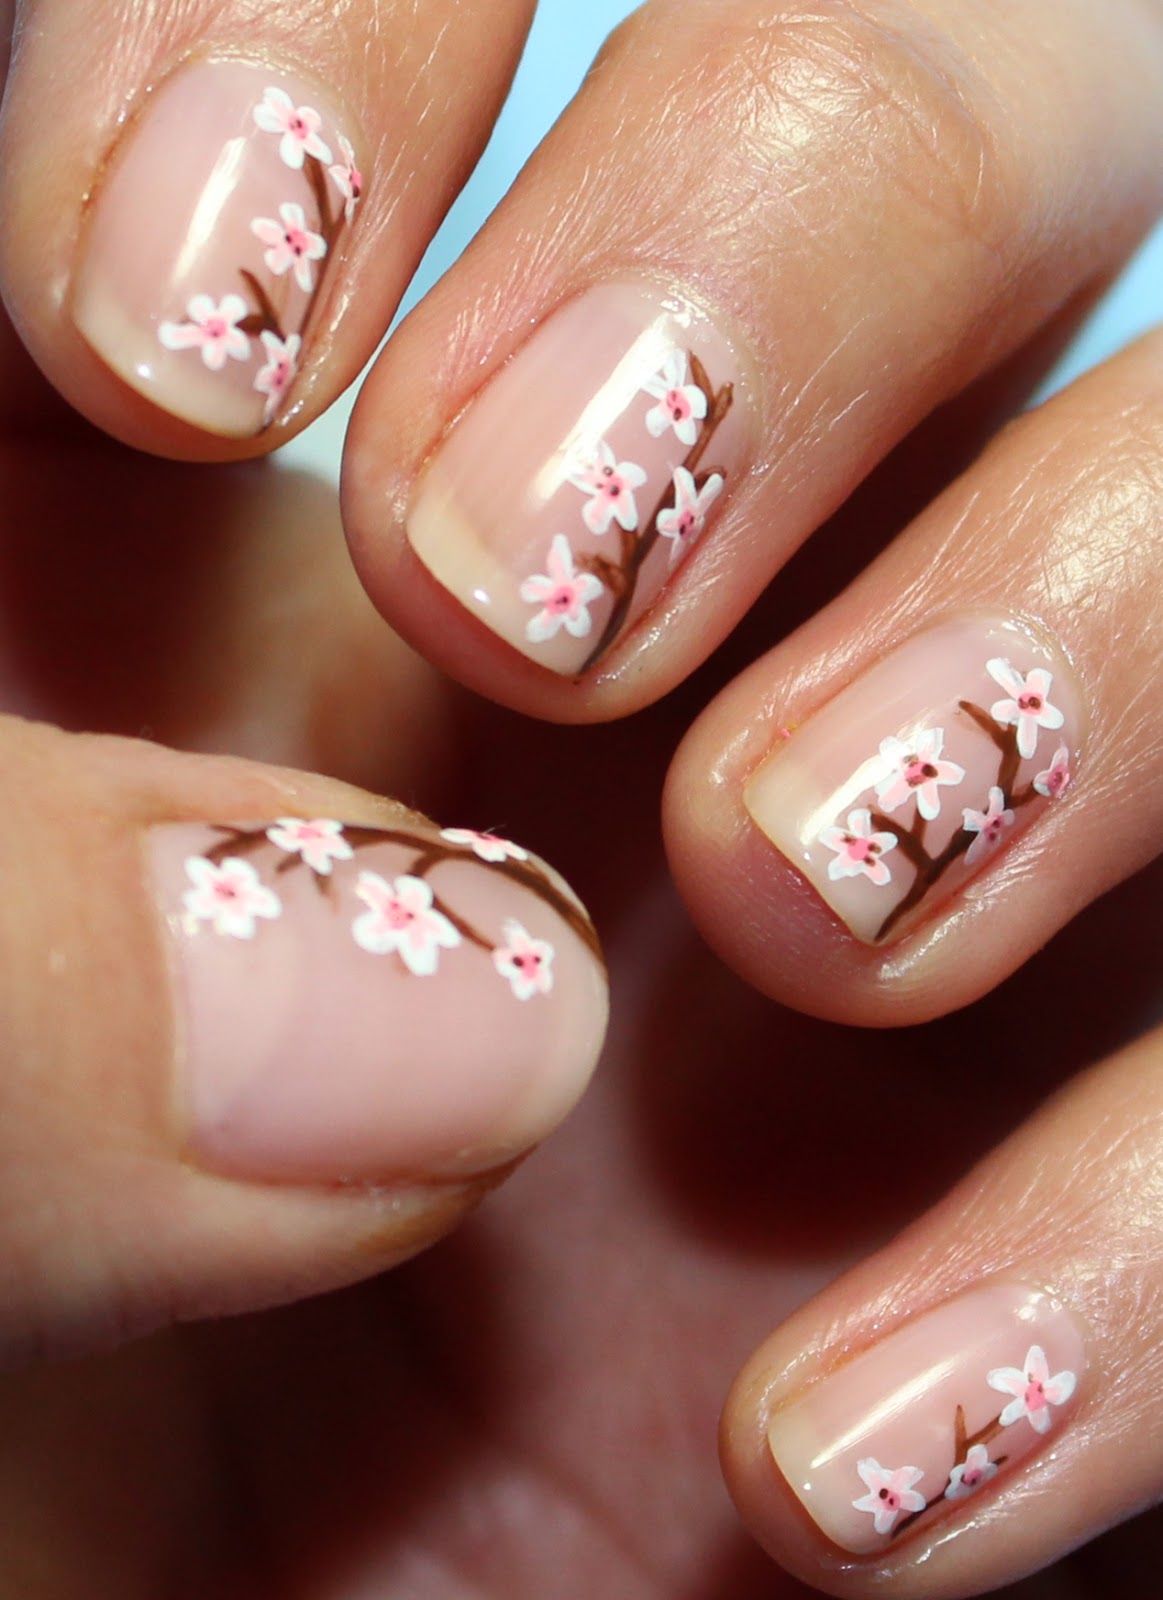
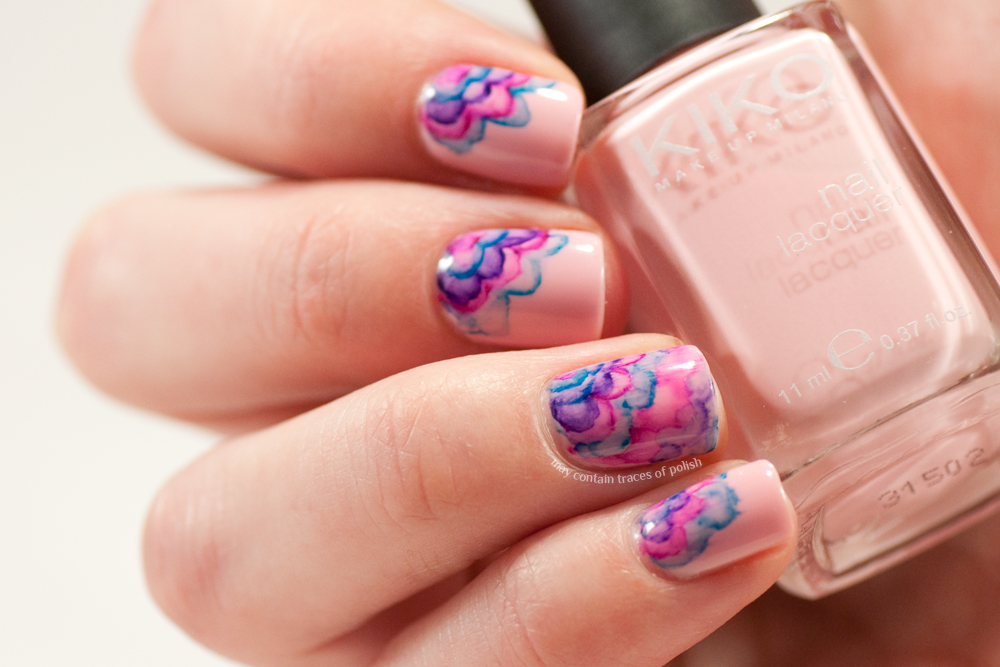
3. Using the sharpies, draw small dots in the center of your nail to act as the center of your flower. Use a different color for each nail to create a vibrant and colorful look.
4. Next, draw small lines radiating from the center dots to create the petals of the flower. You can use different colors for each petal to add depth and dimension to your design.
5. To add more detail to your flowers, you can use a toothpick or a small paintbrush to create thin lines and swirls on the petals.
6. Once your design is complete, let it dry for a few minutes before applying a top coat. This will seal in your design and make it last longer.
7. Finish off by applying a clear nail polish to add shine and protect your design.
1. Begin by applying a base coat to your nails to protect them and help the sharpie design last longer.
2. Once the base coat is dry, use the white nail polish to paint your nails. This will act as a canvas for your sharpie design and make the colors pop.
3. Using the sharpies, draw small dots in the center of your nail to act as the center of your flower. Use a different color for each nail to create a vibrant and colorful look.
4. Next, draw small lines radiating from the center dots to create the petals of the flower. You can use different colors for each petal to add depth and dimension to your design.
5. To add more detail to your flowers, you can use a toothpick or a small paintbrush to create thin lines and swirls on the petals.
6. Once your design is complete, let it dry for a few minutes before applying a top coat. This will seal in your design and make it last longer.
7. Finish off by applying a clear nail polish to add shine and protect your design.
Tips and Tricks
 - Practice on a piece of paper before drawing on your nails to get a feel for the sharpies and how they work.
- Use a light hand and make small, controlled strokes to avoid any mistakes.
- If you make a mistake, simply use a cotton swab dipped in nail polish remover to clean up the area.
- Experiment with different colors and techniques to create unique and personalized flower nail art designs.
With this simple and budget-friendly technique, you can create stunning flower nail art with sharpies that will elevate your nail game. So next time you're looking for a fun and creative way to spice up your nails, try out this DIY method and watch your nails bloom with colorful and intricate designs.
- Practice on a piece of paper before drawing on your nails to get a feel for the sharpies and how they work.
- Use a light hand and make small, controlled strokes to avoid any mistakes.
- If you make a mistake, simply use a cotton swab dipped in nail polish remover to clean up the area.
- Experiment with different colors and techniques to create unique and personalized flower nail art designs.
With this simple and budget-friendly technique, you can create stunning flower nail art with sharpies that will elevate your nail game. So next time you're looking for a fun and creative way to spice up your nails, try out this DIY method and watch your nails bloom with colorful and intricate designs.


