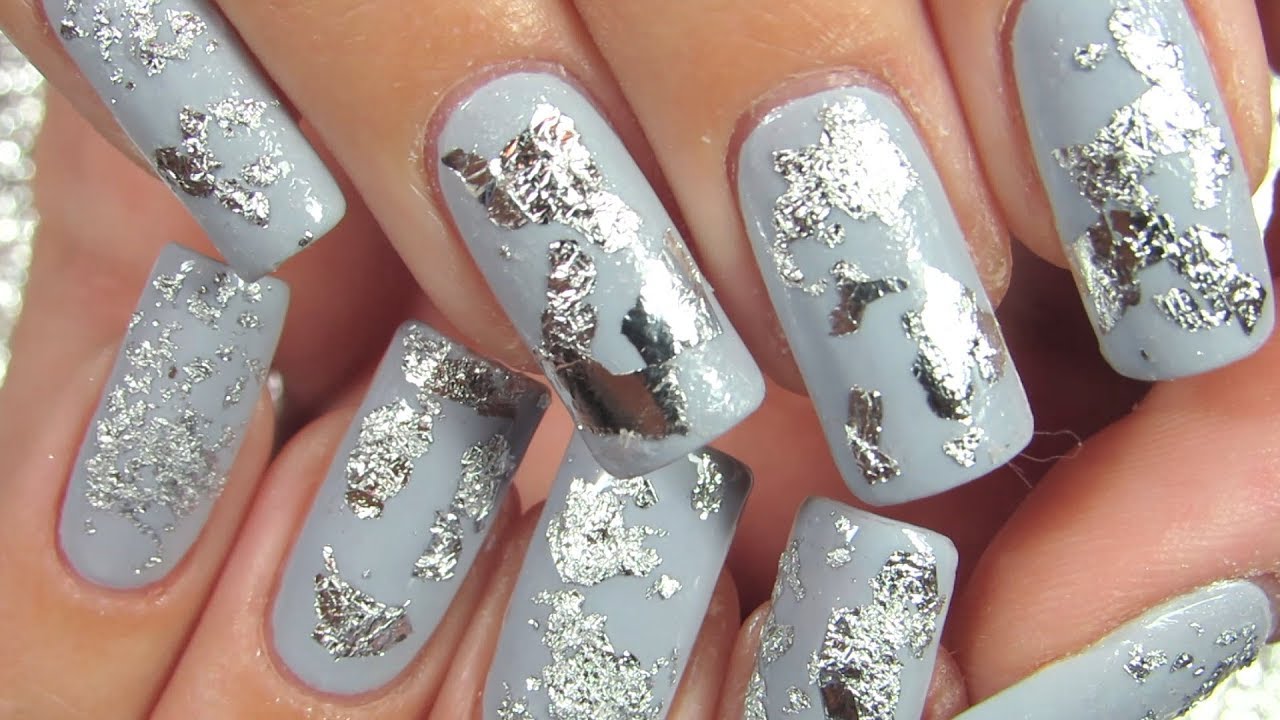
Are you looking for a way to add some shine and glamour to your nails? Look no further than foil paper nail art! This trendy nail art technique uses small pieces of metallic foil to create unique and eye-catching designs on your nails. In this tutorial, we'll show you how to achieve the perfect foil nail art look in just a few simple steps. To start off, you'll need some foil nail art supplies including foil glue, a base coat, your choice of nail polish, and of course, foil paper. You can find foil glue and foil paper at most beauty supply stores or online, and they come in a variety of colors and designs to choose from. Begin by applying a base coat to your nails to protect them and help the foil adhere better. Once the base coat is dry, apply your chosen nail polish color and let it dry completely. Next, take your foil glue and apply it in a thin layer to the parts of your nails where you want the foil to stick. You can use the glue to create any design or pattern you desire, from simple lines to more intricate shapes. Once the glue is tacky, carefully place a piece of foil paper onto the nail and press down gently. Use your fingers or a small brush to smooth out any wrinkles or bubbles. Then, gently peel off the foil paper to reveal the design on your nail. Repeat this process on all your nails, and you'll be left with a stunning and unique foil nail art look!1. Foil Paper Nail Art Tutorial


1. Foil Paper Nail Art Tutorial


If you're new to foil paper nail art, you may be wondering how exactly to use it to achieve the best results. Well, we've got you covered with these easy steps! First, make sure you have all your foil nail art supplies ready, including foil glue, foil paper, and a base coat. You may also want to have some nail polish on hand to add some color to your design. Start by prepping your nails with a base coat and your choice of nail polish. Once your base color is dry, it's time to apply the foil. Use the foil glue to create your desired design on your nails, and let it become tacky. Next, take a piece of foil paper and press it onto the glued areas, making sure to smooth out any wrinkles or bubbles. Once the foil is firmly pressed onto the nail, gently peel it off to reveal the design. You can repeat this process on all your nails or just a few for an accent nail look. Finally, seal in your nail art with a top coat to protect it and make it last longer. And there you have it – a stunning foil paper nail art design that will surely turn heads!2. How to Use Foil Paper for Nail Art


2. How to Use Foil Paper for Nail Art


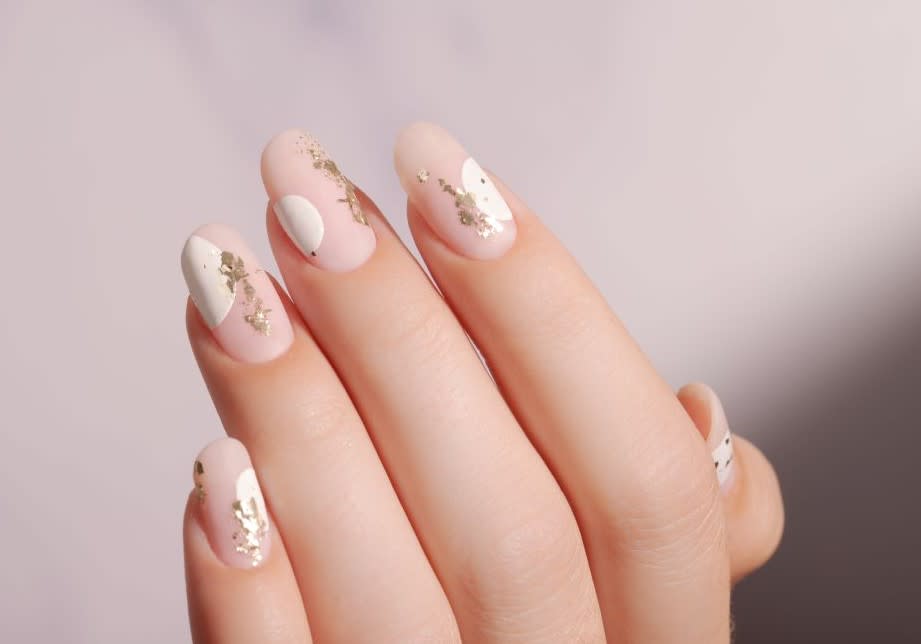
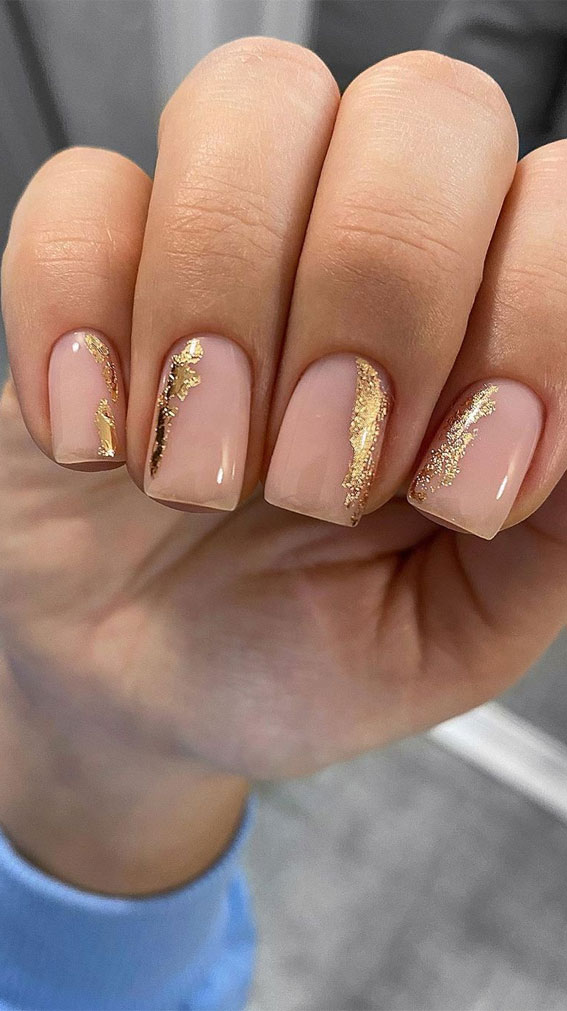
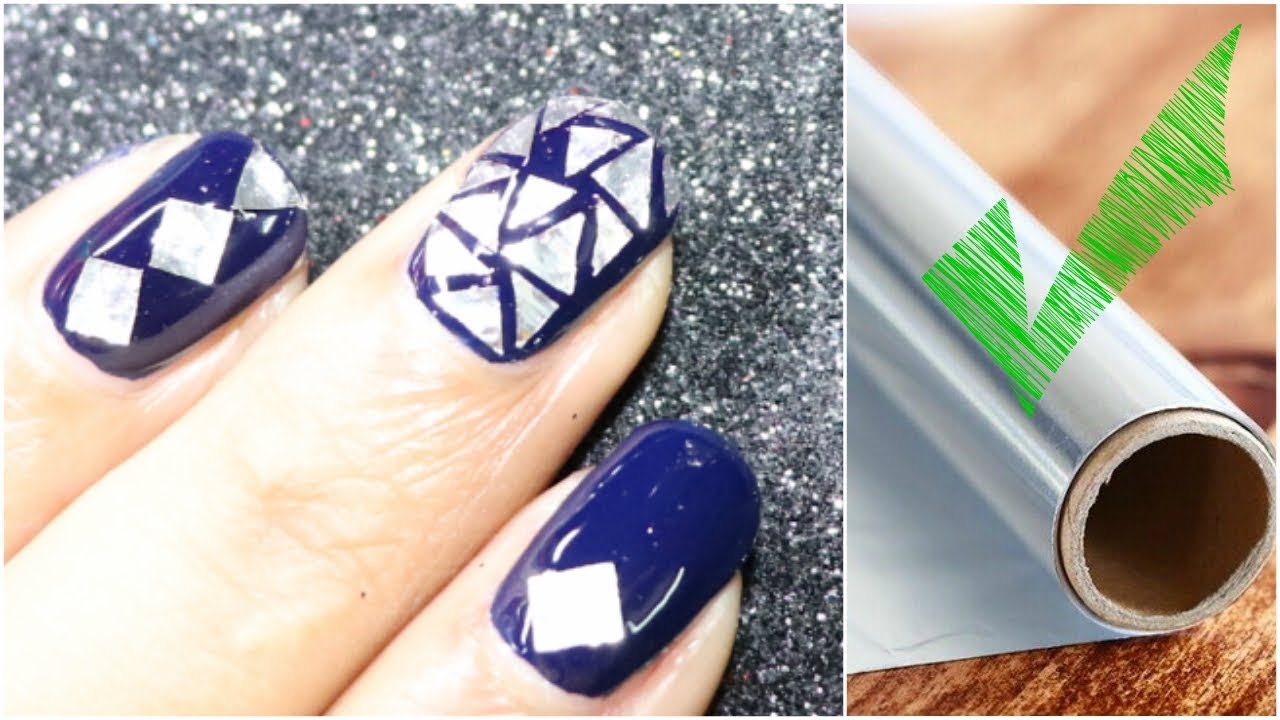
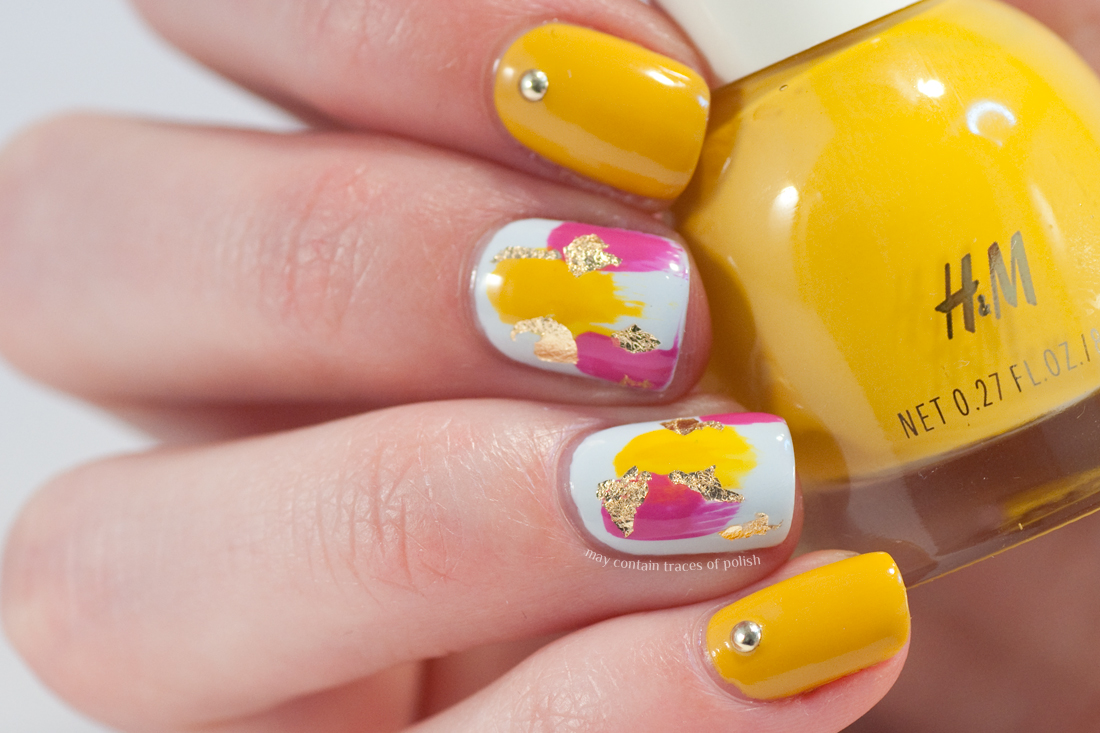
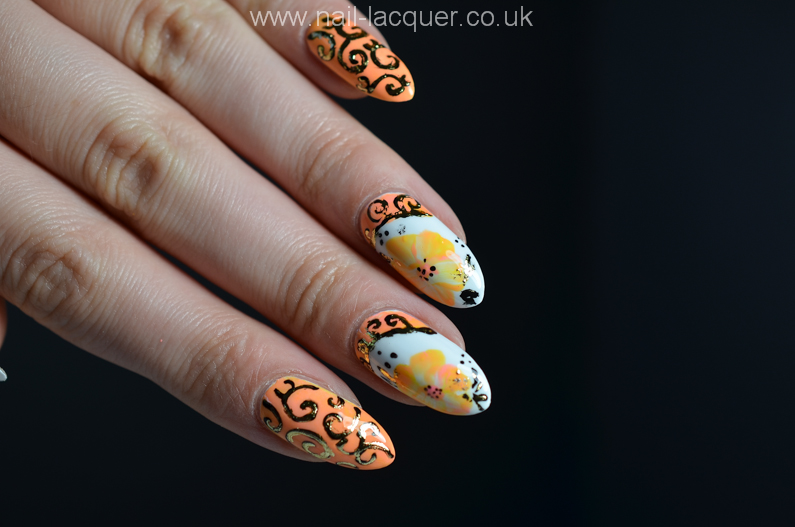
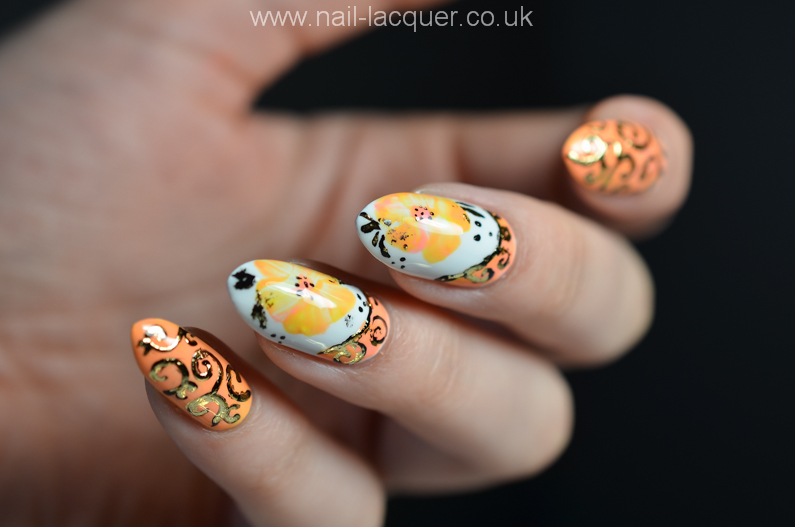
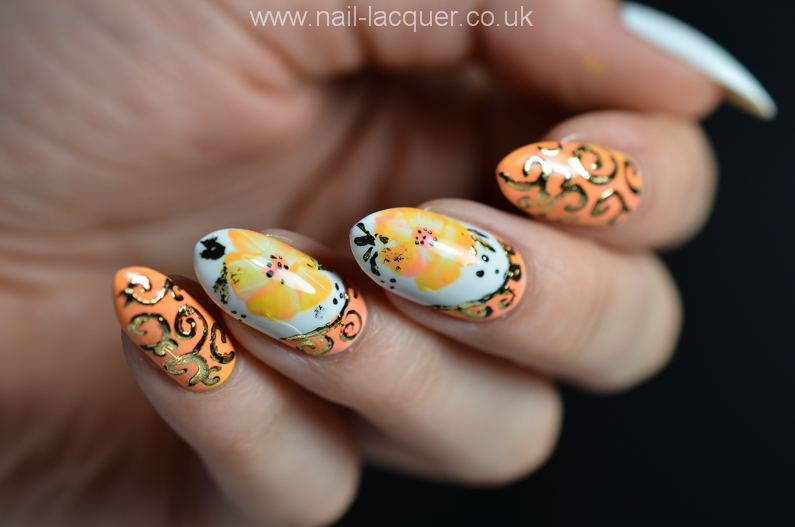
The possibilities are endless when it comes to foil nail art designs. You can create simple and elegant looks with just a few lines of foil, or go all out with intricate patterns and designs. Here are some easy foil nail art ideas to get you started: - Metallic French Tips: Use foil paper to create a unique twist on the classic French tip manicure. Simply apply foil glue to the tips of your nails and add a strip of foil for a chic and modern look. - Geometric Shapes: Use foil glue to create different geometric shapes on your nails, such as triangles, squares, or circles. This is a great way to add some fun and dimension to your nail art. - Ombre Effect: Create a stunning ombre effect by using different shades of foil paper. Start with a light color at the base of your nail and gradually add darker shades towards the tips. - Negative Space: For a modern and edgy look, leave some parts of your nail bare and add foil designs around them. This creates a cool negative space effect that is sure to stand out. Don't be afraid to experiment and come up with your own unique foil nail art designs. The more you play around with different shapes and colors, the more you'll discover what works best for you!3. Foil Nail Art Designs


3. Foil Nail Art Designs


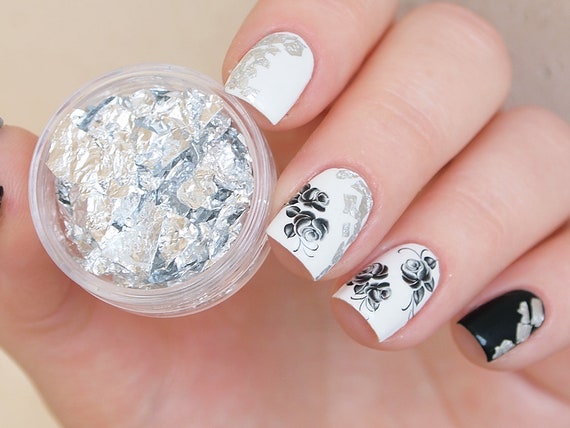
To achieve the perfect foil nail art look, you'll need some essential supplies. Here's a list of foil nail art supplies you'll need to get started: - Foil Paper: This is the most important supply for foil nail art. It comes in a variety of colors and designs, including metallic, holographic, and patterned options. - Foil Glue: This specialized glue is designed to help the foil paper adhere to your nails. It's important to use a good quality foil glue to achieve the best results. - Base Coat: Always start with a base coat to protect your nails and help the foil adhere better. - Nail Polish: You can use any color of nail polish as a base for your foil nail art design. Just make sure it is completely dry before applying the foil. - Top Coat: Seal in your nail art with a top coat to protect it and make it last longer. You can find these supplies at most beauty supply stores or online. Make sure to stock up on different colors and designs of foil paper to create a variety of looks.4. Foil Nail Art Supplies

4. Foil Nail Art Supplies


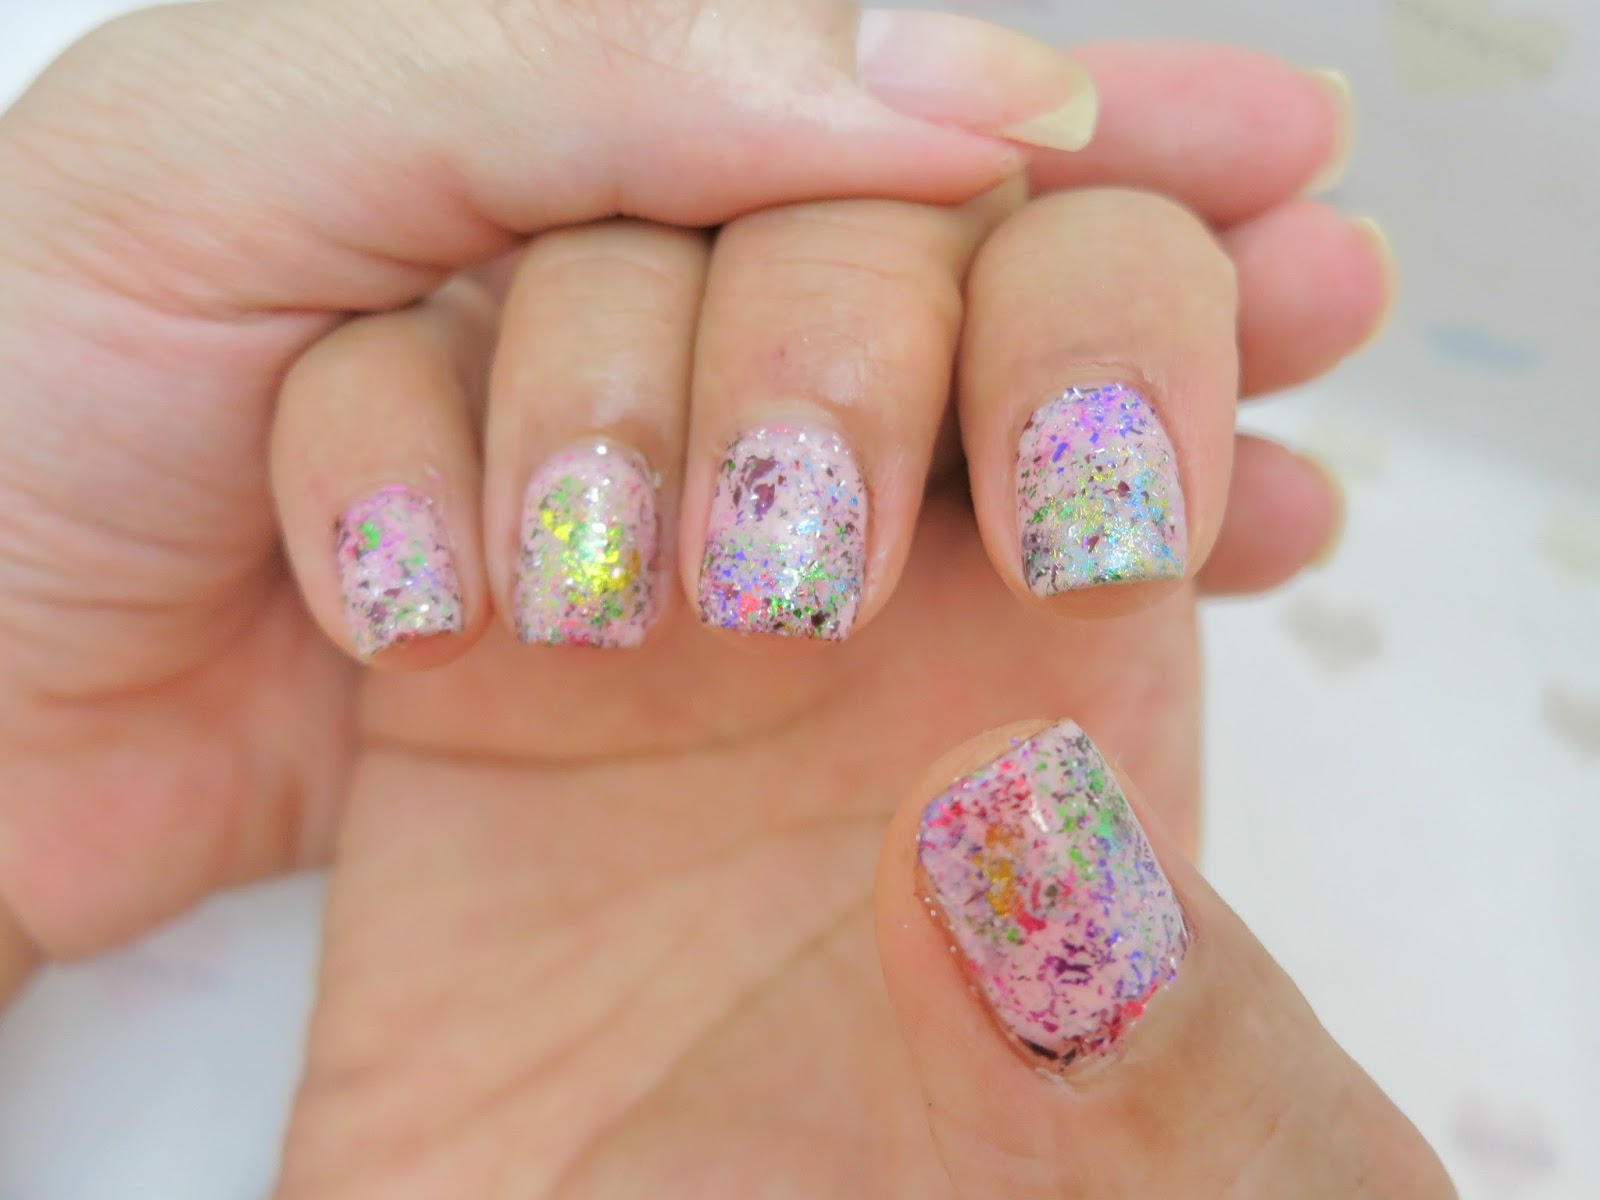
Creating beautiful foil nail art doesn't have to be difficult. In fact, there are plenty of easy foil nail art ideas that you can try at home. Here are a few to get you started: - Foil Accent Nail: If you're new to foil nail art, try starting with an accent nail. Apply foil to just one or two nails for a subtle and eye-catching look. - Foil Stripes: Use foil to create simple and elegant stripes on your nails. You can apply them vertically, horizontally, or diagonally for a unique look. - Foil Marble: Create a marble effect by mixing different colors of foil on your nails. This is a great way to add some texture and dimension to your nail art. - Foil Tips: Just like with French tips, you can use foil to create a metallic tip on your nails for a modern and chic look. Don't be afraid to get creative and come up with your own easy foil nail art ideas. The best part about foil nail art is that it's easy to experiment with and there are no limits to what you can create!5. Easy Foil Nail Art Ideas


5. Easy Foil Nail Art Ideas


Still feeling a little unsure about how to achieve the perfect foil nail art look? Here's a foil nail art step by step guide to help you out: Step 1: Prep your nails by applying a base coat and your choice of nail polish. Let it dry completely. Step 2: Apply foil glue to the areas of your nails where you want the foil to stick. Step 3: Let the glue become tacky, then gently press a piece of foil paper onto the nail. Smooth out any wrinkles or bubbles. Step 4: Peel off the foil paper to reveal the design on your nail. Repeat this process on all your nails. Step 5: Seal in your nail art with a top coat. With these simple steps, you'll have stunning foil nail art in no time!6. Foil Nail Art Step by Step

6. Foil Nail Art Step by Step


You don't need to be a professional nail artist to achieve beautiful foil nail art. In fact, you can easily do it foil nail art at home with just a few supplies. This is a great way to save money and have fun experimenting with different designs. Make sure to have all your supplies ready, and don't be afraid to start with simple designs and work your way up to more intricate ones. With practice, you'll become a pro at foil nail art in no time!7. Foil Nail Art at Home
7. Foil Nail Art at Home

If you're a fan of nail art, you know that sometimes it can be challenging to achieve the perfect look. But don't worry, we've got some foil nail art hacks to make your life easier: - Use a makeup sponge: If you're having trouble with wrinkles or bubbles in your foil, try using a small makeup sponge to smooth them out. This will give you a more even and smooth application. - Use tweezers: To help with precision, use tweezers to place the foil paper onto your nails. This will also prevent your fingers from getting sticky from the glue. - Use a hair dryer: If you're short on time, you can use a hair dryer on low heat to speed up the drying process of the foil glue. - Add a top coat before the foil: For a more subtle look, apply a layer of top coat before adding the foil. This will create a more muted effect, perfect for those who want a more subtle look. Try out these foil nail art hacks to make your nail art experience easier and more enjoyable.8. Foil Nail Art Hacks


8. Foil Nail Art Hacks


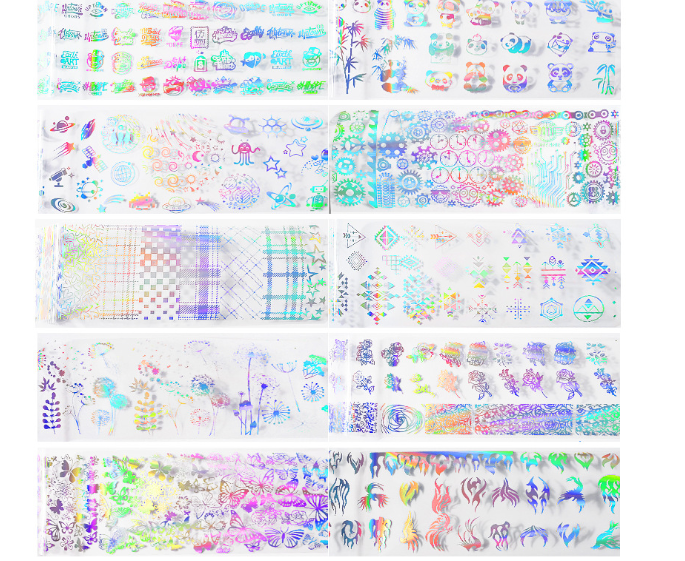
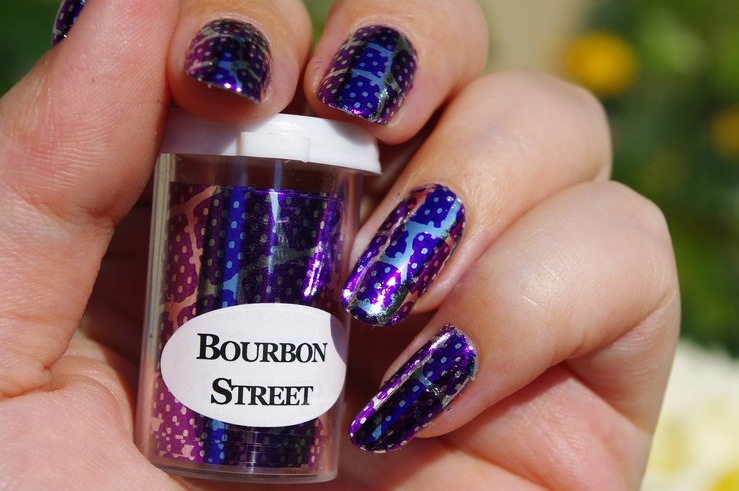
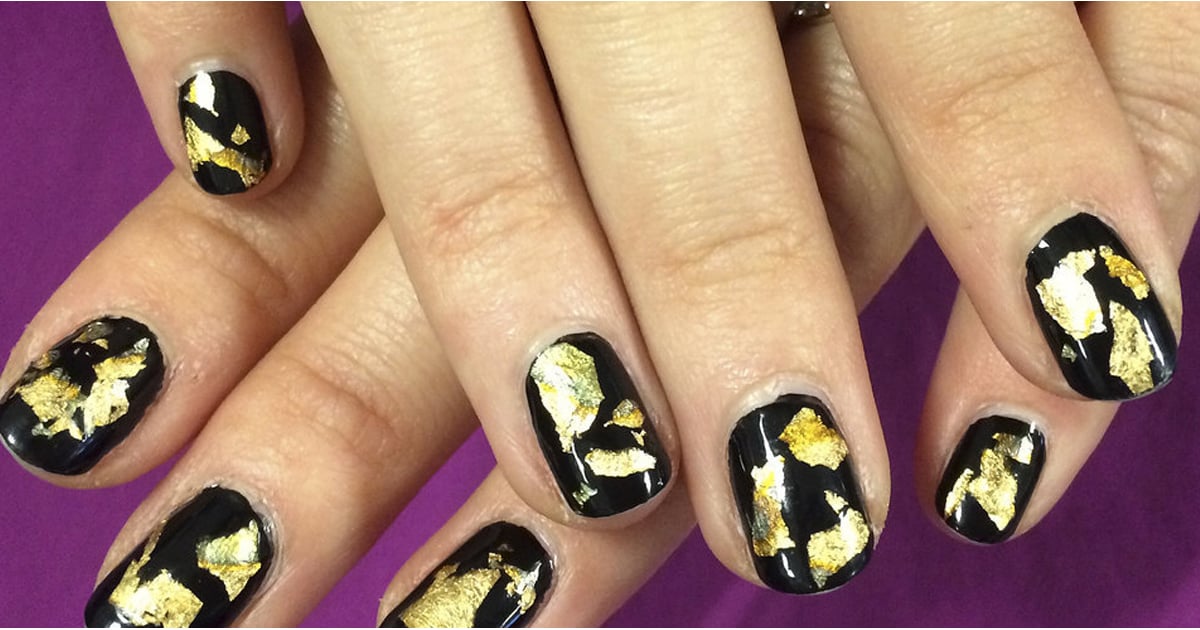
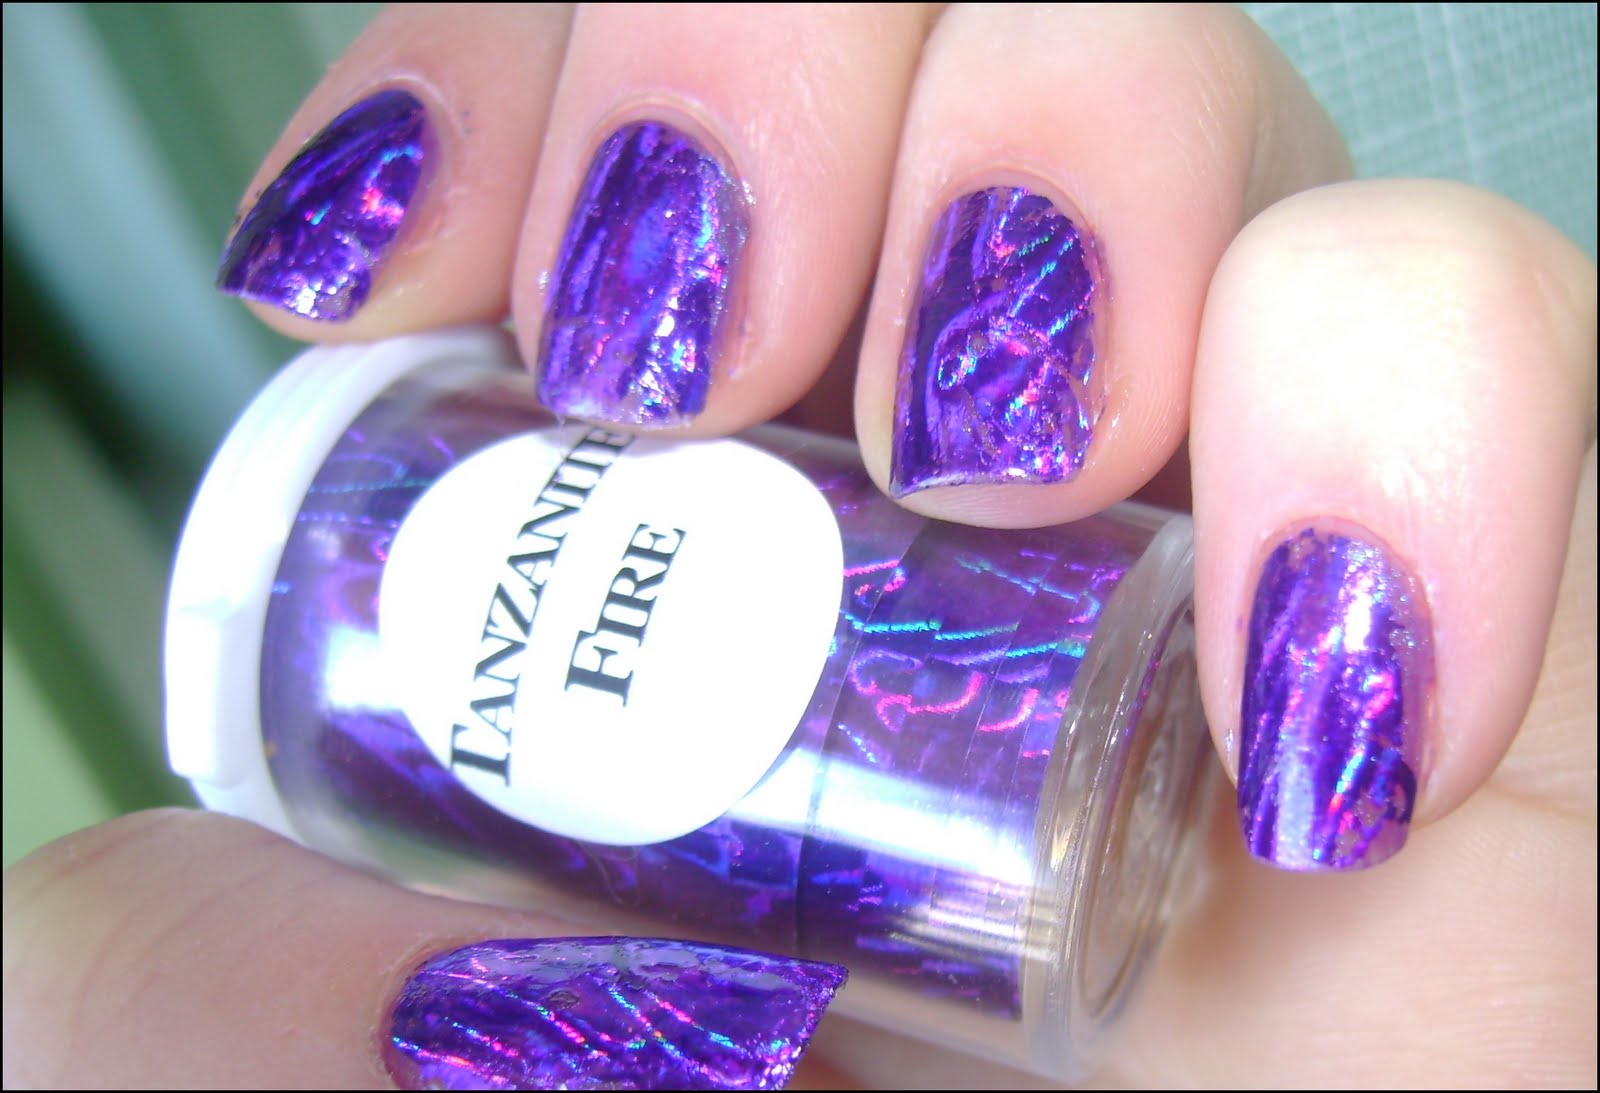
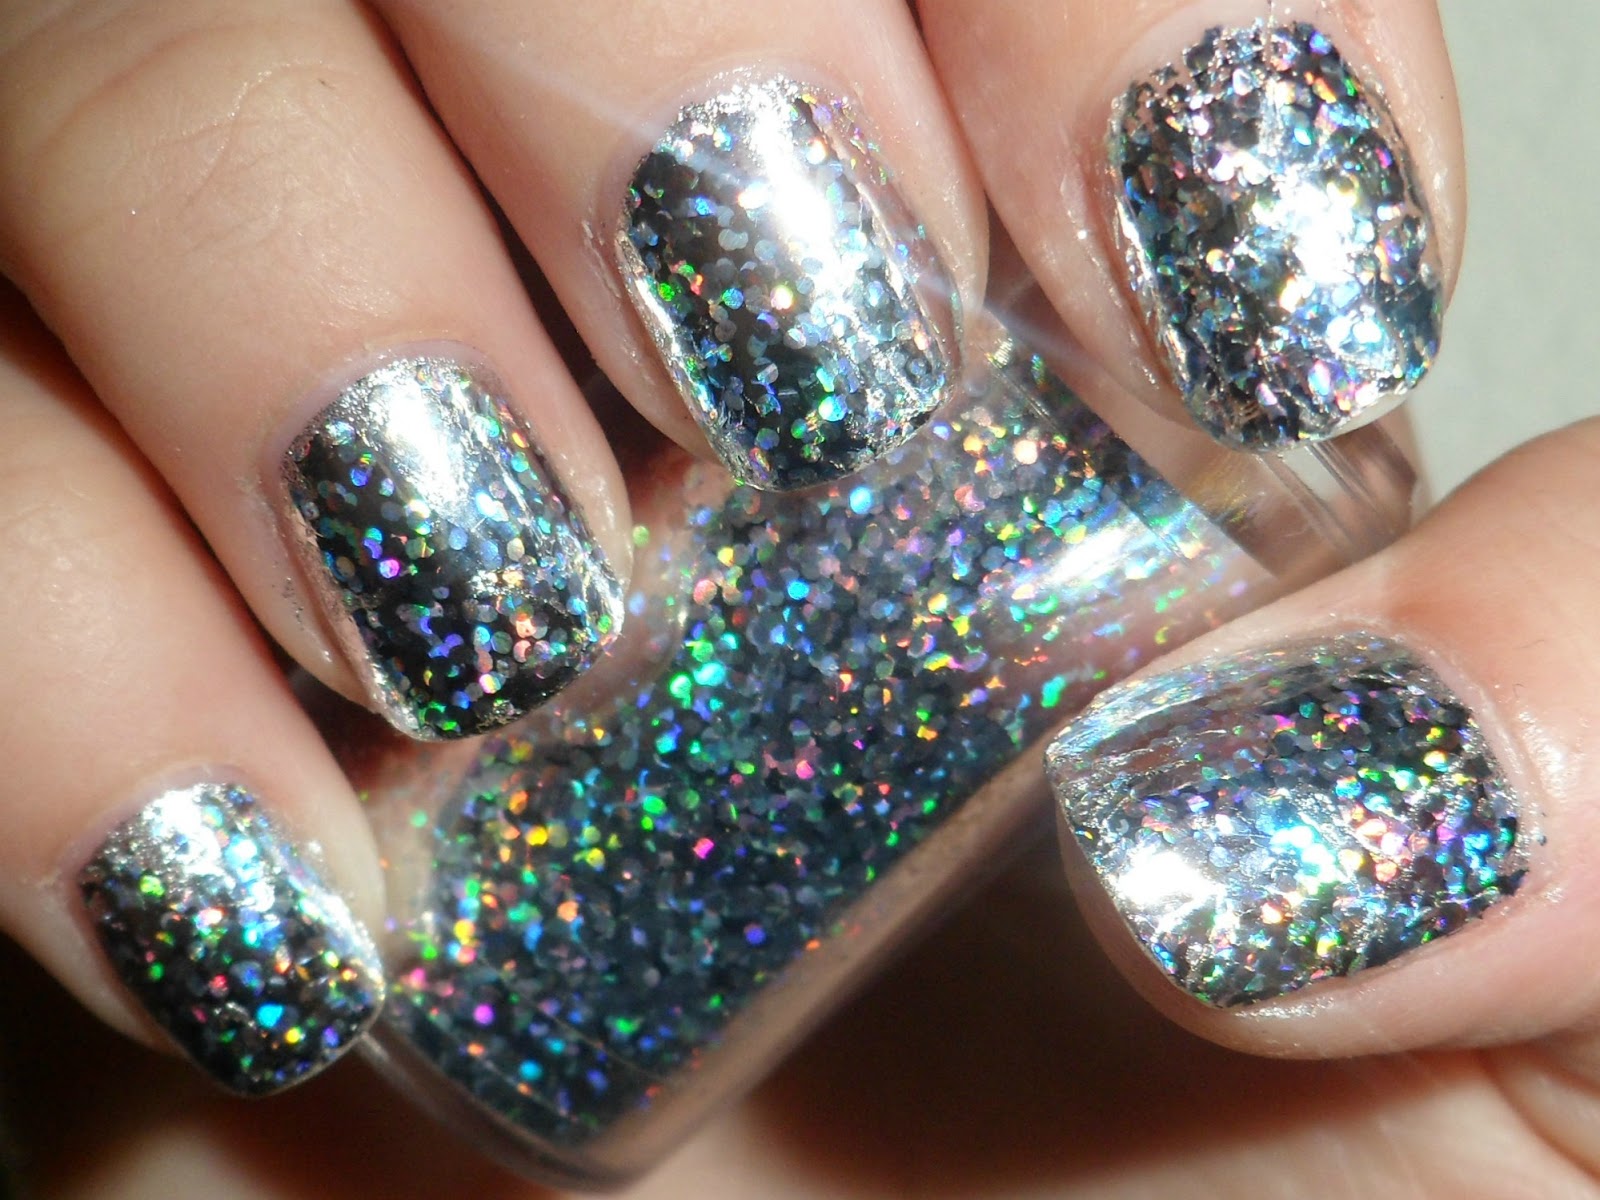
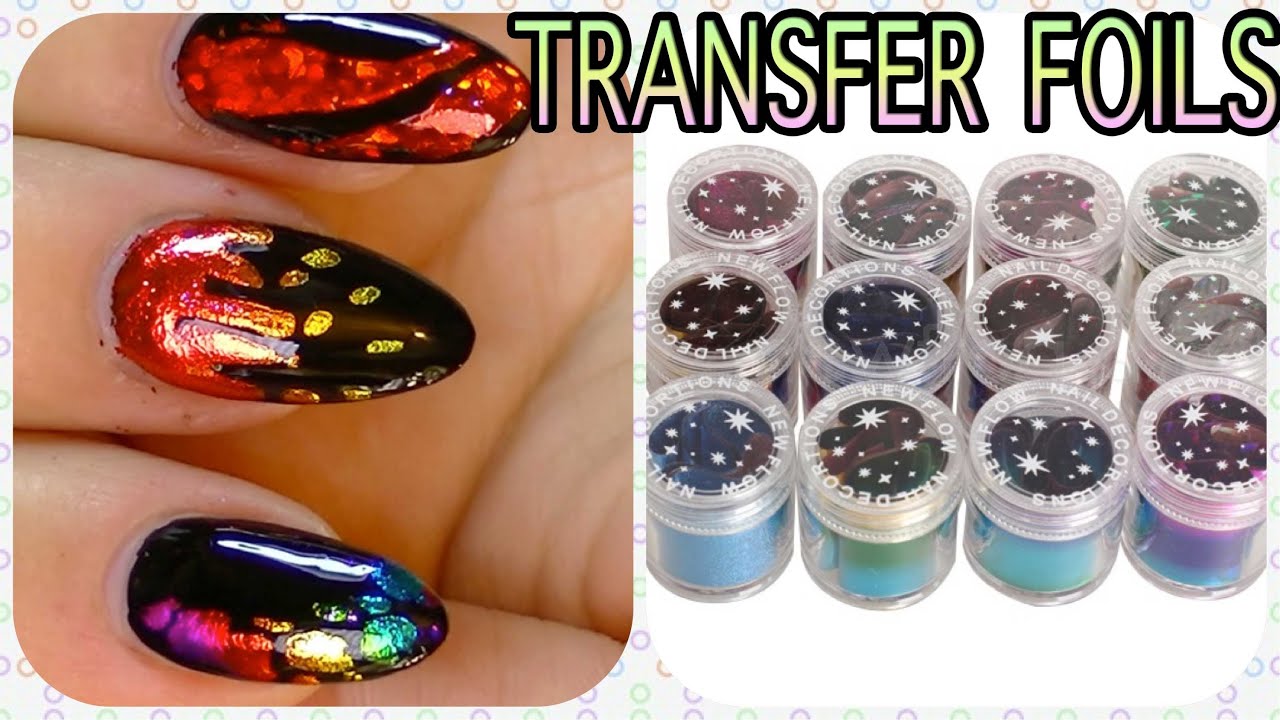
When it comes to foil nail art, the quality of the foil paper can make all the difference. Here are some best foil paper for nail art options to consider: - Metallic Foil: This is the most common type of foil used for nail art. It comes in a variety of colors and has a shiny, metallic finish. - Holographic Foil: For a more unique and eye-catching look, try using holographic foil. It creates a mesmerizing rainbow effect on your nails. - Patterned Foil: If you want to add some fun and personality to your nail art, you can use patterned foil. There are endless options to choose from, including animal prints, florals, and more. - Transfer Foil: This type of foil is designed specifically for nail art and is easier to work with than regular foil. It comes in a variety of colors and designs and has a slightly thicker and stickier texture. Choose the best foil paper for your nail art depending on the look you want to achieve and your personal preference.9. Best Foil Paper for Nail Art

9. Best Foil Paper for Nail Art


Still looking for some foil nail art inspiration? Look no further than social media platforms like Instagram and Pinterest. There, you can find endless ideas and designs from nail artists all over the world. You can also experiment with different colors and designs to create a unique and personalized look. Don't be afraid to try new things and have fun with your foil nail art! In conclusion, foil paper nail art is a fun and easy way to add some glamour and shine to your nails. With the right supplies and a little bit of practice, you can achieve stunning and unique designs that will surely make a statement. So go ahead and give it a try – your nails will thank you!10. Foil Nail Art Inspiration


10. Foil Nail Art Inspiration

Achieve Stunning Nail Designs with Foil Paper Nail Art
Elevate Your Nail Game
 Are you tired of the same old plain nail polish? Looking for a way to step up your nail game and add some sparkle and shine? Look no further than
foil paper nail art
. This trendy and unique nail design technique is taking the beauty world by storm and is perfect for adding some pizzazz to your everyday look or for special occasions.
Are you tired of the same old plain nail polish? Looking for a way to step up your nail game and add some sparkle and shine? Look no further than
foil paper nail art
. This trendy and unique nail design technique is taking the beauty world by storm and is perfect for adding some pizzazz to your everyday look or for special occasions.
What is Foil Paper Nail Art?
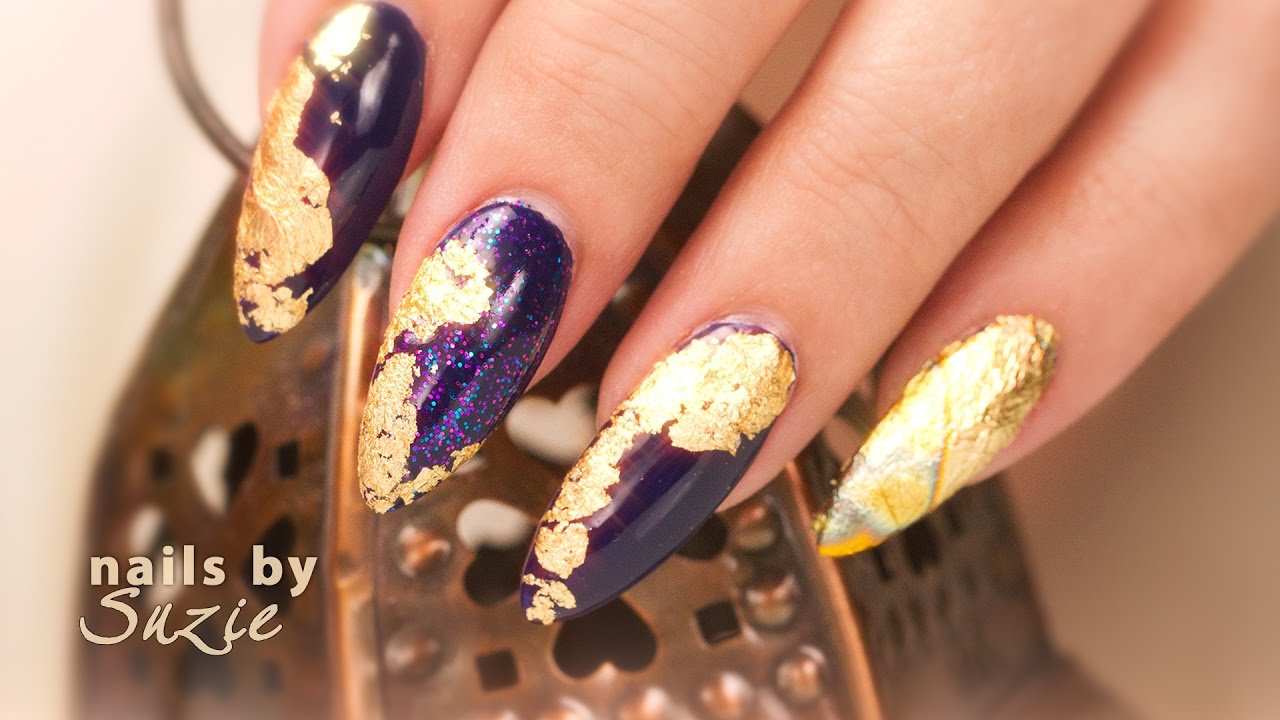
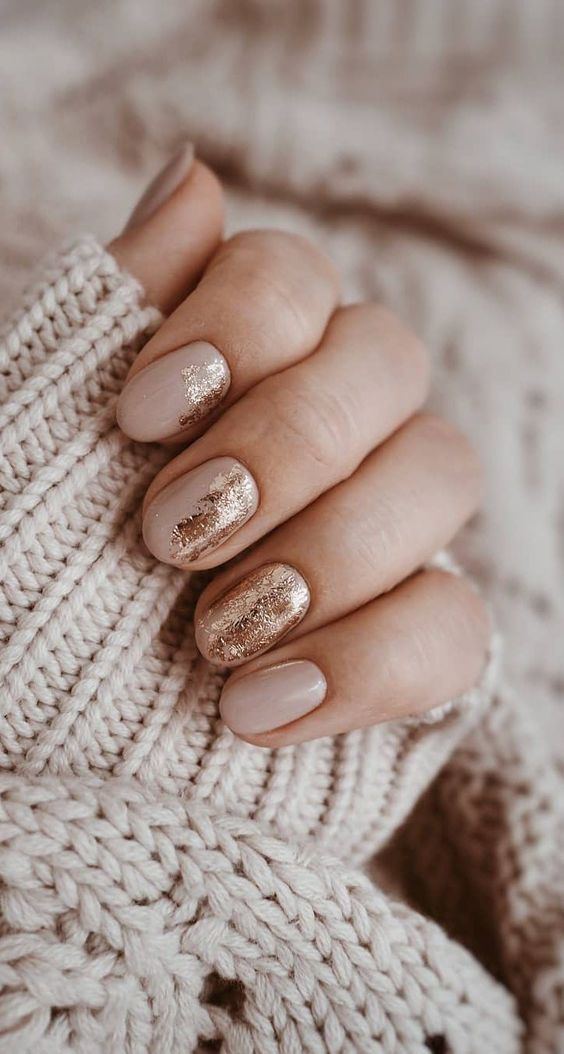
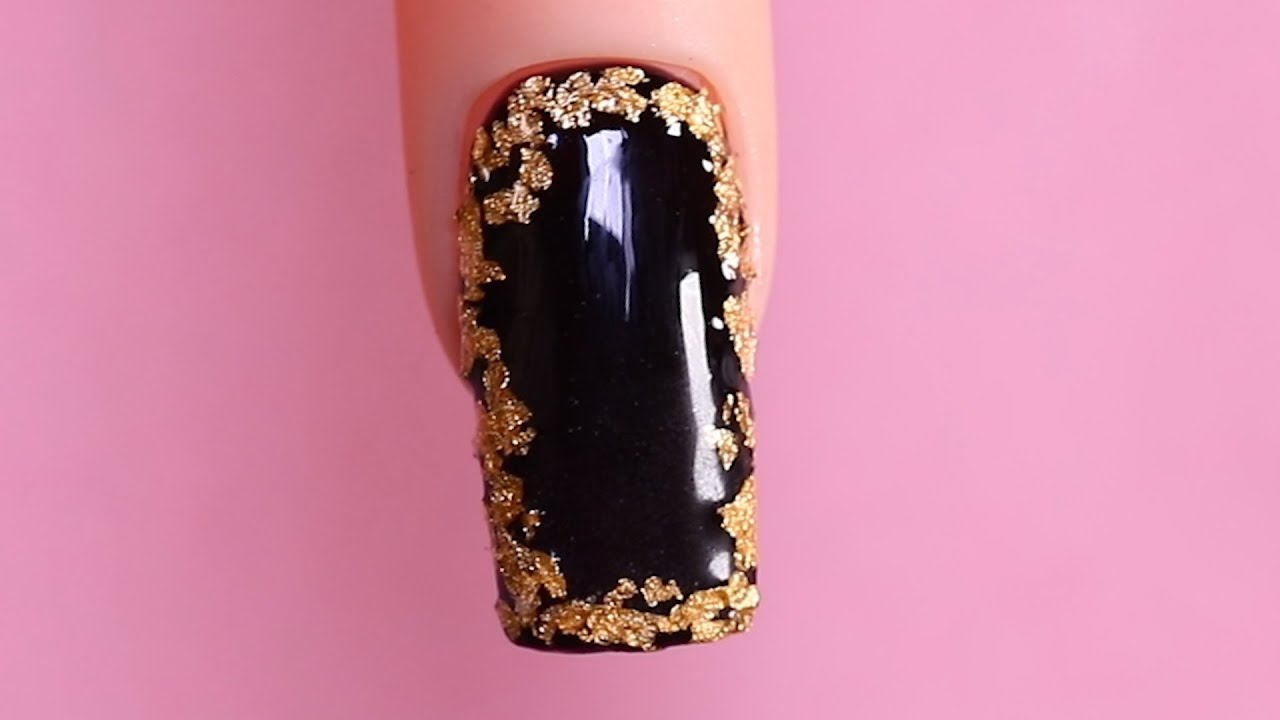
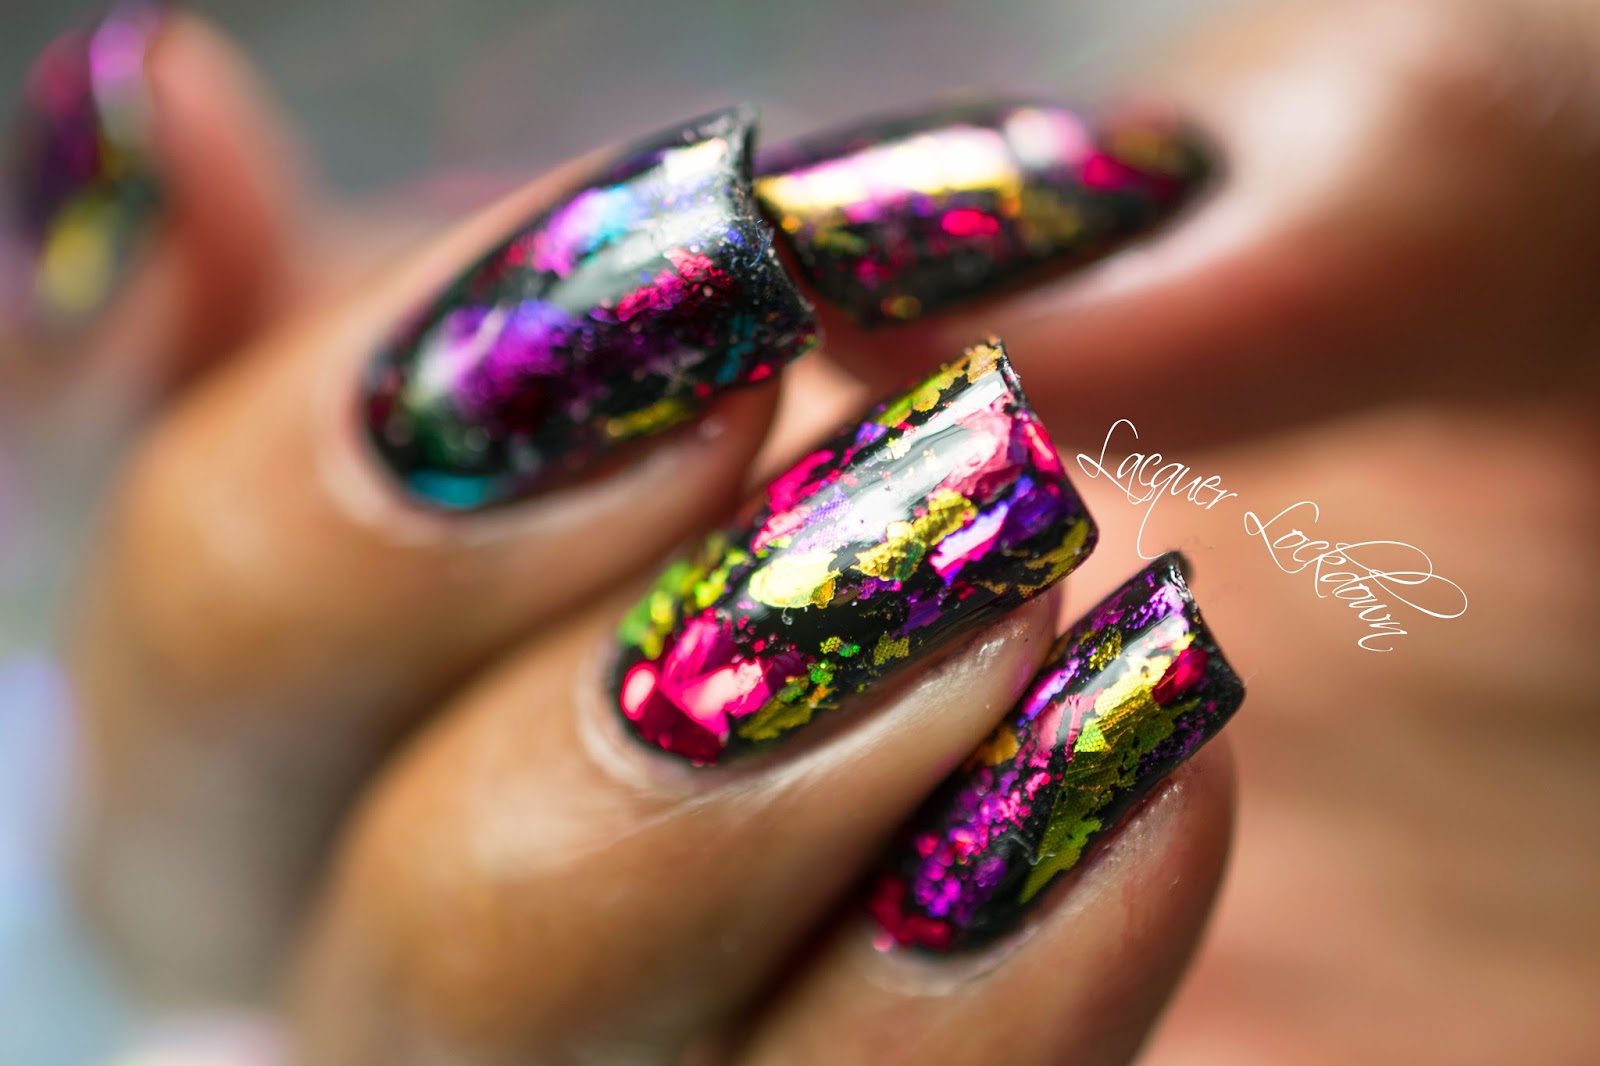 Foil paper nail art involves applying thin sheets of metallic or holographic foil onto your nails to create eye-catching designs. The foil is typically applied over a base color or design and can be cut into various shapes and sizes to create different effects. It's a fun and easy way to add some dimension and texture to your nails.
Benefits of Foil Paper Nail Art
 Not only does foil paper nail art look stunning, but it also has many benefits. Firstly, the foil is lightweight and flexible, making it comfortable to wear and less likely to chip or peel. It also adds durability to your nail polish, making it last longer. Plus, with a variety of colors and patterns available, you can create endless designs and combinations to suit your style.
How to Achieve the Look
 To achieve the perfect foil paper nail art, start by prepping your nails as you would for any manicure. Apply a base coat and let it dry completely. Next, apply your desired base color and let it dry. Once dry, apply a layer of foil gel or adhesive on top of your base color and let it cure under a UV or LED lamp. Then, carefully place your foil sheets on top of the gel, gently pressing down to ensure it adheres. Finally, seal in your design with a top coat and cure under the lamp. And voila, you have a stunning and unique foil paper nail art design!
Get Creative with Foil Paper Nail Art
 The possibilities are endless with foil paper nail art. You can experiment with different base colors, foil patterns, and even layer different foils for a one-of-a-kind look. You can also add other embellishments, such as rhinestones or glitter, to take your nail design to the next level. Don't be afraid to get creative and have fun with it!
In Conclusion
 Foil paper nail art is a fun and easy way to elevate your nail game and add some sparkle to your look. With its durability, endless design possibilities, and easy application, it's no wonder why this trend is here to stay. So why not give it a try and see the stunning results for yourself? Your nails will thank you.


