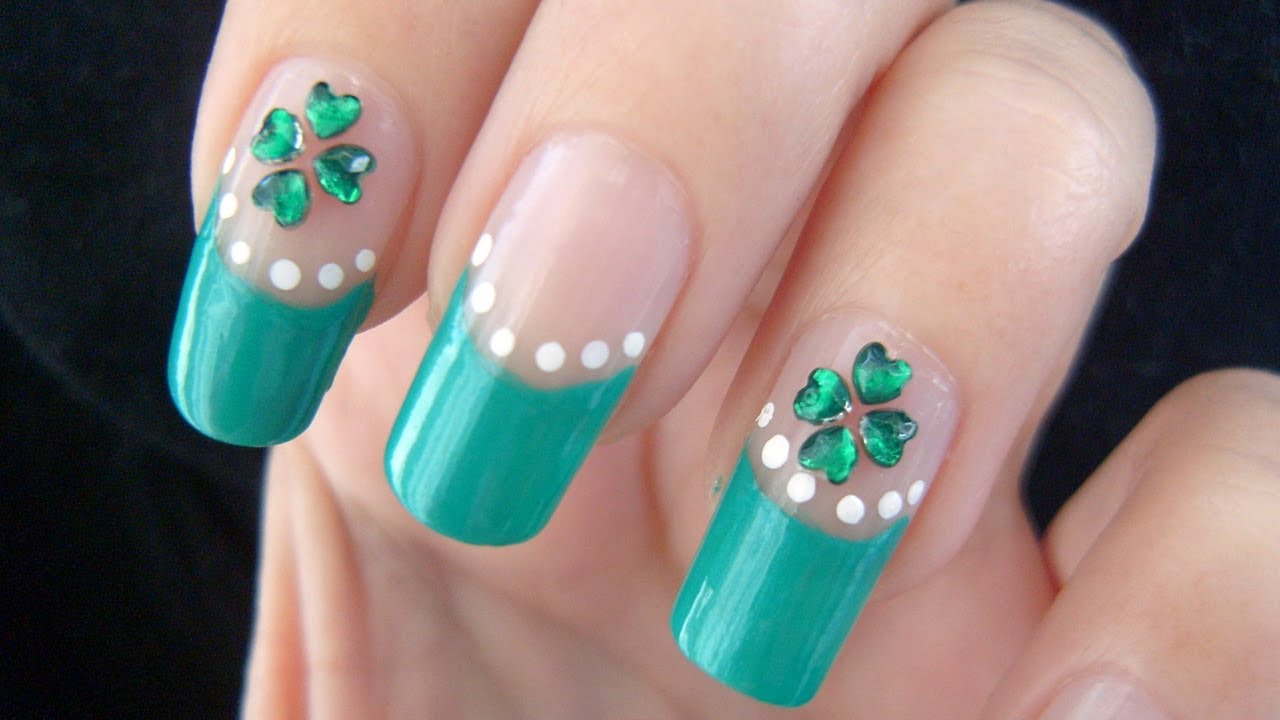
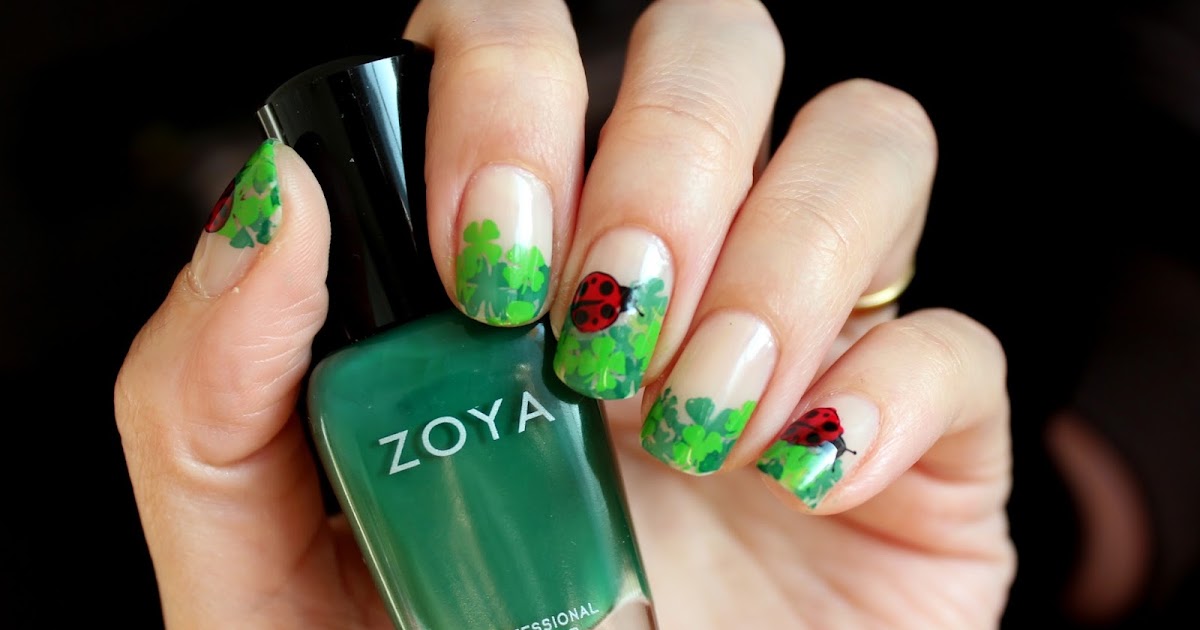
Are you looking for a fun and festive nail design for St. Patrick's Day? Look no further than this easy four leaf clover nail art tutorial. With just a few simple steps, you can create a cute and colorful design that will have everyone green with envy. To start, gather your supplies. You will need a base coat, green nail polish, a dotting tool or toothpick, and a top coat. If you want to add some extra sparkle, you can also use a gold glitter polish. Begin by applying your base coat to protect your nails. Once dry, apply two coats of your chosen green polish. For a classic look, go for a shamrock green shade. For a more modern twist, try a mint green or emerald green. Let the polish dry completely before moving on to the next step. Next, take your dotting tool or toothpick and dip it into a lighter green polish. Carefully create four dots in the shape of a clover, with three dots forming a triangle and the fourth dot above the center. If you're feeling extra creative, you can also add a stem using a dark green polish. Once your clovers are dry, you can add some extra sparkle by using a gold glitter polish to create an accent nail. You can either use the dotting tool or toothpick to create small dots in a diagonal line across one nail, or use a thin brush to create a gold stripe. Finish off your design with a top coat to seal in your beautiful four leaf clovers and add shine. And there you have it, a festive and fun nail design that is perfect for St. Patrick's Day or any day you want to add a touch of luck to your look!1. Four Leaf Clover Nail Art Tutorial | DIY Nail Art | Nail Art for Beginners


1. Four Leaf Clover Nail Art Tutorial


Looking for a quick and easy way to add some St. Patrick's Day spirit to your nails? This easy four leaf clover nail art tutorial is just what you need. With minimal supplies and simple steps, you can create a cute and festive nail design that is perfect for the holiday. Start by applying a base coat to protect your nails. Once dry, apply two coats of your chosen green polish. For a fun twist, try a glitter green or neon green shade. Let the polish dry completely before moving on to the next step. Next, take a small piece of scotch tape and cut out a small clover shape. Place the tape over your nail, leaving a small portion of the tip exposed. Using a white polish, paint over the exposed area and quickly remove the tape to reveal a perfect clover shape. Repeat this step on all of your nails. For some added detail, use a dotting tool or toothpick to create a small gold dot in the center of each clover. You can also use a dark green polish to add a stem to your clovers. Finish off your design with a top coat to seal in your clovers and give your nails a glossy finish. This cute and simple design is sure to bring some luck your way this St. Patrick's Day!2. Easy Four Leaf Clover Nail Art Tutorial | St. Patrick's Day Nails | Cute Nail Art


DIY Nail Art


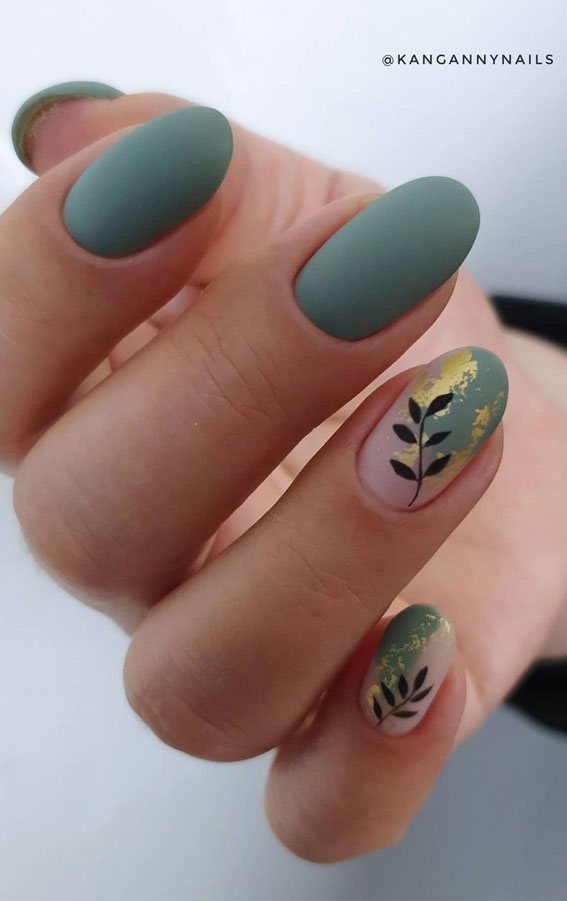
This four leaf clover nail art tutorial is perfect for those who want to add some glam to their St. Patrick's Day look. With a beautiful mix of green and gold, this design is sure to turn heads and make you feel like a lucky charm. Start by applying a base coat to protect your nails. Once dry, apply two coats of your chosen green polish. For a bold look, try a metallic or chrome green shade. Let the polish dry completely before moving on to the next step. Next, take a gold glitter polish and use a thin brush to paint a diagonal line across each nail, leaving a small gap at the tip. Then, use the brush to create a zigzag pattern within the gap to resemble the stem of a four leaf clover. Let this dry before moving on. Using a dotting tool or toothpick, create four small dots in the shape of a clover, with three dots forming a triangle and the fourth dot above the center. You can use a light green or white polish for this step. Finally, add some extra shine by using the dotting tool or toothpick to add small dots of gold glitter to the center of each clover. Finish off your design with a top coat to seal in your beautiful green and gold clovers. This elegant and eye-catching nail design is perfect for a night out or any special occasion.3. Four Leaf Clover Nail Art Tutorial | Green and Gold Nails | St. Patrick's Day Nail Design


Nail Art for Beginners


If you're looking for a simple and easy way to add some St. Patrick's Day flair to your nails, this four leaf clover nail art tutorial is for you. With just a few steps, you can create a cute and festive design that is perfect for the holiday. Start by applying a base coat to protect your nails. Once dry, apply two coats of your chosen green polish. For a subtle look, try a pastel green or mint green shade. Let the polish dry completely before moving on to the next step. Next, take a dotting tool or toothpick and dip it into a lighter green polish. Create four small dots in the shape of a clover, with three dots forming a triangle and the fourth dot above the center. You can also add a stem using a dark green polish. For some added sparkle, use a gold glitter polish to create an accent nail. You can either use the dotting tool or toothpick to create small dots in a diagonal line across one nail, or use a thin brush to create a gold stripe. Finish off your design with a top coat to seal in your cute and simple clovers. This easy nail design is perfect for anyone, whether you're a beginner or an experienced nail artist.4. Four Leaf Clover Nail Art Tutorial | Simple and Easy Nail Design | St. Patrick's Day Nails


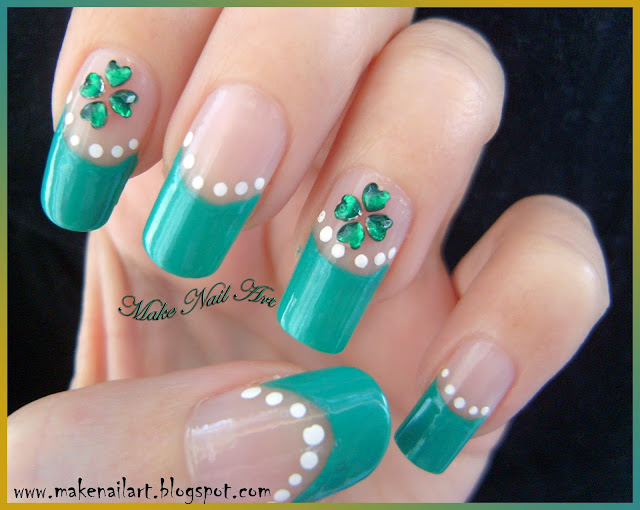
2. Easy Four Leaf Clover Nail Art Tutorial

Want to create a gorgeous four leaf clover nail design but not sure how to do it? This step by step tutorial will guide you through the process and help you achieve a stunning look for St. Patrick's Day or any day you want to add a touch of luck to your nails. Start by applying a base coat to protect your nails. Once dry, apply two coats of your chosen green polish. For a classic look, go for a shamrock green shade. Let the polish dry completely before moving on to the next step. Next, take a dotting tool or toothpick and dip it into a light green polish. Create four small dots in the shape of a clover, with three dots forming a triangle and the fourth dot above the center. You can also add a stem using a dark green polish. For some added detail, use a thin brush to create a zigzag pattern within the stem of each clover using a white polish. This will add dimension and make your clovers stand out even more. Once your clovers are dry, you can add some extra shine by using a gold glitter polish to create an accent nail. You can either use the dotting tool or toothpick to create small dots in a diagonal line across one nail, or use a thin brush to create a gold stripe. Finish off your design with a top coat to seal in your beautiful four leaf clovers and give your nails a glossy finish. This step by step tutorial makes it easy for anyone to create a stunning nail design.5. Four Leaf Clover Nail Art Tutorial | Step by Step Nail Design | St. Patrick's Day Nails


St. Patrick's Day Nails

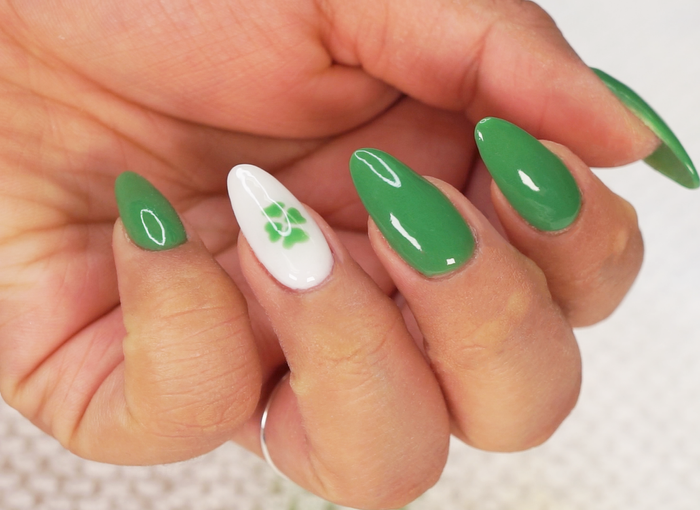
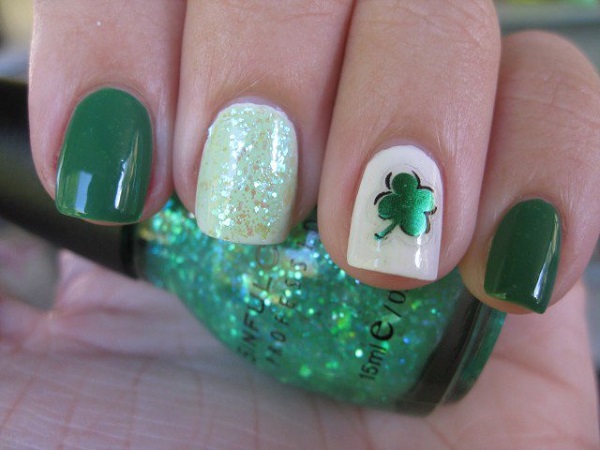

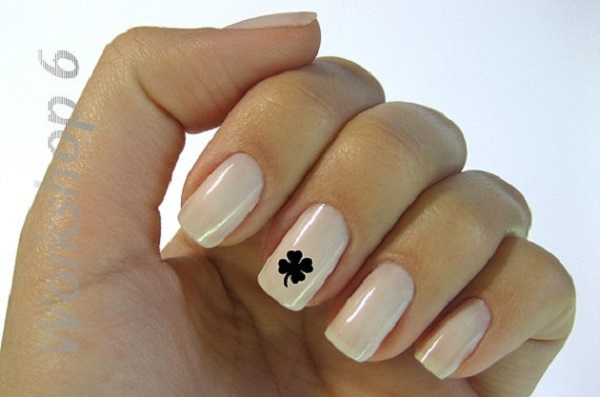
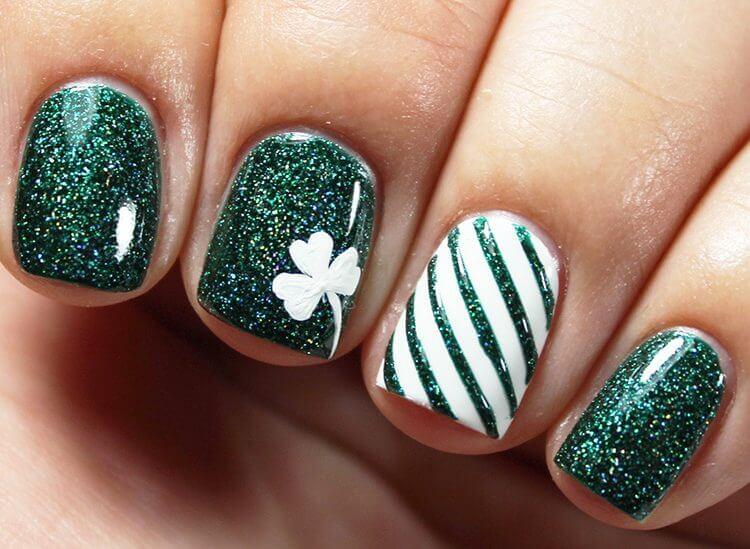
If you're looking for a subtle and elegant way to add some St. Patrick's Day spirit to your nails, this four leaf clover nail art tutorial is perfect for you. With a classic combination of green and white, this design is both understated and chic. Start by applying a base coat to protect your nails. Once dry, apply two coats of your chosen green polish. For a simple and sophisticated look, try a creamy or opaque green shade. Let the polish dry completely before moving on to the next step. Next, take a dotting tool or toothpick and dip it into a white polish. Create four small dots in the shape of a clover, with three dots forming a triangle and the fourth dot above the center. You can also add a stem using a dark green polish. For some added detail, use a thin brush to create a zigzag pattern within the stem of each clover. This will add dimension and make your clovers stand out even more. Finish off your design with a top coat to seal in your beautiful white and green clovers. This chic and sophisticated nail design is perfect for any occasion, not just St. Patrick's Day.6. Four Leaf Clover Nail Art Tutorial | Green and White Nails | St. Patrick's Day Nail Design


Cute Nail Art

Want to add some extra sparkle to your St. Patrick's Day nails? This four leaf clover nail art tutorial with a glitter accent nail is just what you need. With a touch of glam and a whole lot of luck, this design will have you feeling festive and fabulous. Start by applying a base coat to protect your nails. Once dry, apply two coats of your chosen green polish. For a dazzling look, try a glitter green or holographic green shade. Let the polish dry completely before moving on to the next step. Next, take a dotting tool or toothpick and dip it into a light green polish. Create four small dots in the shape of a clover, with three dots forming a triangle and the fourth dot above the center. You can also add a stem using a dark green polish. For some added sparkle, use a gold glitter polish to create an accent nail. You can either use the dotting tool or toothpick to create small dots in a diagonal line across one nail, or use a thin brush to create a gold stripe. Finish off your design with a top coat to seal in your beautiful green and gold clovers. This dazzling and festive nail art is perfect for those who want to make a statement this St. Patrick's Day.7. Four Leaf Clover Nail Art Tutorial | Glitter Accent Nail | St. Patrick's Day Nails


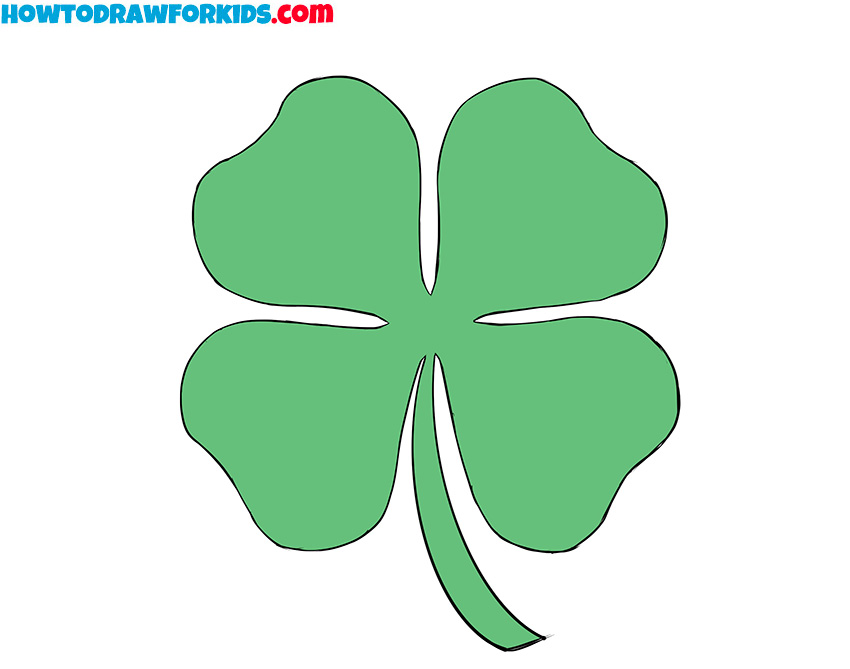
3. Four Leaf Clover Nail Art Tutorial
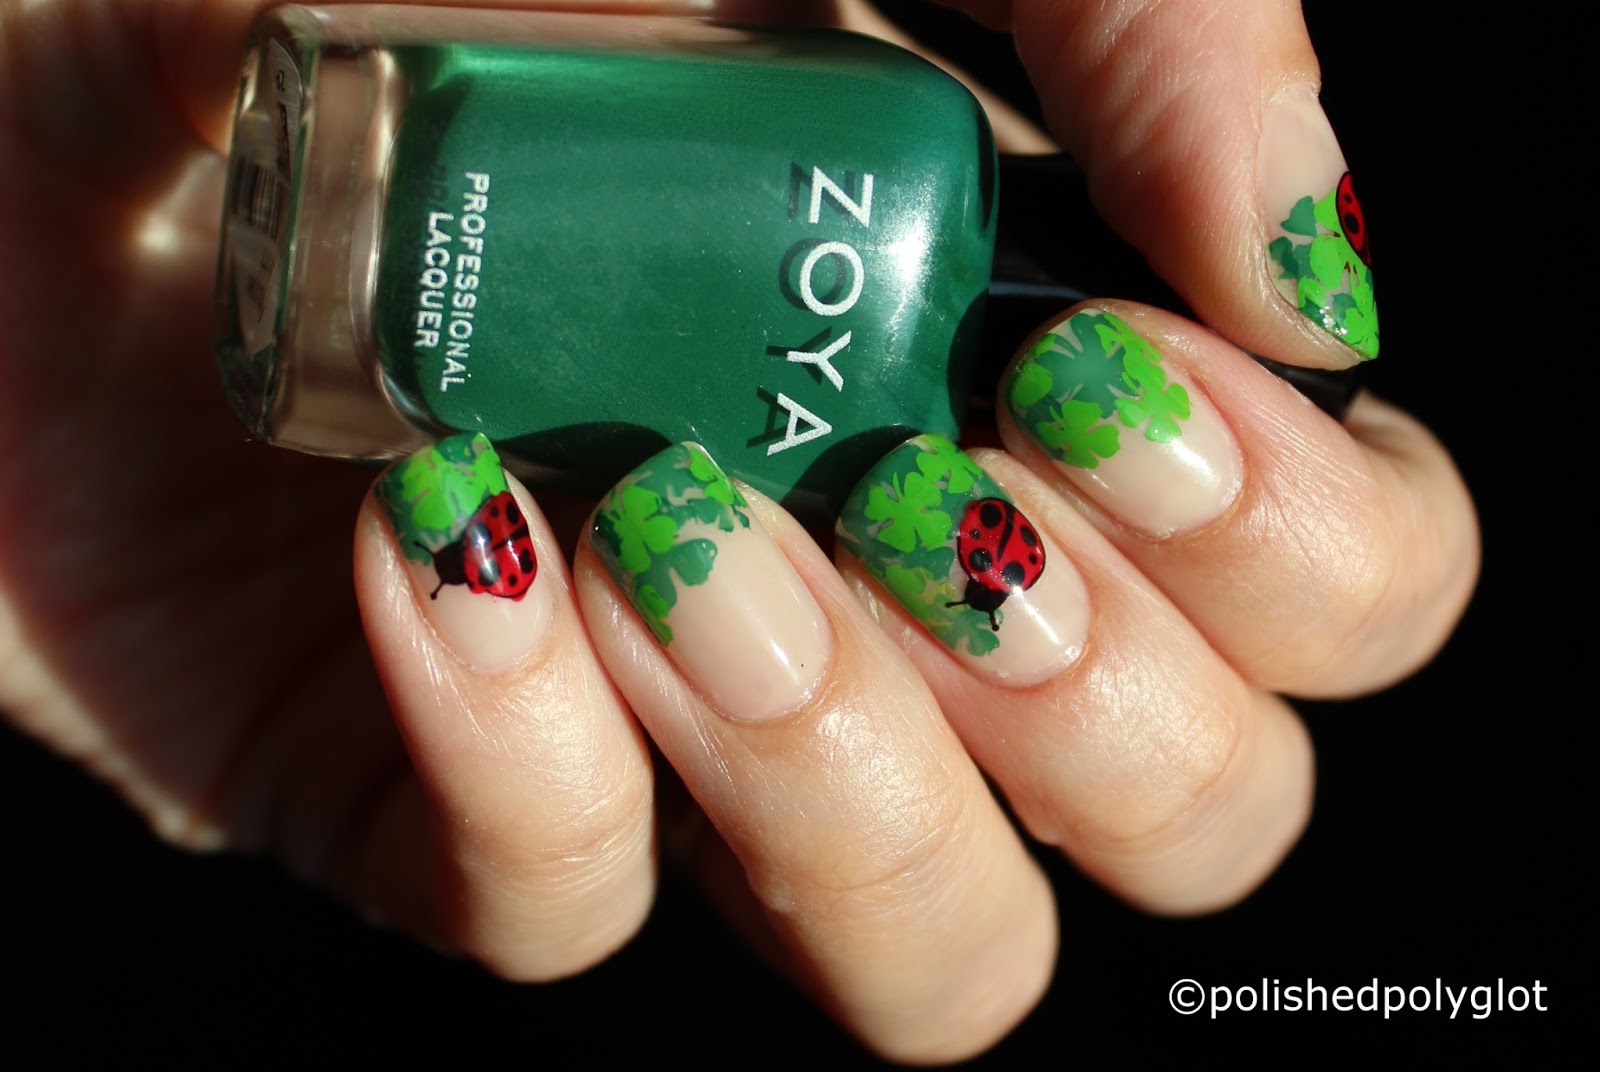
For a more traditional take on St. Patrick's Day nails, try this four leaf clover nail art tutorial featuring shamrocks. With a mix of green and white, this design is perfect for those who want to show their Irish pride. Start by applying a base coat to protect your nails. Once dry, apply two coats of your chosen green polish. For a classic look, go for a shamrock green shade. Let the polish dry completely before moving on to the next step. Next, take a dotting tool or toothpick and dip it into a white polish. Create three small dots in a triangle shape to resemble a shamrock. You can also add a stem using a dark green polish. For some added detail, use a thin brush to create small white dots within the shamrock. This will add dimension and make your shamrocks stand out even more. Finish off your design with a top coat to seal in your beautiful green and white shamrocks. This classic and festive nail design is perfect for any St. Patrick's Day celebration.8. Four Leaf Clover Nail Art Tutorial | Shamrock Nails | St. Patrick's Day Nail Design


Green and Gold Nails


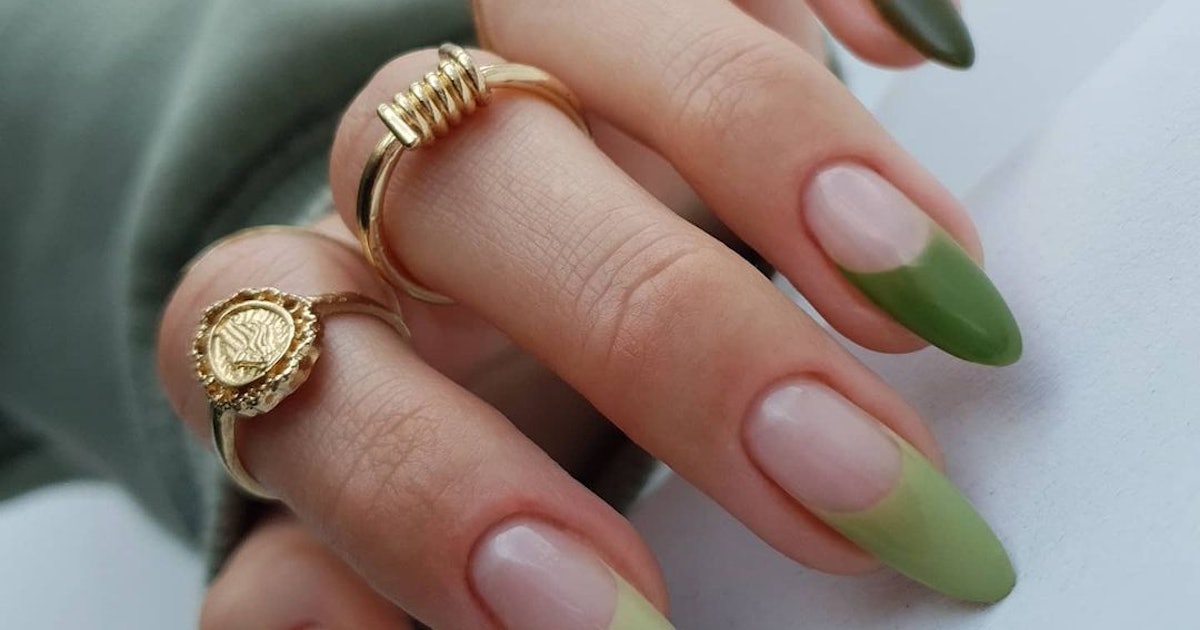
If you want to step up your nail game this St. Patrick's Day, try this four leaf clover nail art tutorial featuring gradient nails. With a beautiful blend of green shades, this design is sure to make a statement and bring some luck your way. Start by applying a base coat to protect your nails. Once dry, apply a light green polish to the top half of your nail and a dark green polish to the bottom half. Use a sponge or a makeup brush to blend the two colors together in the middle, creating a gradient effect. Let the polish dry completely before moving on to the next step. Next, take a dotting tool or toothpick and dip it into a light green polish. Create four small dots in the shape of a clover, with three dots forming a triangle and the fourth dot above the center. You can also add a stem using a dark green polish. For some added detail, use a thin brush to create a zigzag pattern within the stem of each clover. This will add dimension and make your clovers stand out even more.9. Four Leaf Clover Nail Art Tutorial | Gradient Nails | St. Patrick's Day Nail Design


St. Patrick's Day Nail Design


Add Some Irish Charm to Your Nails with Four Leaf Clover Nail Art

How to Create the Perfect Four Leaf Clover Design on Your Nails
 If you're looking to add a touch of luck to your nail game, then look no further than this four leaf clover nail art tutorial. This design is not only perfect for St. Patrick's Day, but it's also a fun and unique way to show off your Irish pride any time of the year.
To get started, you'll need a few key tools and materials. Make sure to have a base coat, top coat, green nail polish, a fine-tipped nail art brush, and a toothpick or dotting tool on hand. You may also want to have some gold nail polish or gold nail art accents for an extra pop of color.
Step 1: Prep Your Nails
As with any nail art design, it's important to start with a clean and prepped nail. Begin by shaping and filing your nails to your desired length and shape. Then, apply a base coat to protect your natural nails and help the polish last longer.
Step 2: Paint Your Nails Green
For this design, we recommend using a bright or emerald green nail polish. Apply two coats of the green polish, allowing the first coat to dry completely before applying the second.
Step 3: Create the Clover Leaves
Using a fine-tipped nail art brush, carefully create three heart-shaped petals with dark green nail polish on each nail. These will serve as the leaves of the four leaf clover. Don't worry about making them perfect, as the natural shape and imperfections will add to the charm of the design.
Step 4: Add the Fourth Leaf
For the final touch, use a toothpick or dotting tool to add a fourth leaf to your clover. Dip the tool into the dark green polish and gently dot it onto the nail, creating a small leaf shape next to the other three.
Step 5: Optional Gold Accents
For some extra sparkle and shine, you can add gold accents to your design. This can be achieved by using a gold nail polish or applying gold foil or glitter to your nails while the polish is still wet. This step is completely optional, but it adds a nice touch to the overall design.
Step 6: Finish with a Top Coat
To seal in your design and make it last, apply a top coat to your nails. This will also give your nails a shiny and smooth finish.
With these simple steps, you can create a stunning four leaf clover design on your nails. Whether you're celebrating St. Patrick's Day or just want to add some Irish charm to your everyday look, this nail art tutorial is perfect for anyone looking to get creative with their nails. Give it a try and watch as your luck and style game are taken to the next level!
If you're looking to add a touch of luck to your nail game, then look no further than this four leaf clover nail art tutorial. This design is not only perfect for St. Patrick's Day, but it's also a fun and unique way to show off your Irish pride any time of the year.
To get started, you'll need a few key tools and materials. Make sure to have a base coat, top coat, green nail polish, a fine-tipped nail art brush, and a toothpick or dotting tool on hand. You may also want to have some gold nail polish or gold nail art accents for an extra pop of color.
Step 1: Prep Your Nails
As with any nail art design, it's important to start with a clean and prepped nail. Begin by shaping and filing your nails to your desired length and shape. Then, apply a base coat to protect your natural nails and help the polish last longer.
Step 2: Paint Your Nails Green
For this design, we recommend using a bright or emerald green nail polish. Apply two coats of the green polish, allowing the first coat to dry completely before applying the second.
Step 3: Create the Clover Leaves
Using a fine-tipped nail art brush, carefully create three heart-shaped petals with dark green nail polish on each nail. These will serve as the leaves of the four leaf clover. Don't worry about making them perfect, as the natural shape and imperfections will add to the charm of the design.
Step 4: Add the Fourth Leaf
For the final touch, use a toothpick or dotting tool to add a fourth leaf to your clover. Dip the tool into the dark green polish and gently dot it onto the nail, creating a small leaf shape next to the other three.
Step 5: Optional Gold Accents
For some extra sparkle and shine, you can add gold accents to your design. This can be achieved by using a gold nail polish or applying gold foil or glitter to your nails while the polish is still wet. This step is completely optional, but it adds a nice touch to the overall design.
Step 6: Finish with a Top Coat
To seal in your design and make it last, apply a top coat to your nails. This will also give your nails a shiny and smooth finish.
With these simple steps, you can create a stunning four leaf clover design on your nails. Whether you're celebrating St. Patrick's Day or just want to add some Irish charm to your everyday look, this nail art tutorial is perfect for anyone looking to get creative with their nails. Give it a try and watch as your luck and style game are taken to the next level!


