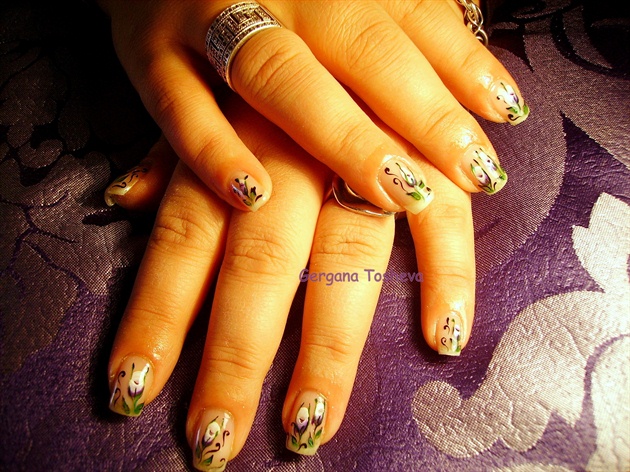
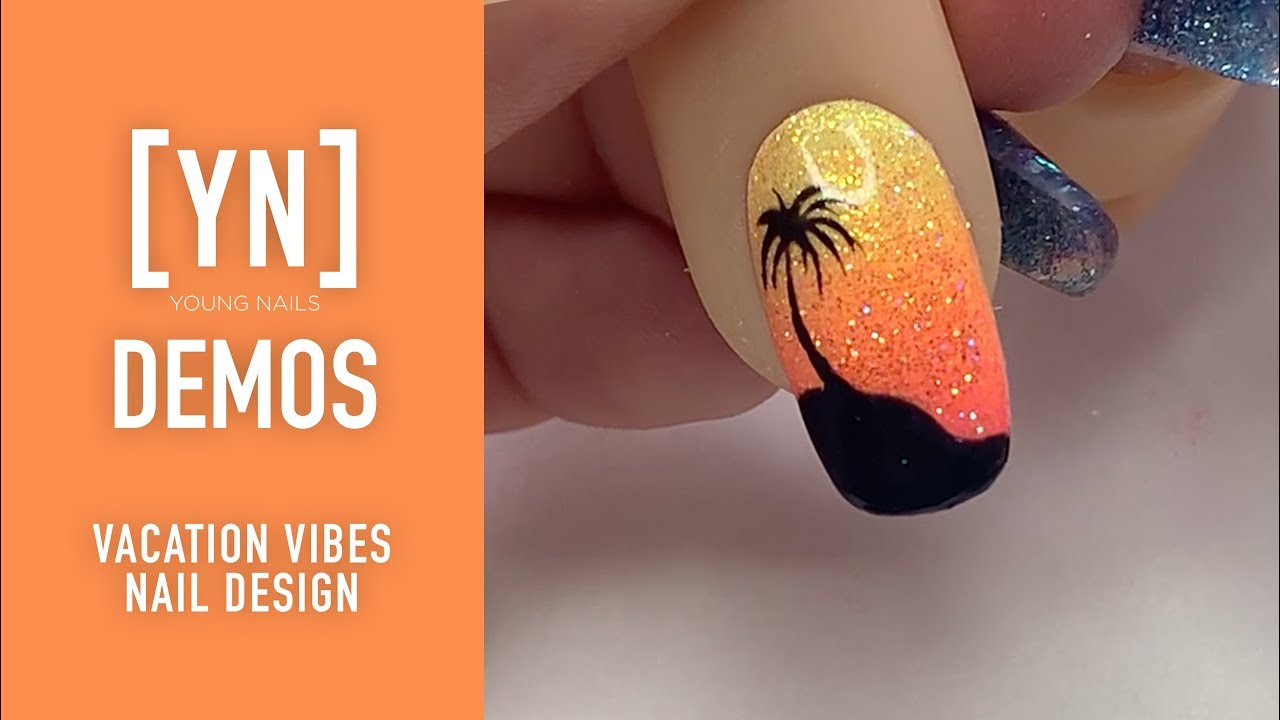
Learn how to create stunning gel nail art designs with our step-by-step tutorial. From simple and elegant to bold and creative, our demo will teach you everything you need to know about gel nail art. First, gather all the necessary supplies such as gel polish, base coat, top coat, UV lamp, and nail art tools. Make sure your nails are clean and free of any old polish. Apply a thin layer of base coat and cure it under the UV lamp for the recommended time. This will help the gel polish adhere better to your nails and prevent chipping. Next, apply the gel polish of your choice in thin, even coats. Make sure to cure each coat under the UV lamp before applying the next one. This will ensure a smooth and long-lasting finish. Now comes the fun part – creating your desired design. You can use different techniques like dotting, striping, and marbling to create unique patterns. Don't be afraid to experiment with different colors and designs until you find one that you love. Lastly, seal in your design with a layer of top coat and cure it under the UV lamp. This will add shine and protect your design from chipping.1. Gel Nail Art Demo Tutorial


1. Gel Nail Art Demo Tutorial


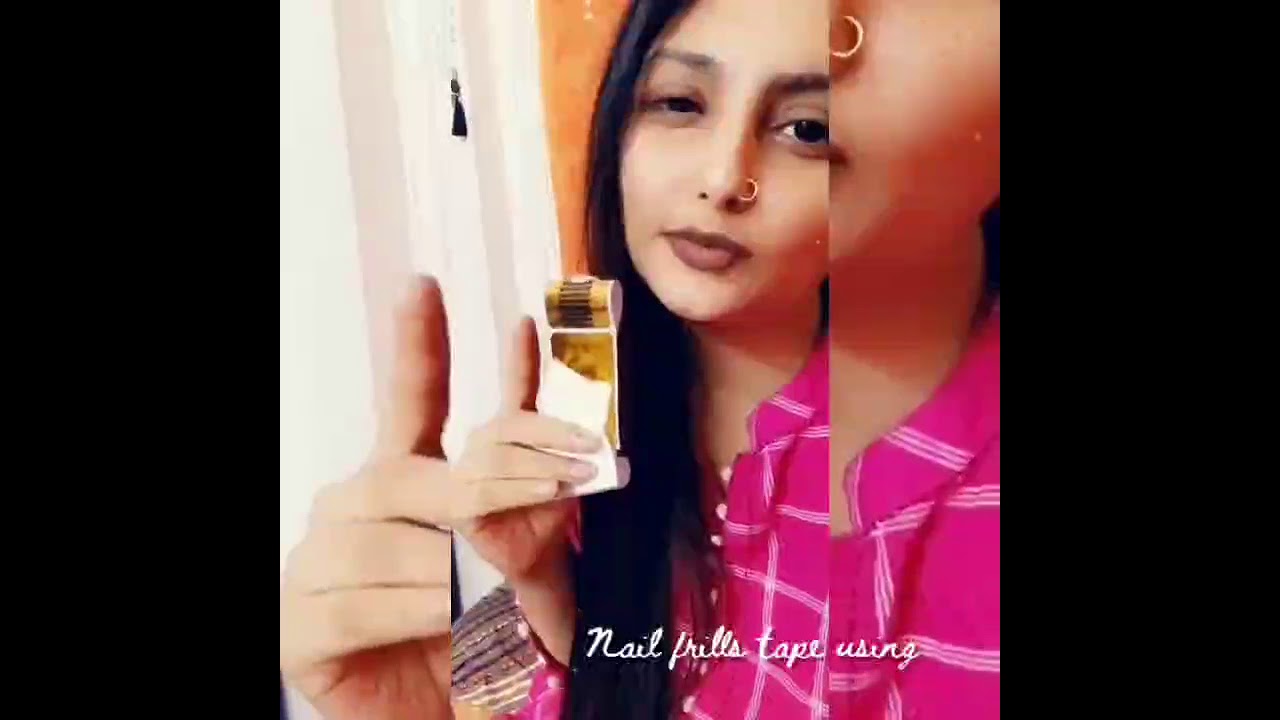


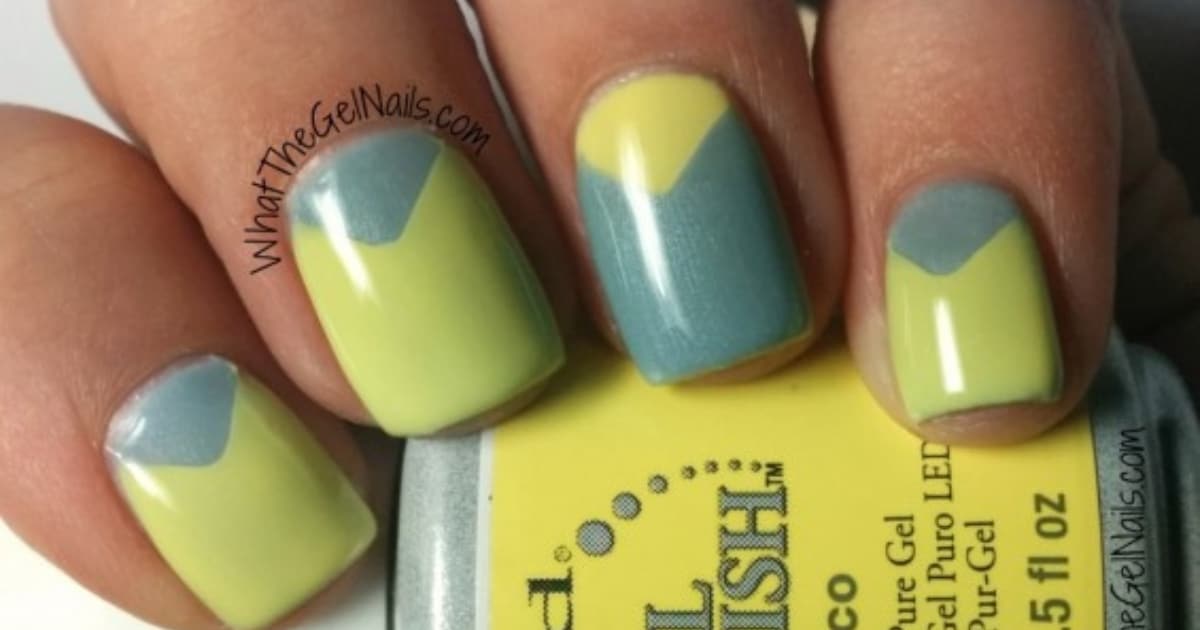
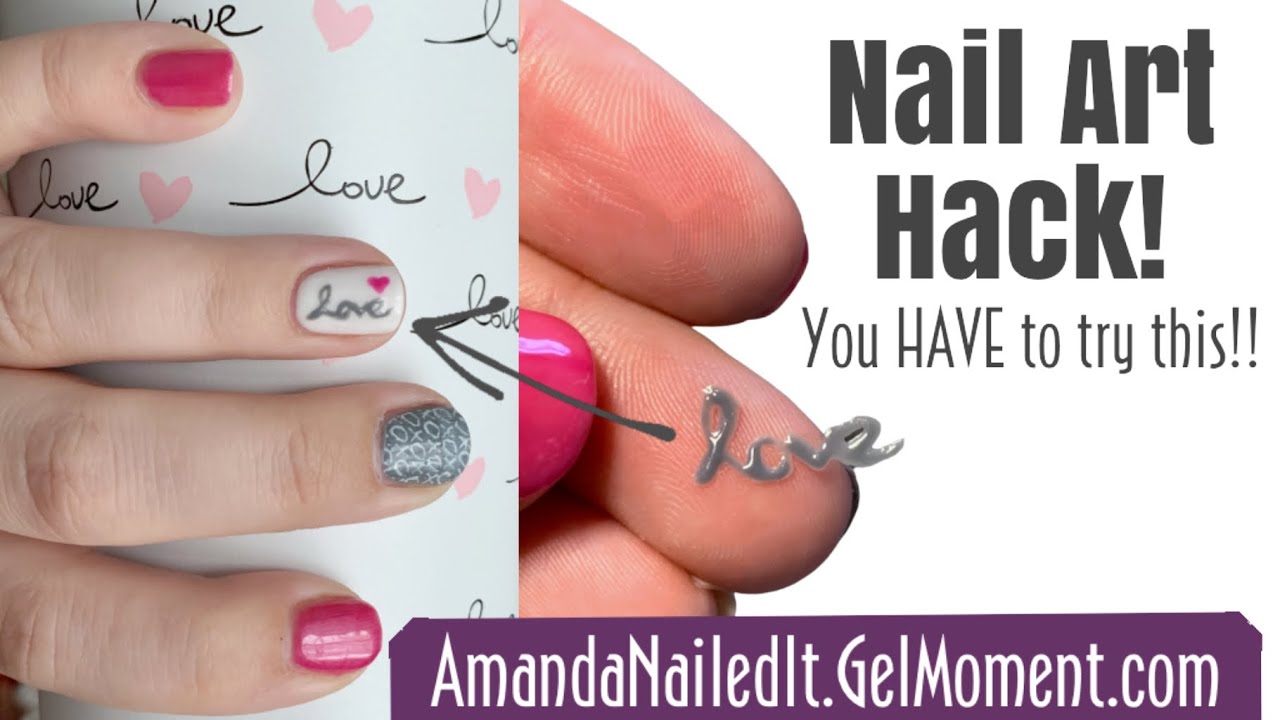
If you're new to gel nail art, don't worry – we've got you covered with this easy demo. Start by choosing a light-colored gel polish as your base, such as white, pale pink, or nude. This will make it easier to correct any mistakes and create a clean and polished look. Apply two coats of your base color and cure each coat under the UV lamp. This will create a solid base for your design. Next, use a thin nail art brush to create simple designs like stripes, dots, or hearts. Don't worry about being perfect – the key is to have fun and be creative. Once you're happy with your design, seal it with a layer of top coat and cure it under the UV lamp. And voila – you have an easy and stylish gel nail art design!2. Easy Gel Nail Art Demo


2. Easy Gel Nail Art Demo


:max_bytes(150000):strip_icc()/072922-beauty-nail-art-lead-2000-21de3481261e48a995c855269f9846ad.jpg)


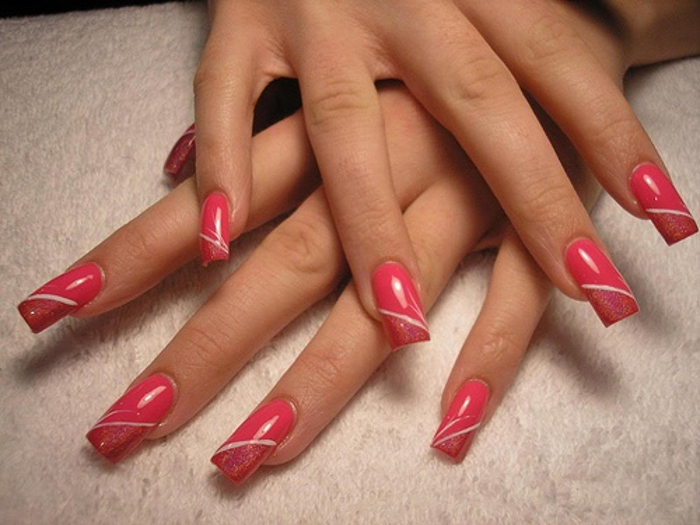
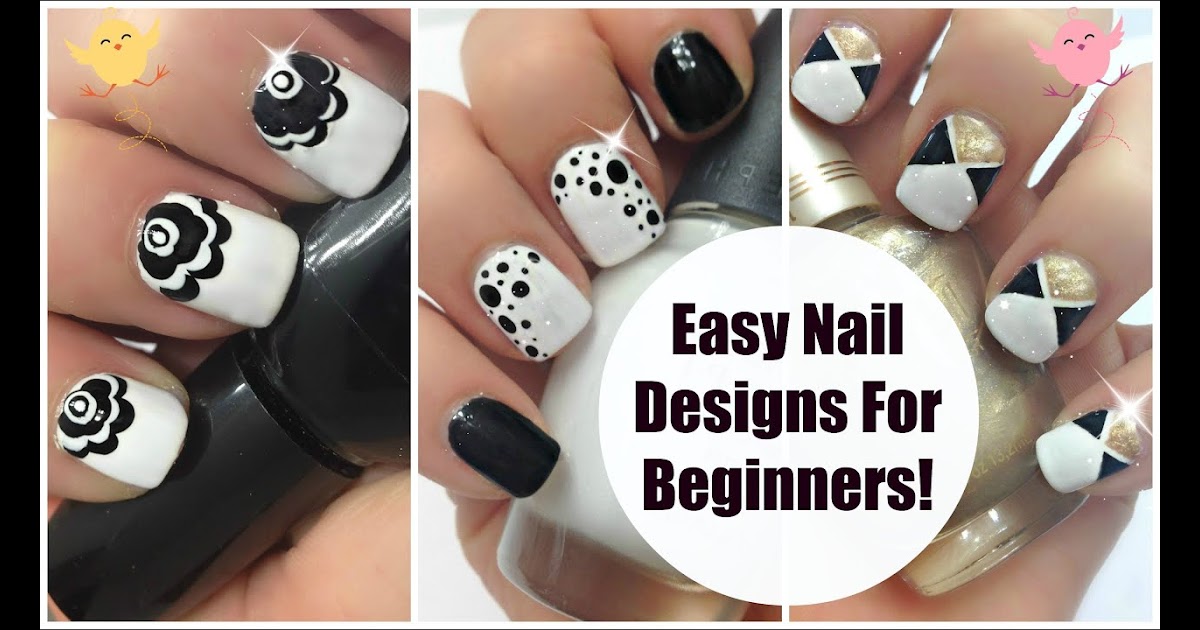
Are you new to gel nail art and feeling overwhelmed? Don't worry, this demo is perfect for beginners. Start by choosing a gel polish with a built-in brush for easy application. This will help you get used to working with gel polish. Apply a thin layer of base coat and cure it under the UV lamp. Then, apply your base color and cure it as well. Now comes the fun part – using nail art tools like dotting tools, striping brushes, and stencils to create your design. Don't worry about being perfect – just have fun and enjoy the process. Seal your design with a top coat and cure it under the UV lamp. And there you have it – a beginner-friendly gel nail art design!3. Gel Nail Art Demo for Beginners

3. Gel Nail Art Demo for Beginners


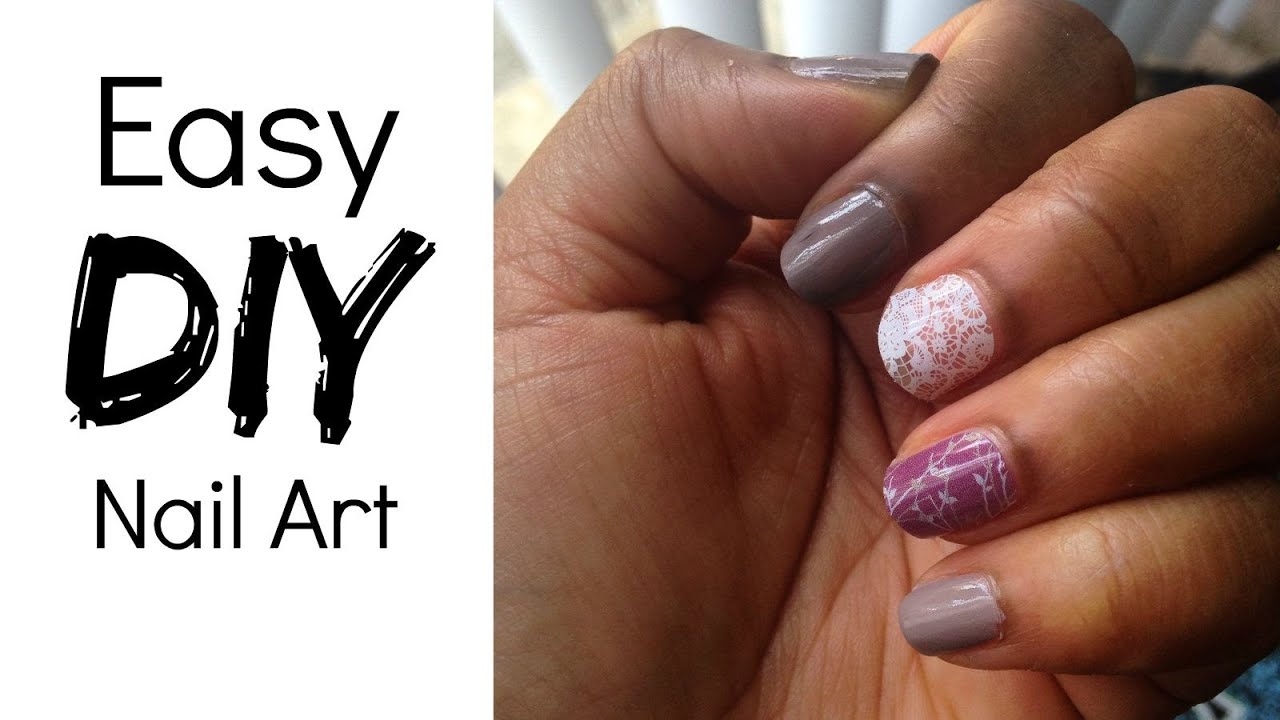
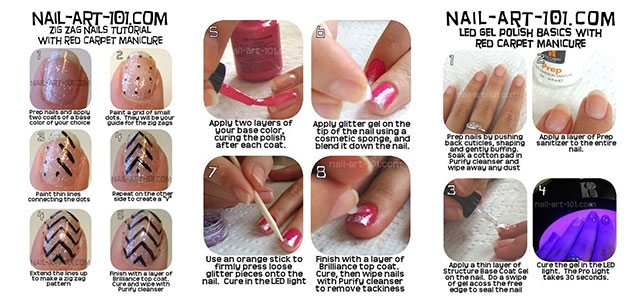
Want to learn how to create a specific gel nail art design? Follow these step-by-step instructions for a beautiful and unique look. Step 1: Prep your nails by shaping and buffing them. Then, apply a thin layer of base coat and cure it under the UV lamp. Step 2: Apply your base color and cure it under the UV lamp. Step 3: Choose a design and use nail art tools to create it. You can also use stickers or stencils for more intricate designs. Step 4: Seal your design with a top coat and cure it under the UV lamp. Step 5: Clean up any excess gel polish around your nails using a small brush dipped in acetone or a gel polish remover. Congratulations, you've successfully created a beautiful gel nail art design step by step!4. Gel Nail Art Demo Step by Step


4. Gel Nail Art Demo Step by Step


Want to take your gel nail art skills to the next level? Here are some tips and tricks to help you achieve a flawless and professional-looking design. Tip 1: Use a small brush to clean up any excess gel polish around your nails before curing them under the UV lamp. This will give you a clean and crisp finish. Tip 2: Apply thin coats of gel polish to prevent your design from smudging or bubbling up. Tip 3: Use a lint-free wipe to remove the tacky layer after curing your top coat. This will make your design look shiny and smooth. Tip 4: Experiment with different techniques like marbling, gradient, and 3D designs to create unique and eye-catching looks. Tip 5: Take care of your nails by moisturizing them regularly and using cuticle oil to keep them healthy and strong.5. Gel Nail Art Demo with Tips and Tricks


5. Gel Nail Art Demo with Tips and Tricks

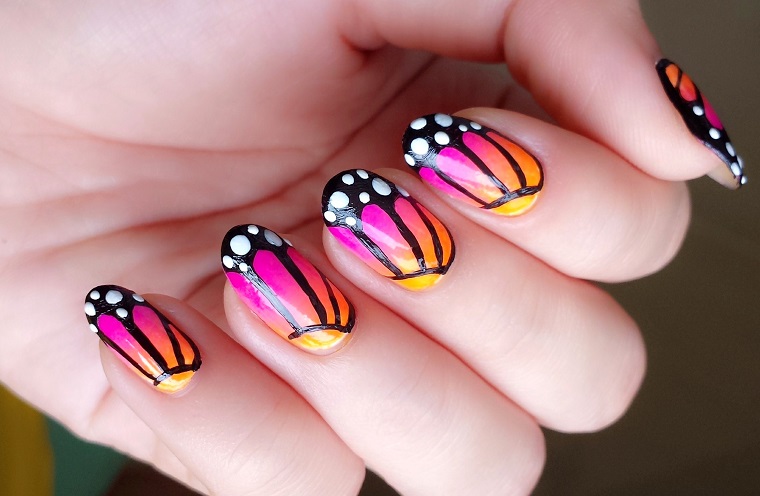
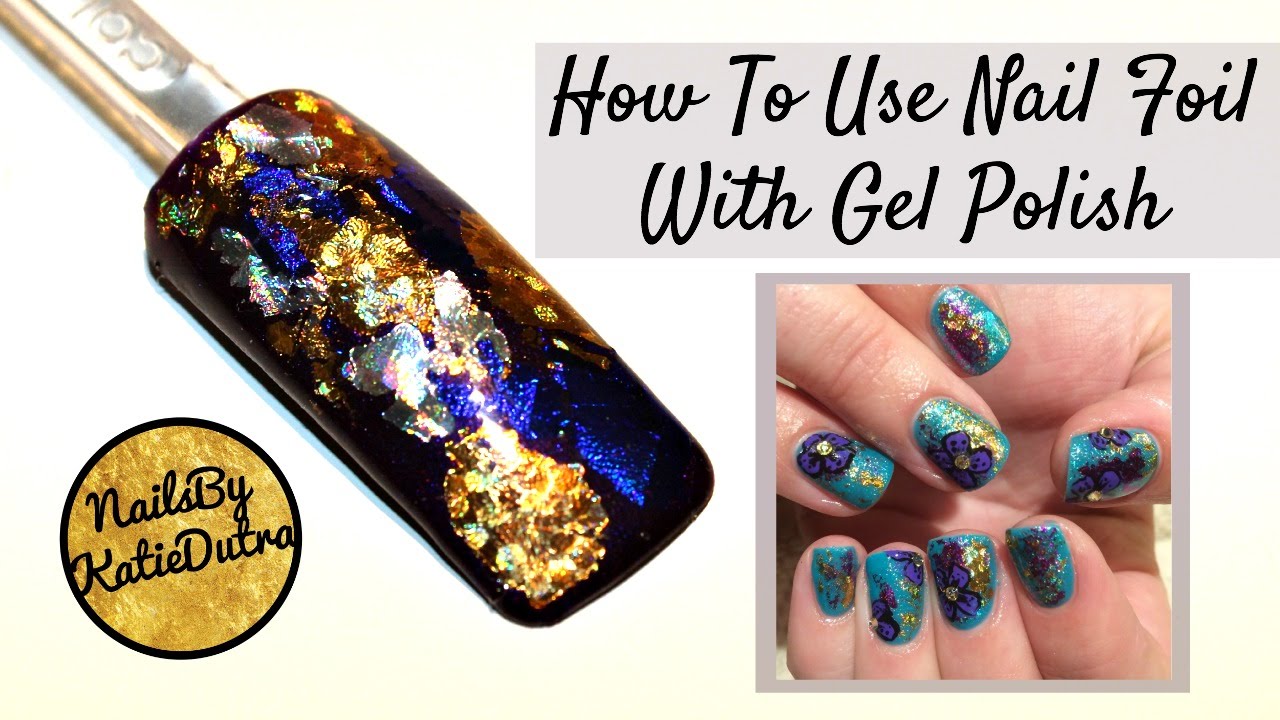
Gel nail art doesn't have to be limited to just painting your nails – there are so many techniques you can use to create stunning designs. Water marbling: Create beautiful swirls and patterns by dropping different colors of gel polish onto a cup of water and dipping your nail into the design. Foil transfer: Add a touch of glamour to your gel nail art by using foil transfer sheets. Simply apply a layer of foil glue over your base color, press the foil onto your nail, and peel it off for a shiny and metallic design. Stamping: Quickly and easily create intricate designs by stamping pre-made designs onto your nails using a special stamping plate and stamper. Freehand designs: Let your creativity run wild by using a thin nail art brush to create your own unique designs.6. Gel Nail Art Demo Using Different Techniques


6. Gel Nail Art Demo Using Different Techniques

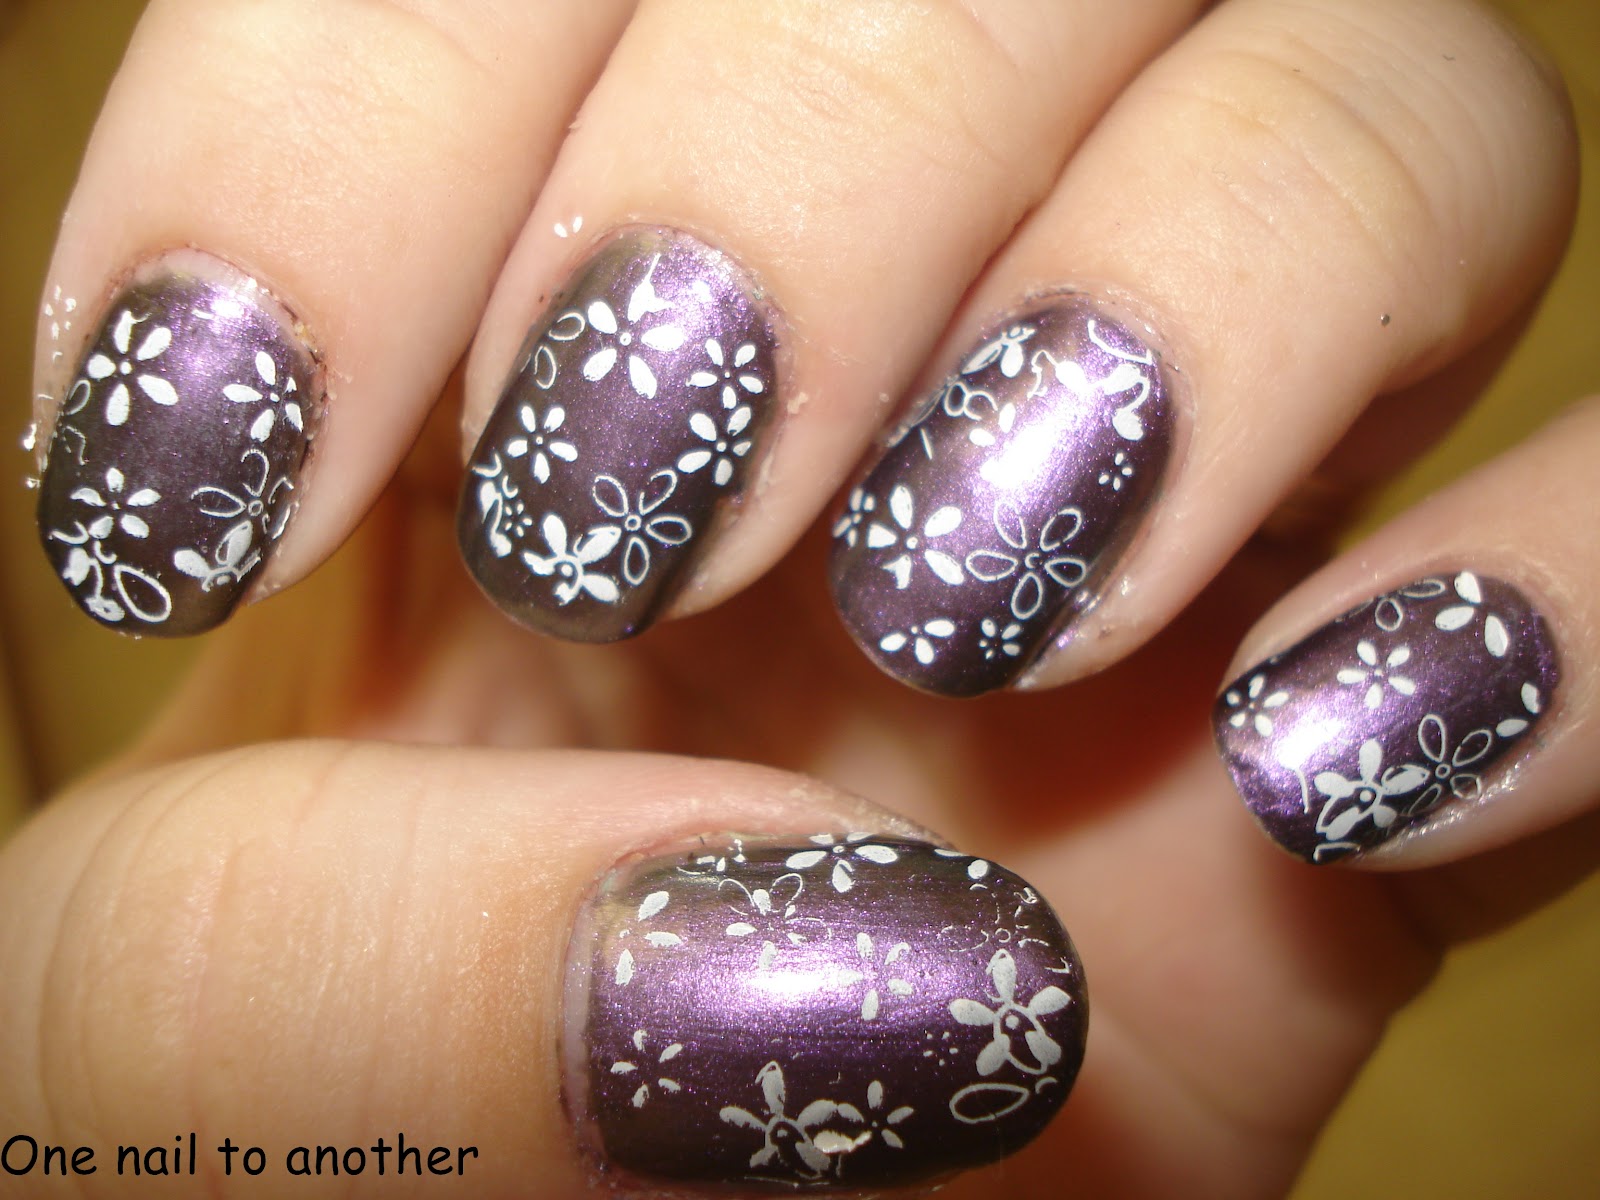
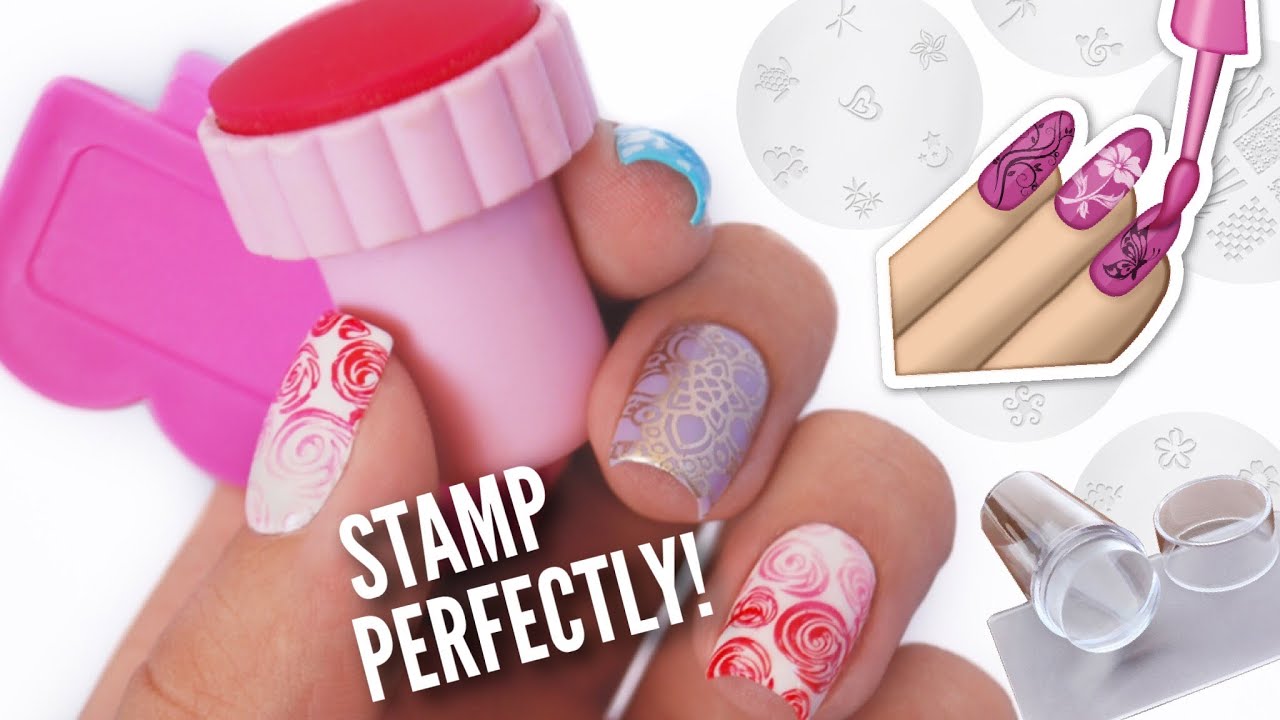
Stamping is a quick and easy way to create beautiful and intricate designs on your nails. Follow these steps to achieve a flawless stamped gel nail art design. Step 1: Choose a design and a stamping plate that fits your nail size. Step 2: Apply a layer of nail polish onto the design you want to transfer and scrape off the excess using a scraper. Step 3: Roll the stamper over the design to pick it up. Step 4: Stamp the design onto your nail and clean up any excess using a cotton swab and acetone. Step 5: Seal your design with a top coat and cure it under the UV lamp. And there you have it – a beautiful stamped gel nail art design!7. Gel Nail Art Demo with Stamping


7. Gel Nail Art Demo with Stamping

Foil is a great way to add a touch of glamour and shine to your gel nail art. Follow these simple steps to achieve a foil nail art design. Step 1: Apply a layer of foil glue over your base color and cure it under the UV lamp. Step 2: Place a piece of foil over your nail with the shiny side facing up and press down gently to transfer the foil onto your nail. Step 3: Peel off the foil to reveal the design on your nail. Step 4: Seal your design with a top coat and cure it under the UV lamp. And there you have it – a stunning foil gel nail art design!8. Gel Nail Art Demo with Foil
8. Gel Nail Art Demo with Foil


Who doesn't love a little sparkle and shine on their nails? Here's how you can create a glitter gel nail art design. Step 1: Apply a layer of glitter gel polish over your base color and cure it under the UV lamp. Step 2: Use a fine nail art brush to add more glitter to specific areas of your nail for a gradient effect. Step 3: Seal your design with a top coat and cure it under the UV lamp. And there you have it – a beautiful and sparkly glitter gel nail art design!9. Gel Nail Art Demo with Glitter

9. Gel Nail Art Demo with Glitter


Ombre is a popular and trendy nail art technique that is surprisingly easy to achieve with gel polish. Here's how you can create an ombre gel nail art design. Step 1: Apply two coats of your base color and cure each coat under the UV lamp. Step 2: Choose a lighter shade of the same color and apply it to the bottom half of your nail. Step 3: Use a sponge to blend the two colors together, creating a gradient effect. Step 4: Seal your design with a top coat and cure it under the UV lamp. And there you have it – a beautiful ombre gel nail art design!10. Gel Nail Art Demo with Ombre Effect

10. Gel Nail Art Demo with Ombre Effect


The Art of Gel Nail Design: A Step-by-Step Demo

What is Gel Nail Art?
 Gel nail art has become increasingly popular in recent years, and for good reason. This innovative nail design technique involves applying layers of gel polish to create stunning, long-lasting designs on your nails. Unlike traditional nail polish, gel nail art is cured under a UV or LED light, resulting in a chip-resistant and glossy finish. With a wide range of colors and designs to choose from, gel nail art has become a go-to for those looking to elevate their manicure game.
Step-by-Step Demo: Gel Nail Art
 To get you started on your gel nail art journey, we've put together a step-by-step demo to guide you through the process.
Step 1: Prep Your Nails
Before beginning the gel nail application, it's essential to properly prep your nails. Start by removing any old nail polish and gently pushing back your cuticles. Then, file and shape your nails to your desired length and shape. This will ensure a smooth and even surface for your gel polish to adhere to.
Step 2: Apply a Base Coat
Once your nails are prepped, it's time to apply a base coat. This will help your gel polish adhere to your nails and prevent any staining. Be sure to apply a thin and even layer, and cure it under the UV or LED light according to the manufacturer's instructions.
Step 3: Choose Your Gel Polish
Now comes the fun part – selecting your gel polish colors and designs! Gel nail polish comes in a variety of shades, finishes, and even glitters. You can also opt for nail art accessories such as rhinestones or decals to add a unique touch to your design.
Step 4: Apply the Gel Polish
Using a thin brush, carefully apply your chosen gel polish in thin layers, curing each layer under the light before moving on to the next. This will ensure a smooth and even finish. Use a dotting tool or toothpick to create any designs or patterns on your nails.
Step 5: Cure and Seal
Once you've achieved your desired design, cure your nails under the light for the final time. Then, apply a top coat to seal in your design and add shine. Cure the top coat under the light, and you're done!
To get you started on your gel nail art journey, we've put together a step-by-step demo to guide you through the process.
Step 1: Prep Your Nails
Before beginning the gel nail application, it's essential to properly prep your nails. Start by removing any old nail polish and gently pushing back your cuticles. Then, file and shape your nails to your desired length and shape. This will ensure a smooth and even surface for your gel polish to adhere to.
Step 2: Apply a Base Coat
Once your nails are prepped, it's time to apply a base coat. This will help your gel polish adhere to your nails and prevent any staining. Be sure to apply a thin and even layer, and cure it under the UV or LED light according to the manufacturer's instructions.
Step 3: Choose Your Gel Polish
Now comes the fun part – selecting your gel polish colors and designs! Gel nail polish comes in a variety of shades, finishes, and even glitters. You can also opt for nail art accessories such as rhinestones or decals to add a unique touch to your design.
Step 4: Apply the Gel Polish
Using a thin brush, carefully apply your chosen gel polish in thin layers, curing each layer under the light before moving on to the next. This will ensure a smooth and even finish. Use a dotting tool or toothpick to create any designs or patterns on your nails.
Step 5: Cure and Seal
Once you've achieved your desired design, cure your nails under the light for the final time. Then, apply a top coat to seal in your design and add shine. Cure the top coat under the light, and you're done!
Final Thoughts
 Gel nail art allows for endless creativity and stunning designs, making it a must-try for anyone looking to up their nail game. With the right tools and techniques, you can achieve professional-looking results right at home. So go ahead and give gel nail art a try – your nails will thank you!


