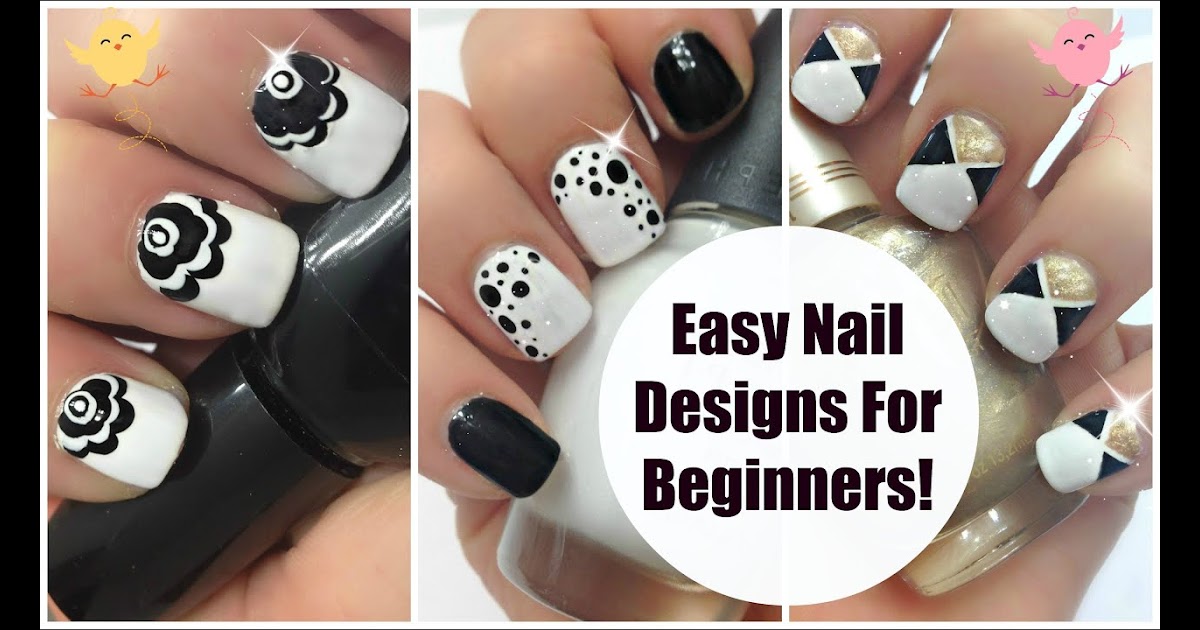
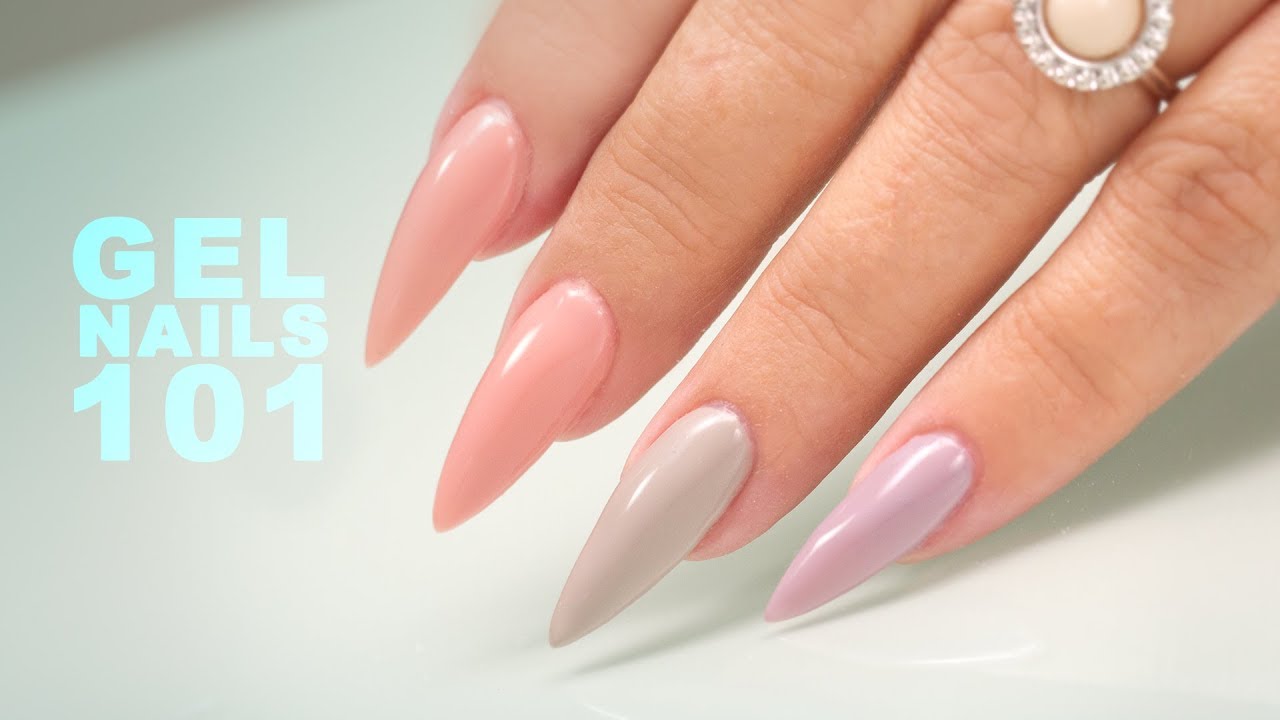
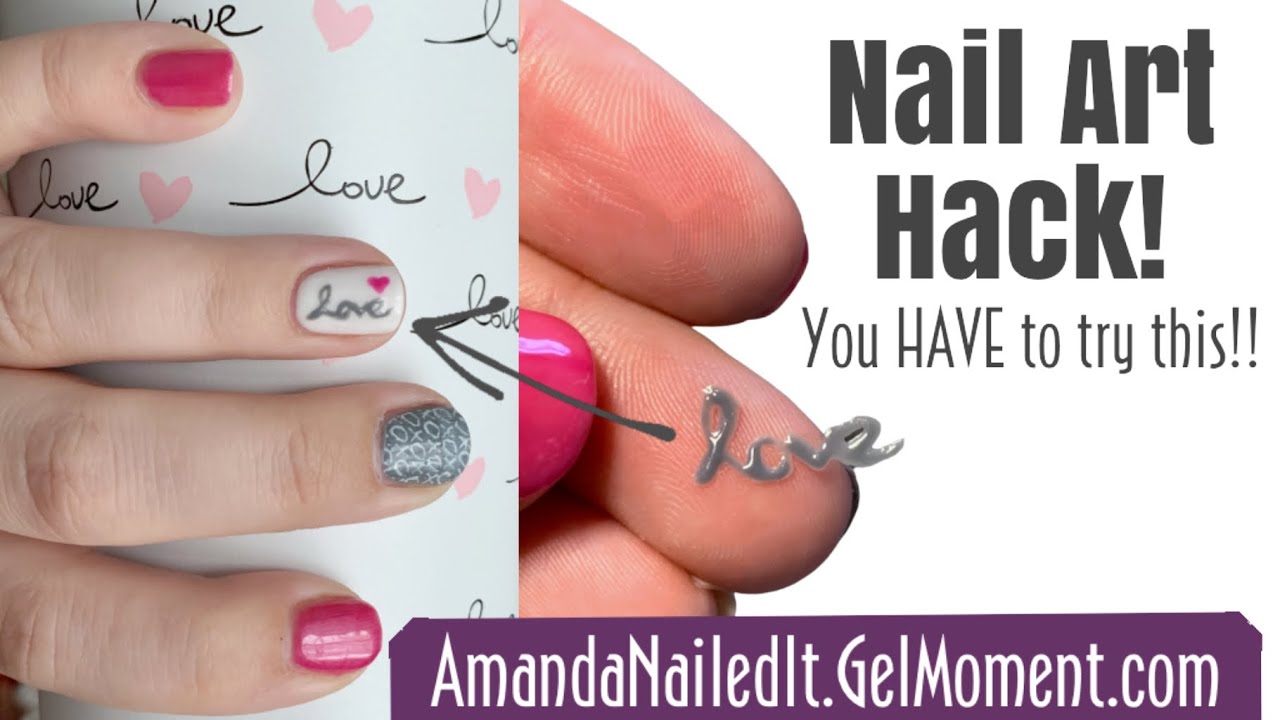
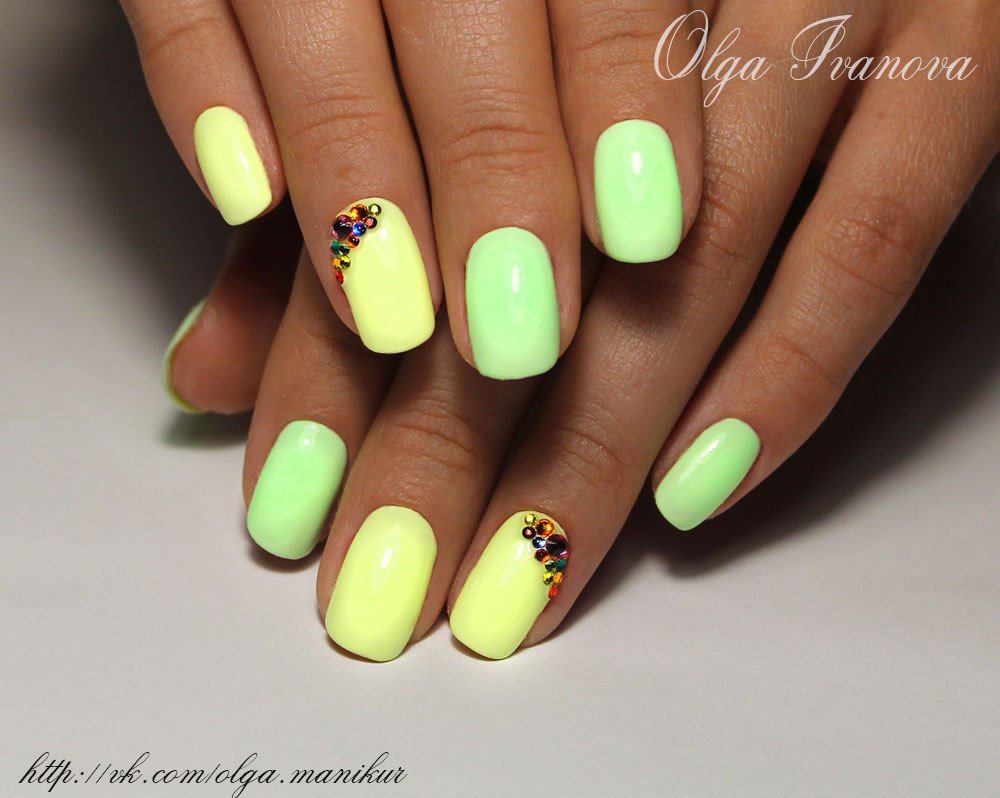
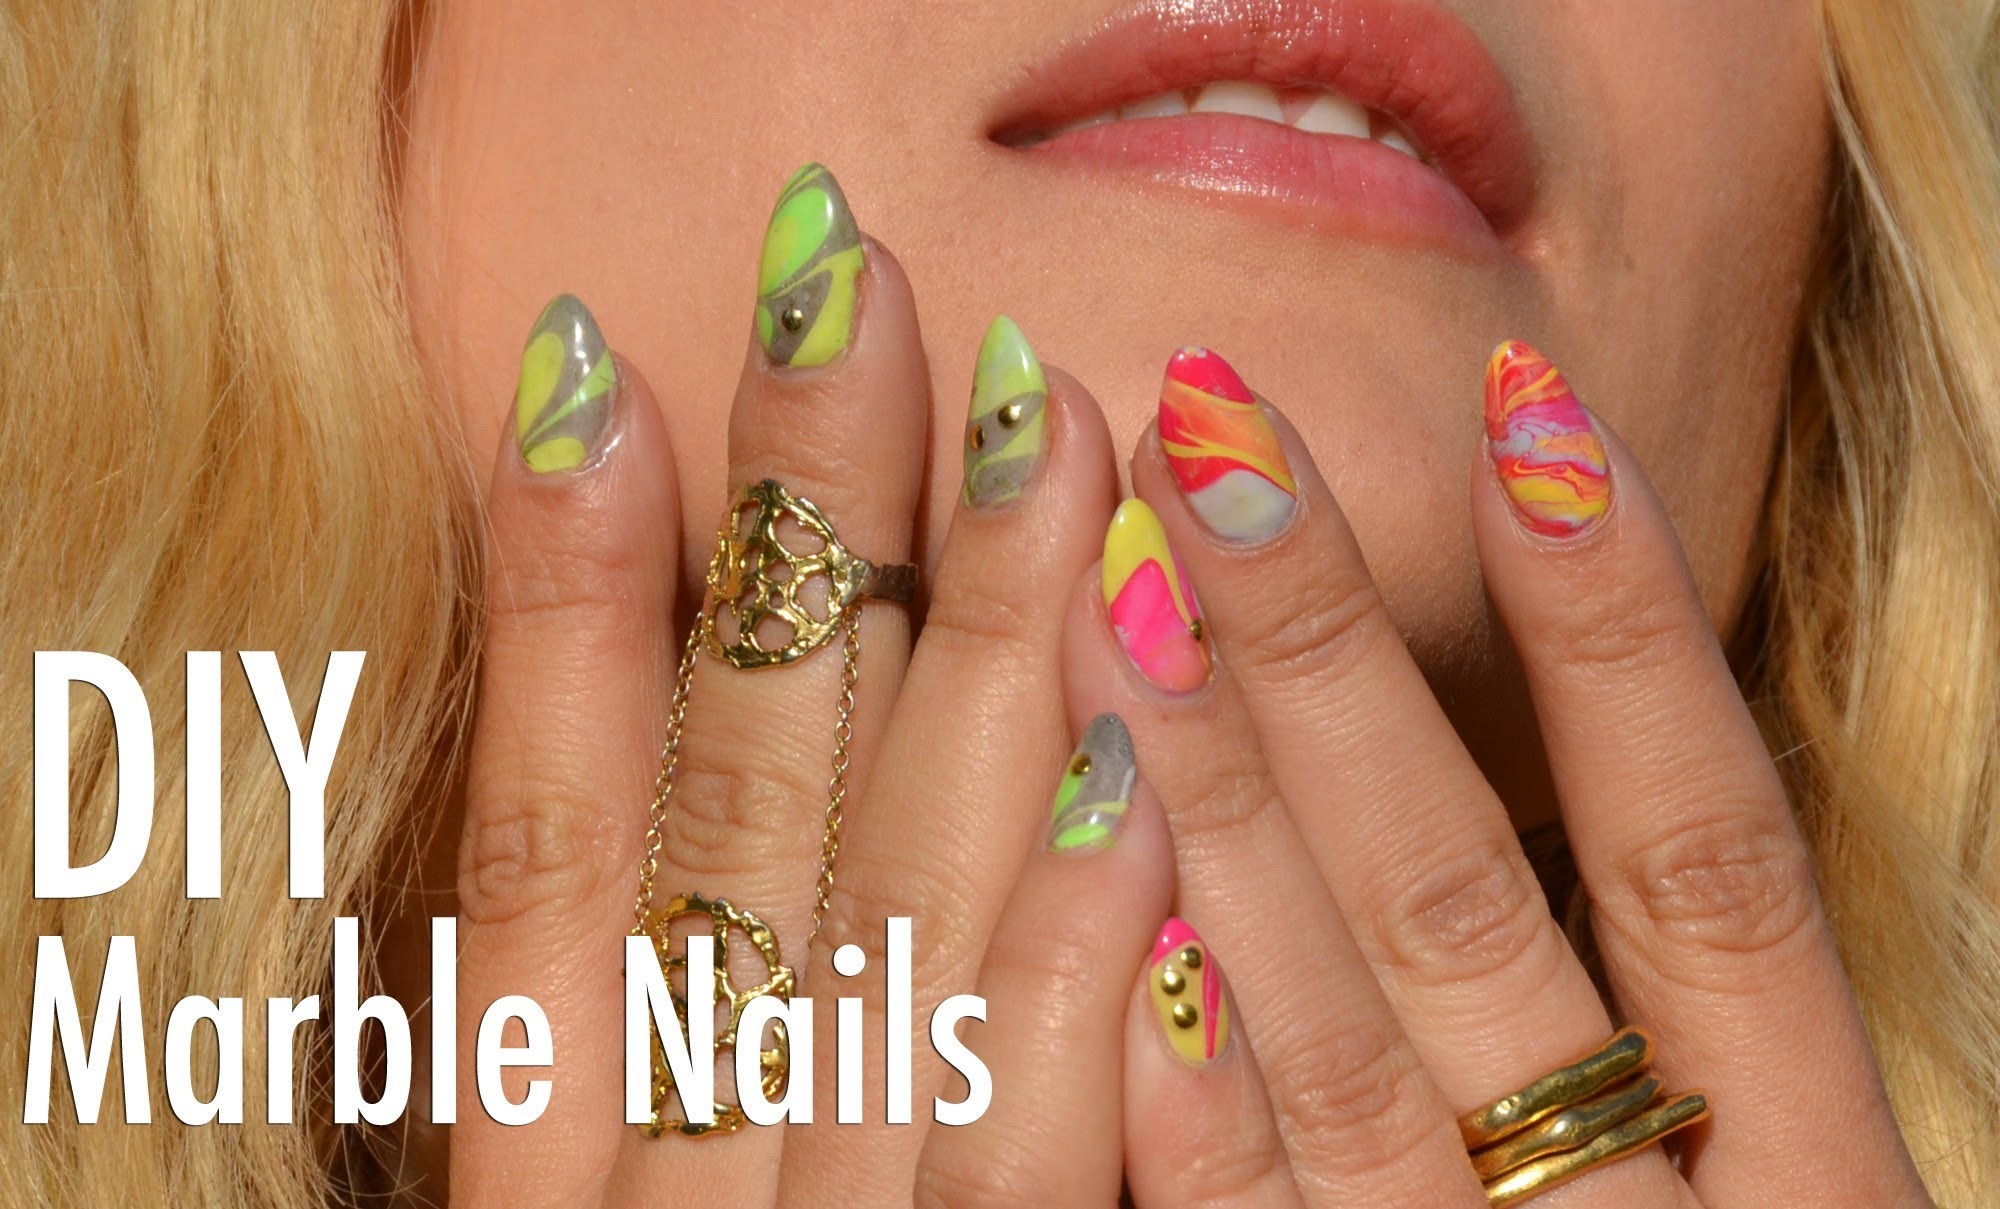
If you're new to the world of gel nail art, it can seem intimidating at first. But with the right tools and techniques, you can create stunning designs without having to visit a salon. Here is a beginner-friendly gel nail art tutorial that will have you creating professional-looking nails in no time. First, gather your materials. You'll need a base coat, gel polish colors of your choice, a top coat, a UV or LED lamp, and nail art tools such as dotting tools or nail art brushes. Make sure to have a clean, well-lit workspace and follow the instructions carefully. Start by prepping your nails. File and shape them as desired, push back your cuticles, and lightly buff the surface of your nails. Then, apply a thin layer of base coat and cure it under the lamp according to the instructions. Next, choose your gel polish colors. For beginners, it's best to stick to one or two colors for a simple design. Apply a thin layer of your chosen color and cure it under the lamp. Repeat this step for a more opaque color. Now comes the fun part - creating your design. You can use nail art tools, stickers, or even household items like toothpicks to create different designs. Experiment with different techniques and have fun with it! Once you're satisfied with your design, apply a thin layer of top coat and cure it under the lamp. This will seal in your design and give it a glossy finish. Remember to clean up any excess polish on your skin before curing. Finally, moisturize your cuticles and nails with cuticle oil and enjoy your gorgeous gel nail art! With practice, you'll be able to create more intricate designs and become a gel nail art pro.Easy Gel Nail Art Tutorial for Beginners


Easy Gel Nail Art Tutorial for Beginners


:max_bytes(150000):strip_icc()/072922-beauty-nail-art-lead-2000-21de3481261e48a995c855269f9846ad.jpg)
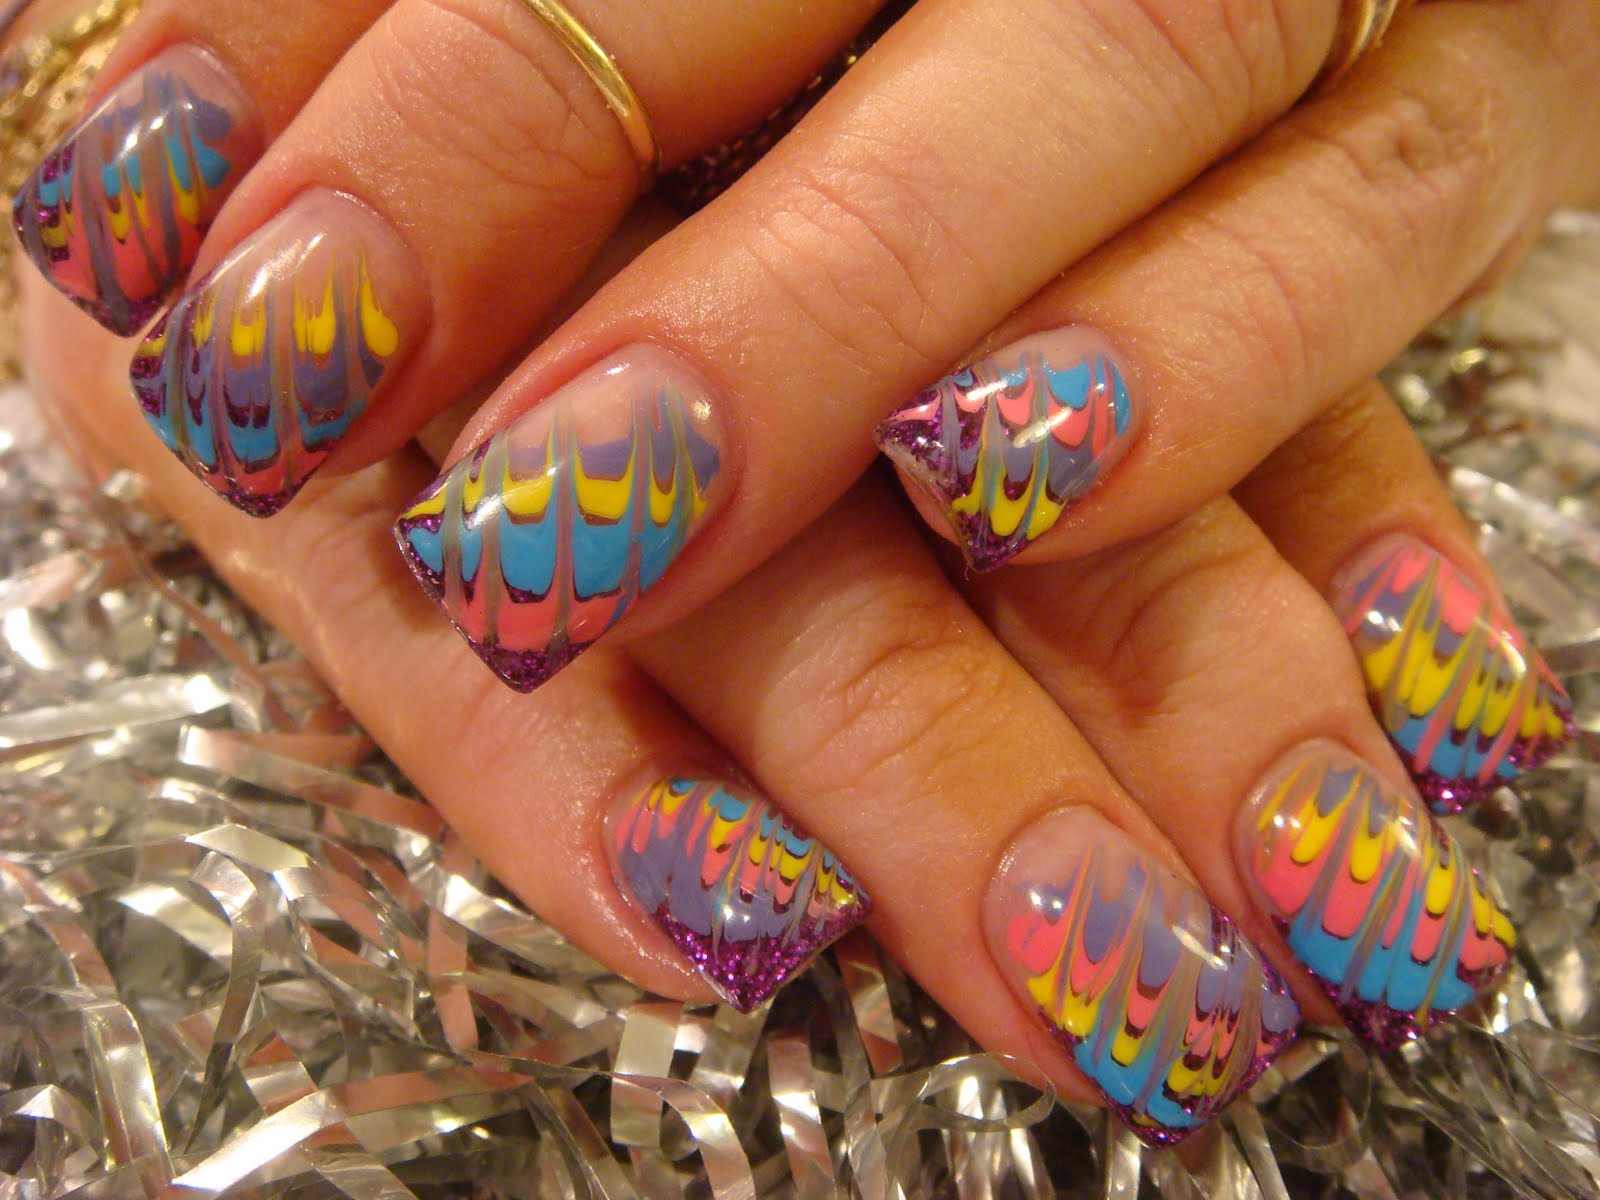
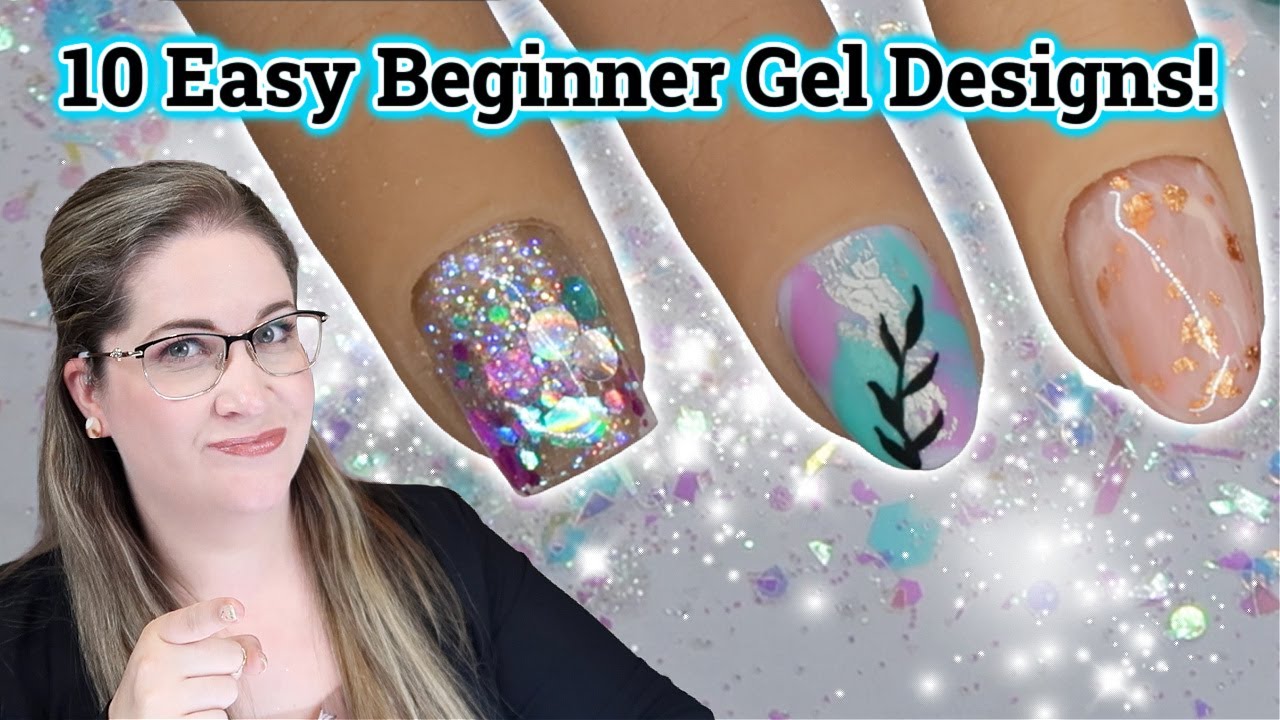
If you're a visual learner, a step-by-step gel nail art tutorial may be more helpful for you. Here is a detailed guide on how to achieve a beautiful gel nail art design. Step 1: Prep your nails as mentioned in the beginner tutorial. Step 2: Apply a thin layer of base coat and cure it under the lamp. Step 3: Choose your gel polish colors and apply a thin layer of your base color. Cure it under the lamp. Step 4: Using a nail art brush or dotting tool, create your design. You can dip the brush in a different color and paint on your nails, create dots, or even swipe on different colors for an ombre effect. Step 5: Cure your design under the lamp. Step 6: Apply a thin layer of top coat and cure it under the lamp. Step 7: Clean up any excess polish and moisturize your cuticles and nails. With this step-by-step guide, you can easily follow along and create your own unique gel nail art designs.Step-by-Step Gel Nail Art Tutorial


Step-by-Step Gel Nail Art Tutorial


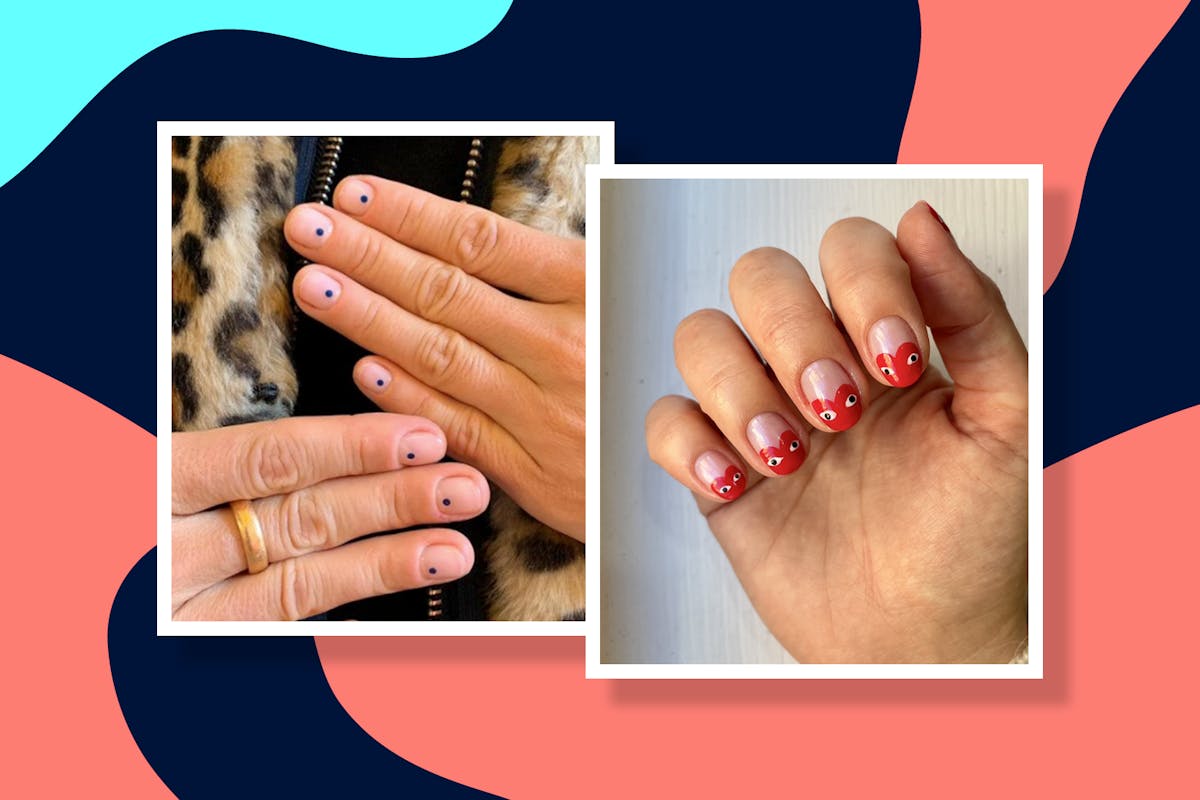


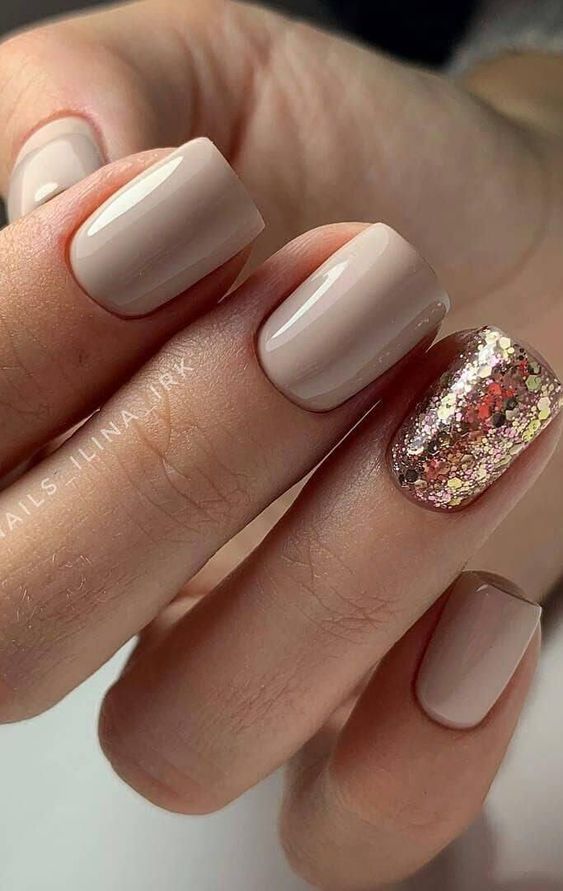
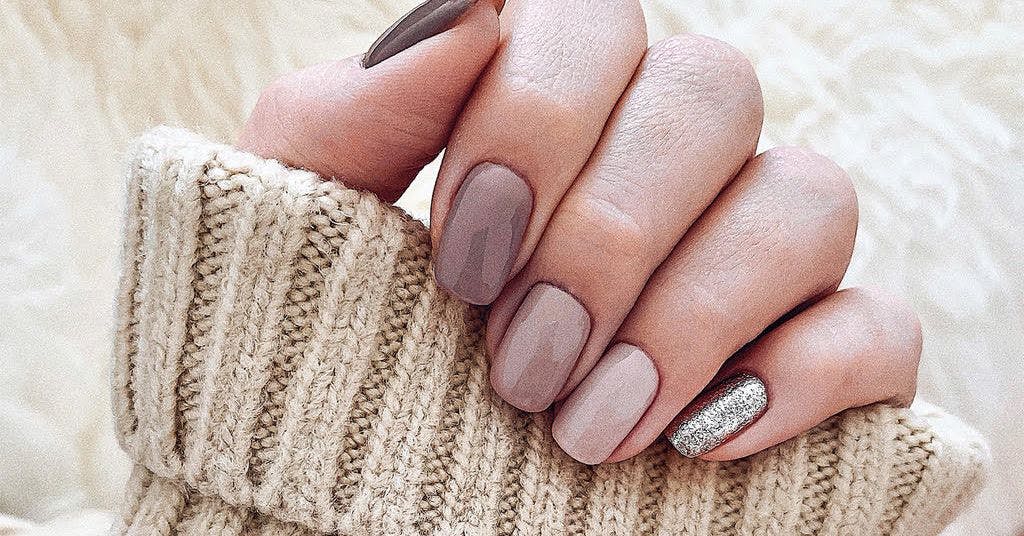
Short nails can sometimes feel limiting when it comes to nail art, but with gel polish, you can still create beautiful designs. Here's a gel nail art tutorial specifically for those with shorter nails. The key to creating gel nail art on short nails is to keep your designs simple and minimal. Choose a neutral base color and add a pop of color with a small design on one or two nails. You can also create a french tip with a twist by using different colors or adding a glitter accent. Another tip for short nails is to use smaller nail art tools. A thin nail art brush or dotting tool can help you create precise designs that won't overwhelm your nails. Remember to cure each layer of gel polish before moving on to the next step. With these tips, you can rock gorgeous gel nail art on your short nails with ease.Gel Nail Art Tutorial for Short Nails


Gel Nail Art Tutorial for Short Nails
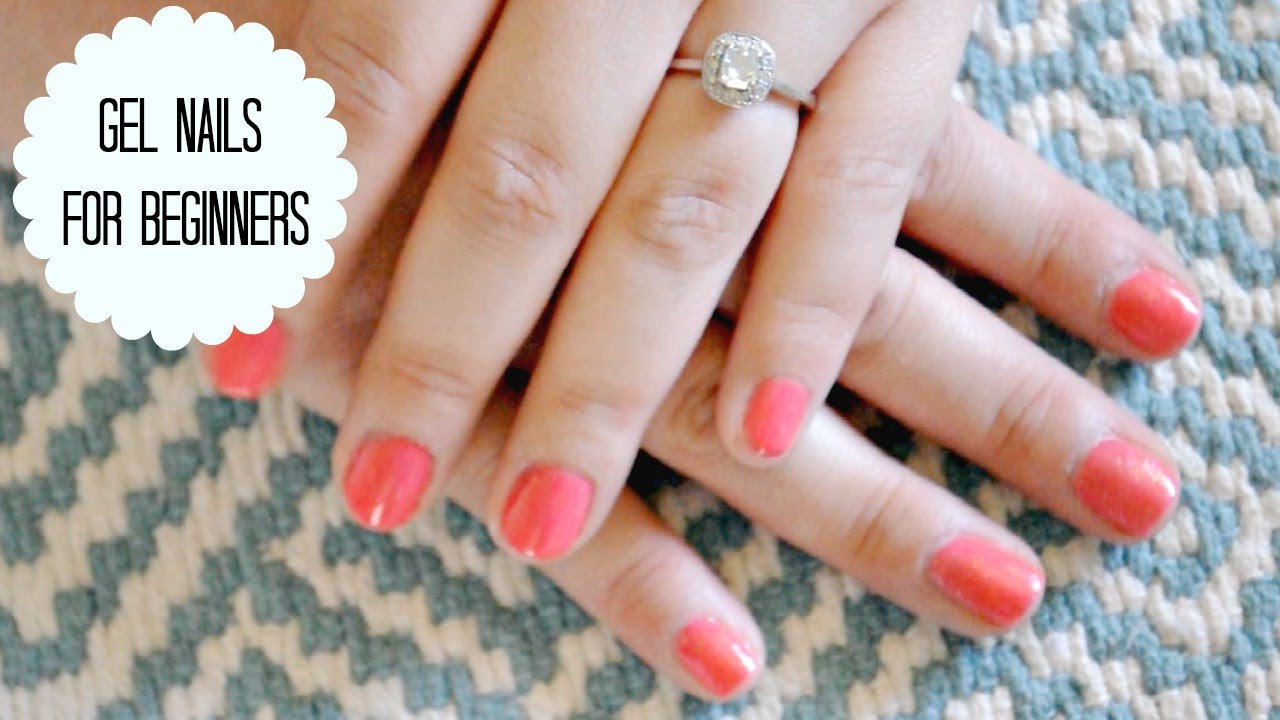


Not everyone has the time or budget to visit a salon for gel nail art. But with this DIY gel nail art tutorial, you can achieve salon-worthy nails in the comfort of your own home. Start by following the steps in the beginner tutorial and gather your materials. You can also purchase gel nail art kits that come with everything you need for a specific design. One of the benefits of DIY gel nail art is that you can customize it to your liking. You can choose your own colors, designs, and experiment with different techniques without having to pay for each nail at a salon. Make sure to have a steady hand and take your time with each step. And don't worry if your first attempt isn't perfect - practice makes perfect!DIY Gel Nail Art Tutorial


DIY Gel Nail Art Tutorial


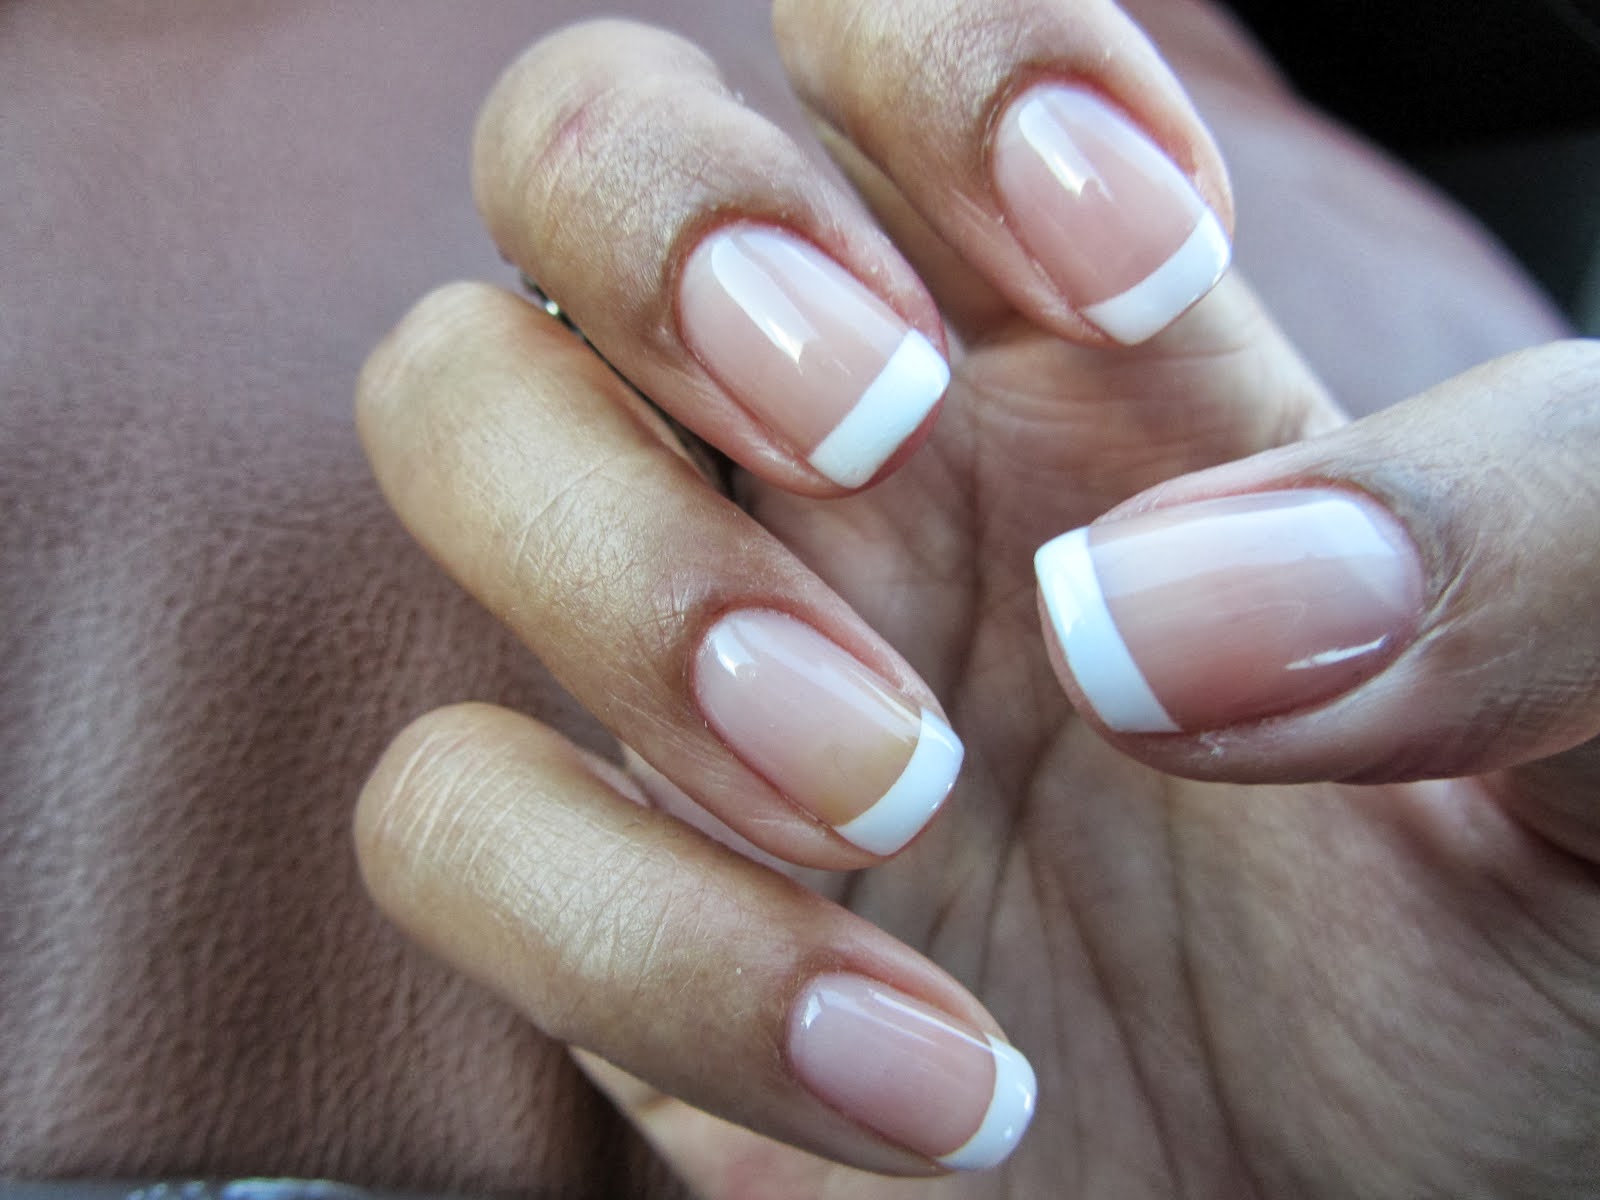
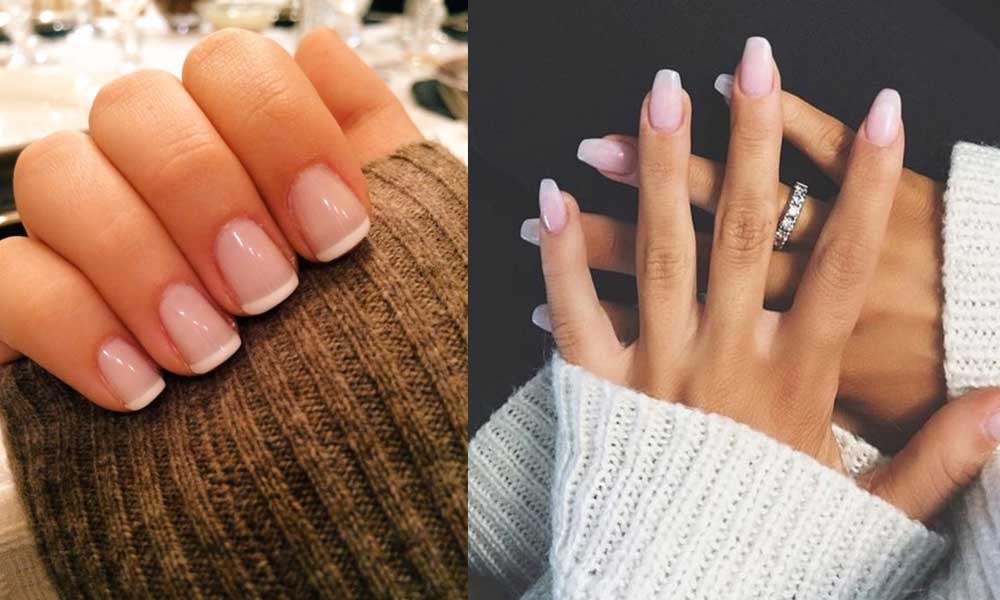
If you prefer to keep your nails natural and healthy, you can still enjoy gel nail art. Here's a tutorial on how to achieve beautiful gel nail art without damaging your natural nails. Start by prepping your nails as mentioned in the beginner tutorial. Then, choose a soak-off gel polish formula that is gentle on your nails. Some brands even have gel polishes that contain vitamins and minerals to nourish your natural nails. When removing your gel polish, make sure to soak your nails in acetone for the recommended time and gently remove the polish with a wooden stick. Avoid peeling or scraping off the polish as this can damage your natural nails. With the right products and proper removal, you can enjoy gel nail art without compromising the health of your natural nails.Gel Nail Art Tutorial for Natural Nails


Gel Nail Art Tutorial for Natural Nails


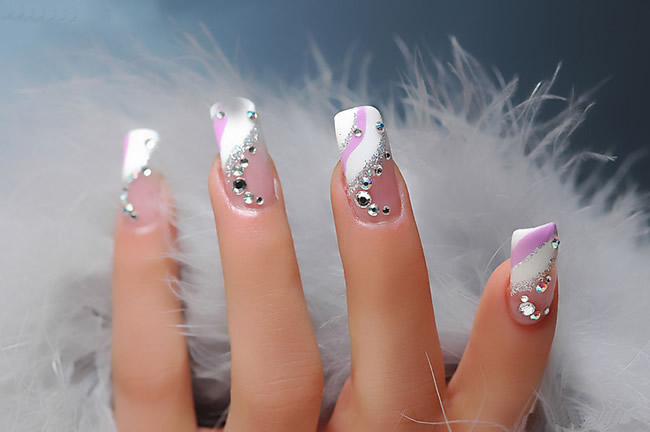
Long nails are perfect for showing off intricate and detailed gel nail art designs. Here's a tutorial on how to create stunning gel nail art for those with longer nails. Start by prepping your nails and applying a base coat. For long nails, it's best to use a thicker base coat to provide extra support and prevent chipping. When choosing your gel polish colors, opt for shades that will complement each other and your long nails. You can also create designs that wrap around your nails for a unique look. Make sure to cure each layer of gel polish thoroughly and apply a top coat to seal in your design. With long nails, you may need to cure each layer for a slightly longer time to avoid smudging or smearing. With these tips, you can create gorgeous gel nail art that will make your long nails stand out.Gel Nail Art Tutorial for Long Nails


Gel Nail Art Tutorial for Long Nails
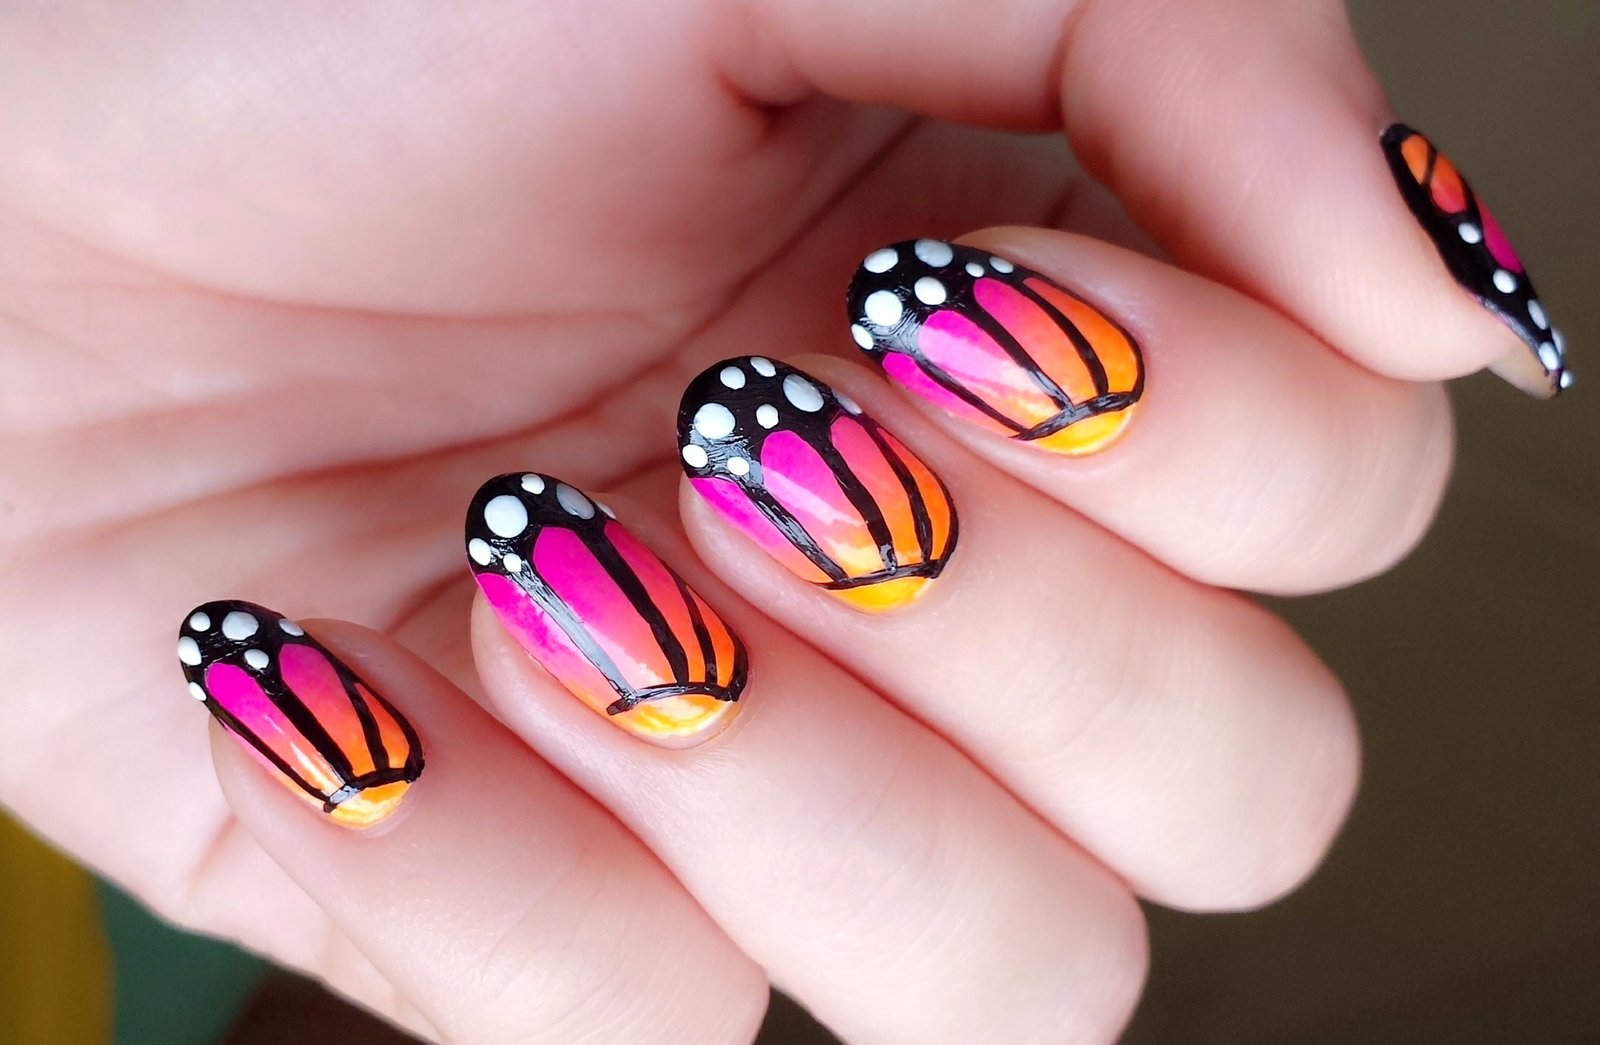
Summer is the perfect time to show off bright and fun gel nail art designs. Here's a tutorial on how to achieve summer-themed nails that will make you feel like you're on vacation. Choose gel polish colors that remind you of summer, such as bright pinks, oranges, and yellows. You can also go for a colorful gradient design or add some glitter for a touch of sparkle. For a tropical vibe, try creating palm tree or hibiscus flower designs with a nail art brush. Or for a beachy look, use a dotting tool to create a cute little beach ball on one of your nails. With these summer-themed gel nail art designs, you'll be ready to soak up the sun in style.Gel Nail Art Tutorial for Summer


Gel Nail Art Tutorial for Summer


As the leaves start to change color, it's time to switch up your gel nail art as well. Here's a tutorial on how to achieve gorgeous fall-inspired nails. Choose gel polish colors that represent the colors of fall, such as deep reds, burnt oranges, and mustard yellows. You can also add some metallic accents for a touch of glam. For designs, try creating leaves, pumpkins, or plaid patterns with a nail art brush. You can also incorporate fall symbols like acorns or apples for a cute and festive look. With these fall-inspired gel nail art designs, you'll be ready to cozy up with a pumpkin spice latte in no time.Gel Nail Art Tutorial for Fall


Gel Nail Art Tutorial for Fall


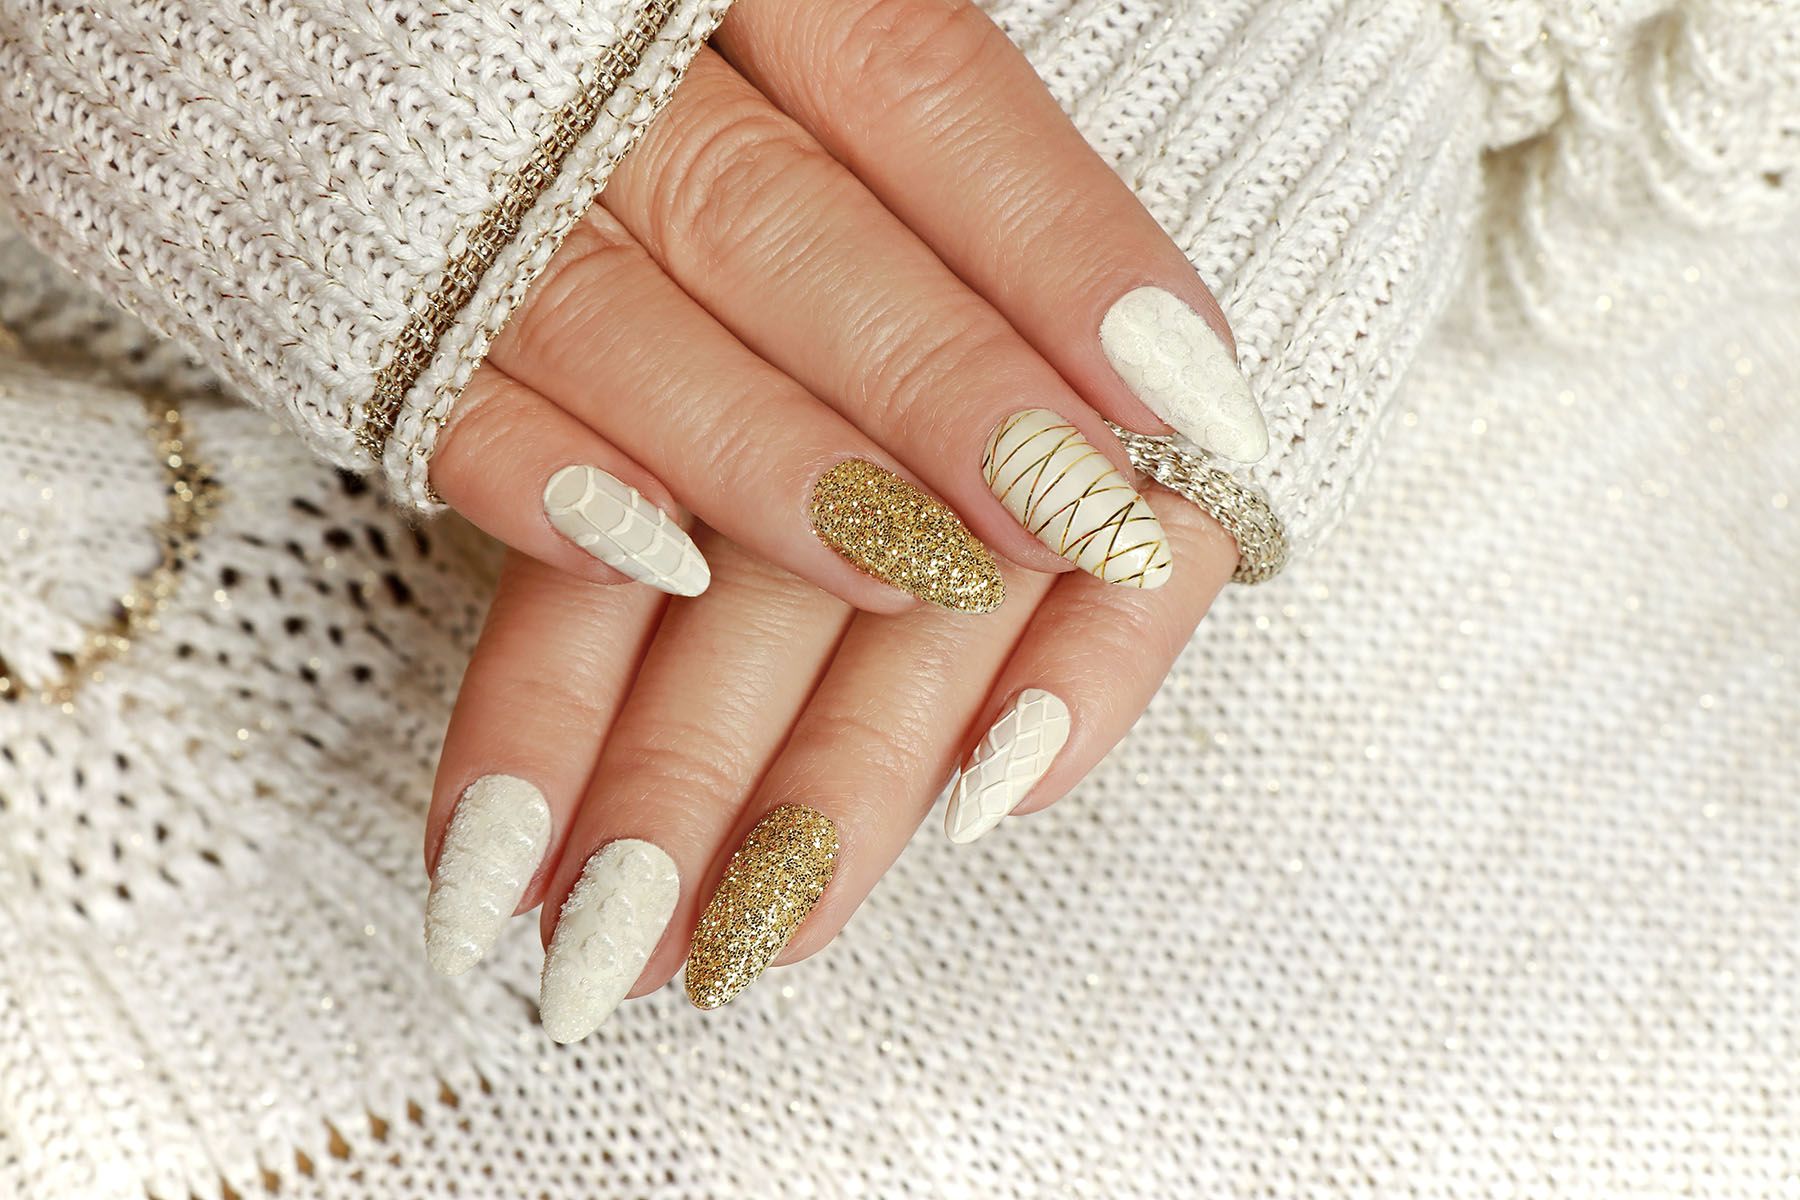
Winter is the perfect time to showcase elegant and festive gel nail art designs. Here's a tutorial on how to achieve beautiful winter-themed nails. Choose gel polish colors that represent the winter season, such as deep blues, shimmering silvers, and icy whites. You can also incorporate some glitter for a touch of sparkle. For designs, try creating snowflakes, snowmen, or reindeer with a nail art brush. Or for a more sophisticated look, create a chic french tip with a twist using different winter-inspired colors. With these winter-themed gel nail art designs, you'll be ready for all your holiday parties and festivities.Gel Nail Art Tutorial for Winter

Gel Nail Art Tutorial for Winter
As the flowers start to bloom, it's time to refresh your gel nail art for spring. Here's a tutorial on how to achieve beautiful spring-inspired nails. Choose gel polish colors that represent the freshness of spring, such as pastel pinks, purples, and blues. You can also incorporate some floral patterns or polka dots for a cute and feminine look. For designs, try creating flowers, butterflies, or ladybugs with a nail art brush. You can also use a dotting tool to create a simple yet adorable ladybug design. With these spring-themed gel nail art designs, you'll be ready to welcome the new season with style.Gel Nail Art Tutorial for Spring
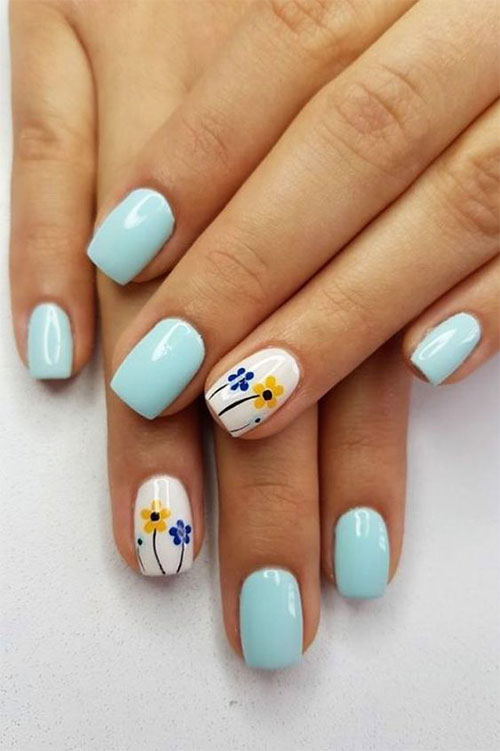
Gel Nail Art Tutorial for Spring


Introduction to Gel Nail Art Tutorial
Creating Beautiful and Long-Lasting Nail Designs at Home
 Gel nail polish has become increasingly popular in recent years due to its durability and ability to create stunning nail designs. Whether you are a beginner or an experienced nail artist, learning how to do gel nail art at home can save you time and money while allowing you to express your creativity. In this gel nail art tutorial, we will guide you through the steps to achieve flawless and long-lasting nail designs that will make your friends envious.
What is Gel Nail Polish and Why is it Different?
 Gel nail polish is a type of nail polish that is cured under a UV or LED lamp to create a hard and glossy finish. Unlike traditional nail polish, which can chip and peel easily, gel polish can last up to two weeks without any significant wear and tear. This is because the gel polish is made up of a stronger and more durable formula that adheres to the natural nail and provides a protective layer. With gel nail polish, you can say goodbye to frequent touch-ups and hello to flawless and long-lasting nail designs.
The Tools You Will Need
 Before you begin your gel nail art journey, it is essential to have the right tools. The necessary tools for gel nail art include a UV or LED lamp, a base coat, gel nail polish in various colors, a topcoat, a cuticle pusher, a nail file, and alcohol wipes. You can also add a dotting tool, a brush, and other nail art accessories to create more intricate designs. It is essential to have all the tools ready and organized before starting, as this will make the process smoother and more enjoyable.
Step-by-Step Guide to Gel Nail Art
 Now that you have all the tools, it's time to dive into the gel nail art tutorial. The first step is to prepare your nails by pushing back your cuticles and filing them into your desired shape. Next, apply a thin layer of base coat and cure it under the lamp. Then, apply the first layer of gel nail polish, making sure to seal the edges and cure it under the lamp. Repeat this step for the second layer and any additional colors or designs. Lastly, apply a topcoat and cure it under the lamp to seal and protect your design.
Tips for a Perfect Gel Nail Art
 To achieve salon-quality gel nail art at home, here are some tips to keep in mind. Firstly, ensure that each layer of gel polish is thin to avoid any clumps or bubbles. Secondly, always clean up any excess polish on the skin or cuticles before curing under the lamp. Lastly, use high-quality gel nail polish and topcoat to ensure a long-lasting and glossy finish.
With this simple and easy-to-follow gel nail art tutorial, you can create beautiful and long-lasting nail designs at home. So grab your tools, choose your favorite colors, and let your creativity run wild. No more expensive salon appointments – you are now a gel nail art pro!
To achieve salon-quality gel nail art at home, here are some tips to keep in mind. Firstly, ensure that each layer of gel polish is thin to avoid any clumps or bubbles. Secondly, always clean up any excess polish on the skin or cuticles before curing under the lamp. Lastly, use high-quality gel nail polish and topcoat to ensure a long-lasting and glossy finish.
With this simple and easy-to-follow gel nail art tutorial, you can create beautiful and long-lasting nail designs at home. So grab your tools, choose your favorite colors, and let your creativity run wild. No more expensive salon appointments – you are now a gel nail art pro!


