Are you tired of spending money at the nail salon every time you want to switch up your nail art? Why not try creating your own gel polish nail art at home? With this easy gel nail art tutorial, you'll be able to achieve professional-looking nails without breaking the bank. Before we dive into the tutorial, make sure you have all the necessary supplies. You'll need a gel nail polish kit, a UV or LED nail lamp, a base coat, top coat, nail file, and some nail art tools such as dotting tools, nail stamps, and brushes. Start by prepping your nails. File them into your desired shape, push back your cuticles, and buff the surface of your nails to create a smooth base. Then, apply a thin layer of base coat and cure it under the nail lamp for the recommended time. Next, it's time to get creative! Use your gel nail polish to create any design you want. You can use different colors, create ombre effects, or add glitter for some extra sparkle. The possibilities are endless with gel polish. Once you're satisfied with your design, cure it under the nail lamp again for the recommended time. Then, apply a layer of top coat to seal in your design and give your nails a glossy finish. Cure it one last time under the nail lamp and voila! You now have beautiful gel polish nails.1. Easy Gel Nail Art Tutorial | Gel Polish Nail Art Video


1. Easy Gel Nail Art Tutorial


Do you love experimenting with different nail art designs but don't want to spend a fortune at the salon? Then this DIY gel nail art tutorial is perfect for you. With just a few simple steps, you'll be able to create your own unique gel polish nail art at home. First, gather all your supplies. You'll need a gel nail polish kit, a UV or LED nail lamp, a base coat, top coat, nail file, and some nail art tools. Make sure you have a variety of colors to play with, as well as different tools for creating different designs. Prepare your nails by filing, pushing back your cuticles, and buffing the surface. Apply a thin layer of base coat and cure it under the nail lamp for the recommended time. Then, it's time to get creative with your gel polish. Use your nail art tools to create different designs, such as stripes, polka dots, or flowers. You can also use nail stamps for intricate designs or add some glitter for a touch of glamour. The key is to have fun and let your creativity flow. Once you're satisfied with your design, cure it under the nail lamp for the recommended time. Then, apply a layer of top coat to seal in your design and give your nails a shiny finish. Cure it one last time under the nail lamp, and your DIY gel nail art is complete!2. DIY Gel Nail Art Tutorial | Gel Polish Nail Art Video


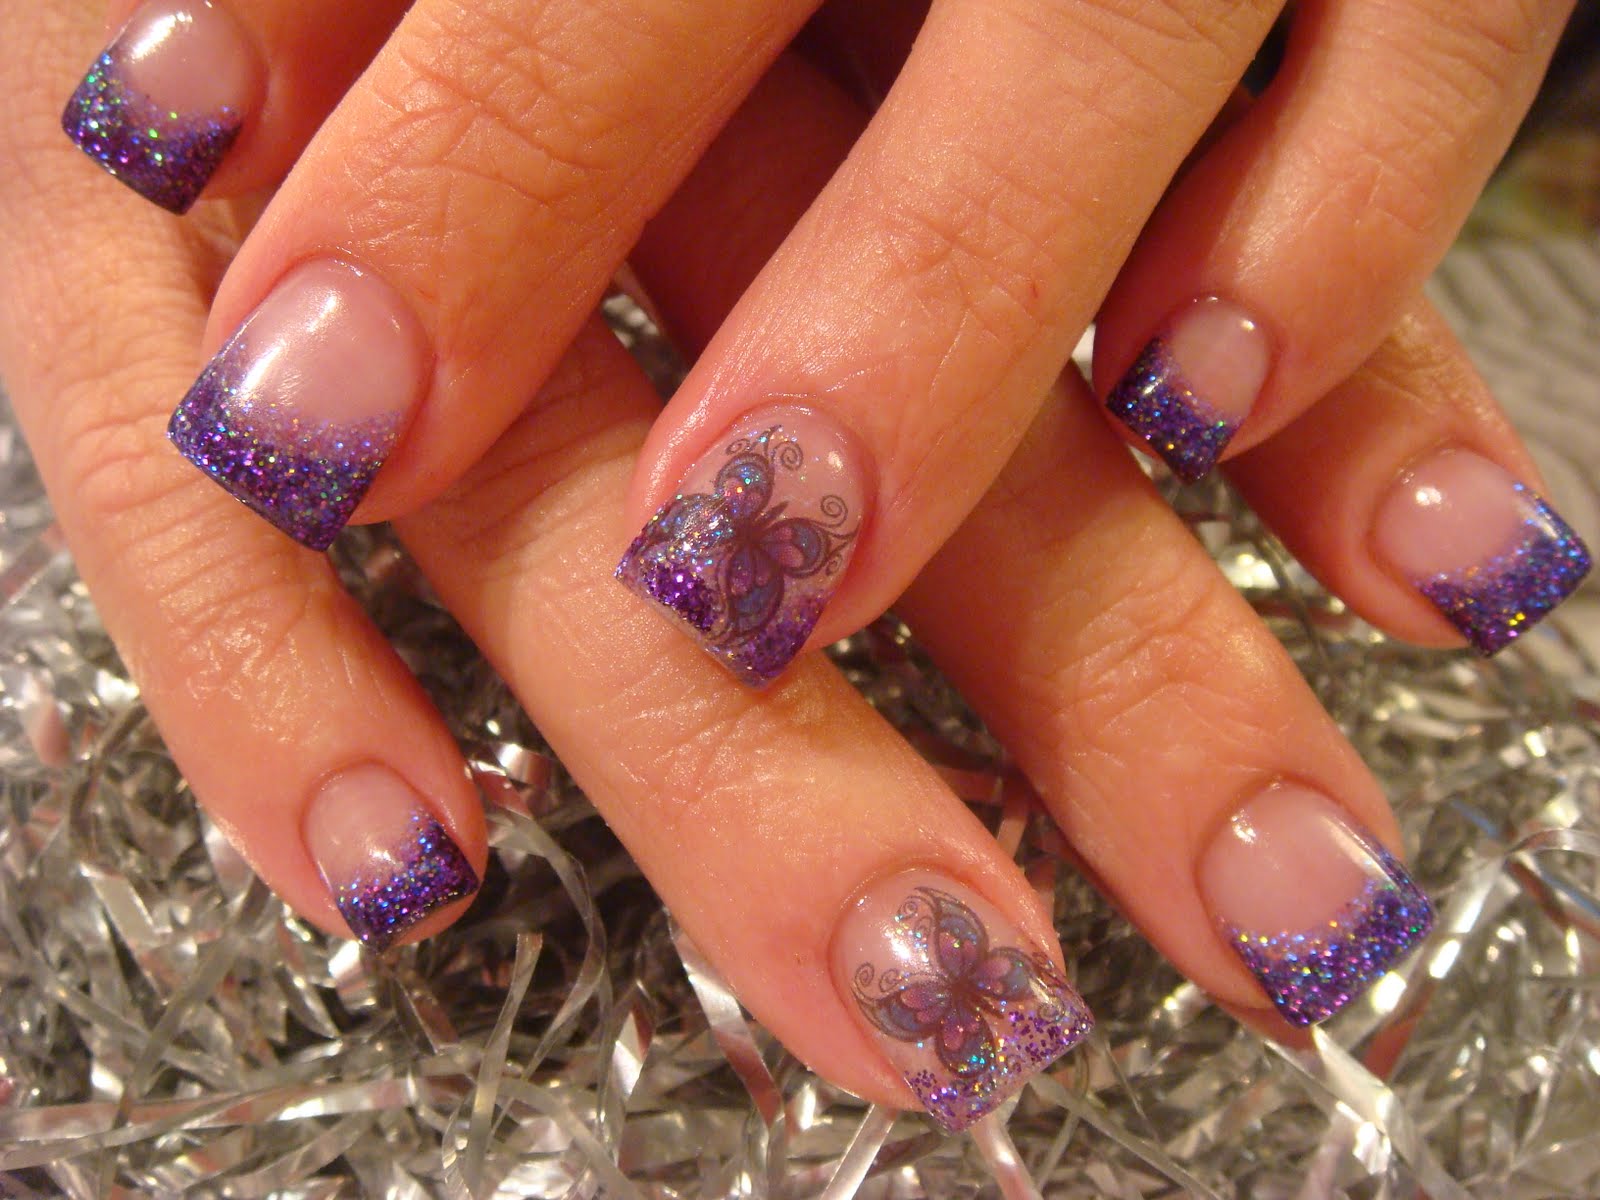
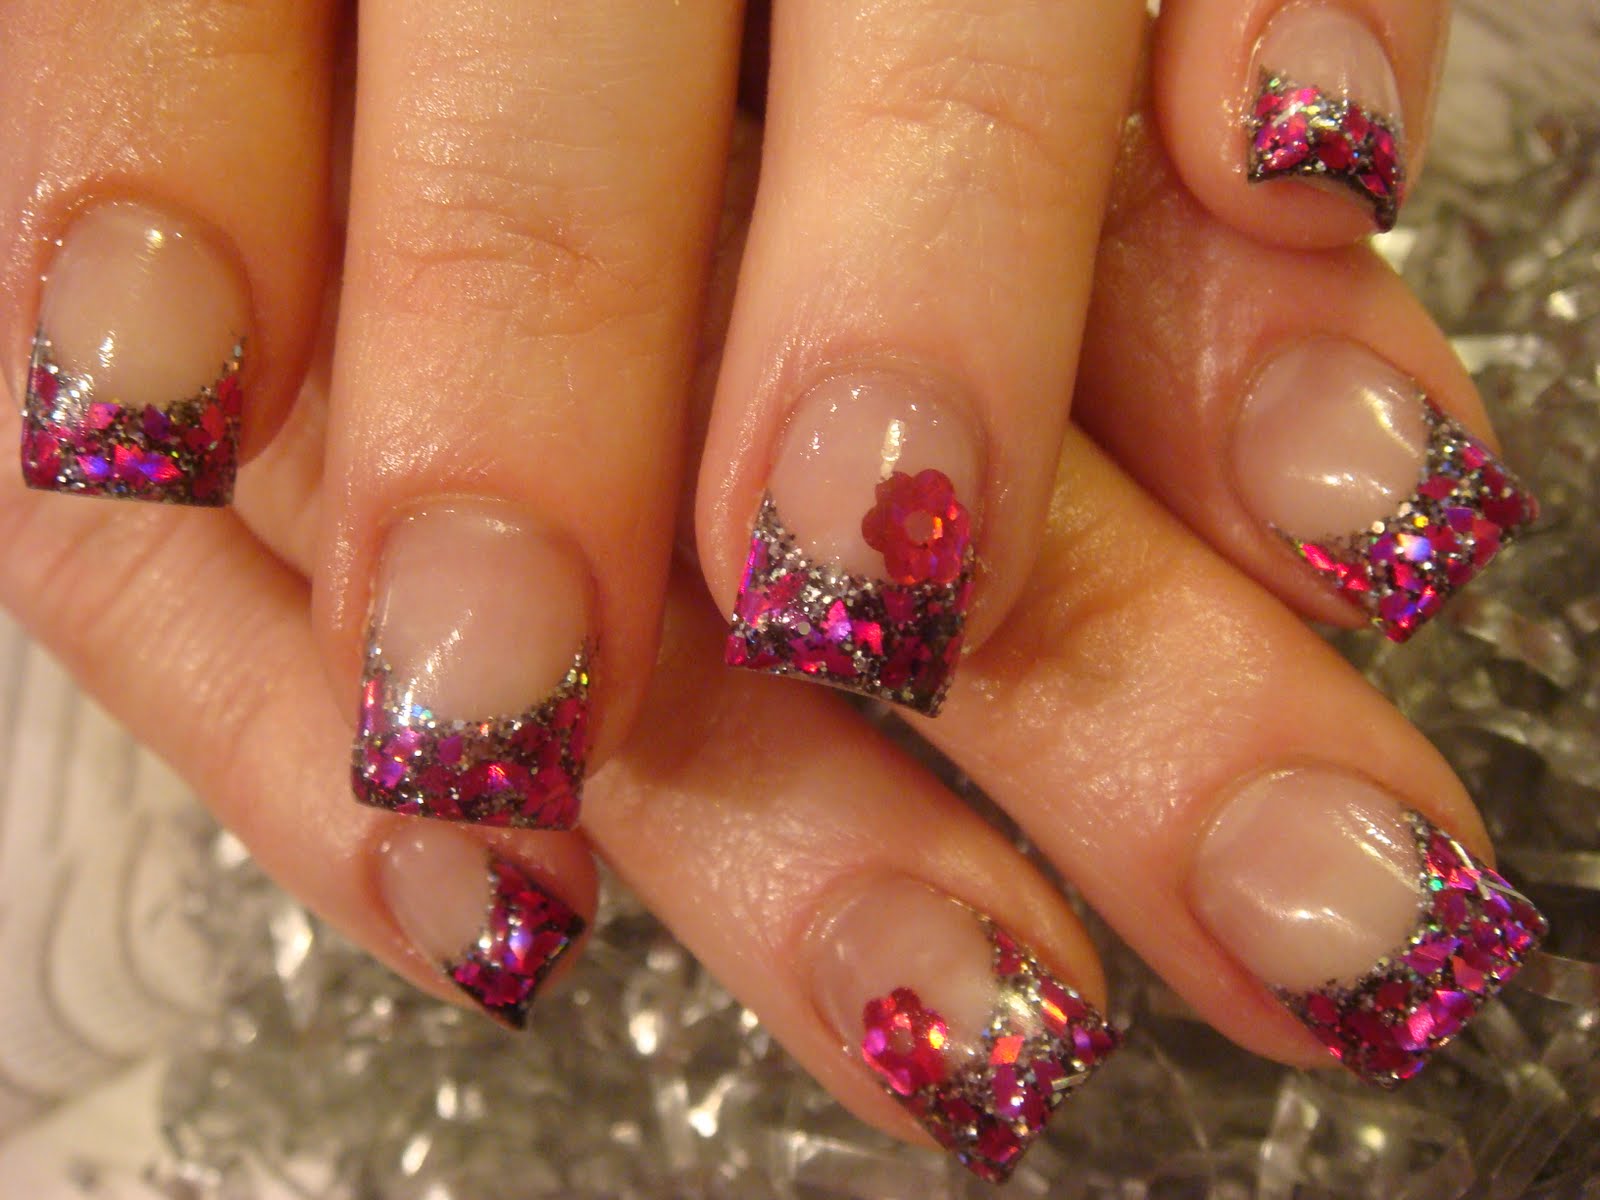
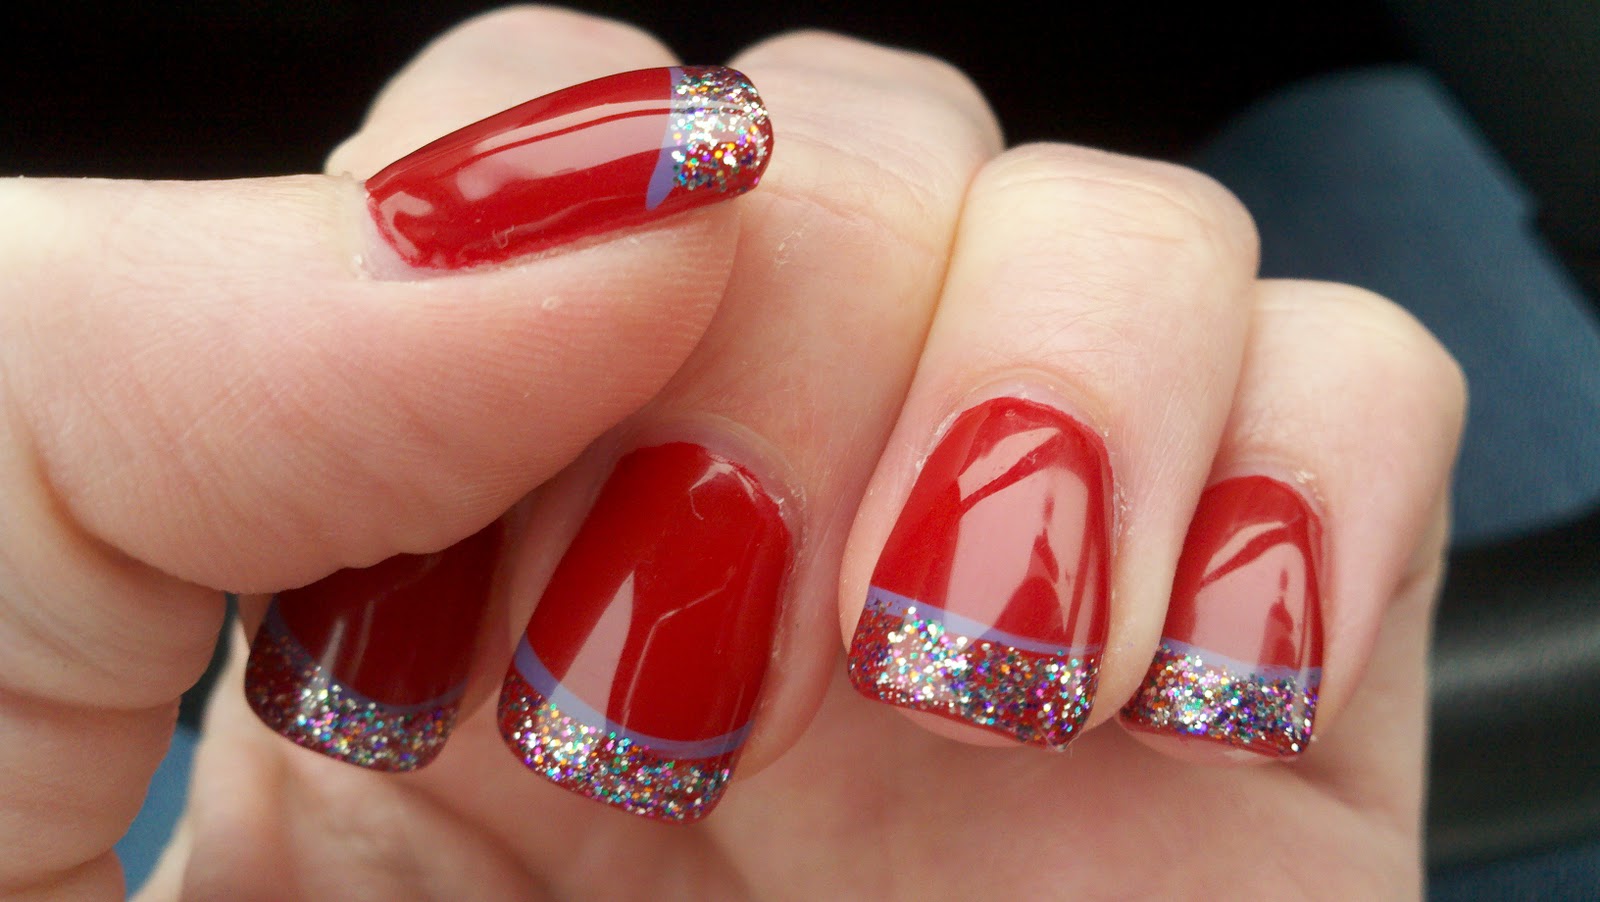
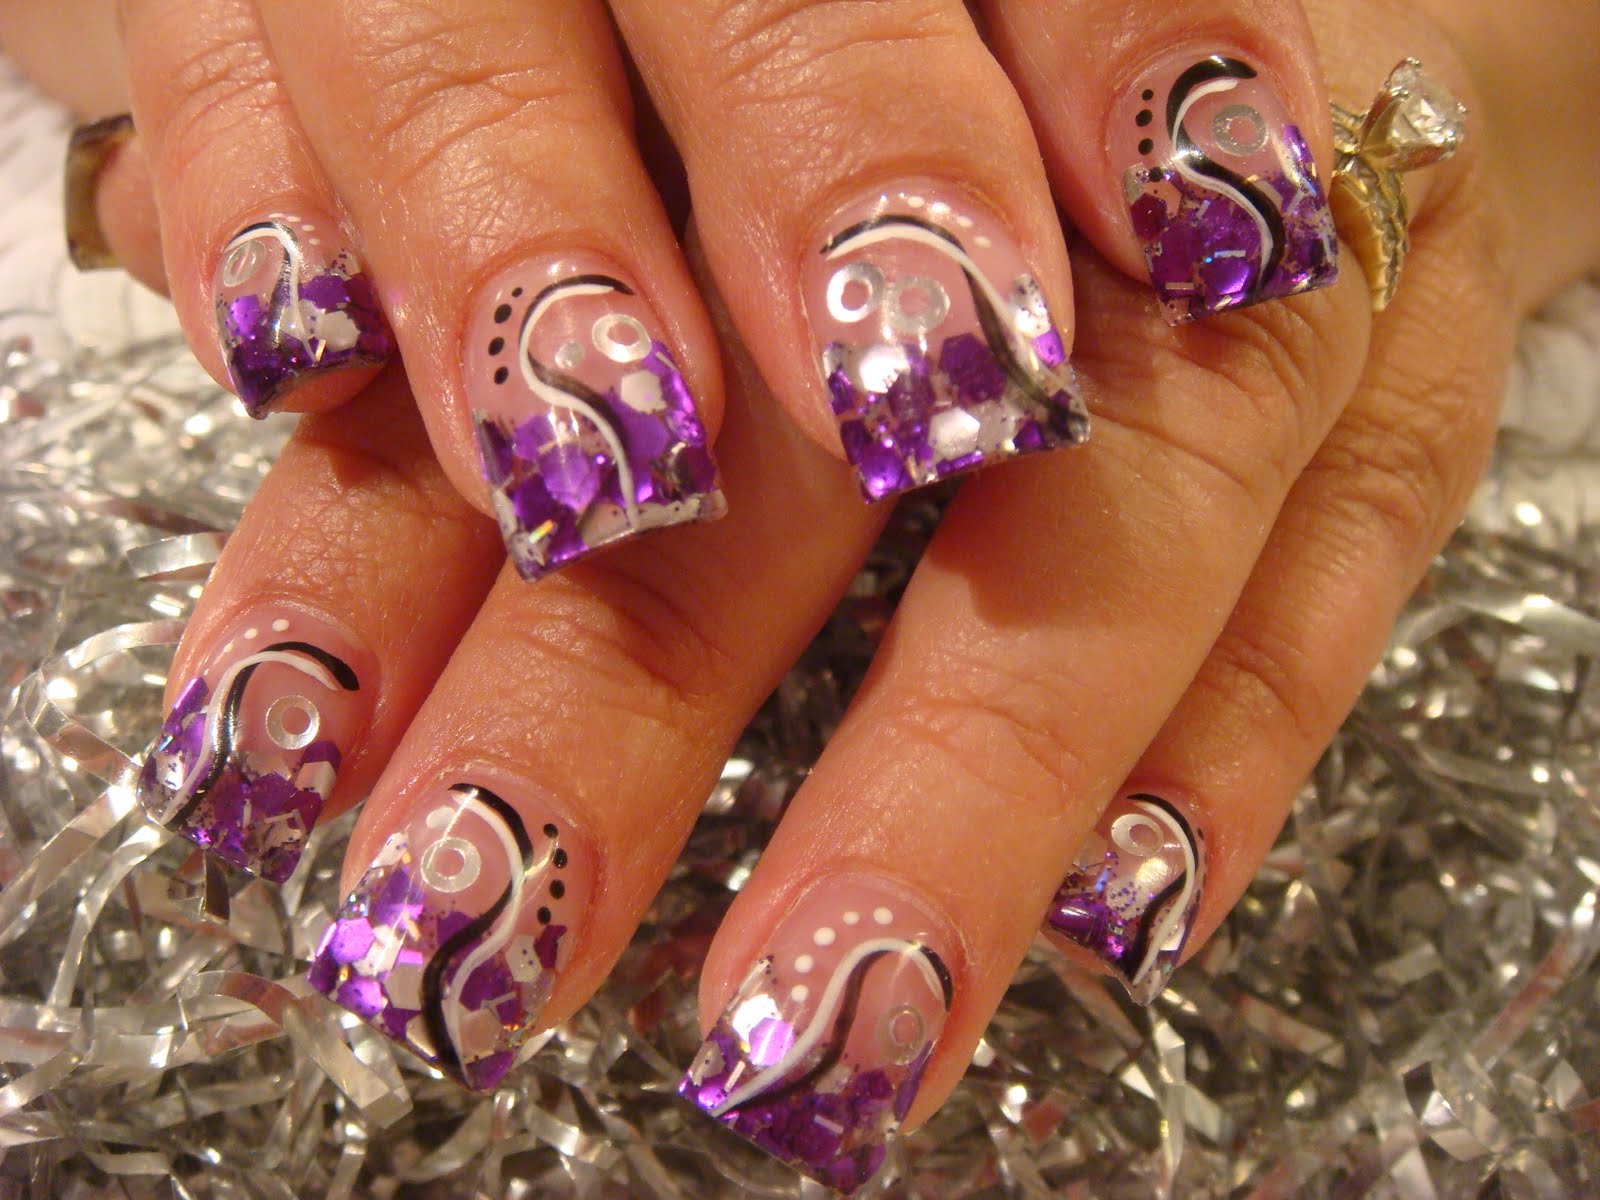
Gel Polish Nail Art Video


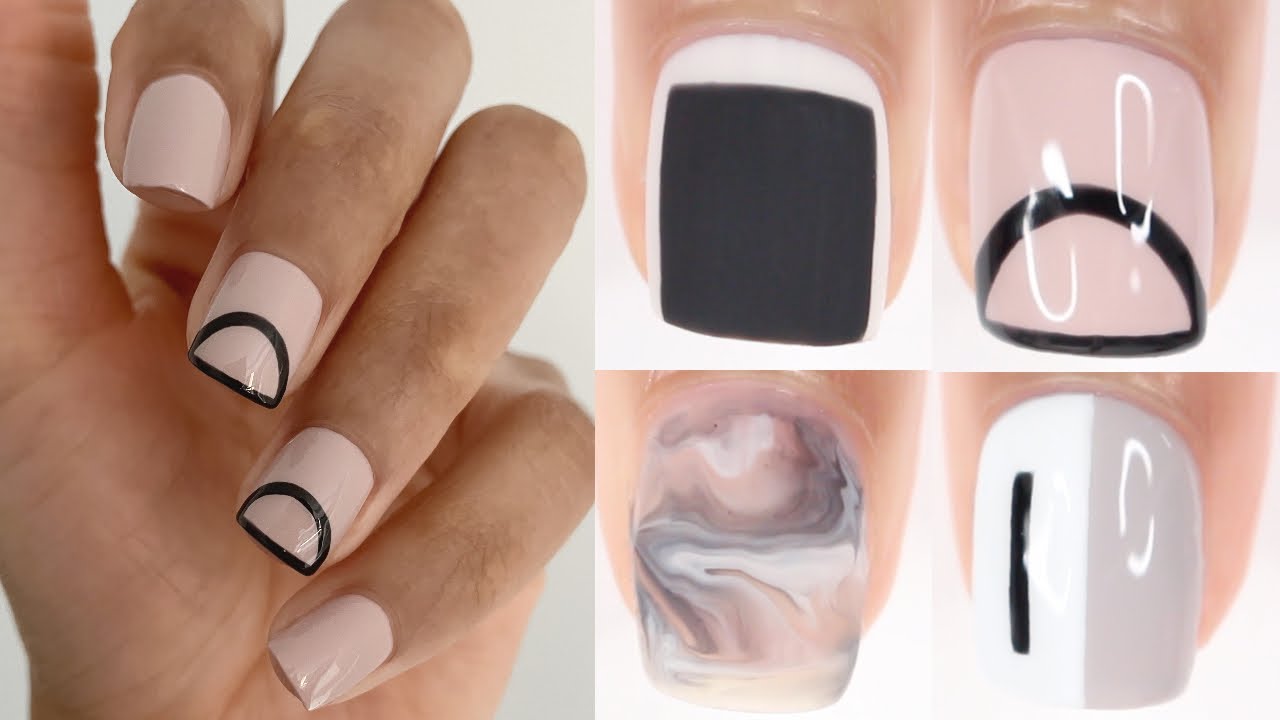
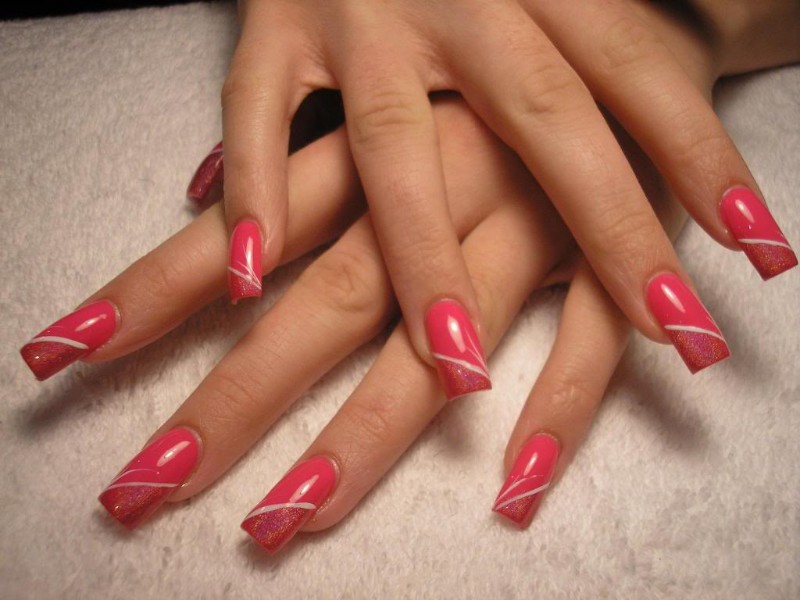
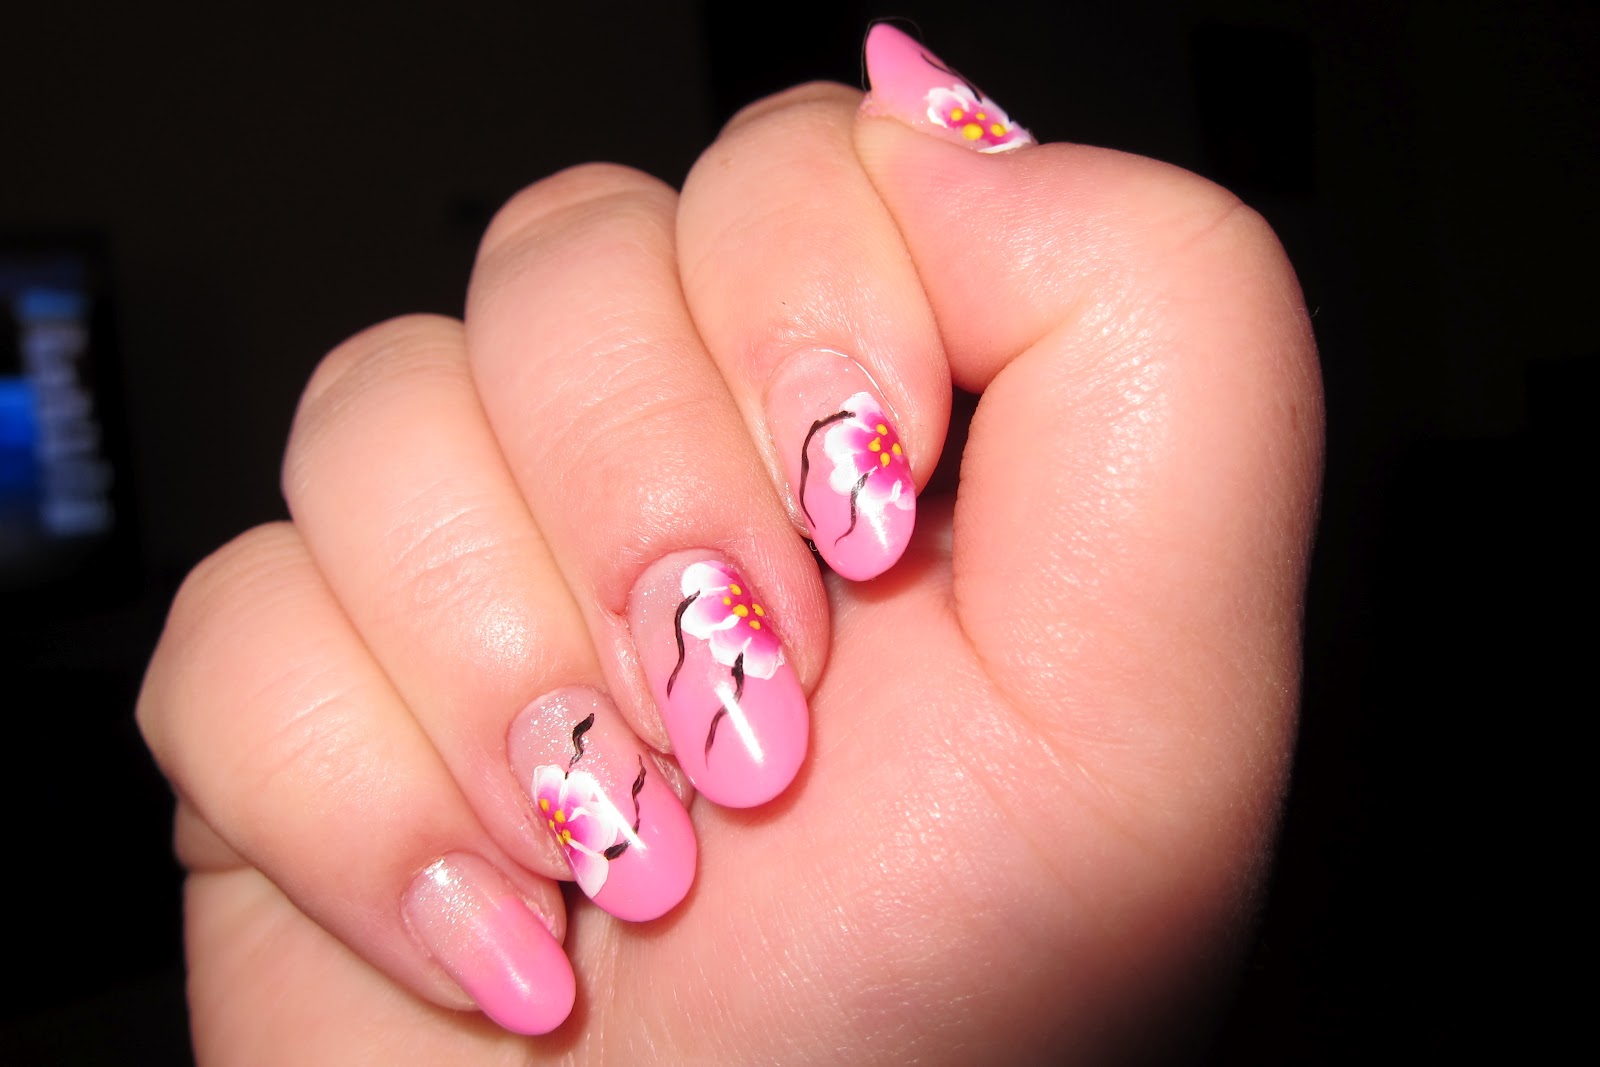
Are you looking for some inspiration for your next gel polish nail art design? Look no further than this step by step video tutorial. We'll walk you through the process of creating three different nail art designs using gel polish. The first design we'll show you is a simple yet elegant negative space design. Start by applying a base coat and curing it under the nail lamp. Then, use a striping tape to create a geometric design on your nails. Fill in the spaces with your desired gel polish colors, and cure it under the lamp. Peel off the tape, and you'll have a beautiful negative space design. Next, we'll show you how to create a marbled effect using gel polish. Apply a base coat and cure it under the lamp. Then, use a toothpick to swirl different gel polish colors on your nails. Cure it under the lamp, and you'll have a unique marbled design. Lastly, we'll show you how to create a floral design using gel polish and nail stamps. Apply a base coat and cure it under the lamp. Then, use a nail stamp and a gel polish color of your choice to create a flower design on your nails. Cure it under the lamp, and your floral gel polish design is complete.3. Gel Polish Nail Art Designs | Step by Step Video Tutorial


2. DIY Gel Nail Art Tutorial


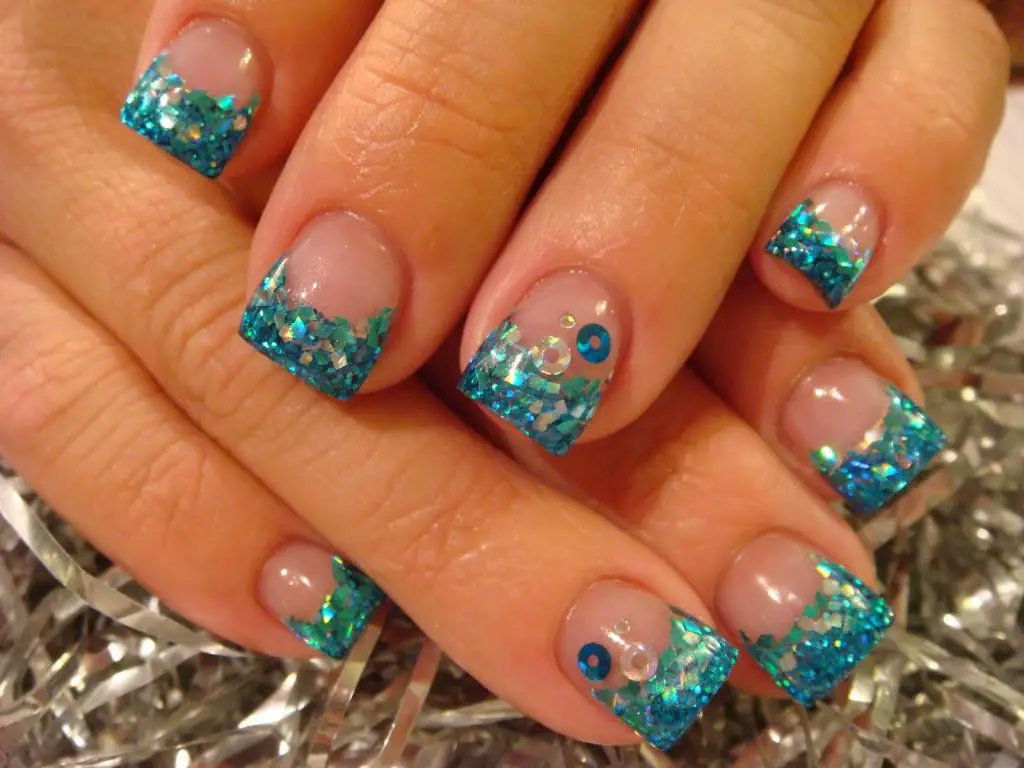
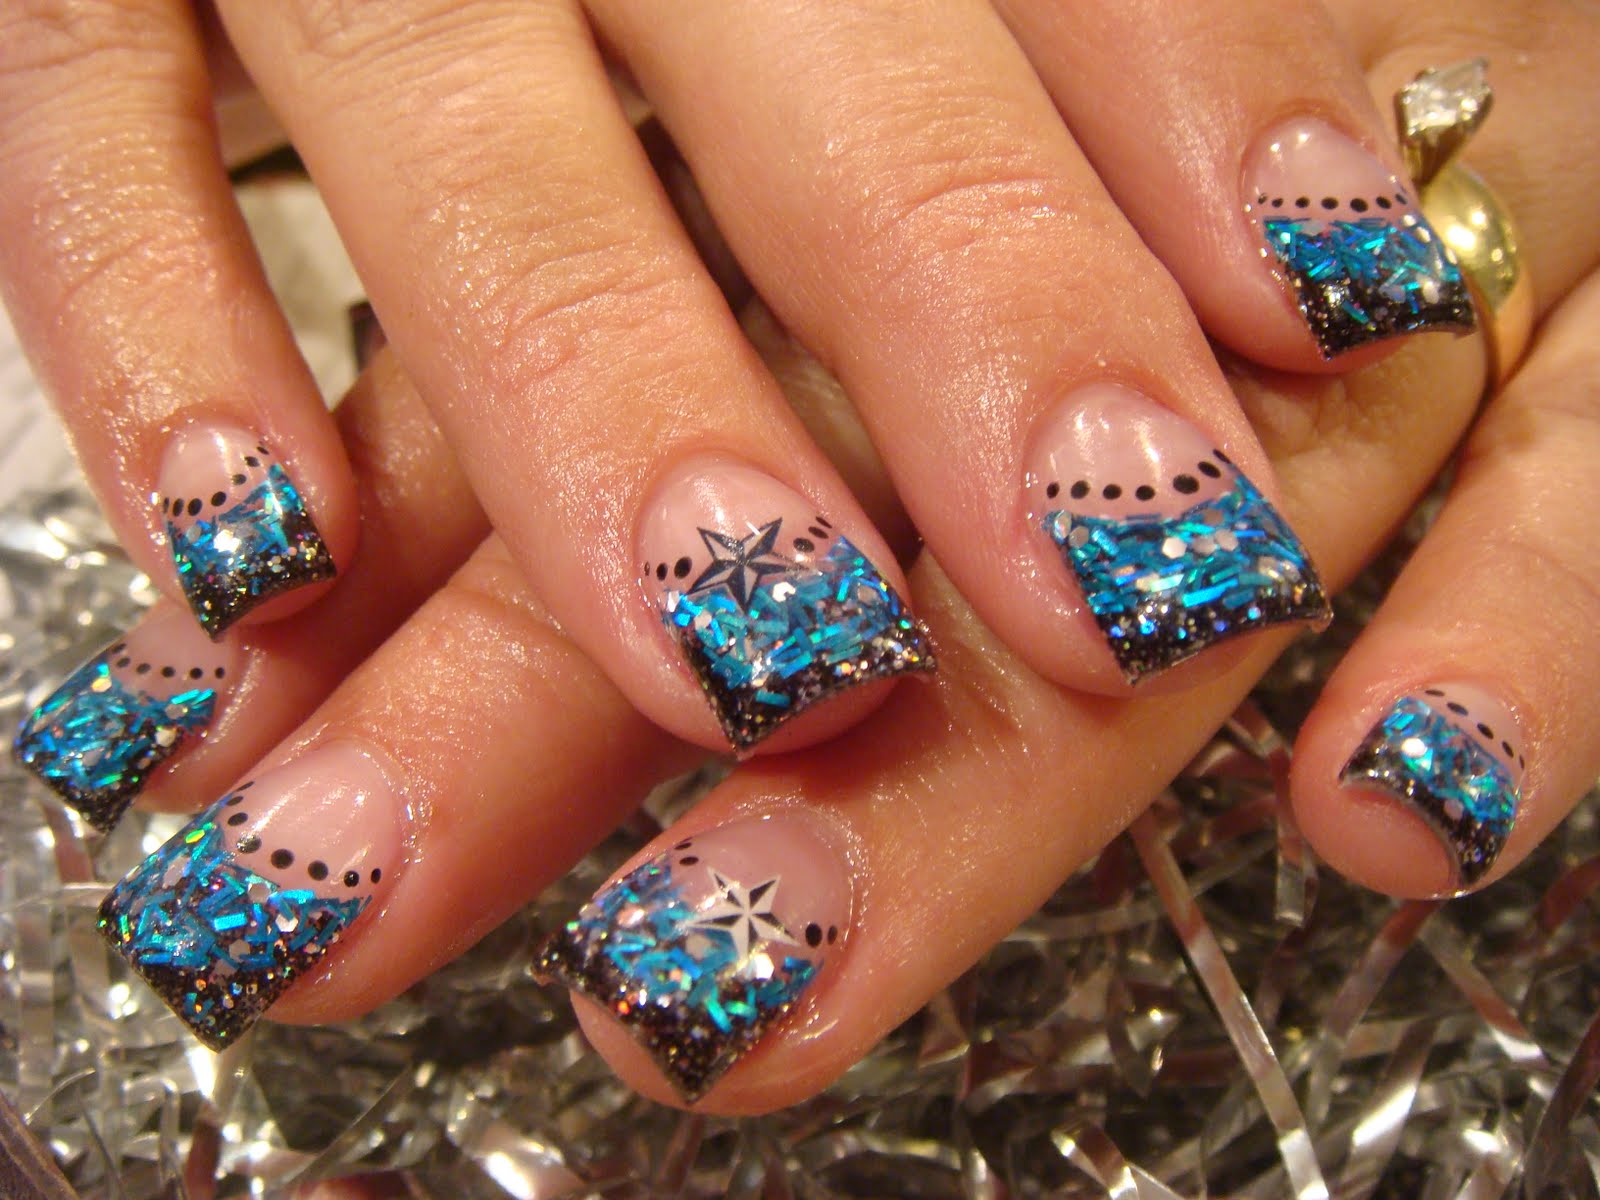
If you're a visual learner, this gel polish nail art compilation is perfect for you. We've gathered the best nail art videos from talented nail artists all over the world to provide you with inspiration and step by step tutorials for creating beautiful gel polish nail art. In this compilation, you'll find a variety of designs, from simple and elegant to bold and colorful. You'll also learn different techniques, such as using nail stamps, creating ombre effects, and incorporating glitter into your designs. Whether you're a beginner or an experienced nail artist, this compilation has something for everyone. Sit back, relax, and get ready to be inspired by the amazing gel polish nail art creations in this video compilation.4. Gel Polish Nail Art Compilation | Best Nail Art Videos


Gel Polish Nail Art Video


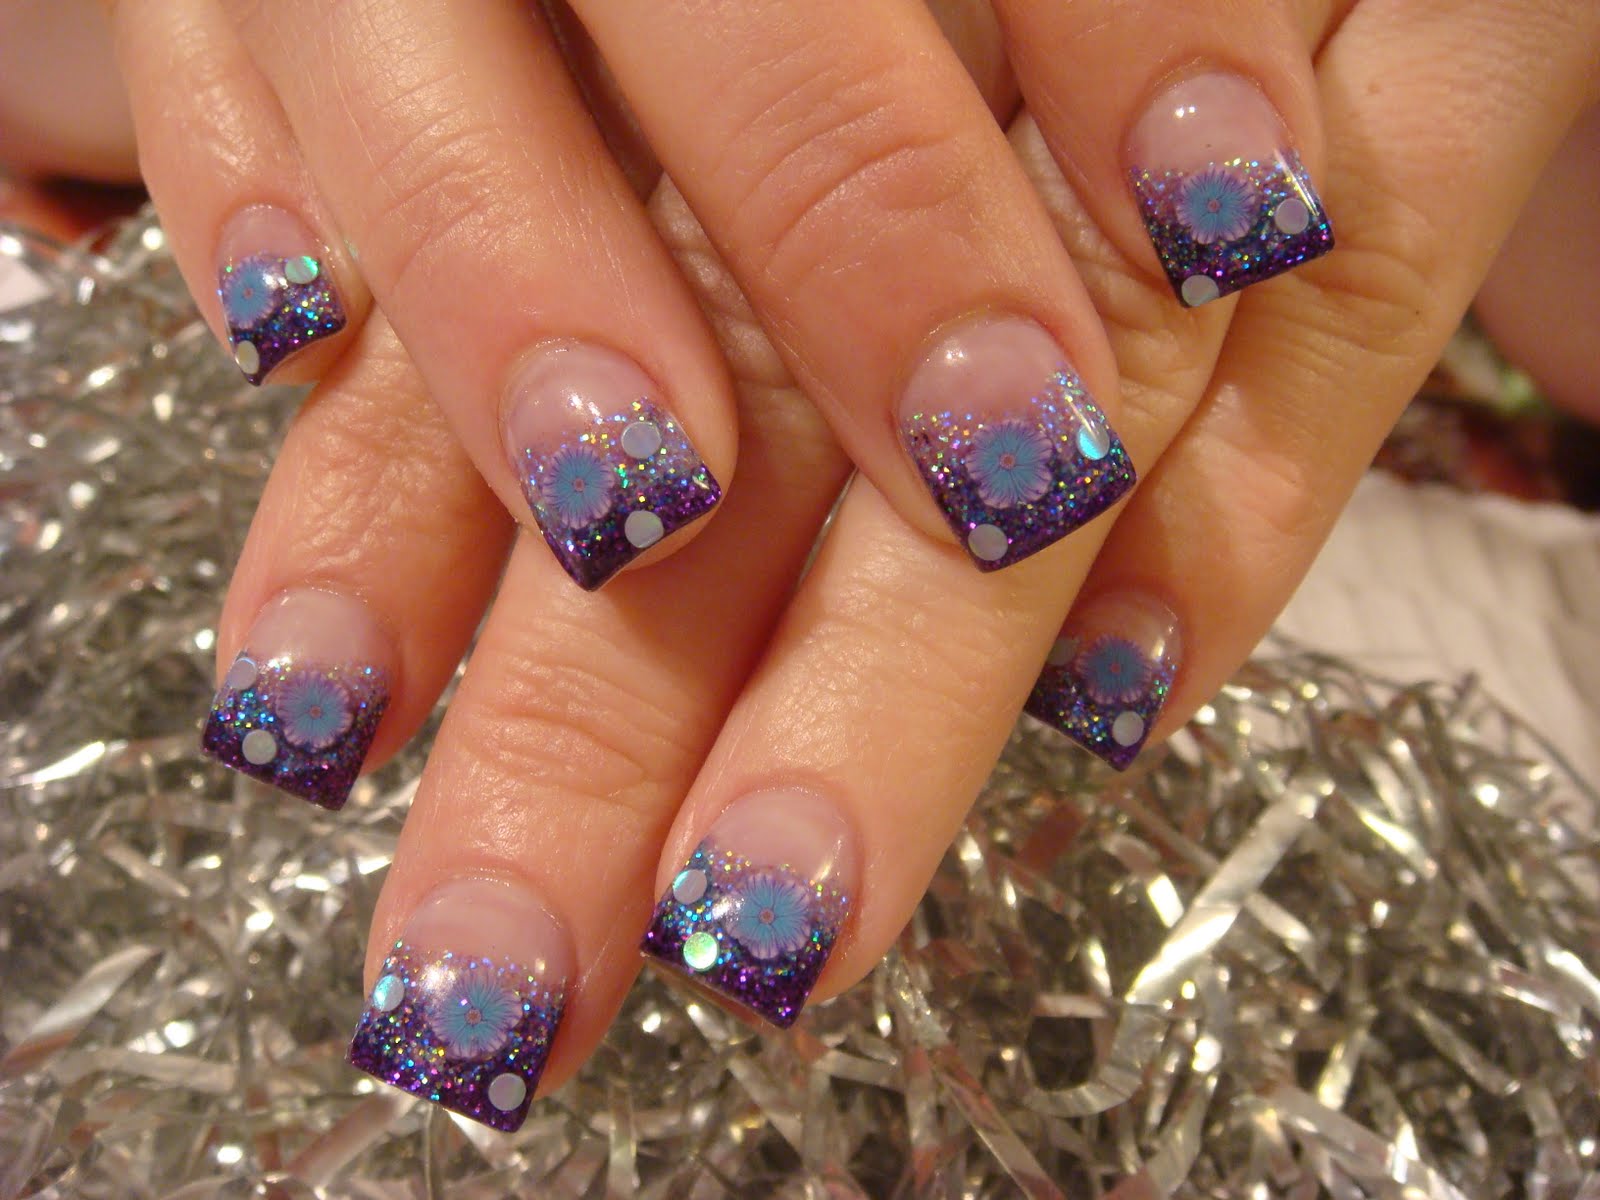
Are you tired of the same old nail art designs? Then it's time to get creative with your gel polish. In this video, we'll share some unique and creative gel polish nail art ideas that will make your nails stand out. From geometric designs to abstract art, we'll show you how to create eye-catching designs using gel polish. We'll also introduce you to some new techniques, such as using a plastic bag to create a marbled effect and using a straw to create a splatter design. Don't be afraid to step out of your comfort zone and try something new with your gel polish. You'll be surprised at the amazing designs you can create with a little bit of creativity and some gel polish.5. Gel Polish Nail Art Ideas | Creative Nail Art Video


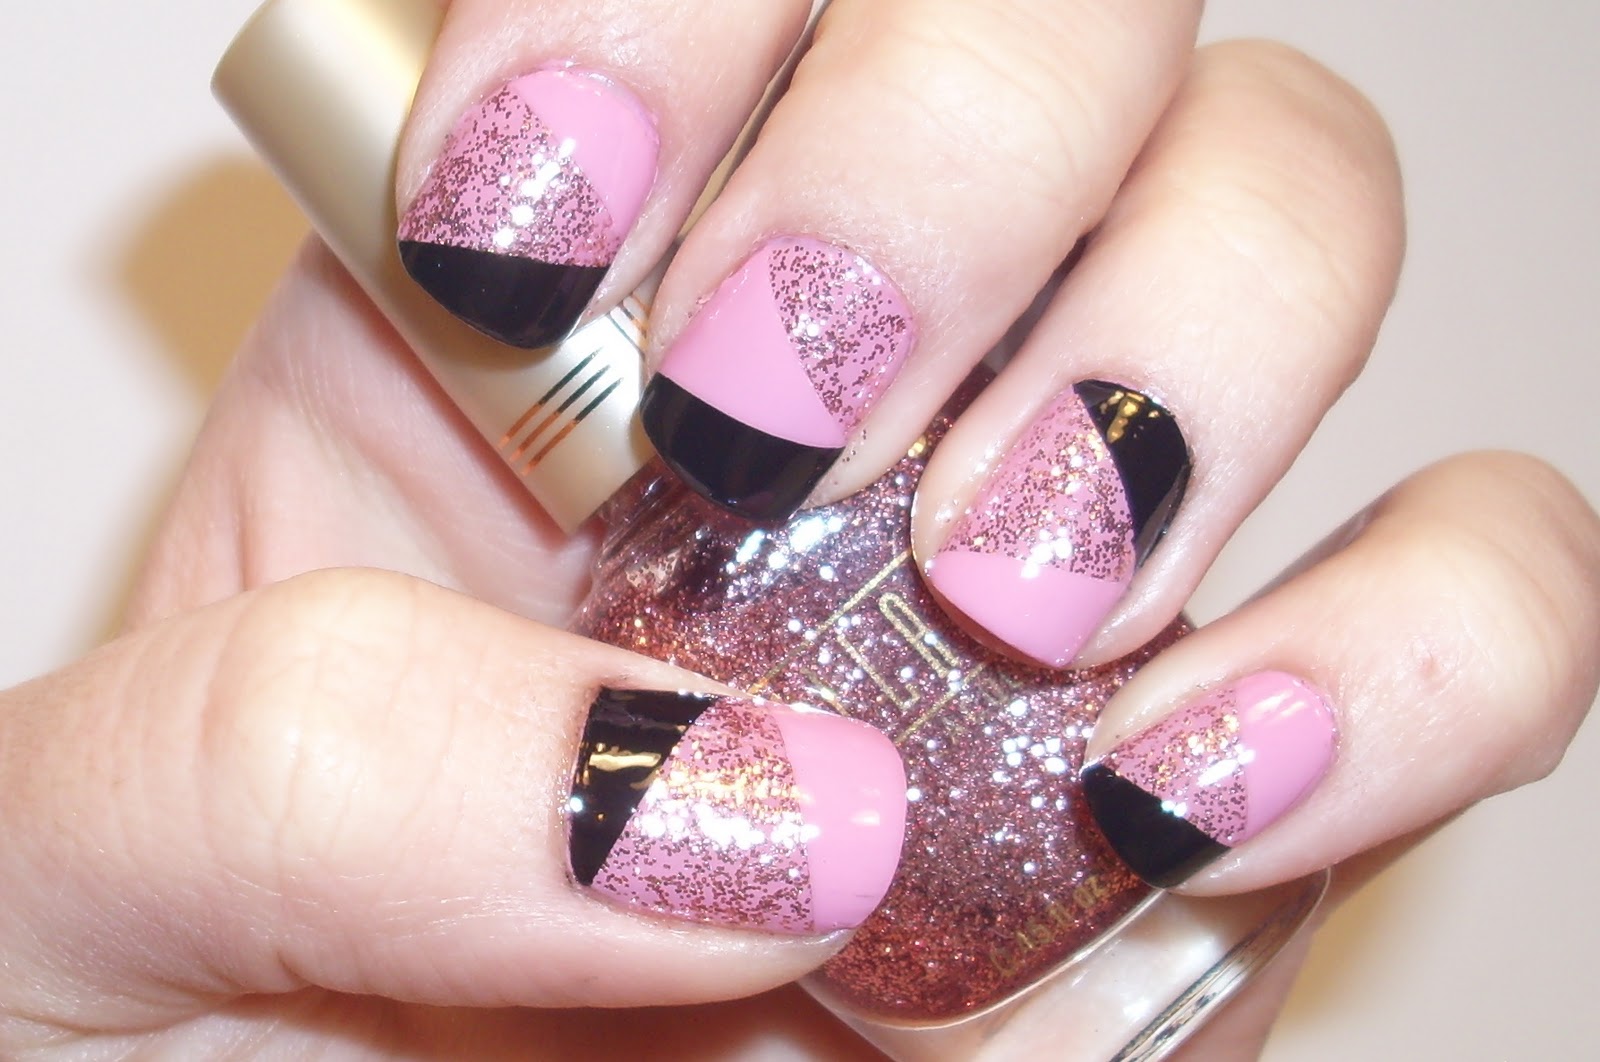
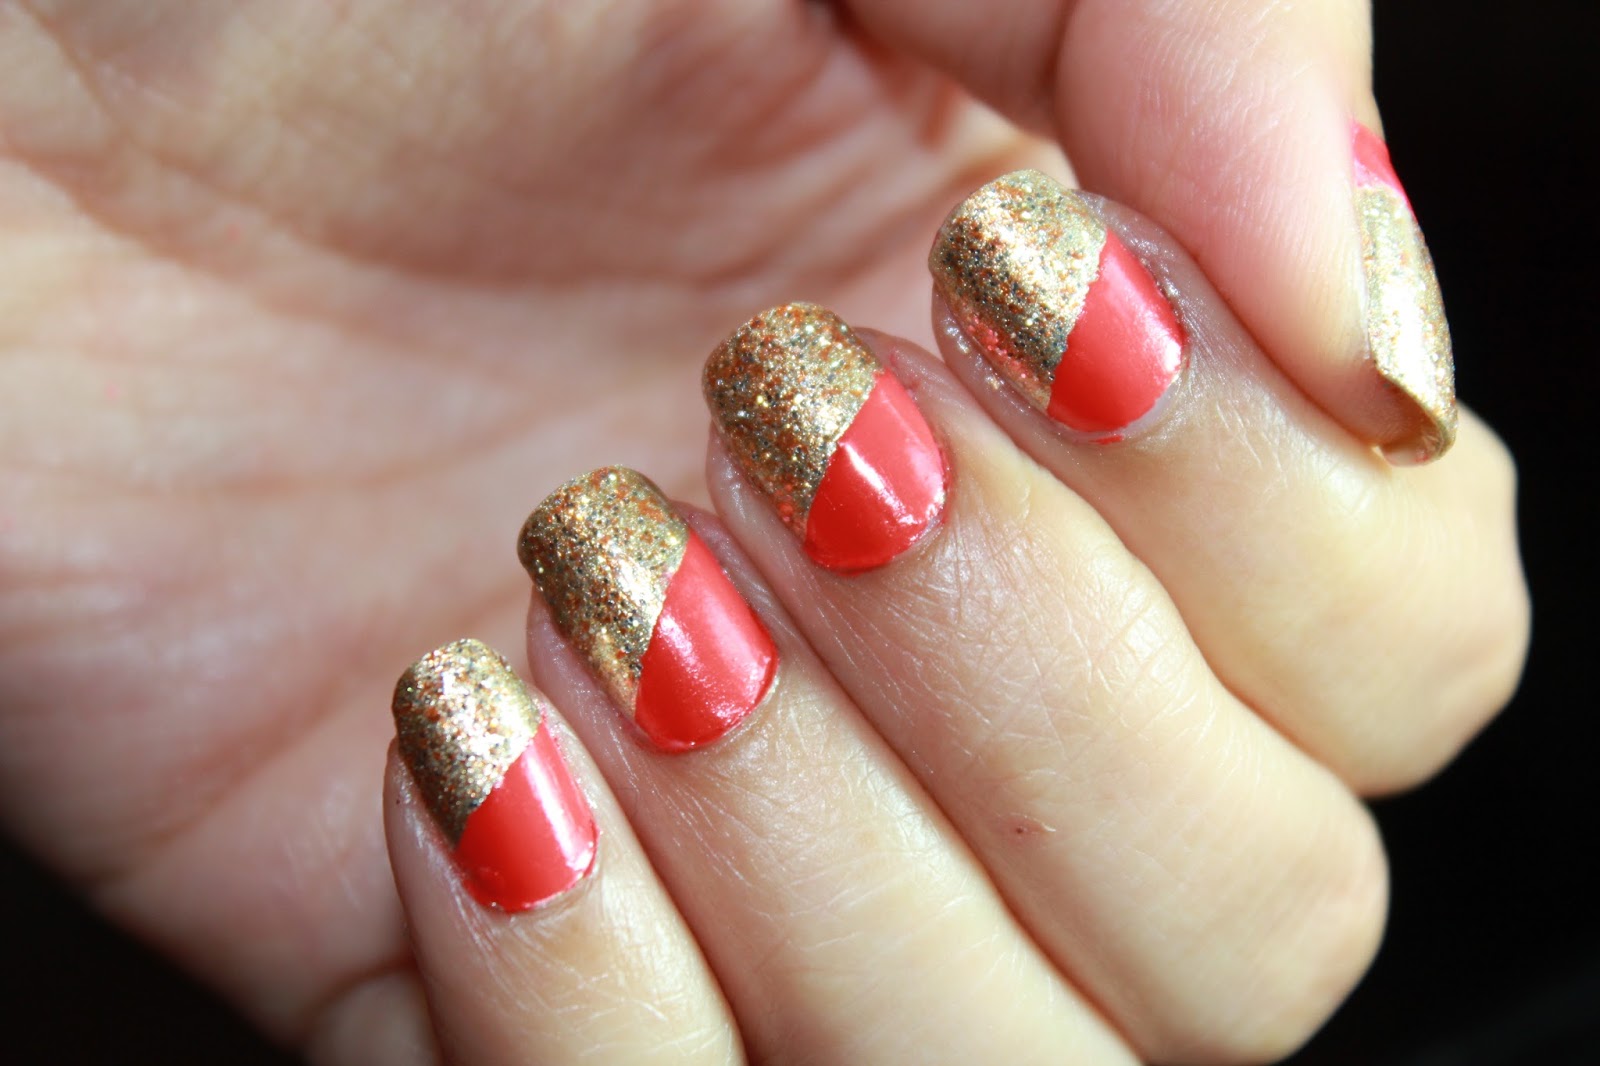
3. Gel Polish Nail Art Designs


If you're new to gel polish nail art, it can be overwhelming to try and recreate some of the intricate designs you see online. But don't worry, this easy step by step video tutorial is perfect for beginners who want to dip their toes into the world of gel polish nail art. We'll show you how to create a simple yet beautiful design using just two gel polish colors and a dotting tool. This design is perfect for beginners as it doesn't require any advanced techniques or tools. Plus, it's a great way to practice your gel polish application and get comfortable with the products. Once you've mastered this design, you can move on to more advanced designs and techniques. But it's always good to start with the basics and build your skills from there.6. Gel Polish Nail Art for Beginners | Easy Step by Step Video


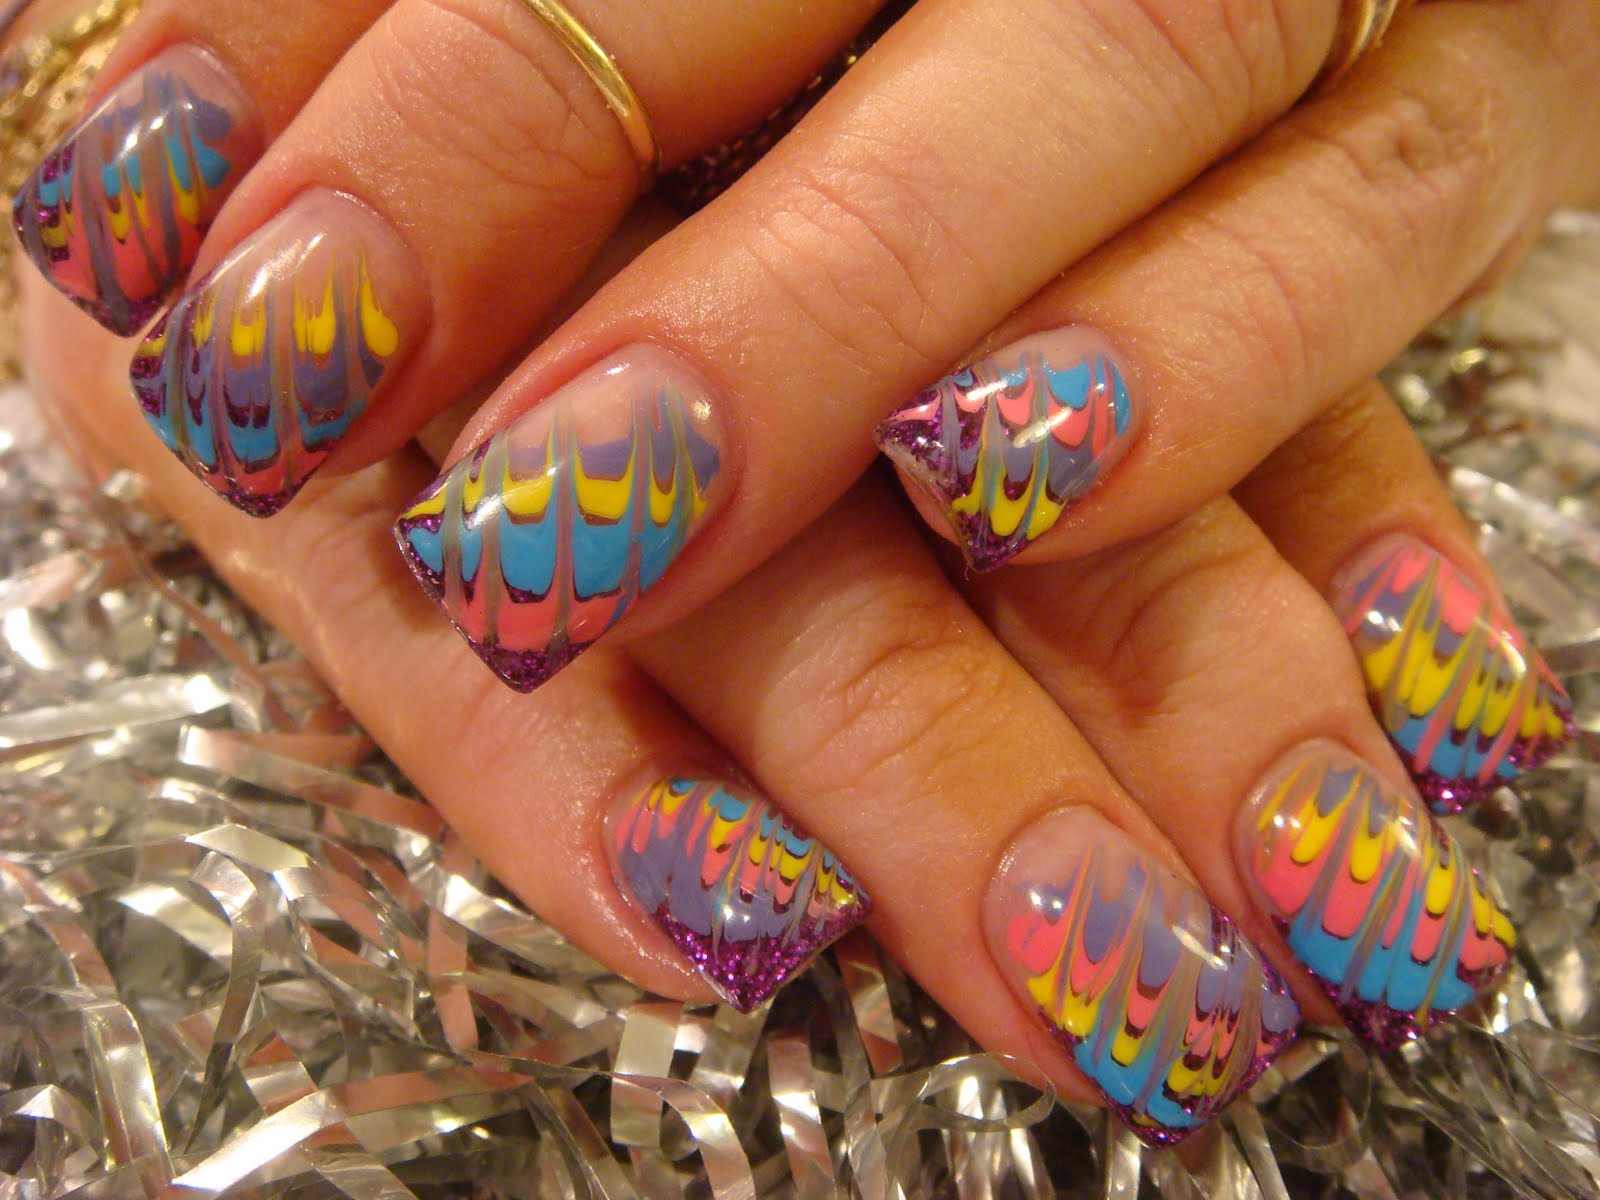
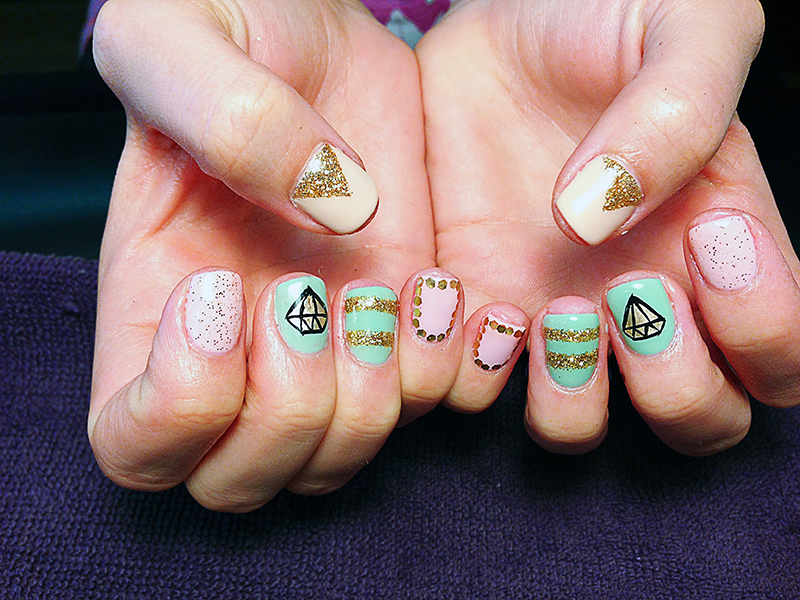
Step by Step Video Tutorial


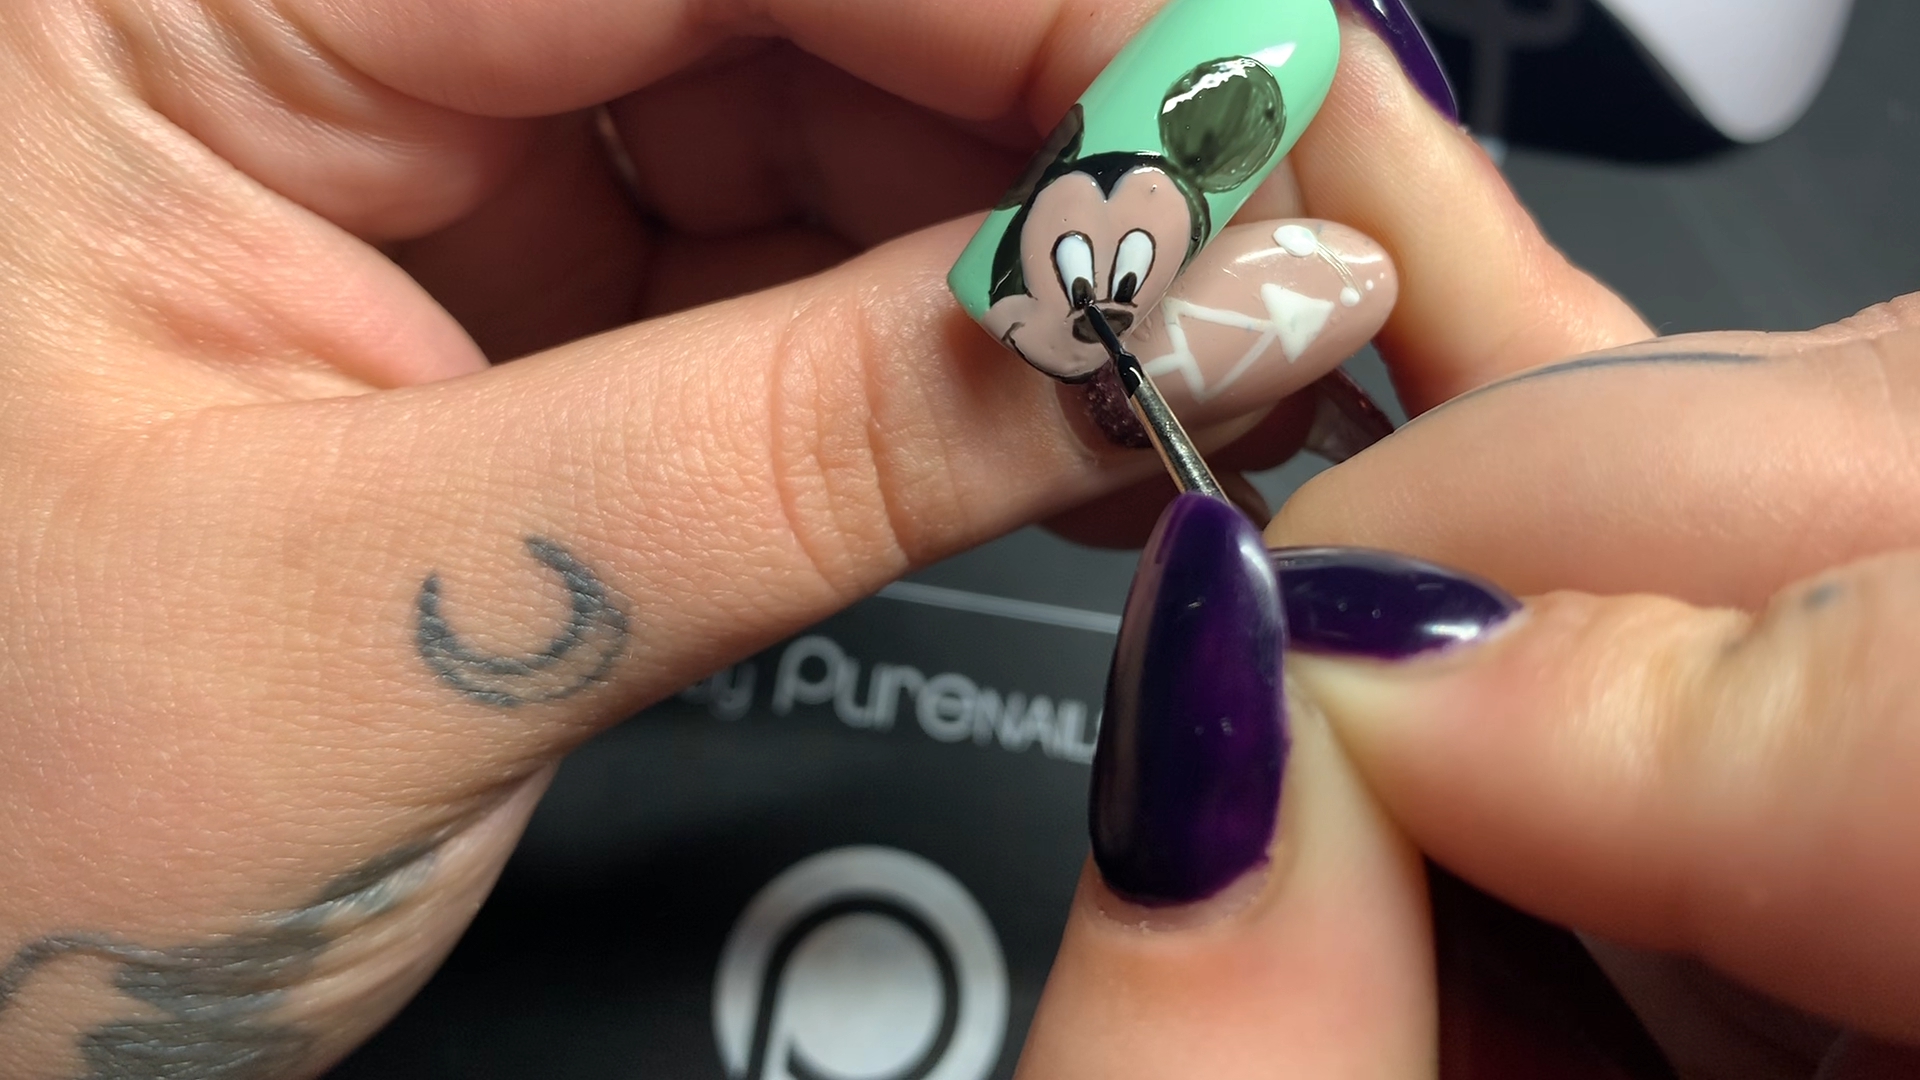
For those who are more experienced with gel polish nail art, this advanced nail art video will take your skills to the next level. We'll show you some advanced techniques and designs that will challenge your creativity and push your skills to the limit. In this video, you'll learn how to create intricate designs using nail stamps, how to create a gradient effect with gel polish, and how to incorporate different textures into your designs, such as using flocking powder or rhinestones. If you're up for a challenge and want to take your gel polish nail art to the next level, this advanced nail art video is a must-watch.7. Gel Polish Nail Art Techniques | Advanced Nail Art Video


4. Gel Polish Nail Art Compilation


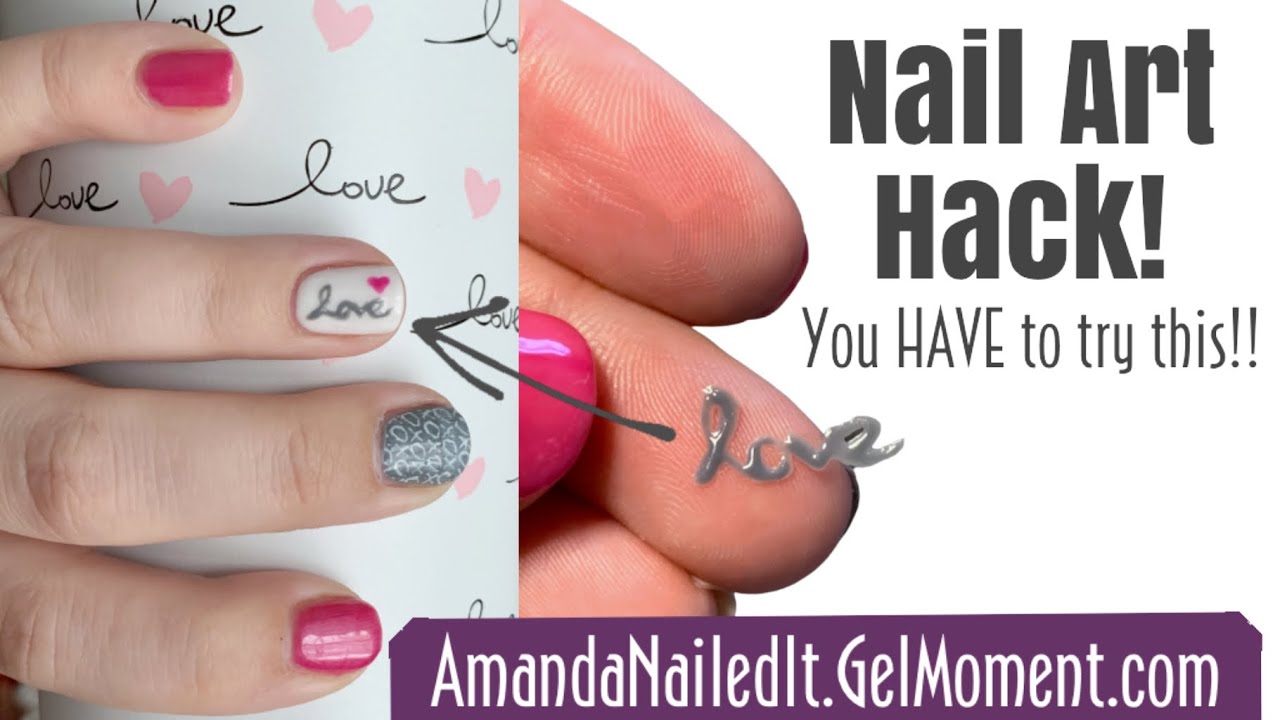
Do you love gel polish nail art but don't have the time to spend hours on your nails? Then these time-saving gel polish nail art hacks are perfect for you. We'll share some tips and tricks to help you achieve beautiful gel polish nail art in a fraction of the time. One hack we'll show you is how to create a gradient effect using just one gel polish color. We'll also share how to use a makeup sponge to create an ombre effect and how to use a fan brush to create a textured design. These hacks will not only save you time but also give you gorgeous results.8. Gel Polish Nail Art Hacks | Time-Saving Video Tutorial


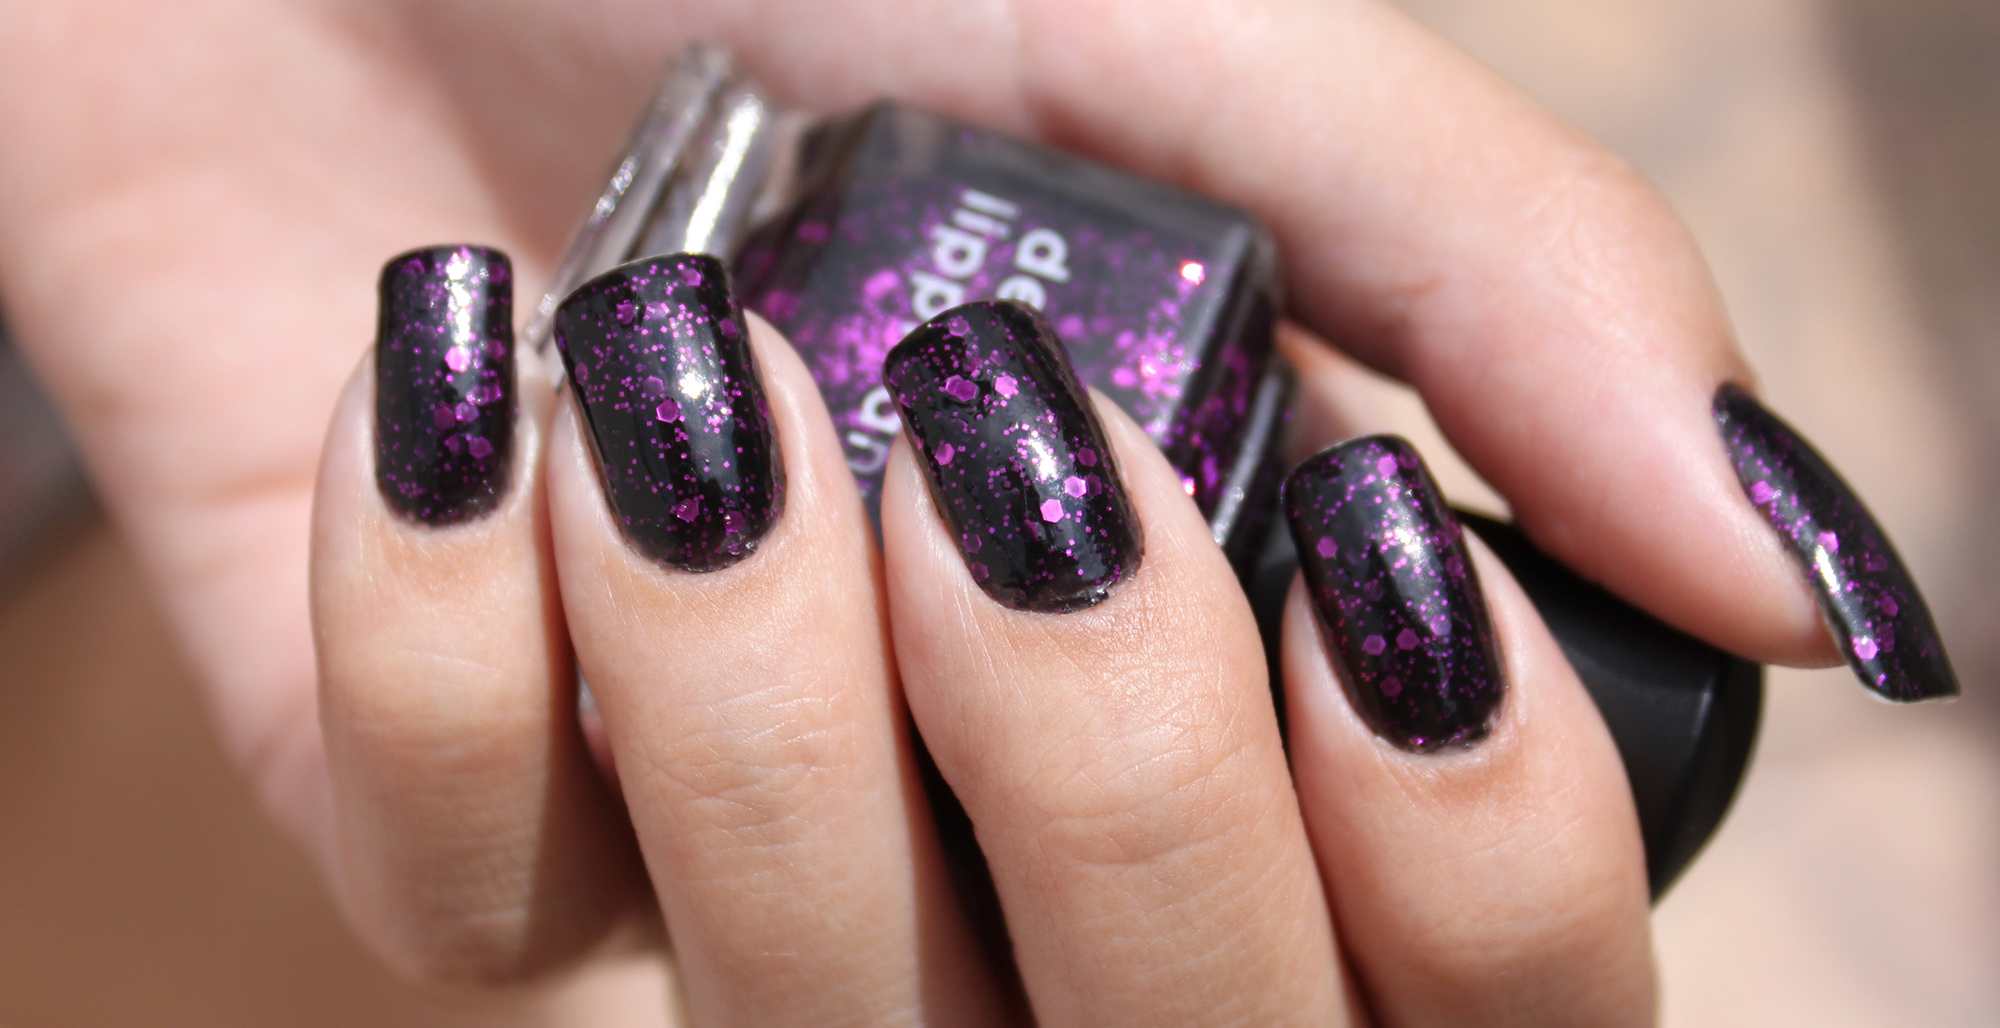
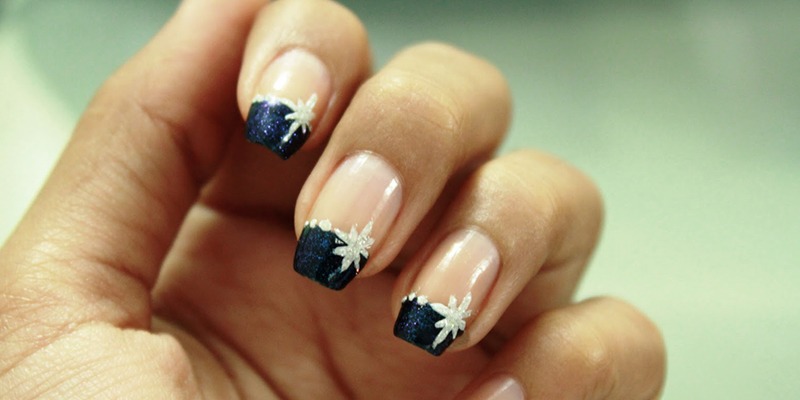
Best Nail Art Videos
If you want to stay on top of the latest gel polish nail art trends, this video is for you. We'll share the hottest gel polish nail art designs and techniques that are taking the beauty world by storm. From minimalist designs to bold and colorful patterns, we'll cover all the latest trends in gel polish nail art. You'll also learn about new products and tools that can help you achieve these trendy looks at home. Stay ahead of the game and keep your nails on-trend with this must-watch gel polish nail art video.9. Gel Polish Nail Art Trends | Latest Nail Art Video


5. Gel Polish Nail Art Ideas
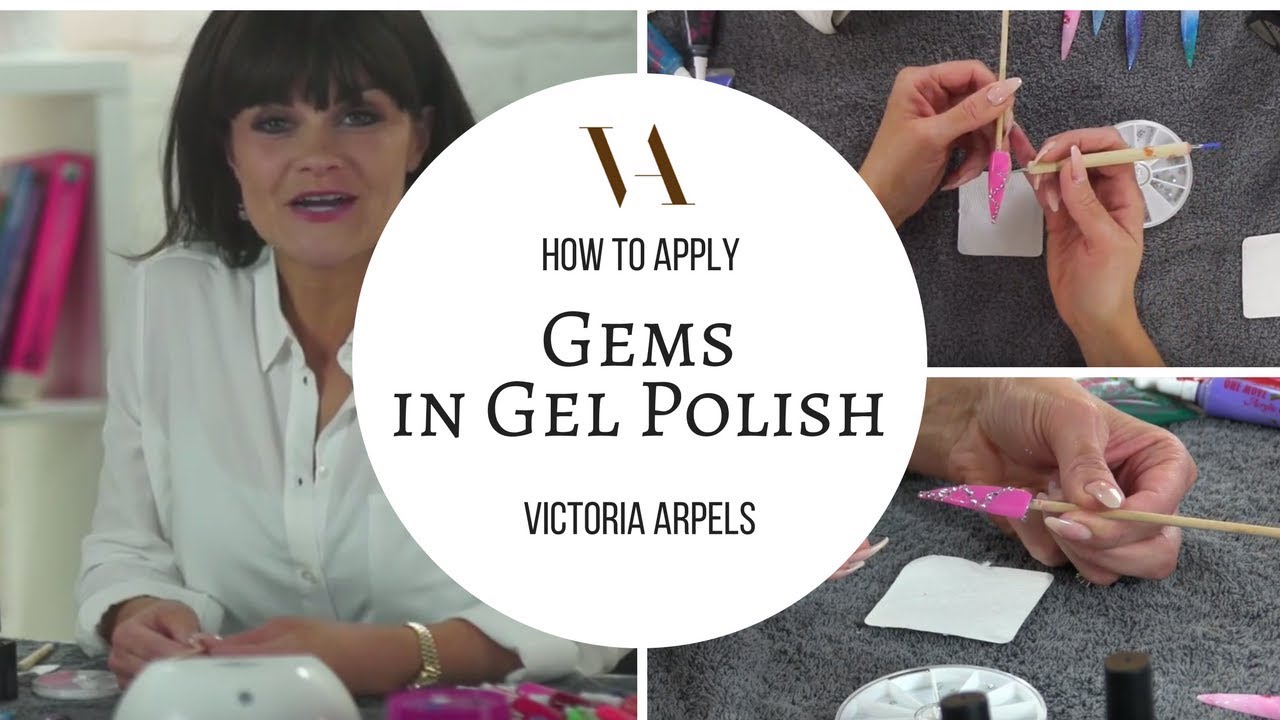
Last but not least, let's talk about the essential gel polish nail art supplies you need to create stunning nail art videos. Aside from the obvious gel polish and nail lamp, there are a few other products and tools that are crucial for creating professional-looking nail art videos. These include a good quality base and top coat, a variety of gel polish colors, nail art tools such as dotting tools and nail stamps, and a good camera or phone to film your videos. Having the right supplies will make a world of difference in the quality of your nail art videos. Invest in these must-have products, and you'll be on your way to creating amazing gel polish nail art videos that will impress your audience.10. Gel Polish Nail Art Supplies | Must-Have Products for Nail Art Videos


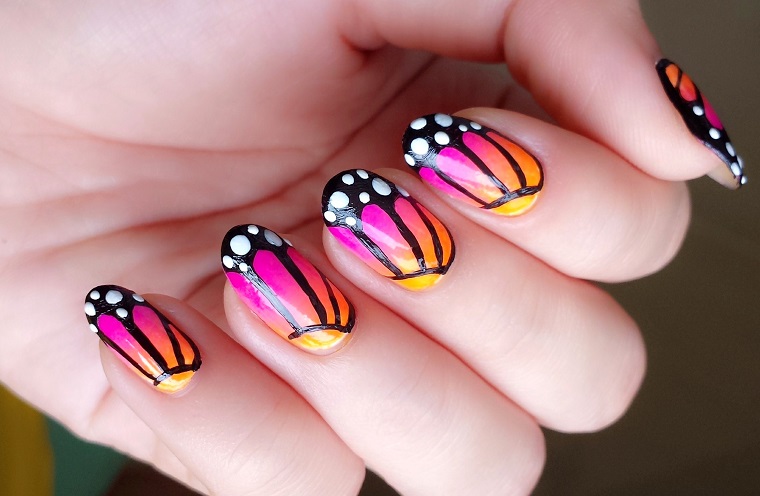
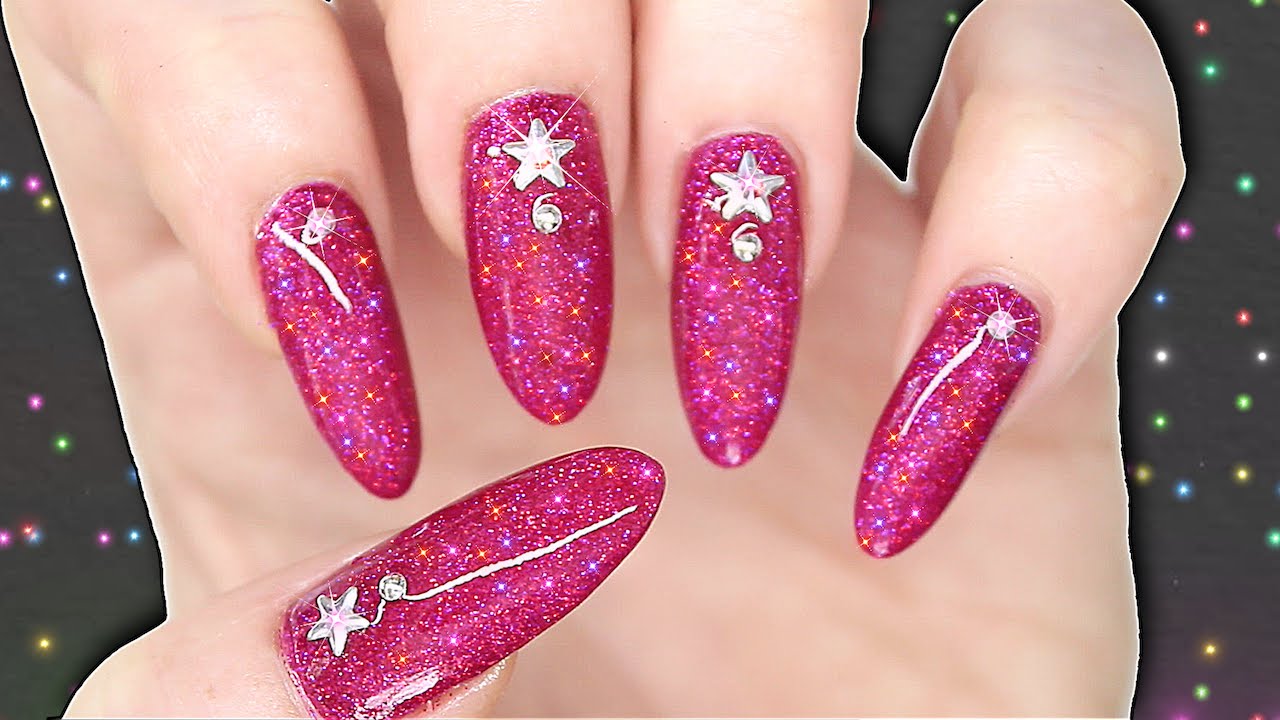
Creative Nail Art Video


How to Create Stunning Gel Polish Nail Art: A Step-by-Step Guide
Introduction to Gel Polish Nail Art
 Gel polish nail art is a popular trend in the world of beauty and fashion. It allows you to create beautiful and long-lasting designs on your nails using gel polish, a type of nail polish that is cured under a UV or LED lamp. This means your designs will stay intact for weeks without chipping or fading. Gel polish nail art has become a favorite among many because of its versatility and durability. In this article, we will guide you through the process of creating stunning gel polish nail art designs in the comfort of your own home.
Step 1: Gather Your Tools
 Before starting your gel polish nail art journey, make sure you have all the necessary tools. These include a base coat, gel polish colors of your choice, a topcoat, a UV or LED lamp, nail file, cuticle pusher, and alcohol wipes. You can also add other tools such as dotting tools, striping tape, and nail stamps for more intricate designs.
Step 2: Prep Your Nails
 To ensure your gel polish nail art lasts as long as possible, it is important to properly prep your nails. Start by removing any old nail polish and shaping your nails with a file. Push back your cuticles and use an alcohol wipe to clean your nails and remove any oils or residue.
Step 3: Apply a Base Coat
 Applying a base coat is crucial in gel polish nail art as it creates a smooth and even surface for the gel polish to adhere to. It also helps protect your natural nails from any potential damage. Apply a thin layer of base coat and cure it under the UV or LED lamp according to the instructions on the bottle.
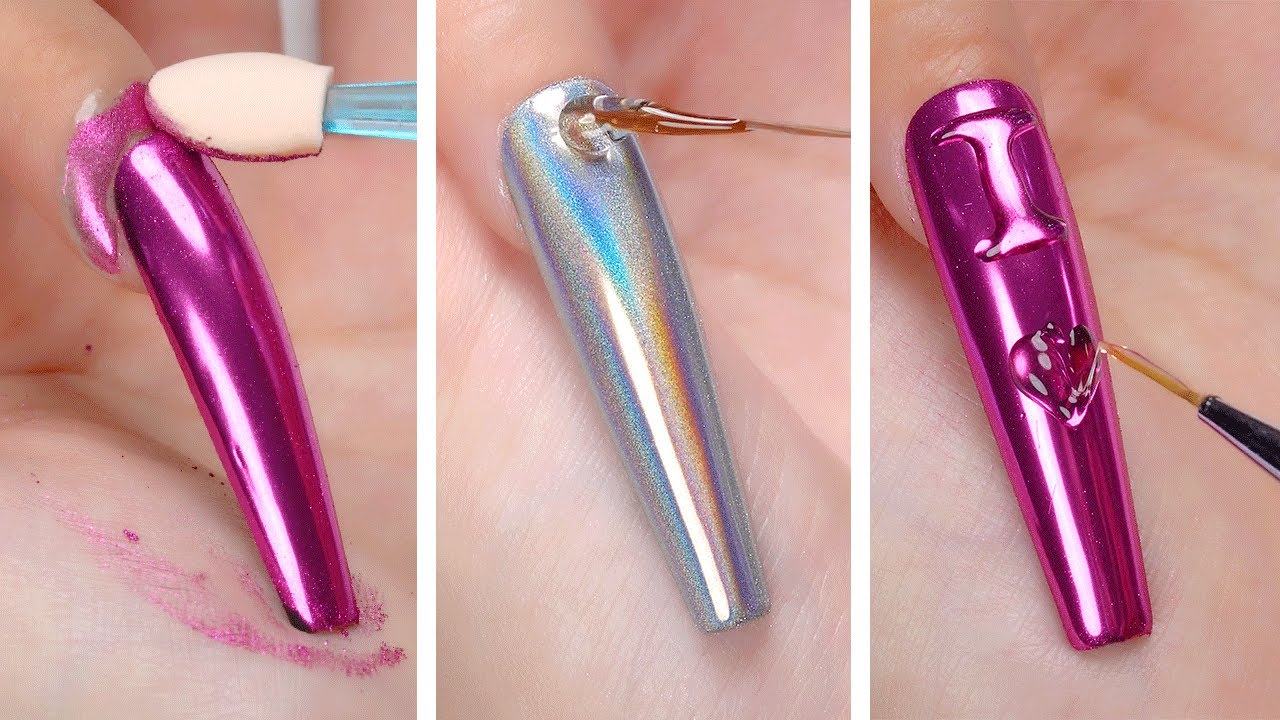
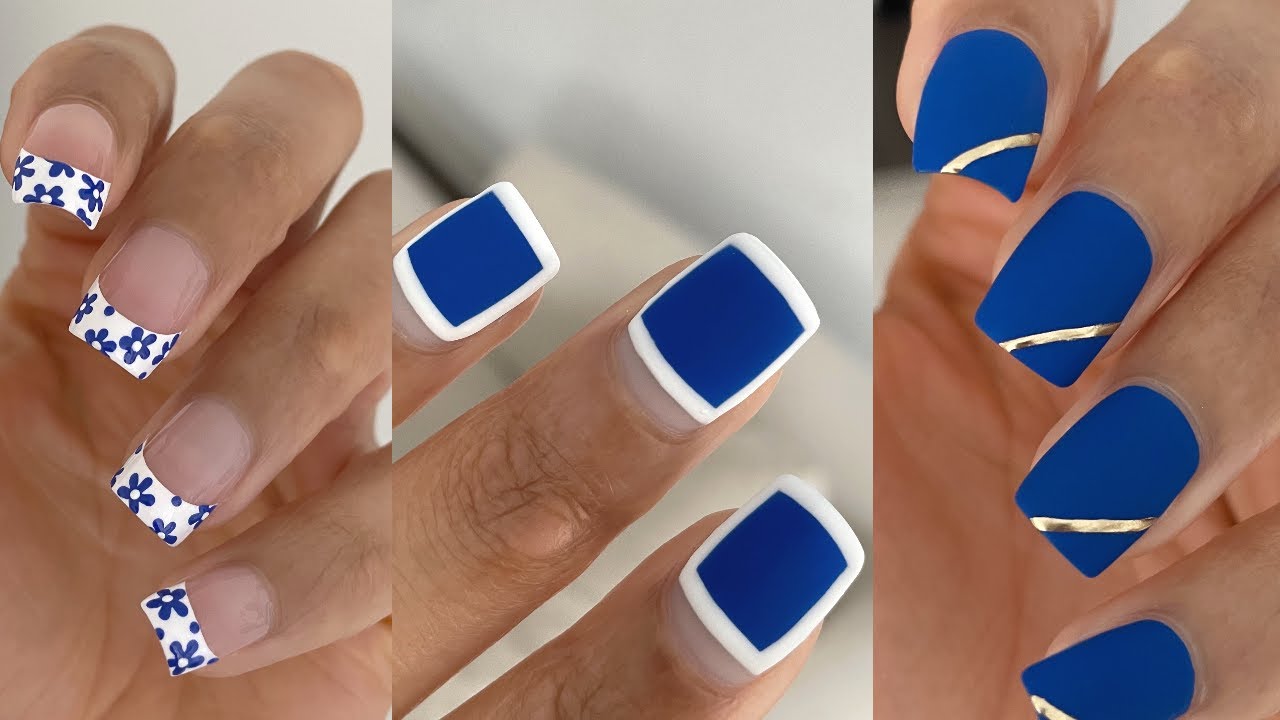
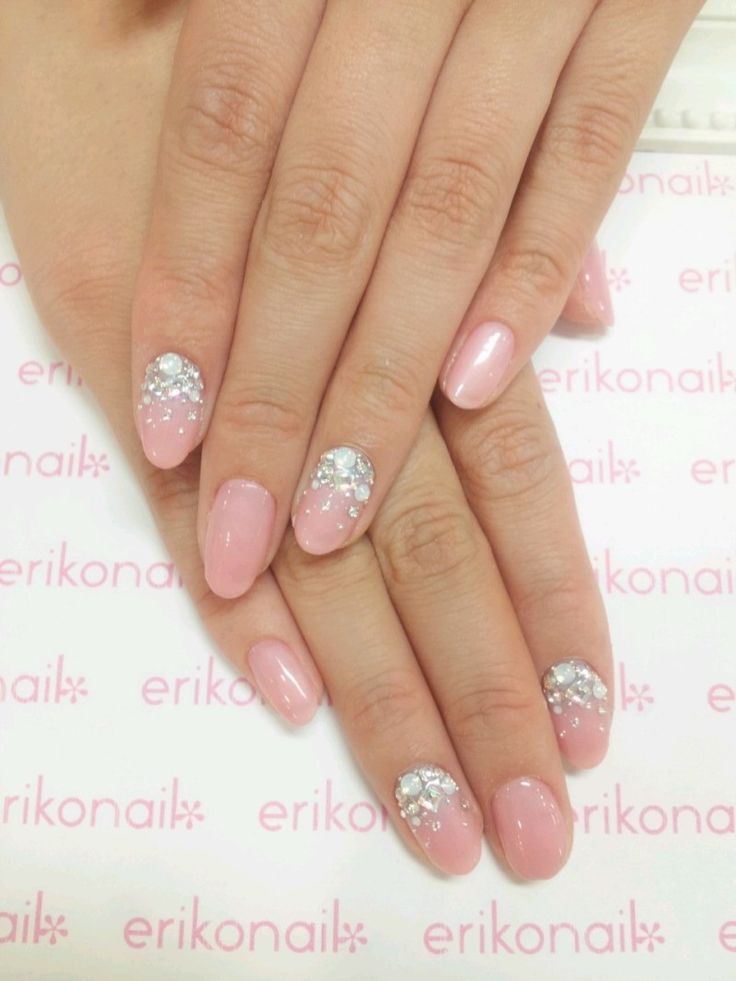
Step 4: Choose Your Design
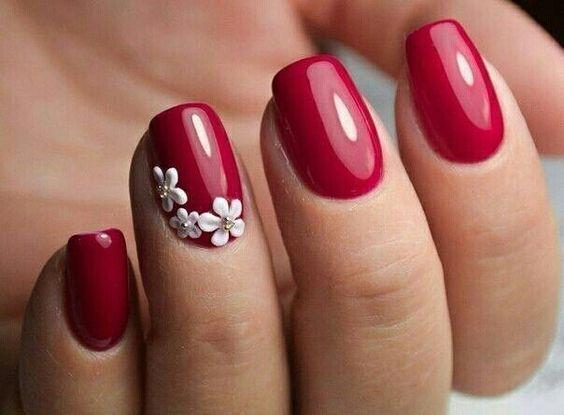
 Now comes the fun part – choosing your design! You can go for a simple solid color or get creative with different patterns, shapes, and even 3D designs. The possibilities are endless with gel polish nail art.
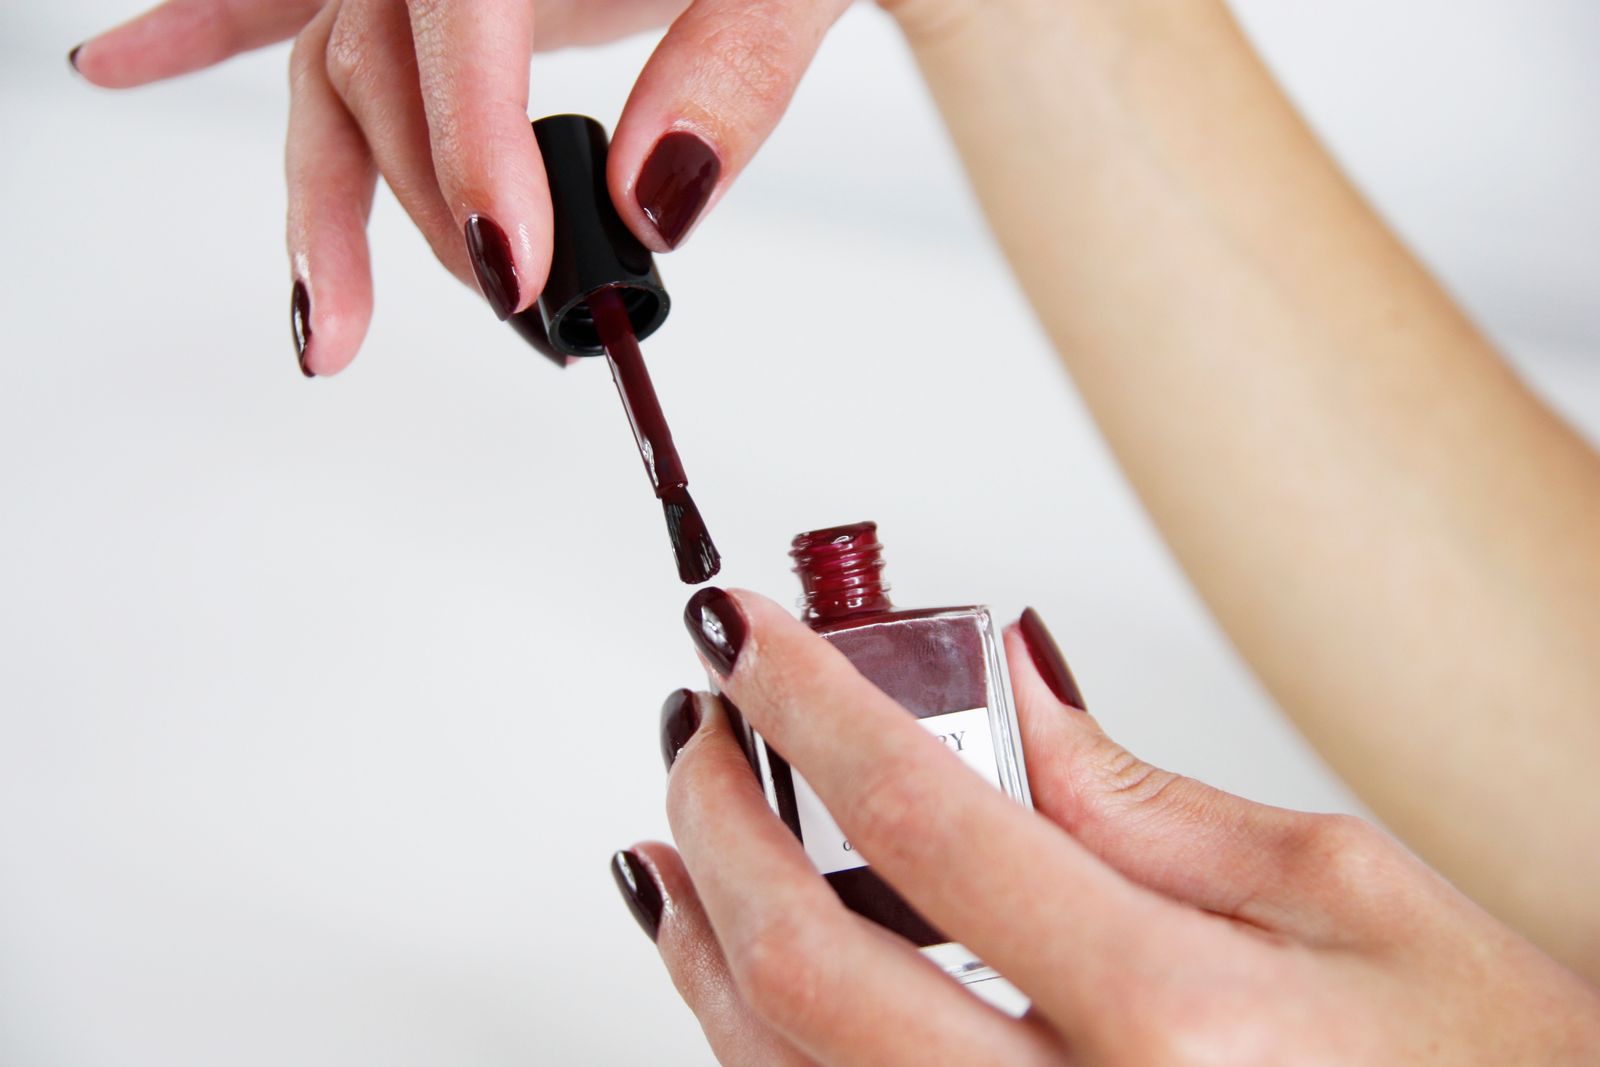
Step 5: Apply the Gel Polish
 Using a gel polish of your choice, apply a thin layer evenly on your nails. Make sure to cap the edges of your nails for a longer-lasting design. Cure the gel polish under the lamp for the recommended time.
Step 6: Add More Layers (Optional)
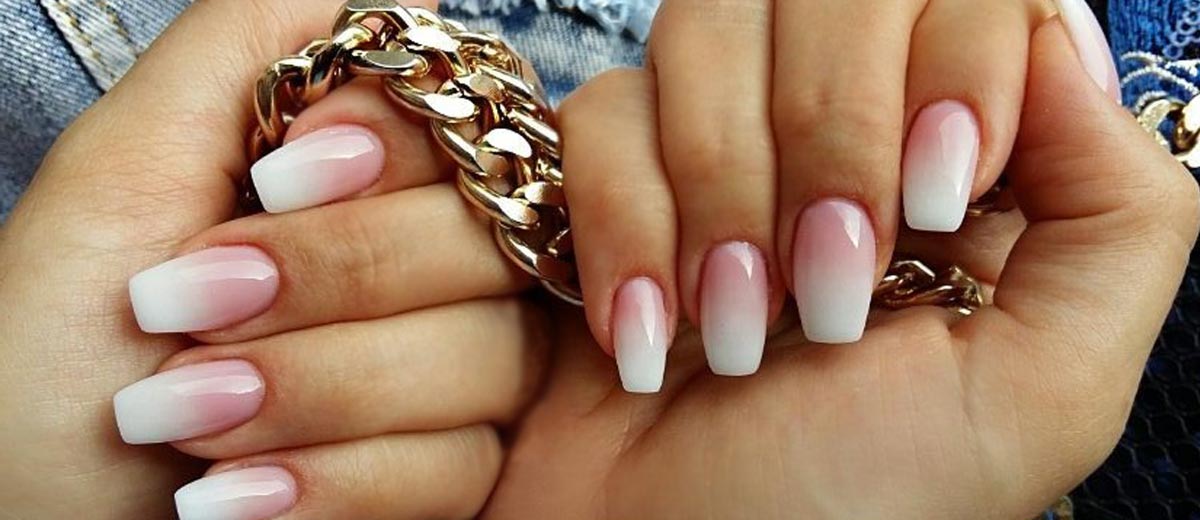
 If you want to add more depth to your design, you can apply additional layers of gel polish and cure each layer under the lamp. This can create a beautiful ombre effect or add dimension to your design.
Step 7: Seal It with a Topcoat
 To seal and protect your design, apply a topcoat and cure it under the lamp. This will give your nails a shiny and smooth finish.
Step 8: Clean Up
 After curing your topcoat, use an alcohol wipe to remove any sticky residue on your nails. This will also help give your nails a high shine.
Final Thoughts
 Congratulations! You have successfully created stunning gel polish nail art. With a little practice and creativity, you can achieve any design you desire. Experiment with different colors, patterns, and techniques to create unique and beautiful nail art. Don't be afraid to step out of your comfort zone and have fun with it!


