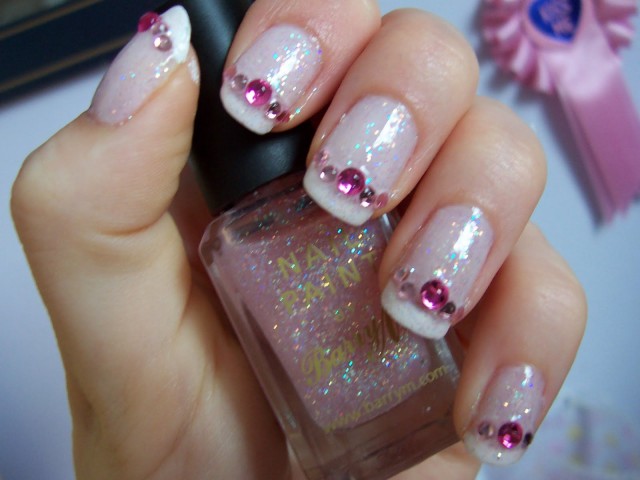
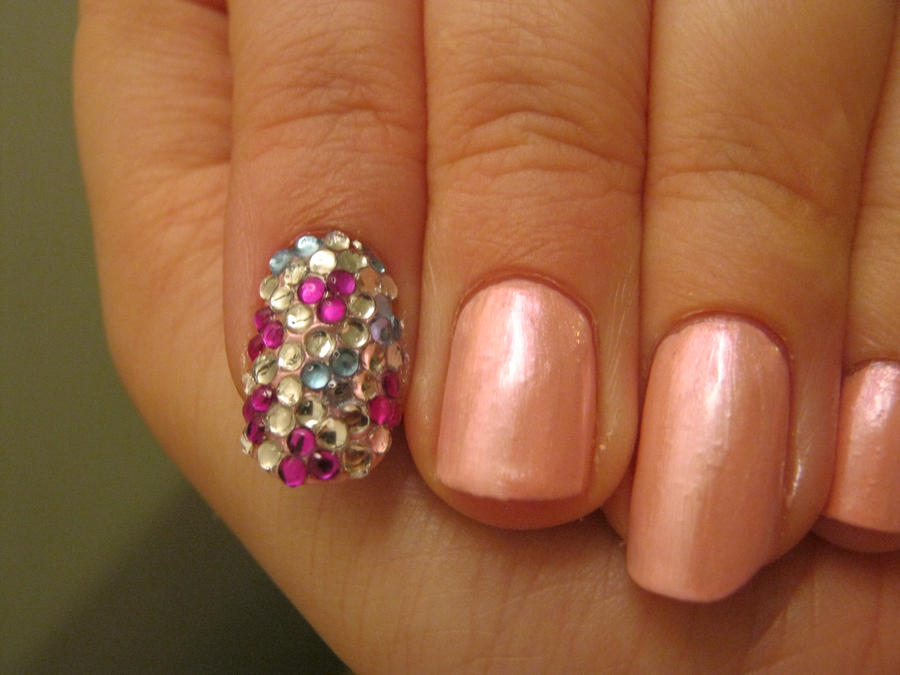
If you're new to the world of nail art, incorporating gems into your designs may seem intimidating. But fear not, we have an easy gem nail art tutorial just for beginners! All you need is a few simple tools and some creativity to achieve a stunning gem-inspired manicure. To start, gather your materials. You'll need a base coat, a top coat, your choice of nail polish, a small brush, and some gemstones or rhinestones. You can find a variety of these gemstones at your local beauty supply store or online. Begin by applying your base coat to clean, dry nails. This will help your polish adhere better and last longer. Next, choose your desired nail polish color and apply two coats for an even and opaque finish. Let the polish dry completely before moving on to the next step. Now comes the fun part – adding the gems! Using a small brush, apply a thin layer of top coat to the area where you want to place the gem. Then, using a toothpick or tweezers, carefully place the gem onto the wet top coat. Gently press down to secure the gem in place. Continue adding gems in a pattern or design of your choice, using different sizes and colors for added interest. Once you're happy with the placement, let the top coat dry completely to seal in the gems and prevent them from falling off. Finish off with a final layer of top coat to give your manicure a glossy and long-lasting finish. And there you have it – a stunning gem nail art design that's perfect for beginners!1. Easy Gem Nail Art Tutorial for Beginners


1. Easy Gem Nail Art Tutorial for Beginners


Looking for a fun and budget-friendly way to create your own gem nail art? Look no further than this DIY gem nail art tutorial! With just a few simple materials, you can create a unique and eye-catching manicure that will have everyone asking where you got it done. To start, you'll need a base coat, your choice of nail polish, a small brush, and some gemstones or rhinestones. You can also experiment with other materials like glitter or sequins for a different look. Begin by applying your base coat to clean, dry nails. This will help your polish adhere better and last longer. Next, choose your desired nail polish color and apply two coats for an even and opaque finish. Let the polish dry completely before moving on to the next step. Now, it's time to get creative! Using your small brush, apply a thin layer of top coat to the area where you want to add your gems. Then, using your chosen gems and tweezers, carefully place them onto the wet top coat in a pattern or design of your choice. Feel free to mix and match different sizes, colors, and shapes to create a unique and personalized look. You can also add other elements like glitter or sequins to add more dimension and texture to your design. Once you're satisfied with the placement, let the top coat dry completely to seal in the gems and prevent them from falling off. Finish off with a final layer of top coat for a glossy and long-lasting finish. And there you have it – your very own DIY gem nail art!2. DIY Gem Nail Art Tutorial


2. DIY Gem Nail Art Tutorial


Looking to add some sparkle and shine to your nails? This gemstone nail art tutorial is just what you need! With a little bit of patience and some gemstones or rhinestones, you can create a stunning and unique manicure that will make your nails stand out. Start by applying a base coat to clean, dry nails. This will help your polish adhere better and last longer. Next, choose your desired nail polish color and apply two coats for an even and opaque finish. Let the polish dry completely before moving on to the next step. Now, it's time to add the gemstones! Using a small brush, apply a thin layer of top coat to the area where you want to place the gem. Then, using a toothpick or tweezers, carefully place the gem onto the wet top coat. Gently press down to secure the gem in place. Continue adding gems in a pattern or design of your choice, using different sizes and colors for added interest. You can even create a gradient effect by using gems in different shades of the same color. Once you're happy with the placement, let the top coat dry completely to seal in the gems and prevent them from falling off. Finish off with a final layer of top coat for a glossy and long-lasting finish. And there you have it – a stunning gemstone nail art design!3. Gemstone Nail Art Tutorial


3. Gemstone Nail Art Tutorial


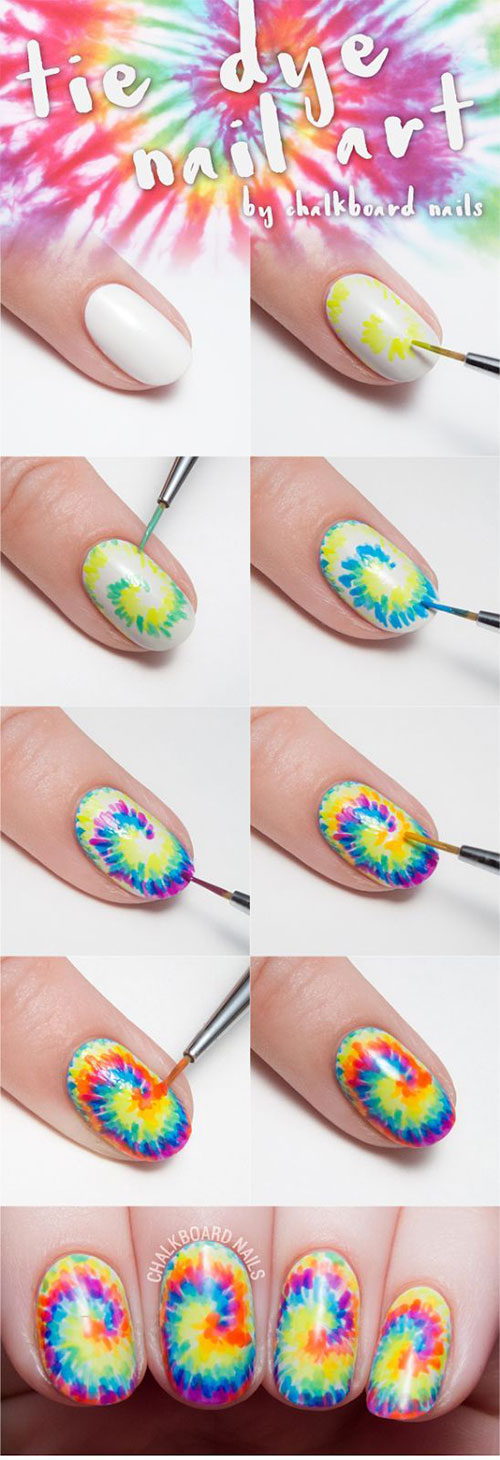
If you're a visual learner and prefer following step-by-step instructions, this gem nail art tutorial is perfect for you! We'll take you through each step of creating a gorgeous gem-inspired manicure, so you can easily recreate it at home. Start by applying a base coat to clean, dry nails. This will help your polish adhere better and last longer. Next, choose your desired nail polish color and apply two coats for an even and opaque finish. Let the polish dry completely before moving on to the next step. Now, it's time to add the gems! Using a small brush, apply a thin layer of top coat to the area where you want to place the gem. Then, using a toothpick or tweezers, carefully place the gem onto the wet top coat. Gently press down to secure the gem in place. Continue adding gems in a pattern or design of your choice, using different sizes and colors for added interest. You can also add other elements like glitter or sequins to add more dimension and texture to your design. Once you're satisfied with the placement, let the top coat dry completely to seal in the gems and prevent them from falling off. Finish off with a final layer of top coat for a glossy and long-lasting finish. And there you have it – a stunning gem nail art design created step-by-step!4. Step-by-Step Gem Nail Art Tutorial


4. Step-by-Step Gem Nail Art Tutorial

If you want to achieve a gem nail art look without the hassle of placing individual gems, then this gem nail art tutorial using nail stickers is perfect for you! It's quick, easy, and gives you the same stunning result. Start by applying a base coat to clean, dry nails. Next, choose your desired nail polish color and apply two coats for an even and opaque finish. Let the polish dry completely before moving on to the next step. Now, it's time to apply the nail stickers! You can find a variety of gemstone or rhinestone nail stickers at your local beauty supply store or online. Simply peel off the sticker and place it onto your nail, pressing down gently to secure it in place. Continue adding stickers in a pattern or design of your choice, using different sizes and colors for added interest. You can also mix and match with other nail stickers like glitter or sequins to create a unique and personalized look. Once you're satisfied with the placement, finish off with a top coat to seal in the stickers and give your manicure a glossy finish. And there you have it – a gem nail art design using nail stickers!5. Gem Nail Art Tutorial Using Nail Stickers

5. Gem Nail Art Tutorial Using Nail Stickers


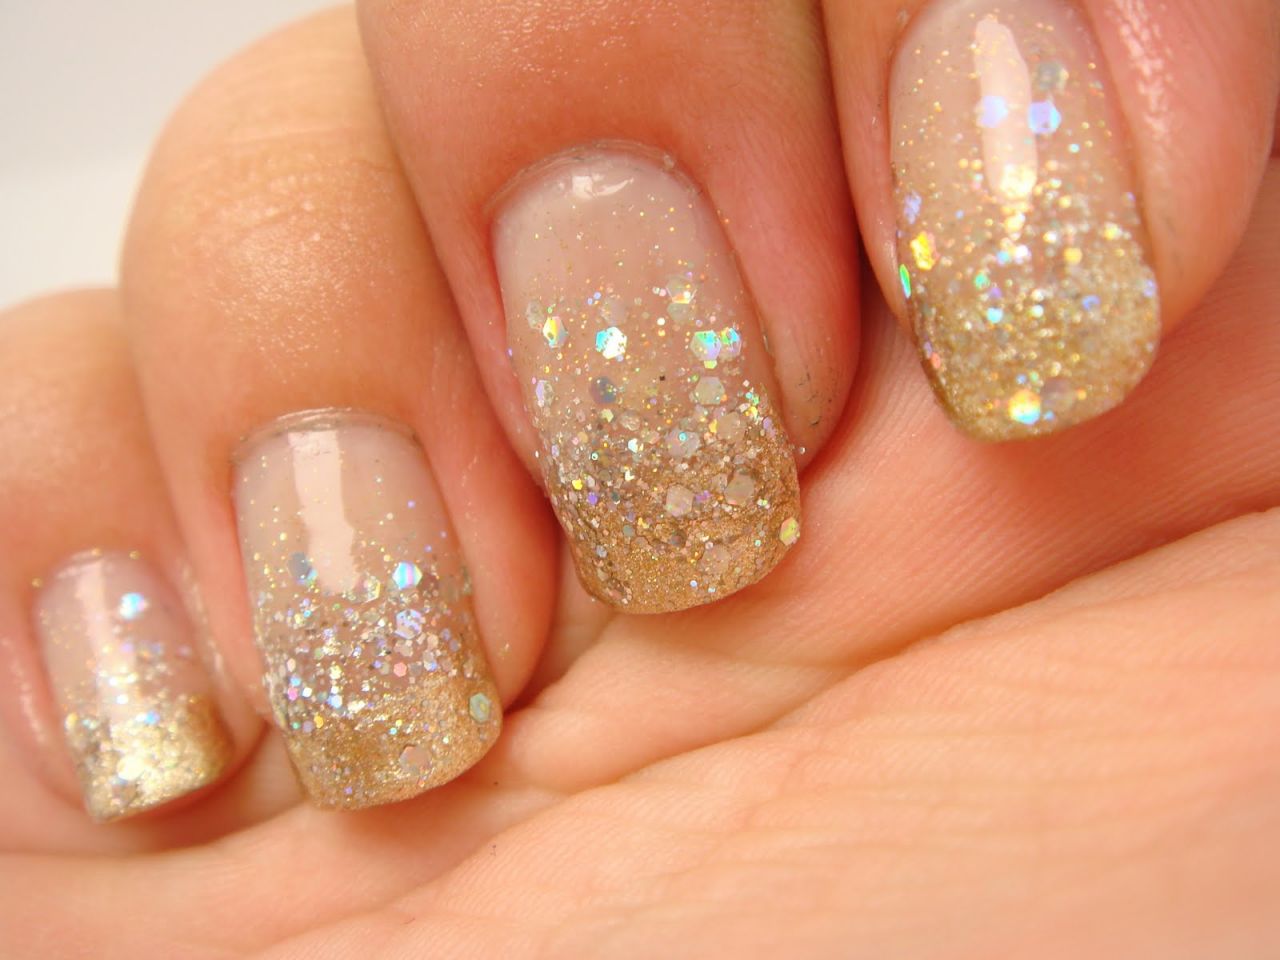
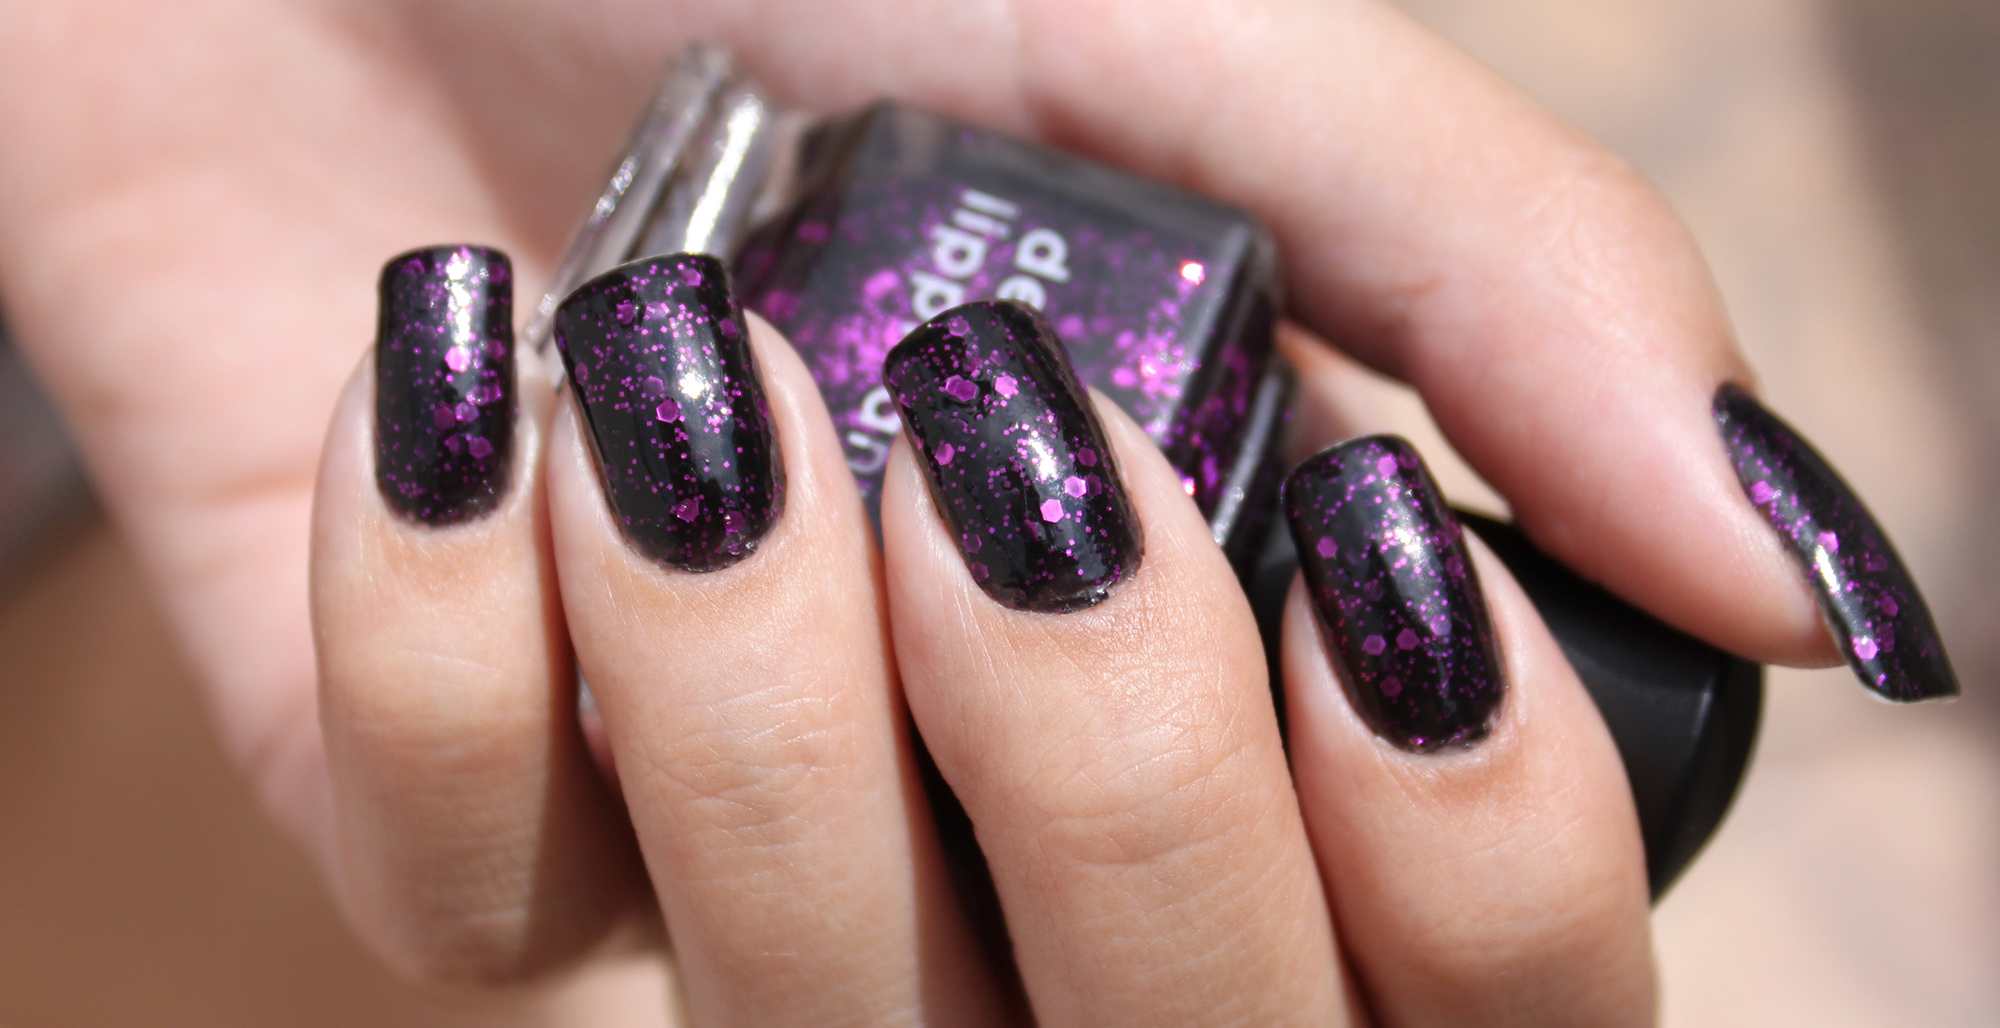
Want to take your gem nail art to the next level? This glitter and gem nail art tutorial is just what you need! It combines two popular nail art elements – glitter and gems – to create a stunning and eye-catching manicure. Start by applying a base coat to clean, dry nails. Next, choose your desired nail polish color and apply two coats for an even and opaque finish. While the polish is still wet, sprinkle some glitter onto your nails using a small brush or sponge. Gently tap off any excess glitter and let the polish dry completely. Next, using the same technique as before, add your gemstones or rhinestones onto the glittery areas of your nails. You can create a gradient effect by using gems in different sizes or colors, or simply place them randomly for a scattered look. Once you're happy with the placement, let the top coat dry completely to seal in the gems and give your manicure a glossy finish. And there you have it – a glittery and gem-filled nail art design!6. Glitter and Gem Nail Art Tutorial


6. Glitter and Gem Nail Art Tutorial


If you're a fan of gel polish, you can still achieve a stunning gem nail art design with this tutorial! Gel polish is known for its long-lasting and glossy finish, making it the perfect base for your gem designs. Start by applying a base coat to clean, dry nails. Then, choose your desired gel polish color and apply two coats, curing each layer under a UV or LED lamp according to the instructions on your polish. Next, using a small brush, apply a thin layer of top coat to the area where you want to place the gem. Then, using a toothpick or tweezers, carefully place the gem onto the wet top coat. Gently press down to secure the gem in place. Continue adding gems in a pattern or design of your choice, using different sizes and colors for added interest. Once you're satisfied with the placement, cure your nails under the lamp to seal in the gems. Finish off with a final layer of top coat for a glossy and long-lasting finish. And there you have it – a gel polish gem nail art design that will last for weeks!7. Gem Nail Art Tutorial with Gel Polish


7. Gem Nail Art Tutorial with Gel Polish


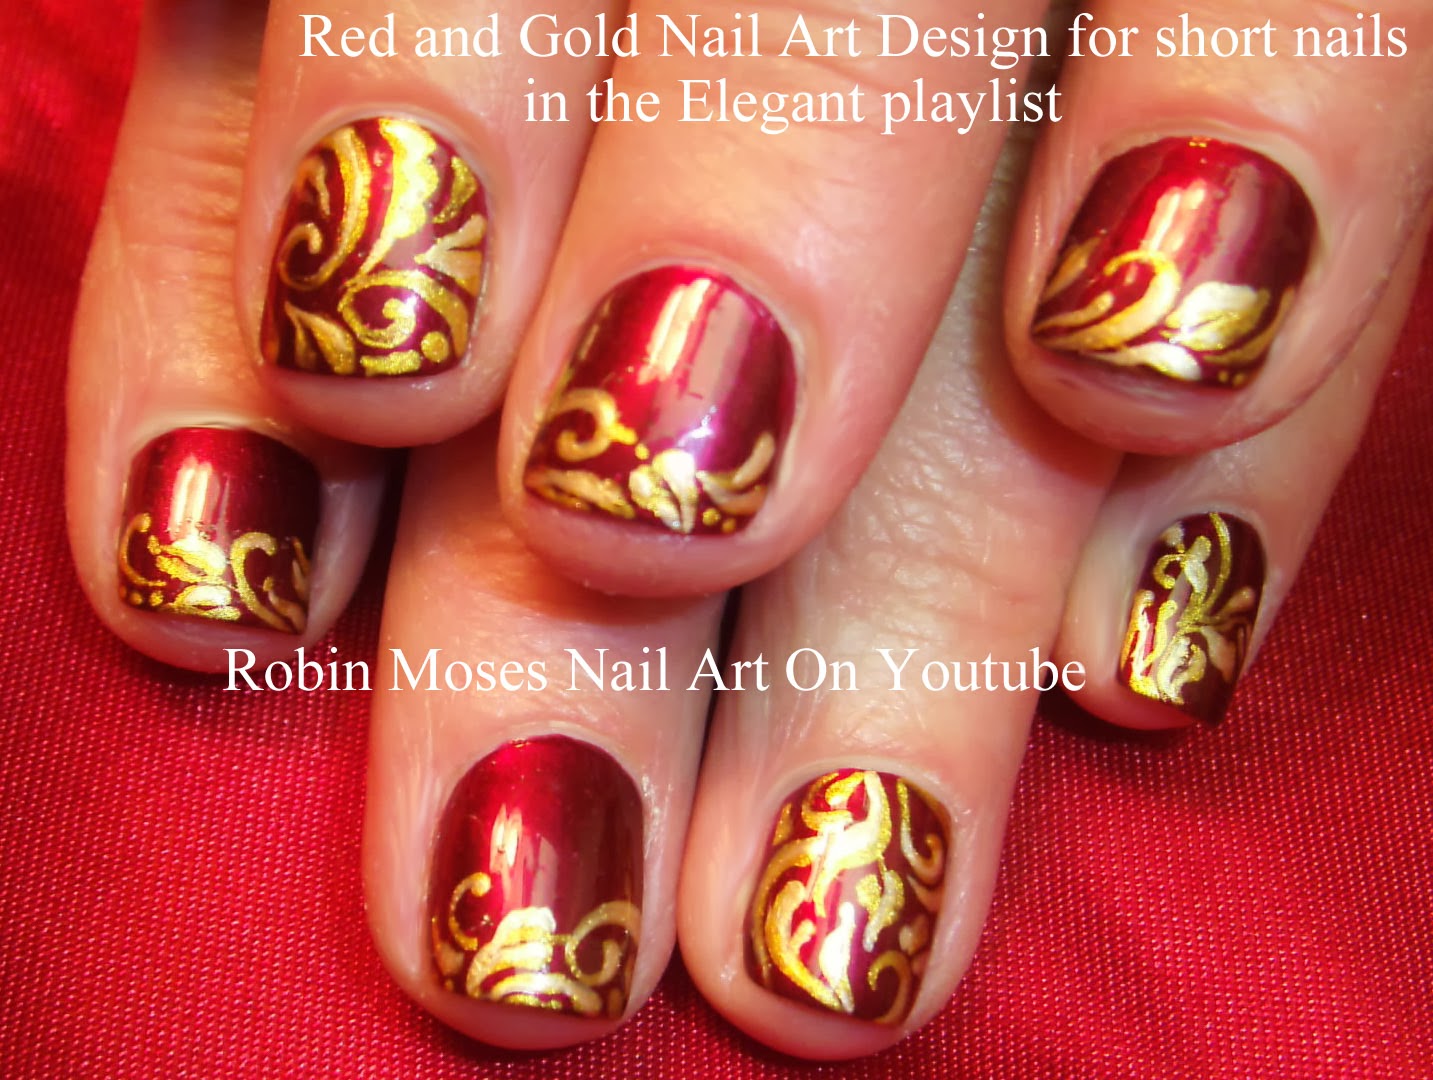
Think you can't rock gem nail art on short nails? Think again! This gem nail art tutorial is specifically designed for those with shorter nails, so you can still achieve a stunning and intricate design without having long nails. Start by applying a base coat to clean, dry nails. Next, choose your desired nail polish color and apply two coats for an even and opaque finish. Let the polish dry completely before moving on to the next step. Now, it's time to add the gems! Using a small brush, apply a thin layer of top coat to the area where you want to place the gem. Then, using a toothpick or tweezers, carefully place the gem onto the wet top coat. Gently press down to secure the gem in place. Continue adding gems in a pattern or design of your choice, using different sizes and colors for added interest. You can also add other elements like glitter or sequins to add more dimension and texture to your design. Once you're satisfied with the placement, let the top coat dry completely to seal in the gems and prevent them from falling off. Finish off with a final layer of top coat for a glossy and long-lasting finish. And there you have it – a beautiful gem nail art design for short nails!8. Gem Nail Art Tutorial for Short Nails

8. Gem Nail Art Tutorial for Short Nails


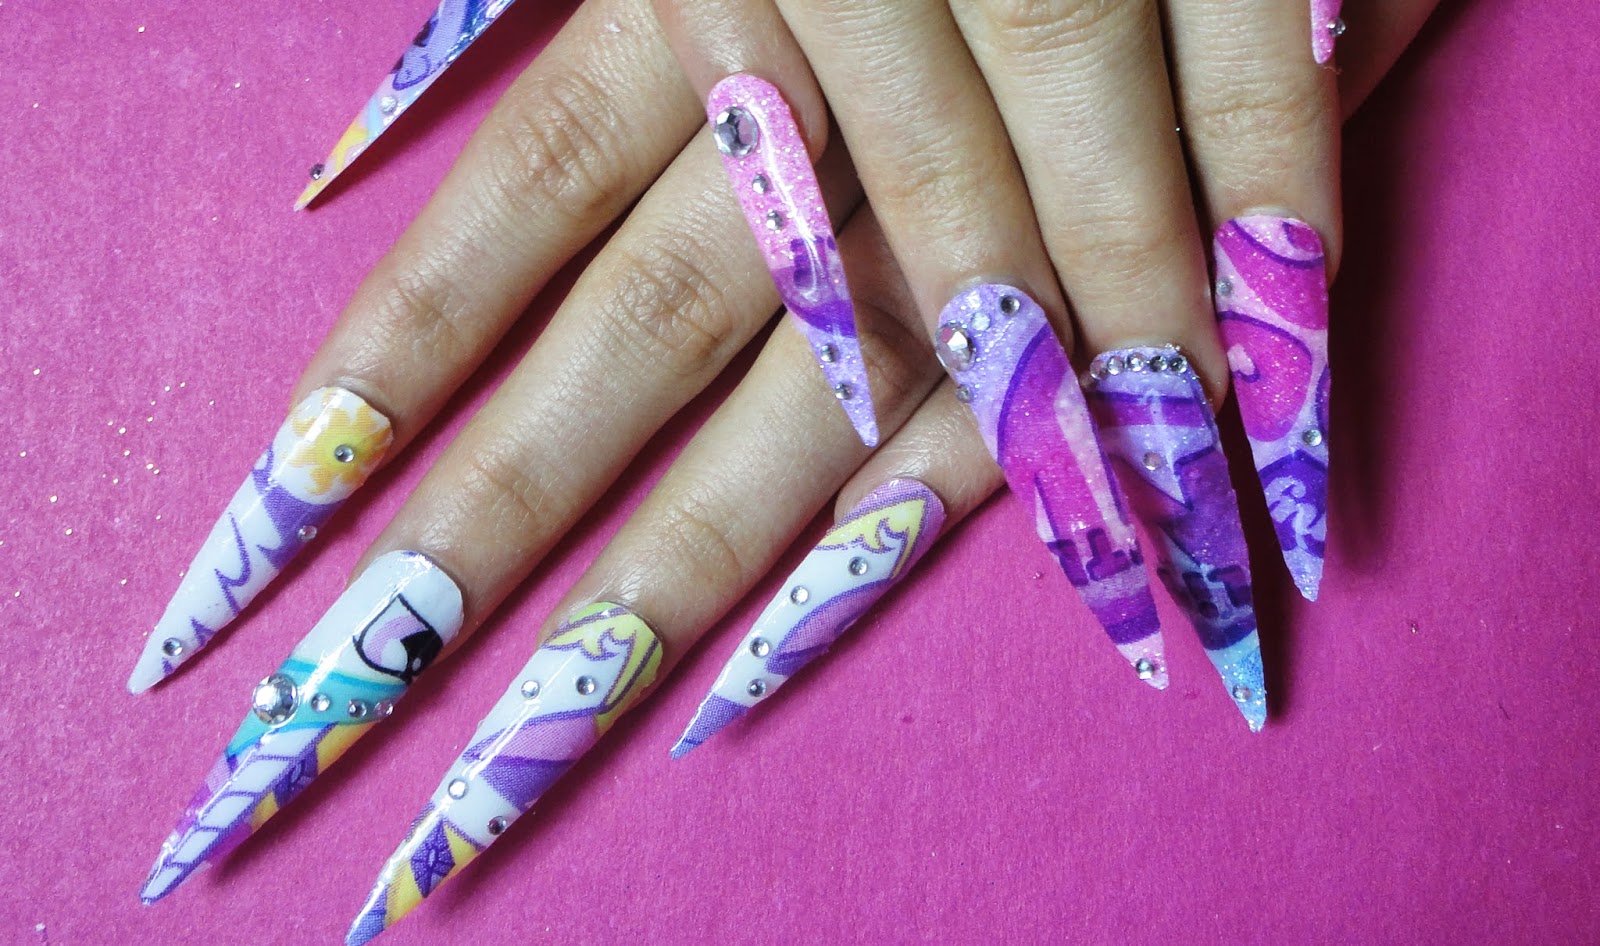
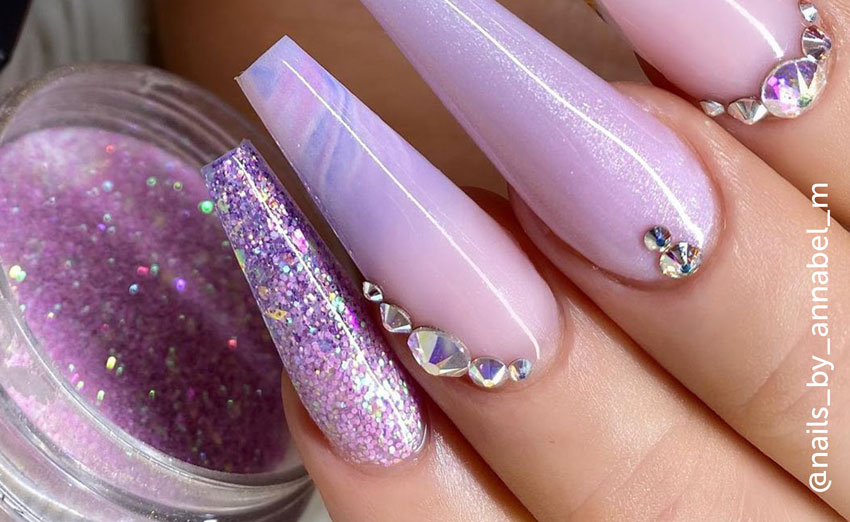
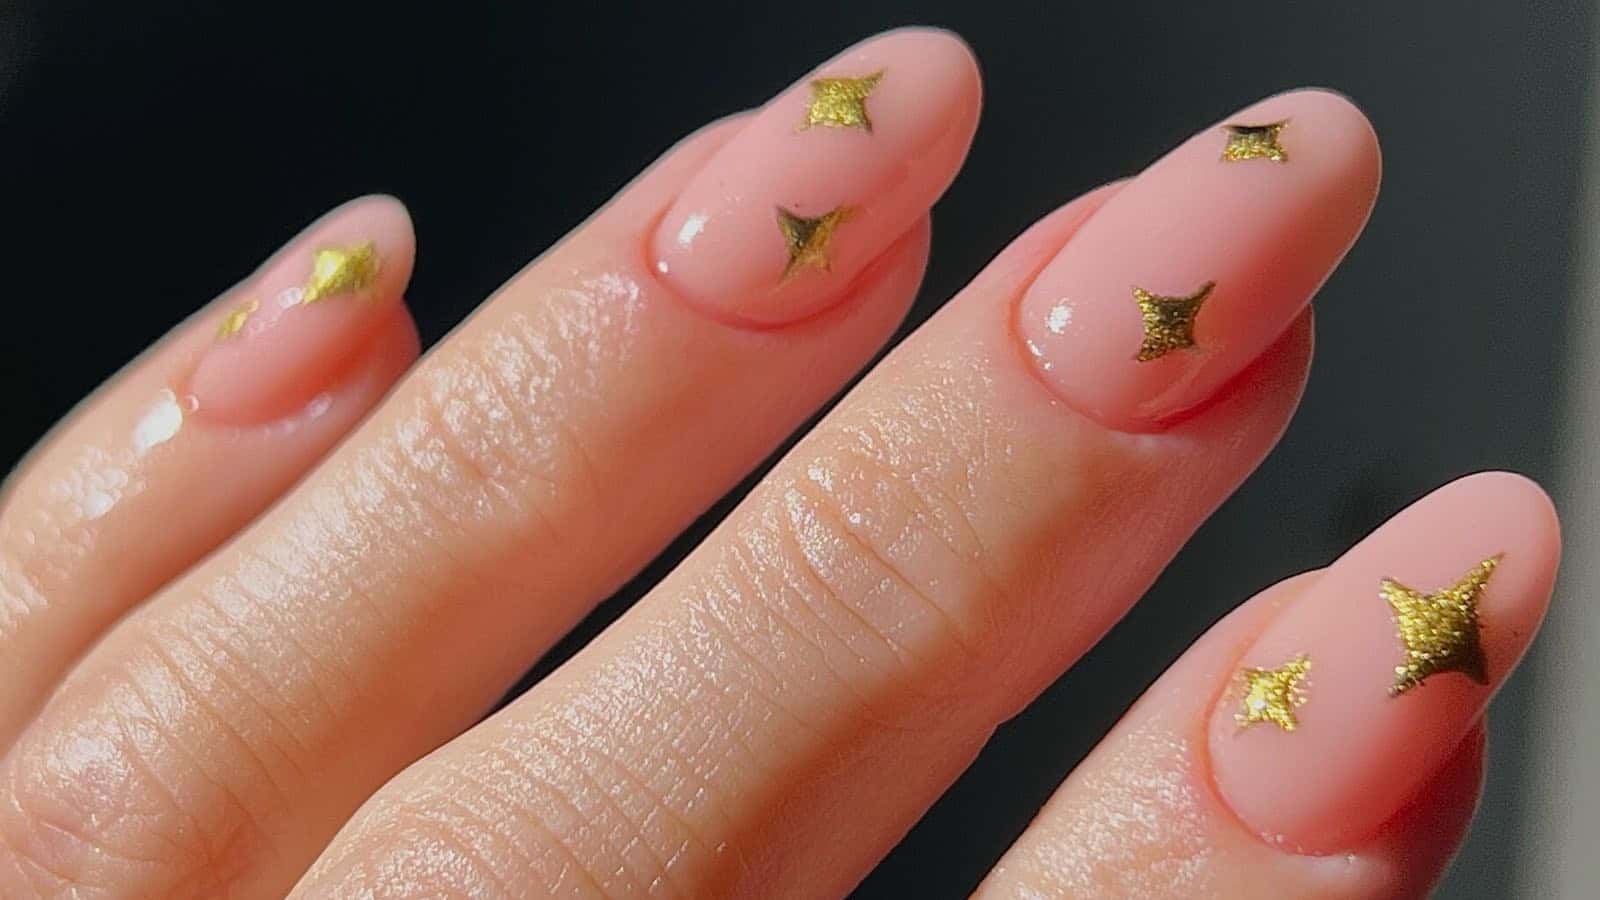
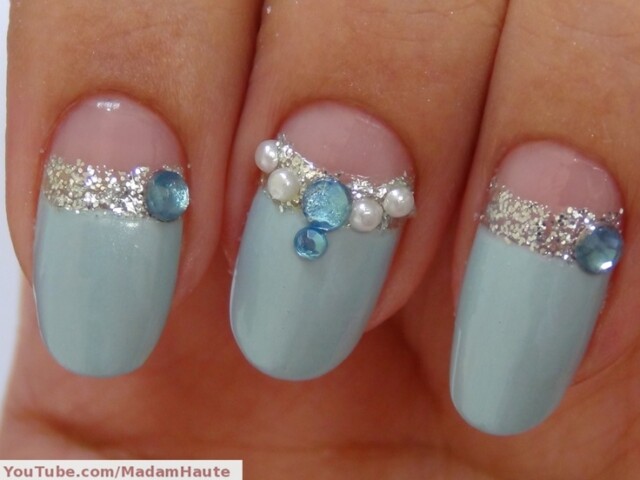
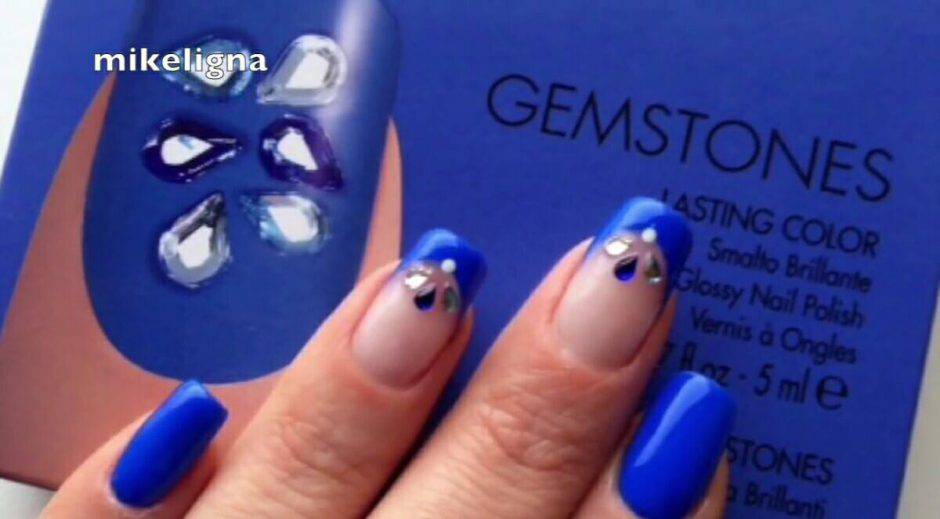
Rhinestones are a popular choice for gem nail art designs, and for good reason – they come in a variety of sizes and colors, making them perfect for creating intricate and eye-catching designs. Follow this tutorial to learn how to incorporate rhinestones into your gem-inspired manicure. Start by applying a base coat to clean, dry nails. Next, choose your desired nail polish color and apply two coats for an even and opaque finish. Let the polish dry completely before moving on to the next step. Now, it's time to add the rhinestones! Using a small brush, apply a thin layer of top coat to the area where you want to place the rhinestone. Then, using a toothpick or tweezers, carefully place the rhinestone onto the wet top coat. Gently press down to secure the rhinestone in place. Continue adding rhinestones in a pattern or design of your choice, using different sizes and colors for added interest. You can even create a gradient effect by using rhinestones in different shades of the same color. Once you're satisfied with the placement, let the top coat dry completely to seal in the rhinestones and prevent them from falling off. Finish off with a final layer of top coat for a glossy and long-lasting finish. And there you have it – a stunning gem nail art design with rhinestones!9. Gem Nail Art Tutorial with Rhinestones

9. Gem Nail Art Tutorial with Rhinestones
If you want to add some metallic shine to your gem nail art, try incorporating foil into your design! This gem nail art tutorial with foil will show you how to create a unique and eye-catching manicure that will have everyone asking how you did it. Start by applying a base coat to clean, dry nails. Next, choose your desired nail polish color and apply two coats for an even and opaque finish. While the polish is still wet, place a small piece of foil onto your nail, pressing down gently to transfer the foil onto your nails. Next, using a small brush, apply a thin layer of top coat to the area where you want to place the gem. Then, using a toothpick or tweezers, carefully place the gem onto the wet top coat. Gently press down to secure the gem in place. Continue adding gems in a pattern or design of your choice, using different sizes and colors for added interest. You can also add other elements like glitter or sequins to add more dimension and texture to your design. Once you're satisfied with the placement, let the top coat dry completely to seal in the gems and prevent them from falling off. Finish off with a final layer of top coat for a glossy and long-lasting finish. And there you have it – a stunning gem nail art design with foil!10. Gem Nail Art Tutorial with Foil


10. Gem Nail Art Tutorial with Foil

Creating a Glamorous Look with Gem Nail Art
Adding a Touch of Sparkle to Your Nails
 Nail art has become a popular trend in recent years, with different techniques and designs constantly emerging. One of the most eye-catching and glamorous styles is gem nail art. This technique involves adding small gems, jewels, or rhinestones to your nails to create a sparkly and luxurious look. In this tutorial, we will guide you through the steps to achieve this stunning style and elevate your nail game to the next level.
Gather Your Materials
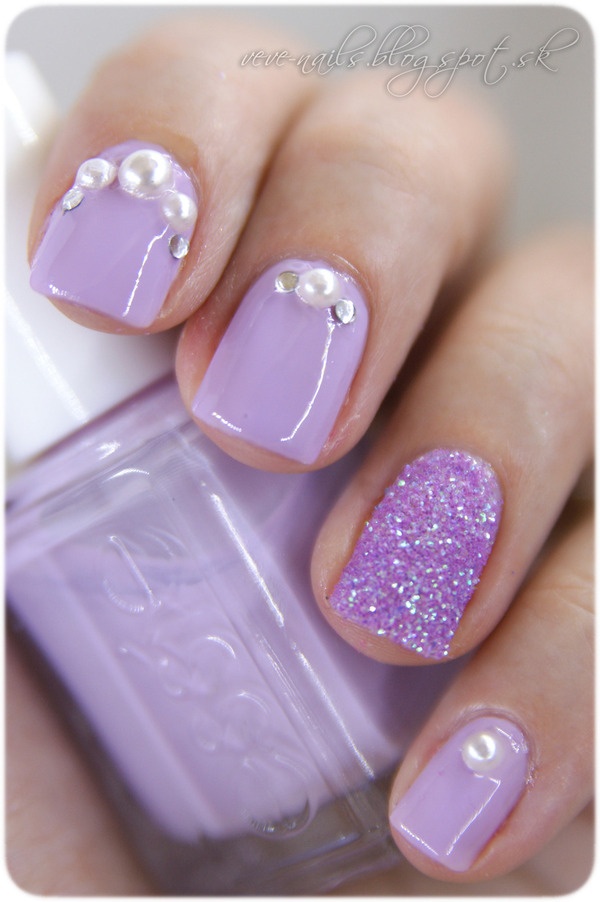
 Before starting, make sure you have all the necessary materials to create gem nail art. You will need a base coat, top coat, nail polish in your desired color, a toothpick or dotting tool, and a set of small gems or rhinestones. You can find these gems in various shapes, sizes, and colors, providing endless possibilities for your nail design.
Prep Your Nails
 The key to any successful nail art is to start with a clean and well-prepped nail surface. Begin by removing any old nail polish and shaping your nails to your desired length. Then, apply a base coat to protect your natural nails and ensure that your nail polish will last longer. Let the base coat dry completely before moving on to the next step.
Paint Your Nails
 Choose your favorite nail polish color and apply two coats for an opaque base. Once the second coat is dry, it's time to add the gems. Using a toothpick or dotting tool, apply a small amount of top coat to the desired area on your nail. This will act as a glue for the gems.
Pro tip: For a more secure hold, you can also use nail glue instead of top coat.
Use the toothpick or dotting tool to pick up a gem and carefully place it on the wet top coat. Repeat this process until you have the desired amount of gems on your nails.
Choose your favorite nail polish color and apply two coats for an opaque base. Once the second coat is dry, it's time to add the gems. Using a toothpick or dotting tool, apply a small amount of top coat to the desired area on your nail. This will act as a glue for the gems.
Pro tip: For a more secure hold, you can also use nail glue instead of top coat.
Use the toothpick or dotting tool to pick up a gem and carefully place it on the wet top coat. Repeat this process until you have the desired amount of gems on your nails.
Seal the Look
 Once you're satisfied with the placement of the gems, let them dry completely. Then, apply a top coat over the gems to seal them in place and add shine to your nails. This step also helps to smooth out any bumps or edges of the gems, giving your nails a professional finish.
Experiment with Different Designs
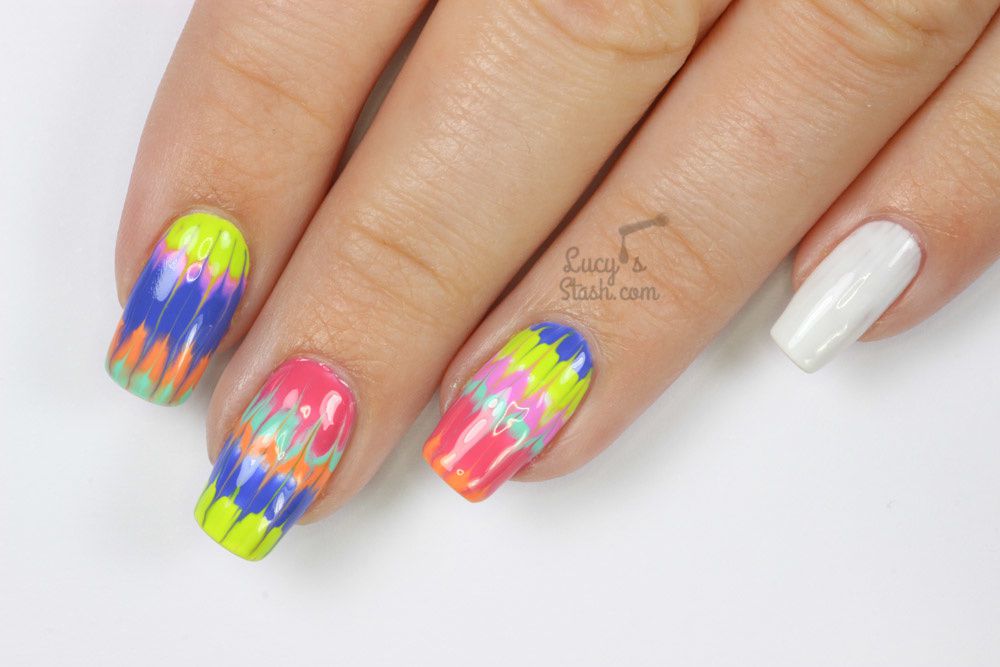
 Gem nail art offers endless possibilities for designs and combinations. You can create a simple accent nail with a single gem or go all out and create a full gem-covered nail. You can also experiment with different shapes and sizes of gems to create unique and intricate designs. Let your creativity run wild and have fun with it!
With these easy steps, you can achieve a glamorous and eye-catching look with gem nail art. So, gather your materials, prep your nails, and let your creativity shine through with this stunning nail trend. Don't be afraid to try new designs and have fun with it. Your nails will be the talk of the town with this glamorous and sparkly look.
Gem nail art offers endless possibilities for designs and combinations. You can create a simple accent nail with a single gem or go all out and create a full gem-covered nail. You can also experiment with different shapes and sizes of gems to create unique and intricate designs. Let your creativity run wild and have fun with it!
With these easy steps, you can achieve a glamorous and eye-catching look with gem nail art. So, gather your materials, prep your nails, and let your creativity shine through with this stunning nail trend. Don't be afraid to try new designs and have fun with it. Your nails will be the talk of the town with this glamorous and sparkly look.


