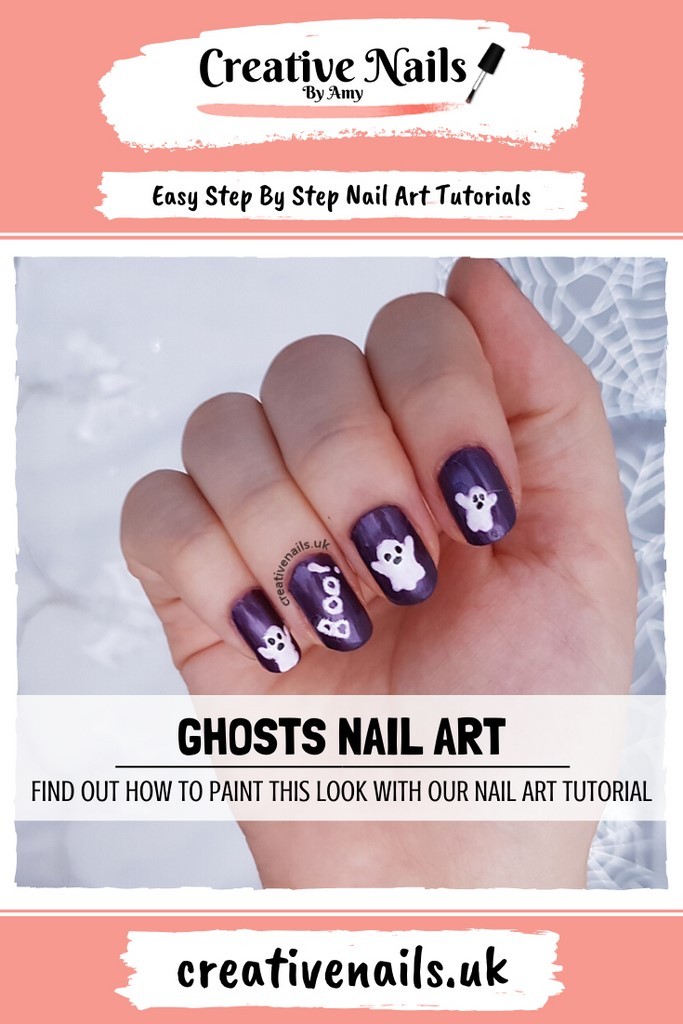
Create a fun and spooky look with this easy ghost nail art tutorial. All you need are a few simple tools and some white and black nail polish. Let's get started! Tools: White and black nail polish, toothpick, dotting tool, top coat Ghost nail art is perfect for Halloween or anytime you want to add a touch of eerie cuteness to your nails. This tutorial is great for beginners and doesn't require any special skills. Let's dive in!Easy Ghost Nail Art Tutorial


Easy Ghost Nail Art Tutorial


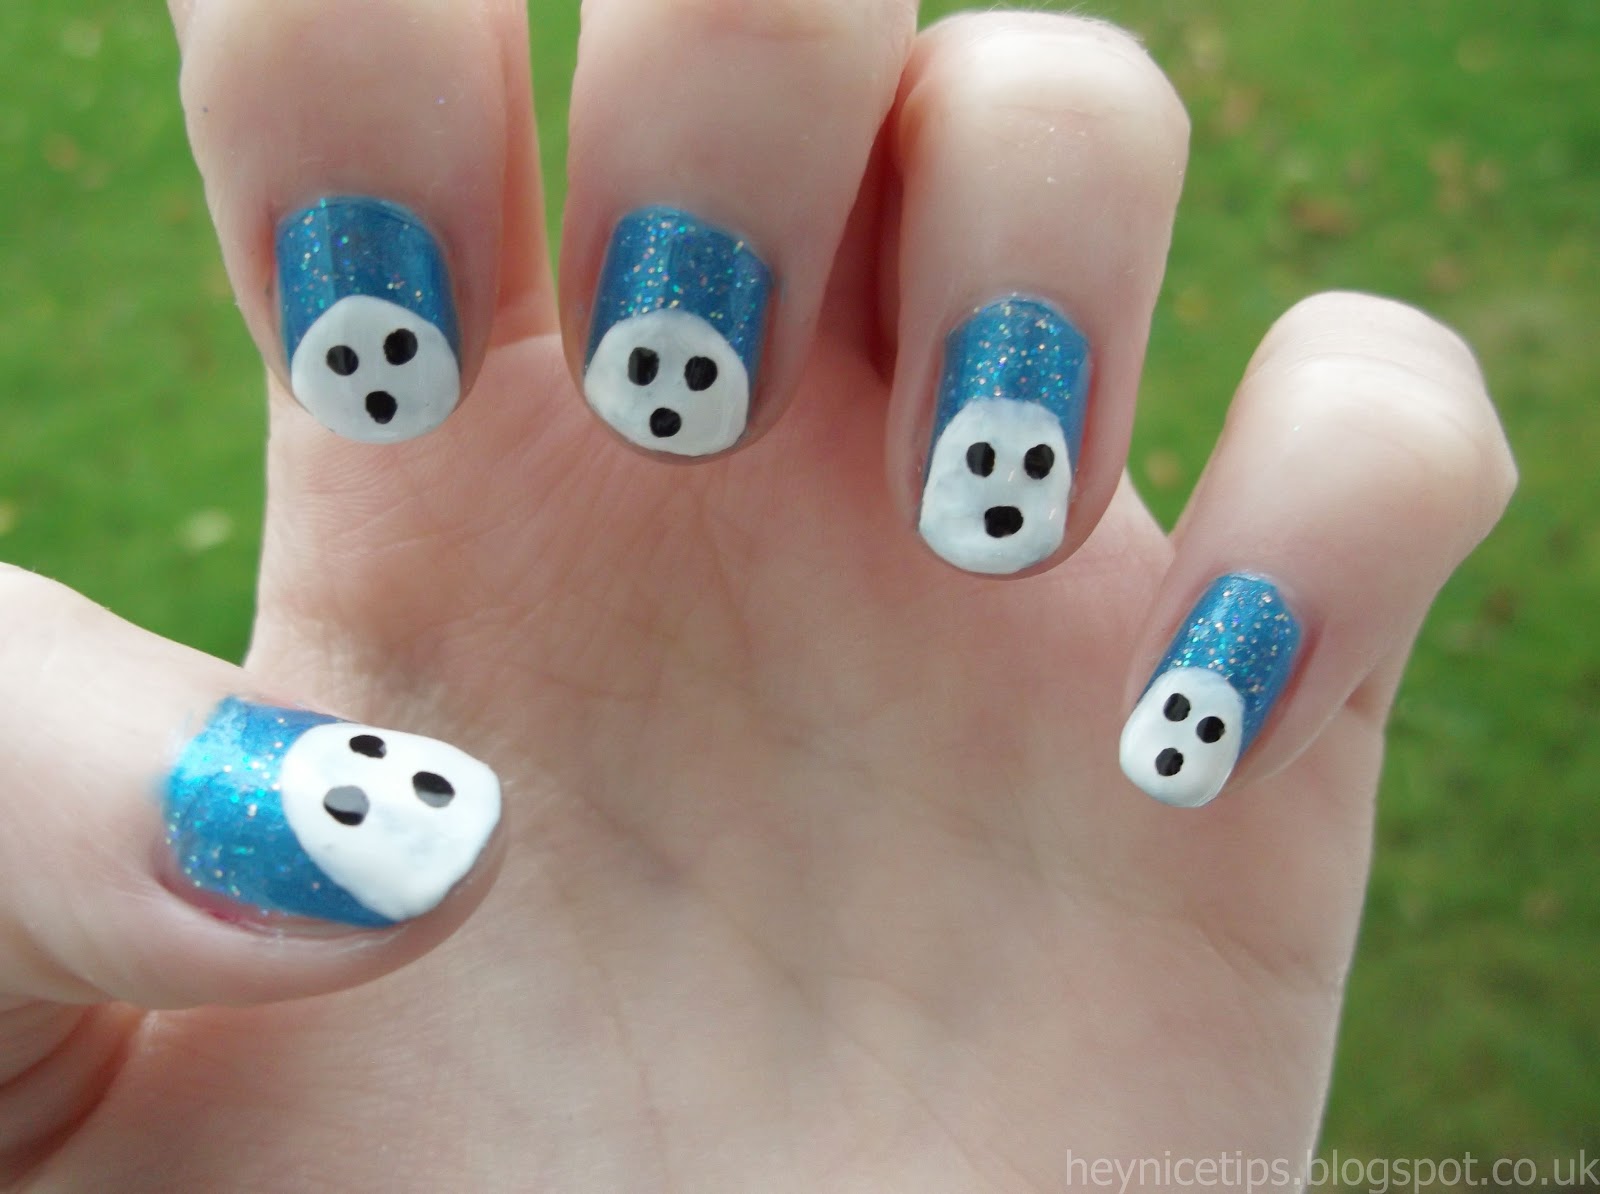
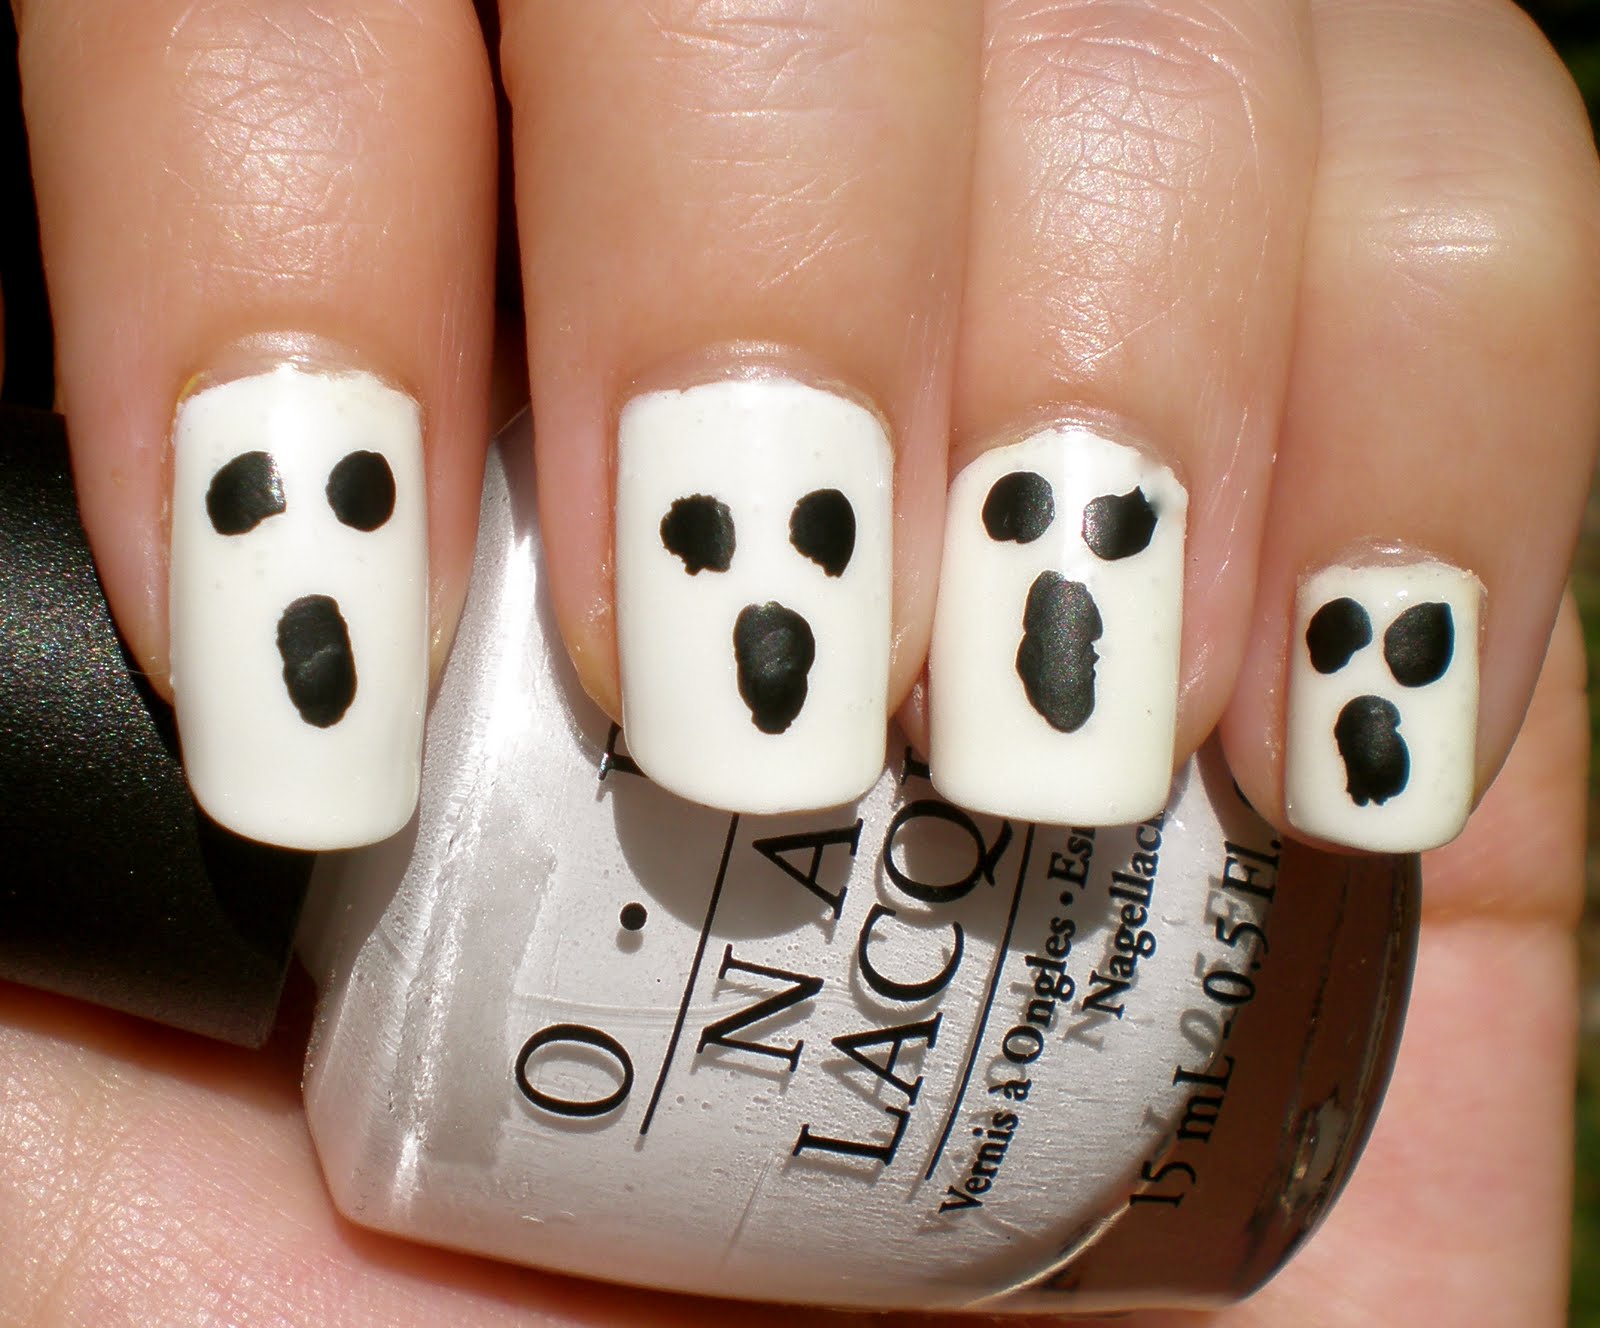
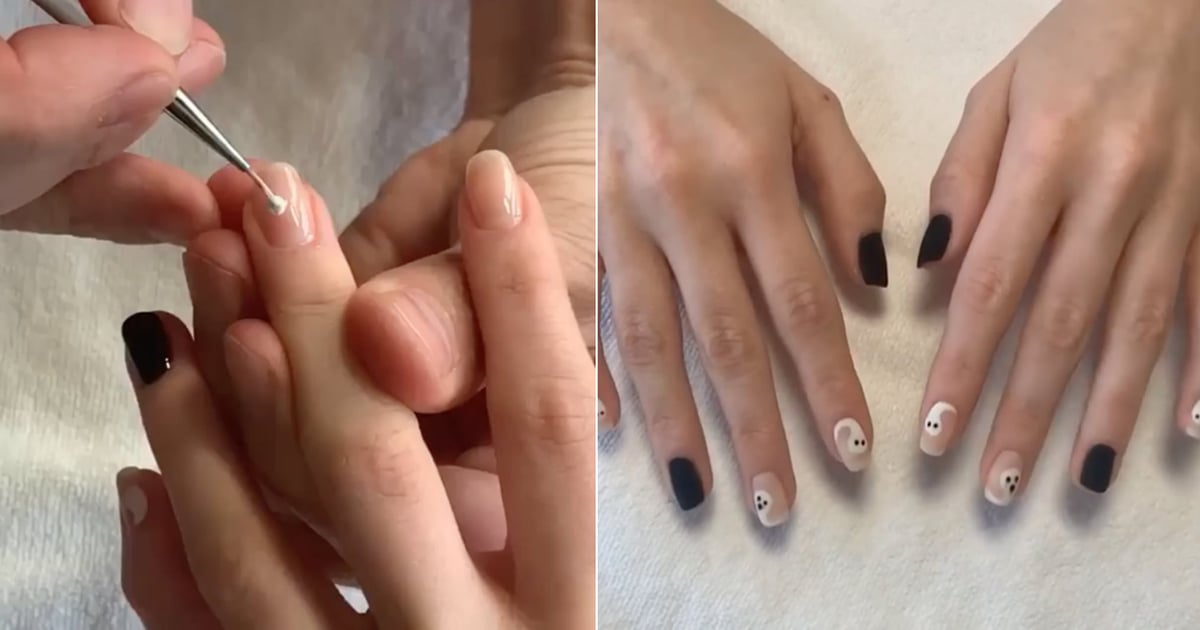
For this step-by-step ghost nail art tutorial, you'll need to start with a clean, dry base. Apply a base coat to protect your nails and let it dry completely before moving on to the next step. Step 1: Using the white nail polish, paint two coats on your nails and let them dry completely. Step 2: Using the black nail polish, create two small dots for the eyes of the ghost near the top of your nail. Step 3: Next, use the toothpick to create a small smile below the eyes. You can also use the toothpick to make any necessary touch-ups to the eyes. Step 4: Repeat this process on all of your nails and let them dry completely. Step 5: Once your nails are dry, apply a top coat to seal in your design and add shine. Step 6: Clean up any excess polish around your nails with a cotton swab dipped in nail polish remover. And just like that, you have a cute and simple ghost nail art design that's perfect for Halloween or any time of the year!Step-by-Step Ghost Nail Art Tutorial


Step-by-Step Ghost Nail Art Tutorial


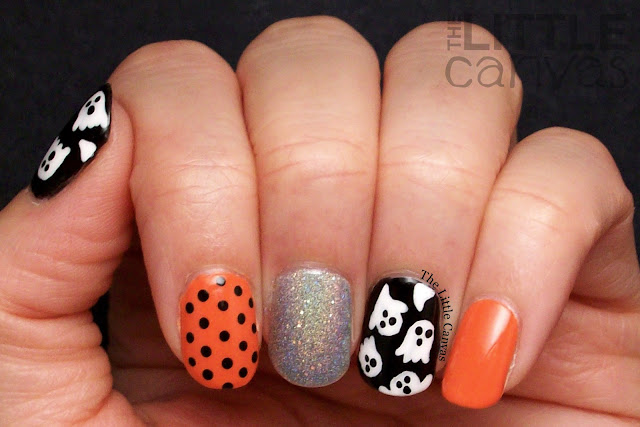
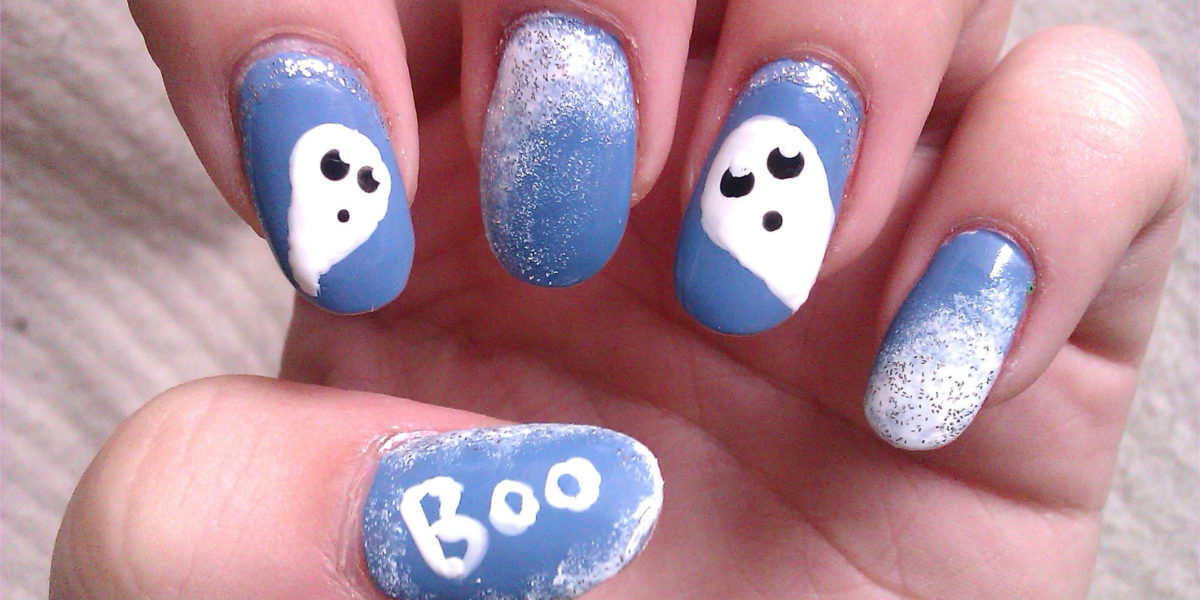
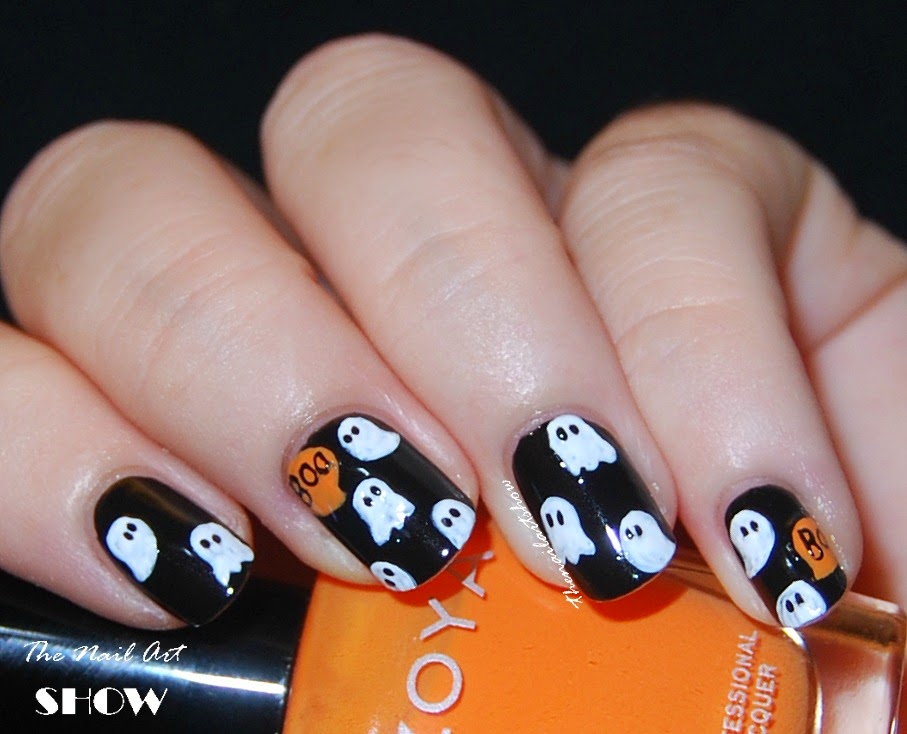
Get into the spooky spirit with this Halloween ghost nail art tutorial. It's the perfect way to add some Halloween vibes to your manicure without going over-the-top. Follow the steps in the step-by-step ghost nail art tutorial above to create your ghost design. Then, for an extra Halloween touch, you can add some black and orange accents to your other nails. You can use the dotting tool or toothpick to create small pumpkins, bats, or spiderwebs. Get creative and have fun with it!Halloween Ghost Nail Art Tutorial


Halloween Ghost Nail Art Tutorial
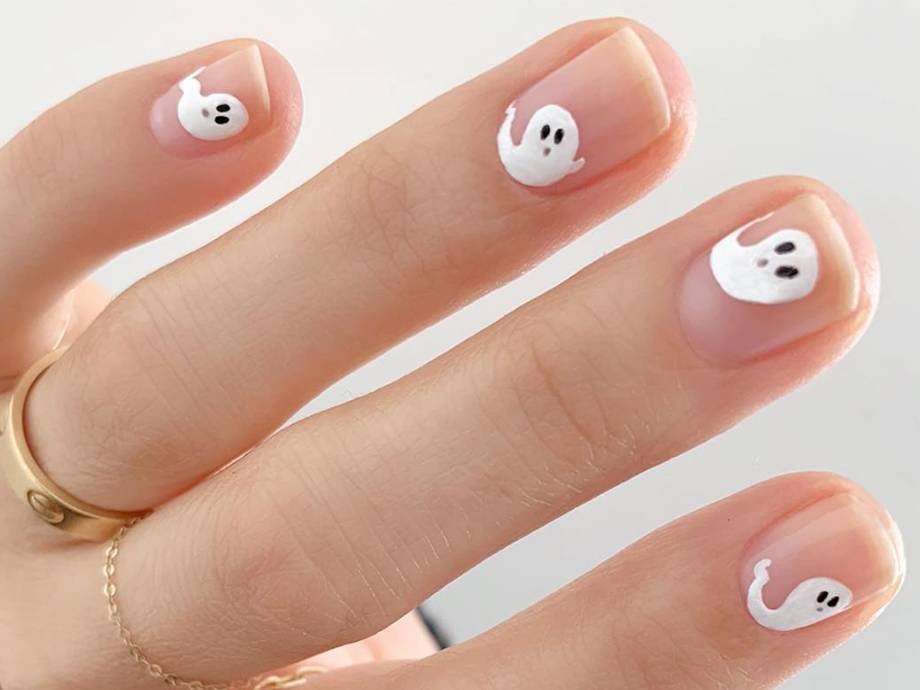
If you're looking for a cute ghost nail art tutorial, this one is for you. With its simple design and adorable ghost faces, you'll have the cutest nails around. To add an extra pop of cuteness, you can use a light pink or pastel purple as your base color instead of white. This will give your ghosts a softer and more playful look. You can also add some glitter on top of your base color for some extra sparkle.Cute Ghost Nail Art Tutorial

Cute Ghost Nail Art Tutorial

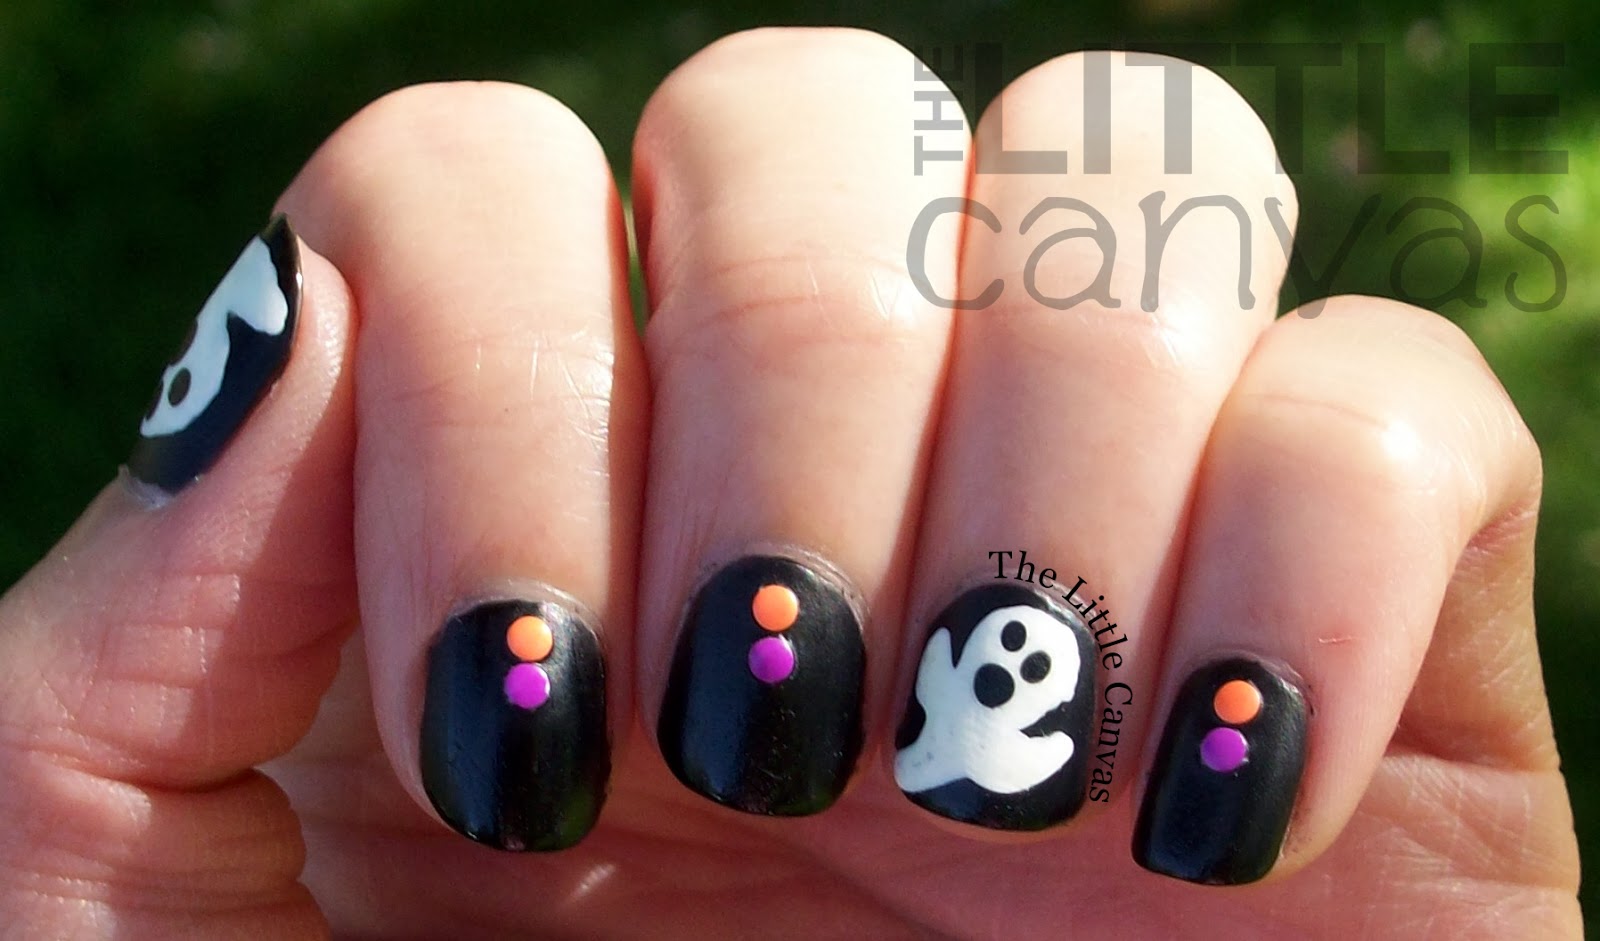
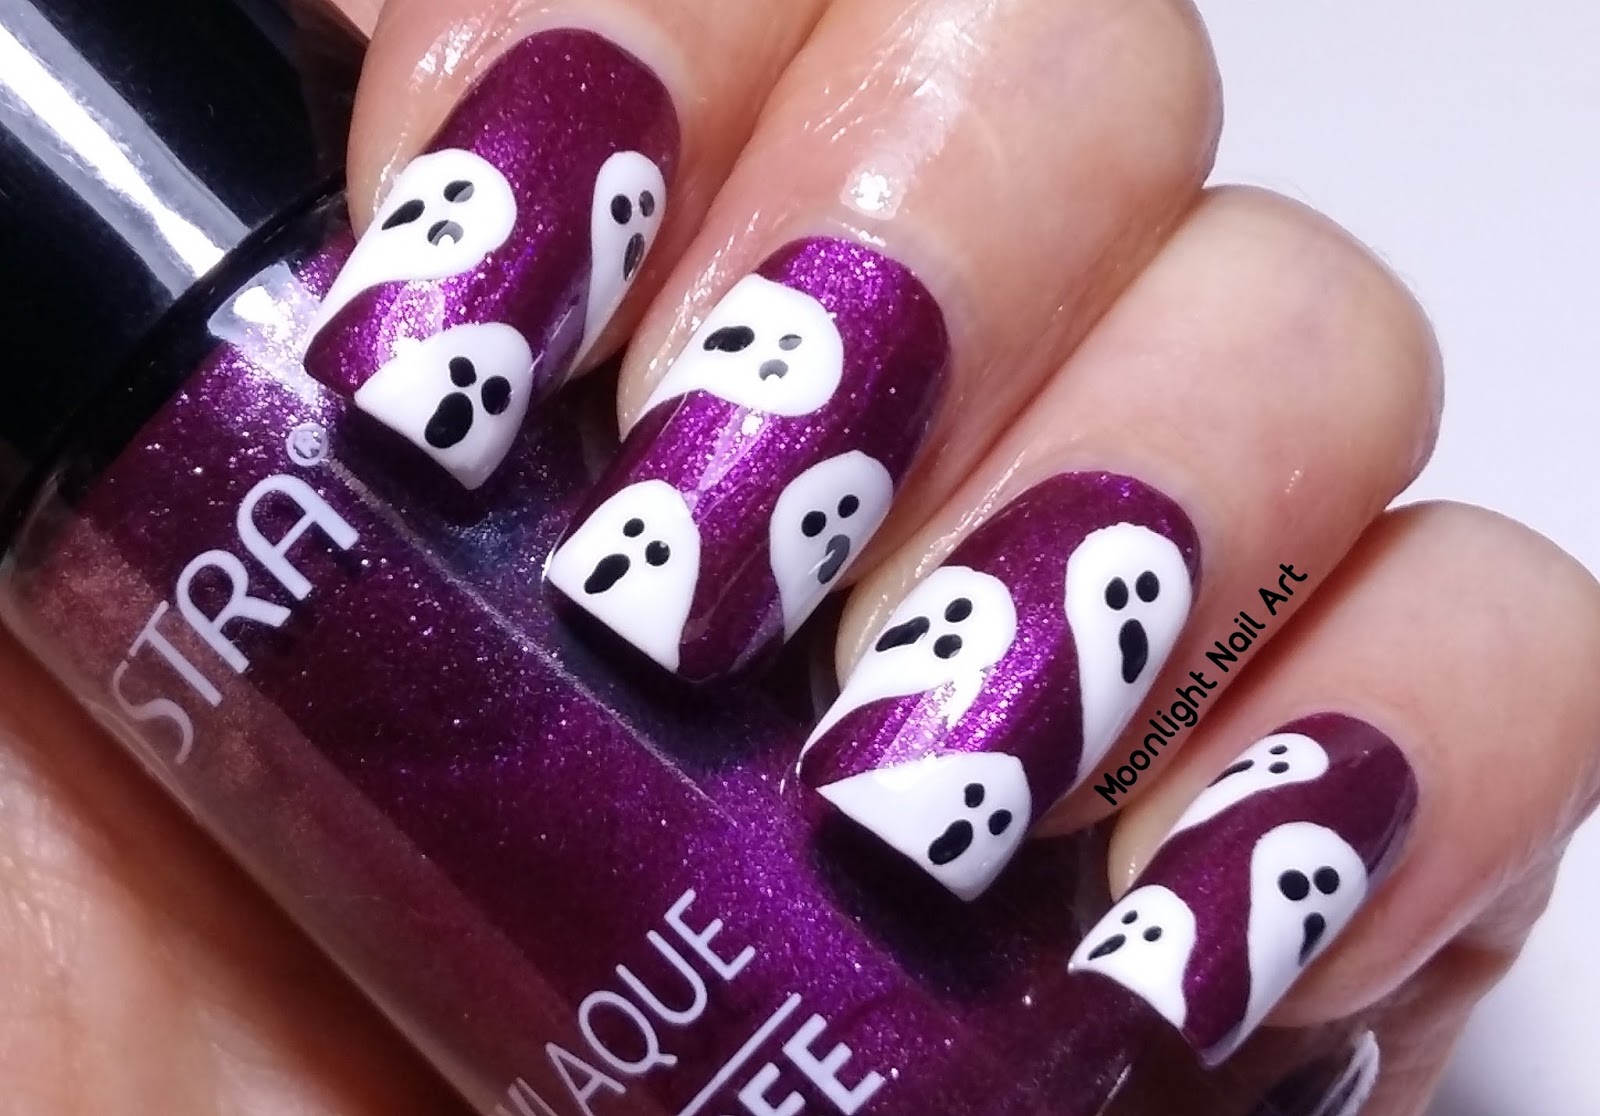
For those who prefer a more spooky ghost nail art tutorial, this one is sure to please. With a darker color palette and a more sinister-looking ghost, this design is perfect for Halloween or any time you're feeling a little spooky. To achieve this look, use a dark gray or black nail polish for the base color. Then, use the white polish to create your ghost face. You can also add some black lines or dots around the ghost to give it a more ghostly appearance.Spooky Ghost Nail Art Tutorial

Spooky Ghost Nail Art Tutorial

This DIY ghost nail art tutorial is perfect for those who love to get creative and experiment with different materials. Instead of using nail polish, you can use white acrylic paint to create your ghost design. You can also use a black sharpie or nail art pen to draw on the ghost face. If you're feeling extra crafty, you can use a small piece of white fabric or felt to create a 3D ghost on your nail. Simply cut out a small ghost shape and glue it onto your nail with nail glue. This will give your nails a unique and textured look.DIY Ghost Nail Art Tutorial


DIY Ghost Nail Art Tutorial

If you're new to nail art or just looking for a simple design, this ghost nail art tutorial for beginners is perfect for you. With its easy-to-follow steps and minimal tools required, anyone can achieve this cute and spooky look. For an even simpler design, you can use a white nail polish with a built-in striper brush to create your ghost face. This will eliminate the need for a toothpick or dotting tool. You can also use a black nail art pen instead of black polish for more precision in creating your ghost's facial features.Ghost Nail Art Tutorial for Beginners
Ghost Nail Art Tutorial for Beginners
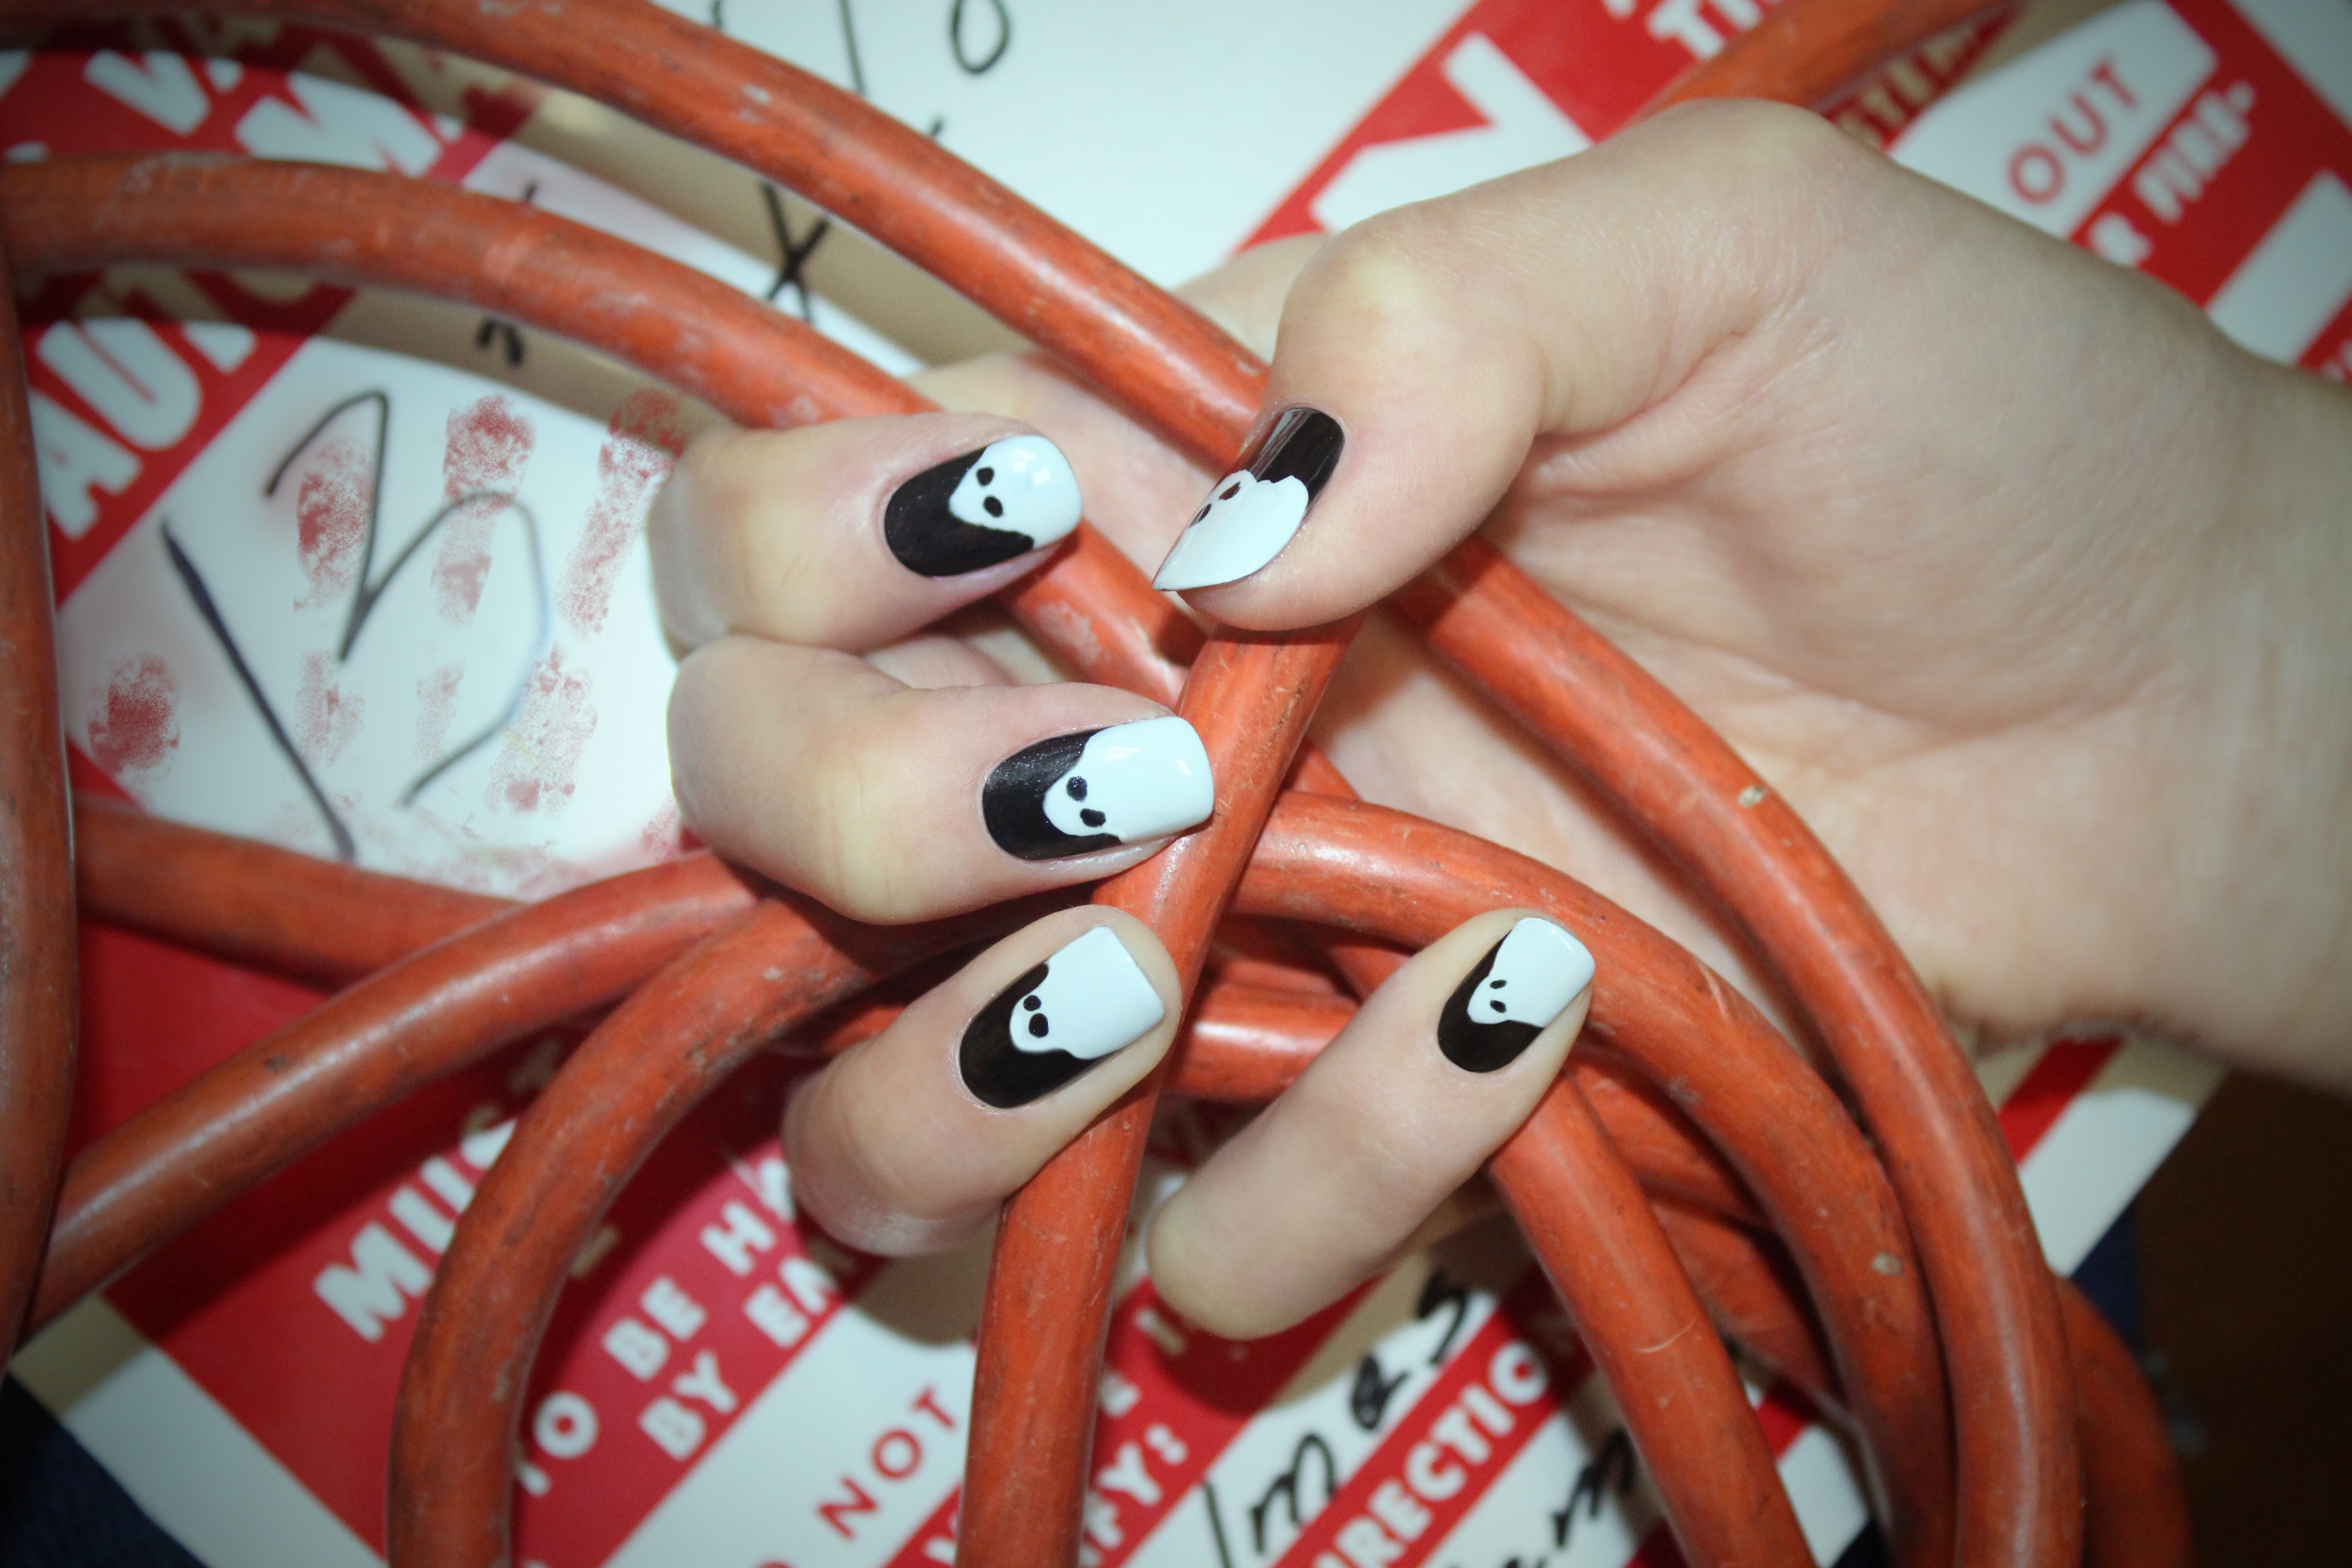
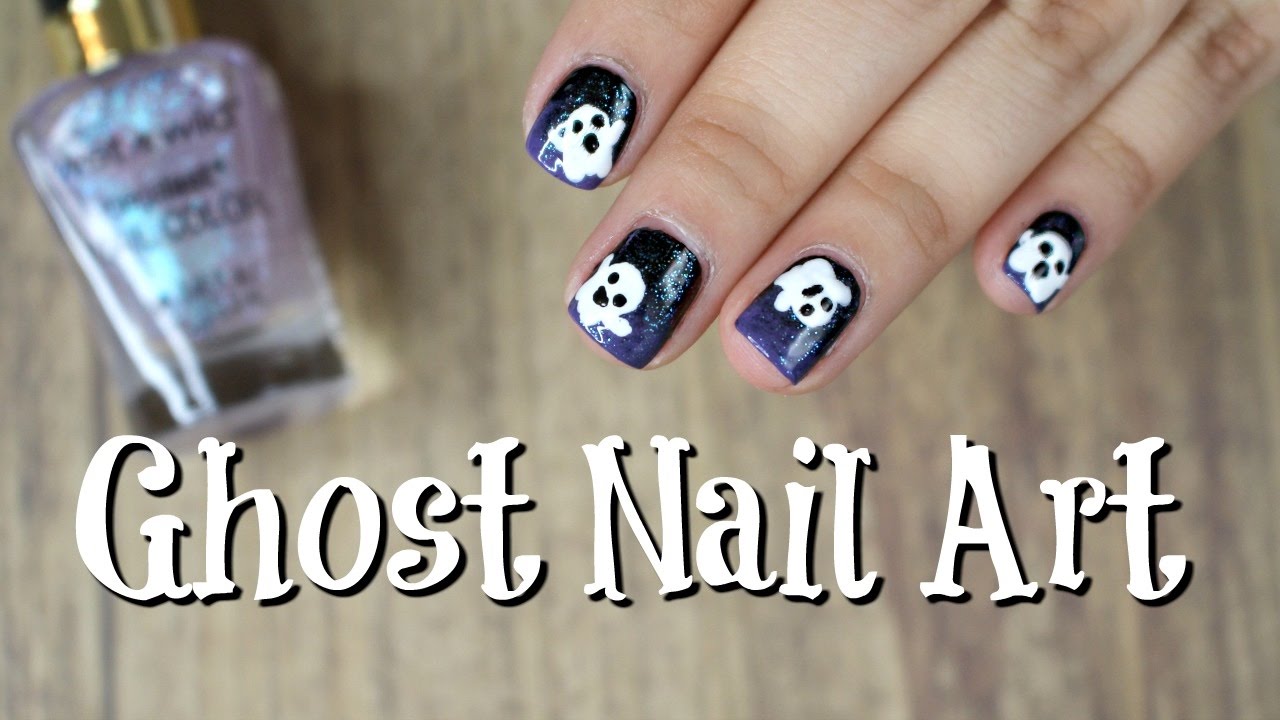
If you're a fan of the classic black and white color combination, this black and white ghost nail art tutorial is perfect for you. It's a simple yet striking design that will make a statement on your nails. To achieve this look, start with a black base color and use a white nail polish to create your ghost design. You can also reverse the colors and use a white base with a black ghost for a more subtle look.Black and White Ghost Nail Art Tutorial

Black and White Ghost Nail Art Tutorial


This ghost nail art tutorial with toothpick is a great option for those who don't have a dotting tool or nail art pen. The toothpick will act as your tool to create the small details of the ghost's face. If you're having trouble creating small dots with the toothpick, you can dip the end of the toothpick into the polish and use it as a stamp on your nail. This will give you more control and precision in creating your design.Ghost Nail Art Tutorial with Toothpick
Ghost Nail Art Tutorial with Toothpick

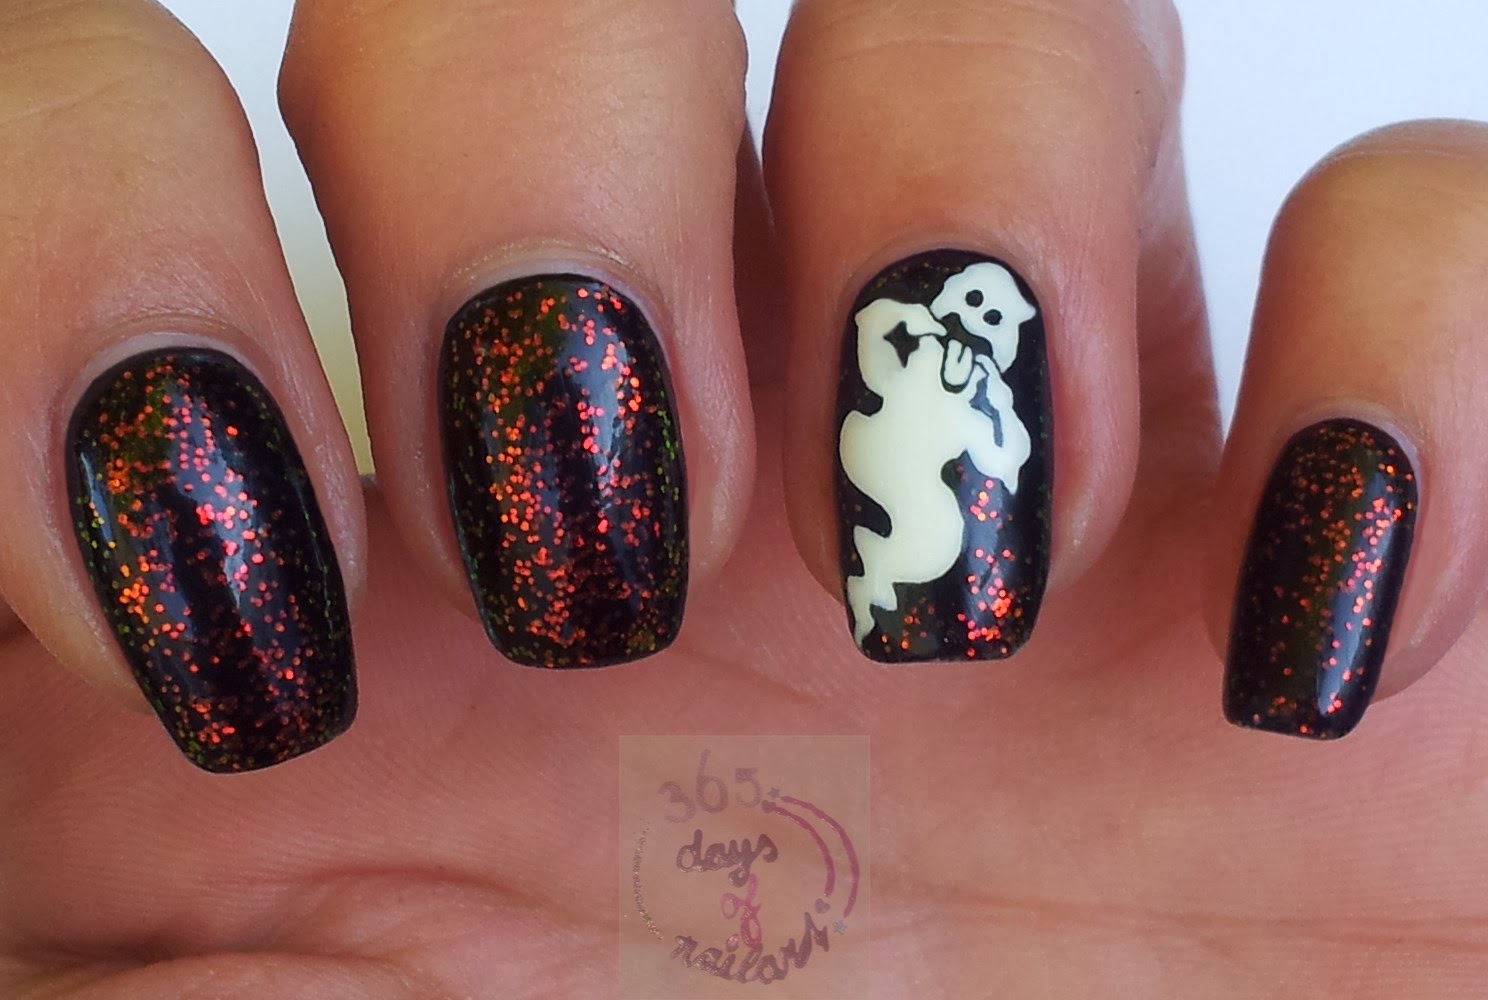
For those who have a dotting tool in their nail art kit, this ghost nail art tutorial with dotting tool is a great option. The dotting tool will make creating the eyes and mouth of the ghost much easier and more precise. If you want to add some extra dimension to your ghosts, you can also use the dotting tool to create small white dots on top of the ghost's body. This will give the illusion of a spooky, glowing ghost. With these 10 ghost nail art tutorials, you'll be able to create a variety of cute, spooky, or unique designs for your nails. Have fun experimenting with different colors, tools, and techniques to make the look your own. Happy haunting! Ghost Nail Art Tutorial with Dotting Tool
Ghost Nail Art Tutorial with Dotting Tool
Creating Spooky Ghost Nail Art: A Step-by-Step Tutorial

Introduction
 Halloween is just around the corner and what better way to get into the spooky spirit than with some ghostly nail art? This fun and creative design is perfect for anyone looking to add a bit of Halloween flair to their everyday look. In this tutorial, we will guide you through the steps to create your own ghost nail art using simple and easily accessible supplies. So put on your favorite Halloween playlist and let's get started!
Step 1: Gather Your Supplies
 To create this ghost nail art, you will need
white nail polish
,
black nail polish
,
nail art brushes
,
dotting tool
,
nail polish remover
, and
cotton swabs
. You can also use any other colors you like to add a pop of color to your ghost design.
To create this ghost nail art, you will need
white nail polish
,
black nail polish
,
nail art brushes
,
dotting tool
,
nail polish remover
, and
cotton swabs
. You can also use any other colors you like to add a pop of color to your ghost design.
Step 2: Prep Your Nails
 Before you start painting, make sure your nails are clean and free of any old polish. If you have any rough edges, use a nail file to smooth them out. Apply a base coat to protect your nails and help the polish adhere better.
Step 3: Create the Base
 Using your white nail polish, paint your nails with 2 coats for a solid and opaque base. Let each coat dry completely before moving on to the next step. You can also use a quick-dry top coat to speed up the process.
Step 4: Add the Ghosts
 Using your black nail polish and a thin nail art brush, create 2 small circles for the eyes and a larger circle for the mouth at the tip of your nail. You can also use a dotting tool for more precision. Make sure to leave some space between each ghost to avoid a crowded look.
Step 5: Add Details
 To add some personality to your ghosts, use a smaller brush or a dotting tool to add tiny white dots for eyes or a mouth. You can also use a toothpick for this step. Get creative and add different facial expressions to each ghost for a fun and unique look.
Step 6: Clean Up
 Using a cotton swab dipped in nail polish remover, clean up any excess polish around your nails. This will give your design a clean and polished look.
Step 7: Seal the Design
 Once your nails are completely dry, seal the design with a top coat to protect it and make it last longer. This will also give your nails a shiny finish.
Final Thoughts
 Ghost nail art is a fun and easy way to add some Halloween vibes to your look. You can also experiment with different colors and designs to make it your own. Don't be afraid to get creative and have fun with it! Now you're all set to show off your spooky and stylish nails this Halloween.


