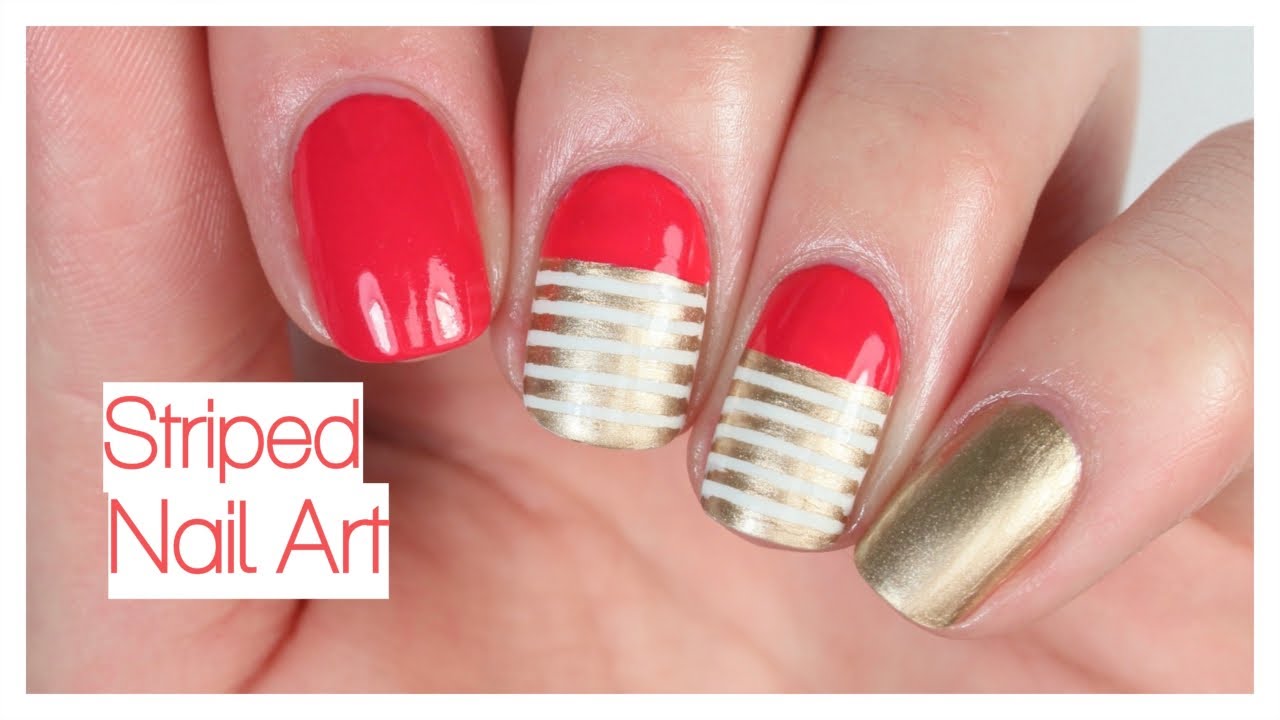
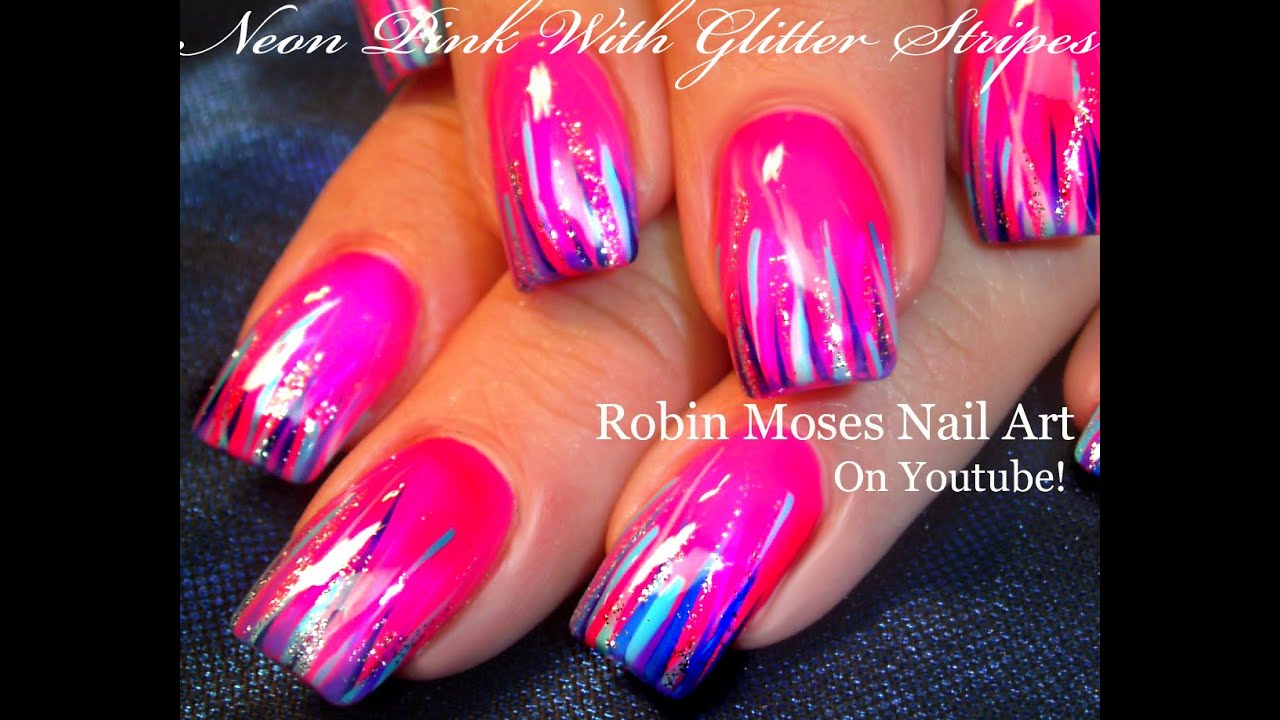
Looking for a fun and sparkly way to jazz up your nails? Glitter striped nail art is the perfect option! This trend has been taking over the nail world with its eye-catching and glamorous look. Here are 10 glitter striped nail art ideas to inspire your next manicure.Glitter Striped Nail Art Ideas


Glitter Striped Nail Art Ideas


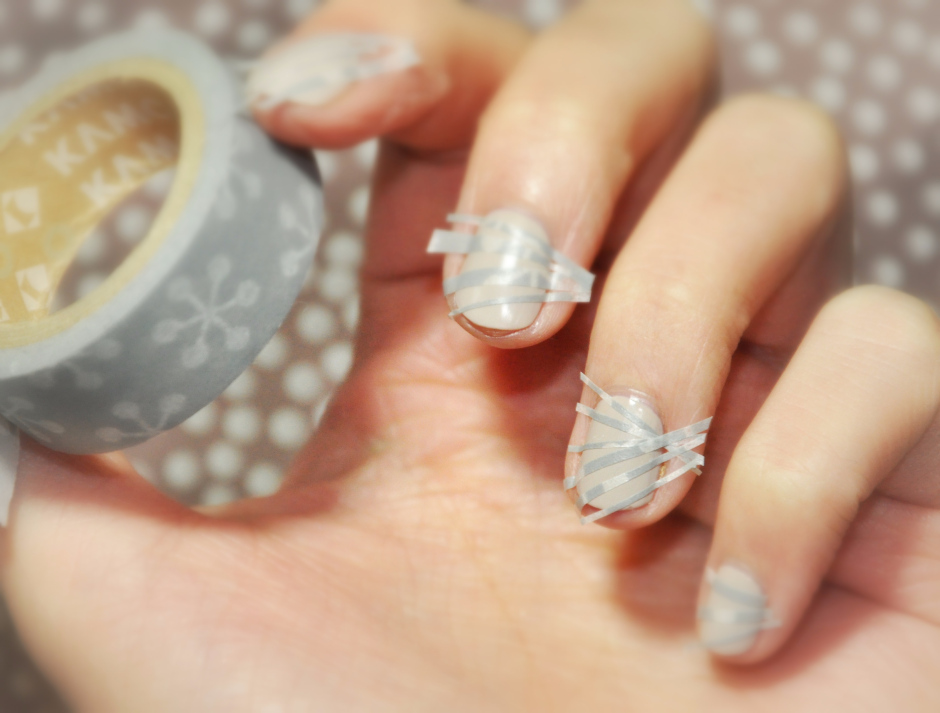
Ready to try your hand at creating your own glitter striped nail art? Follow these simple steps for a flawless and dazzling look. Step 1: Prep your nails – Start by filing, shaping, and buffing your nails. Apply a base coat to protect your nails and create a smooth surface for the polish to adhere to. Step 2: Choose your colors – Select two or three complementary nail polish colors. You can also opt for a neutral base color and use glitter as the stripes. Step 3: Apply the base color – Apply your base color and let it dry completely. Step 4: Create the stripes – Using a thin brush or a striping tape, create stripes on your nails with the other nail polish colors. You can also use a glitter nail polish for the stripes. Step 5: Add the glitter – Once the stripes are dry, apply a layer of glitter polish over the entire nail or just on the stripes. You can also use loose glitter for a more intense sparkle. Step 6: Seal it in – Finish off with a top coat to seal in your design and add shine.How to Create Glitter Striped Nail Art


How to Create Glitter Striped Nail Art


If you're a visual learner, check out some tutorial videos for step-by-step instructions on how to create different glitter striped nail art designs. From simple diagonal stripes to intricate geometric patterns, there's a tutorial for every level of skill.Glitter Striped Nail Art Tutorial


Glitter Striped Nail Art Tutorial

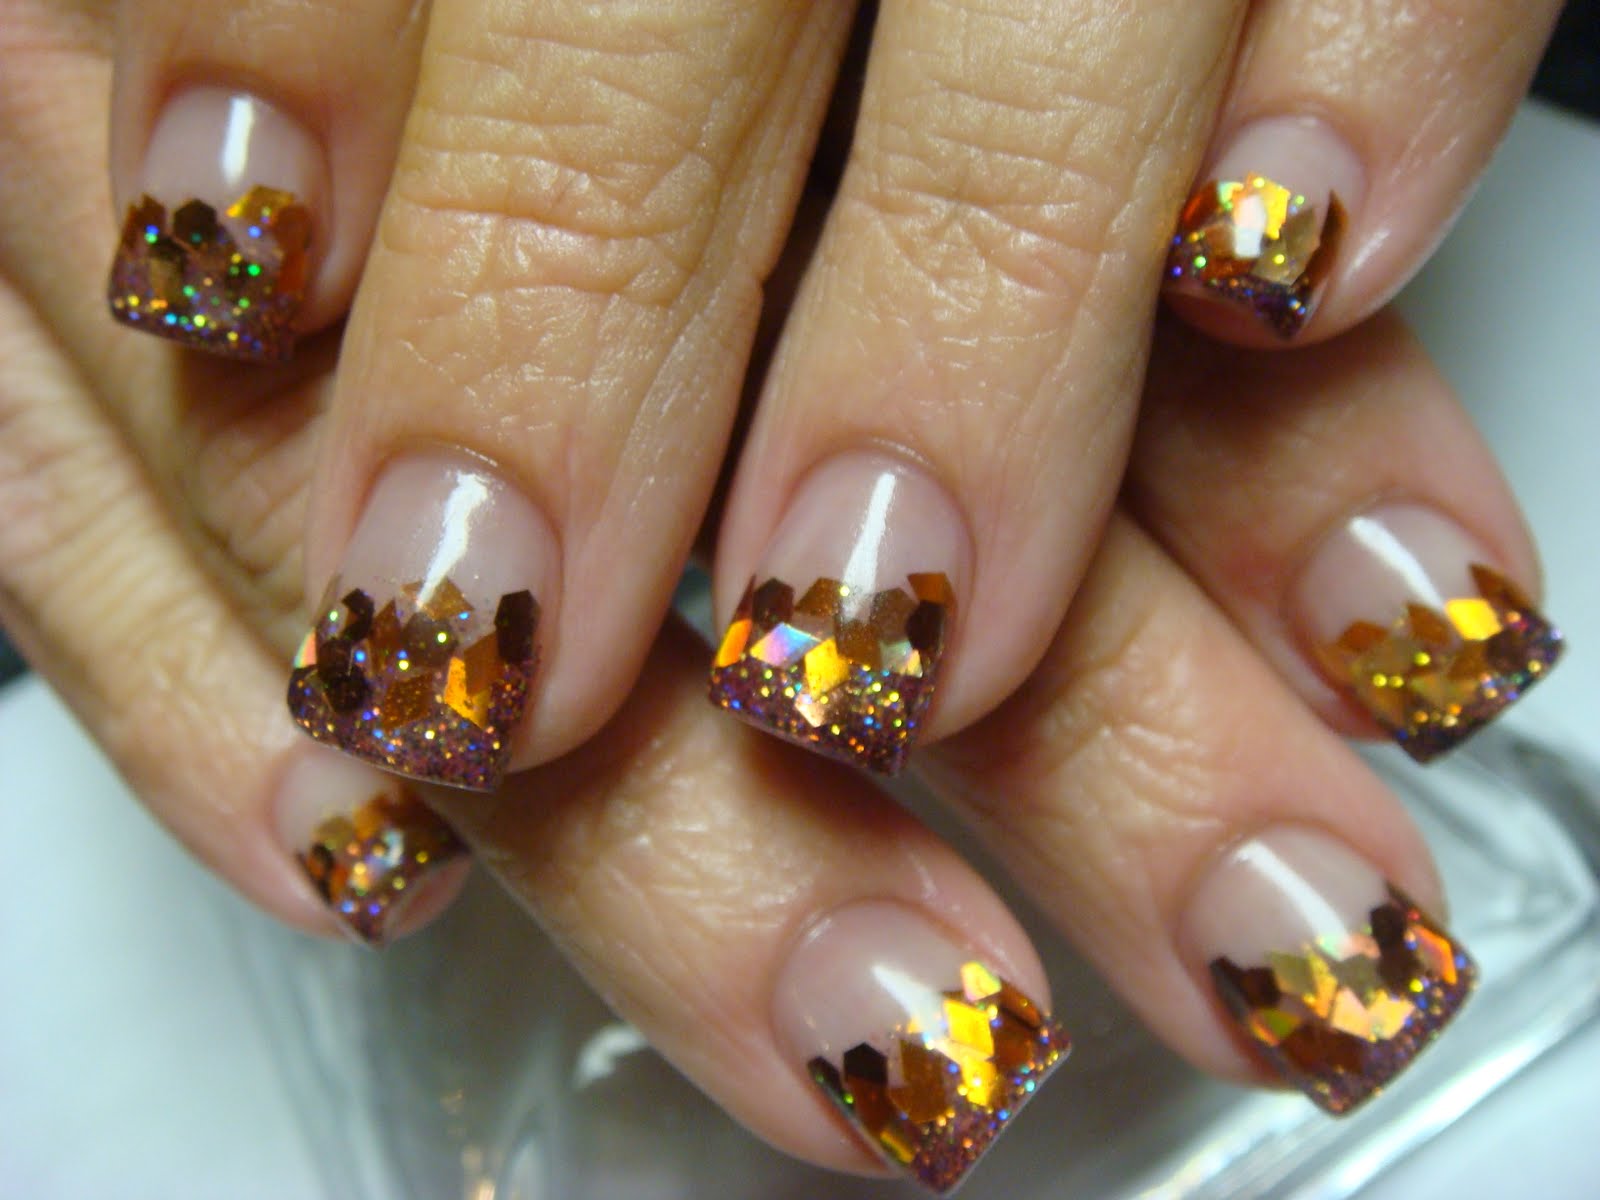
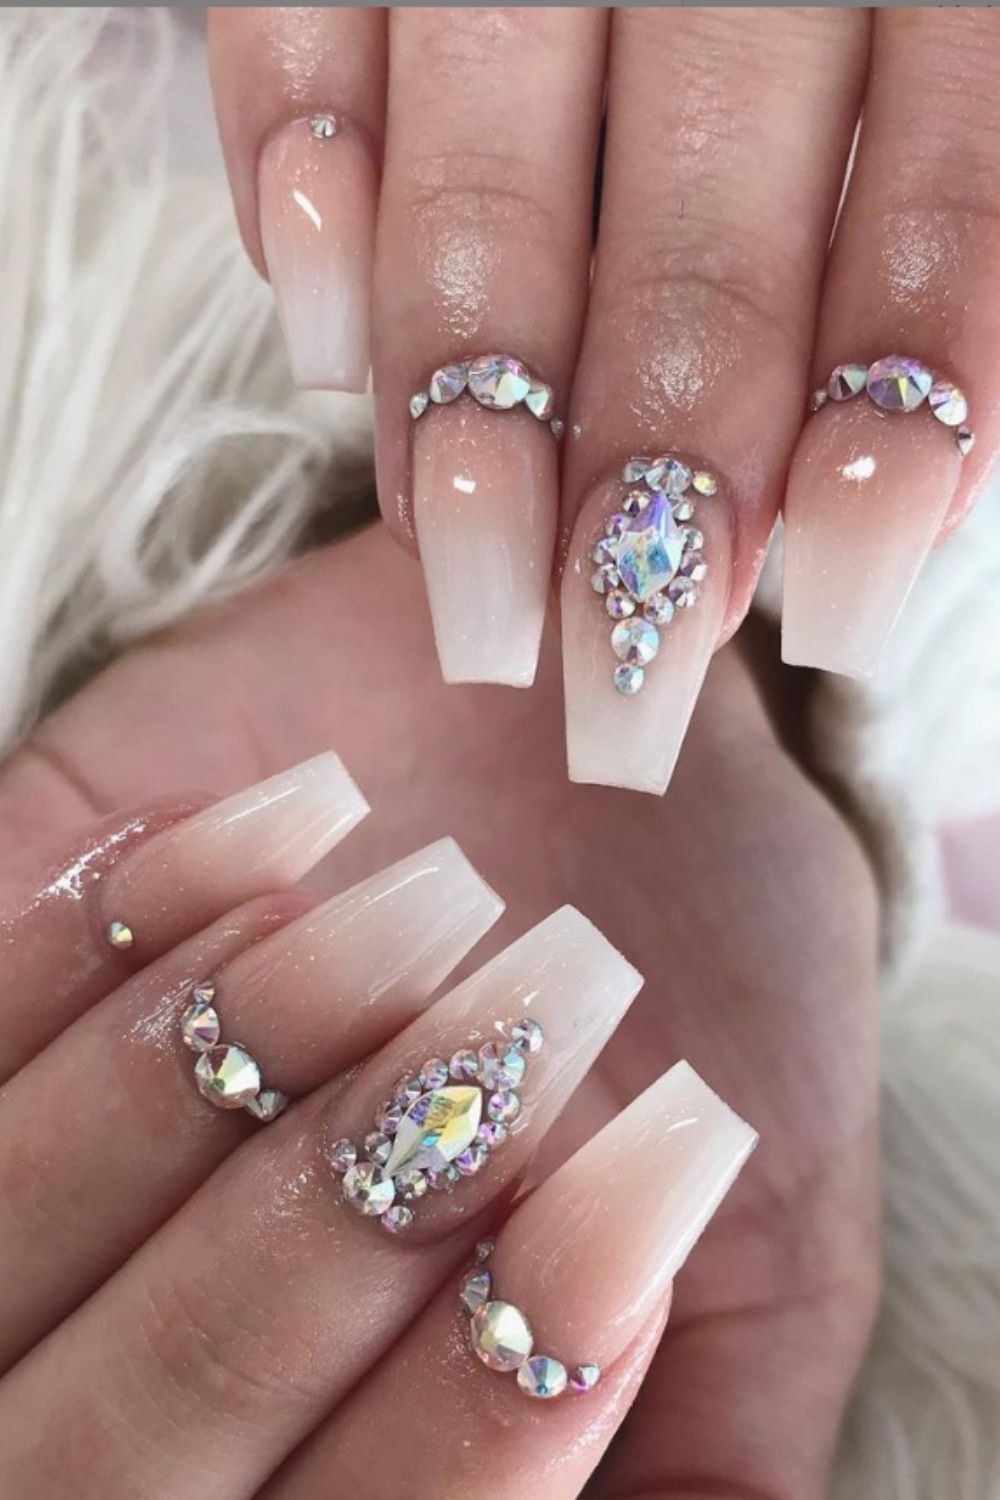
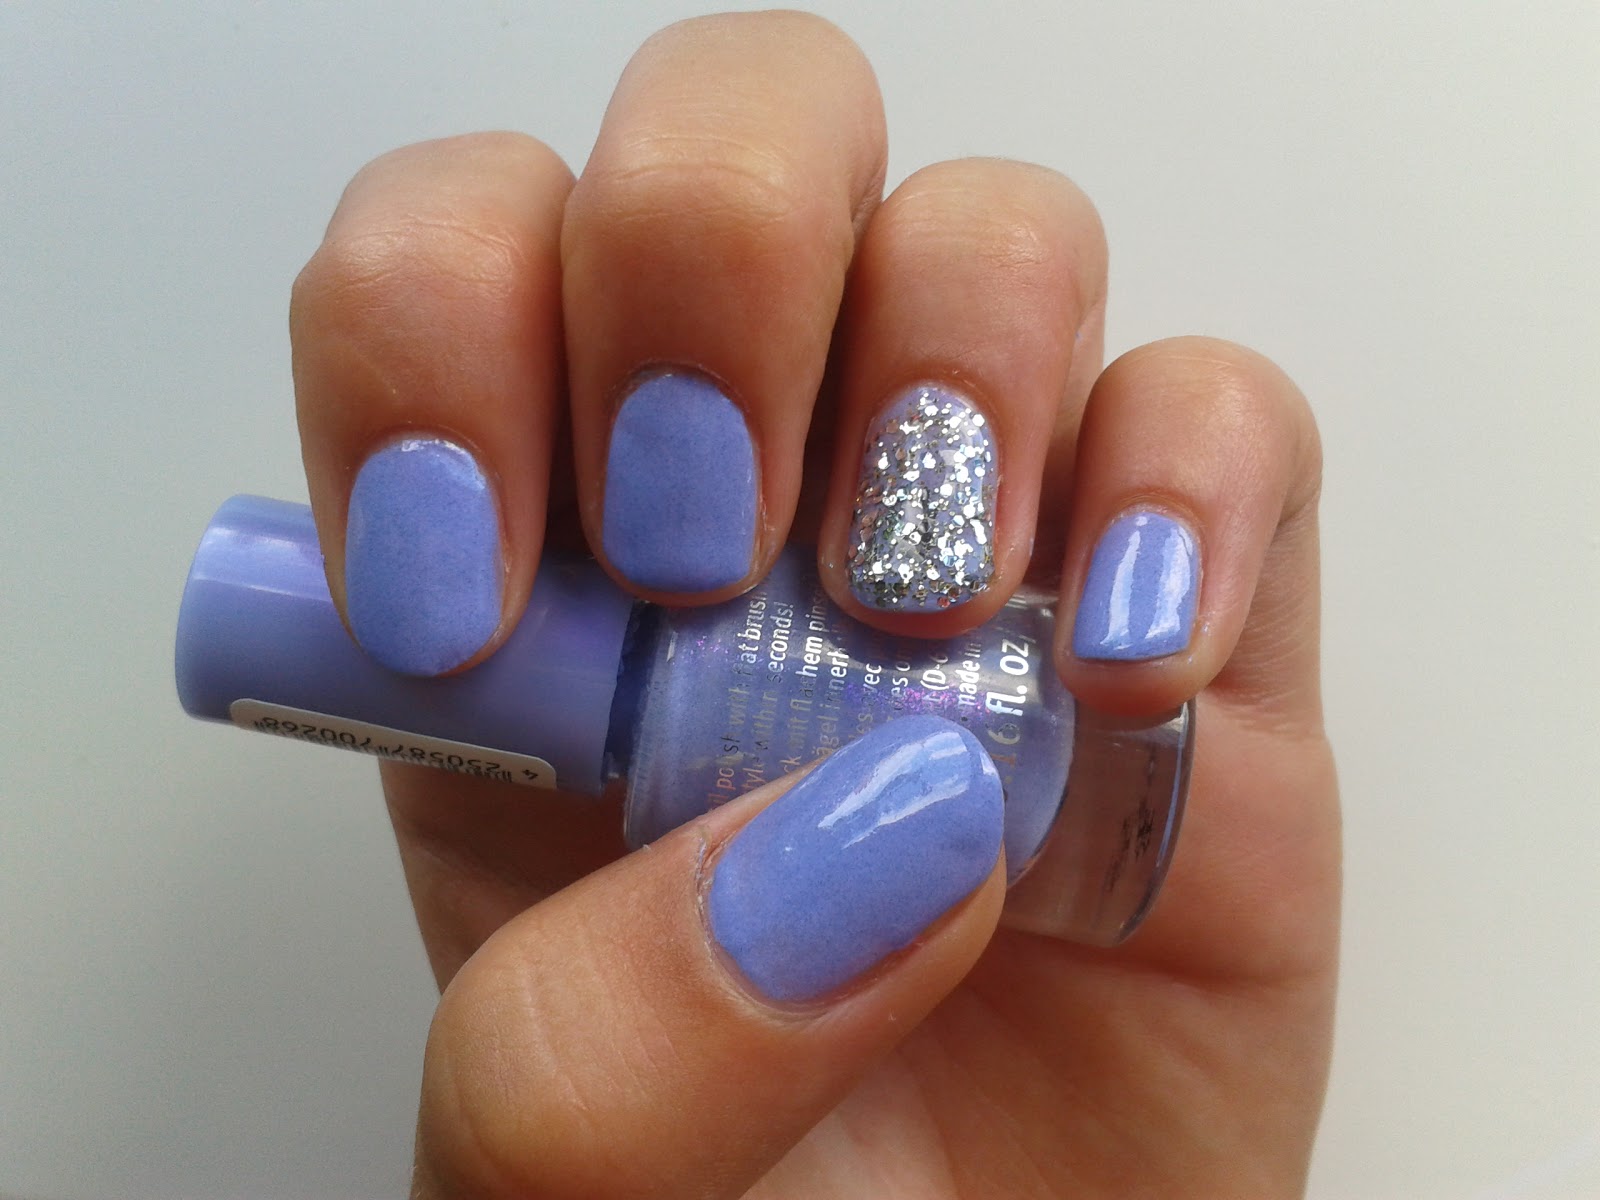
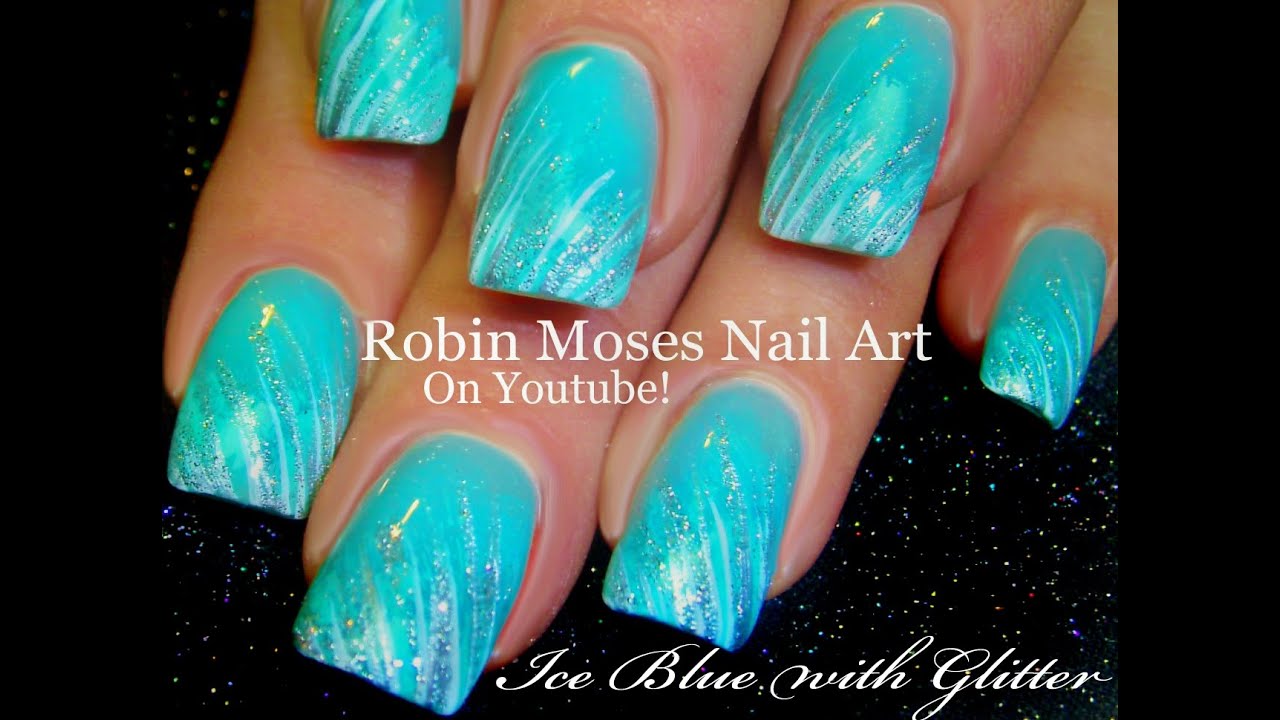
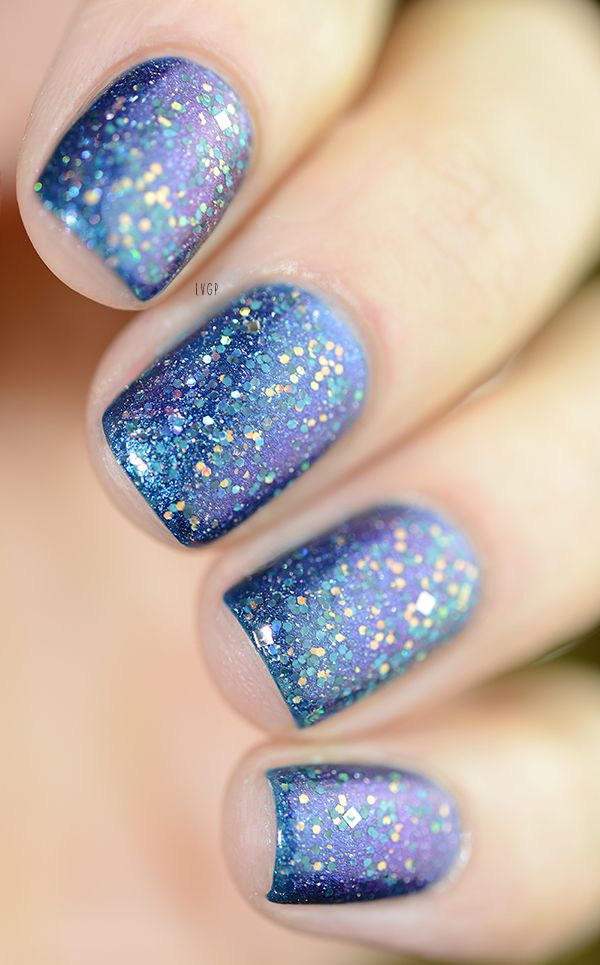
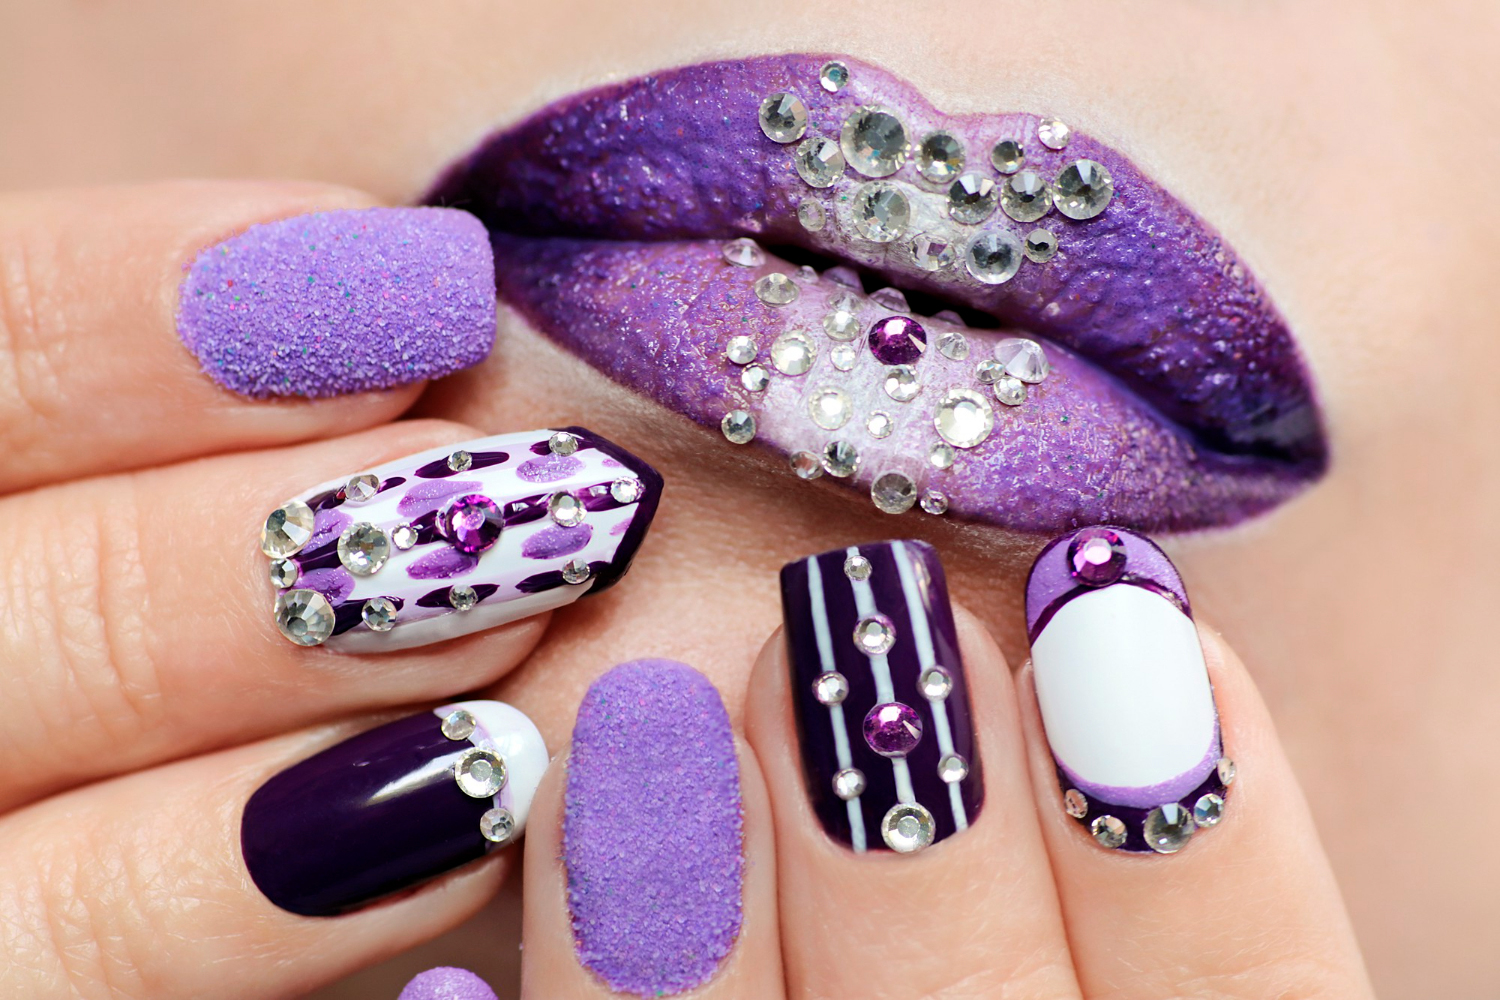
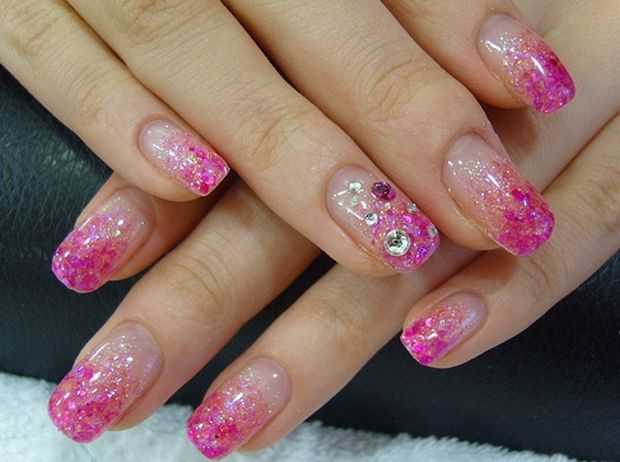
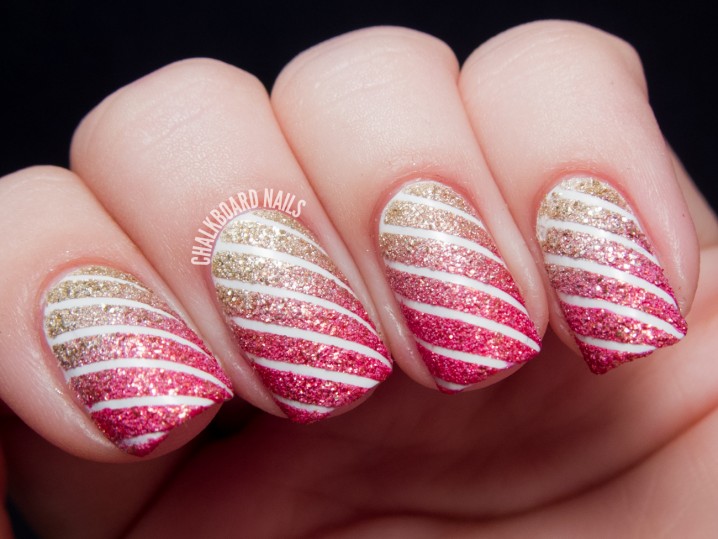
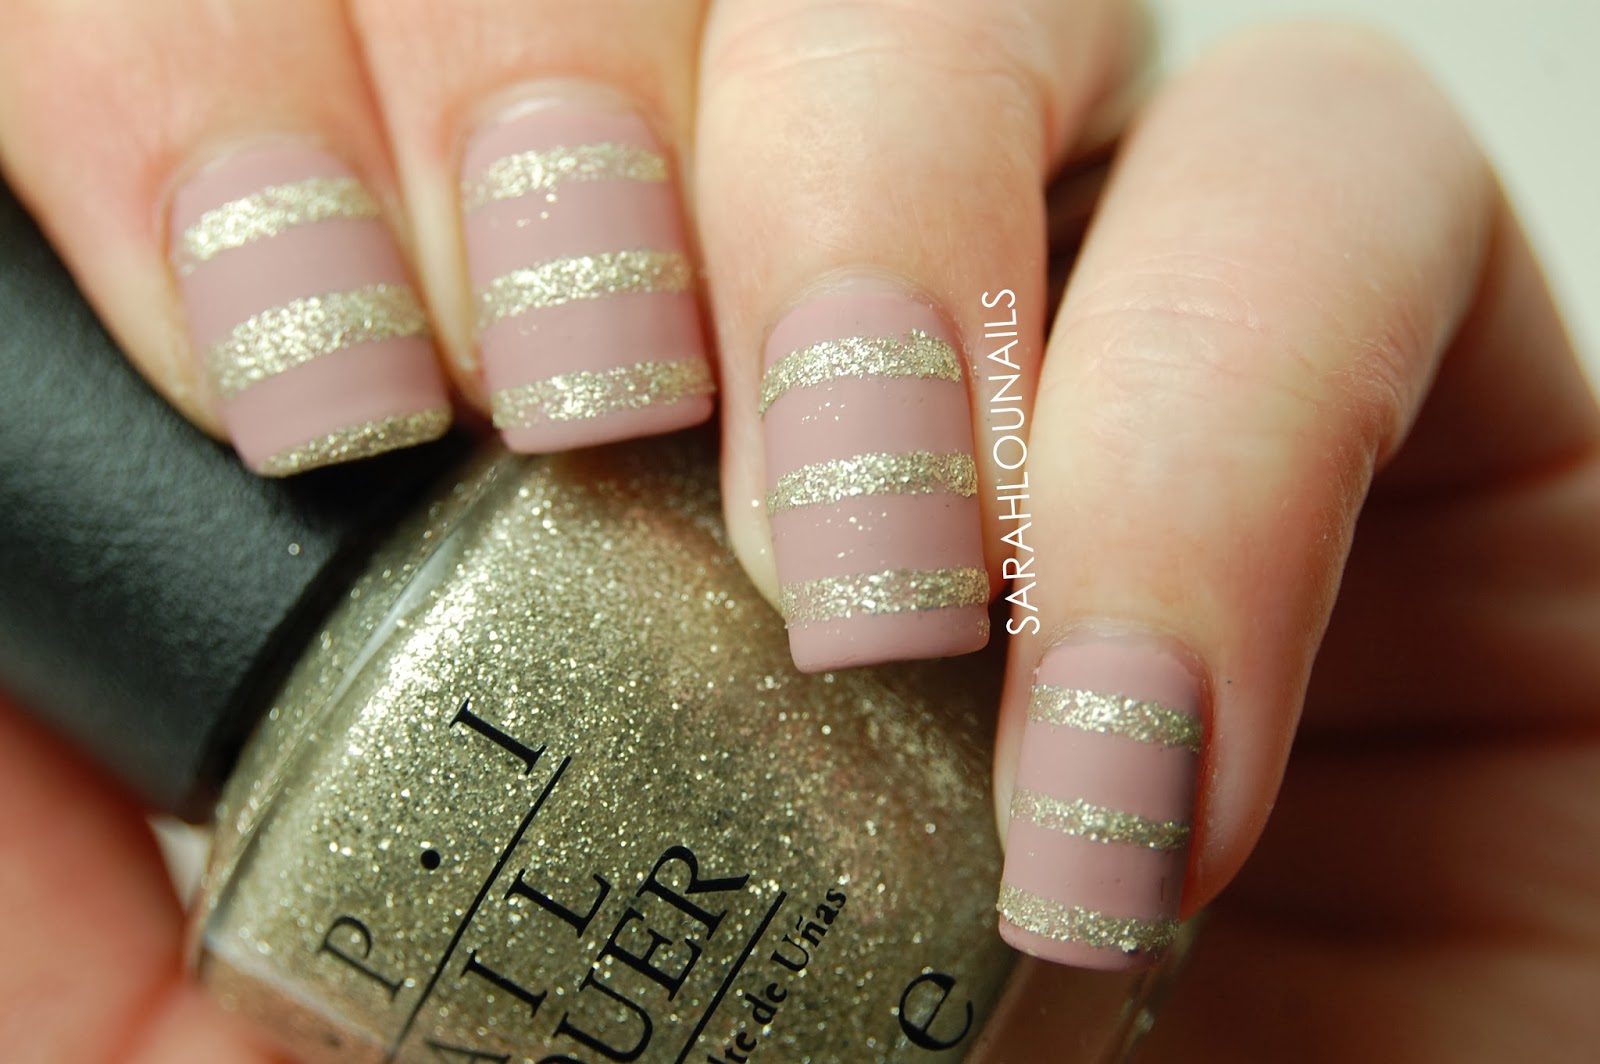
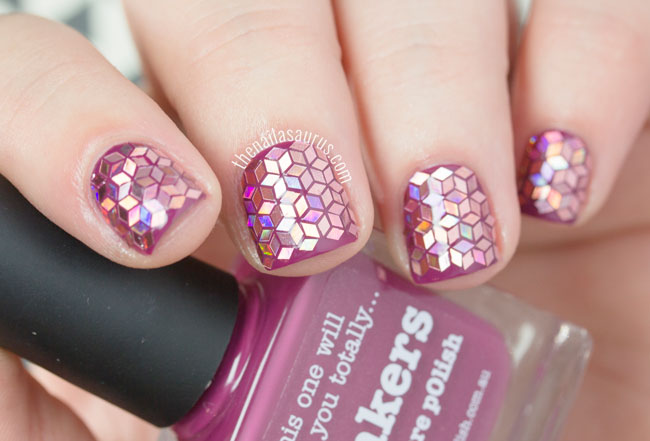
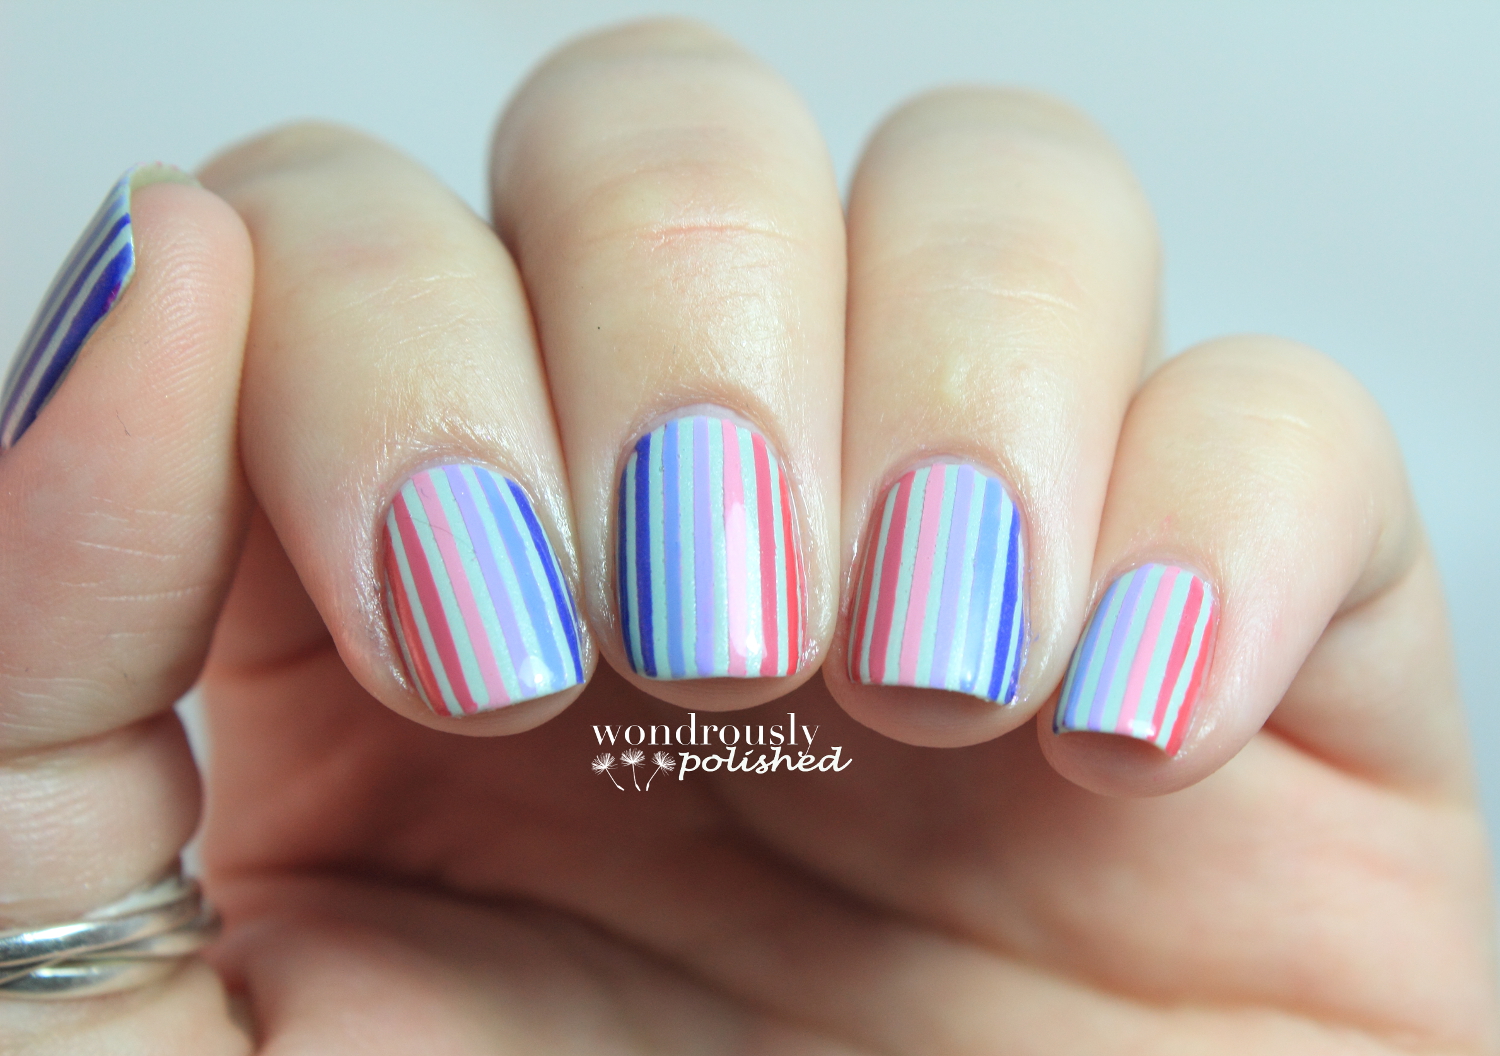
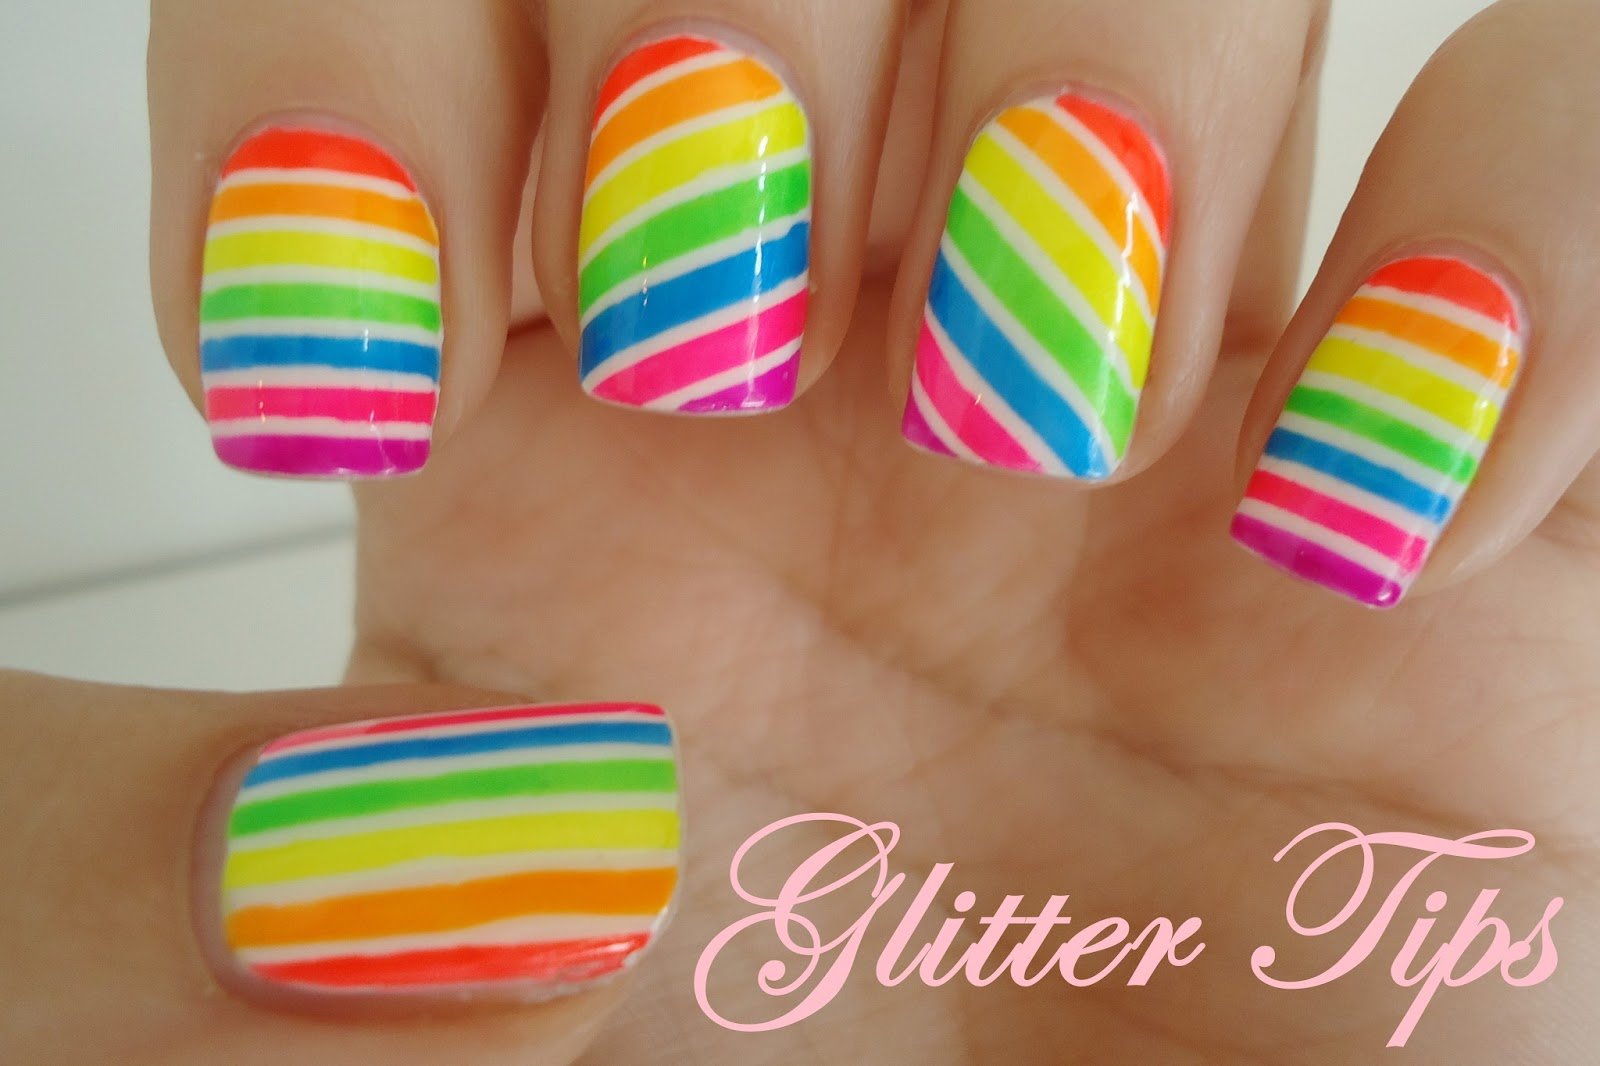
There are endless possibilities when it comes to glitter striped nail art designs. Experiment with different colors, patterns, and placement to create a unique and personalized look. Here are a few ideas to get you started: 1. Classic diagonal stripes – Create thin or thick diagonal stripes in contrasting colors for a classic and elegant look. 2. Rainbow stripes – Use a variety of bright colors to create a rainbow effect on your nails. 3. Glitter ombre – Create an ombre effect by starting with a solid glitter base and fading it out into a solid color. 4. Geometric stripes – Use striping tape to create geometric shapes with your stripes, such as triangles or chevrons. 5. Glitter French tips – Add a touch of glamour to your classic French tip by using glitter instead of white polish. 6. Sparkly stripes – Use a glitter polish for your base color and create thin, solid stripes with a contrasting color. 7. Glitter half-moons – Create a half-moon design at the base of your nails using glitter polish for a modern and chic look. 8. Glitter gradient – Use a makeup sponge to create a gradient effect with glitter polish. 9. Glitter stripes and studs – Add some edginess to your stripes by incorporating small studs or rhinestones into your design. 10. Glitter accent nail – If you're not ready to fully commit to glitter stripes, try adding them as an accent nail for a subtle yet eye-catching look.Glitter Striped Nail Art Designs


Glitter Striped Nail Art Designs

Still not sure which design to try? Look to social media for some inspiration! Instagram and Pinterest are great platforms to browse through different glitter striped nail art designs and get inspired by other nail artists.Glitter Striped Nail Art Inspiration


Glitter Striped Nail Art Inspiration
If you're new to nail art, don't worry! Glitter striped nail art is a great place to start. It's easy to create and doesn't require any special tools or skills. Plus, the sparkly finish will make any imperfections less noticeable.Glitter Striped Nail Art for Beginners
Glitter Striped Nail Art for Beginners
Here are a few tips and tricks to keep in mind when creating your own glitter striped nail art: - Use thin brushes – Thin brushes or striping tape will help you create clean and precise stripes. - Be patient – Let each layer of polish dry completely before moving on to the next step to avoid smudging or smearing. - Clean up mistakes – Use a small brush dipped in nail polish remover to clean up any mistakes around the edges of your nails. - Experiment with different colors and patterns – Don't be afraid to mix and match colors and patterns to create unique and bold designs.Glitter Striped Nail Art Tips and Tricks


Glitter Striped Nail Art Tips and Tricks
If you're more of a visual learner, here's a quick step-by-step guide to creating your own glitter striped nail art: Step 1: Prep your nails by filing, shaping, and buffing. Step 2: Apply a base coat and let it dry. Step 3: Apply your base color and let it dry completely. Step 4: Use a thin brush or striping tape to create stripes with a contrasting color. Step 5: Apply glitter polish over the entire nail or just on the stripes. Step 6: Seal in your design with a top coat.Glitter Striped Nail Art Step-by-Step Guide


Glitter Striped Nail Art Step-by-Step Guide
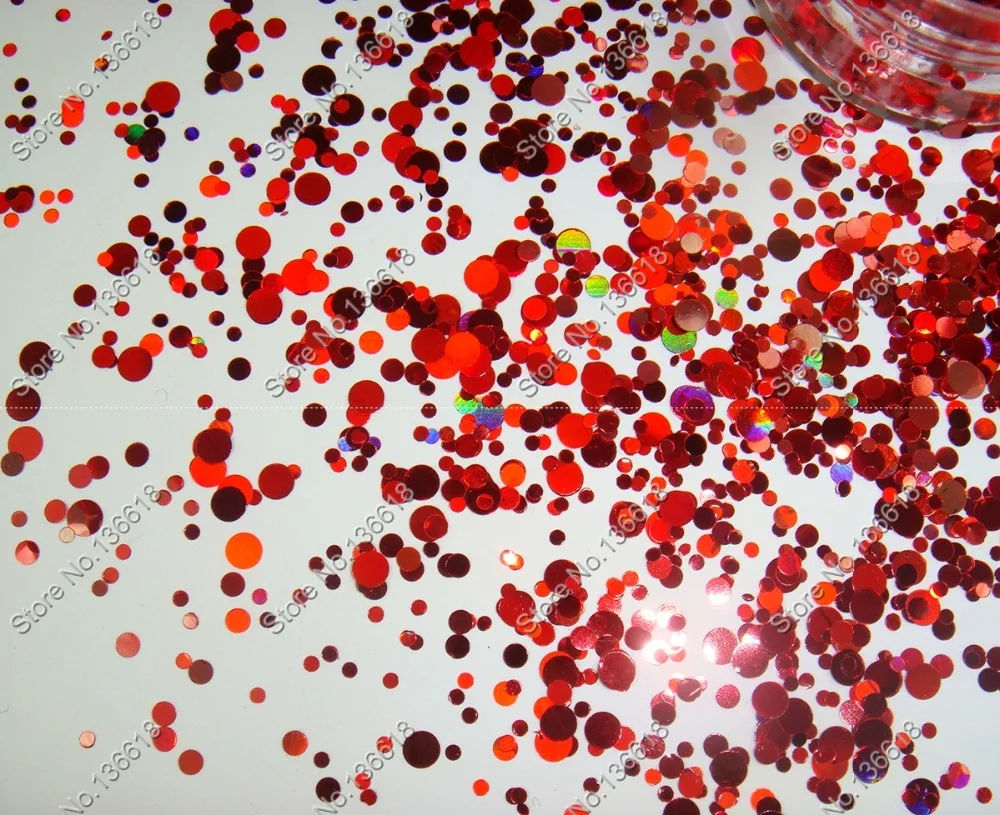
Ready to try out some glitter striped nail art? Here are a few products you may need: - Base coat and top coat – These are essential for protecting your nails and ensuring your design lasts longer. - Nail polish in various colors – Choose colors that complement each other or opt for a glitter nail polish for the stripes. - Thin brush – Use this to create clean and precise stripes. - Striping tape – This is an alternative to a thin brush and can create more intricate designs. - Glitter nail polish – Use this as a base color or for the stripes. - Loose glitter – For a more intense sparkle, you can use loose glitter instead of glitter nail polish.Glitter Striped Nail Art Products

Glitter Striped Nail Art Products


There are various techniques you can use to create glitter striped nail art. Some popular ones include: - Brush strokes – Use a thin brush to create solid, thin stripes. - Sponge technique – Use a makeup sponge to create a gradient effect with glitter polish. - Striping tape – This is a great tool for creating precise and clean stripes. - Glitter placement – Instead of using a brush, you can use a toothpick or dotting tool to place glitter in specific areas for a unique design. With these 10 glitter striped nail art ideas and tips, you'll be able to create a stunning and sparkly manicure that will surely turn heads. So go ahead and add some glitter to your life!Glitter Striped Nail Art Techniques

Glitter Striped Nail Art Techniques

The Sparkling Trend of Glitter Striped Nail Art
Creating a Statement with Glitter Stripes
 When it comes to nail art, there are endless possibilities to express your personal style and creativity. One trend that has been gaining popularity in recent years is glitter striped nail art. This fun and bold design incorporate sparkles, stripes, and vibrant colors to create a statement that is sure to turn heads.
Glitter
has always been a go-to for adding some glam to any look. But with glitter striped nail art, it takes on a whole new level of sophistication. Instead of using glitter as a simple accent, it becomes the star of the show, creating a dazzling and eye-catching effect. This trend is perfect for those who want to add some sparkle and shine to their everyday look or for special occasions.
The use of
stripes
in this nail art adds a bold and graphic element to the design. Whether you opt for thin or thick stripes, horizontal or diagonal, the possibilities are endless. You can also play around with different color combinations to create a unique and personalized look. For a more subtle approach, try using lighter shades of glitter with thinner stripes. For a bolder look, go for darker shades and thicker stripes.
When it comes to nail art, there are endless possibilities to express your personal style and creativity. One trend that has been gaining popularity in recent years is glitter striped nail art. This fun and bold design incorporate sparkles, stripes, and vibrant colors to create a statement that is sure to turn heads.
Glitter
has always been a go-to for adding some glam to any look. But with glitter striped nail art, it takes on a whole new level of sophistication. Instead of using glitter as a simple accent, it becomes the star of the show, creating a dazzling and eye-catching effect. This trend is perfect for those who want to add some sparkle and shine to their everyday look or for special occasions.
The use of
stripes
in this nail art adds a bold and graphic element to the design. Whether you opt for thin or thick stripes, horizontal or diagonal, the possibilities are endless. You can also play around with different color combinations to create a unique and personalized look. For a more subtle approach, try using lighter shades of glitter with thinner stripes. For a bolder look, go for darker shades and thicker stripes.
How to Achieve Glitter Striped Nails
 Creating glitter striped nail art may seem intimidating, but it is actually quite simple. All you need is your choice of glitter polish, striping tape, and a topcoat. Start by applying a base coat to protect your nails and allow it to dry completely. Then, using the striping tape, create the desired pattern on your nails. Apply the glitter polish over the tape and let it dry for a few seconds before carefully removing the tape. Finish off with a topcoat to seal in the design and add some extra shine.
Getting Creative with Glitter Striped Nail Art
 The beauty of glitter striped nail art is that it can be customized to suit any occasion or personal style. You can incorporate different colors, patterns, and even add other elements like rhinestones or studs to make the design truly unique. You can also experiment with different types of glitter, from chunky to fine, to create different effects.
In conclusion, glitter striped nail art is a fun and versatile trend that allows you to express your individuality and add some sparkle to your nails. So, why not give it a try and see how this trend can elevate your nail game? With a little bit of creativity, you can create a dazzling statement that will have everyone asking where you got your nails done.
The beauty of glitter striped nail art is that it can be customized to suit any occasion or personal style. You can incorporate different colors, patterns, and even add other elements like rhinestones or studs to make the design truly unique. You can also experiment with different types of glitter, from chunky to fine, to create different effects.
In conclusion, glitter striped nail art is a fun and versatile trend that allows you to express your individuality and add some sparkle to your nails. So, why not give it a try and see how this trend can elevate your nail game? With a little bit of creativity, you can create a dazzling statement that will have everyone asking where you got your nails done.


