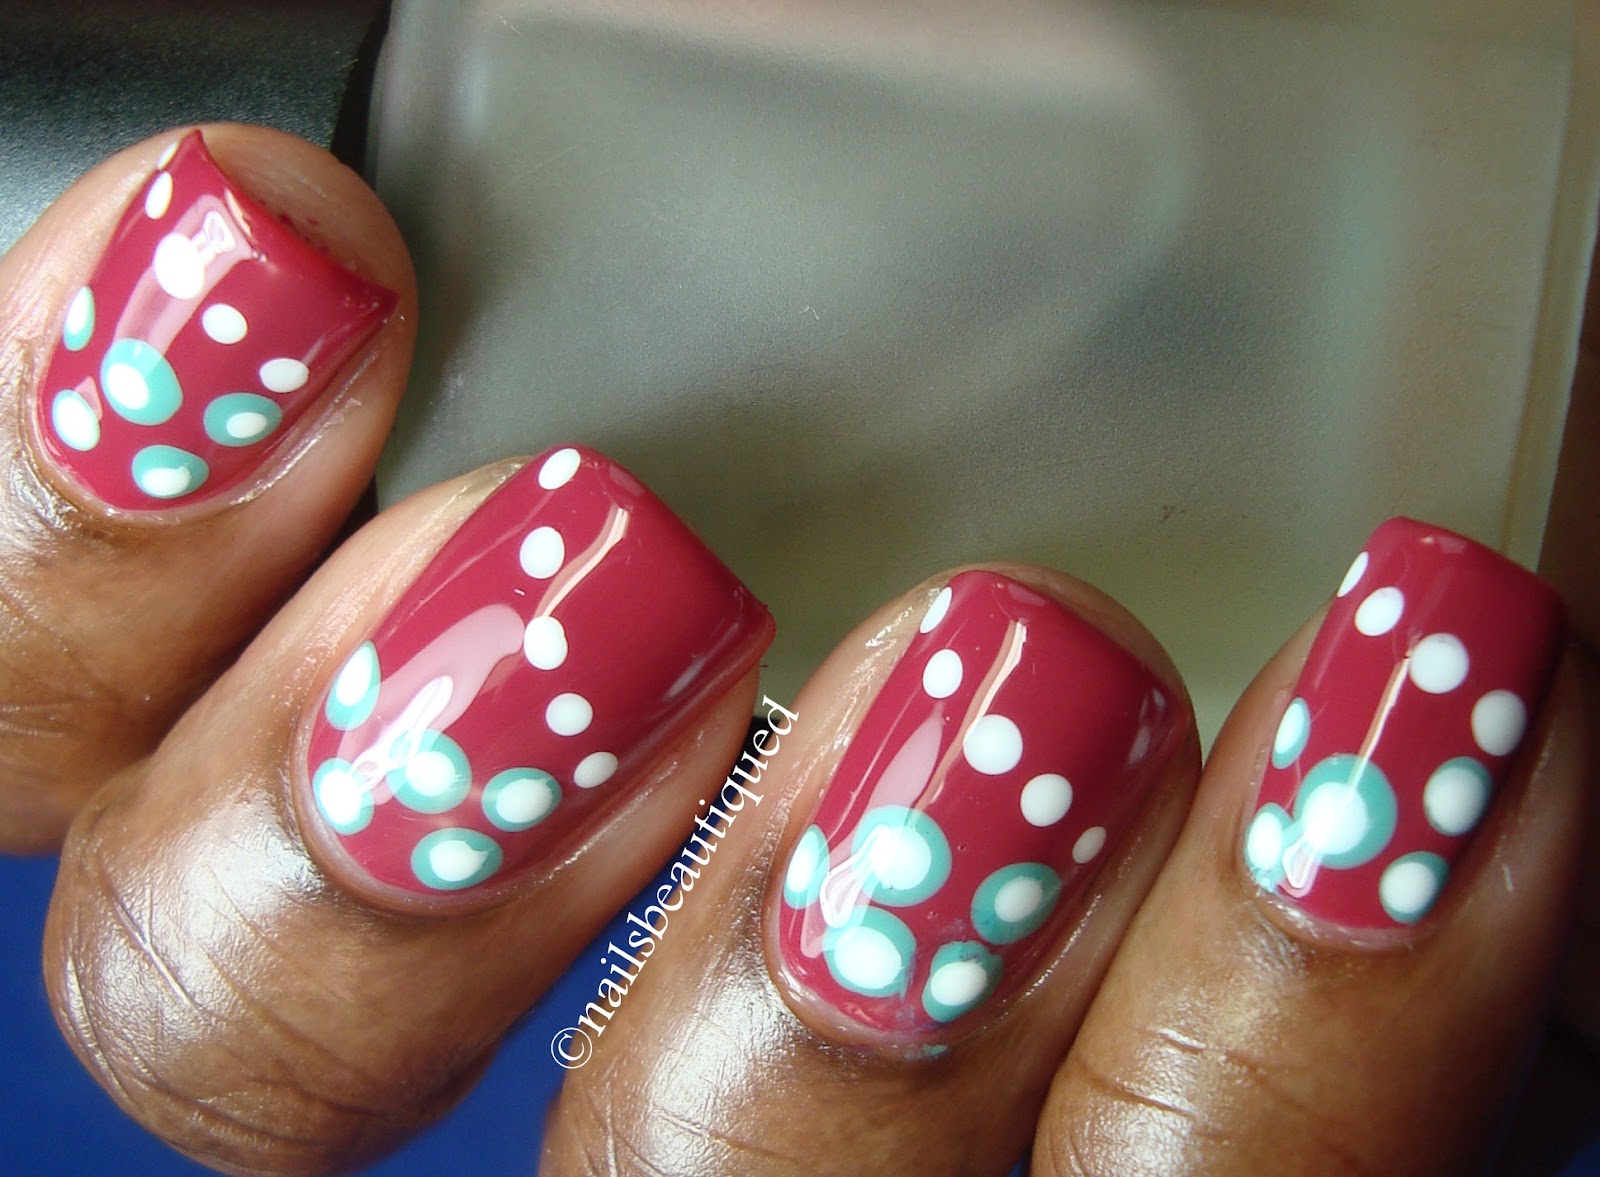
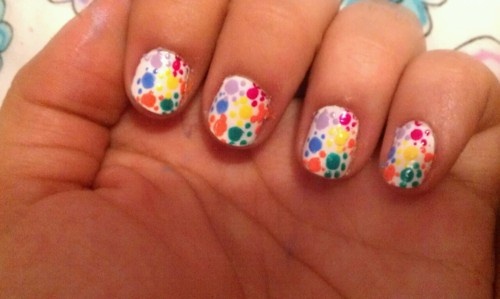
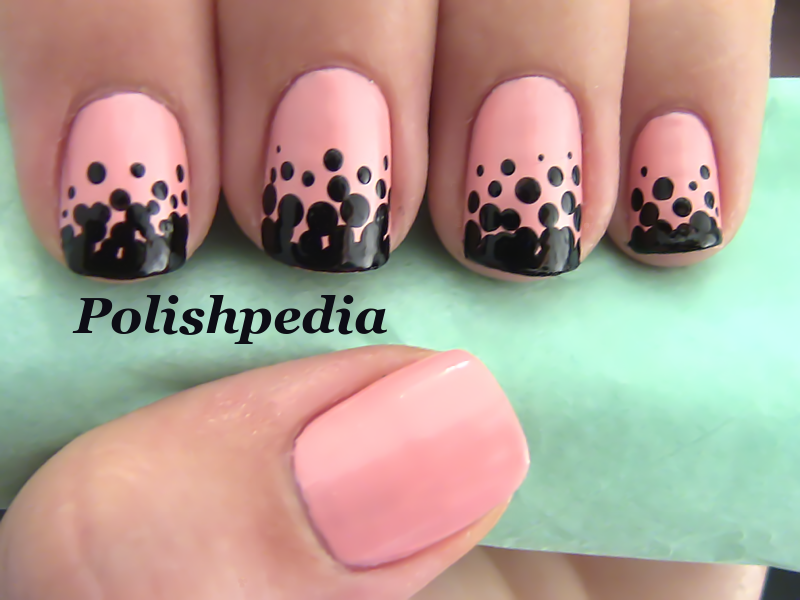
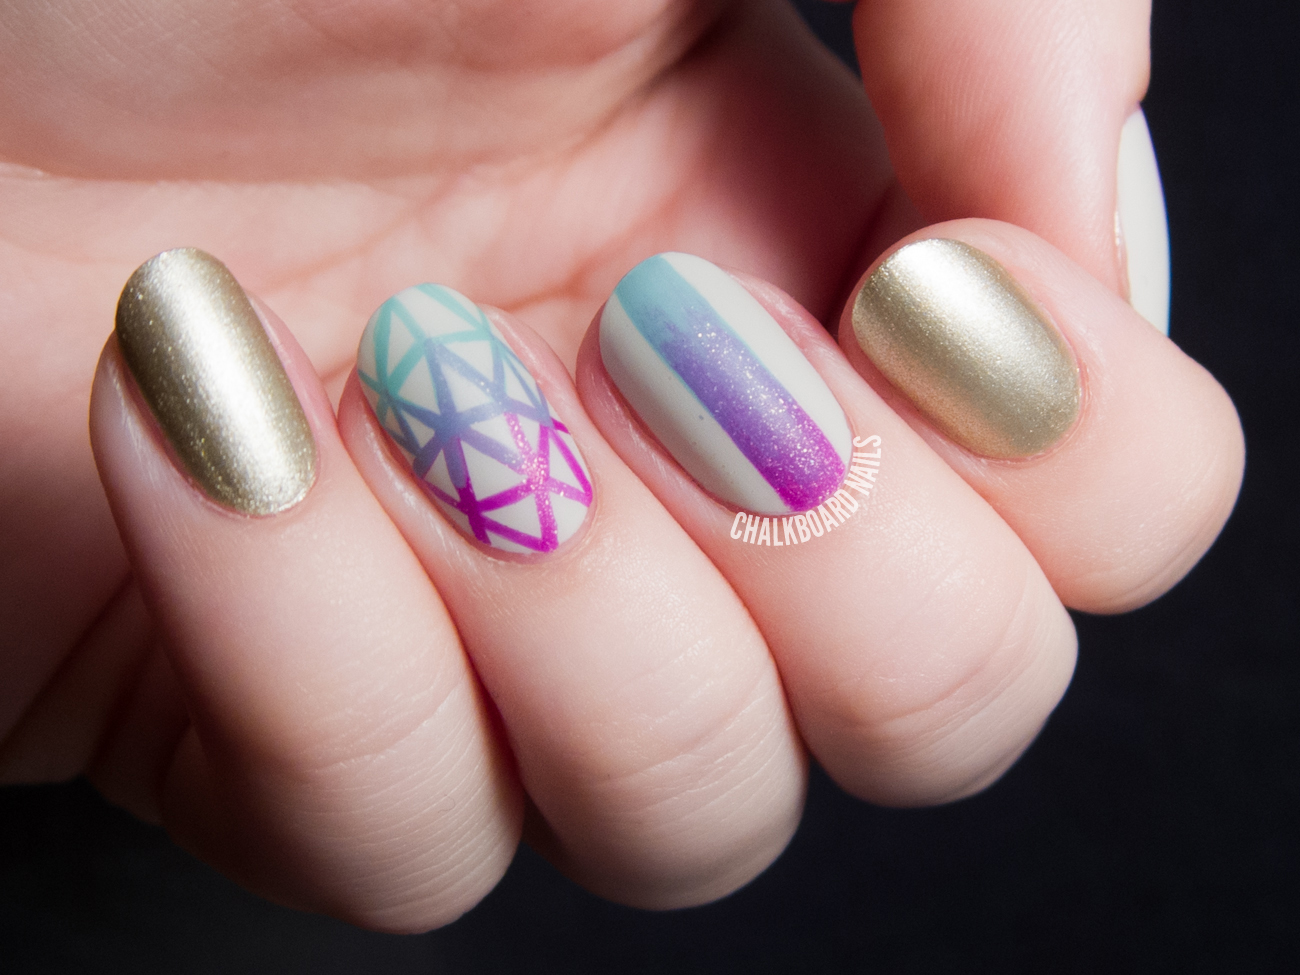
Learn how to create beautiful gradient dots nail art with our easy tutorial. This trendy and versatile design is perfect for any occasion and can be customized to match your personal style. Follow these simple steps to achieve a flawless gradient dots nail art look. To start, you will need a base color of your choice, two or more colors for the gradient, a dotting tool or toothpick, and a top coat. Make sure your nails are clean and free of any old polish before beginning. Apply your base color and let it dry completely. Then, pour two or three small drops of your chosen gradient colors onto a piece of paper or foil. Using the dotting tool, pick up a small amount of the first gradient color and gently dab it onto the base of your nail, creating a cluster of dots. Repeat this step with your other gradient colors, making sure to overlap the dots for a blended effect. Continue adding dots and blending until you reach the tip of your nail. You can also create a gradient effect by using more of one color and less of another as you move up the nail. Once you are satisfied with the gradient, let it dry for a few minutes. Finish off your gradient dots nail art with a top coat to seal in the design and add shine. Clean up any excess polish around your cuticles with a small brush or cotton swab dipped in nail polish remover. Experiment with different color combinations and dotting techniques to create your own unique gradient dots nail art look. With a little practice, you'll be a pro at this trendy and fun design.1. Gradient Dots Nail Art Tutorial


1. Gradient Dots Nail Art Tutorial


.JPG)


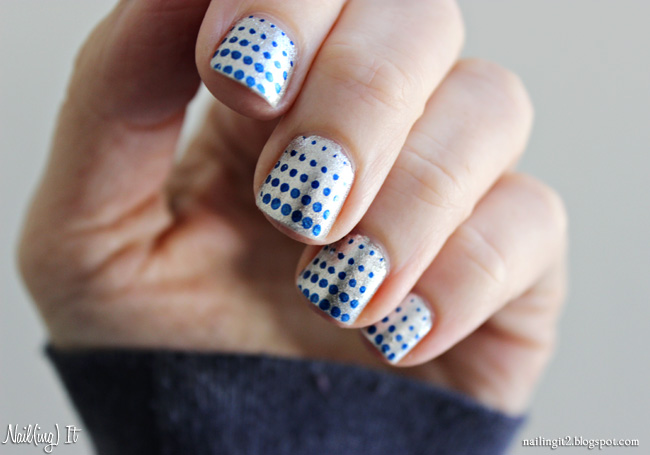
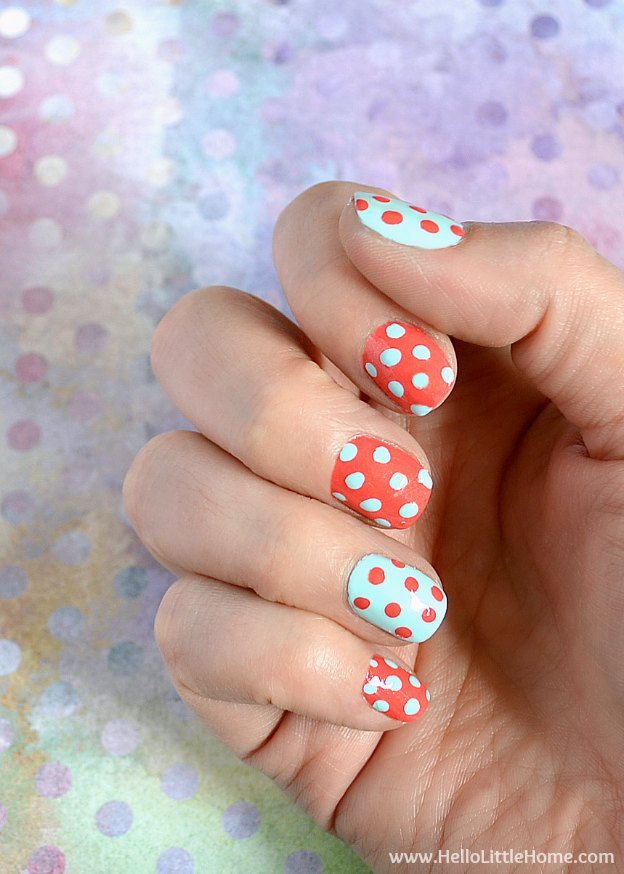
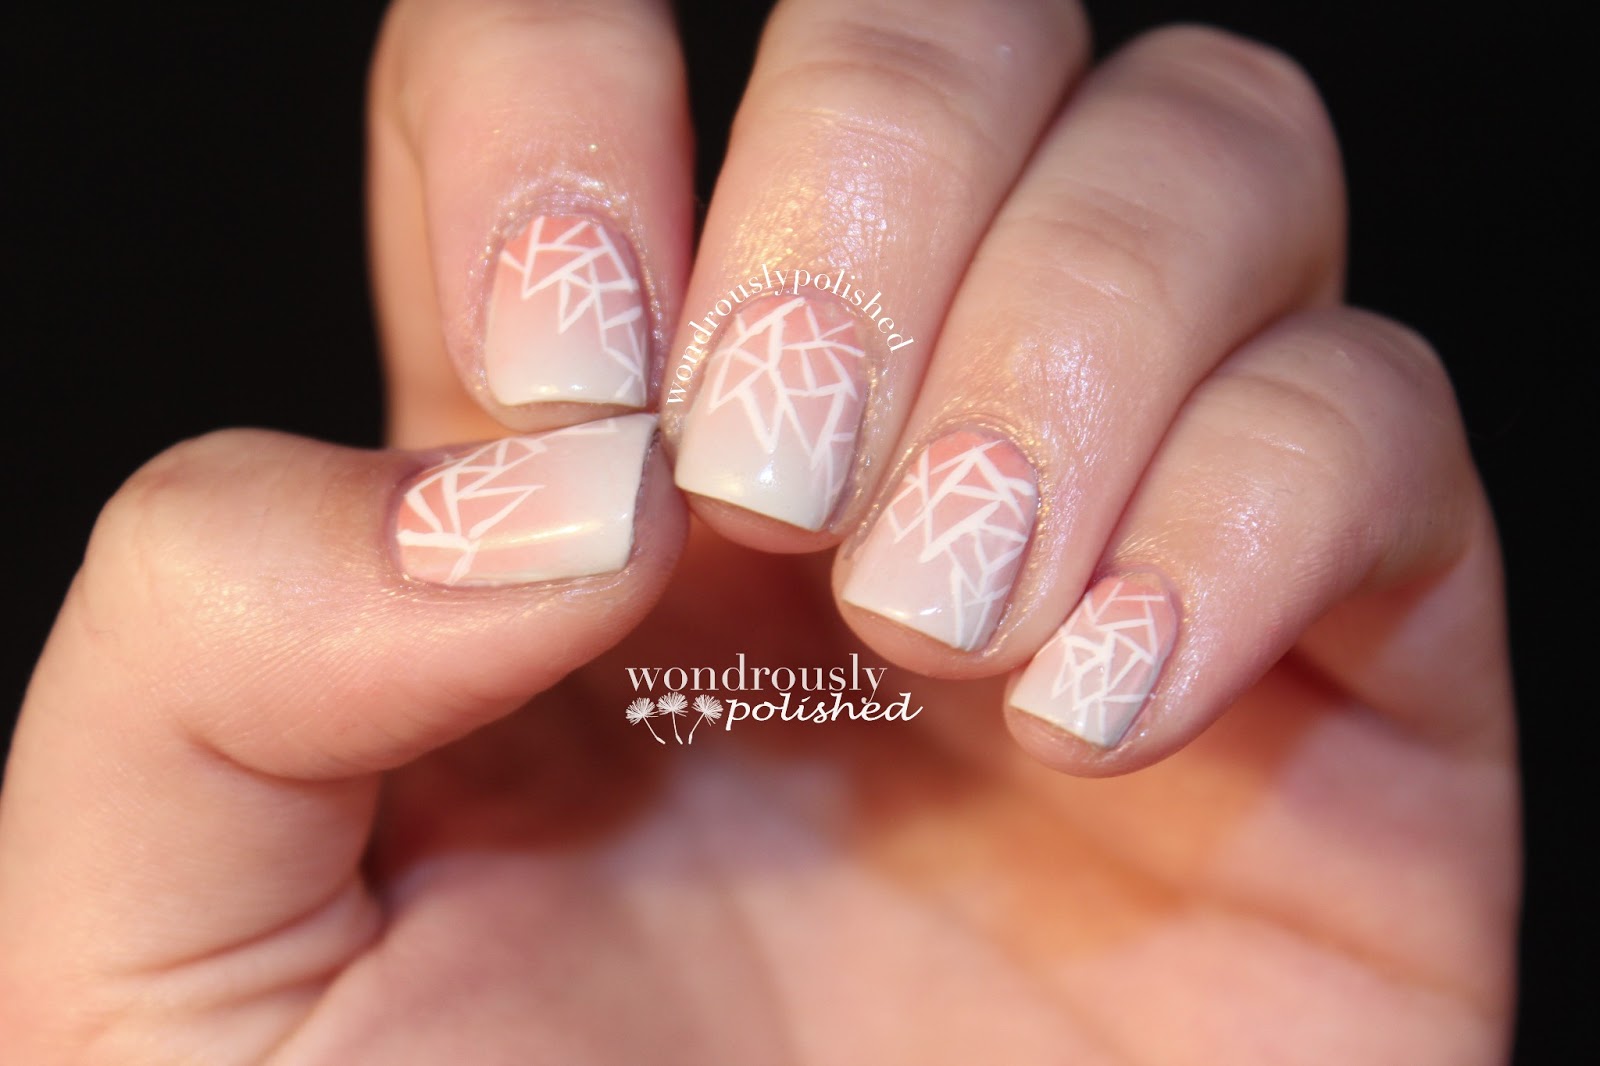
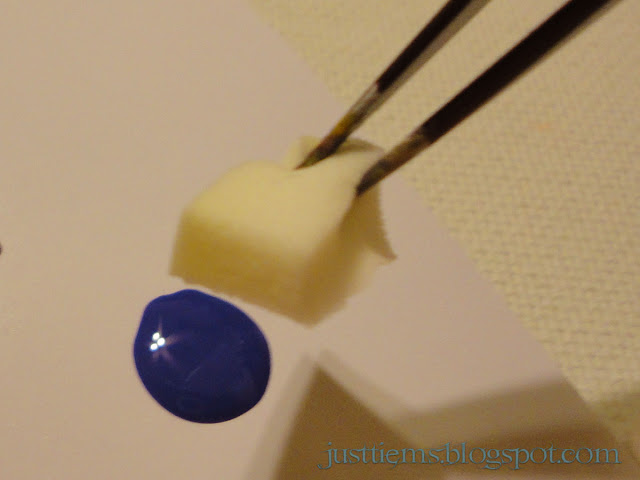
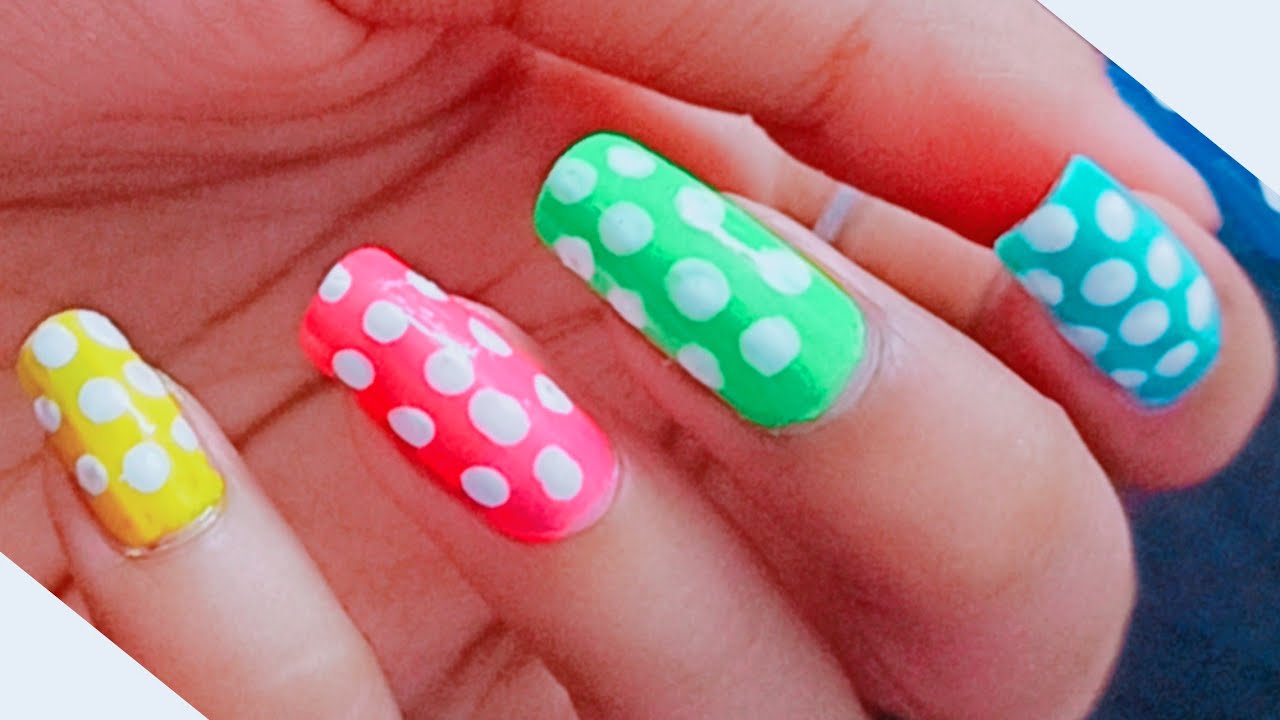
If you're new to nail art or just looking for a quick and easy design, gradient dots nail art is the perfect choice. With minimal tools and time, you can achieve a stunning and fun look. To create an easy gradient dot nail art, start by choosing two colors that complement each other. You can also choose shades of the same color for a more subtle look. Apply your base color and let it dry completely. Next, take a makeup sponge and paint your chosen gradient colors onto the sponge, making sure to overlap them slightly. Gently dab the sponge onto your nail, starting at the base and moving towards the tip. This will create a soft gradient effect. Then, using a toothpick or dotting tool, add small dots in a contrasting color on top of the gradient. You can also use a single color for the dots if you prefer. Continue adding dots until you reach your desired look. Once your design is dry, finish off with a top coat to seal in the colors and add shine. This easy gradient dot nail art is perfect for beginners or anyone looking for a quick and stylish design.2. Easy Gradient Dot Nail Art


2. Easy Gradient Dot Nail Art
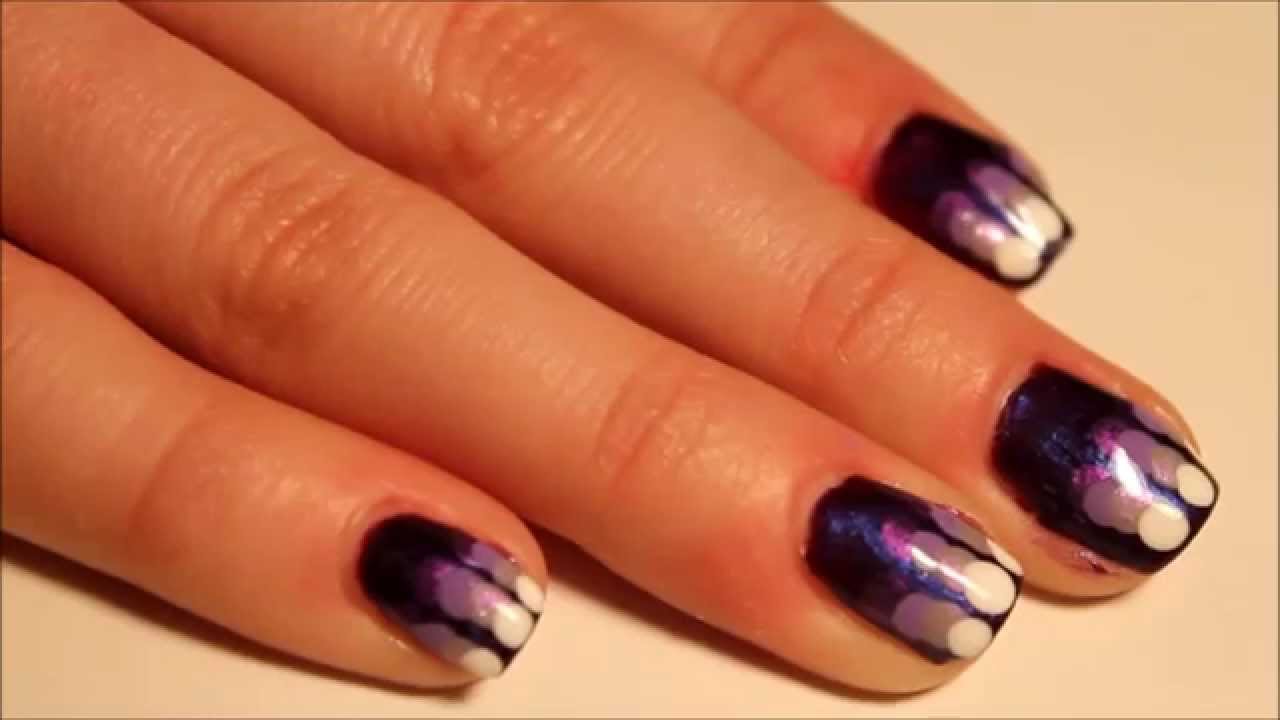


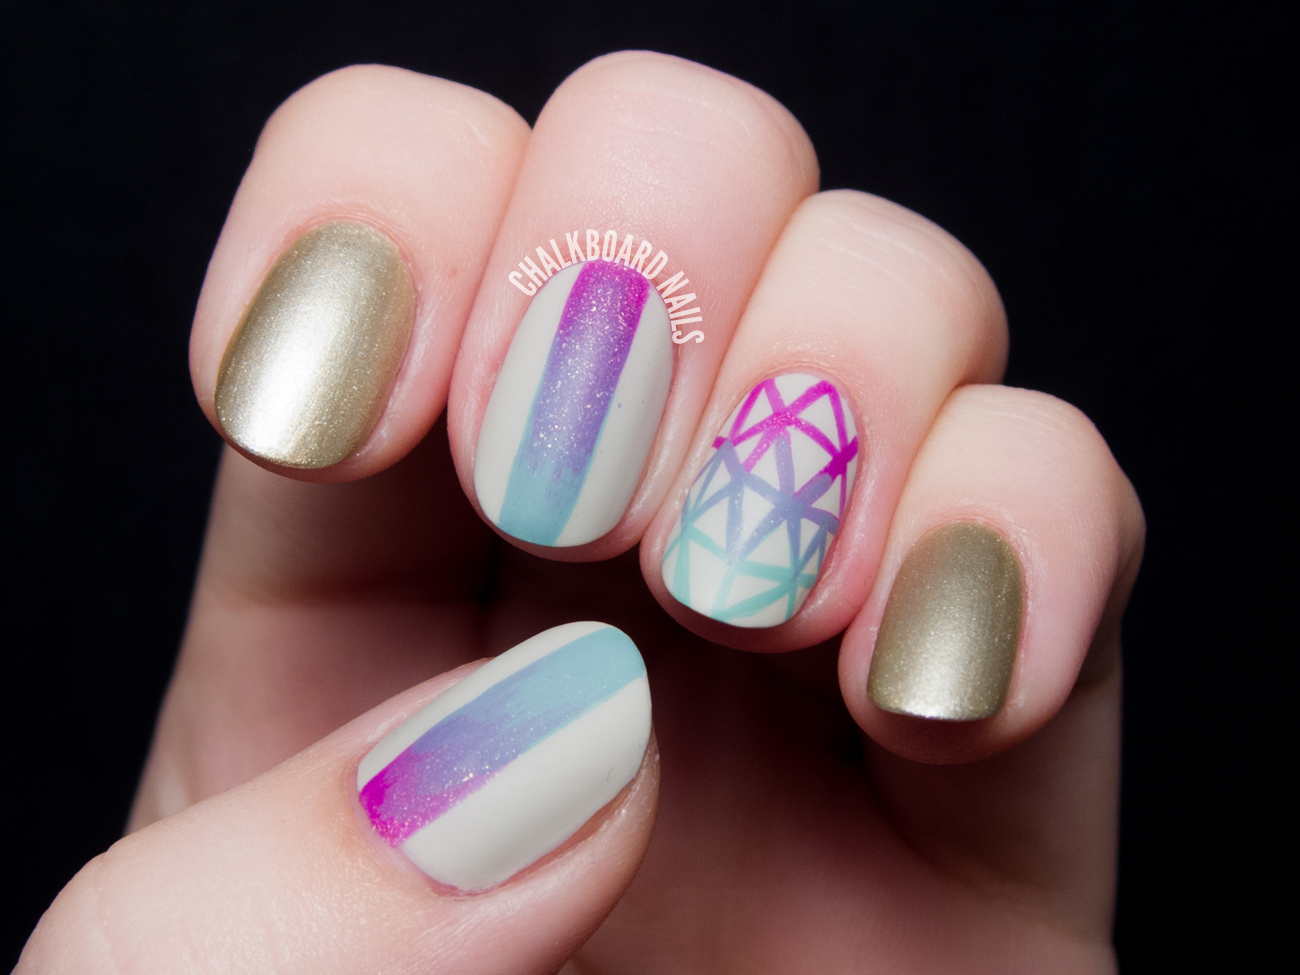
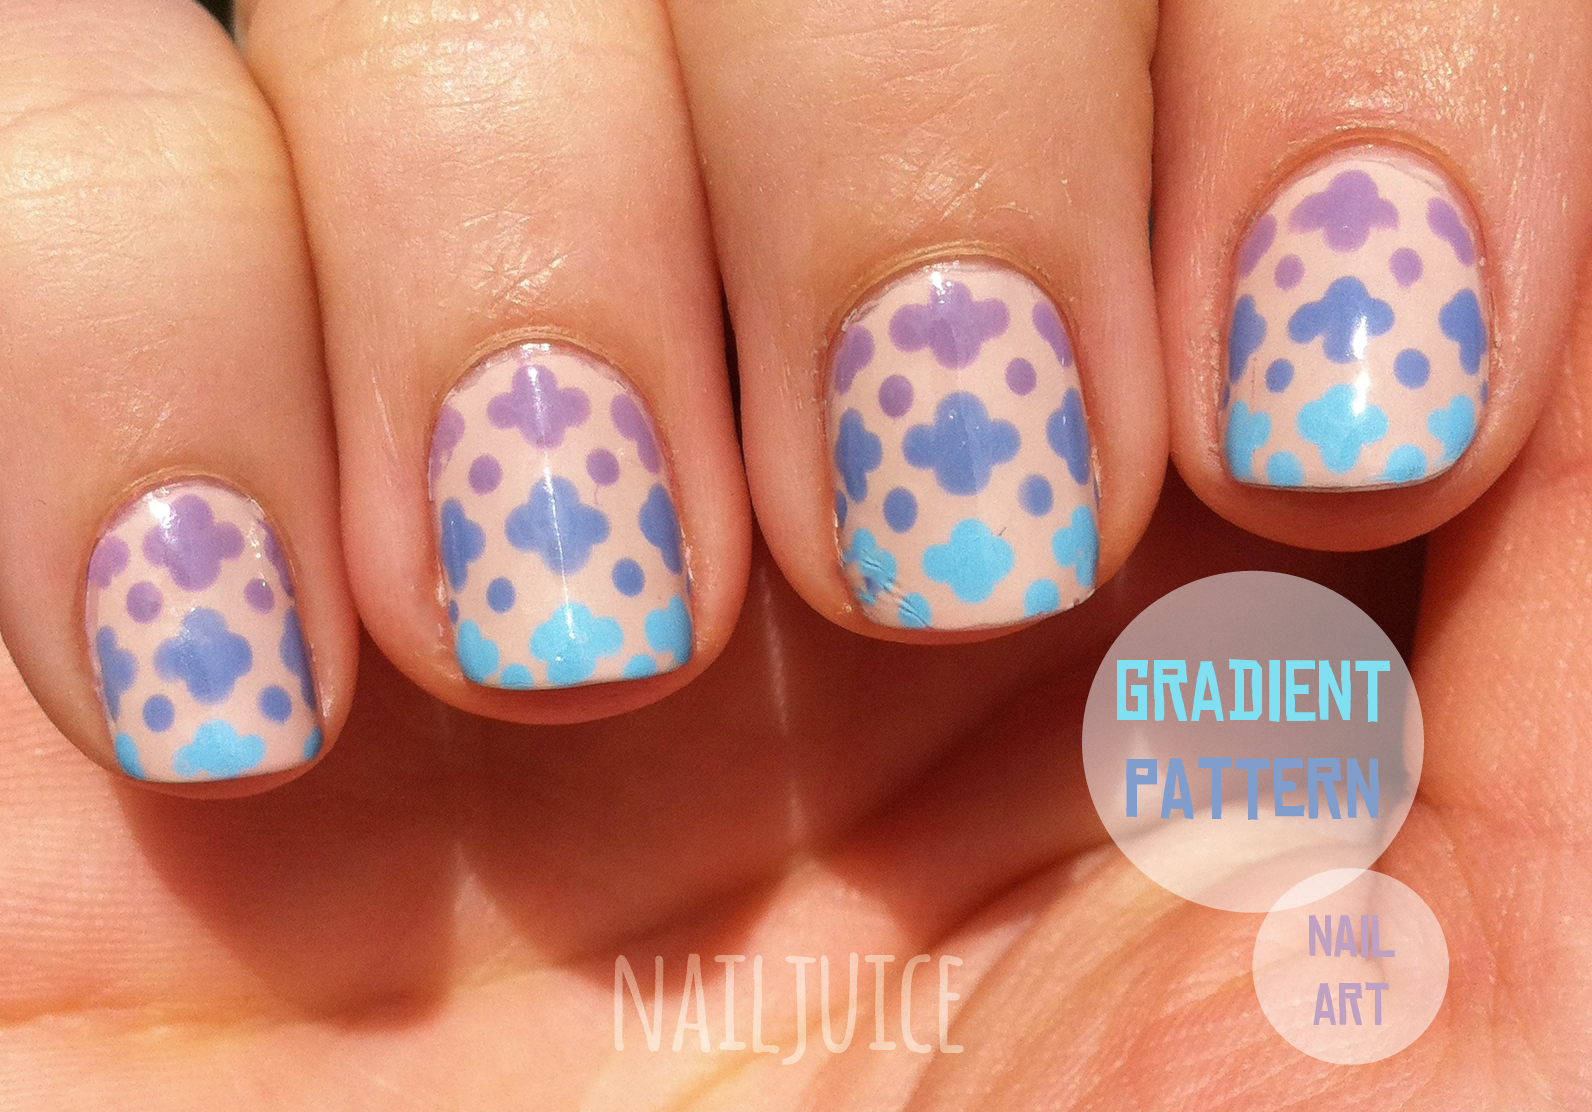
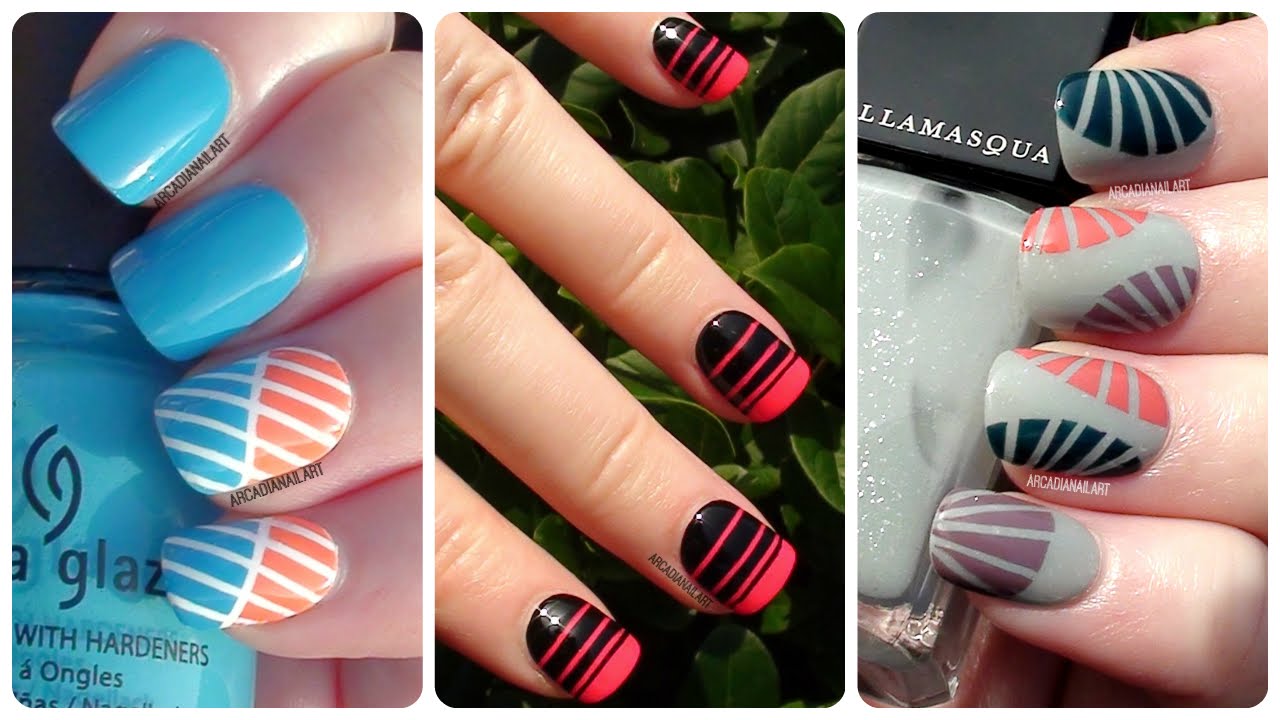
Gradient dots nail art is a versatile and fun design that can be customized to fit any style or occasion. From bold and bright to soft and subtle, there are endless possibilities when it comes to gradient dot nail art designs. For a bold and eye-catching look, try using bright and contrasting colors for your gradient dots. You can also add an ombre effect by using multiple shades of the same color for your gradient. For a more subtle and elegant design, try using pastel colors or shades of the same color for your gradient. You can also add a touch of sparkle by using a glitter polish for the dots. If you're feeling adventurous, you can also experiment with different dotting techniques to create unique designs. Try using a small brush to create thin lines or use a larger dotting tool for bigger dots. No matter what your personal style may be, there is a gradient dot nail art design for you. Have fun and get creative with this trendy and versatile nail art design.3. Gradient Dot Nail Art Designs


3. Gradient Dot Nail Art Designs
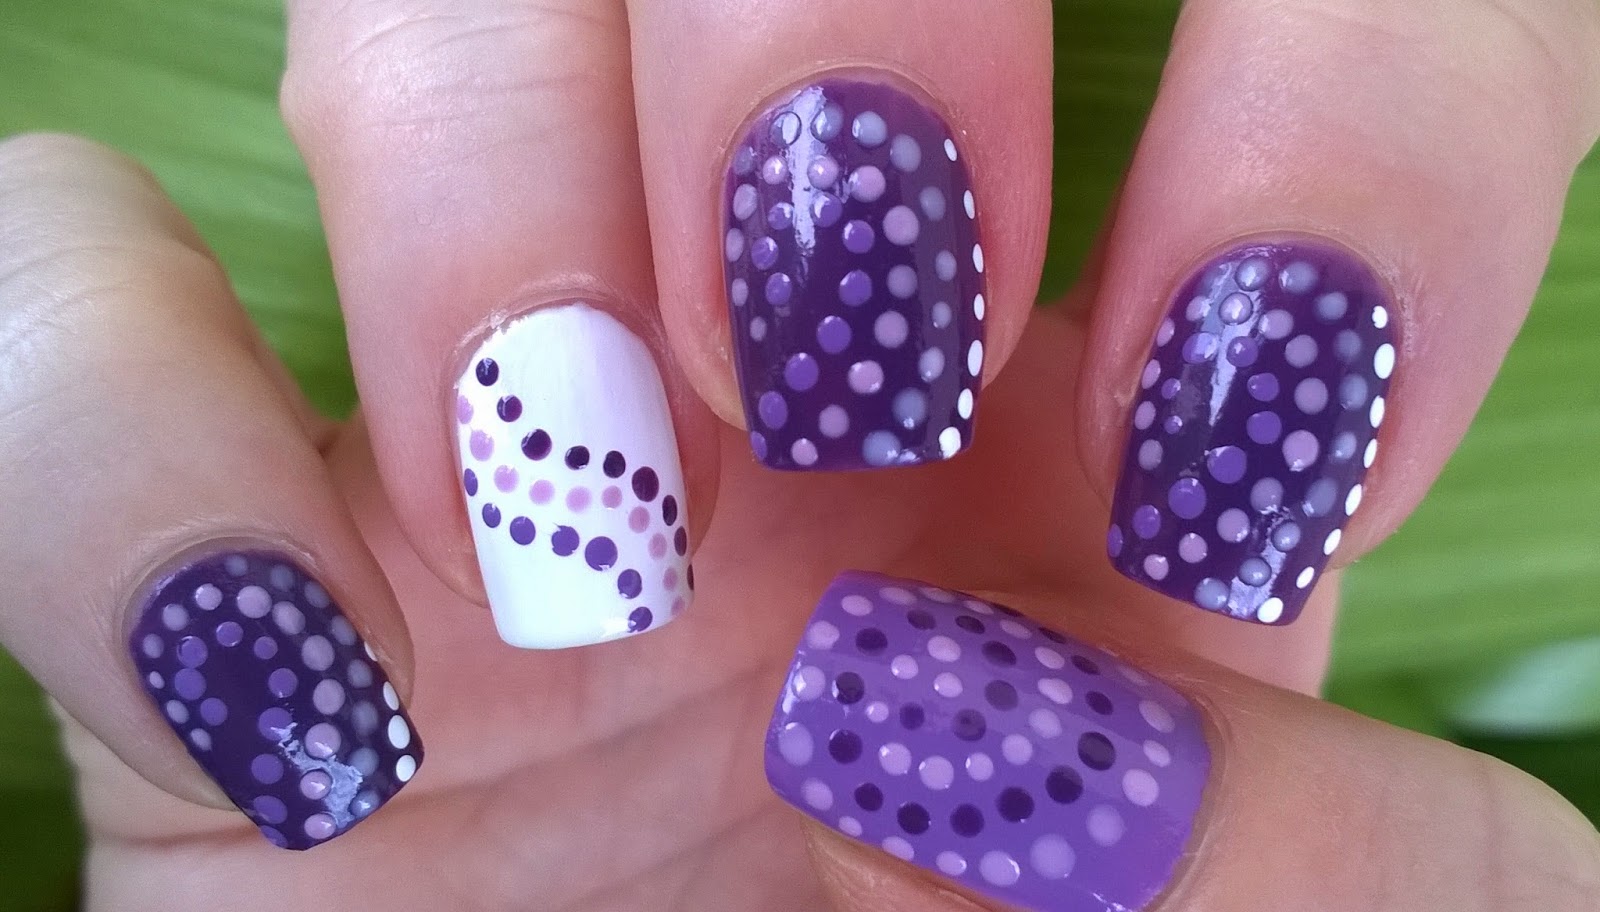
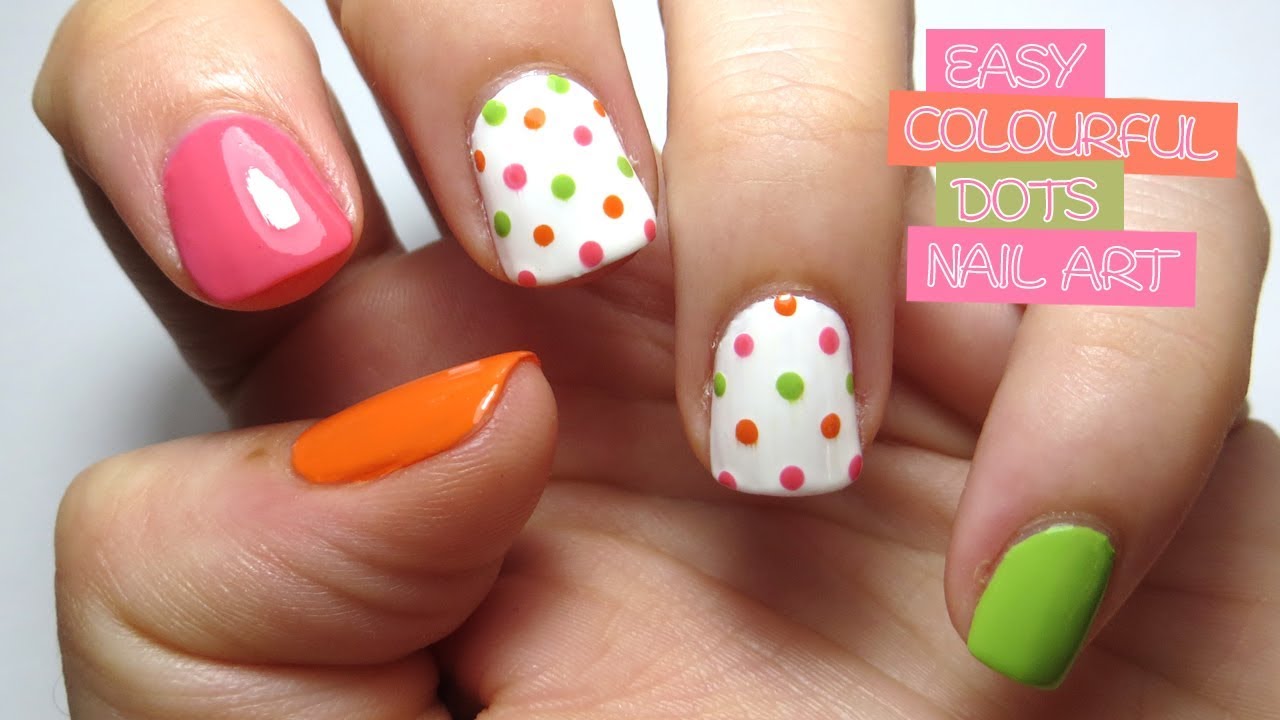
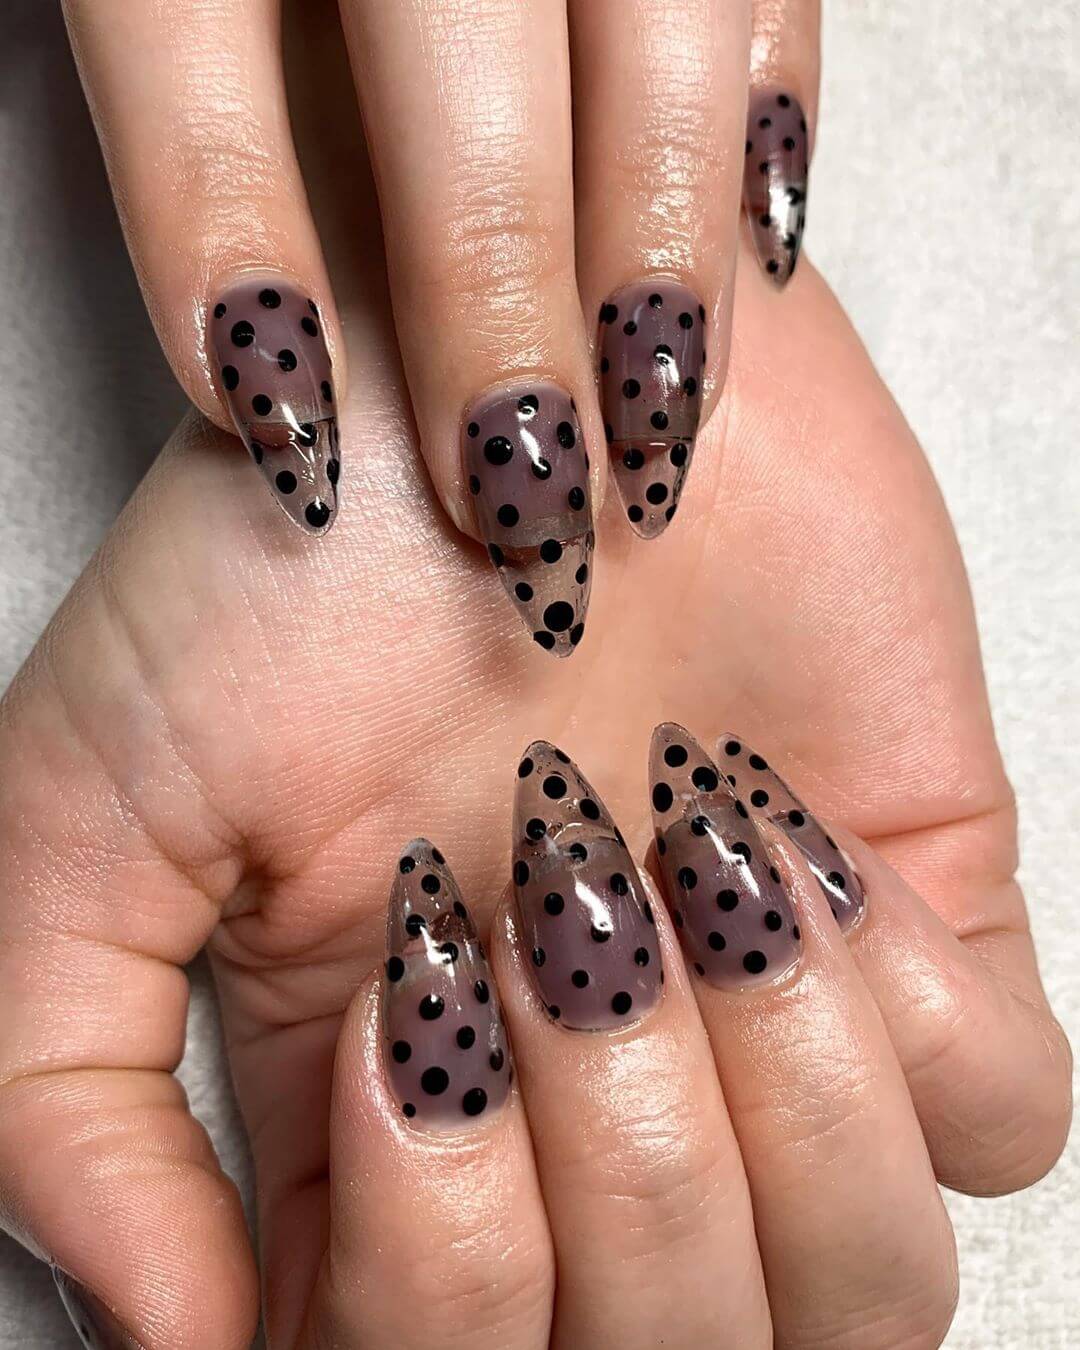
If you're looking for some inspiration for your next nail art design, look no further than gradient dots nail art. With endless color combinations and design options, the possibilities are endless. For a fun and playful look, try using a rainbow of colors for your gradient dots. You can also add a twist by using a different color for each nail. If you prefer a more subtle look, try using shades of the same color for your gradient dots. You can also add a pop of color by using a contrasting color for the base. For a glamorous and elegant look, try using metallic or shimmery polishes for your gradient dots. This will add a touch of sparkle and sophistication to your design. Don't be afraid to mix and match different colors and techniques to create your own unique gradient dot nail art ideas. Let your creativity run wild and have fun with this trendy and versatile design.4. Gradient Dot Nail Art Ideas


4. Gradient Dot Nail Art Ideas
If you're new to nail art, gradient dots nail art is a great design to start with. With minimal tools and time, you can achieve a beautiful and professional-looking design. To make it even easier, try using a gradient nail polish that already has multiple colors in one bottle. This will save you time and make the blending process much easier. Another tip for beginners is to use a toothpick or bobby pin instead of a dotting tool. These household items can create perfect dots and are easier to handle for those just starting out. Don't worry if your dots aren't perfect, the beauty of gradient dots nail art is that it's meant to be imperfect and blended. With a little practice, you'll be creating flawless gradient dot nail art designs in no time.5. Gradient Dot Nail Art for Beginners


5. Gradient Dot Nail Art for Beginners

Creating gradient dots nail art may seem intimidating, but with our step by step guide, you'll be a pro in no time. Step 1: Start by applying a base color of your choice and letting it dry completely. Step 2: Pour two or three small drops of your chosen gradient colors onto a piece of paper or foil. Step 3: Using a dotting tool or toothpick, pick up a small amount of the first gradient color and gently dab it onto the base of your nail, creating a cluster of dots. Step 4: Repeat this step with your other gradient colors, making sure to overlap the dots for a blended effect. Step 5: Continue adding dots and blending until you reach the tip of your nail. You can also create a gradient effect by using more of one color and less of another as you move up the nail. Step 6: Let your design dry for a few minutes before finishing off with a top coat to seal in the colors and add shine. Step 7: Clean up any excess polish around your cuticles with a small brush or cotton swab dipped in nail polish remover. With these simple steps, you'll have a flawless gradient dots nail art design in no time.6. Gradient Dot Nail Art Step by Step


6. Gradient Dot Nail Art Step by Step

If you don't have a dotting tool or toothpick, don't worry! You can still achieve a beautiful gradient dots nail art design using a makeup sponge. Start by applying your chosen base color and letting it dry completely. Then, paint your gradient colors onto the sponge, making sure to overlap them slightly. Gently dab the sponge onto your nail, starting at the base and moving towards the tip. This will create a soft gradient effect. Once your gradient is dry, use a dotting tool or toothpick to add small dots in a contrasting color on top of the gradient. Finish off with a top coat to seal in the design and add shine. This technique is also great for creating a gradient effect on all of your nails by using different shades of the same color for each nail.7. Gradient Dot Nail Art with Sponge

7. Gradient Dot Nail Art with Sponge


A toothpick is a great alternative to a dotting tool for creating gradient dots nail art. It's easier to handle and can create perfect dots in different sizes. Start by applying your base color and letting it dry completely. Then, pour two or three small drops of your chosen gradient colors onto a piece of paper or foil. Dip the tip of a toothpick into the first gradient color and gently dab it onto the base of your nail, creating a cluster of dots. Repeat with your other gradient colors, making sure to overlap the dots for a blended effect. Continue adding dots and blending until you reach the tip of your nail. Finish off with a top coat to seal in the design and add shine.8. Gradient Dot Nail Art with Toothpick

8. Gradient Dot Nail Art with Toothpick


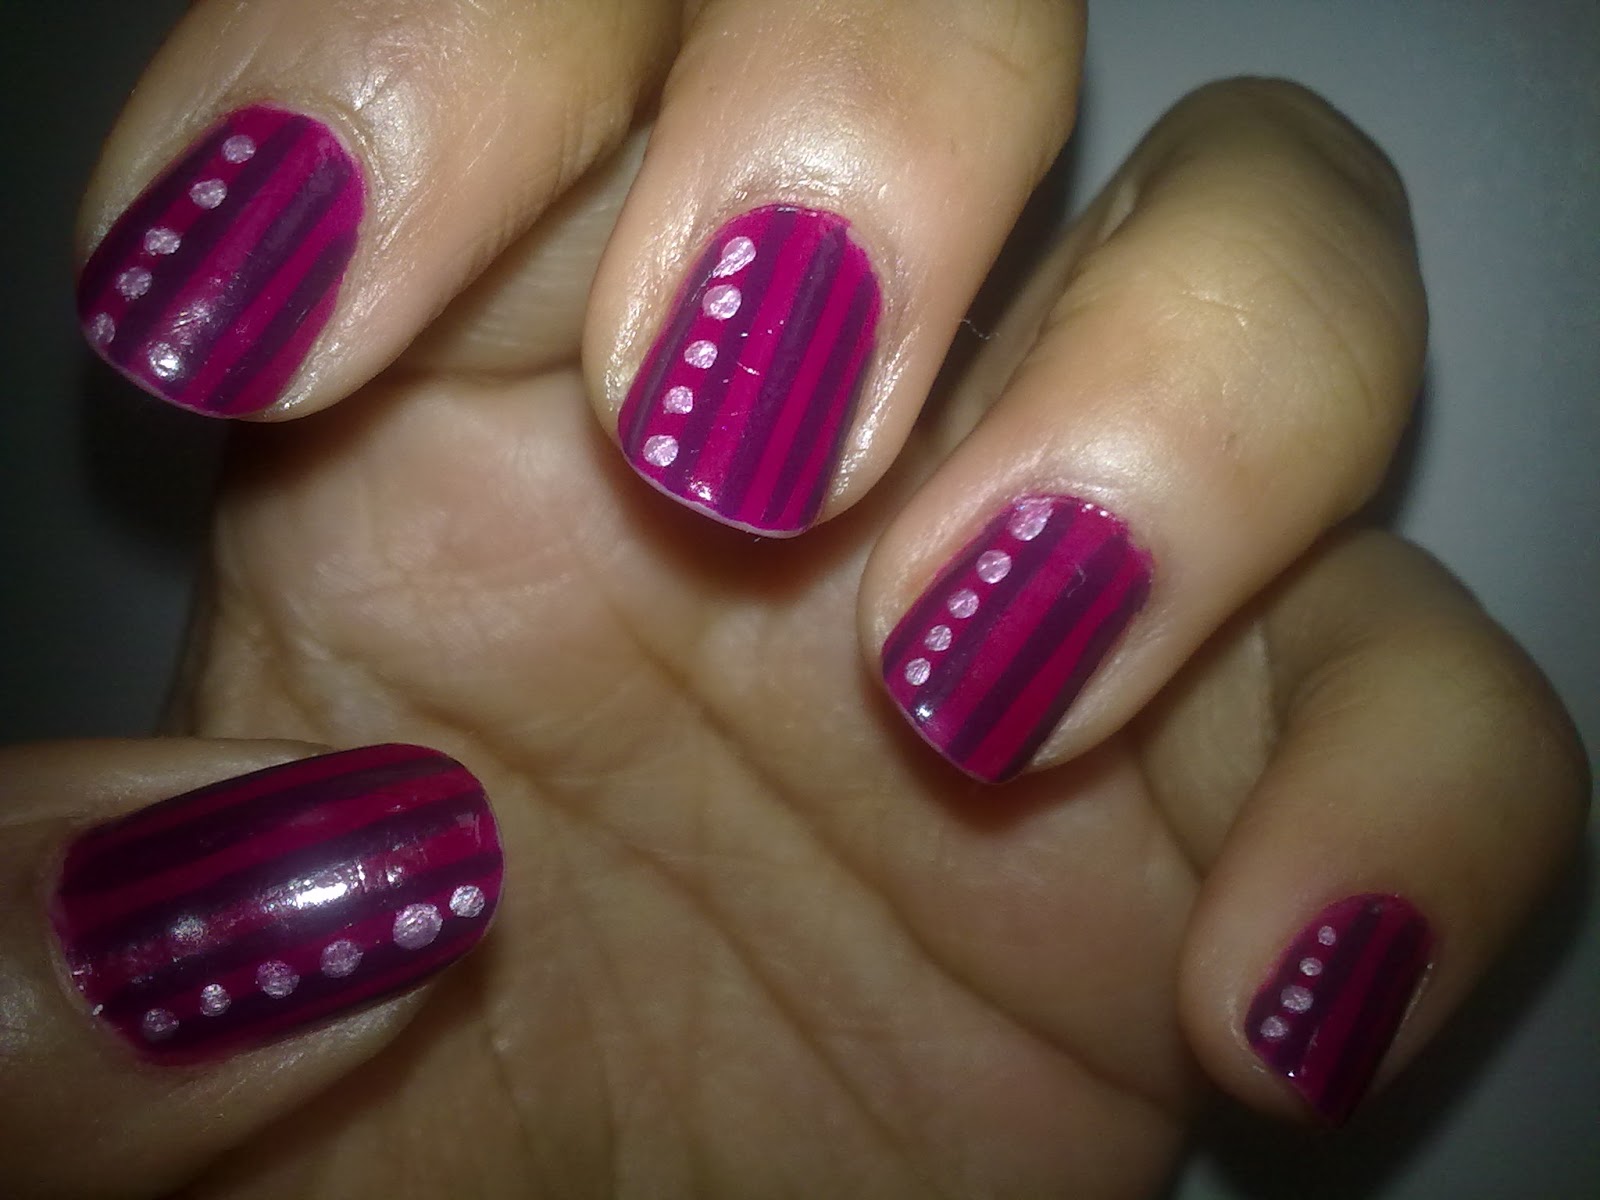
If you want to take your gradient dots nail art to the next level, try using striping tape to create clean and precise lines. Start by applying your base color and letting it dry completely. Then, place striping tape in a diagonal or vertical pattern on your nail, leaving small gaps for the gradient dots. Using a dotting tool or toothpick, add the gradient dots in the gaps created by the striping tape. Once your design is dry, carefully remove the striping tape to reveal your flawless gradient dot nail art.9. Gradient Dot Nail Art with Striping Tape

9. Gradient Dot Nail Art with Striping Tape


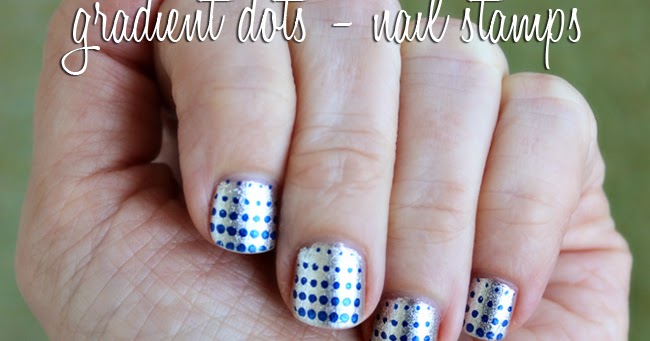
If you're a fan of stamping nail art, you can also create a gradient dots design using this technique. Start by applying a base color and letting it dry completely. Then, using a stamping plate with a gradient dots design, stamp the pattern onto your nails. If you don't have a gradient dots stamping plate, you can also use a single dot design and layer the dots to create a gradient effect. Finish off with a top coat to seal in the design and add shine. This technique is quick and easy, making it perfect for those who are short on time.10. Gradient Dot Nail Art with Stamping


10. Gradient Dot Nail Art with Stamping
The Art of Gradient Dots Nail Art

Adding a Pop of Color to your Nails
 Nail art has become a popular trend in recent years and one of the most creative and eye-catching designs is gradient dots nail art. This unique nail design allows you to add a burst of color and dimension to your nails, making them stand out in a crowd. Whether you are looking for a fun and playful look or something more sophisticated, gradient dots nail art is the perfect way to express your personal style.
Gradient Dots Nail Art: The Basics
So, what exactly is gradient dots nail art? As the name suggests, it involves creating a gradient effect using dots on your nails. This can be achieved by using different shades of the same color or by using a combination of complementary colors. The result is a beautiful and seamless transition of color on your nails, creating a stunning ombre effect.
Getting Started
To achieve the perfect gradient dots nail art, you will need a few essential tools. These include a base coat, a top coat, a variety of nail polish colors, a dotting tool or toothpick, and some patience. The key to creating a flawless gradient is to have a smooth and even base, so make sure to start with a clean and well-prepped nail.
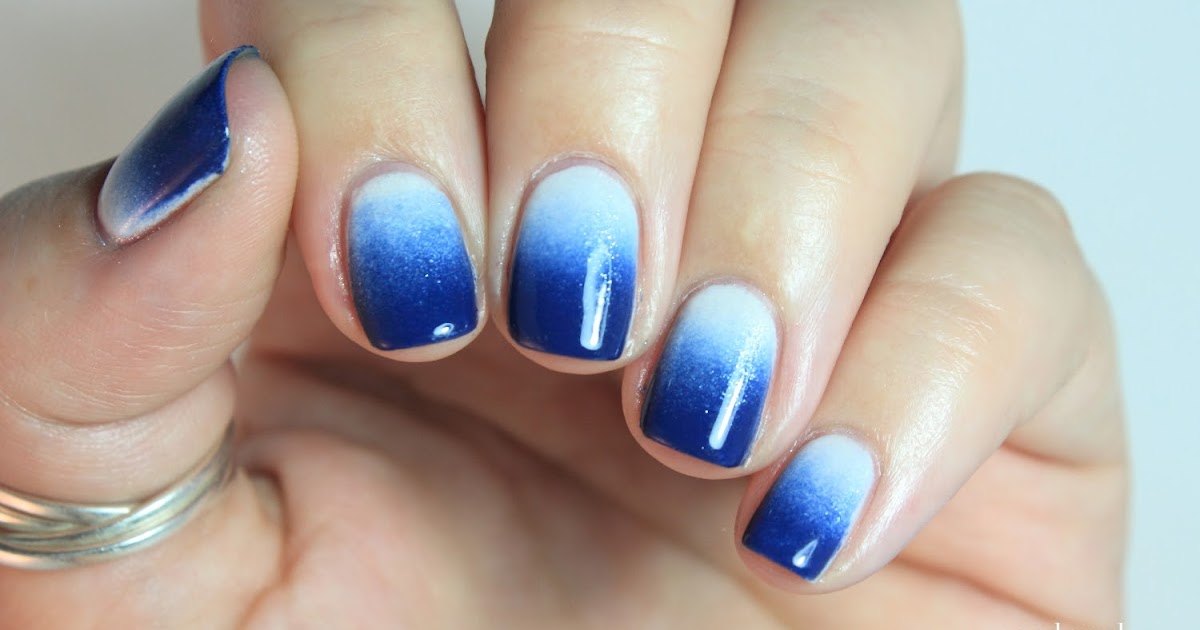
Creating the Gradient Effect
To start, apply a base coat to your nails and let it dry completely. Next, choose your desired colors and arrange them in a gradient order. Using the lightest shade, paint the entire nail and let it dry. Then, using the next darker shade, create a row of dots along the cuticle using your dotting tool or toothpick. Continue this process with each shade, creating smaller and smaller dots as you move towards the tip of your nail. Once you have completed all the colors, use a top coat to seal in your design.
Adding Some Extra Flair
To take your gradient dots nail art to the next level, you can add some extra elements such as glitter, rhinestones, or even a matte top coat. These additions can add an extra pop of sparkle and dimension to your already stunning design.
Express Yourself with Gradient Dots Nail Art
There are endless possibilities when it comes to gradient dots nail art. You can play around with different color combinations, add different patterns or even use different sized dots for a unique look. This versatile and fun nail design allows you to express your creativity and personality through your nails.
In conclusion, gradient dots nail art is a must-try for anyone looking to add a touch of fun and color to their nails. With a little bit of practice and some creativity, you can achieve a stunning gradient effect that will have everyone asking where you got your nails done. So, go ahead and give gradient dots nail art a try, and get ready to turn heads with your beautiful and unique nail design.
Nail art has become a popular trend in recent years and one of the most creative and eye-catching designs is gradient dots nail art. This unique nail design allows you to add a burst of color and dimension to your nails, making them stand out in a crowd. Whether you are looking for a fun and playful look or something more sophisticated, gradient dots nail art is the perfect way to express your personal style.
Gradient Dots Nail Art: The Basics
So, what exactly is gradient dots nail art? As the name suggests, it involves creating a gradient effect using dots on your nails. This can be achieved by using different shades of the same color or by using a combination of complementary colors. The result is a beautiful and seamless transition of color on your nails, creating a stunning ombre effect.
Getting Started
To achieve the perfect gradient dots nail art, you will need a few essential tools. These include a base coat, a top coat, a variety of nail polish colors, a dotting tool or toothpick, and some patience. The key to creating a flawless gradient is to have a smooth and even base, so make sure to start with a clean and well-prepped nail.
Creating the Gradient Effect
To start, apply a base coat to your nails and let it dry completely. Next, choose your desired colors and arrange them in a gradient order. Using the lightest shade, paint the entire nail and let it dry. Then, using the next darker shade, create a row of dots along the cuticle using your dotting tool or toothpick. Continue this process with each shade, creating smaller and smaller dots as you move towards the tip of your nail. Once you have completed all the colors, use a top coat to seal in your design.
Adding Some Extra Flair
To take your gradient dots nail art to the next level, you can add some extra elements such as glitter, rhinestones, or even a matte top coat. These additions can add an extra pop of sparkle and dimension to your already stunning design.
Express Yourself with Gradient Dots Nail Art
There are endless possibilities when it comes to gradient dots nail art. You can play around with different color combinations, add different patterns or even use different sized dots for a unique look. This versatile and fun nail design allows you to express your creativity and personality through your nails.
In conclusion, gradient dots nail art is a must-try for anyone looking to add a touch of fun and color to their nails. With a little bit of practice and some creativity, you can achieve a stunning gradient effect that will have everyone asking where you got your nails done. So, go ahead and give gradient dots nail art a try, and get ready to turn heads with your beautiful and unique nail design.


