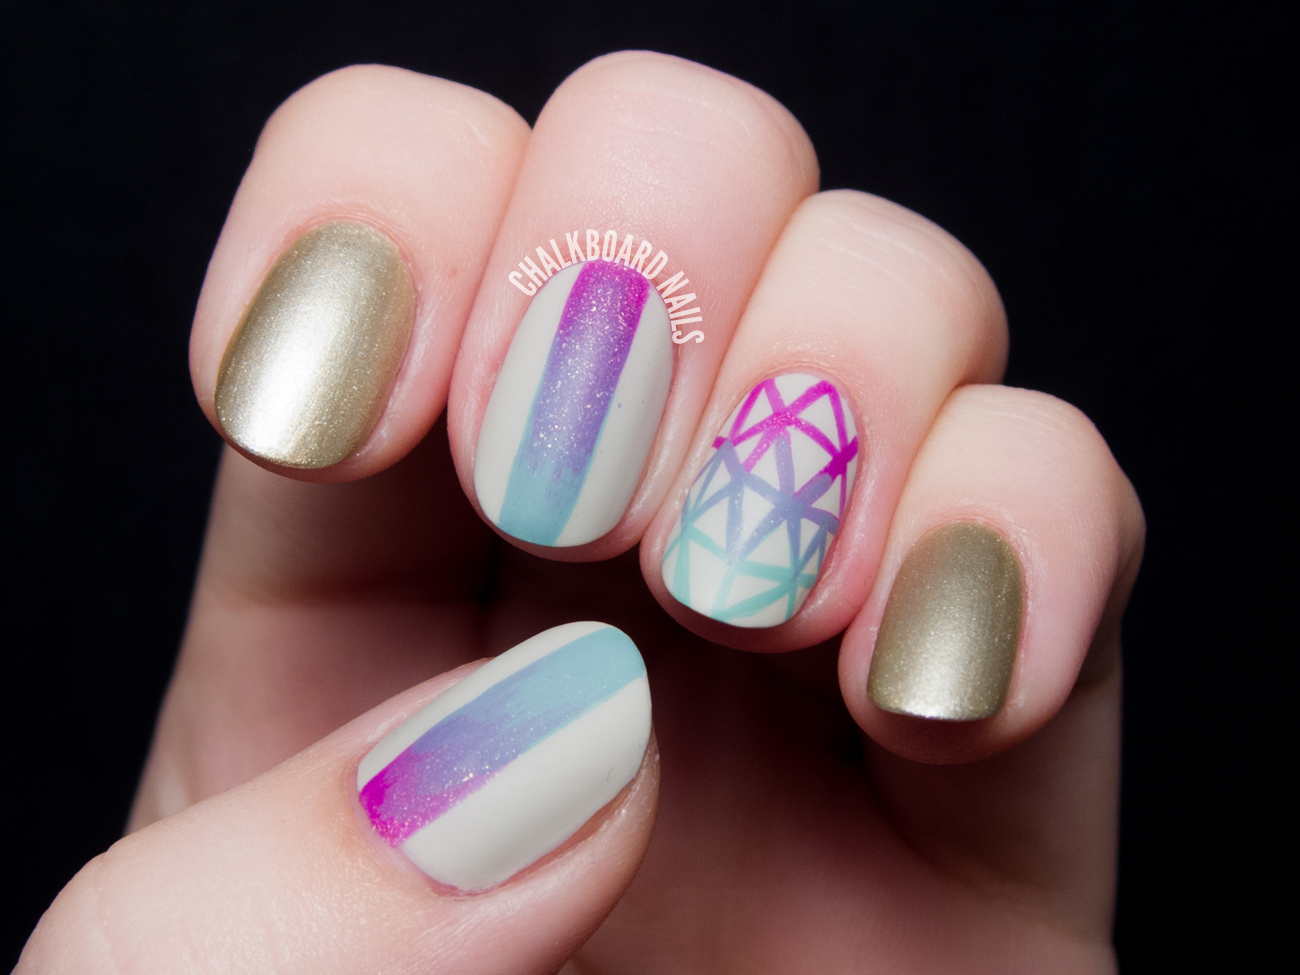
Are you ready to up your nail game with some killer gradient nail art? Look no further than Simply Nailogical, the queen of all things nail art. In this tutorial, Simply Nailogical will show you how to achieve the perfect gradient look with ease. Get ready to take your nails from basic to beautiful! First, gather your supplies. You will need two or more nail polishes in the same color family, a makeup sponge, and a top coat. Simply Nailogical recommends using high-quality polishes for the best results. Start by applying a base coat to protect your nails. Then, paint your nails with the lightest shade of polish and let it dry completely. Next, take your makeup sponge and paint the two polishes next to each other on the sponge. Dab the sponge lightly onto your nails in a rolling motion to create the gradient effect. Continue to dab the sponge onto your nails, adding more polish as needed, until you achieve the desired gradient look. Finish off with a top coat to seal in your design and add shine. And there you have it, a gorgeous gradient nail art look created by Simply Nailogical herself!1. Gradient Nail Art Tutorial by Simply Nailogical


1. Gradient Nail Art Tutorial by Simply Nailogical


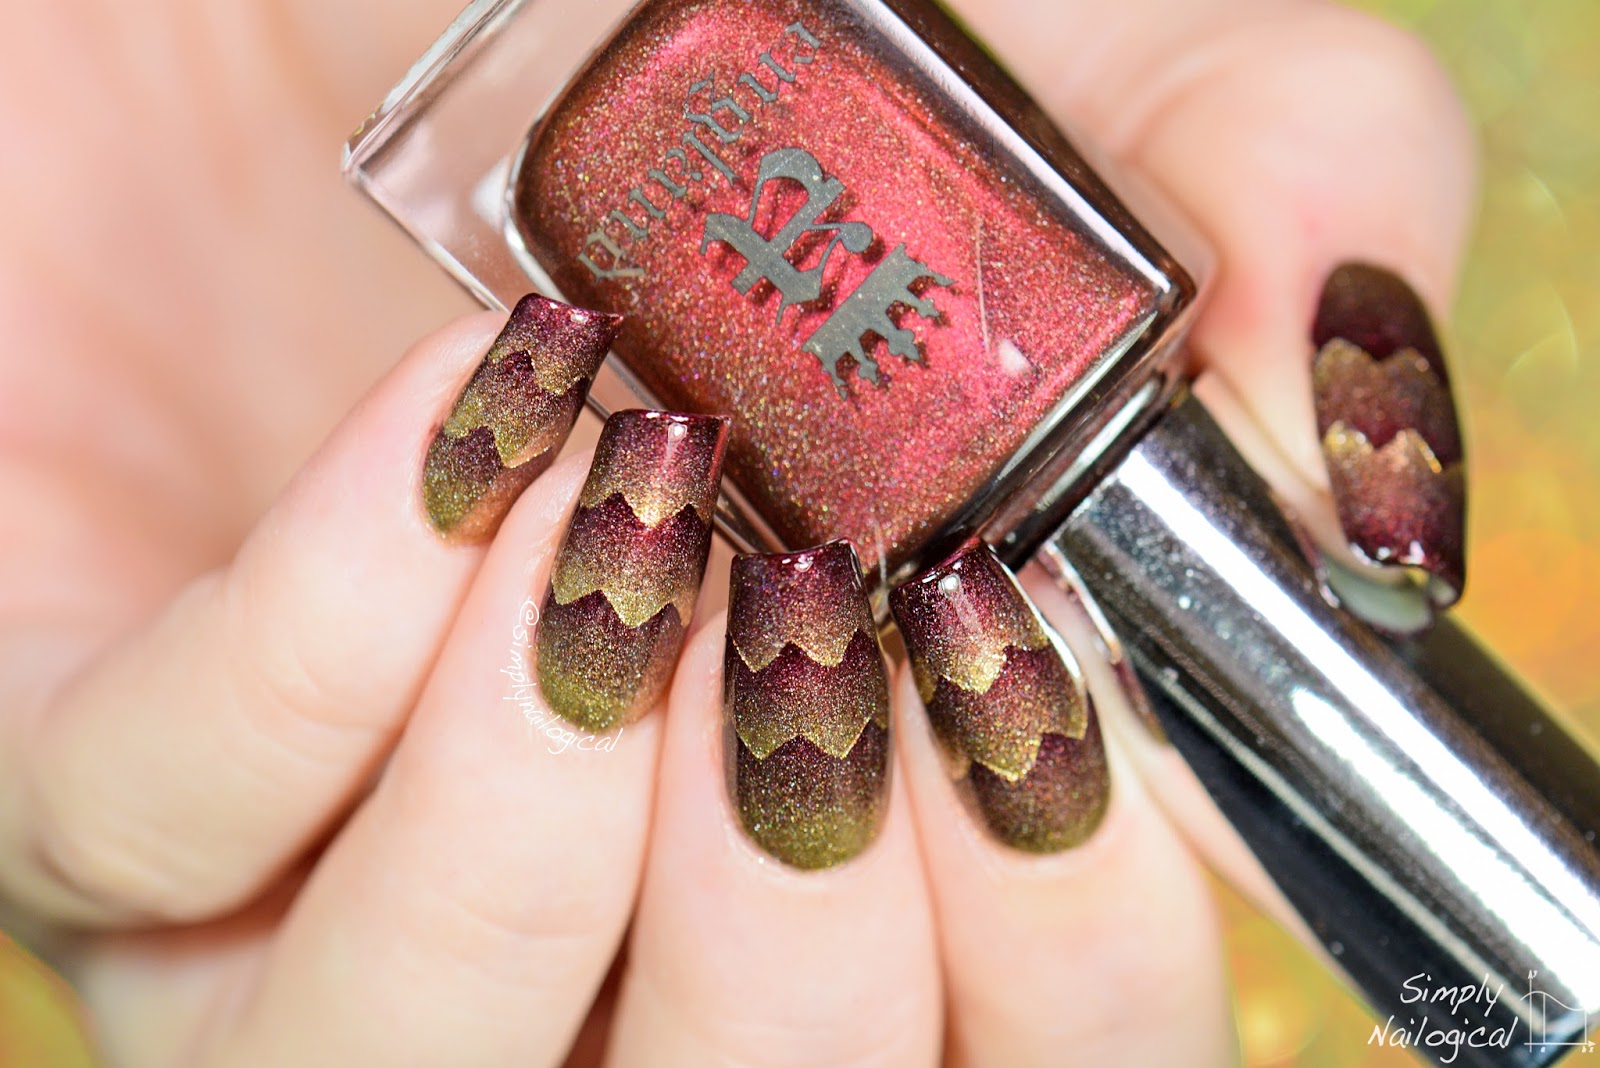


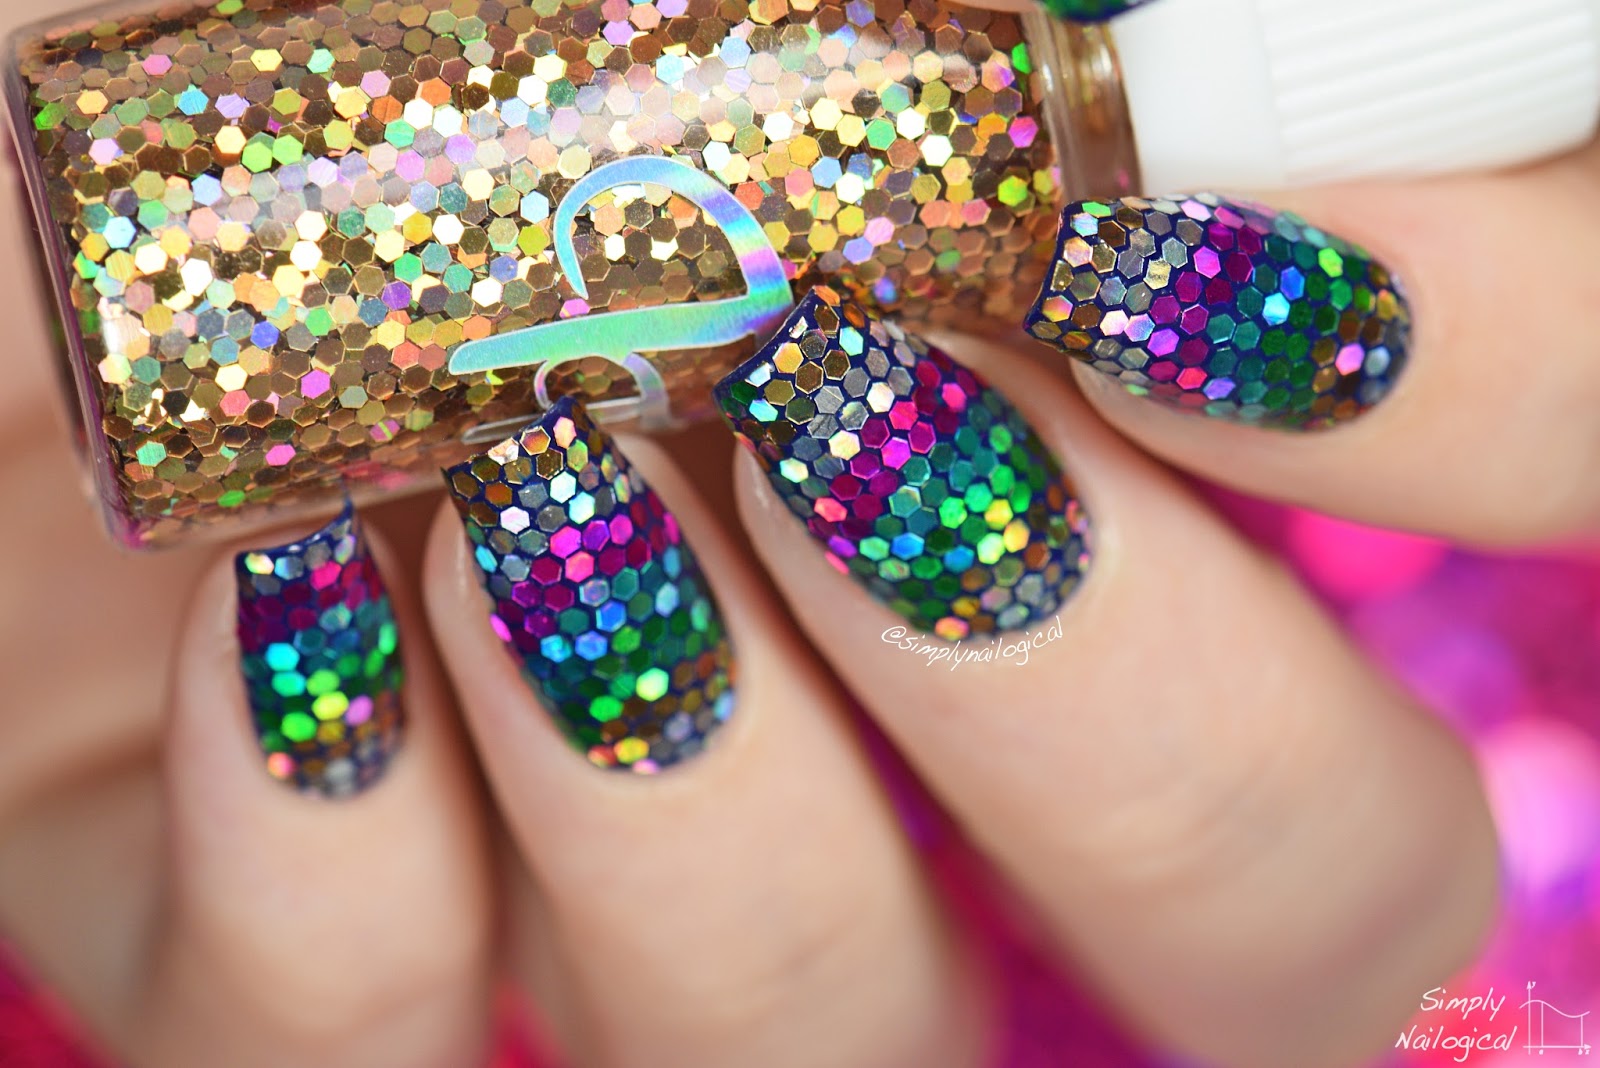
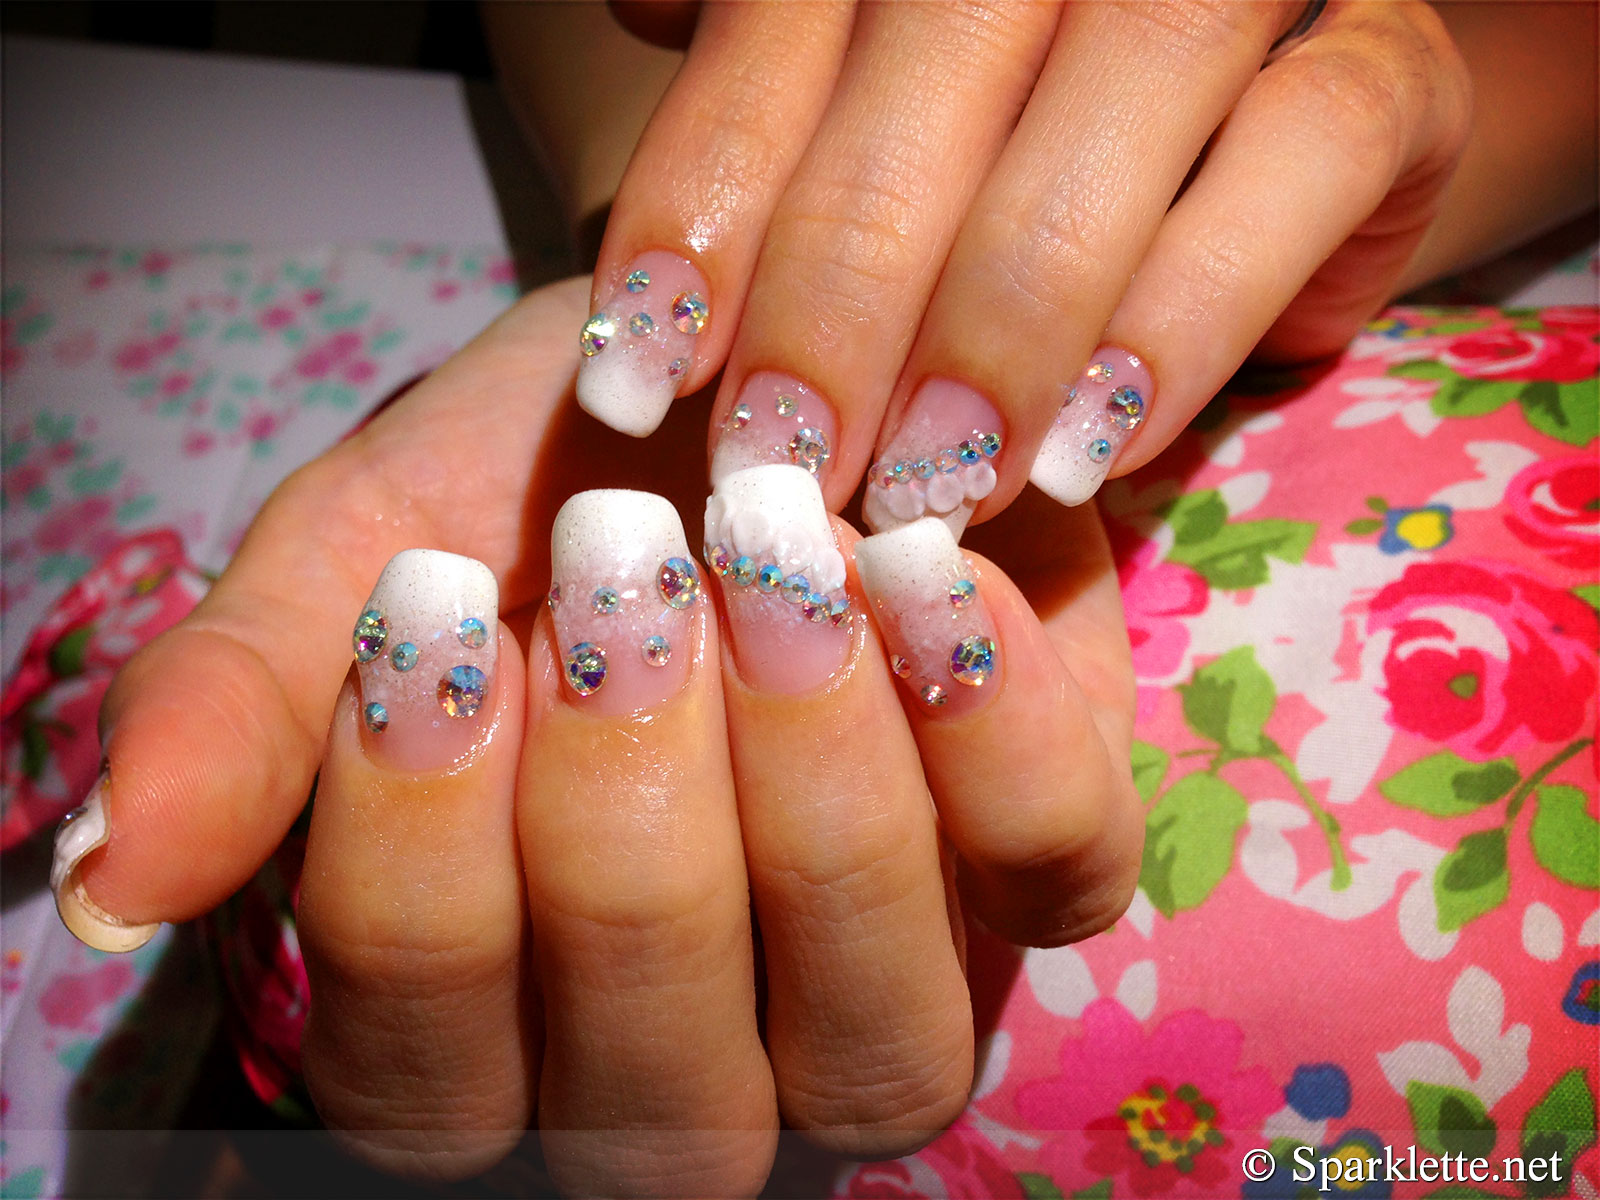
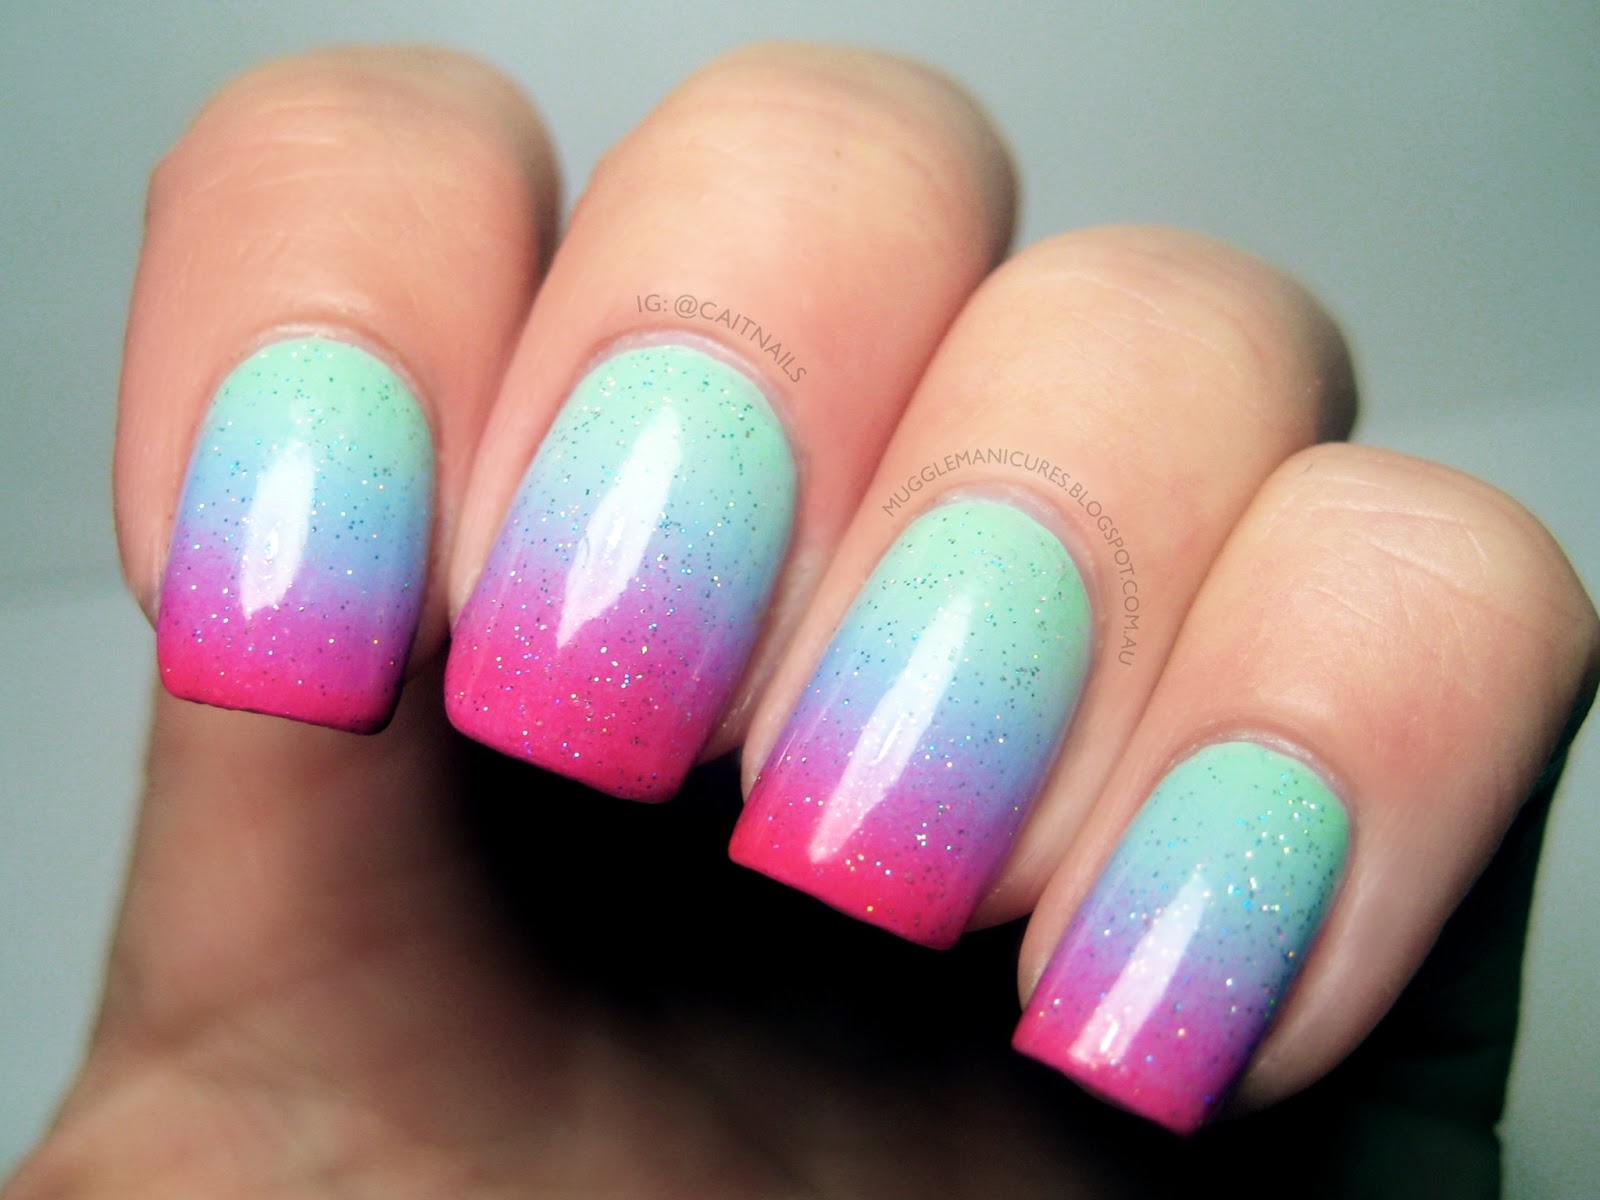
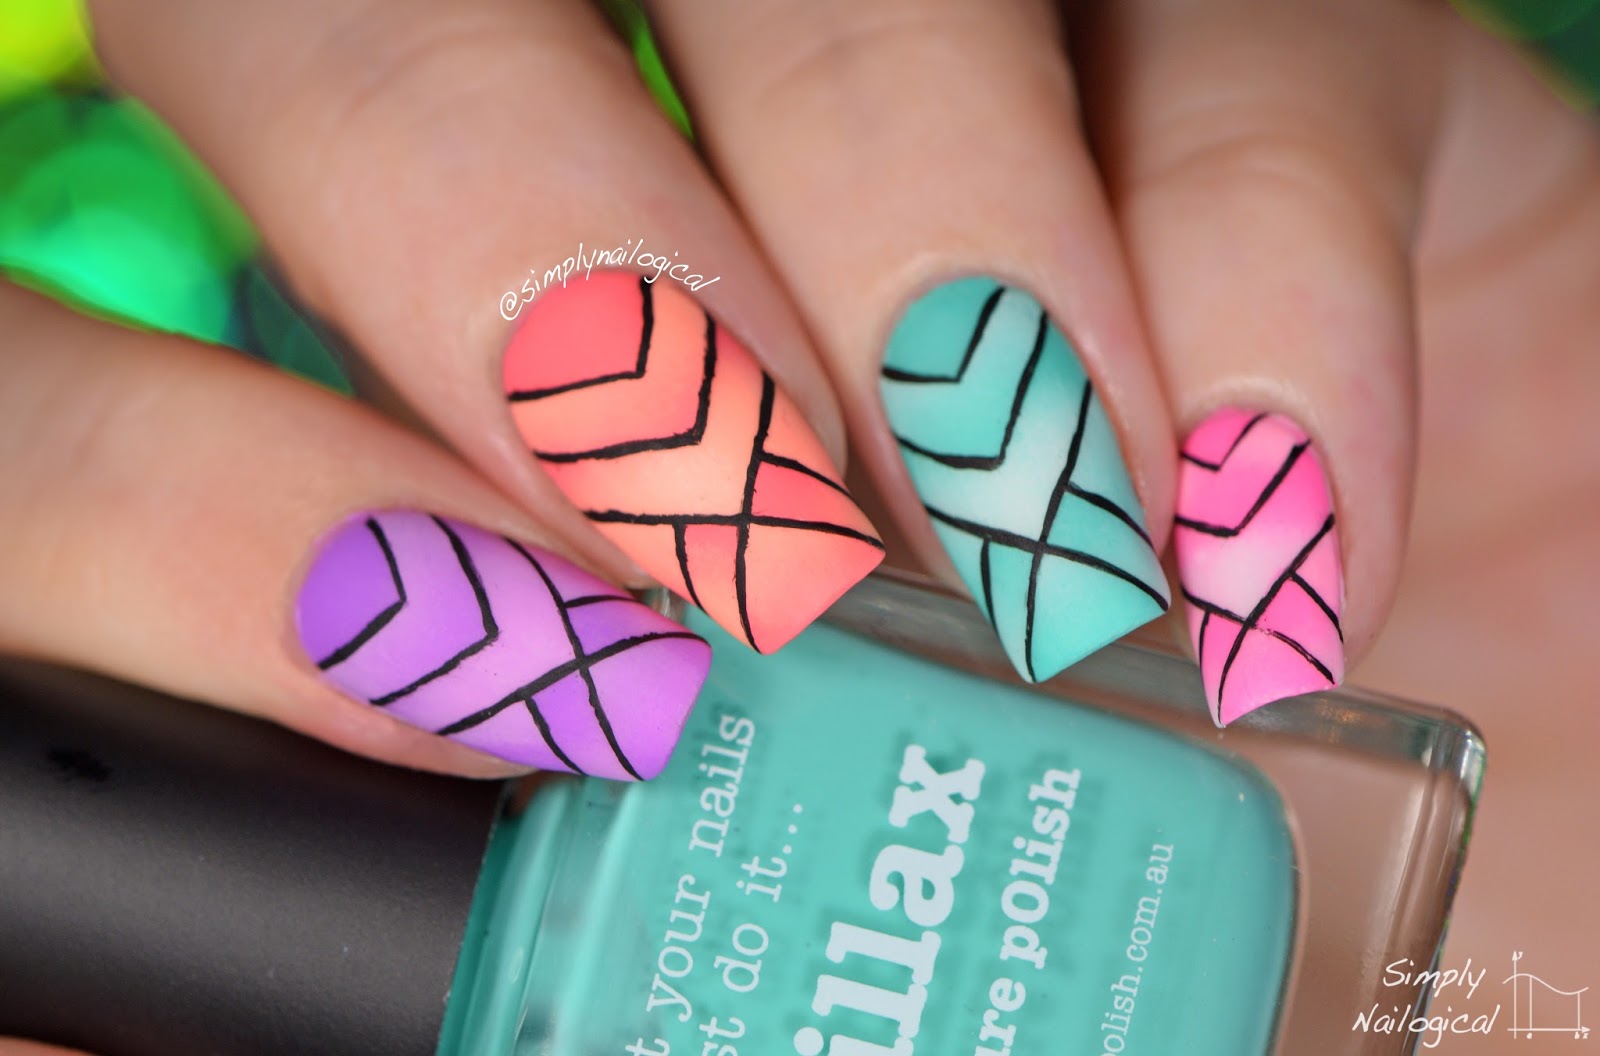
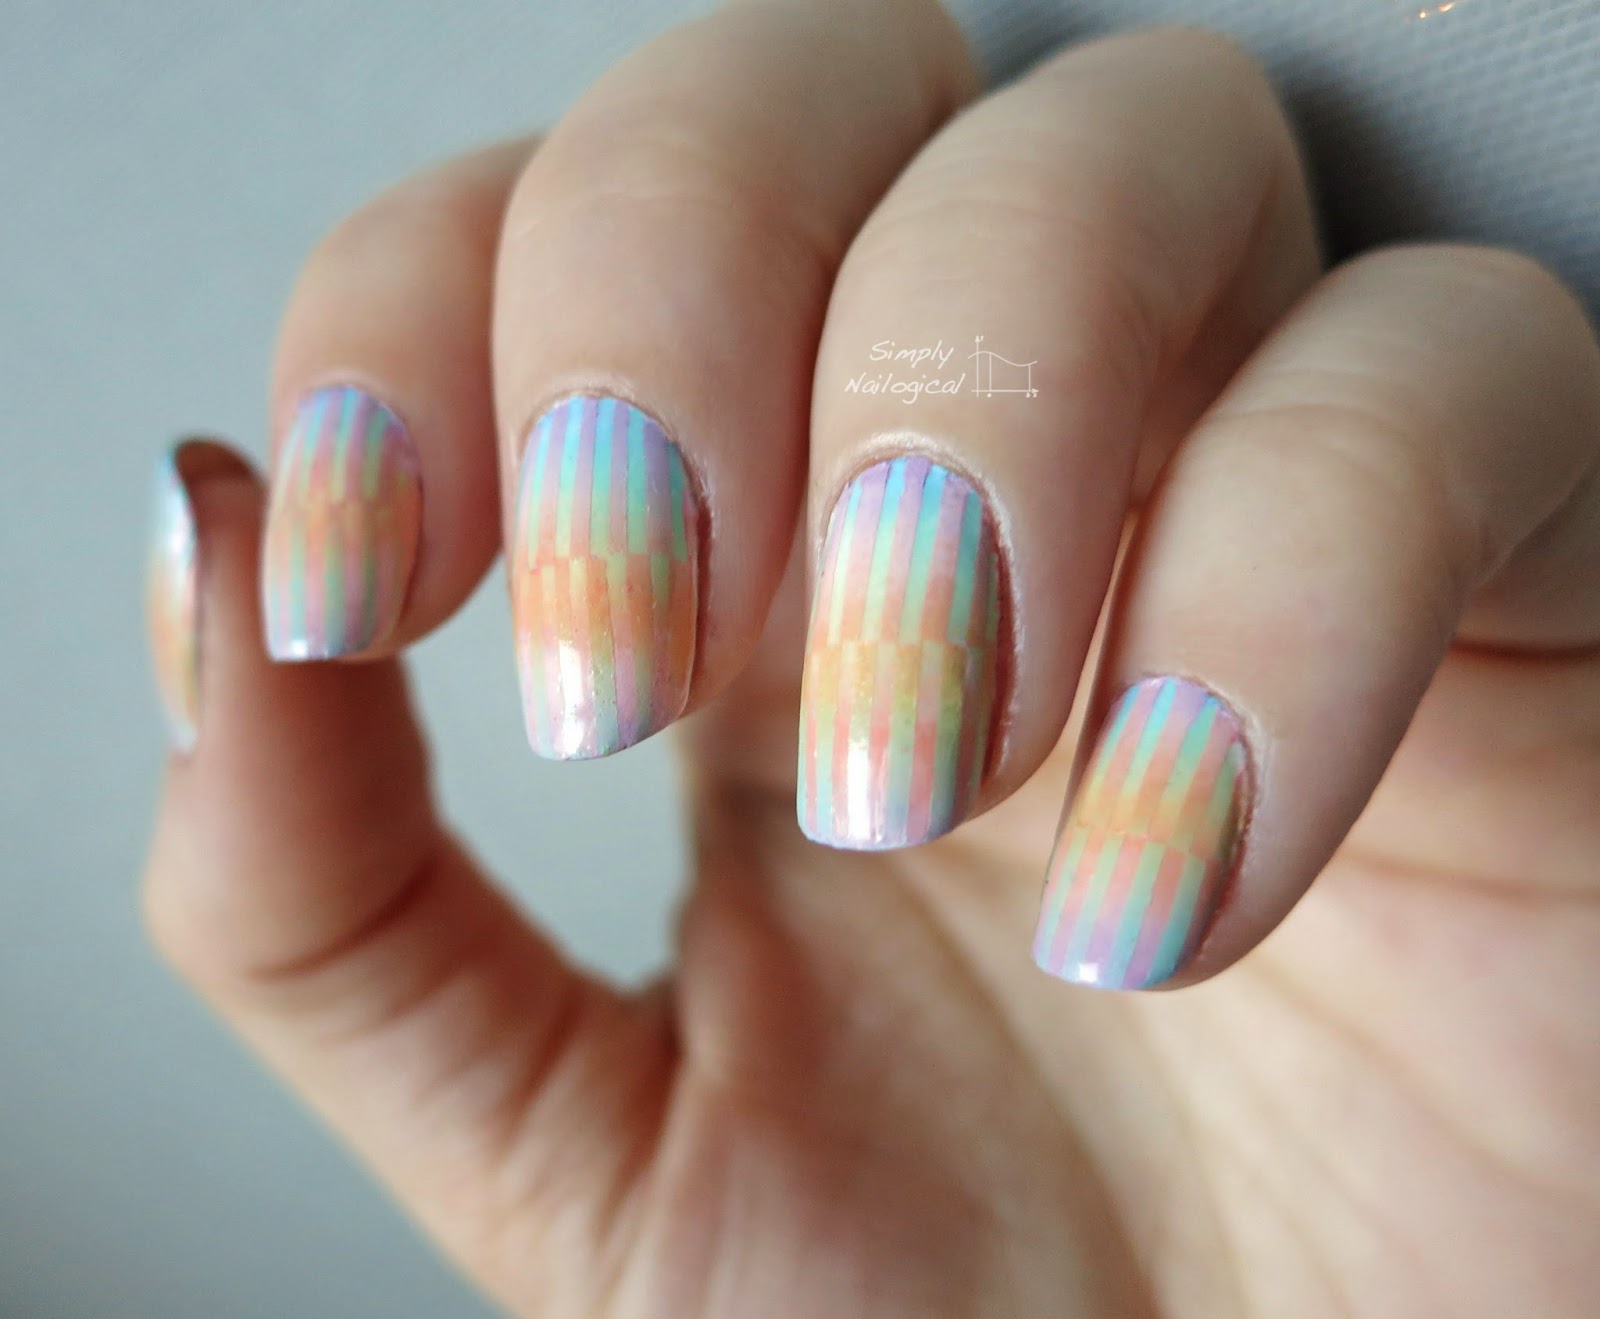
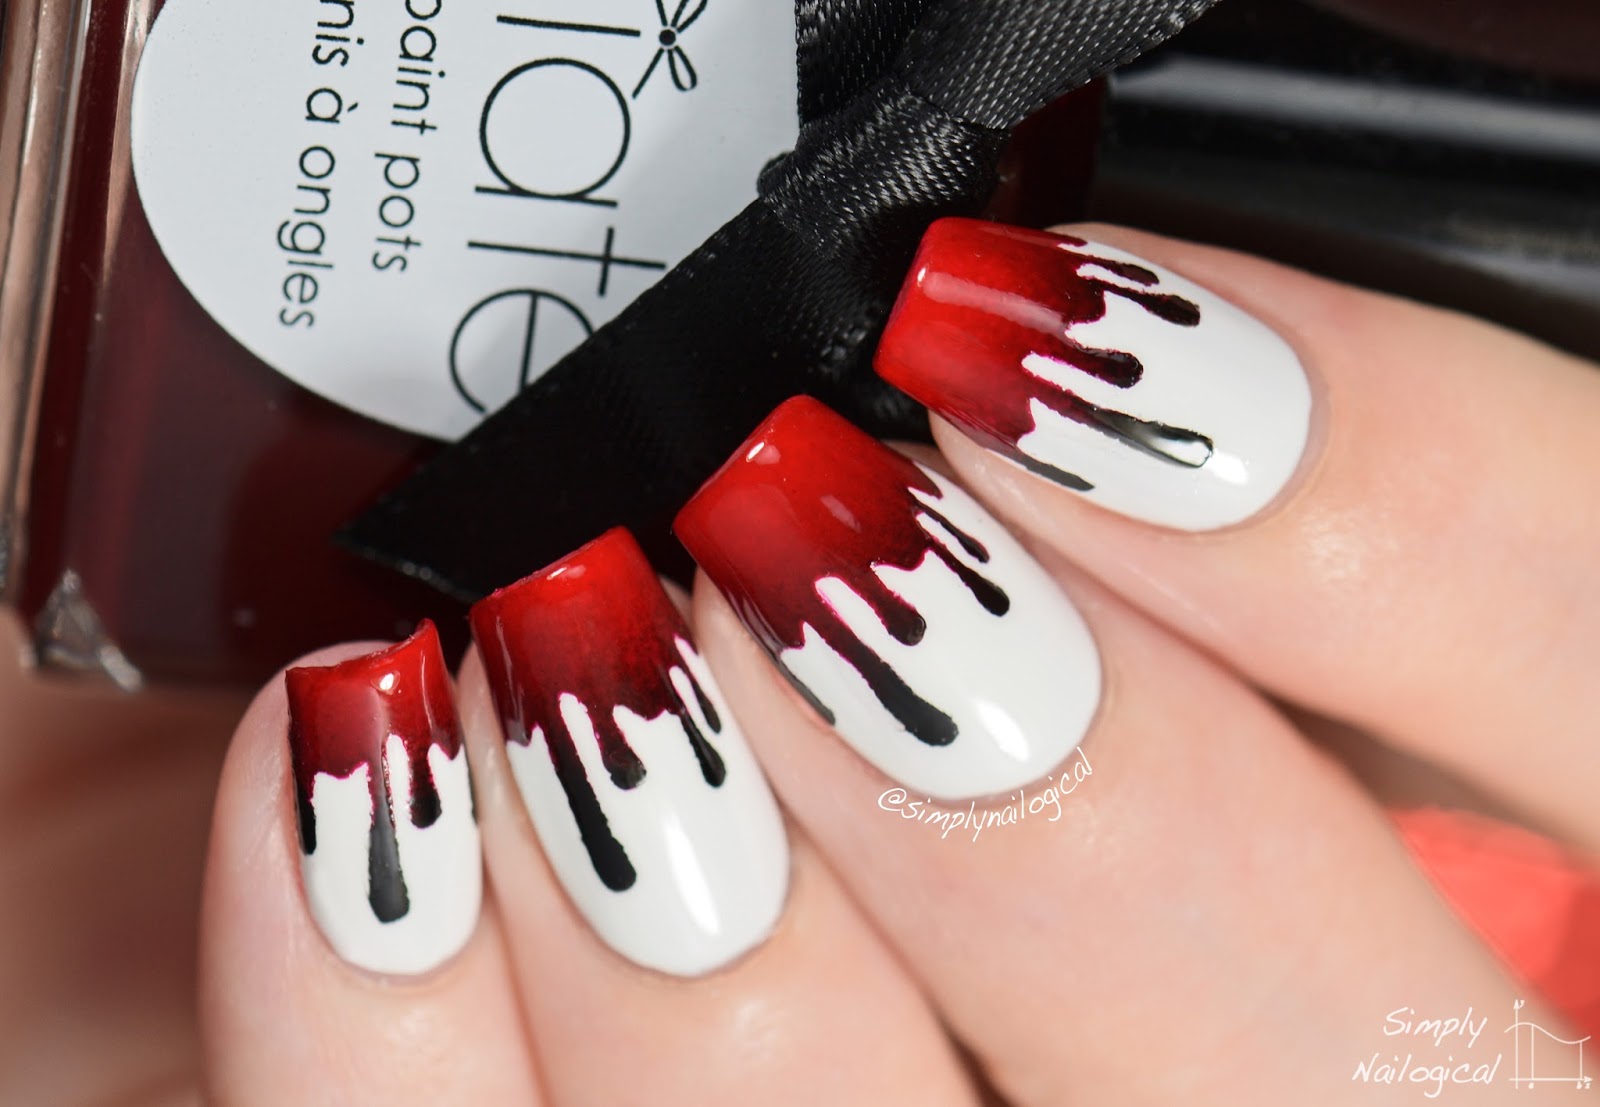
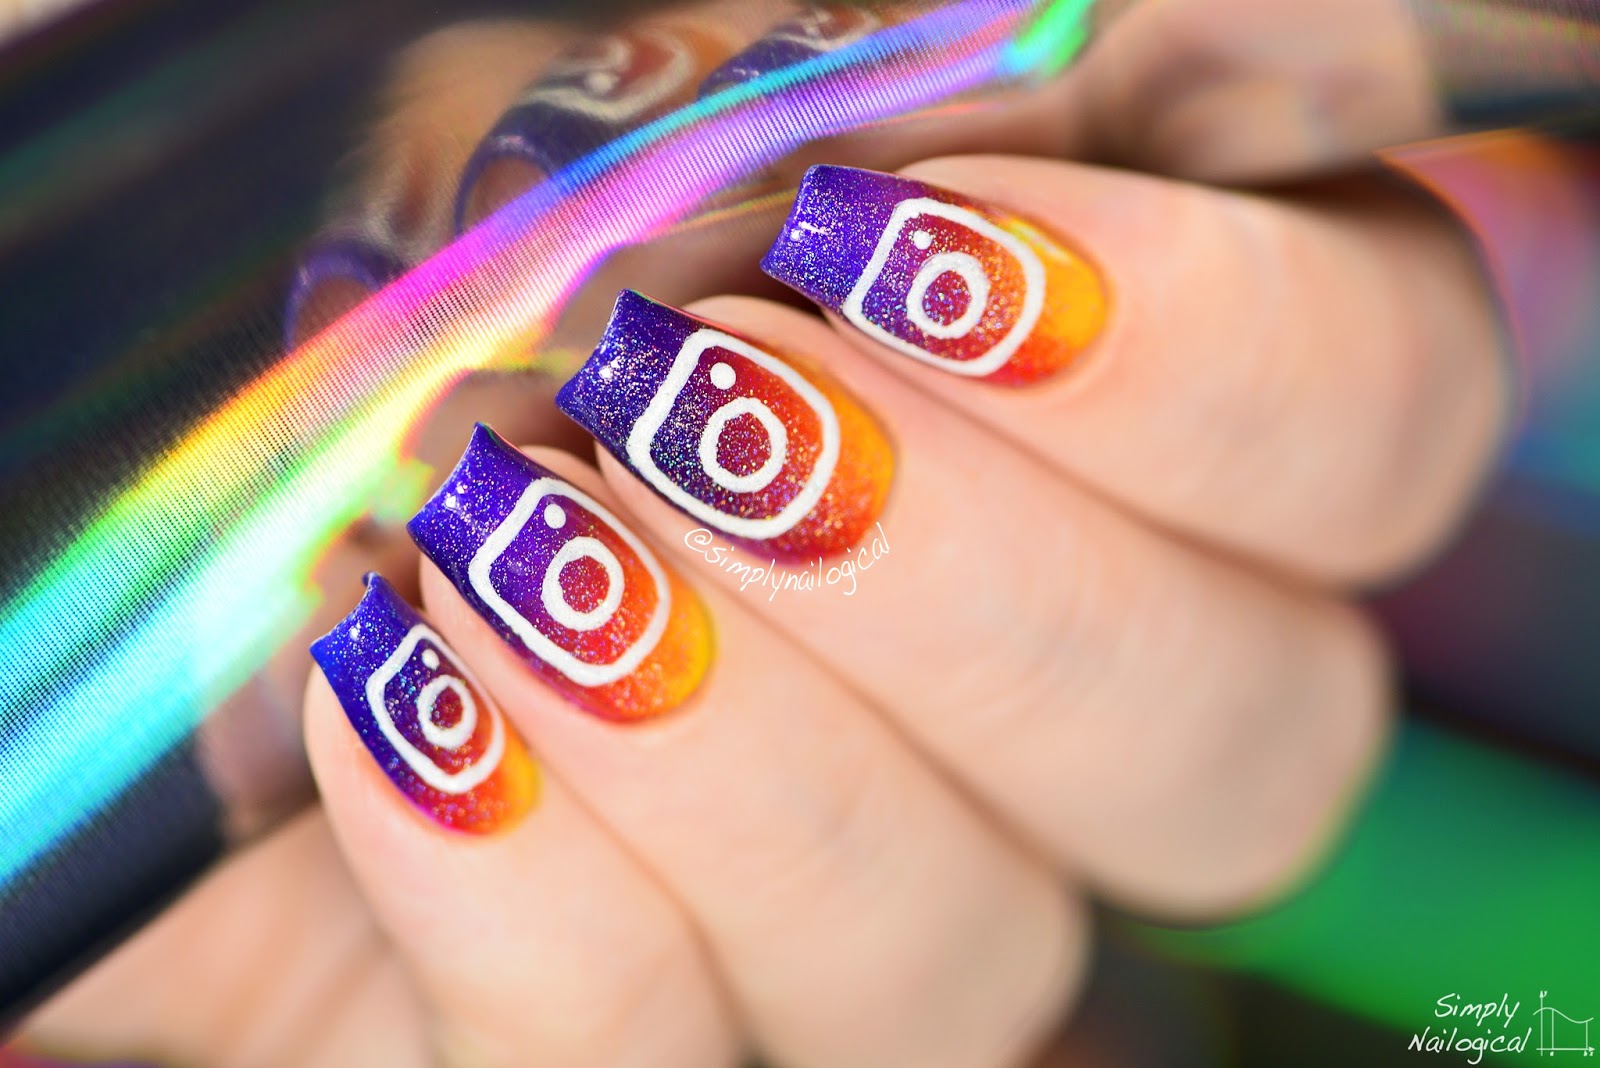
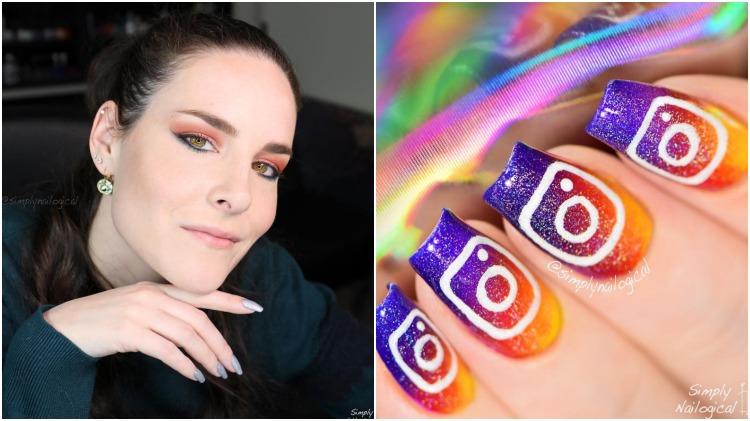
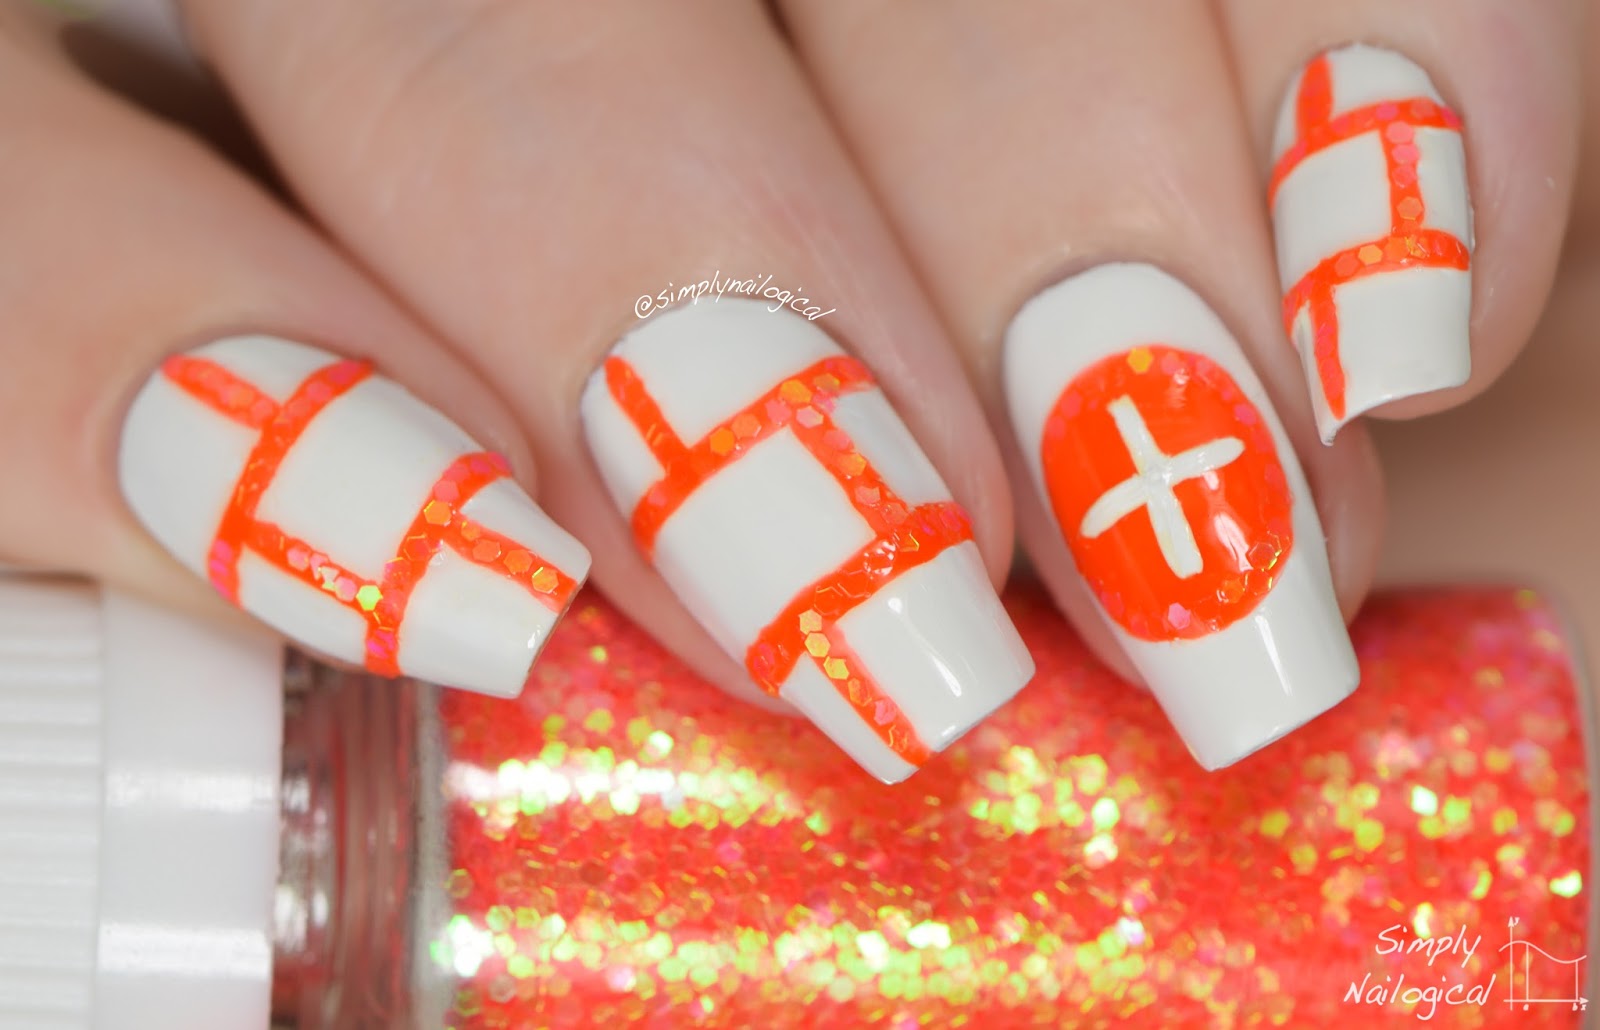
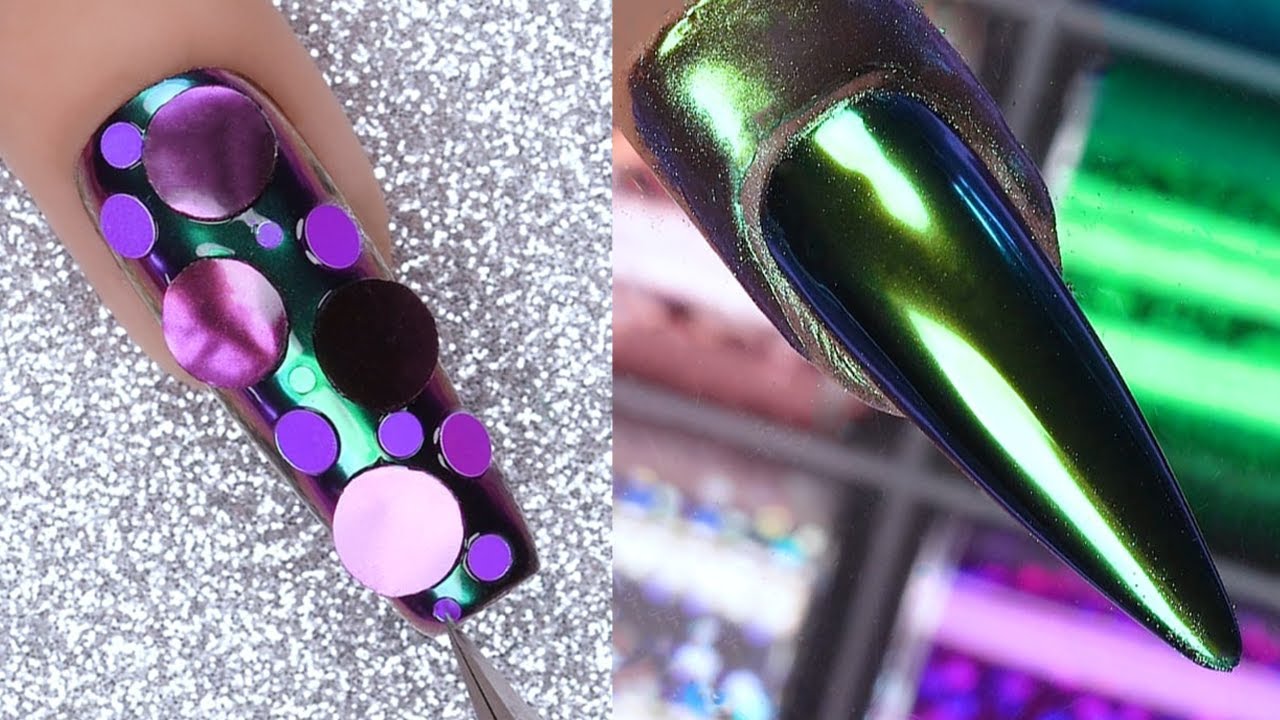
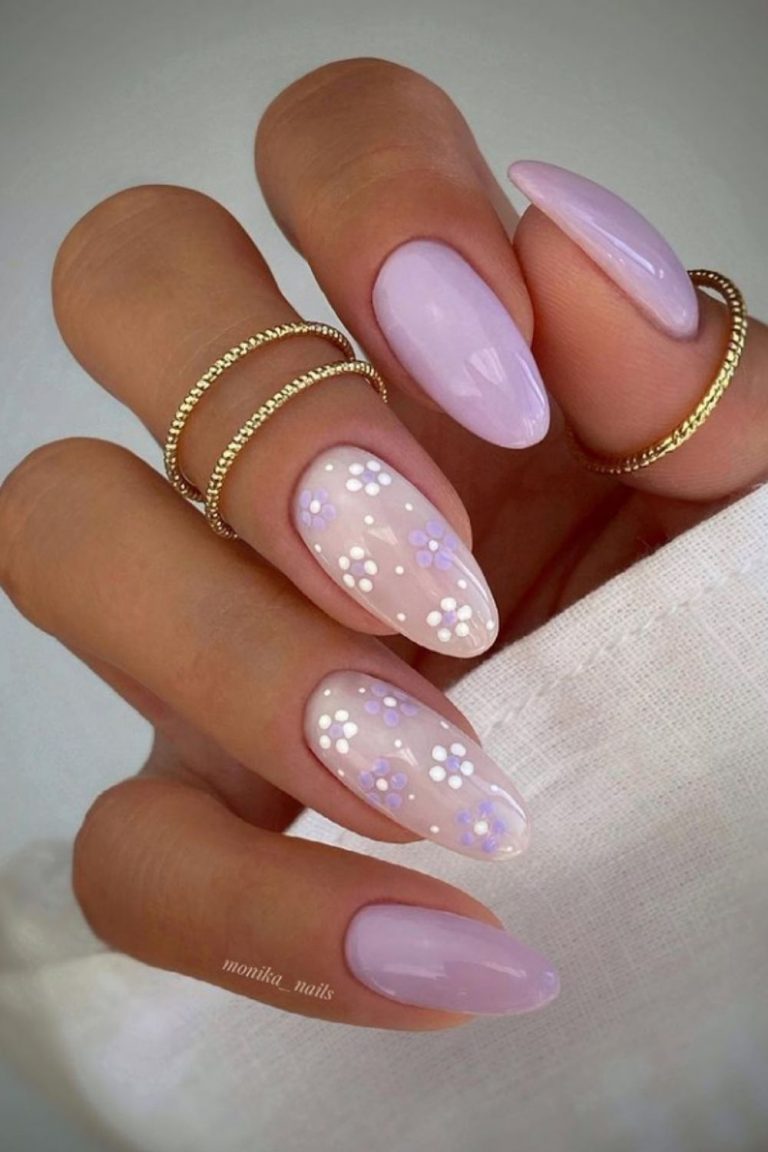
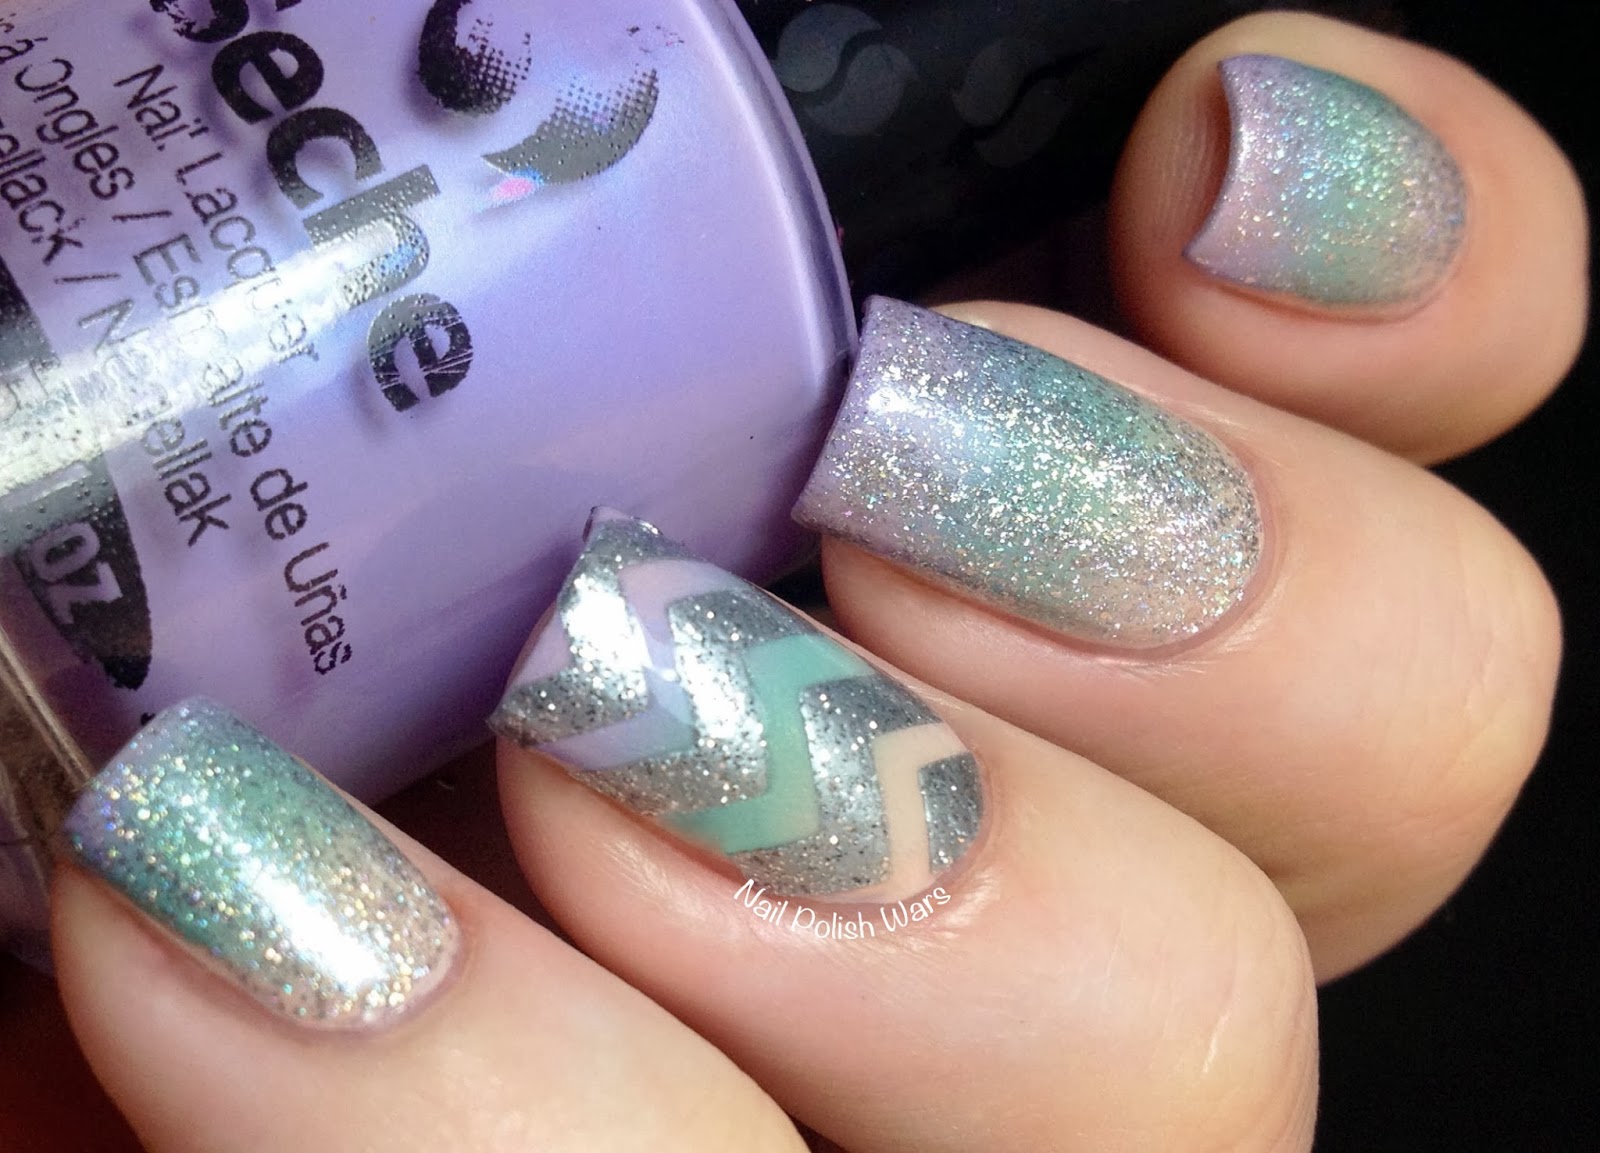
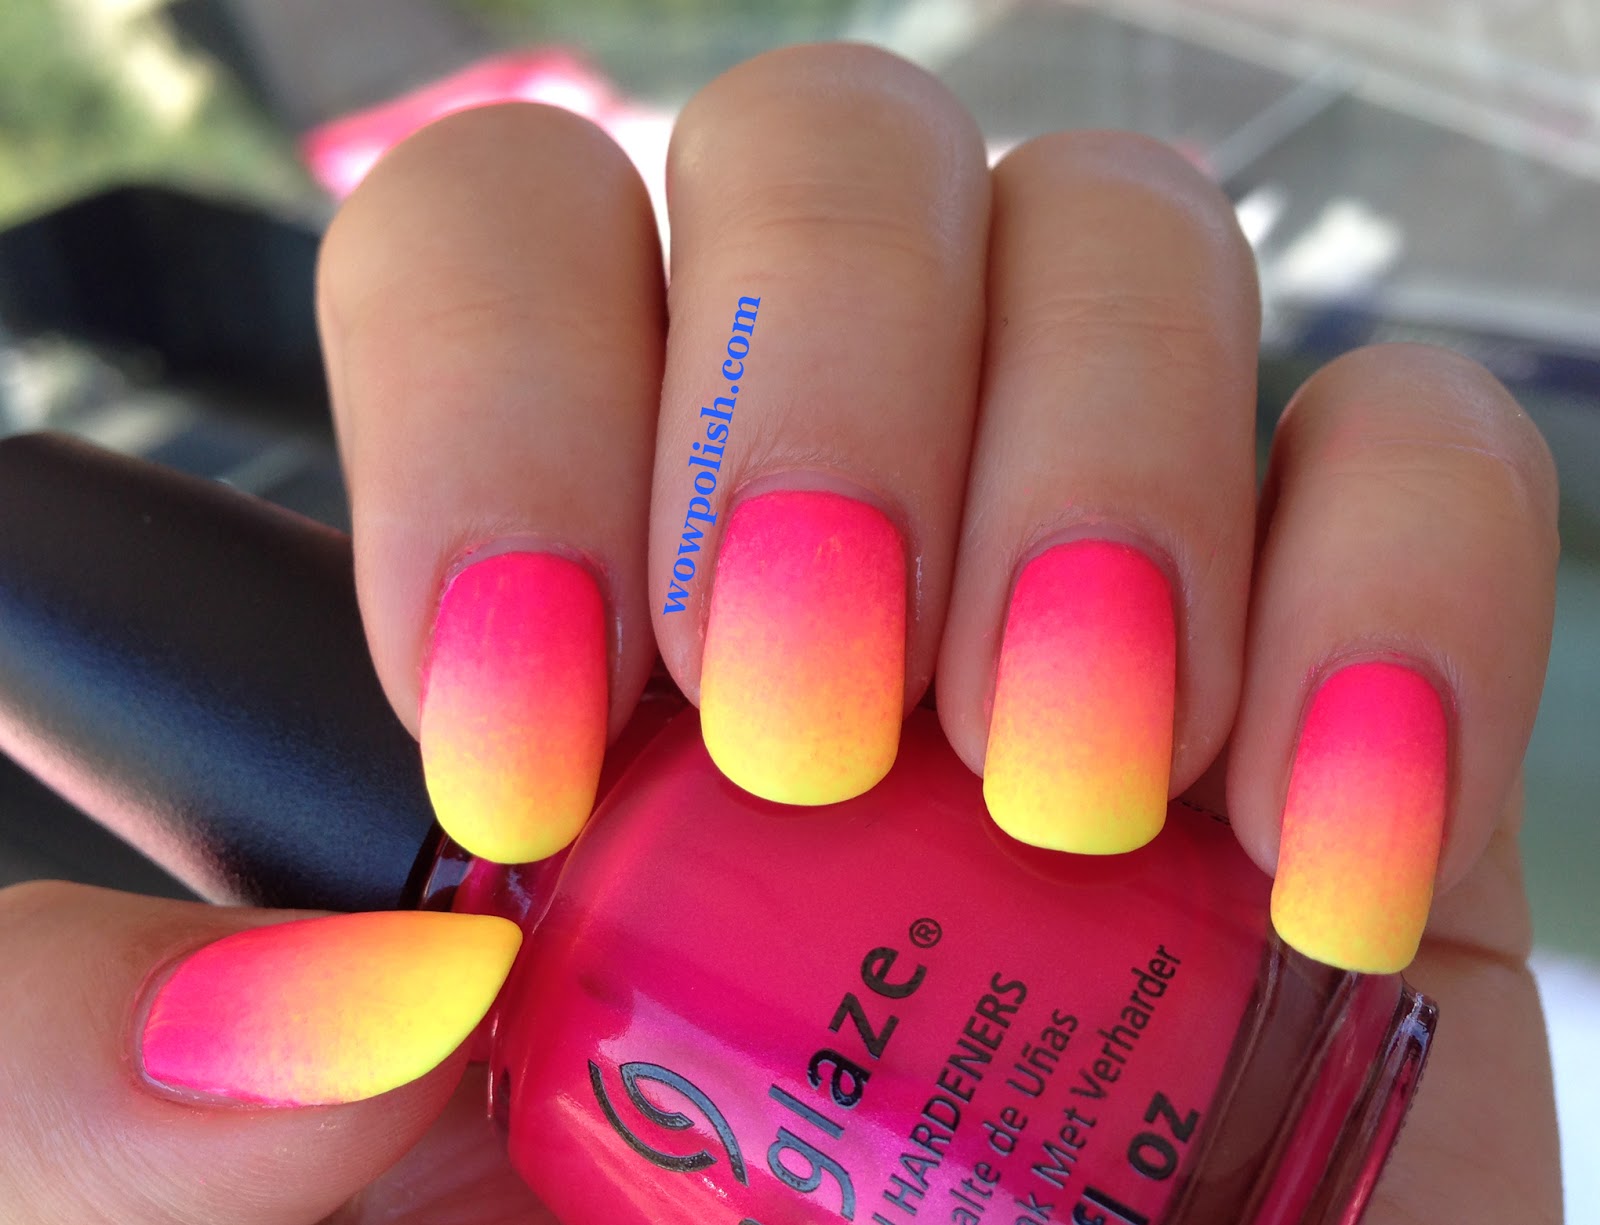
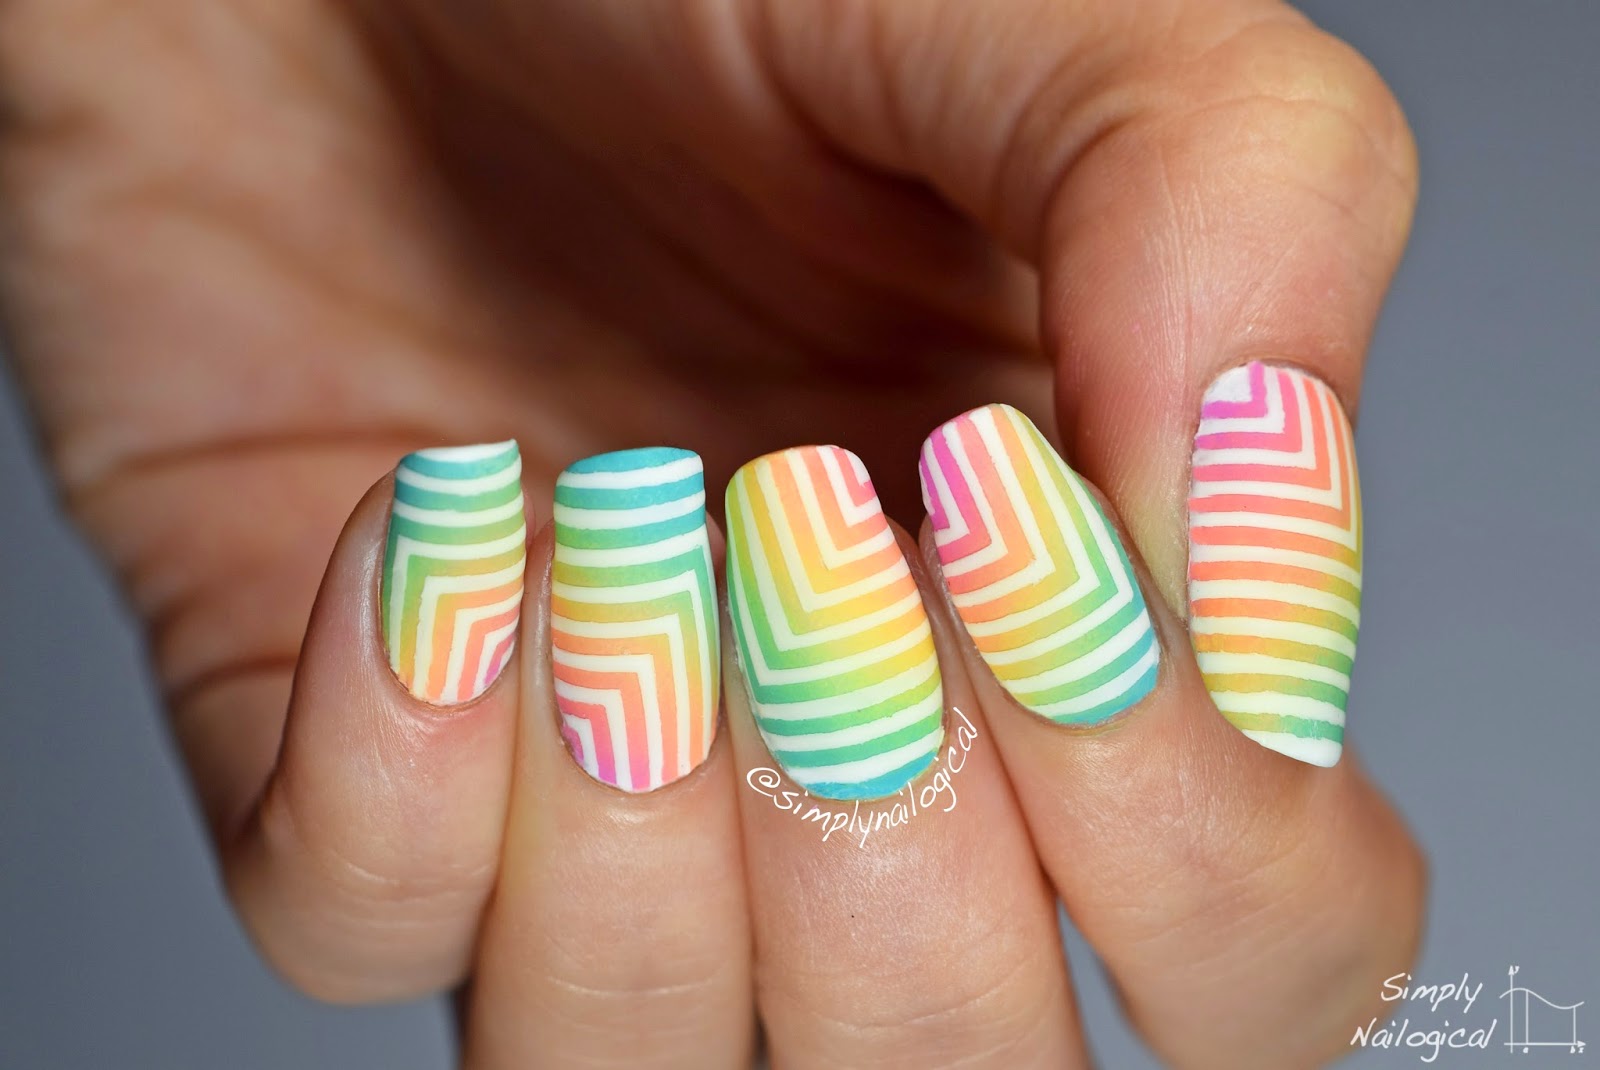
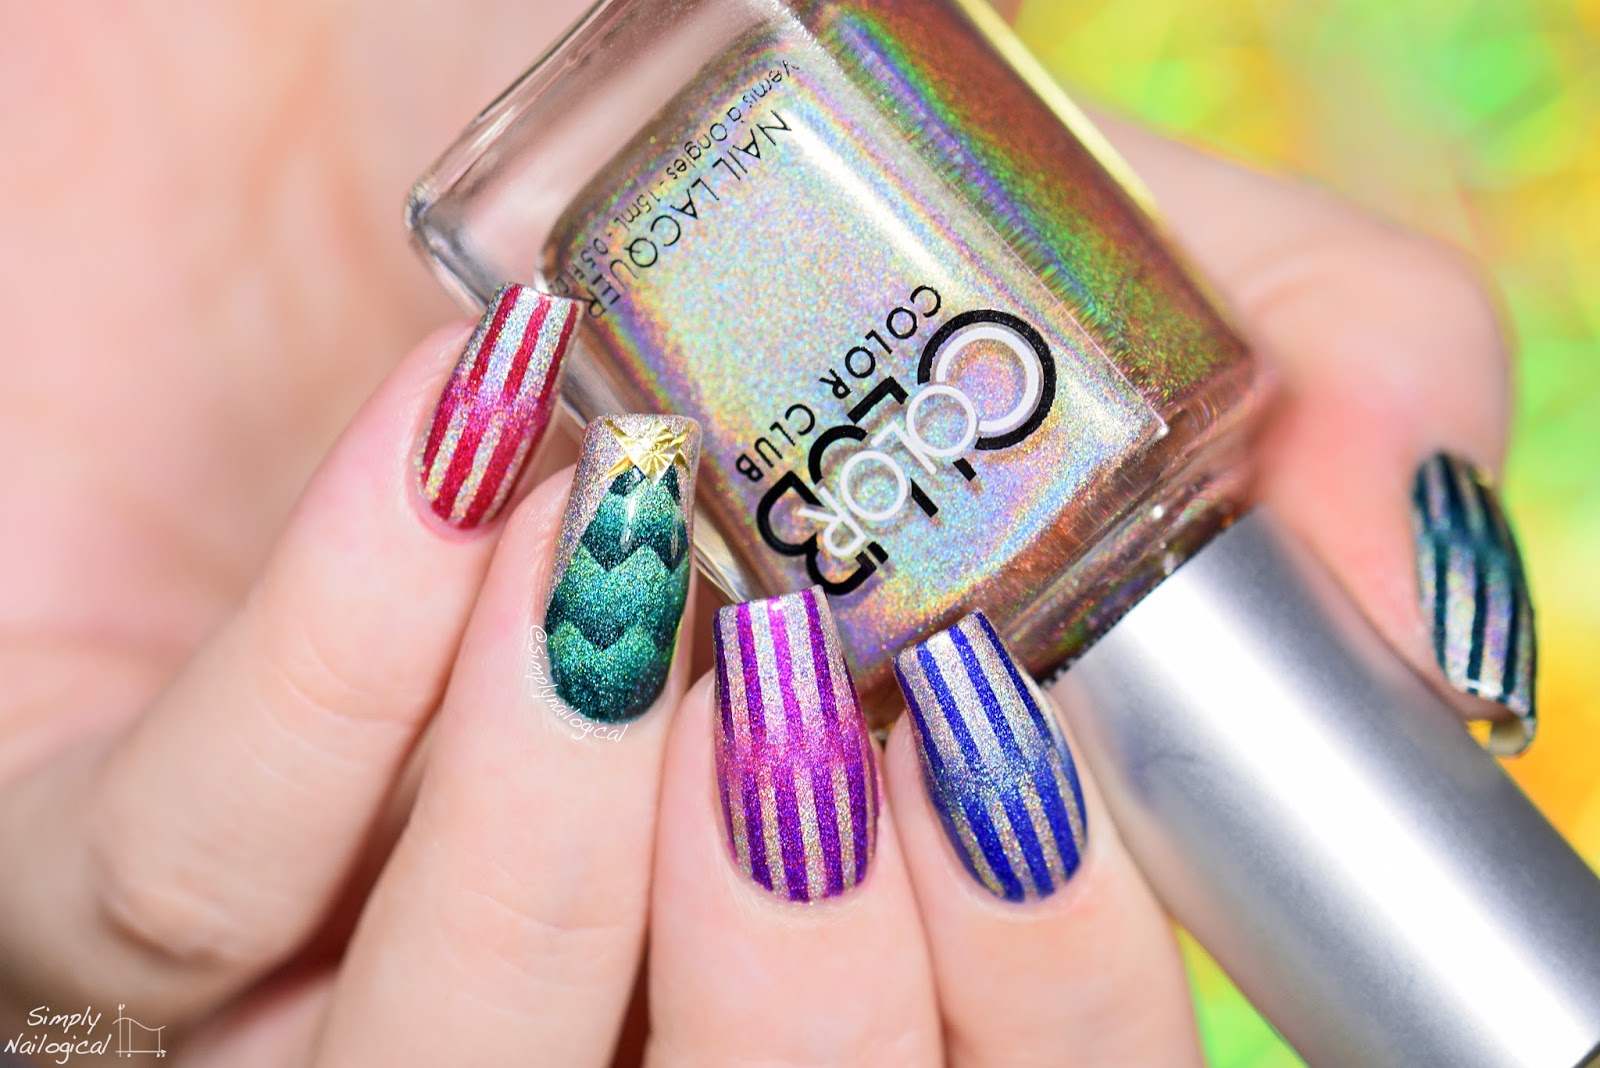
As a nail art enthusiast, Simply Nailogical has tried countless gradient nail art designs over the years. But which ones are her favorites? You're about to find out! One of Simply Nailogical's go-to gradient looks is the rainbow ombre design. This involves using multiple bright colors to create a vibrant and eye-catching gradient effect. Simply Nailogical loves to use neon shades for an extra pop of color. Another favorite of Simply Nailogical's is the glitter gradient design. This involves using a glitter polish on the tips of your nails to create a sparkling gradient effect. Simply Nailogical recommends using a chunky glitter for maximum impact. And of course, Simply Nailogical's signature gradient look is the holo gradient. This involves using holographic polishes to create a mesmerizing gradient effect that will make your nails stand out from the crowd. Simply Nailogical is the queen of holo, after all.2. Simply Nailogical's Favorite Gradient Nail Art Designs


2. Simply Nailogical's Favorite Gradient Nail Art Designs


Creating the perfect gradient nail art look can be tricky, but Simply Nailogical has some tips and tricks to make it easier. First and foremost, make sure your nails are clean and prepped before starting. Remove any old polish and push back your cuticles for a clean canvas. Simply Nailogical also recommends filing your nails into a rounded shape for a more flattering gradient effect. When applying the gradient, use light pressure when dabbing the sponge onto your nails to avoid smudging or removing the polish underneath. And don't worry if it looks a bit messy at first, you can clean up the edges with a small brush dipped in nail polish remover. Lastly, be patient and let each layer of polish fully dry before adding more. This will prevent the colors from mixing and creating a muddy effect. And remember, practice makes perfect!3. How to Achieve the Perfect Gradient Nail Art Look with Simply Nailogical


3. How to Achieve the Perfect Gradient Nail Art Look with Simply Nailogical


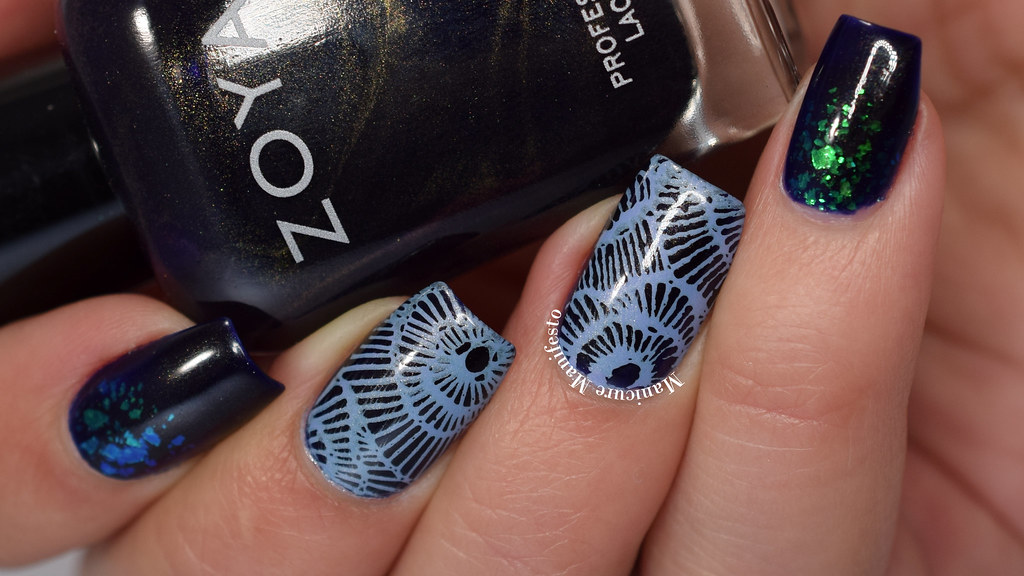
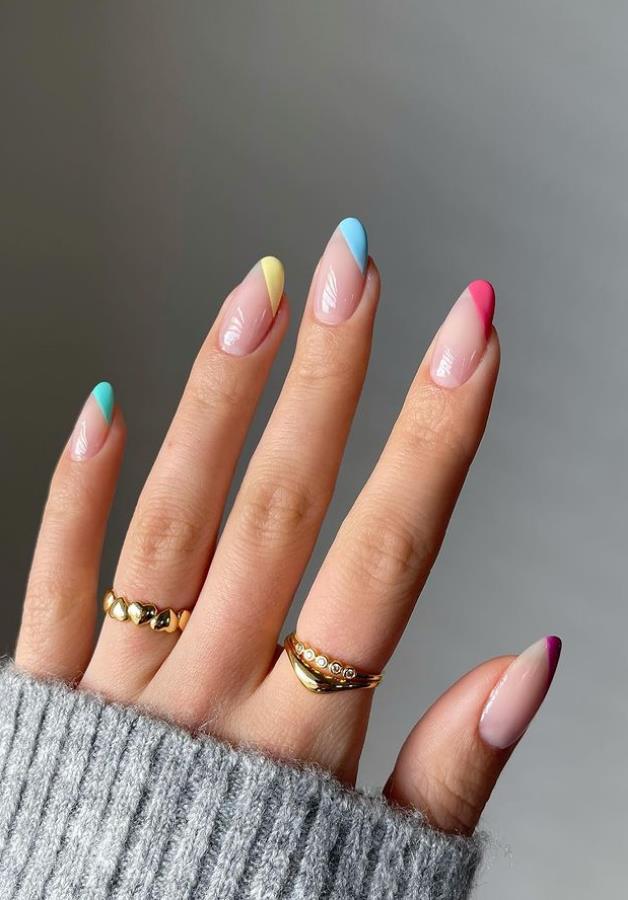
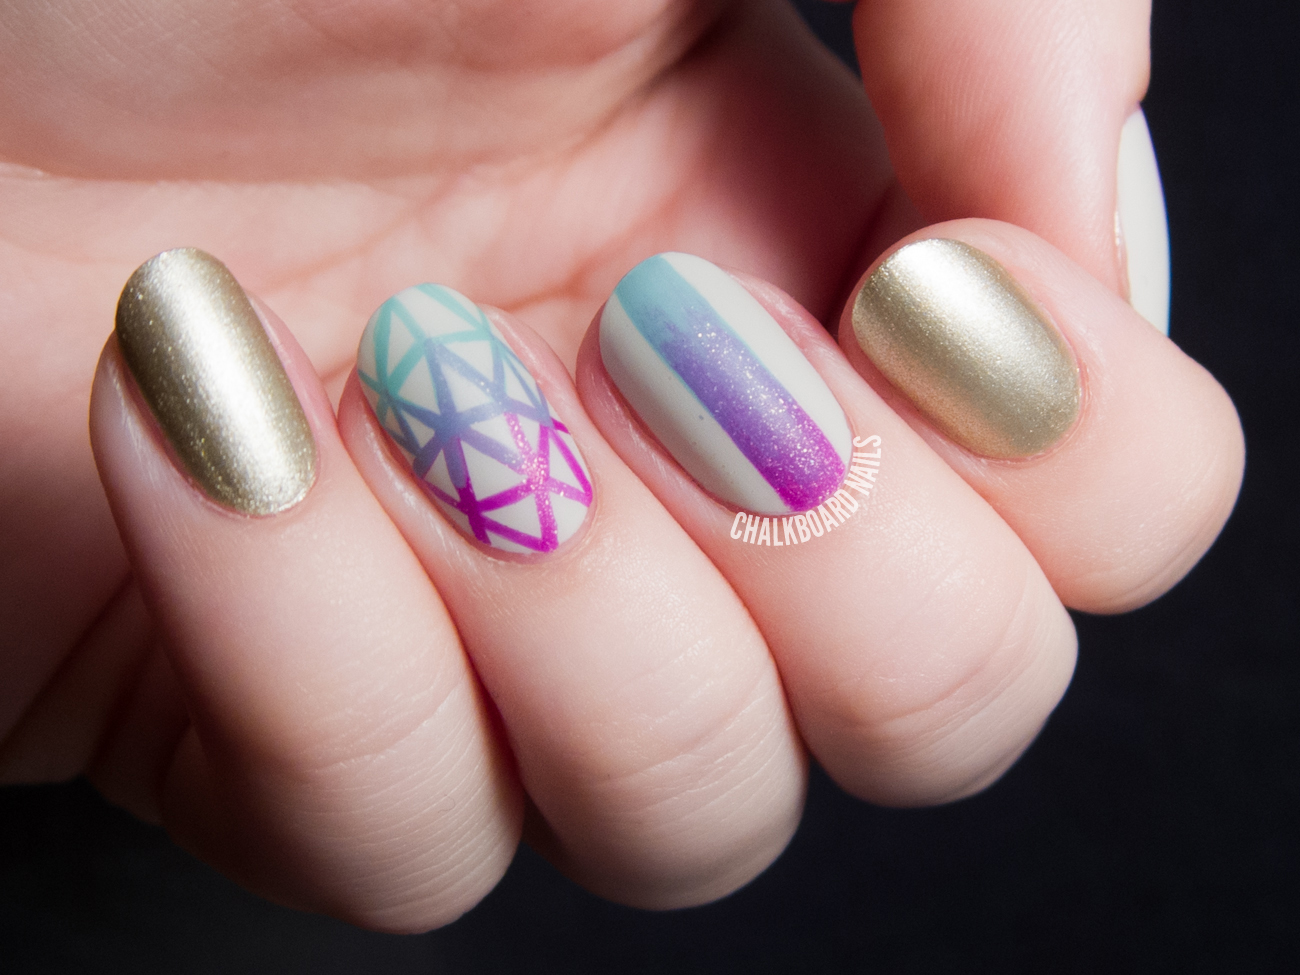
Want to take your gradient nail art game to the next level? Simply Nailogical has some insider tips to help you create stunning designs that will make your nails the envy of all your friends. Firstly, experiment with different color combinations. Don't be afraid to mix and match shades to create unique and eye-catching gradients. Try using complementary colors for a bold look, or pastel shades for a more subtle gradient. Another tip from Simply Nailogical is to add some nail art on top of your gradient for a more intricate design. This could be anything from stamping to freehand designs or rhinestones. Let your creativity run wild! And finally, never underestimate the power of a good top coat. Simply Nailogical recommends using a fast-drying top coat to seal in your design and prevent any smudging or chipping. Plus, it will add extra shine and make your gradient look even more stunning.4. Simply Nailogical's Top Tips for Creating Stunning Gradient Nail Art


4. Simply Nailogical's Top Tips for Creating Stunning Gradient Nail Art


When it comes to creating the perfect gradient nail art, having the right products is key. Simply Nailogical has tried and tested numerous products over the years, and here are her top recommendations. First up, Simply Nailogical's own gradient nail art kit. This kit includes everything you need to create stunning gradient looks, including her favorite nail polishes and high-quality sponges. It's a must-have for any nail art lover. For those on a budget, Simply Nailogical recommends drugstore brands such as Essie and Sally Hansen for good quality polishes at an affordable price. And for those wanting to splurge, Simply Nailogical loves indie nail polish brands for unique and high-quality shades. And don't forget to invest in a good top coat to seal in your gradient design. Simply Nailogical's personal favorites include Seche Vite and Glisten & Glow.5. The Best Gradient Nail Art Products Recommended by Simply Nailogical

5. The Best Gradient Nail Art Products Recommended by Simply Nailogical
Simply Nailogical has been creating nail art videos on her YouTube channel for years, and her gradient designs are some of the most popular among her fans. Here are some of her most viewed gradient nail art videos: 1. "How to Holo Gradient" - This video shows Simply Nailogical's signature holo gradient design and has over 10 million views. 2. "Rainbow Gradient" - In this video, Simply Nailogical creates a vibrant rainbow gradient look that has over 8 million views. 3. "Glitter Gradient Nails" - This video showcases Simply Nailogical's favorite glitter gradient design and has over 6 million views. 4. "Neon Ombre Nails" - Simply Nailogical creates a bright and bold neon ombre gradient in this video, which has over 4 million views. 5. "Holo Ombre Nails" - In this video, Simply Nailogical combines two of her favorite techniques - holo and ombre - for a stunning gradient design that has over 3 million views.6. Simply Nailogical's Most Popular Gradient Nail Art Videos


6. Simply Nailogical's Most Popular Gradient Nail Art Videos


Simply Nailogical's gradient nail art kit is a must-have for any nail art lover. But how do you use it to achieve the perfect gradient look? Simply Nailogical breaks it down for us. The kit comes with a variety of polishes in complementary shades, as well as high-quality sponges and a top coat. Simply follow the steps outlined in the kit, which includes prepping your nails, applying the gradient, and sealing it with the top coat. Simply Nailogical also includes tips and tricks in the kit to help you create unique and stunning designs. And if you're feeling extra creative, you can mix and match the polishes in the kit to create your own custom gradient looks.7. How to Use Simply Nailogical's Gradient Nail Art Kit

7. How to Use Simply Nailogical's Gradient Nail Art Kit


As a nail art expert, Simply Nailogical has tried and tested numerous techniques for creating gradient nail art. Here are her top favorites: 1. Sponge Gradient - This is the most common and beginner-friendly technique for creating a gradient. Simply Nailogical recommends using a makeup sponge for the best results. 2. Dry Brush Technique - This technique involves using a dry brush to lightly swipe different shades of polish onto your nails, creating a natural gradient effect. Simply Nailogical loves this technique for a more subtle gradient look. 3. Water Marble Technique - This technique involves dropping nail polish into a cup of water and dipping your nails into the design. Simply Nailogical recommends using complementary colors for a stunning gradient marble effect. 4. Foil Gradient Technique - For a more metallic gradient, Simply Nailogical loves using foil sheets to create a unique and eye-catching design.8. Simply Nailogical's Favorite Gradient Nail Art Techniques

8. Simply Nailogical's Favorite Gradient Nail Art Techniques

Gradient nail art has been around for decades, but it wasn't until recently that it gained popularity among nail art enthusiasts. Simply Nailogical takes us on a journey through the history of gradient nail art, from its humble beginnings to the present day. The first recorded use of gradient nail art was in the 1920s, when women would paint their nails in a gradient fashion using multiple shades of red. It wasn't until the 1970s that gradient nail art became more colorful and intricate, with the introduction of rainbow and ombre designs. In the 2000s, gradient nail art took a backseat to more elaborate designs such as nail stamps and 3D nail art. But thanks to the rise of social media and nail art influencers like Simply Nailogical, gradient nail art has made a comeback and is more popular than ever.9. The History of Gradient Nail Art: A Simply Nailogical Perspective

9. The History of Gradient Nail Art: A Simply Nailogical Perspective

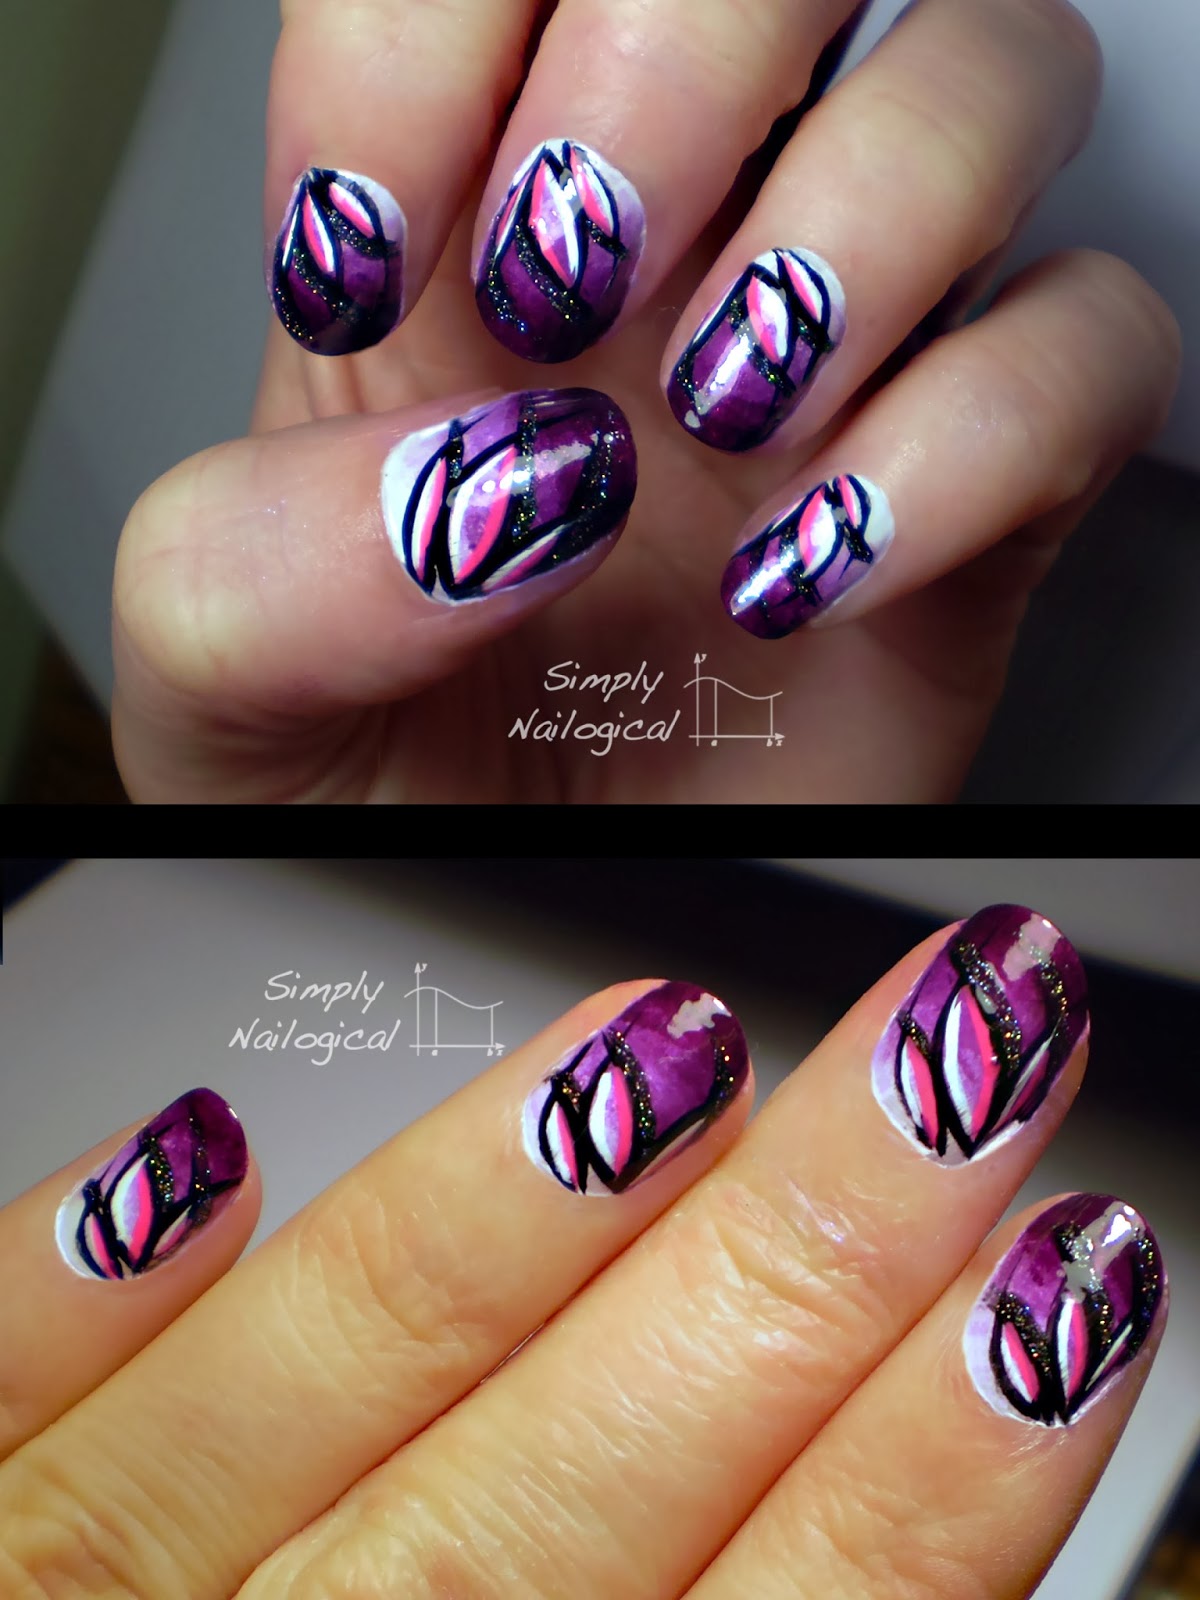
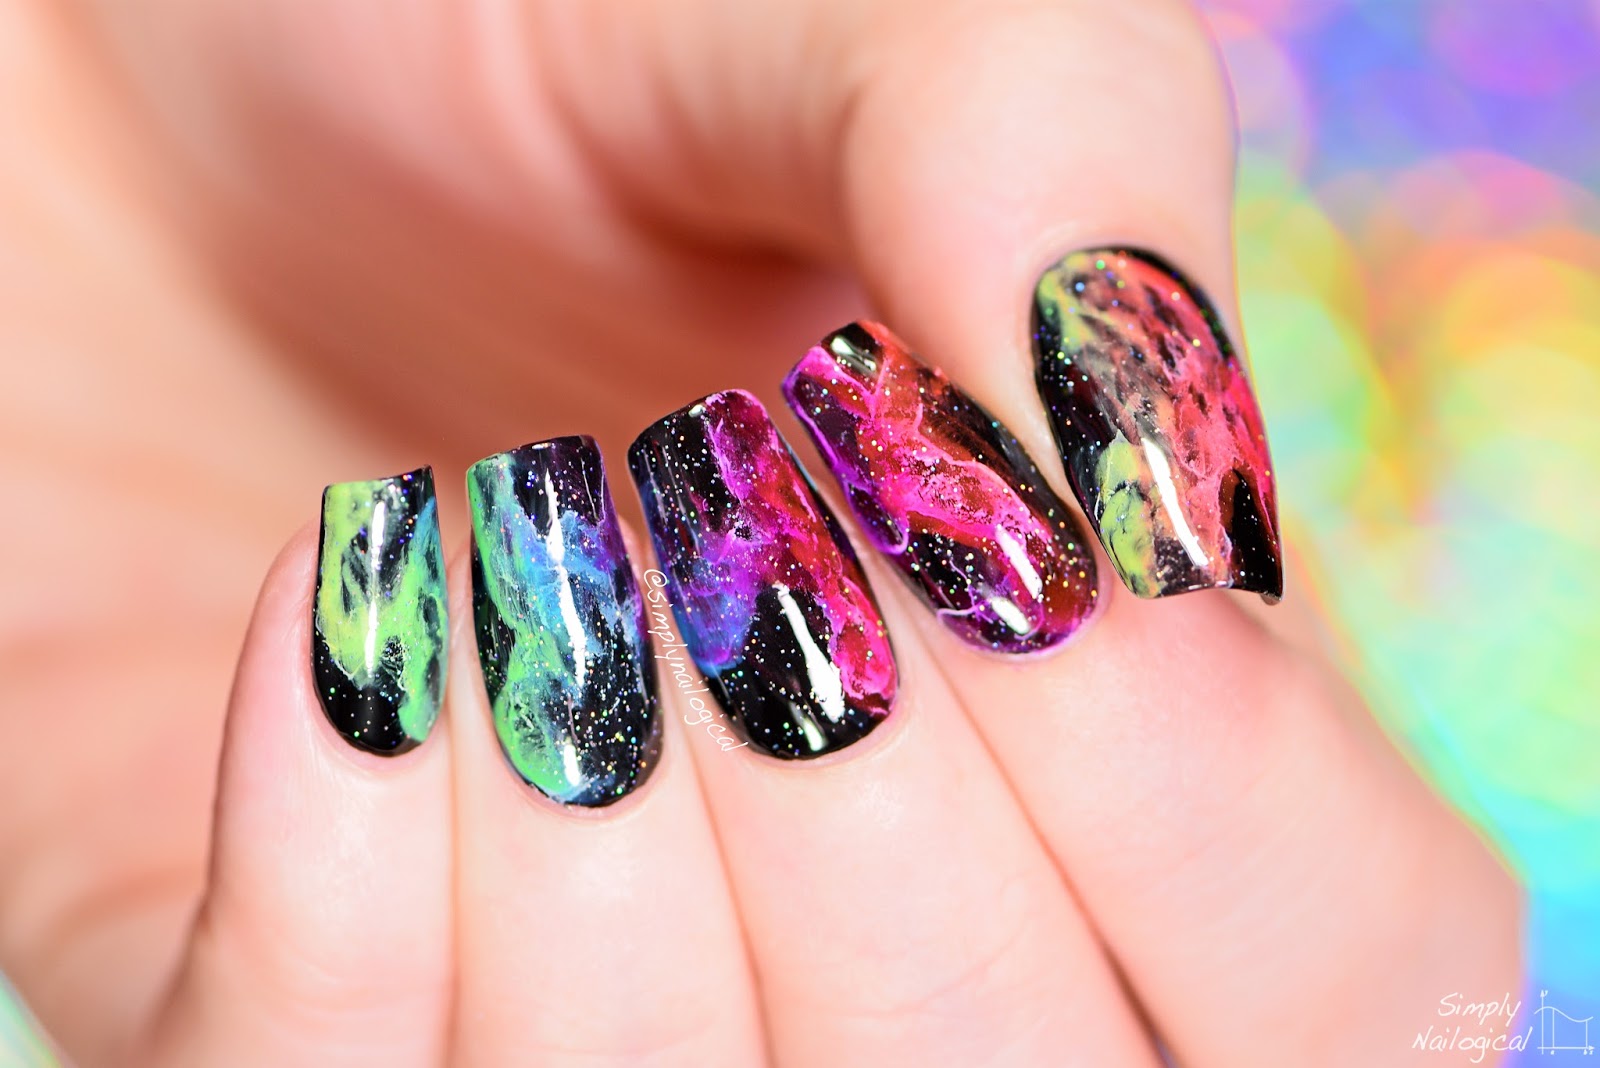
With so many stunning gradient nail art designs created by Simply Nailogical, it's hard to choose just 10 favorites. But here are her top picks: 1. "Holo Ombre" - Simply Nailogical's signature holo gradient design. 2. "Rainbow Ombre" - A vibrant and eye-catching rainbow gradient. 3. "Glitter Gradient" - A sparkly and dazzling gradient look. 4. "Neon Ombre" - A bold and colorful neon gradient design. 5. "Pastel Ombre" - A subtle and pretty gradient using pastel shades. 6. "Holo Flames" - A fiery gradient design using holo polishes. 7. "Galaxy Ombre" - A celestial and dreamy gradient look. 8. "Mermaid Ombre" - A stunning gradient inspired by the ocean. 9. "Pride Ombre" - A colorful gradient design in honor of Pride Month. 10. "Holo Marble" - A mesmerizing gradient using holo polishes and water marbling techniques.10. Simply Nailogical's Top 10 Gradient Nail Art Designs of All Time

10. Simply Nailogical's Top 10 Gradient Nail Art Designs of All Time
The Growing Trend of Gradient Nail Art: A Professional Guide to Achieving the Perfect Look

The Basics of Gradient Nail Art
 Gradient nail art, also known as ombre nails, is a popular and trendy nail style that involves blending two or more colors to create a seamless gradient effect on the nails. This technique is not only eye-catching and unique, but it also allows for endless color combinations and designs. Whether you're a nail art enthusiast or a professional nail technician, mastering gradient nail art is a must-have skill in your repertoire.
Getting Started: What You'll Need
 To achieve the perfect gradient nail art, you'll need a few essential tools:
Nail polish:
Choose two or more colors that blend well together. It's best to start with a light color as the base and a darker color for the gradient effect.
Makeup sponge:
A makeup sponge is the key to creating a smooth and seamless gradient. You can use any type of sponge, but a cosmetic wedge or a triangular sponge works best.
Top coat and base coat:
These are crucial for protecting your nails and ensuring your design lasts longer.
Scotch tape or liquid latex:
These are optional but helpful for keeping the excess polish off your skin.
To achieve the perfect gradient nail art, you'll need a few essential tools:
Nail polish:
Choose two or more colors that blend well together. It's best to start with a light color as the base and a darker color for the gradient effect.
Makeup sponge:
A makeup sponge is the key to creating a smooth and seamless gradient. You can use any type of sponge, but a cosmetic wedge or a triangular sponge works best.
Top coat and base coat:
These are crucial for protecting your nails and ensuring your design lasts longer.
Scotch tape or liquid latex:
These are optional but helpful for keeping the excess polish off your skin.
The Step-by-Step Process
 Now that you have all your tools ready, here's a step-by-step guide on achieving the perfect gradient nail art:
Step 1:
Start by prepping your nails. Remove any old nail polish and push back your cuticles. Then, apply a base coat to protect your nails and allow it to dry completely.
Step 2:
Apply your lighter color as the base coat and let it dry.
Step 3:
Take your makeup sponge and apply a thin layer of your chosen colors onto it. Make sure the colors overlap slightly for a seamless blend.
Step 4:
Gently dab the sponge onto your nails, starting from the middle and working your way to the tips. Repeat this step until you achieve the desired opacity.
Step 5:
If you're using scotch tape or liquid latex, apply it around your nails to protect your skin from any excess polish.
Step 6:
Clean up any excess polish and wait for the design to dry completely.
Step 7:
Apply a layer of top coat to seal in the design and add a glossy finish. Let it dry completely before touching anything.
Now that you have all your tools ready, here's a step-by-step guide on achieving the perfect gradient nail art:
Step 1:
Start by prepping your nails. Remove any old nail polish and push back your cuticles. Then, apply a base coat to protect your nails and allow it to dry completely.
Step 2:
Apply your lighter color as the base coat and let it dry.
Step 3:
Take your makeup sponge and apply a thin layer of your chosen colors onto it. Make sure the colors overlap slightly for a seamless blend.
Step 4:
Gently dab the sponge onto your nails, starting from the middle and working your way to the tips. Repeat this step until you achieve the desired opacity.
Step 5:
If you're using scotch tape or liquid latex, apply it around your nails to protect your skin from any excess polish.
Step 6:
Clean up any excess polish and wait for the design to dry completely.
Step 7:
Apply a layer of top coat to seal in the design and add a glossy finish. Let it dry completely before touching anything.
Tips and Tricks for a Flawless Finish
 - Practice makes perfect, so don't be discouraged if your first attempt doesn't turn out as expected. Keep trying until you get the hang of it!
- Use colors that blend well together for a more cohesive look.
- Experiment with different sponge techniques, such as rolling or dabbing, to achieve different effects.
- If you're using scotch tape or liquid latex, make sure to remove it while the polish is still wet to avoid any smudging.
- Don't be afraid to add glitter or other nail art elements to enhance your design.
- Lastly, have fun and let your creativity run wild!
- Practice makes perfect, so don't be discouraged if your first attempt doesn't turn out as expected. Keep trying until you get the hang of it!
- Use colors that blend well together for a more cohesive look.
- Experiment with different sponge techniques, such as rolling or dabbing, to achieve different effects.
- If you're using scotch tape or liquid latex, make sure to remove it while the polish is still wet to avoid any smudging.
- Don't be afraid to add glitter or other nail art elements to enhance your design.
- Lastly, have fun and let your creativity run wild!
In Conclusion
 Gradient nail art is a fun and versatile way to express your personal style. With the right tools and techniques, you can achieve a flawless and professional look in no time. So, grab your supplies and start creating your own unique gradient nail art designs today!


