If you want to add a touch of tropical vibes to your nails, try out this easy Hawaiian nail art tutorial. It's perfect for beginners and will have you feeling like you're on vacation in no time. Start off by painting your nails with a light blue base color. This will serve as the background for your Hawaiian design. Next, using a thin brush, create wavy lines in white on each nail to mimic the ocean waves. Don't worry about making them perfect, as the natural look will add to the charm of the design. Now it's time to add some tropical flowers. Using a dotting tool, create small dots in pink and yellow on each nail. Then, using a thin brush, add small green leaves around the flowers. Finish off the look with a clear top coat to seal in your design and give your nails a glossy finish. And there you have it, an easy Hawaiian nail art design that will transport you to a tropical paradise.1. Easy Hawaiian Nail Art Tutorial


1. Easy Hawaiian Nail Art Tutorial


If you're a fan of step-by-step tutorials, this Hawaiian nail art tutorial is perfect for you. It breaks down the design into easy-to-follow steps, so you can achieve the perfect tropical nails. Start by painting your nails with a light pink base color. This will serve as the base for your Hawaiian flowers. Next, using a thin brush, create a white outline of a flower on each nail. Then, using a dotting tool, fill in the petals of the flower with yellow and orange dots. Now it's time to add some tropical leaves. Using a thin brush, create green leaves around the flowers. Don't worry about making them perfect, as the natural look will add to the charm of the design. For an added touch, use a dotting tool to add small blue dots in between the flowers to represent the ocean. Finish off the design with a clear top coat to seal in your design and give your nails a glossy finish. With this step-by-step tutorial, you'll have beautiful Hawaiian nails in no time.2. Step-by-Step Hawaiian Nail Art Tutorial


2. Step-by-Step Hawaiian Nail Art Tutorial


Bring the tropical vibes to your nails with this vibrant and colorful Hawaiian nail art tutorial. It's the perfect design for those who love bright and bold colors. Start off by painting your nails with a yellow base color. This will serve as the background for your tropical design. Next, using a thin brush, create wavy lines in blue on each nail to mimic the ocean waves. Then, using a dotting tool, add small green dots on top of the blue waves to represent palm trees. For the focal point of the design, use a dotting tool to create a pink hibiscus flower on each nail. Don't worry about making them perfect, as the natural look will add to the charm of the design. Finish off the look with a clear top coat to seal in your design and give your nails a glossy finish. This tropical Hawaiian nail art design is perfect for those who want to make a statement with their nails.3. Tropical Hawaiian Nail Art Tutorial


3. Tropical Hawaiian Nail Art Tutorial


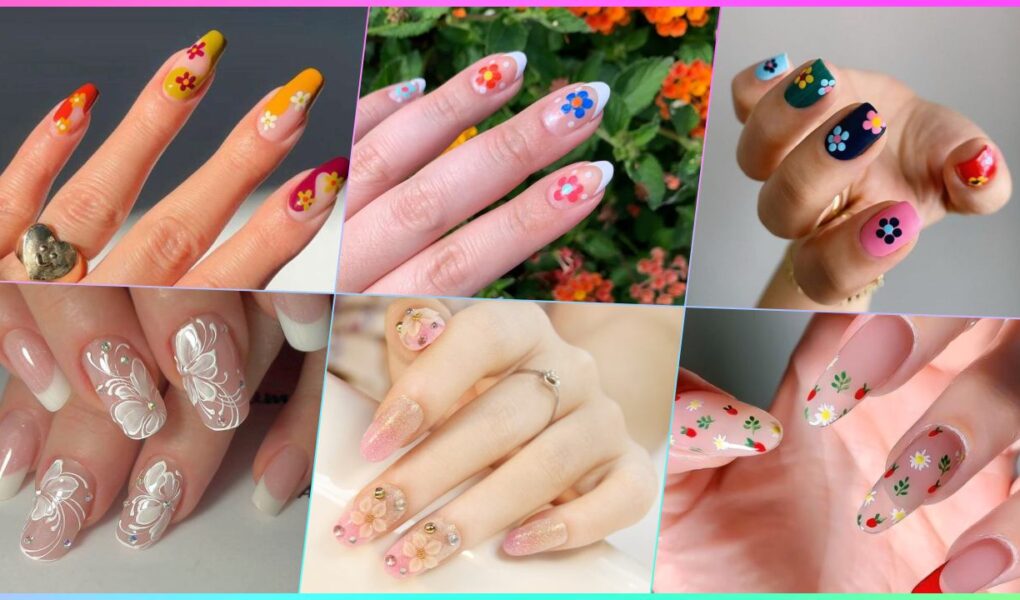
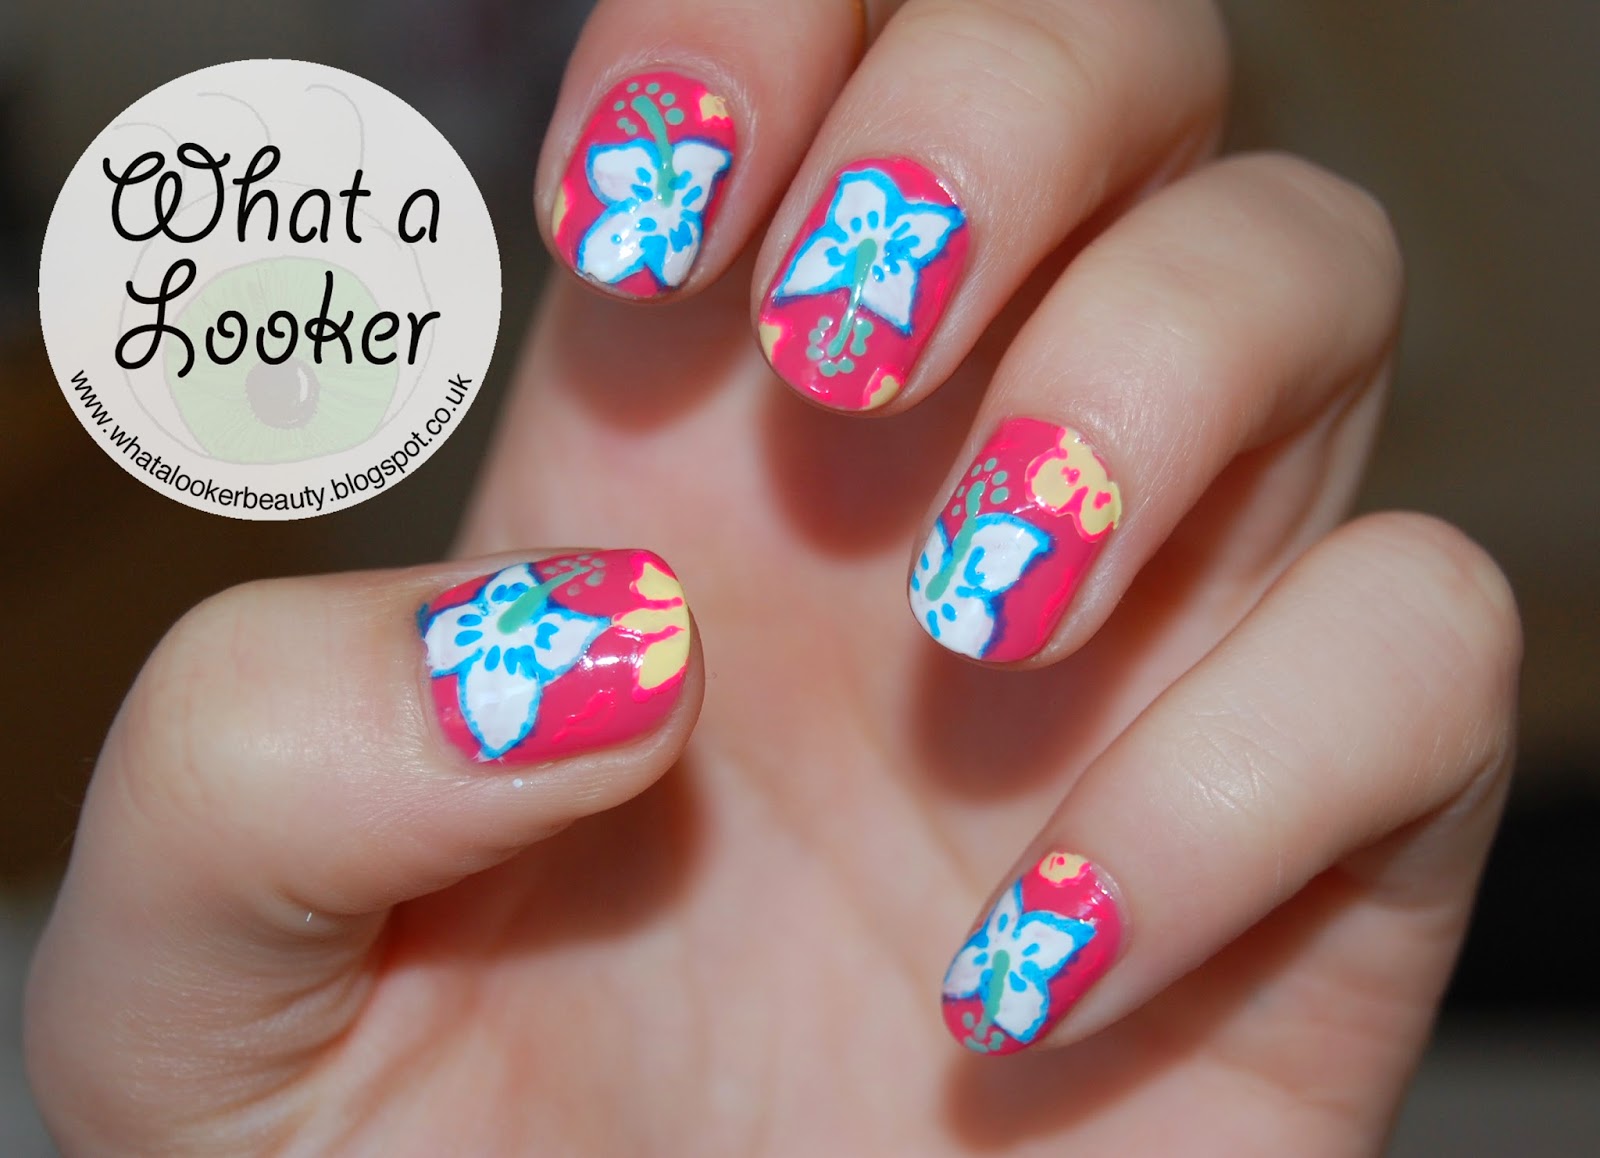
Hawaiian flowers are known for their vibrant colors and beautiful shapes, making them the perfect inspiration for a nail art design. Follow this tutorial to create your own Hawaiian flower nails. Start off by painting your nails with a light purple base color. This will serve as the background for your Hawaiian flowers. Next, using a dotting tool, create small yellow dots in a circular shape on each nail to represent the center of a flower. Then, using a thin brush, create pink petals around the yellow dots. For added detail, use a thin brush to create green leaves around the flowers. Finish off the design with a clear top coat to seal in your design and give your nails a glossy finish. This Hawaiian flower nail art design is perfect for those who love feminine and delicate designs.4. Hawaiian Flower Nail Art Tutorial
.jpg)

4. Hawaiian Flower Nail Art Tutorial

.jpg)

If you want to add a pop of color to your nails, this colorful Hawaiian nail art tutorial is the one for you. It's fun, vibrant, and perfect for those who love to experiment with different colors. Start off by painting your nails with a light blue base color. This will serve as the background for your Hawaiian design. Next, using a dotting tool, create small pink, green, and yellow dots on each nail to represent flowers. Don't worry about making them perfect, as the natural look will add to the charm of the design. For added detail, use a thin brush to create green leaves around the flowers. Finish off the look with a clear top coat to seal in your design and give your nails a glossy finish. This colorful Hawaiian nail art design is perfect for those who love to stand out and make a statement with their nails.5. Colorful Hawaiian Nail Art Tutorial
5. Colorful Hawaiian Nail Art Tutorial


.jpg)


If you're looking for a simple and understated Hawaiian nail art design, this tutorial is perfect for you. It's easy to recreate and will have you feeling like you're on a tropical island. Start off by painting your nails with a light pink base color. This will serve as the background for your Hawaiian flowers. Next, using a dotting tool, create small yellow dots in a circular shape on each nail to represent the center of a flower. Then, using a thin brush, create pink petals around the yellow dots. For added detail, use a thin brush to create green leaves around the flowers. Finish off the design with a clear top coat to seal in your design and give your nails a glossy finish. This simple Hawaiian nail art design is perfect for those who prefer a more subtle and delicate look.6. Simple Hawaiian Nail Art Tutorial

6. Simple Hawaiian Nail Art Tutorial
Bring the beach to your nails with this Hawaiian beach nail art tutorial. It's the perfect design for those who love all things beachy and tropical. Start off by painting your nails with a light blue base color. This will serve as the background for your Hawaiian beach design. Next, using a dotting tool, create small yellow, pink, and green dots on each nail to represent flowers. Don't worry about making them perfect, as the natural look will add to the charm of the design. For added detail, use a thin brush to create green leaves around the flowers. Then, using a dotting tool, create small blue dots in between the flowers to represent the ocean. Finish off the look with a clear top coat to seal in your design and give your nails a glossy finish. This Hawaiian beach nail art design will have you dreaming of a tropical getaway.7. Hawaiian Beach Nail Art Tutorial


7. Hawaiian Beach Nail Art Tutorial
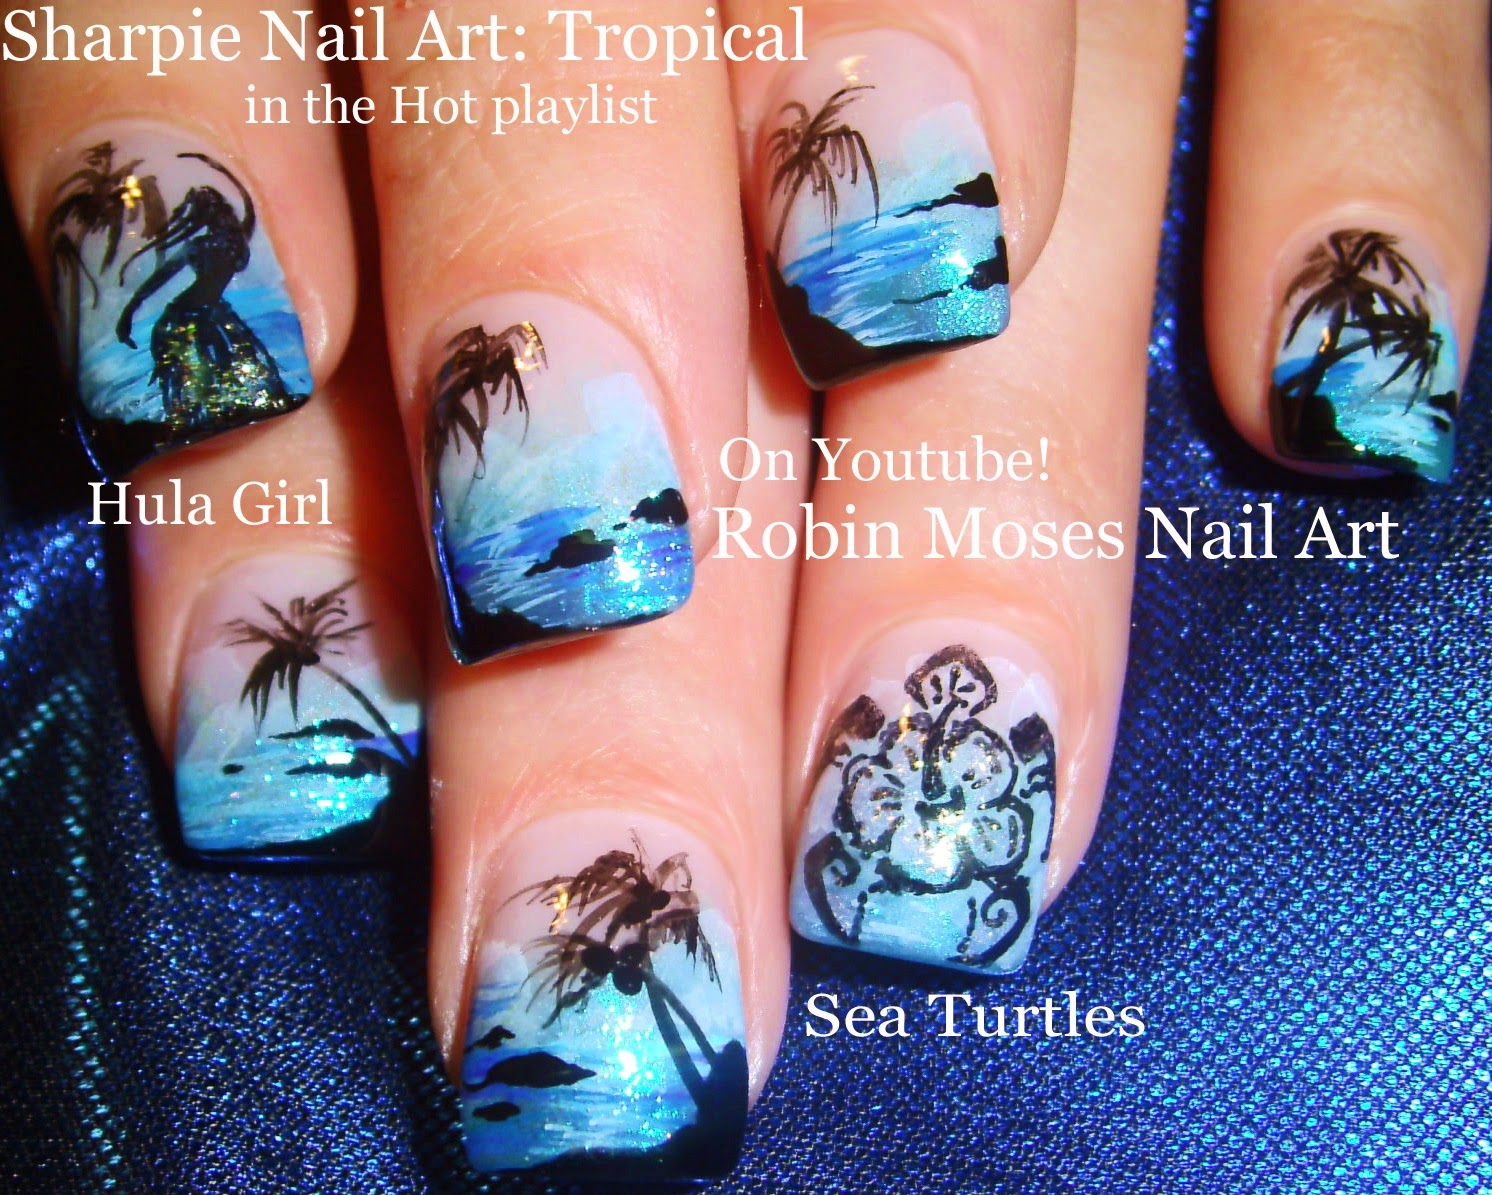
Capture the beauty of a Hawaiian sunset on your nails with this stunning nail art tutorial. It's perfect for those who love warm tones and want to add a touch of elegance to their nails. Start by painting your nails with a light orange base color. This will serve as the background for your Hawaiian sunset. Next, using a dotting tool, create small red, yellow, and pink dots on each nail to represent the sky. Then, using a thin brush, blend the colors together to create a sunset effect. For added detail, use a thin brush to create black palm trees on each nail. Finish off the look with a clear top coat to seal in your design and give your nails a glossy finish. This Hawaiian sunset nail art design is perfect for those who want to add a touch of sophistication to their nails.8. Hawaiian Sunset Nail Art Tutorial

8. Hawaiian Sunset Nail Art Tutorial

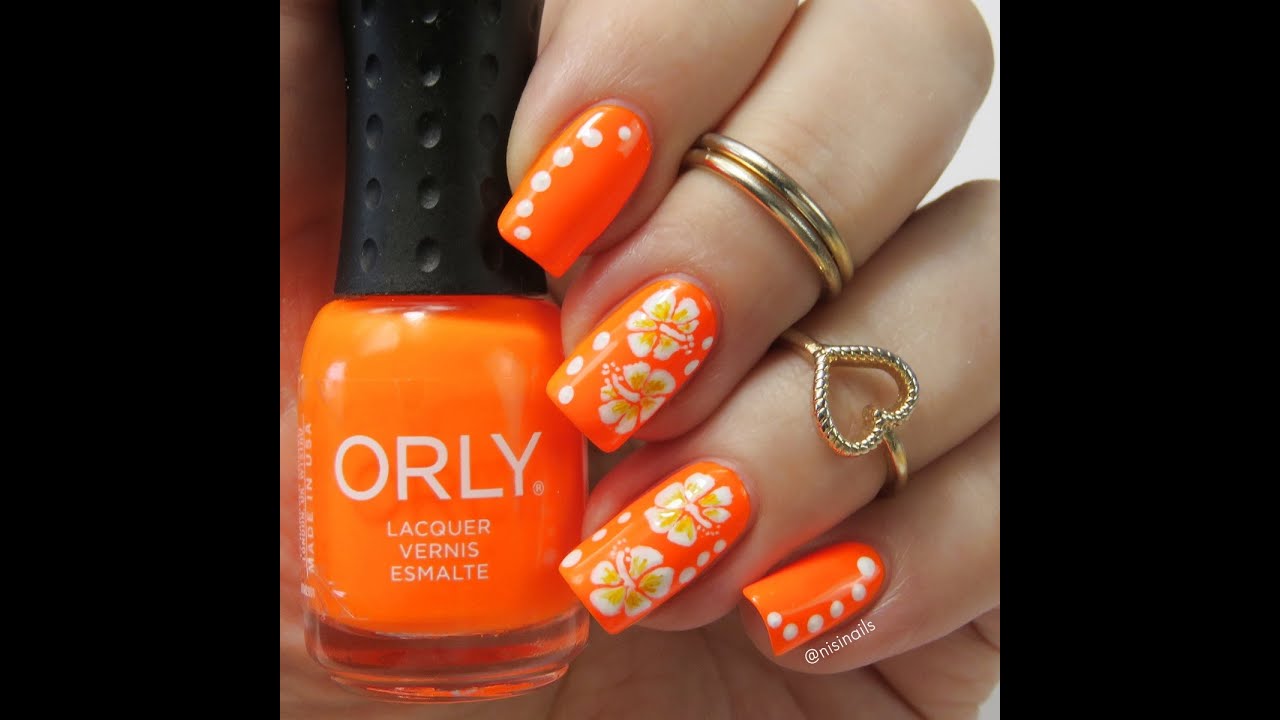
Take inspiration from traditional Hawaiian prints for this nail art design. It's bold, colorful, and perfect for those who love to make a statement with their nails. Start off by painting your nails with a light green base color. This will serve as the background for your Hawaiian print. Next, using a thin brush, create wavy lines in white on each nail to mimic the ocean waves. Then, using a dotting tool, create small pink, yellow, and blue dots on top of the white waves to represent flowers. For added detail, use a thin brush to create black palm trees on each nail. Finish off the design with a clear top coat to seal in your design and give your nails a glossy finish. This Hawaiian print nail art design is perfect for those who want to add a touch of culture to their nails.9. Hawaiian Print Nail Art Tutorial


9. Hawaiian Print Nail Art Tutorial
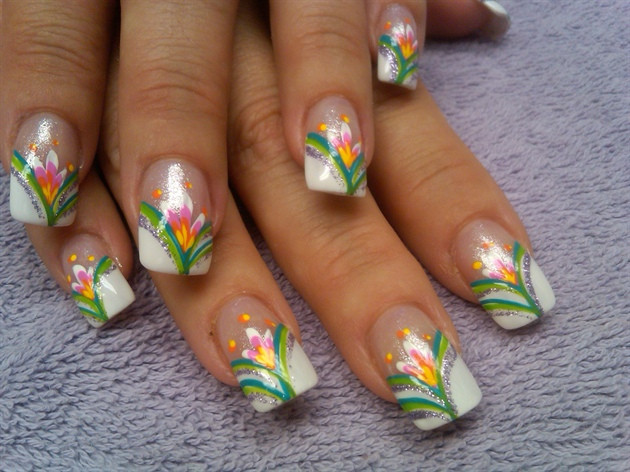
Celebrate the spirit of a Hawaiian luau with this fun and colorful nail art tutorial. It's perfect for those who love to have fun with their nail designs. Start by painting your nails with a light yellow base color. This will serve as the background for your Hawaiian design. Next, using a thin brush, create wavy lines in green on each nail to mimic the grass skirts worn at a luau. Then, using a dotting tool, create small pink, orange, and yellow dots on top of the green wavy lines to represent flowers. For added detail, use a thin brush to create black palm trees on each nail. Finish off the design with a clear top coat to seal in your design and give your nails a glossy finish. This Hawaiian luau nail art design is perfect for those who want to add a touch of fun and playfulness to their nails.10. Hawaiian Luau Nail Art Tutorial

10. Hawaiian Luau Nail Art Tutorial


Hawaiian Nail Art Tutorial: Bringing the Beauty of the Islands to Your Fingertips

Introduction
 If you're looking for a fun and unique way to spice up your nails, look no further than Hawaiian nail art. This tropical-inspired trend has been taking the beauty world by storm, and for good reason. With its vibrant colors and intricate designs, Hawaiian nail art captures the essence of the islands and brings it right to your fingertips. In this tutorial, we'll walk you through the steps to create your own Hawaiian nail art masterpiece, whether you're a beginner or a seasoned nail artist.
Materials Needed
 Before we dive into the tutorial, let's gather all the necessary materials. You'll need a base coat, top coat, nail polish in various colors (think bright pinks, yellows, and greens), a thin nail art brush, and a dotting tool. You may also want to have some rhinestones or glitter on hand for some extra sparkle.
Step 1: Prepare Your Nails
 Before you begin painting, make sure your nails are clean and trimmed to your desired length. Apply a base coat to protect your nails and help the polish last longer.
Step 2: Paint Your Base Color
 Choose a bright color to serve as your base color. This could be a shade of blue to represent the ocean, or a bright green to represent the lush forests of Hawaii. Apply two coats of the base color and let it dry completely.
Step 3: Create Your Design
 Now it's time to get creative! Using your thin nail art brush, start by drawing a wave design on one of your nails. You can also use the dotting tool to create flowers or palm trees. Don't worry about making it perfect, Hawaiian nail art is all about embracing imperfections.
Step 4: Add Some Accents
 This step is where you can really let your creativity shine. Use your nail art brush to add details and accents to your design. This could be adding some leaves to your palm tree or creating a sunset with multiple colors on one nail.
Step 5: Add Some Bling
 For some extra pizzazz, add some rhinestones or glitter to your design. This will give your nails a glamorous touch and make them stand out even more.
Step 6: Seal the Deal
 Once your design is complete and dry, seal it with a top coat to protect your artwork and give it a glossy finish. This will also help your design last longer.
In Conclusion
 Hawaiian nail art is a fun and creative way to add a touch of the islands to your everyday look. With a few simple steps and some basic materials, you can create your own tropical masterpiece. So grab your nail polish and get ready to channel your inner island vibes with this Hawaiian nail art tutorial. Aloha!


