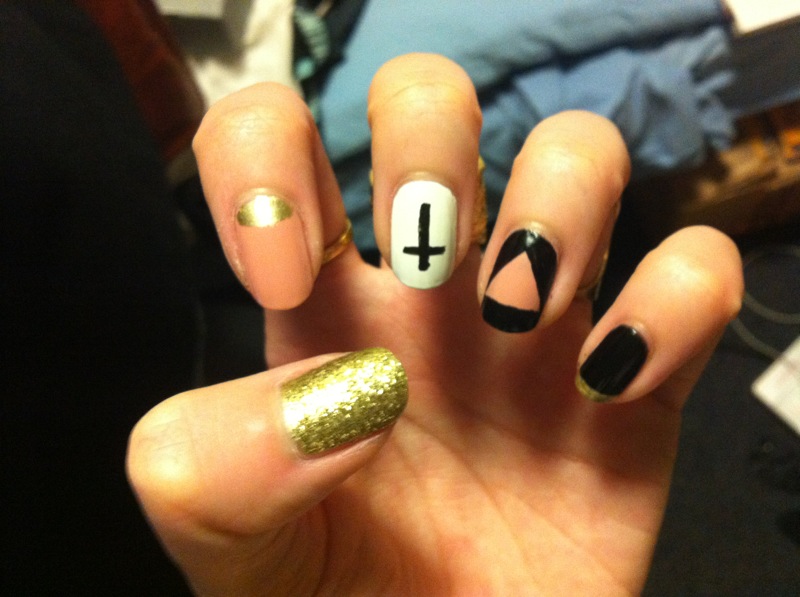
Are you tired of the same old boring nail designs? Want to add a touch of unique and trendy to your manicure? Look no further than these DIY hipster nail art tutorials! These step-by-step guides will have you sporting the latest and coolest nail designs in no time.1. "DIY Hipster Nail Art Tutorial"

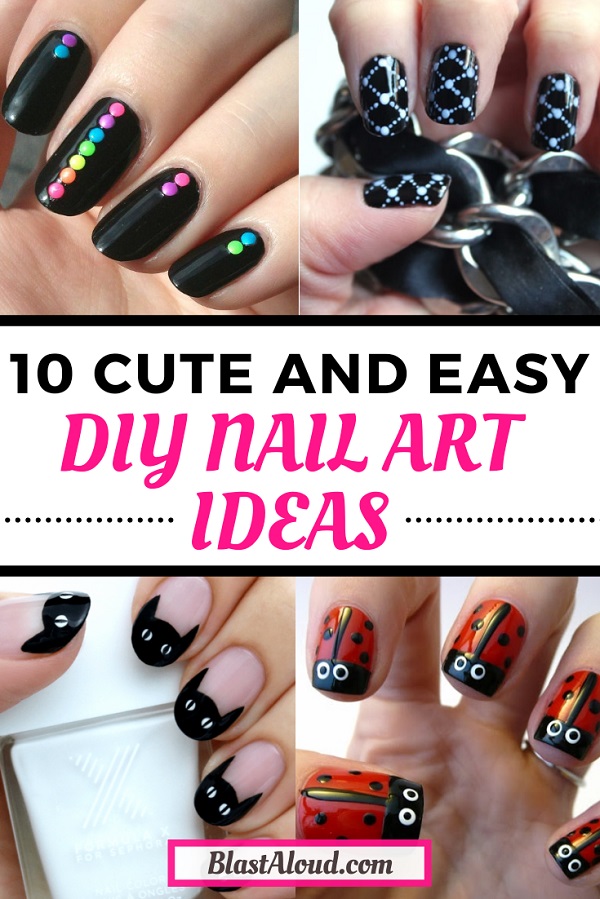

1. "DIY Hipster Nail Art Tutorial"


Not a pro at nail art? No problem! These easy hipster nail art tutorials are perfect for beginners and require minimal supplies. So even if you're not the most artistic person, you can still achieve the hipster nail look with these simple and straightforward tutorials.2. "Easy Hipster Nail Art Tutorial"


2. "Easy Hipster Nail Art Tutorial"


If you prefer a more detailed and guided approach, these step-by-step hipster nail art tutorials are for you. From start to finish, these tutorials will walk you through each step of the process, making it easy to follow along and create stunning nail designs.3. "Step-by-Step Hipster Nail Art Tutorial"

3. "Step-by-Step Hipster Nail Art Tutorial"


Love the bohemian and hippie vibe? Then these boho hipster nail art tutorials are perfect for you. With dreamy and earthy designs, you can bring a touch of boho to your nails and showcase your free-spirited personality.4. "Boho Hipster Nail Art Tutorial"


4. "Boho Hipster Nail Art Tutorial"


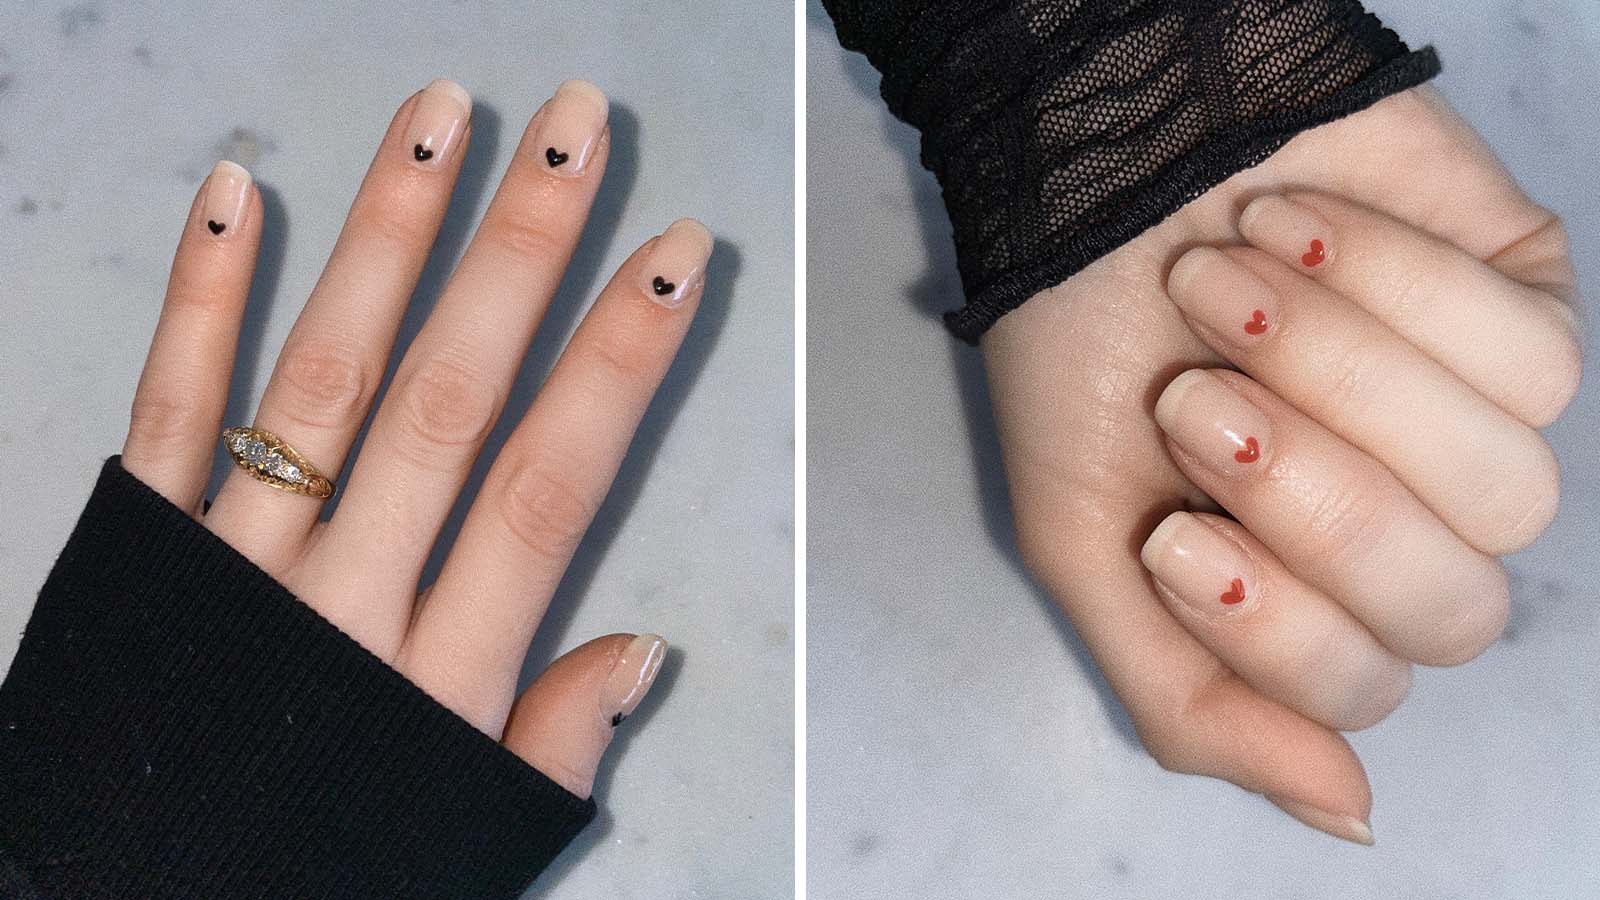
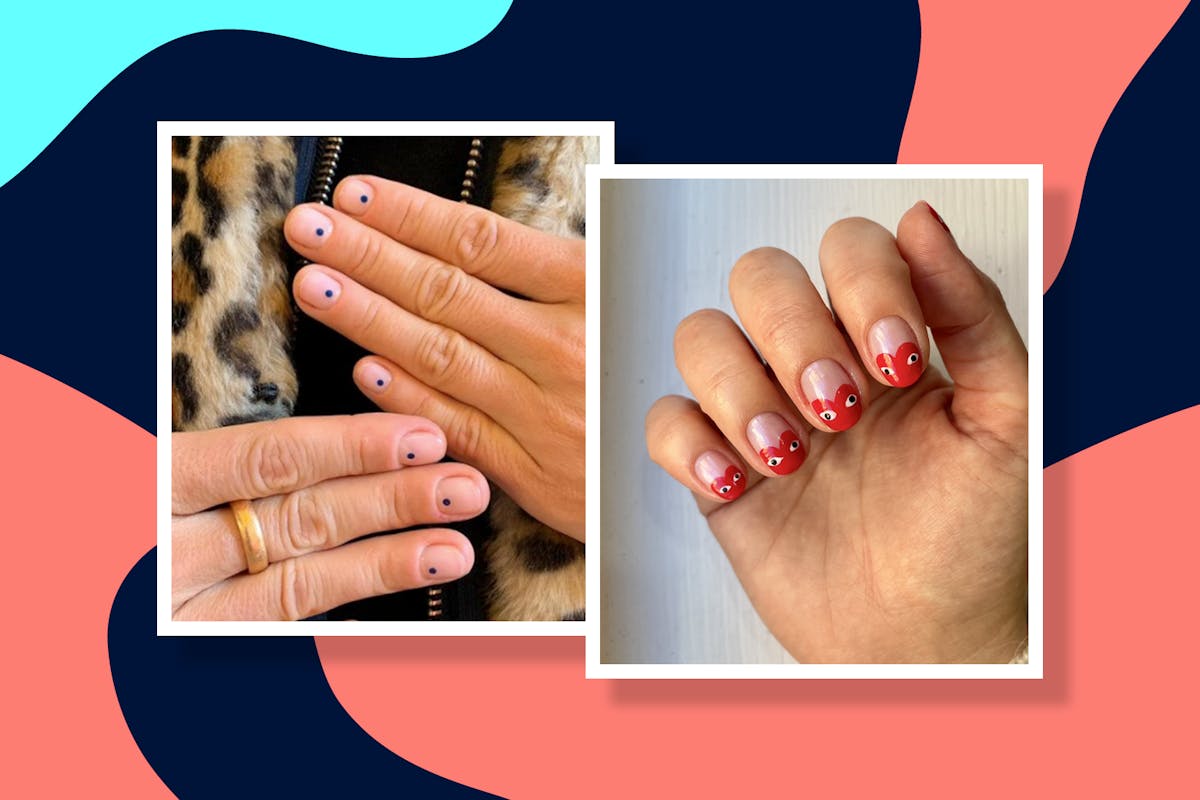
Less is more with these minimalist hipster nail art tutorials. With clean lines and simple designs, these tutorials will teach you how to create chic and understated nail art that still screams hipster. Perfect for those who prefer a more subdued look.5. "Minimalist Hipster Nail Art Tutorial"


5. "Minimalist Hipster Nail Art Tutorial"


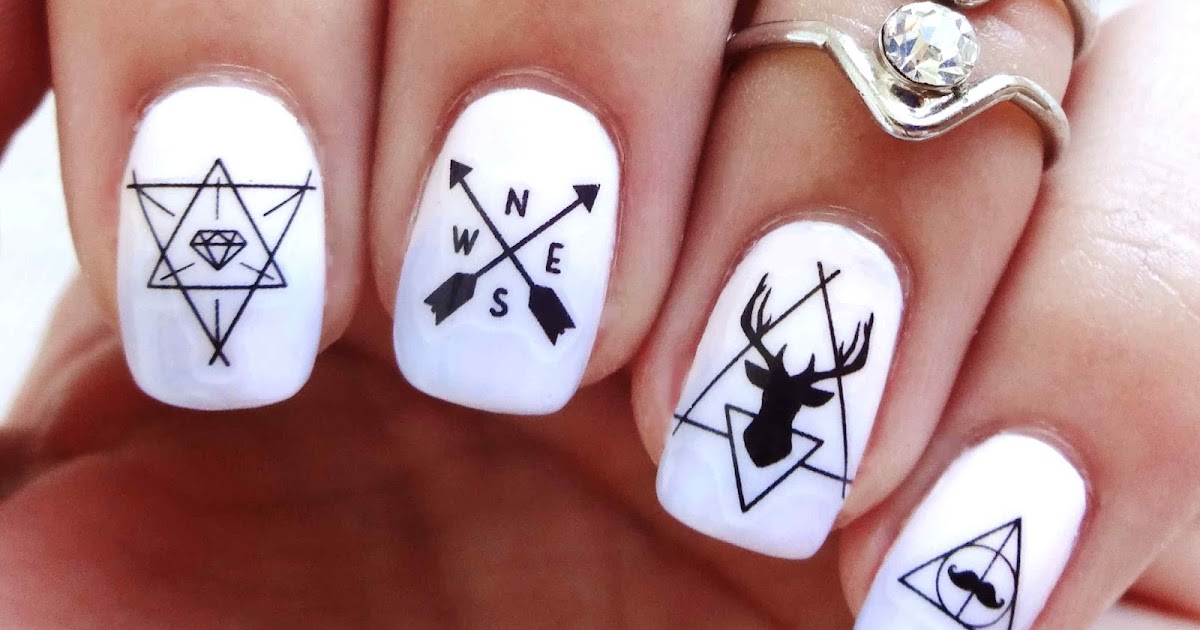
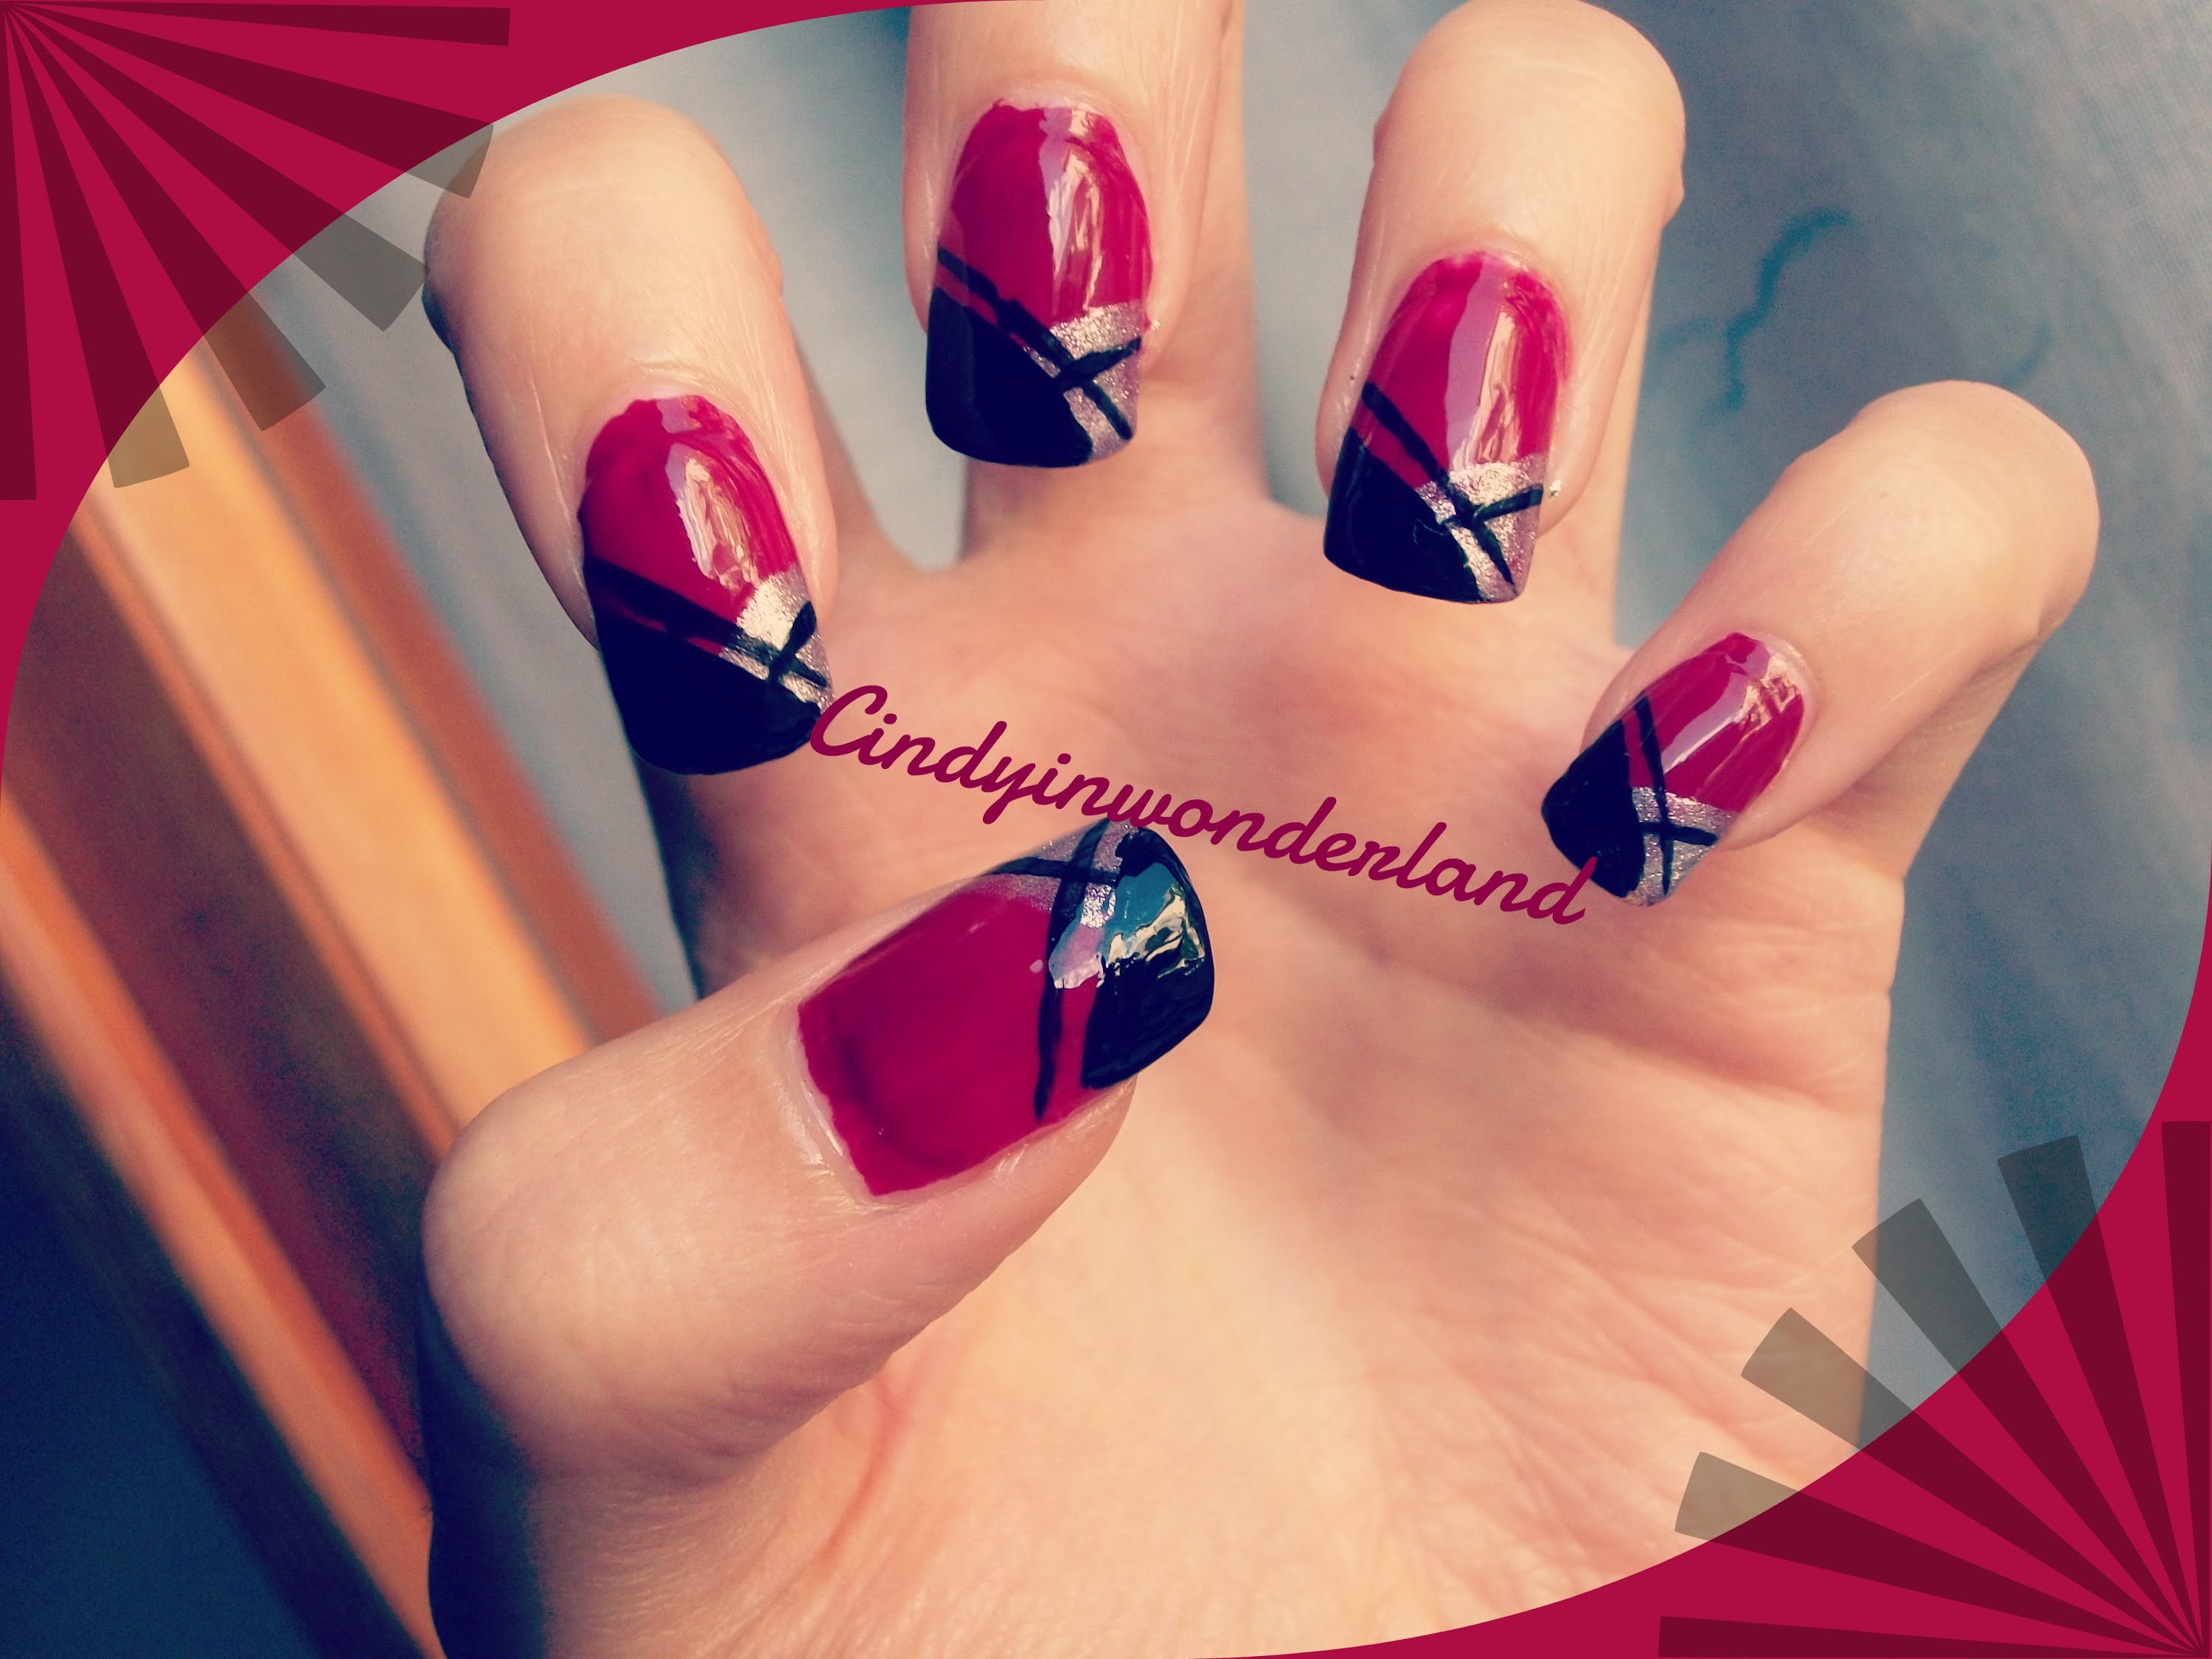
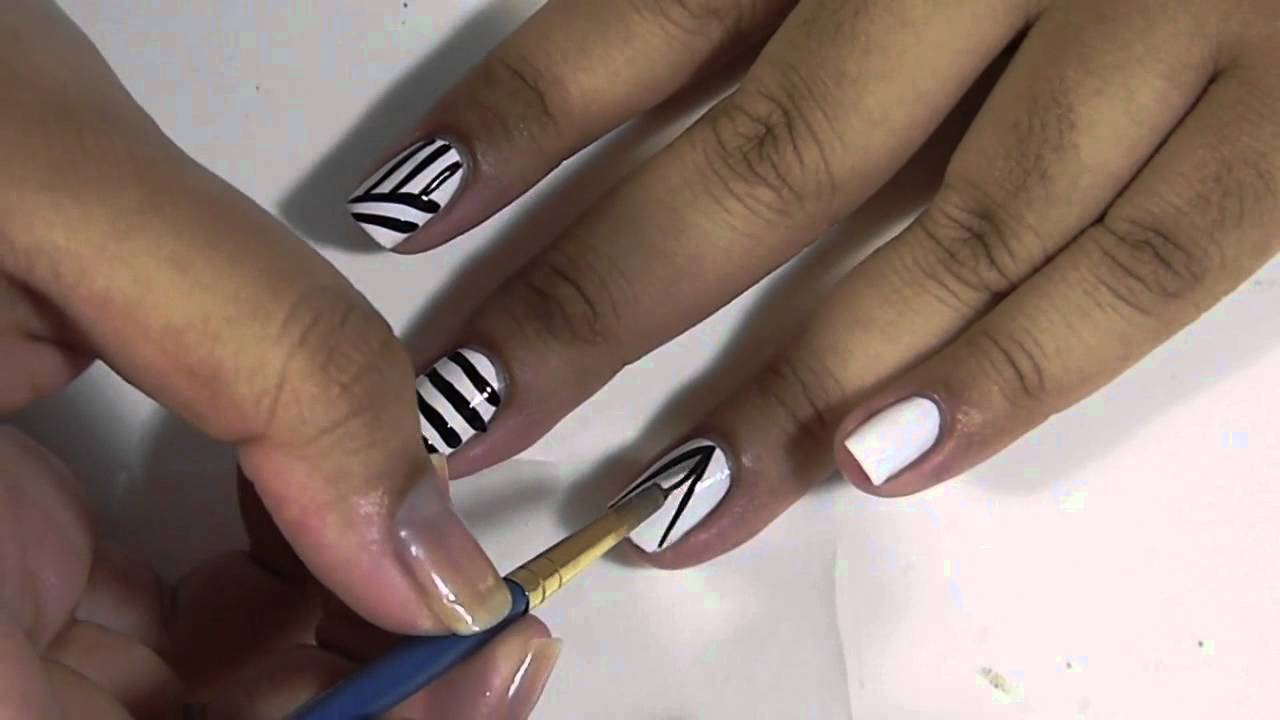
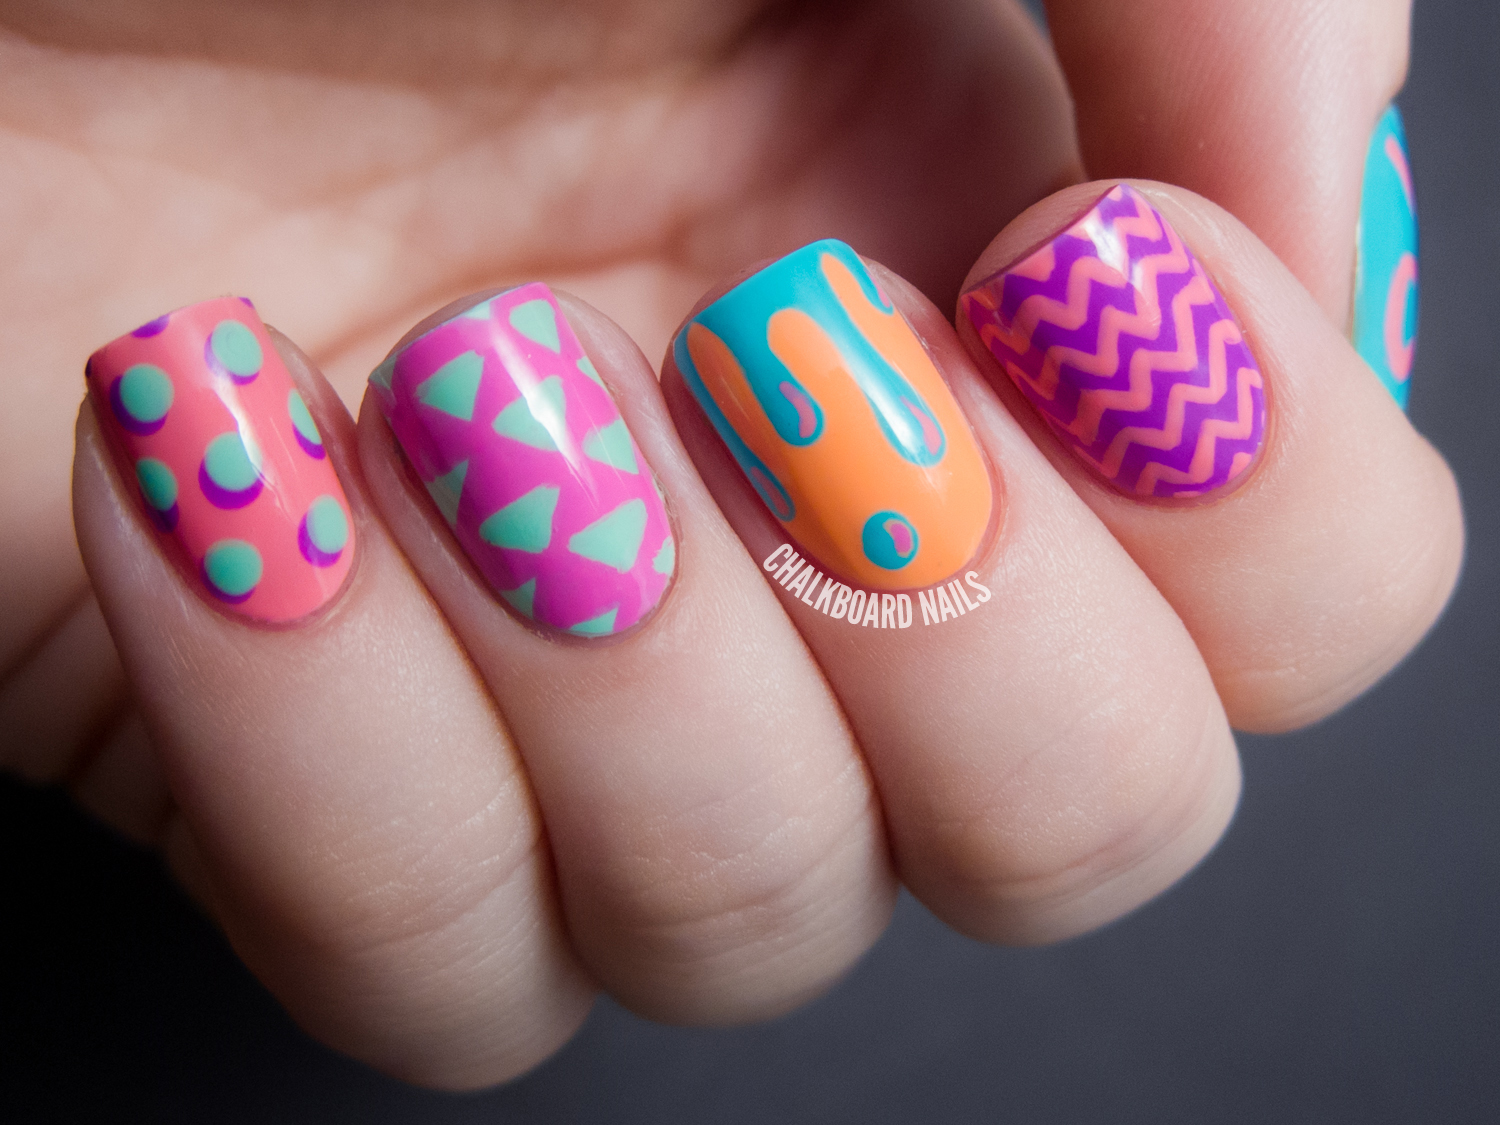
Geometric designs are all the rage in the hipster world, and with these geometric hipster nail art tutorials, you can easily incorporate them into your manicure. From triangles to stripes, these tutorials will show you how to create eye-catching geometric patterns on your nails.6. "Geometric Hipster Nail Art Tutorial"

6. "Geometric Hipster Nail Art Tutorial"


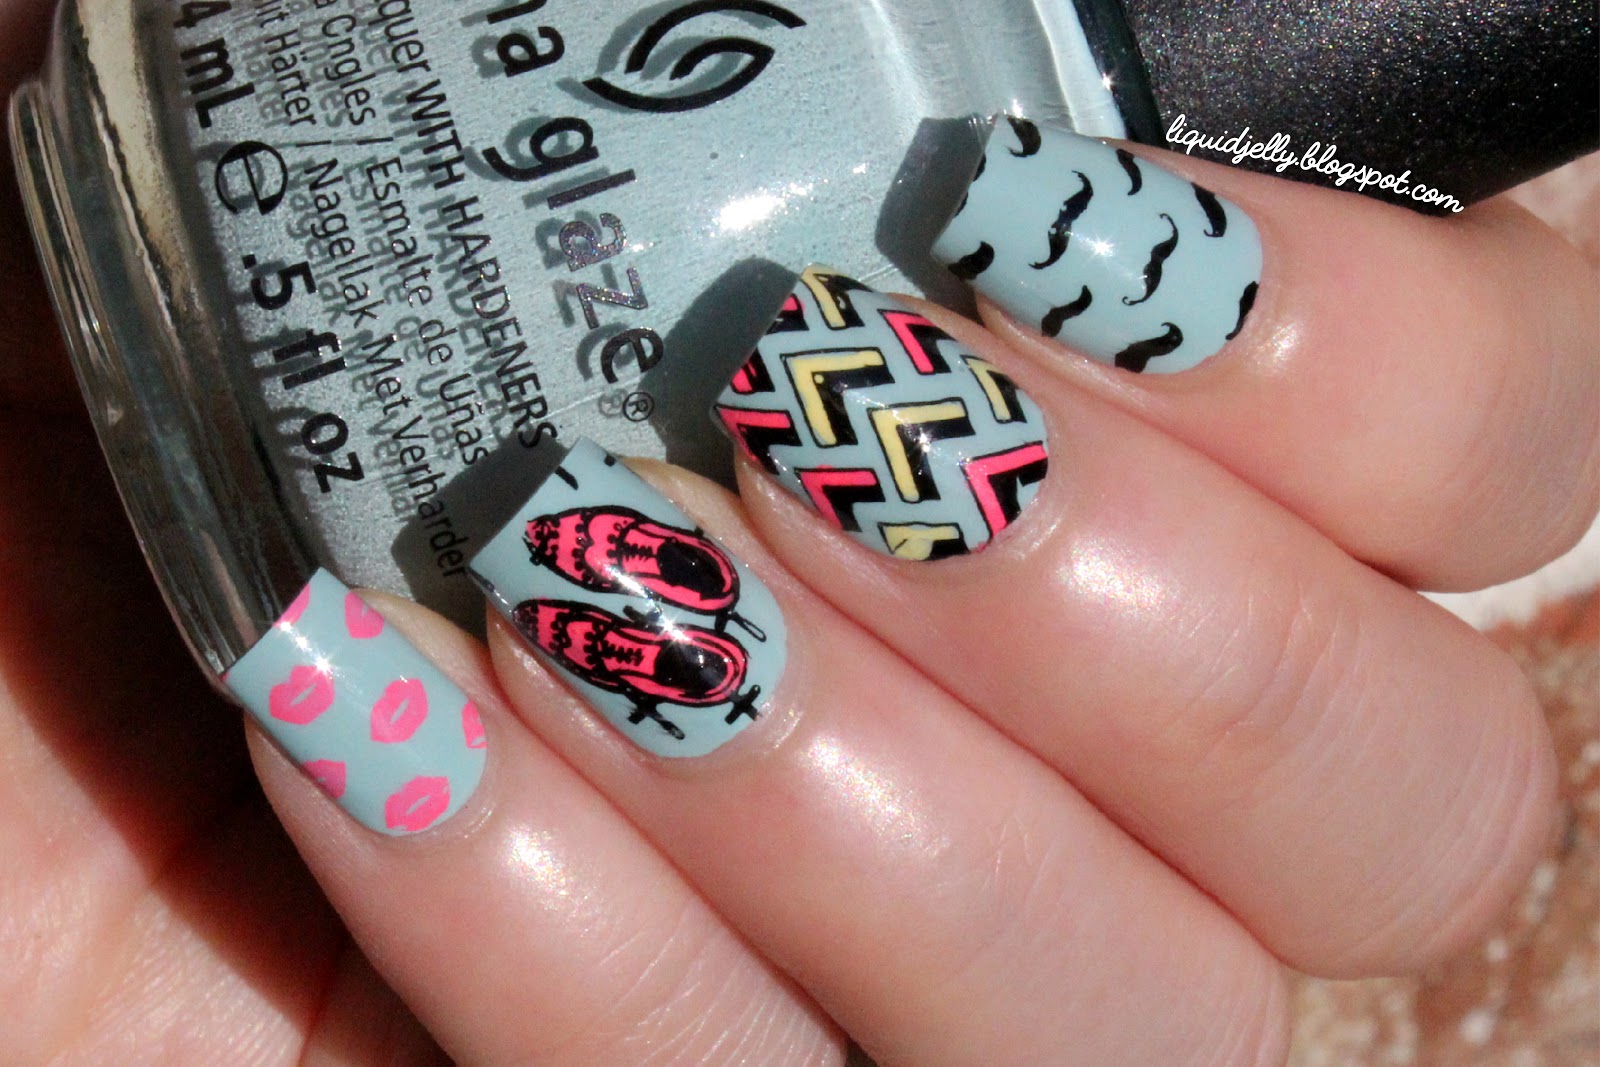
For those who love all things retro and vintage, these vintage hipster nail art tutorials are a must-try. With designs inspired by the 60s and 70s, these tutorials will take you on a trip down memory lane while giving your nails a unique and trendy look.7. "Vintage Hipster Nail Art Tutorial"


7. "Vintage Hipster Nail Art Tutorial"

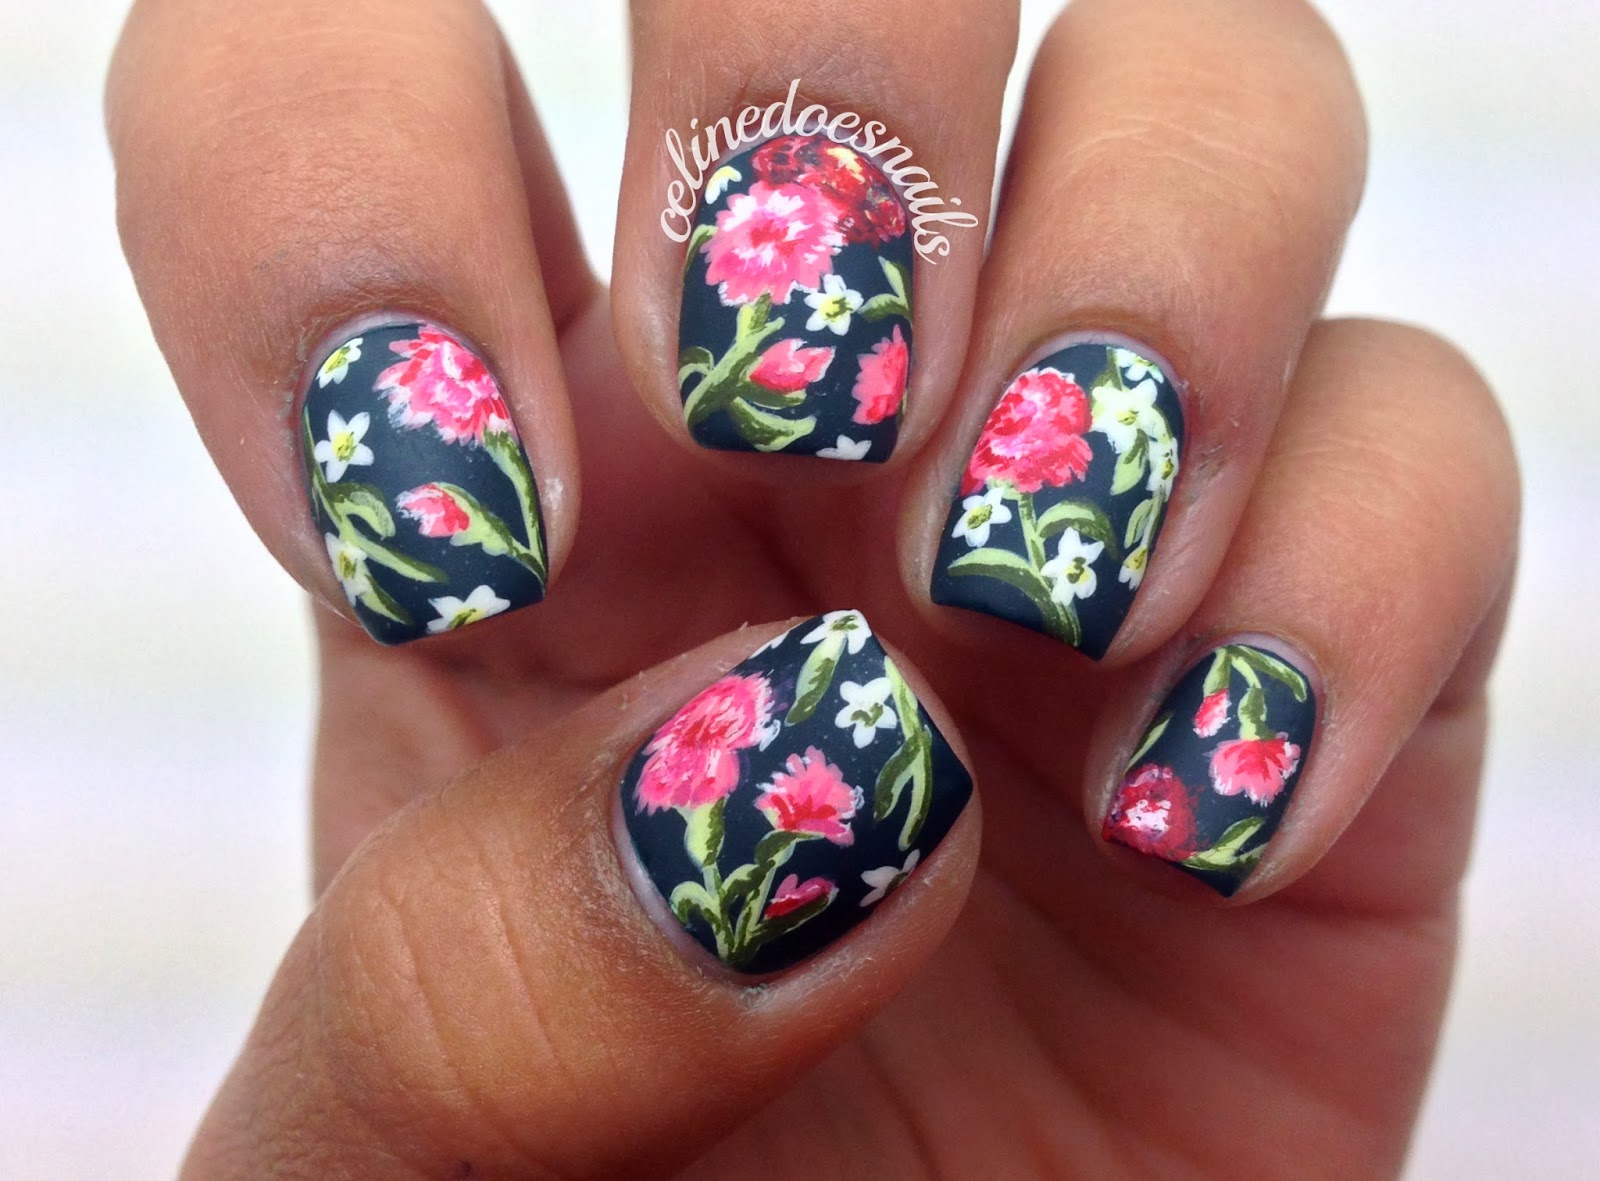
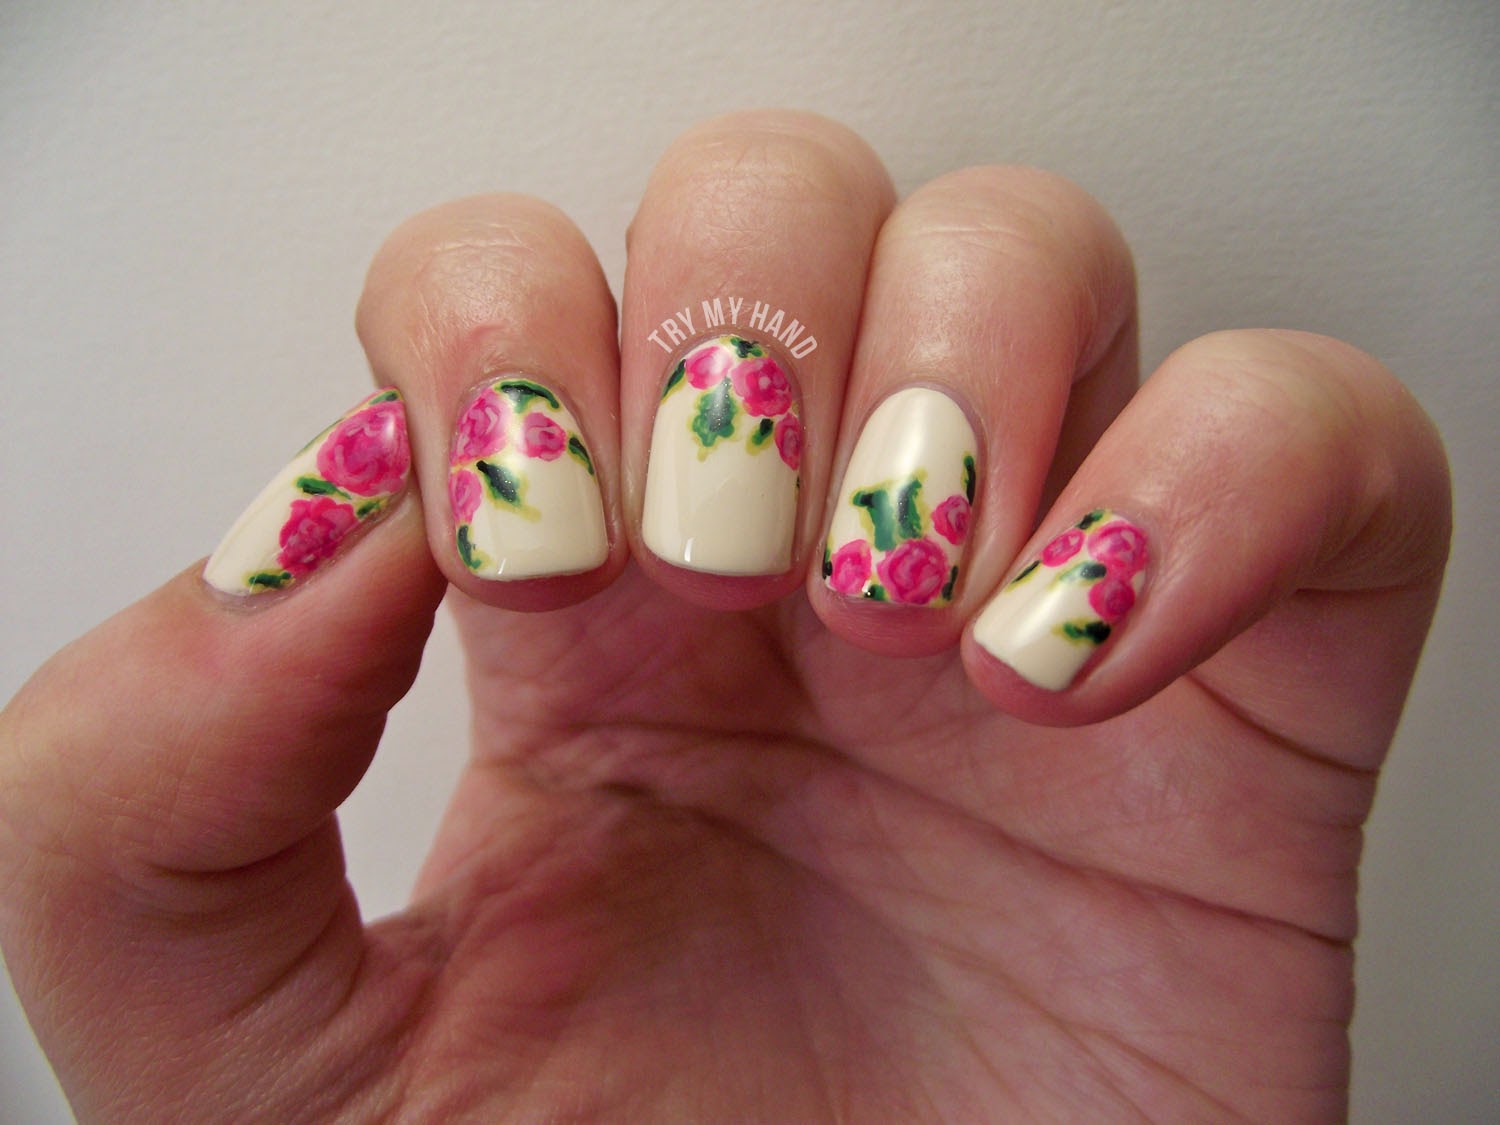
Florals never go out of style, and with these floral hipster nail art tutorials, you can add a touch of nature to your nails. From delicate and dainty flowers to bold and colorful blooms, these tutorials will have you creating beautiful floral designs on your nails.8. "Floral Hipster Nail Art Tutorial"


8. "Floral Hipster Nail Art Tutorial"

Channel your inner warrior with these tribal hipster nail art tutorials. With tribal-inspired designs and patterns, these tutorials will show you how to create bold and unique nail art that will make a statement. Perfect for those who want to stand out from the crowd.9. "Tribal Hipster Nail Art Tutorial"


9. "Tribal Hipster Nail Art Tutorial"

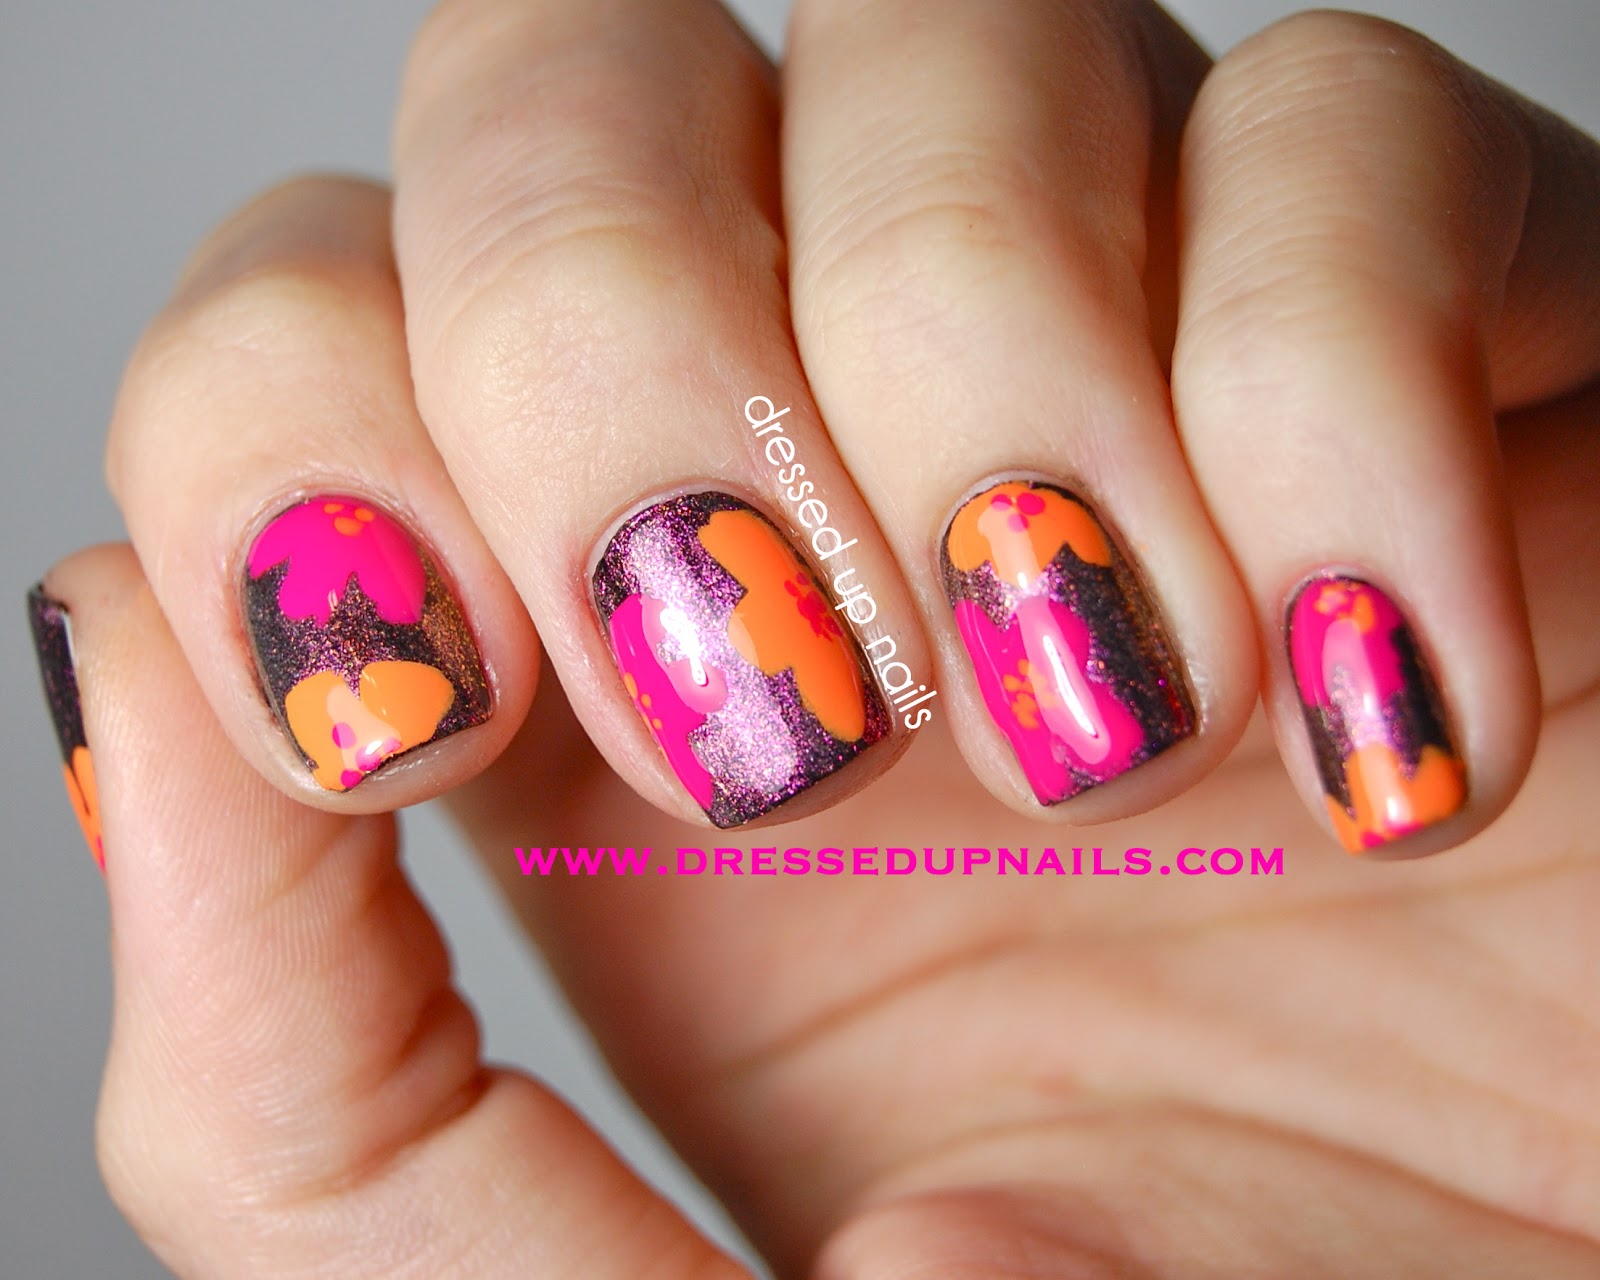
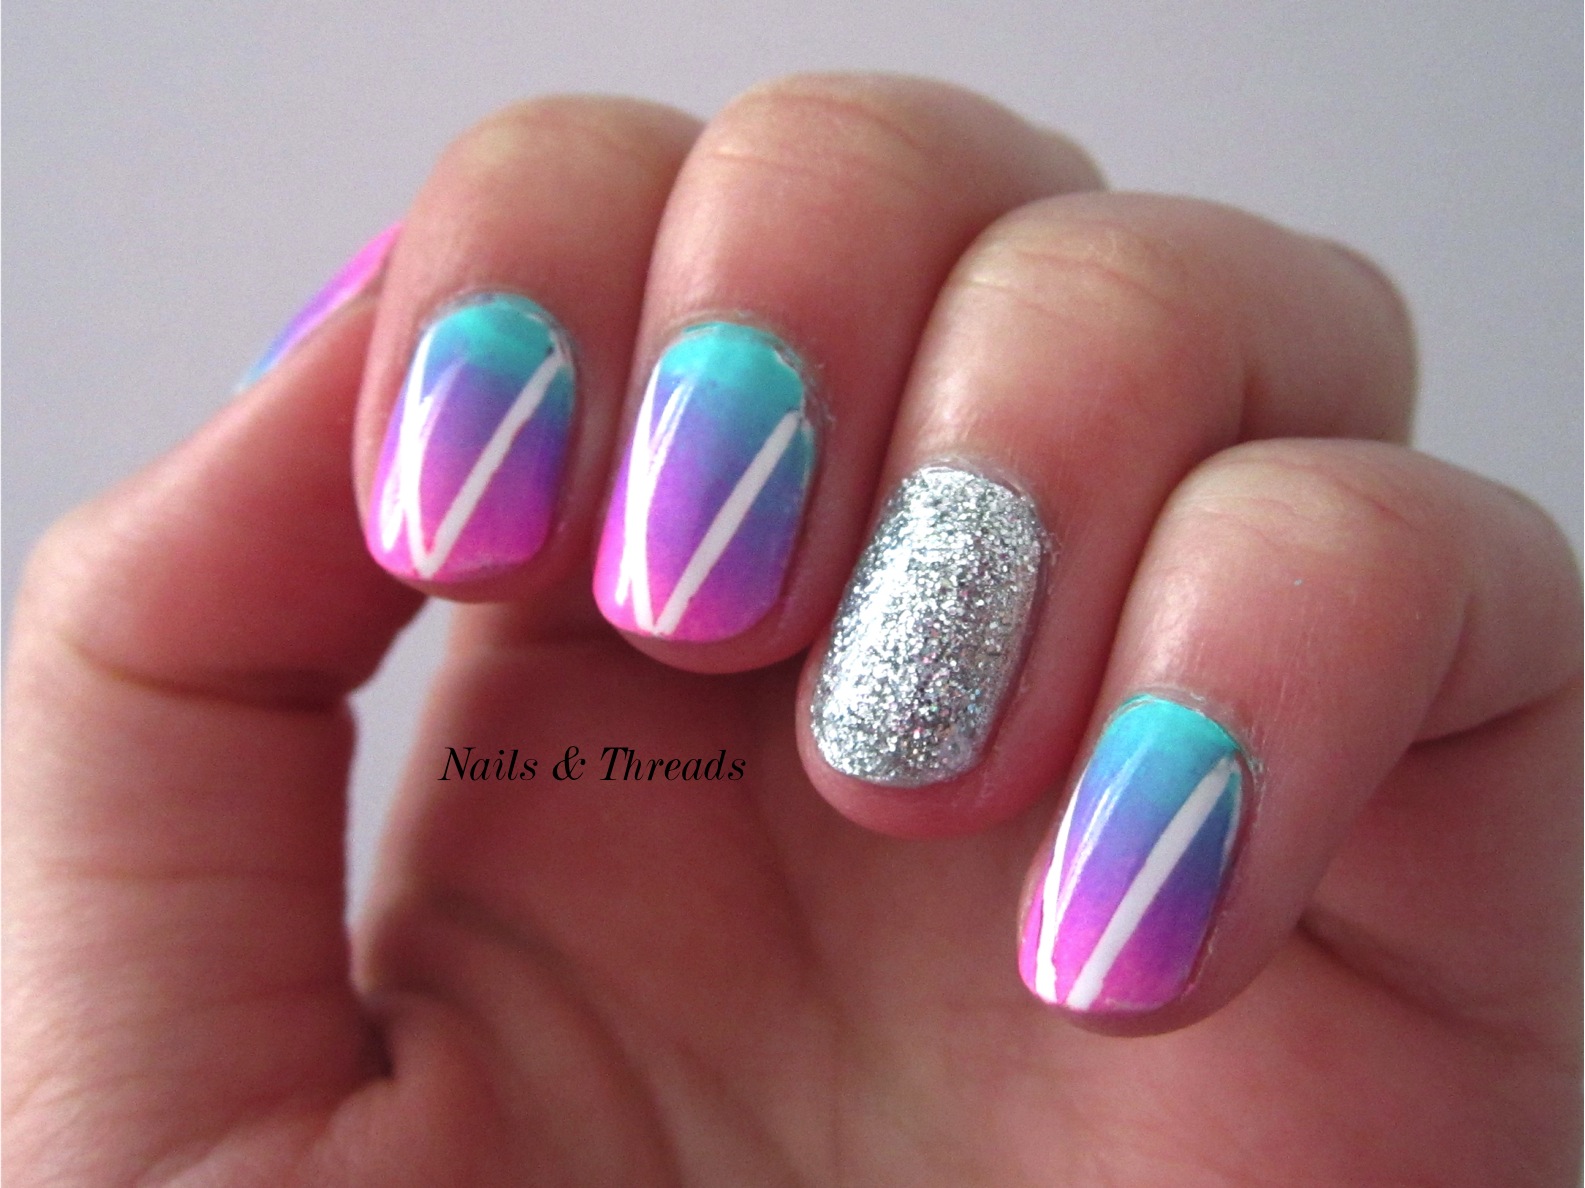
If you love the dreamy and ethereal look of watercolor, you'll love these watercolor hipster nail art tutorials. From pastel ombre to abstract designs, these tutorials will teach you how to create stunning watercolor effects on your nails, giving them a whimsical and artistic touch.10. "Watercolor Hipster Nail Art Tutorial"
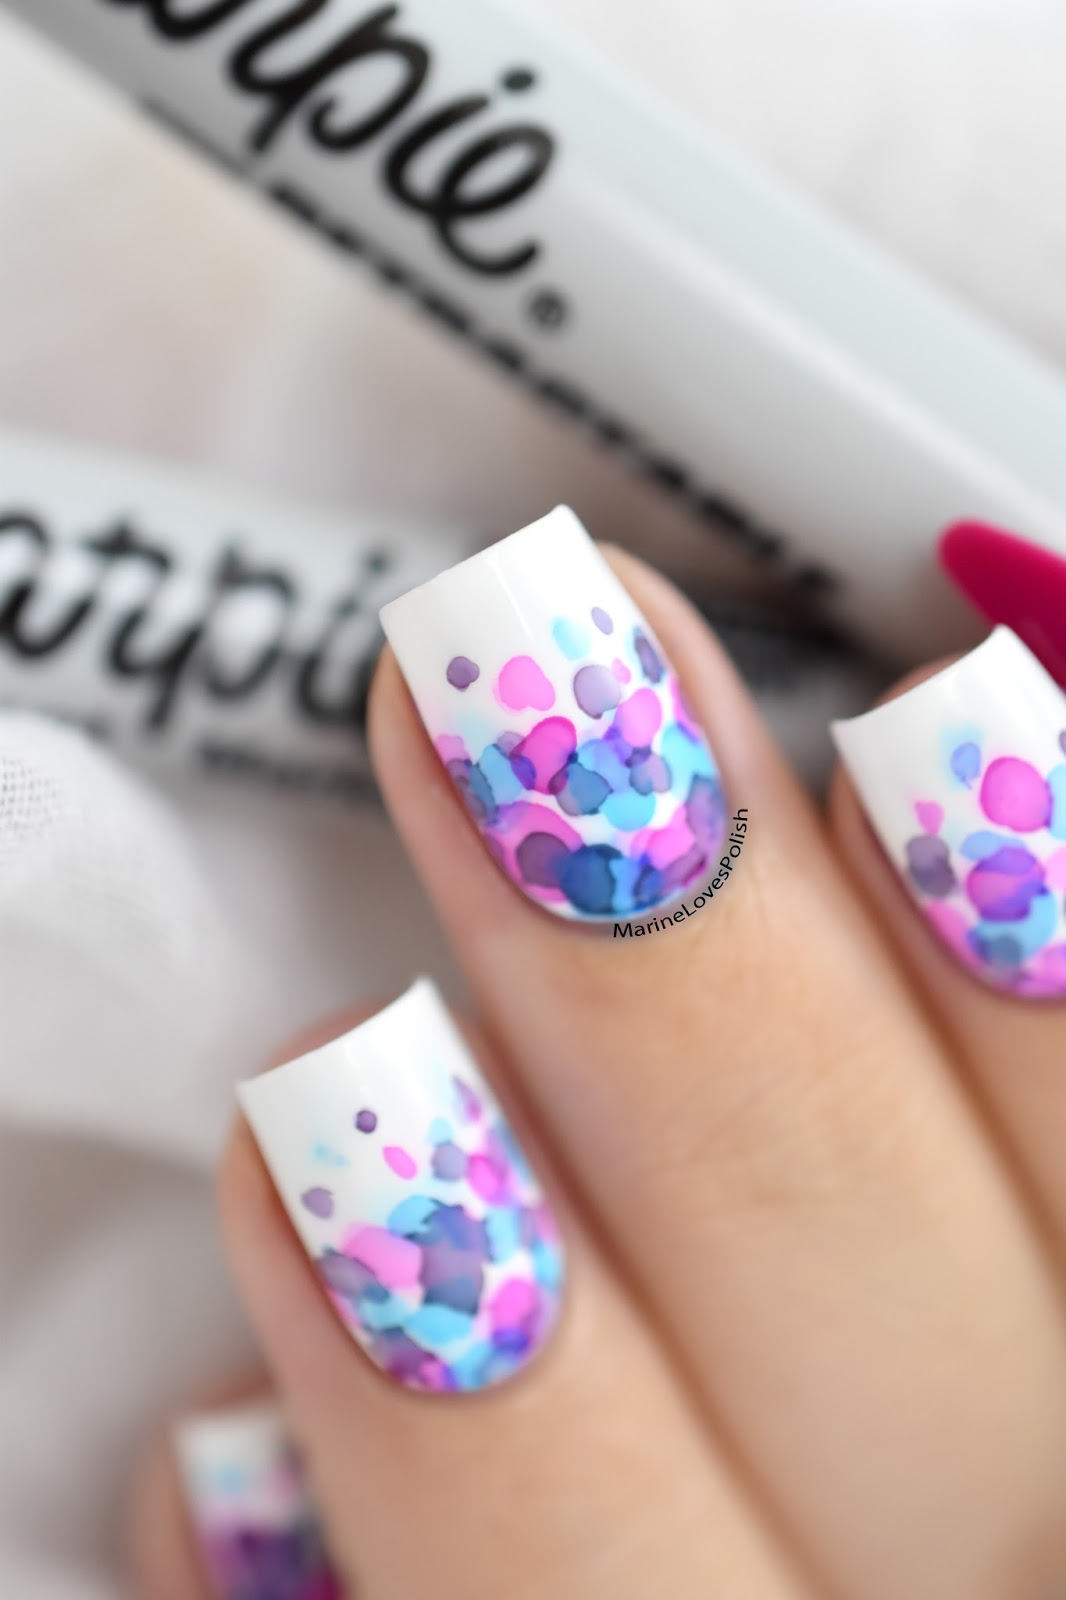
10. "Watercolor Hipster Nail Art Tutorial"

Transform Your Nails into Hipster Masterpieces with This Step-by-Step Nail Art Tutorial

Introduction:
 Are you looking to add a touch of creativity to your nail game? Want to stand out from the crowd with unique and trendy nail art? Look no further, as we have the perfect tutorial for you! In this article, we will guide you through the process of creating
hipster nail art
, so get ready to unleash your inner artist and make a statement with your nails.
Are you looking to add a touch of creativity to your nail game? Want to stand out from the crowd with unique and trendy nail art? Look no further, as we have the perfect tutorial for you! In this article, we will guide you through the process of creating
hipster nail art
, so get ready to unleash your inner artist and make a statement with your nails.
What is Hipster Nail Art?
 Before we dive into the tutorial, let's first understand what
hipster nail art
is all about. Hipster culture is known for its non-conformist and unconventional style, and this extends to nail art as well. It's all about breaking free from traditional and mainstream nail designs and embracing bold, unique, and sometimes quirky choices. Think geometric shapes, abstract designs, and mix-and-match patterns – that's what hipster nail art is all about.
Before we dive into the tutorial, let's first understand what
hipster nail art
is all about. Hipster culture is known for its non-conformist and unconventional style, and this extends to nail art as well. It's all about breaking free from traditional and mainstream nail designs and embracing bold, unique, and sometimes quirky choices. Think geometric shapes, abstract designs, and mix-and-match patterns – that's what hipster nail art is all about.
Tools You Will Need:
 To achieve the perfect hipster nail art, you will need a few essential tools. These include a base coat, top coat, nail polish (in various colors and finishes), tape, toothpicks, and a small brush. You can also get creative and use other tools like stencils or stickers to add more depth to your designs.
Step-by-Step Tutorial:
 Now that you have all the necessary tools, let's get started with the tutorial!
Step 1:
Begin by prepping your nails with a base coat to protect them and ensure your nail art lasts longer.
Step 2:
Choose a base color for your nails. You can go for a classic nude or a bold color – it's completely up to you and your personal style.
Step 3:
Once your base color is dry, use tape to create geometric shapes on your nails. You can also use stencils or stickers for this step.
Step 4:
Now comes the fun part – using different nail polish colors, fill in the shapes you created with the tape. You can also mix and match colors for a more eclectic look.
Step 5:
Wait for the polish to dry completely before carefully removing the tape to reveal your design.
Step 6:
Use a small brush or toothpick to add details and touch-ups to your design.
Step 7:
Once your design is complete, seal it with a top coat to ensure it lasts longer and stays shiny.
Now that you have all the necessary tools, let's get started with the tutorial!
Step 1:
Begin by prepping your nails with a base coat to protect them and ensure your nail art lasts longer.
Step 2:
Choose a base color for your nails. You can go for a classic nude or a bold color – it's completely up to you and your personal style.
Step 3:
Once your base color is dry, use tape to create geometric shapes on your nails. You can also use stencils or stickers for this step.
Step 4:
Now comes the fun part – using different nail polish colors, fill in the shapes you created with the tape. You can also mix and match colors for a more eclectic look.
Step 5:
Wait for the polish to dry completely before carefully removing the tape to reveal your design.
Step 6:
Use a small brush or toothpick to add details and touch-ups to your design.
Step 7:
Once your design is complete, seal it with a top coat to ensure it lasts longer and stays shiny.
In Conclusion:
 With this step-by-step tutorial, you can now transform your nails into hipster masterpieces. Remember to have fun and experiment with different designs, colors, and techniques. Don't be afraid to step out of your comfort zone and embrace your unique style. Now go on and rock your hipster nail art with confidence!


