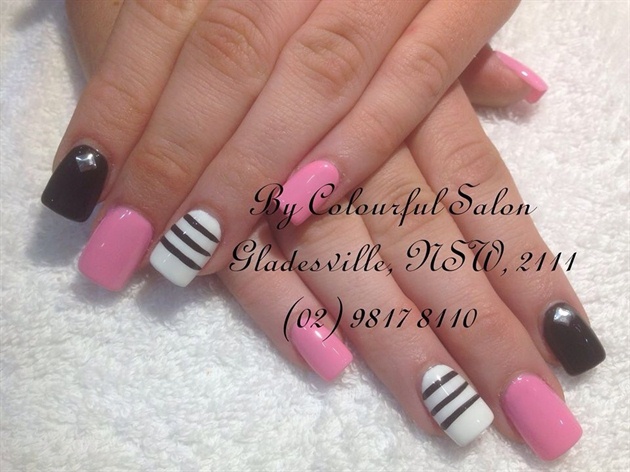
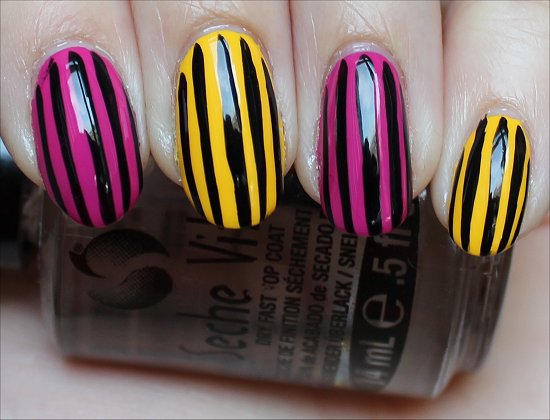
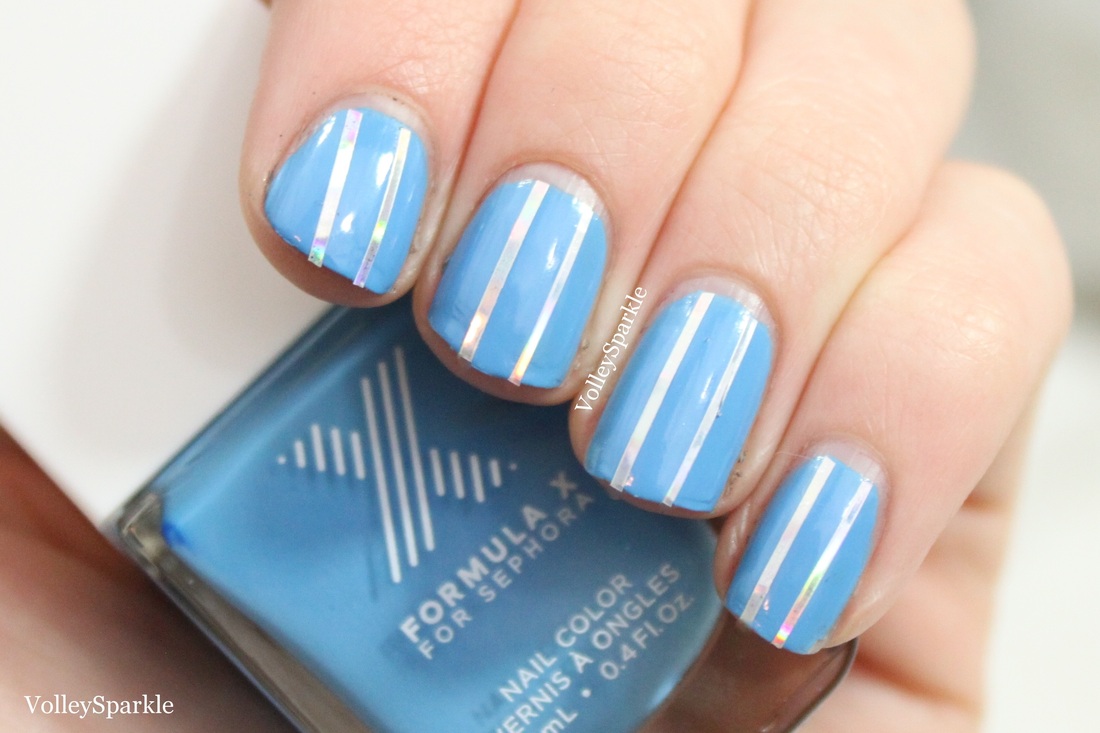
If you're looking to add some fun and trendy designs to your manicure, why not try out some horizontal stripe nail art? This style is not only eye-catching, but also easy to do at home with just a few simple steps. Here's a tutorial on how to achieve this look: Step 1: Start by painting your nails with your desired base color. This will serve as the background for your stripes. For best results, use a light-colored base like white or pastel pink. Step 2: Once your base color is completely dry, take a thin striping brush and dip it into a contrasting nail polish color. Black or gold work well for a classic look, while rainbow or pastel shades add a more playful touch. Step 3: Using the striping brush, create a horizontal line across your nail. You can make the line as thick or thin as you'd like, depending on your preference. For a more uniform look, try to keep the lines the same width on each nail. Step 4: Repeat this process on all your nails, creating horizontal stripes on each one. You can also mix and match colors for a more dynamic look. Step 5: Once you've completed all your stripes, let them dry for a few minutes. Then, finish off with a clear top coat to seal in your design and add shine. There you have it, a simple and chic horizontal stripe nail art design that you can easily recreate at home. Play around with different colors and patterns to make it your own!1. Horizontal Stripe Nail Art Tutorial
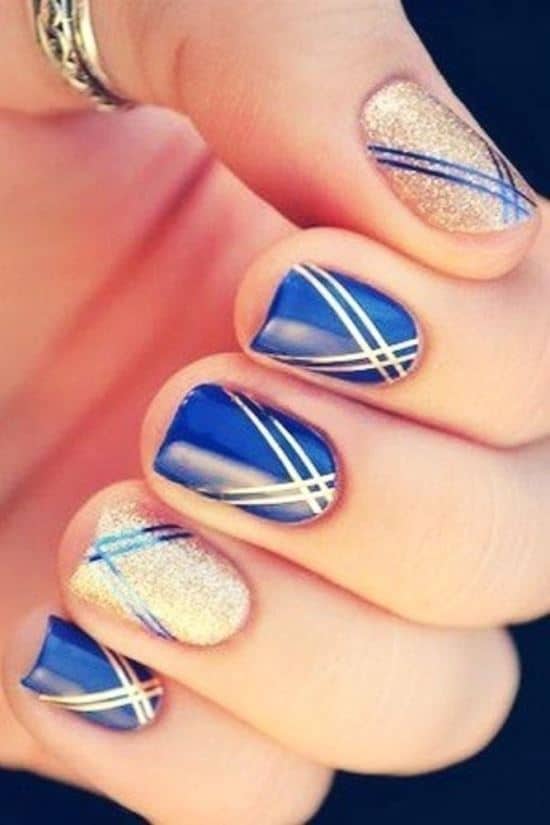

1. Horizontal Stripe Nail Art Tutorial


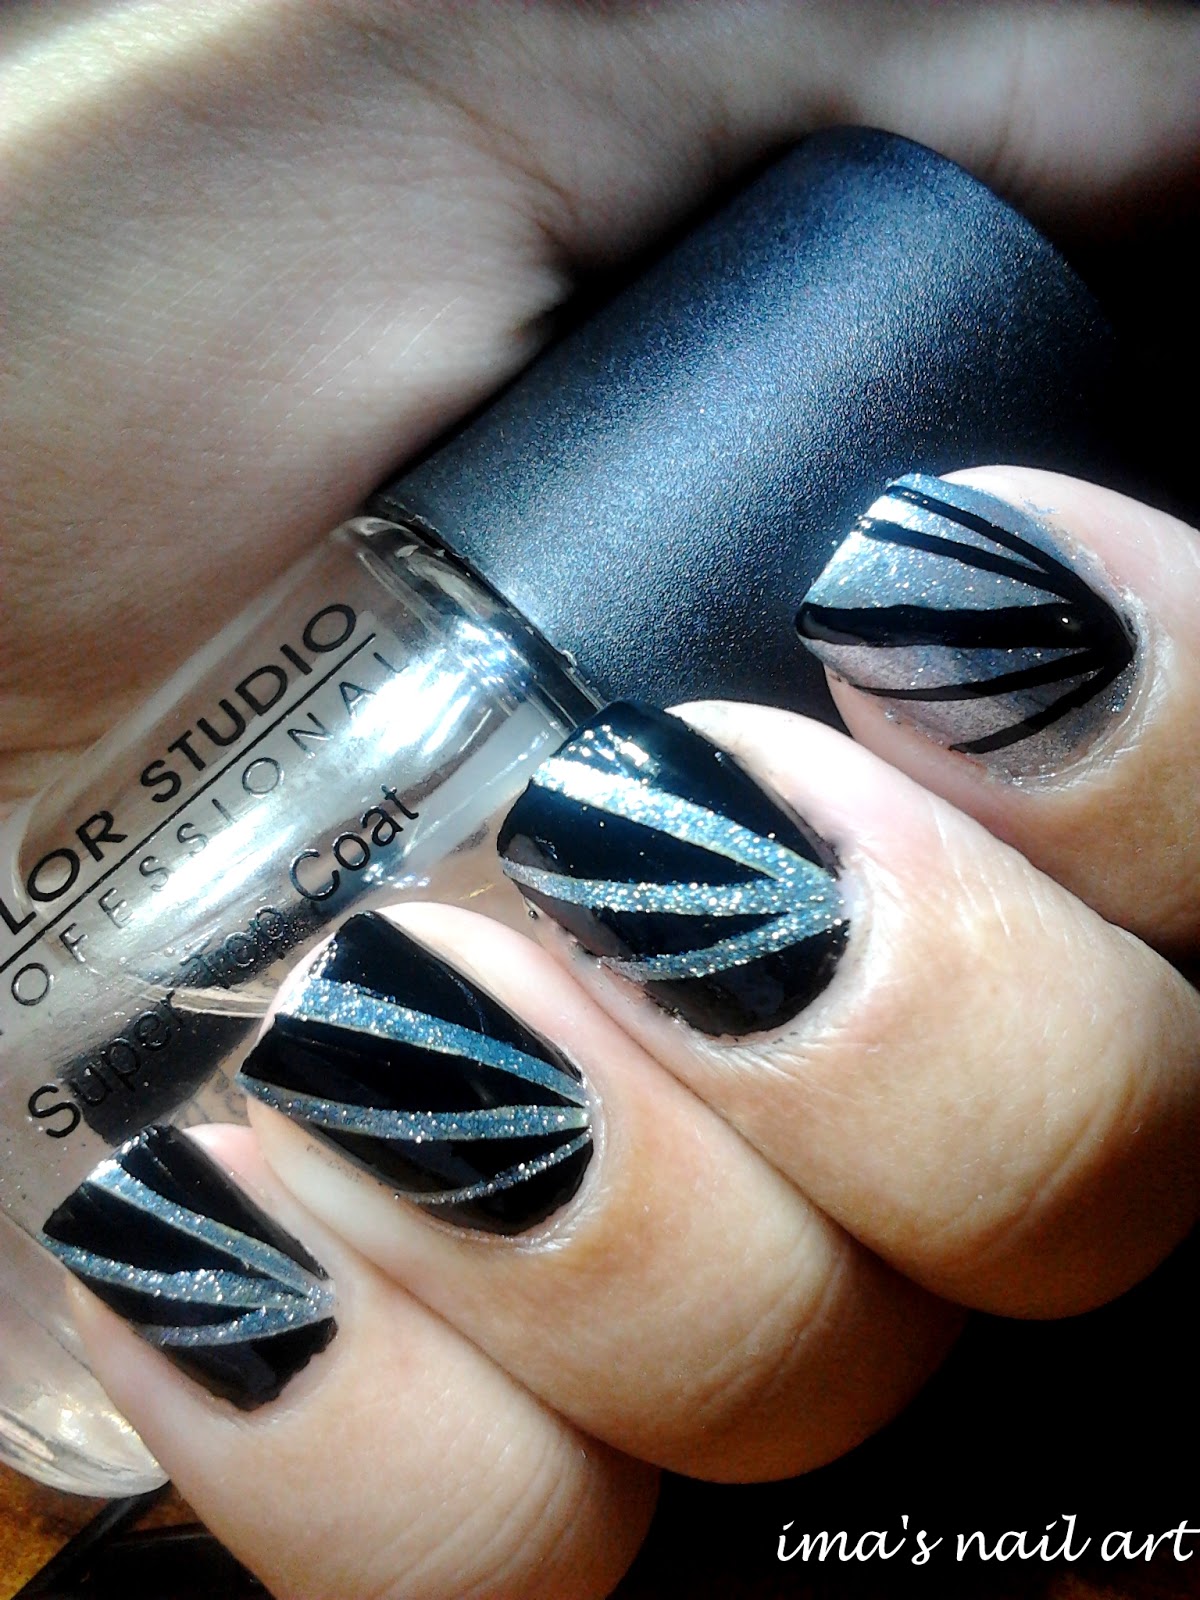
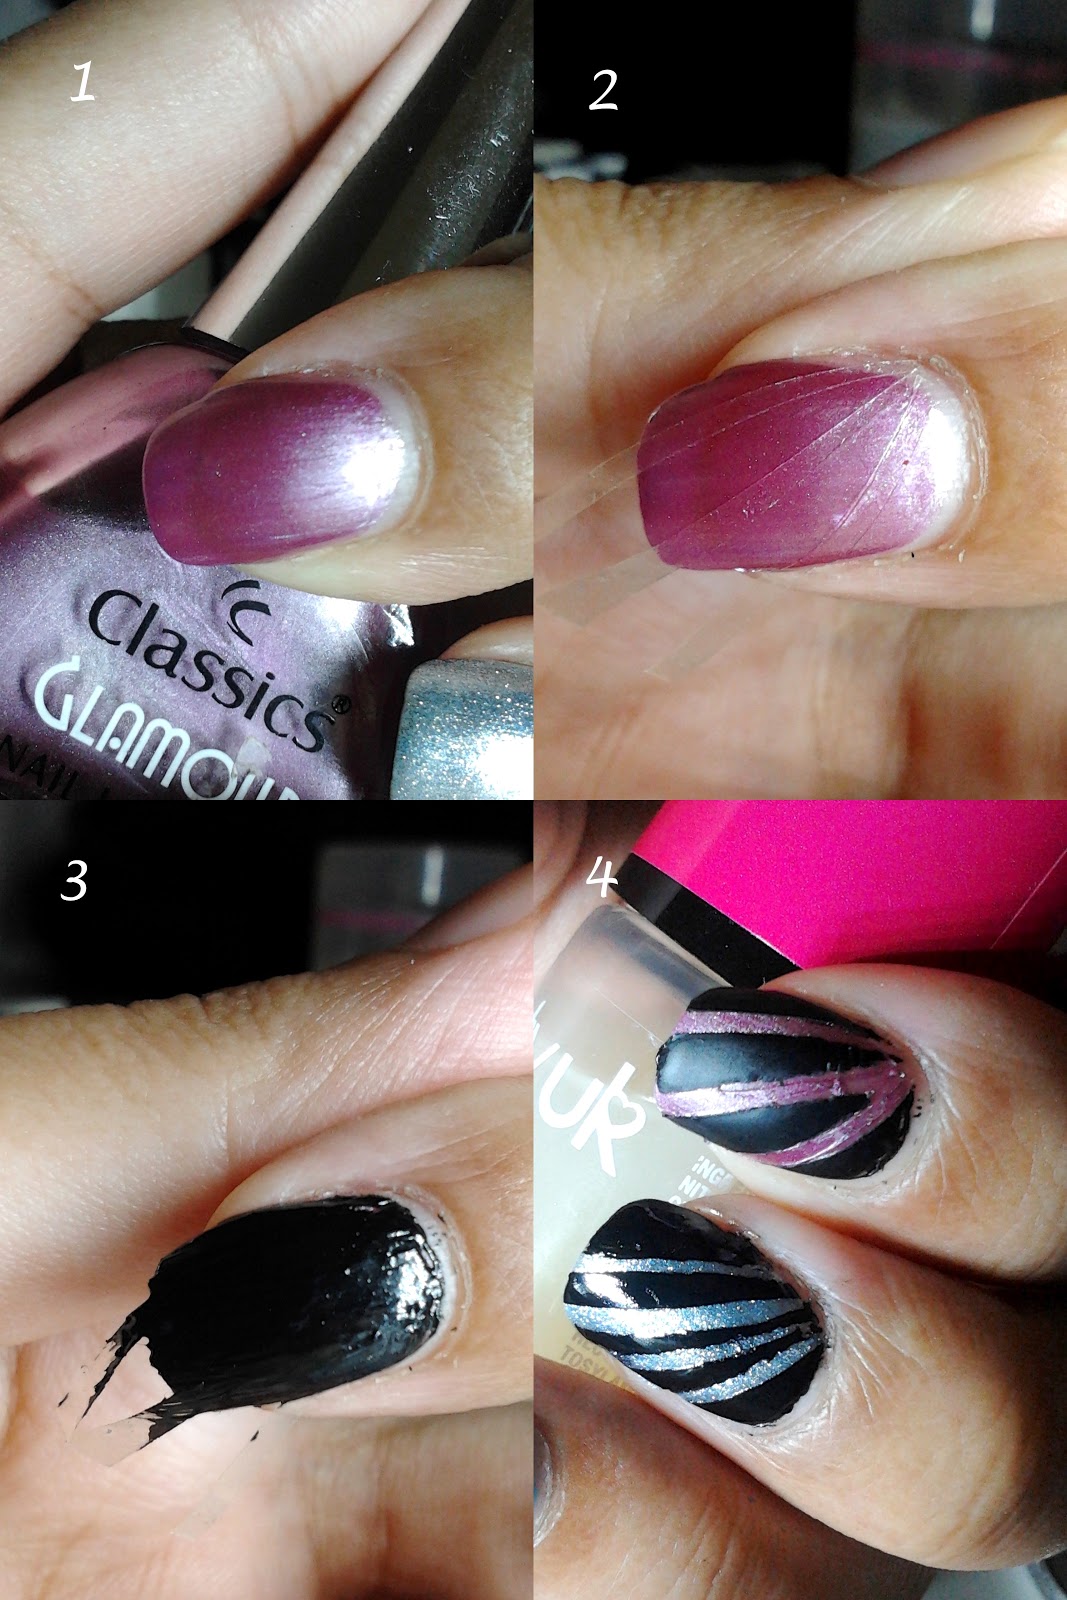
If you're new to nail art or short on time, but still want to rock the horizontal stripe trend, no worries! This easy nail art design is perfect for beginners and can be done in just a few minutes. Step 1: Start by applying a base coat to your nails to protect them and help your polish last longer. Clear nail polish or nude shades work well for this step. Step 2: Once your base coat is dry, take a roll of striping tape and cut it into small pieces. Make sure to press the tape onto your hand a few times before applying it to your nails, as this will help remove some of the stickiness and prevent it from damaging your base coat. Step 3: Place the striping tape across your nails in a horizontal pattern, leaving some space in between each piece. You can get creative with the placement and make the stripes straight, diagonal, or even criss-crossed. Step 4: Once your tape is in place, paint over your entire nail with a contrasting color. Black or white are popular choices, but you can use any color you'd like. Make sure to paint over the tape as well. Step 5: Before the polish dries, carefully remove the striping tape using tweezers or your fingers. This will reveal the stripes underneath. If you're having trouble removing the tape, try using a toothpick to gently lift it off. Step 6: Finish off with a top coat to seal in your design and add shine. And that's it! This easy horizontal stripe nail art design is perfect for those who are short on time or just starting out with nail art.2. Easy Horizontal Stripe Nail Art


2. Easy Horizontal Stripe Nail Art
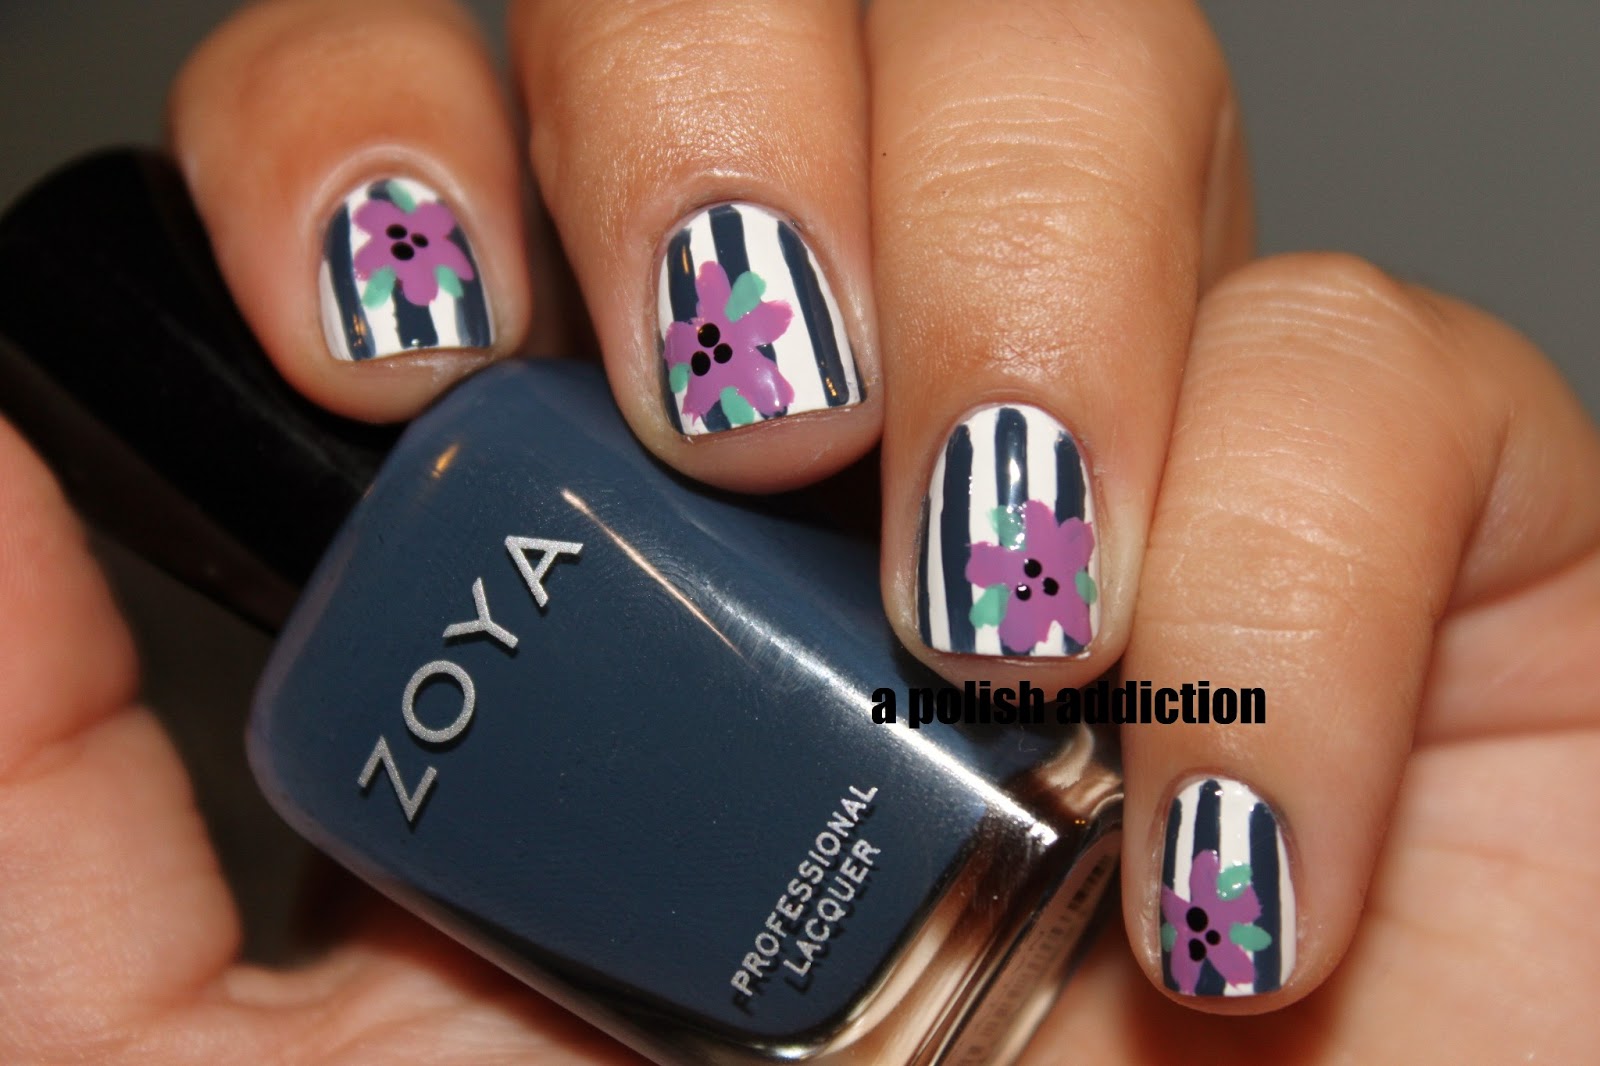


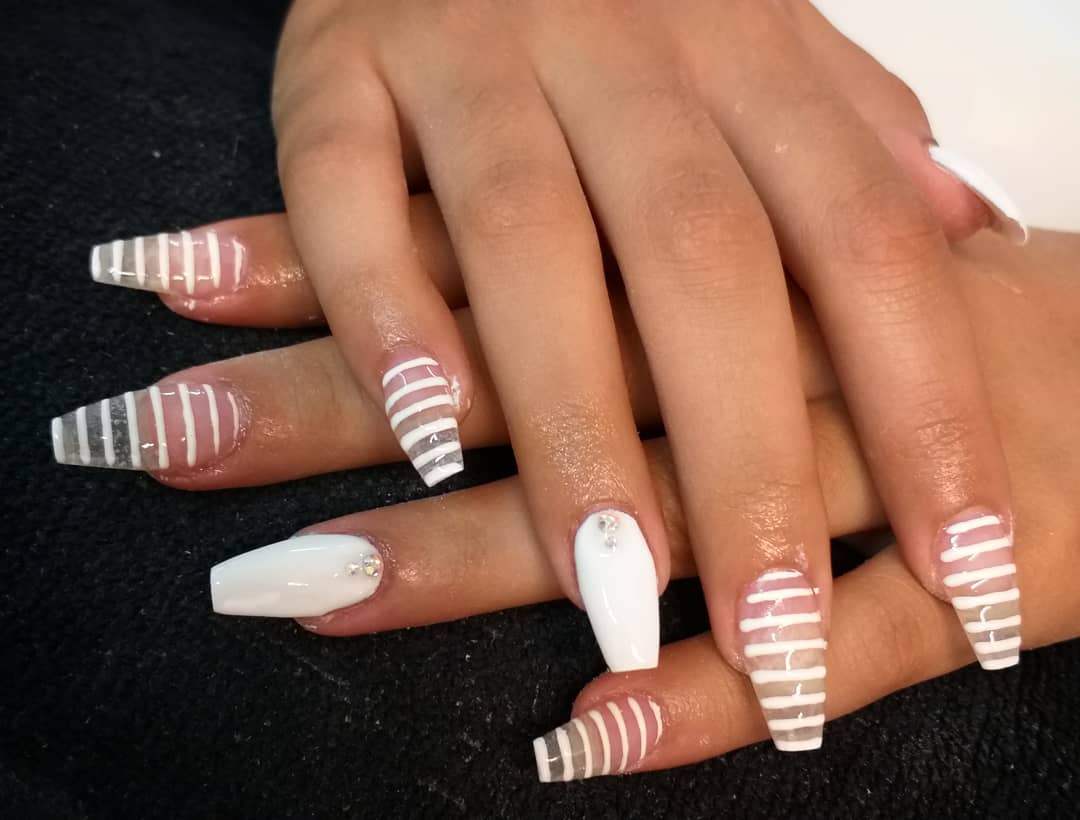
For a classic and sophisticated look, you can't go wrong with a black and white horizontal stripe nail art design. This timeless color combination is perfect for any occasion and can be easily dressed up or down. Step 1: Start by applying a base coat to your nails. Clear nail polish or a light grey shade are great options for this look. Step 2: Once your base coat is dry, take a thin striping brush and dip it into black nail polish. You can also use a black nail art pen for more precision. Step 3: Create a horizontal line across your nail, starting at the base and moving towards the tip. Repeat this process to create multiple stripes on each nail. For a more uniform look, try to keep the lines the same width on each nail. Step 4: Once your black stripes are dry, repeat the process with white nail polish. White nail art pens work well for this step, as they are easier to control and create thinner lines. Step 5: Finish off with a clear top coat to seal in your design and add shine. You can also add a few rhinestones or studs to your nails for an extra touch of glamour. This black and white horizontal stripe nail art design is perfect for a night out or a special occasion. It's chic, versatile, and never goes out of style.3. Black and White Horizontal Stripe Nail Art


3. Black and White Horizontal Stripe Nail Art


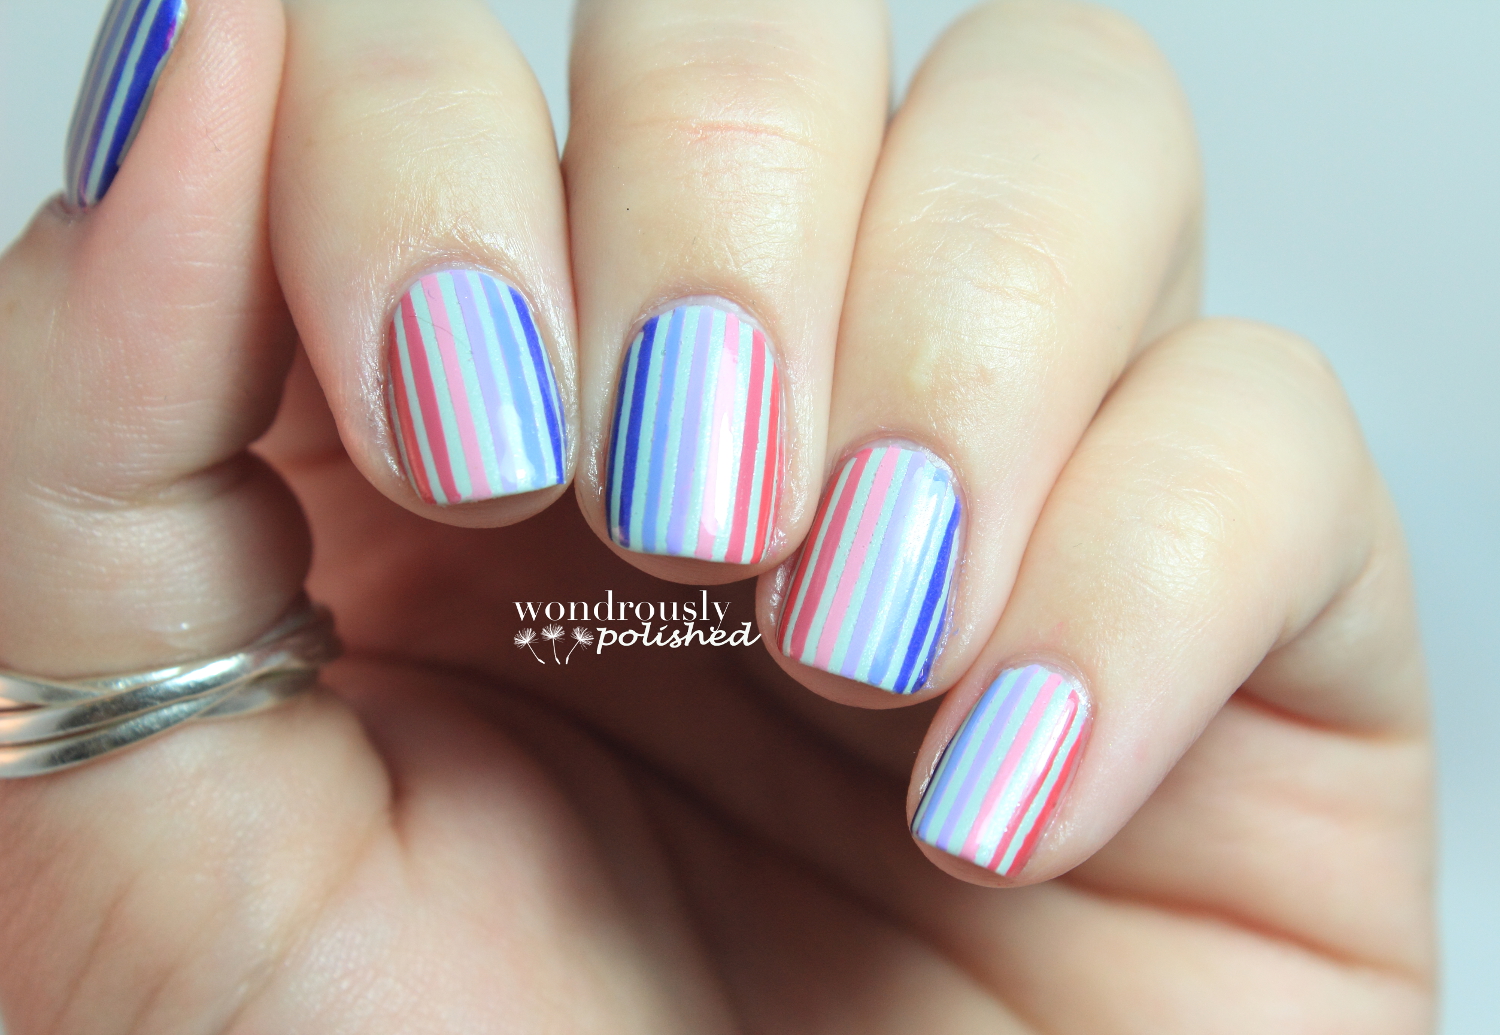
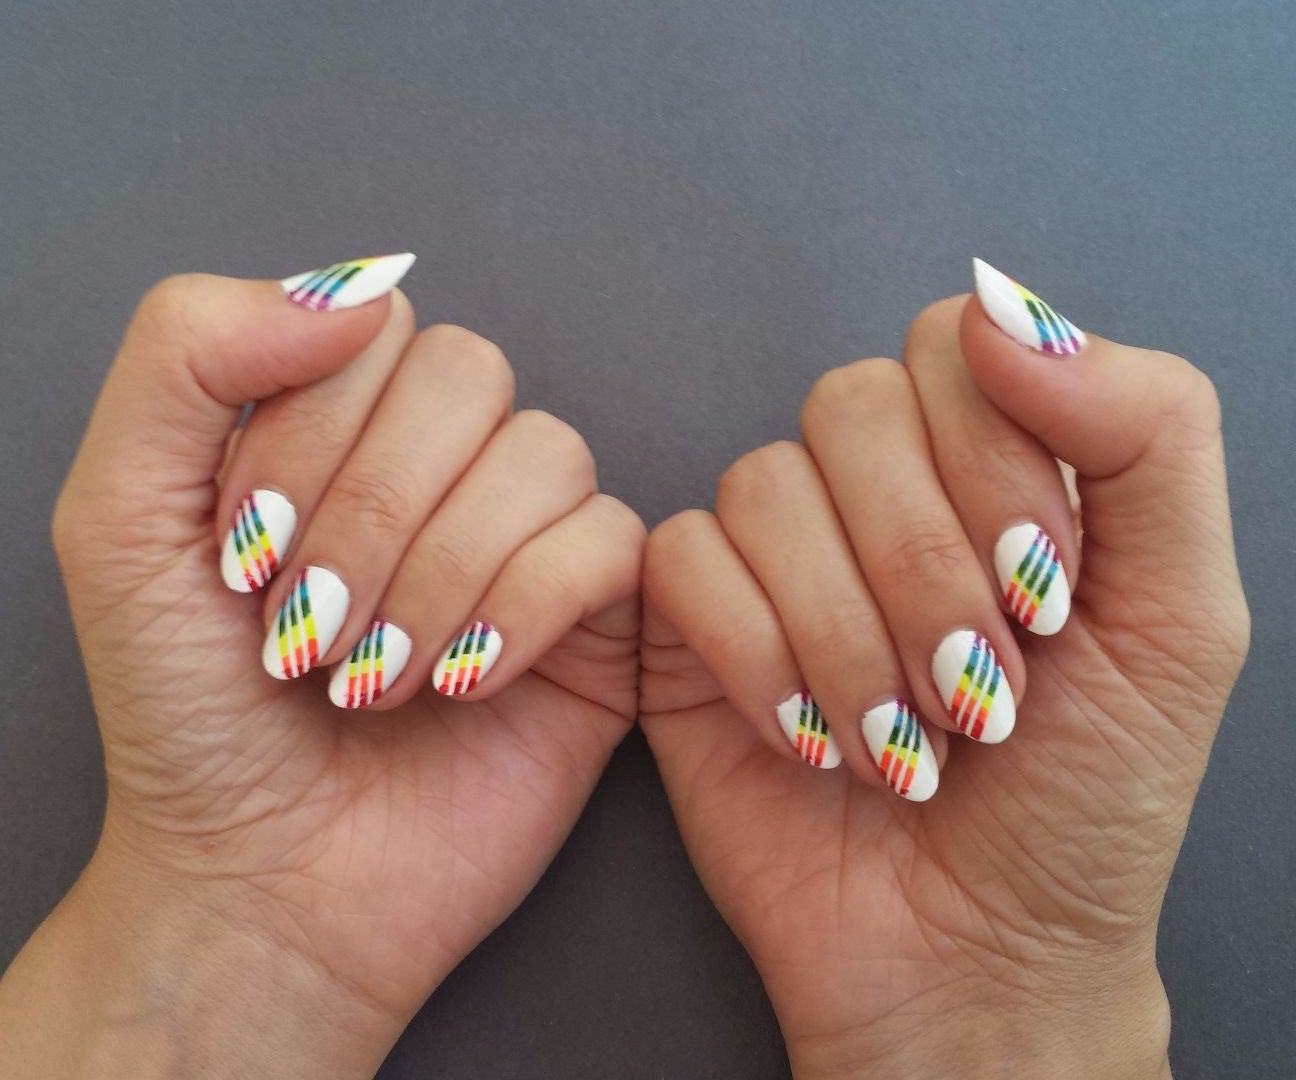
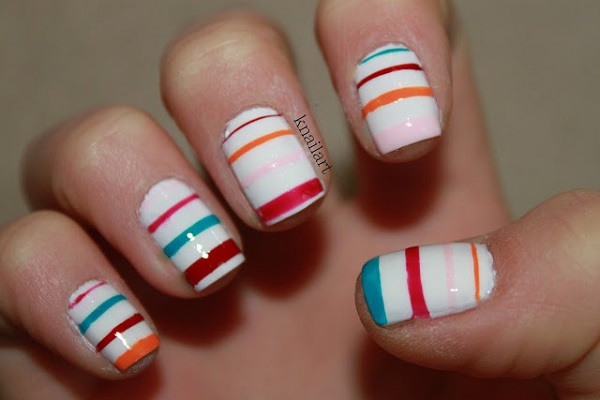
If you're feeling playful and want to add some color to your nails, try out a rainbow horizontal stripe nail art design. This vibrant and fun look is perfect for the summer season or any time you want to make a statement. Step 1: Start by painting your nails with a clear base coat. This will protect your nails and help your polish last longer. White or pastel shades are also great options for a colorful look. Step 2: Once your base coat is dry, take a striping brush and dip it into a rainbow of nail polish colors. You can use red, orange, yellow, green, blue, and purple for a traditional rainbow or mix it up with your favorite shades. Step 3: Create horizontal lines across your nails, using a different color for each line. For best results, try to keep the lines the same width on each nail. Step 4: Once your stripes are dry, finish off with a clear top coat to seal in your design and add shine. There you have it, a fun and colorful rainbow horizontal stripe nail art design that will surely brighten up your day!4. Rainbow Horizontal Stripe Nail Art

4. Rainbow Horizontal Stripe Nail Art
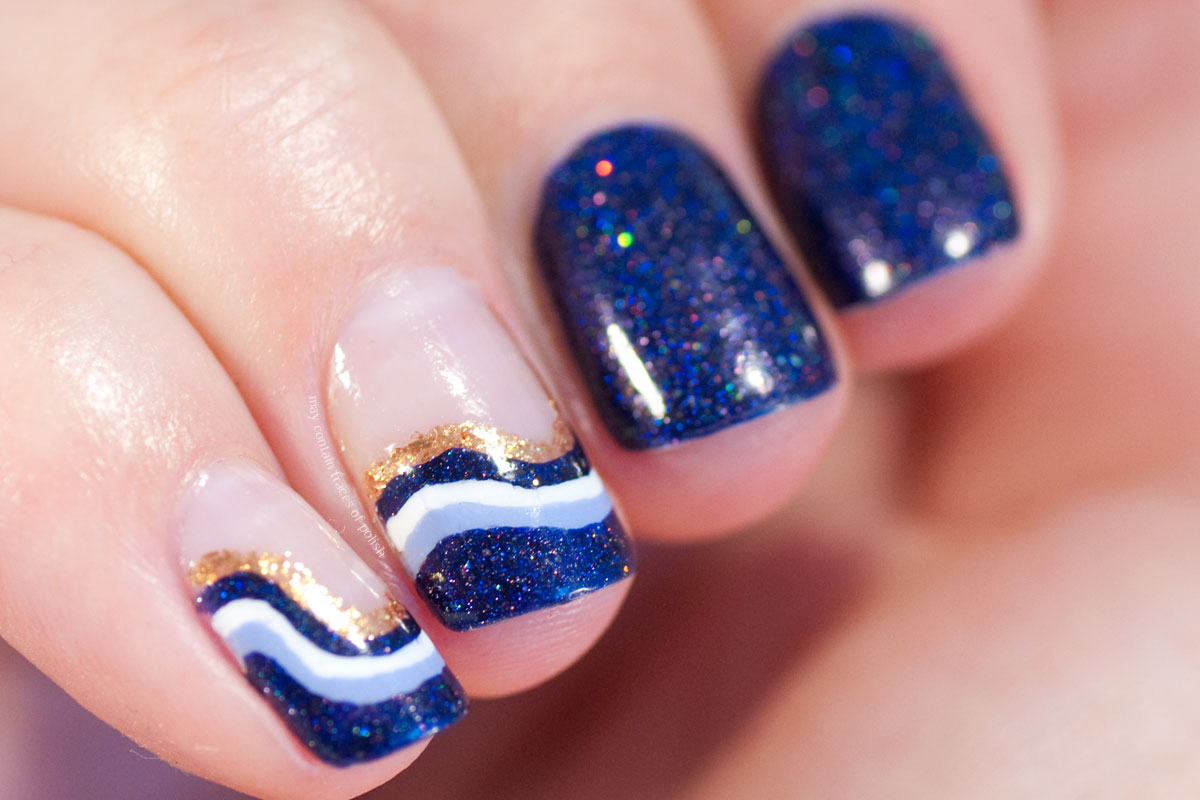
If you love a little sparkle and shine, this glitter horizontal stripe nail art design is perfect for you. It adds a touch of glamour and can be customized with your favorite glitter nail polish. Step 1: Start by painting your nails with a clear base coat. This will protect your nails and help your polish last longer. Silver or gold base coats work well for this look. Step 2: Once your base coat is dry, take a striping brush and dip it into a glitter nail polish color of your choice. You can use gold, silver, or a mix of different colored glitters for a multi-dimensional look. Step 3: Create horizontal lines across your nails, using the striping brush to layer on the glitter polish. You can make the lines as thick or thin as you'd like, depending on your preference. Step 4: Once your glitter stripes are dry, finish off with a clear top coat to seal in your design and add shine. This glitter horizontal stripe nail art design is perfect for a special occasion or any time you want to add some sparkle to your look.5. Glitter Horizontal Stripe Nail Art

5. Glitter Horizontal Stripe Nail Art


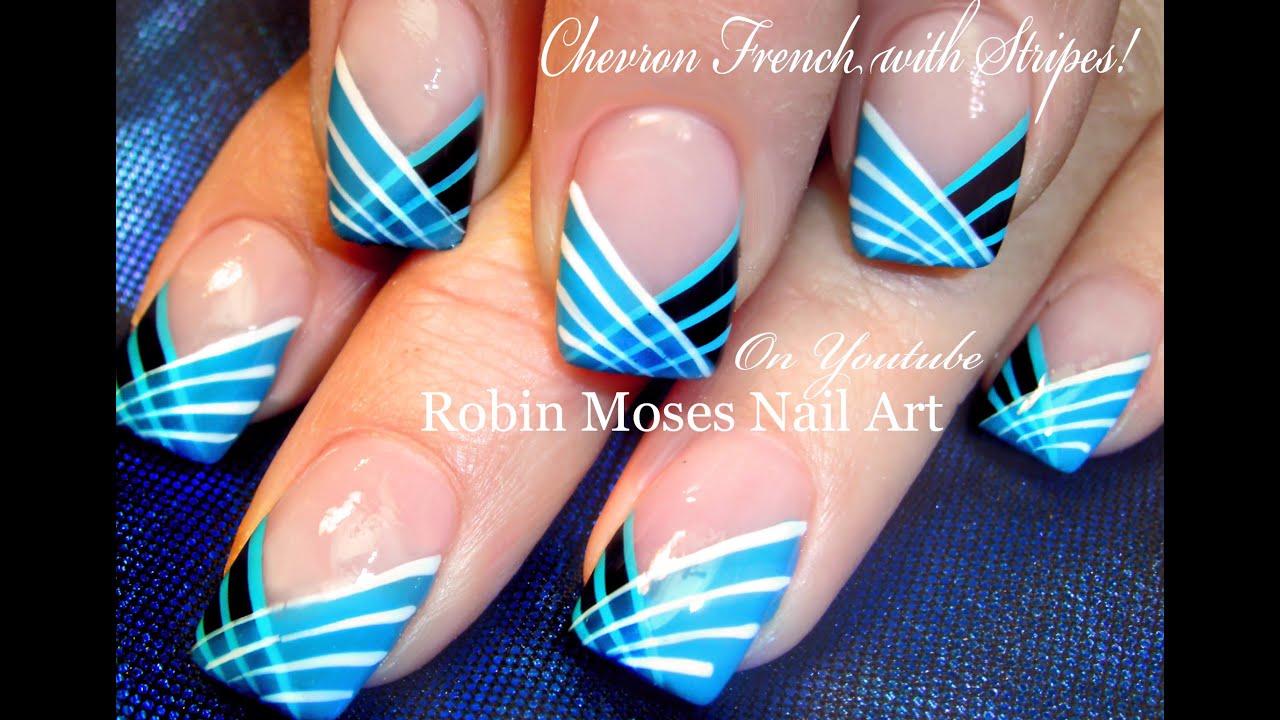
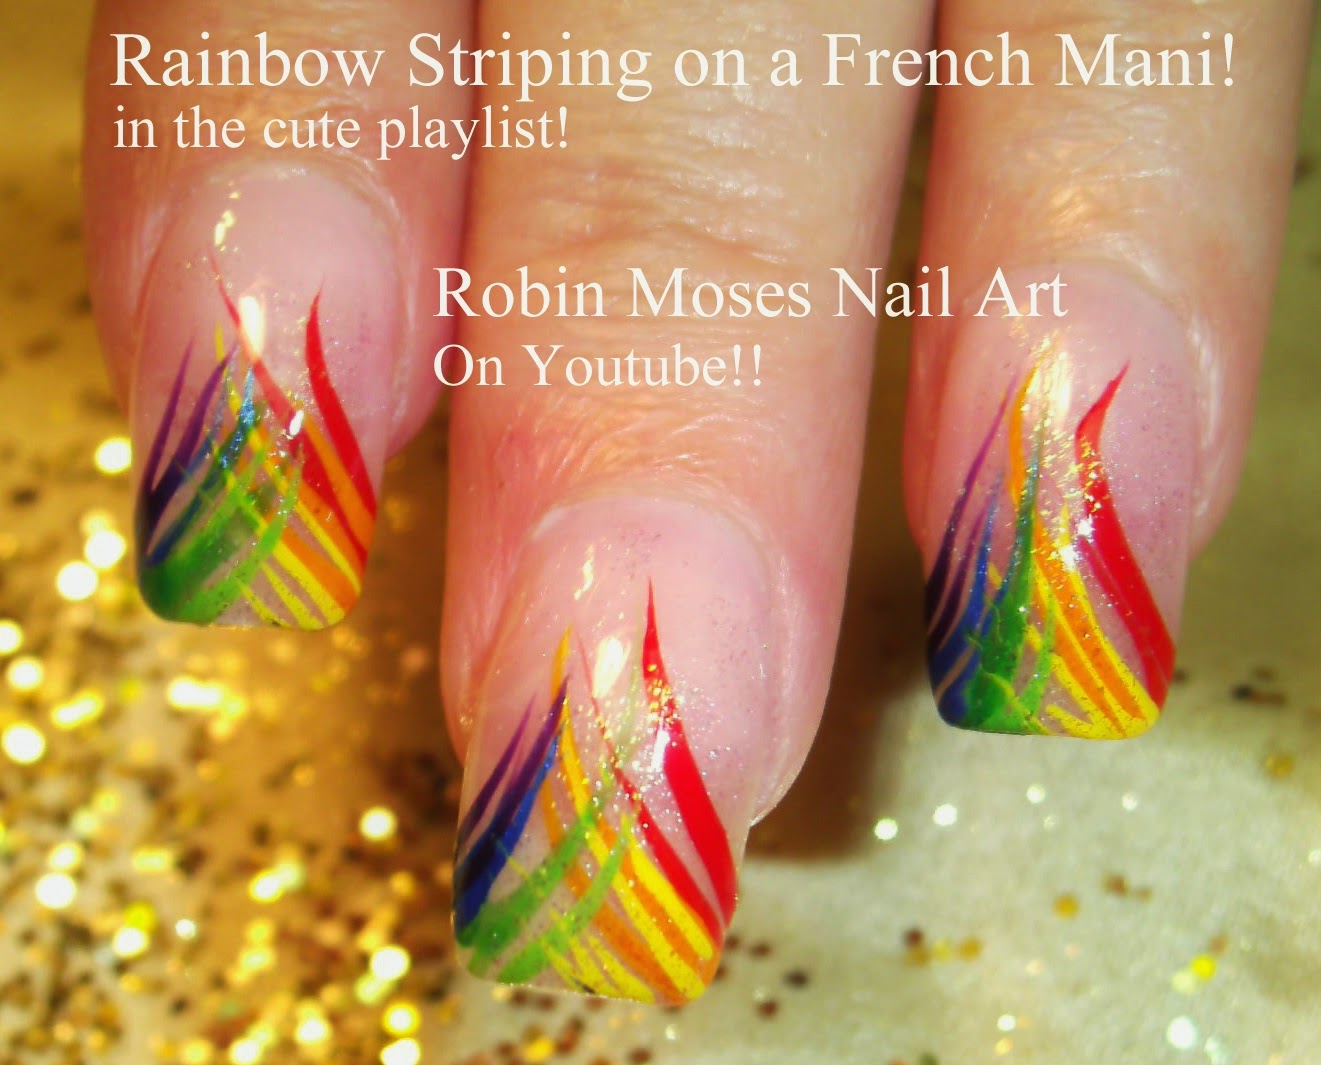
If you're a fan of the classic French tip manicure, why not give it a twist with some horizontal stripes? This simple and elegant look is perfect for everyday wear and can be easily achieved with a few simple steps. Step 1: Start by applying a base coat to your nails. This will protect your nails and help your polish last longer. Nude shades work well for this look. Step 2: Once your base coat is dry, take a striping brush and dip it into a white nail polish. You can also use a white nail art pen for more precision. Step 3: Create a horizontal line across the tip of your nail, starting from one side and ending at the other. For a more uniform look, try to keep the lines the same width on each nail. Step 4: Repeat this process on all your nails, creating a white horizontal stripe at the tip of each one. Step 5: Once your white stripes are dry, repeat the process with a colored nail polish of your choice. Pink, red, or black are popular options, but you can use any color you'd like. Step 6: Finish off with a clear top coat to seal in your design and add shine. This French tip horizontal stripe nail art design is perfect for those who want a subtle and chic twist on a classic manicure.6. French Tip Horizontal Stripe Nail Art


6. French Tip Horizontal Stripe Nail Art

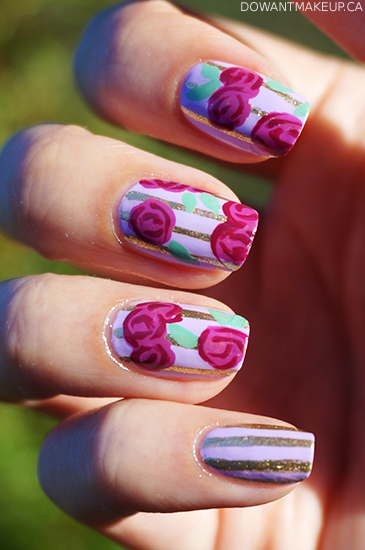
If you're feeling adventurous and want to try out a more complex horizontal stripe design, this gradient look is perfect for you. It combines the trendy stripes with a gradient effect for a unique and eye-catching manicure. Step 1: Start by painting your nails with a clear base coat. This will protect your nails and help your polish last longer. Nude shades work well for this look. Step 2: Once your base coat is dry, take a sponge and paint on your desired colors in a horizontal pattern, with the darkest color at the base of the sponge and the lightest at the tip. You can use as many colors as you'd like, but pink, purple, and blue work well together for a gradient look. Step 3: Gently dab the sponge onto your nails to transfer the gradient design. Make sure to reapply polish to the sponge after each nail. Step 4: Once your gradient base is dry, take a thin striping brush and dip it into a contrasting color. Create horizontal lines across your nails, starting at the base and moving towards the tip. You can make the lines as thick or thin as you'd like, depending on your preference. Step 5: Once your stripes are dry, finish off with a clear top coat to seal in your design and add shine. This gradient horizontal stripe nail art design may take a little more time, but the end result is worth it for a unique and stunning manicure.7. Gradient Horizontal Stripe Nail Art
7. Gradient Horizontal Stripe Nail Art
Add some edge to your manicure with a geometric horizontal stripe nail art design. This bold and modern look is perfect for those who want to make a statement with their nails. Step 1: Start by painting your nails with a clear base coat. This will protect your nails and help your polish last longer. White or nude shades work well for this look. Step 2: Once your base coat is dry, take a striping brush and dip it into a black nail polish. You can also use a black nail art pen for more precision. Step 3: Create a horizontal line across your nail, starting at one side and moving towards the other. Then, create a vertical line from the top of your nail to the bottom, intersecting with the horizontal line. This will create a "T" shape on your nail. Step 4: Repeat this process on all your nails, creating a "T" shape with black lines on each one. Step 5: Once your black lines are dry, repeat the process with a different color of your choice. Red, blue, or green work well for a bold look, but you can use any color you'd like. Step 6: Finish off with a clear top coat to seal in your design and add shine. This geometric horizontal stripe nail art design is perfect for those who want to add some edge to their look.8. Geometric Horizontal Stripe Nail Art


8. Geometric Horizontal Stripe Nail Art

Combine two popular nail trends - ombre and horizontal stripes - with this stunning nail art design. It's a unique and beautiful way to wear both styles at once. Step 1: Start by painting your nails with a clear base coat. This will protect your nails and help your polish last longer. White or nude shades work well for this look. Step 2: Once your base coat is dry, take a sponge and paint on your desired colors in a horizontal pattern, with the darkest color at the base of the sponge and the lightest at the tip. You can use as many colors as you'd like, but pink, purple, and blue work well together for an ombre look. Step 3: Gently dab the sponge onto your nails to transfer the ombre design. Make sure to reapply polish to the sponge after each nail. Step 4: Once your ombre base is dry, take a striping brush and dip it into a contrasting color. Create horizontal lines across your nails, starting at the base and moving towards the tip. You can make the lines as thick or thin as you'd like, depending on your preference. Step 5: Once your stripes are dry, finish off with a clear top coat to seal in your design and add shine. This ombre horizontal stripe nail art design is perfect for those who want to try out a unique and trendy look.9. Ombre Horizontal Stripe Nail Art

9. Ombre Horizontal Stripe Nail Art


The Versatility of Horizontal Stripe Nail Art

Creating a Statement with Stripes
 If you're looking to add a touch of sophistication and style to your nail game, look no further than horizontal stripe nail art. This trend has taken the nail world by storm, and for good reason. With its clean lines and bold patterns, horizontal stripe nail art can make a statement like no other.
The beauty of this design lies in its versatility. You can choose to keep it classic and elegant with a simple black and white striped pattern, or mix things up with a playful and colorful design. Horizontal stripes can be as thin or as thick as you desire, making it suitable for all nail lengths and shapes. This makes it the perfect choice for anyone looking to elevate their nail game.
If you're looking to add a touch of sophistication and style to your nail game, look no further than horizontal stripe nail art. This trend has taken the nail world by storm, and for good reason. With its clean lines and bold patterns, horizontal stripe nail art can make a statement like no other.
The beauty of this design lies in its versatility. You can choose to keep it classic and elegant with a simple black and white striped pattern, or mix things up with a playful and colorful design. Horizontal stripes can be as thin or as thick as you desire, making it suitable for all nail lengths and shapes. This makes it the perfect choice for anyone looking to elevate their nail game.
Easy to Achieve, Hard to Ignore
 One of the reasons why horizontal stripe nail art has become so popular is because it is relatively easy to achieve. With a steady hand and some patience, you can create this stunning look at home. All you need is a striping brush, some
nail polishes
, and a
base coat
to get started.
To begin, apply a base coat to your nails and let it dry completely. Then, using a striping brush, create horizontal stripes across your nails using your desired colors. You can go for a monochromatic look or mix things up with contrasting colors. Once your stripes are dry, finish off with a top coat for a glossy and long-lasting finish.
One of the reasons why horizontal stripe nail art has become so popular is because it is relatively easy to achieve. With a steady hand and some patience, you can create this stunning look at home. All you need is a striping brush, some
nail polishes
, and a
base coat
to get started.
To begin, apply a base coat to your nails and let it dry completely. Then, using a striping brush, create horizontal stripes across your nails using your desired colors. You can go for a monochromatic look or mix things up with contrasting colors. Once your stripes are dry, finish off with a top coat for a glossy and long-lasting finish.
Perfect for Any Occasion
 Horizontal stripe nail art is the ultimate accessory for any occasion. Its clean and geometric design makes it suitable for both casual and formal events. You can rock this look at a fancy dinner party or a casual day out with friends. With the endless possibilities for color and design, you can tailor your stripes to suit any outfit or theme.
In addition, horizontal stripe nail art is a great way to add a touch of individuality and personality to your style. You can mix and match colors, experiment with different patterns, or even add some glitter for a touch of glam. The possibilities are endless, and the end result is always eye-catching.
In conclusion, horizontal stripe nail art is a trend that is here to stay. Its versatility, ease of application, and ability to make a statement make it a must-try for anyone looking to up their nail game. So why not give it a try and see for yourself the impact that this simple yet bold design can have on your overall look.
Horizontal stripe nail art is the ultimate accessory for any occasion. Its clean and geometric design makes it suitable for both casual and formal events. You can rock this look at a fancy dinner party or a casual day out with friends. With the endless possibilities for color and design, you can tailor your stripes to suit any outfit or theme.
In addition, horizontal stripe nail art is a great way to add a touch of individuality and personality to your style. You can mix and match colors, experiment with different patterns, or even add some glitter for a touch of glam. The possibilities are endless, and the end result is always eye-catching.
In conclusion, horizontal stripe nail art is a trend that is here to stay. Its versatility, ease of application, and ability to make a statement make it a must-try for anyone looking to up their nail game. So why not give it a try and see for yourself the impact that this simple yet bold design can have on your overall look.


