Are you looking for a way to add some sparkle to your nails? Look no further than glitter nail art! With its eye-catching shine and endless design possibilities, glitter nail art is a must-try for any nail enthusiast. But if you're new to the world of nail art, it can seem intimidating to create your own glitter designs. That's why we've put together this step by step tutorial to guide you through the process. So grab your glitter and let's get started!Glitter Nail Art Step by Step Tutorial


Glitter Nail Art Step by Step Tutorial
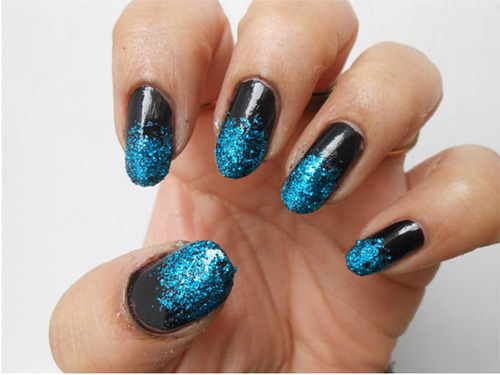
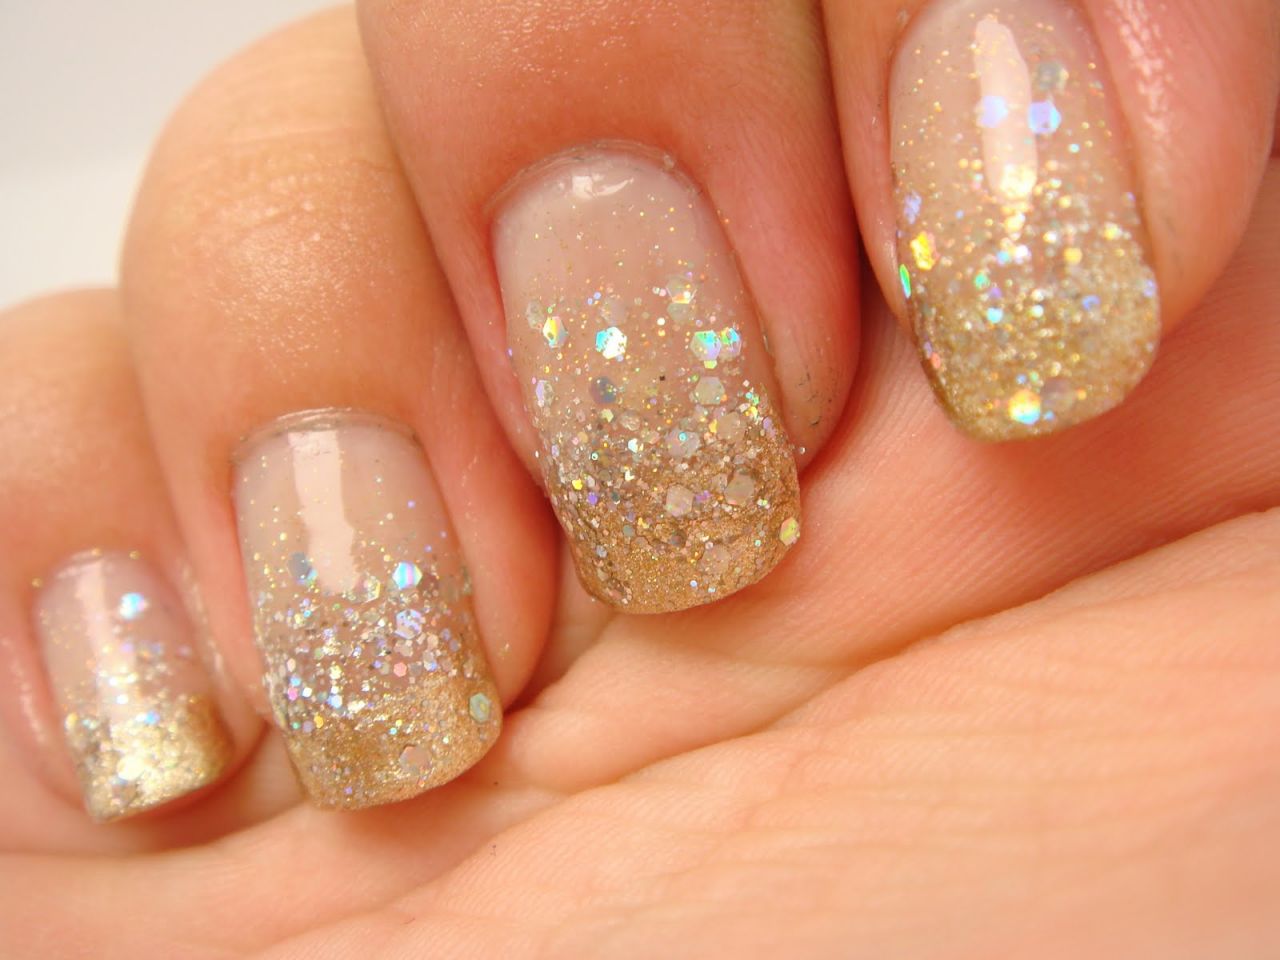
If you're new to nail art, it's important to start with easy designs so you can build your skills and confidence. This step by step guide will show you how to create simple yet stunning glitter nail art that anyone can do. From glitter fades to ombre designs, you'll be amazed at how easy it is to achieve a professional-looking manicure right at home.Easy Glitter Nail Art Step by Step


Easy Glitter Nail Art Step by Step


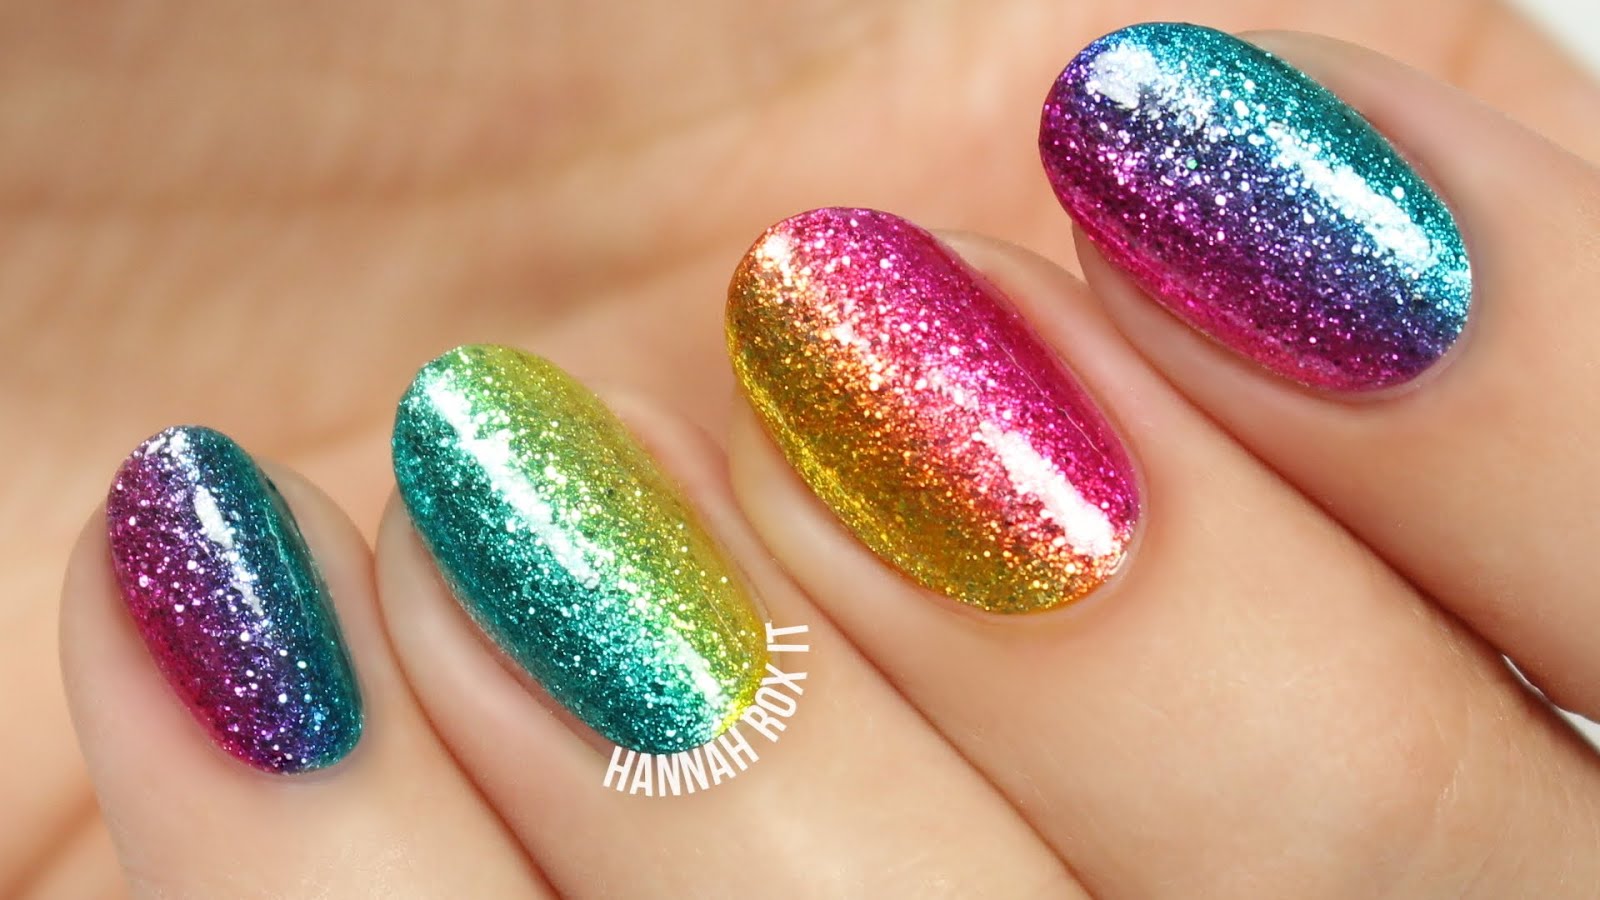
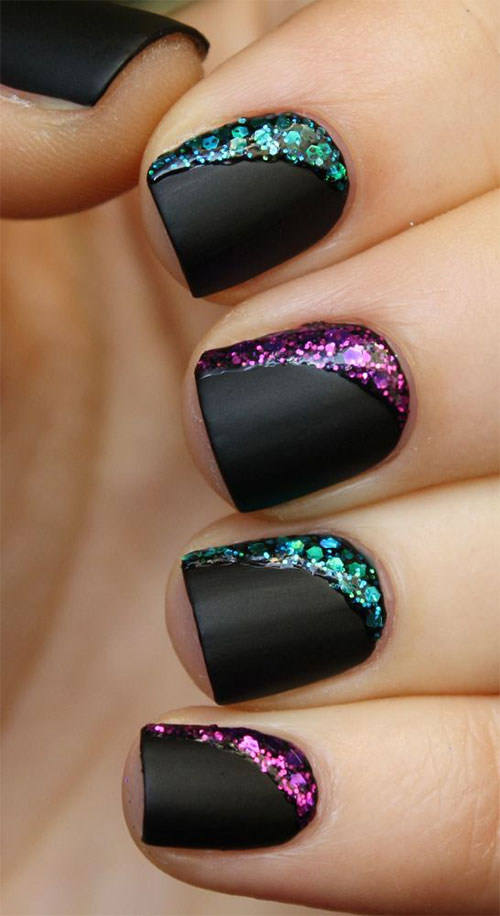
One of the best things about glitter nail art is the endless design possibilities. From subtle accents to full-on glitter bombs, there's a design to suit every style and occasion. In this step by step guide, we'll show you how to create some of the most popular glitter nail art designs, including glitter tips, glitter gradients, and glitter stripes. Get ready to unleash your creativity!Glitter Nail Art Designs Step by Step


Glitter Nail Art Designs Step by Step


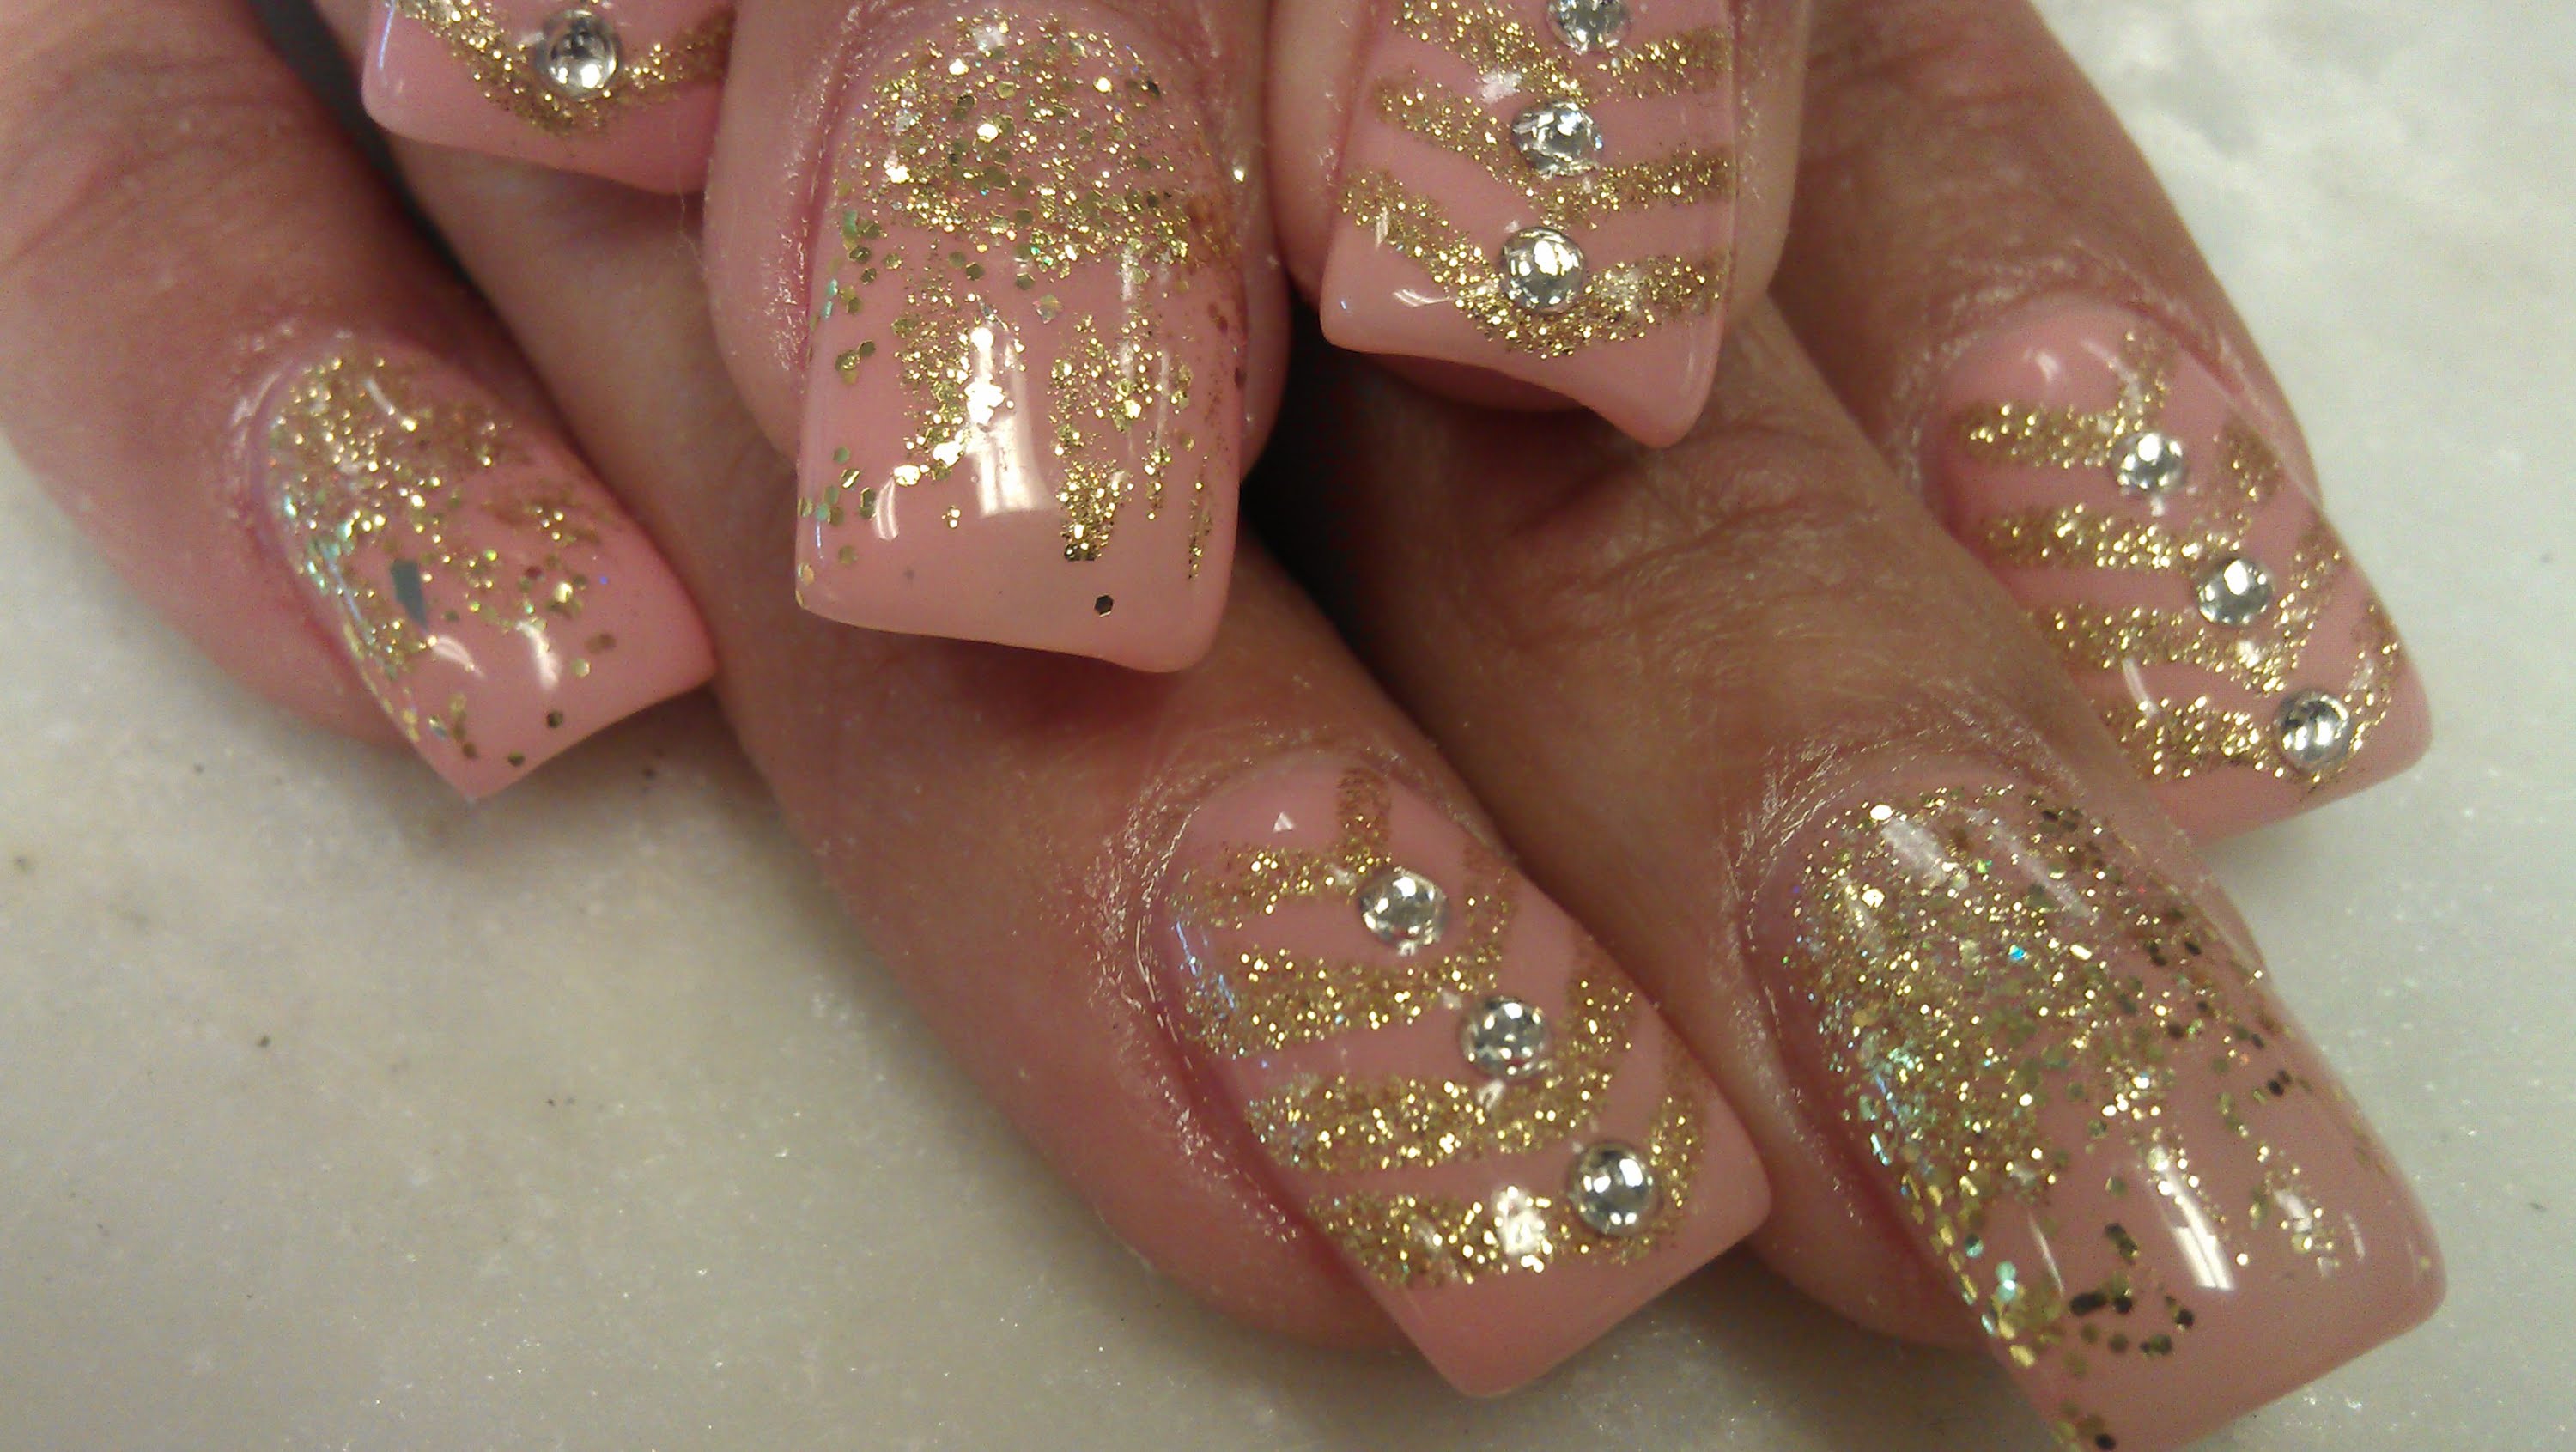
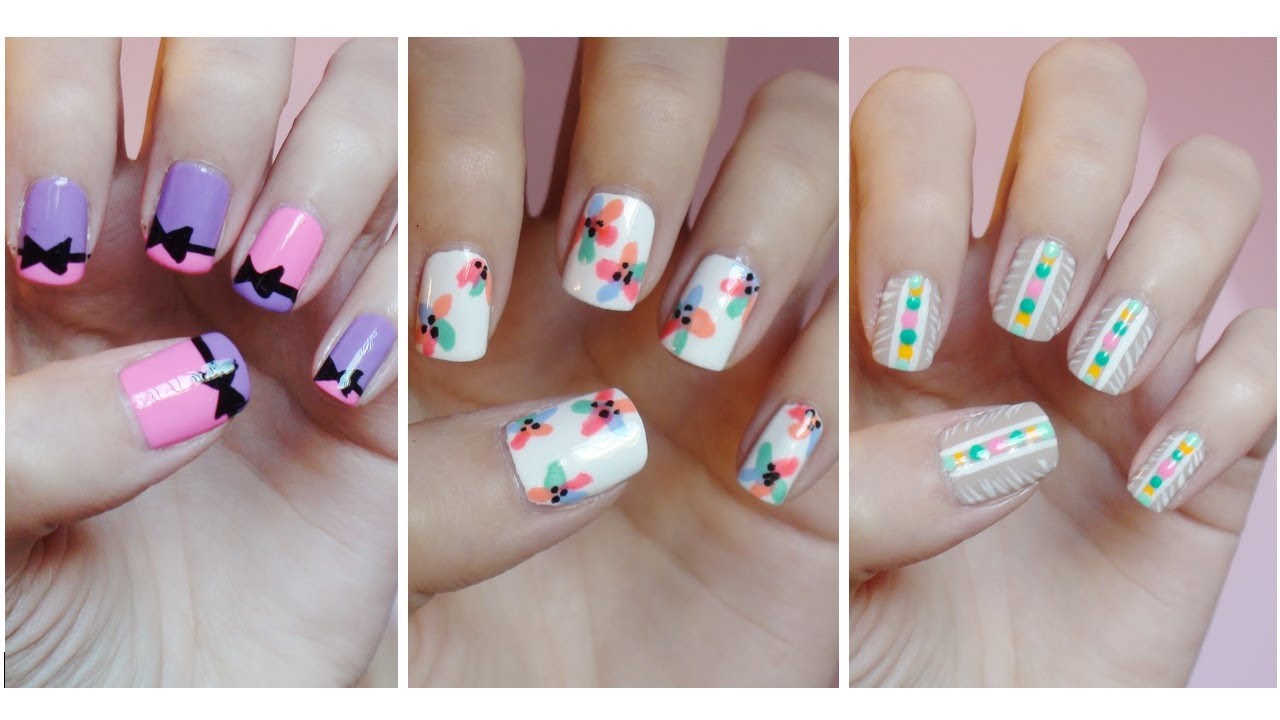
Not all glitter nail art has to be complicated. In fact, sometimes the simplest designs can be the most stunning. This step by step guide will show you how to create some easy yet eye-catching glitter designs that are perfect for any occasion. Whether you're heading to a party or just want to add a touch of sparkle to your everyday look, these simple glitter nail art ideas are sure to impress.Simple Glitter Nail Art Step by Step


Simple Glitter Nail Art Step by Step


Are you new to nail art and feeling overwhelmed by all the different techniques and tools? Don't worry, we've got you covered. In this step by step guide, we'll walk you through the basics of glitter nail art, including what supplies you'll need and how to use them. We'll also share some tips and tricks to help you achieve flawless glitter nails every time.Glitter Nail Art Step by Step for Beginners


Glitter Nail Art Step by Step for Beginners
Sometimes it's easier to learn a new skill by watching someone else do it. That's why we've compiled a list of the best glitter nail art step by step videos for you to follow along with. These videos will guide you through each step of the process, making it easy for you to recreate the designs at home. From beginner-friendly tutorials to more advanced techniques, you'll find a video that's perfect for you.Glitter Nail Art Step by Step Videos


Glitter Nail Art Step by Step Videos

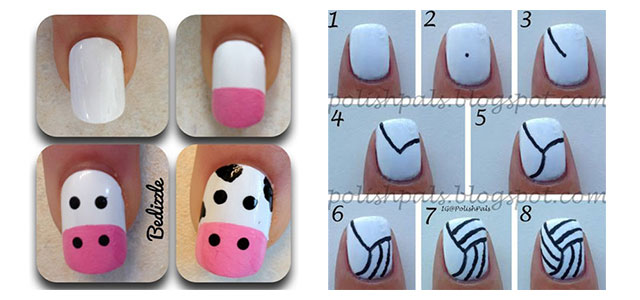
If you're a visual learner, you'll love this step by step guide filled with pictures of each stage of the glitter nail art process. These pictures will help you better understand the techniques used and give you a clear idea of what your nails should look like at each step. You can also use these pictures as inspiration for your own glitter nail art designs.Glitter Nail Art Step by Step Pictures

Glitter Nail Art Step by Step Pictures
Whether you're a beginner or an experienced nail artist, having a step by step guide to refer to can be incredibly helpful. That's why we've created this comprehensive guide to glitter nail art. From prep work to top coat, we'll take you through each step of the process and provide tips and tricks along the way. Print it out and keep it handy for your next glitter nail art session.Glitter Nail Art Step by Step Guide


Glitter Nail Art Step by Step Guide

If you prefer written instructions over videos or pictures, this step by step guide is for you. We'll break down each step of the process and provide clear and concise instructions to help you achieve the perfect glitter nails. Plus, we'll include some helpful tips and troubleshooting advice to ensure your glitter nail art turns out flawlessly.Glitter Nail Art Step by Step Instructions

Glitter Nail Art Step by Step Instructions
They say a picture is worth a thousand words, and when it comes to nail art, we couldn't agree more. That's why we've compiled a selection of step by step images to guide you through the glitter nail art process. From glitter placement to curing time, these images will show you exactly what to do at each stage of the process. Follow along and get ready to dazzle with your glittery nails.Glitter Nail Art Step by Step Images
Glitter Nail Art Step by Step Images
The Beauty of Glitter Nail Art: Step by Step Guide for a Glamorous Look

What is Glitter Nail Art?
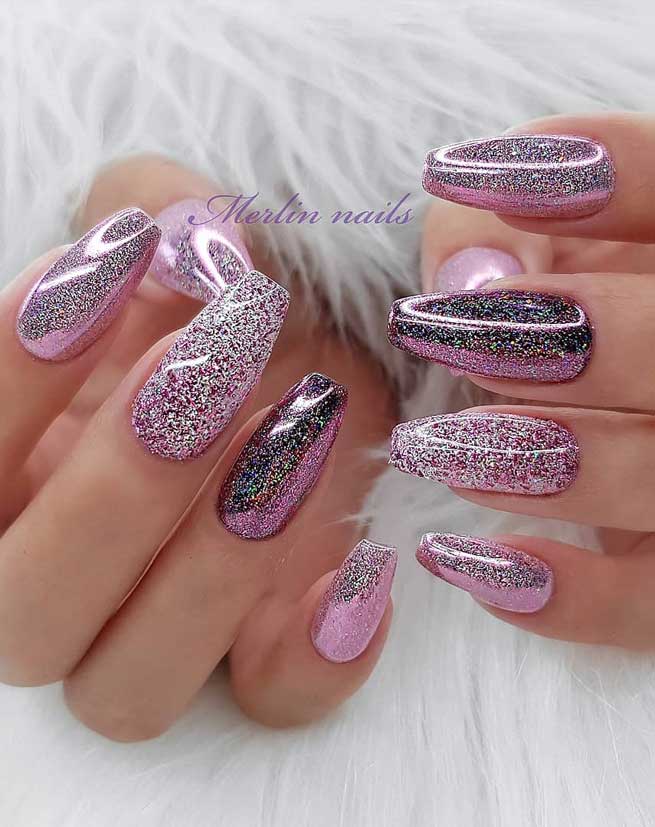
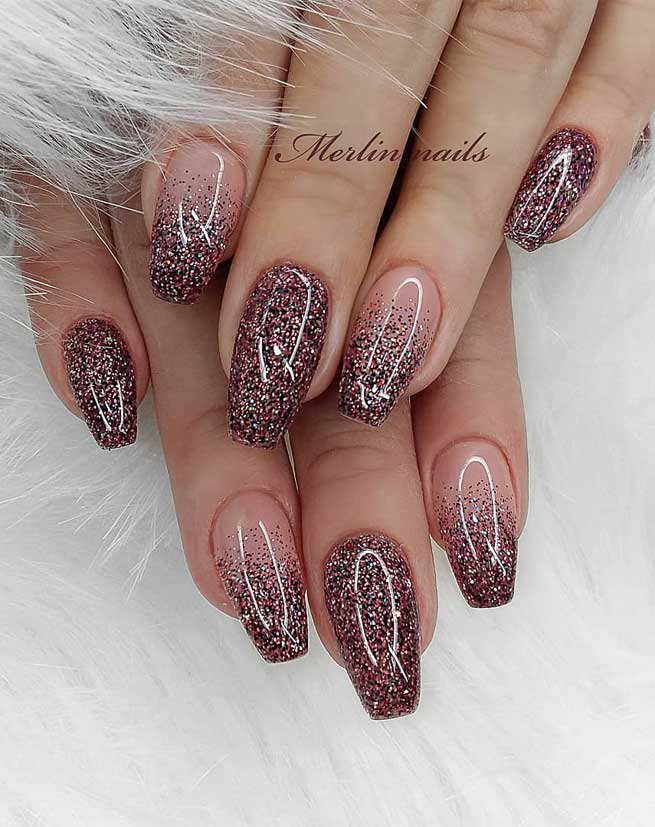
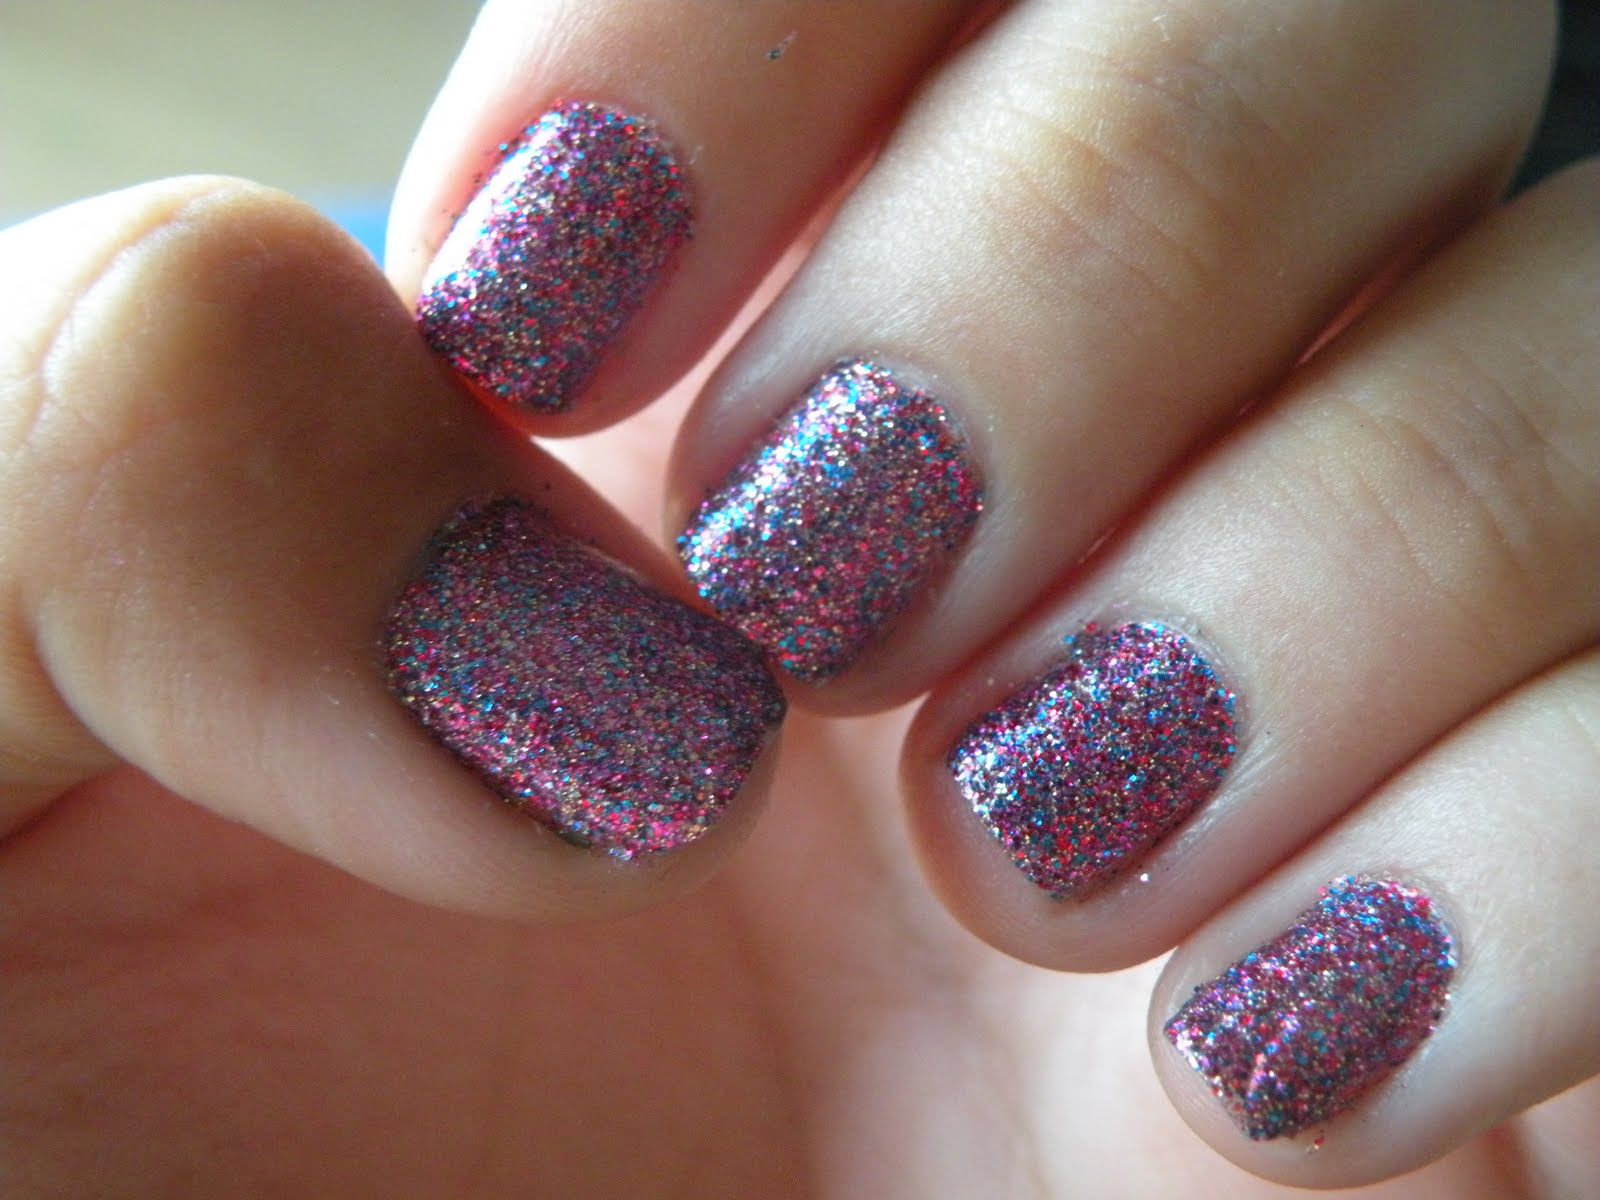
 Glitter nail art is a popular trend that adds sparkle and shine to your nails. It involves applying glitter in various forms and colors to create unique and eye-catching designs on your nails. It is a fun and creative way to express yourself and add a touch of glamour to your everyday look.
Step by Step Guide to Achieving the Perfect Glitter Nails
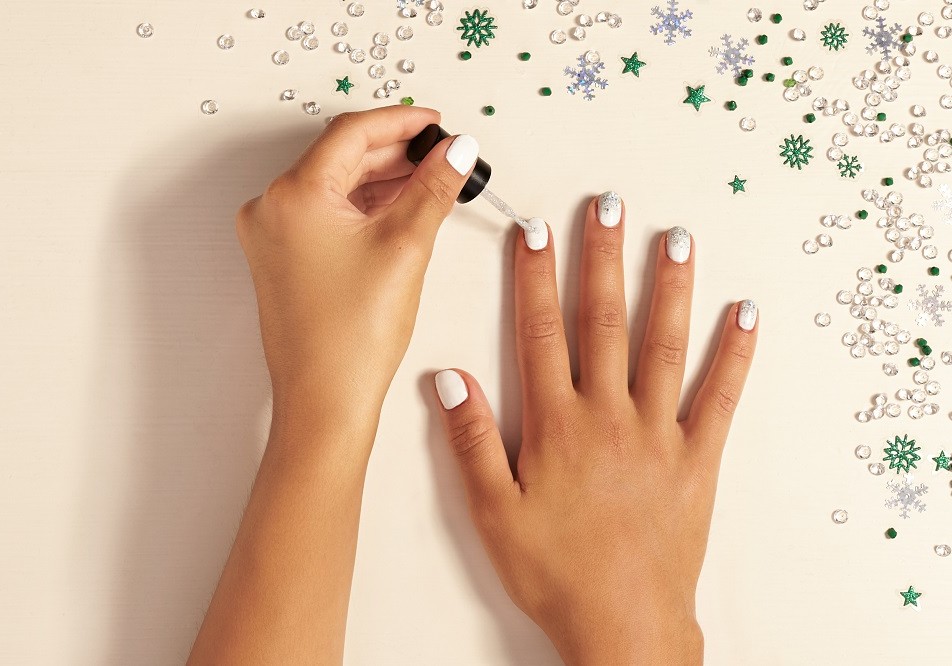
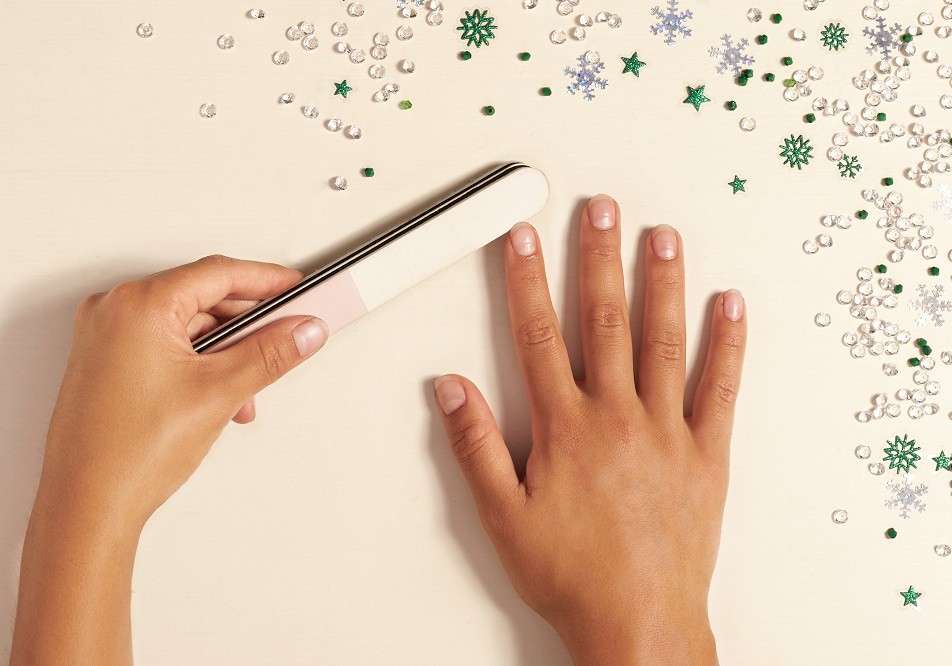
 Step 1: Prep and Prime
Before starting the glitter nail art, it is important to prepare your nails. Start by removing any old nail polish and trimming and shaping your nails. Next, use a nail buffer to gently buff the surface of your nails. This will help the glitter polish adhere better and give you a smooth base for the design.
Step 2: Apply a Base Coat
A base coat is essential for a long-lasting glitter nail art. It not only helps the polish adhere better but also prevents staining and strengthens your nails. Apply a thin layer of base coat and let it dry completely before moving on to the next step.
Step 3: Choose Your Glitter
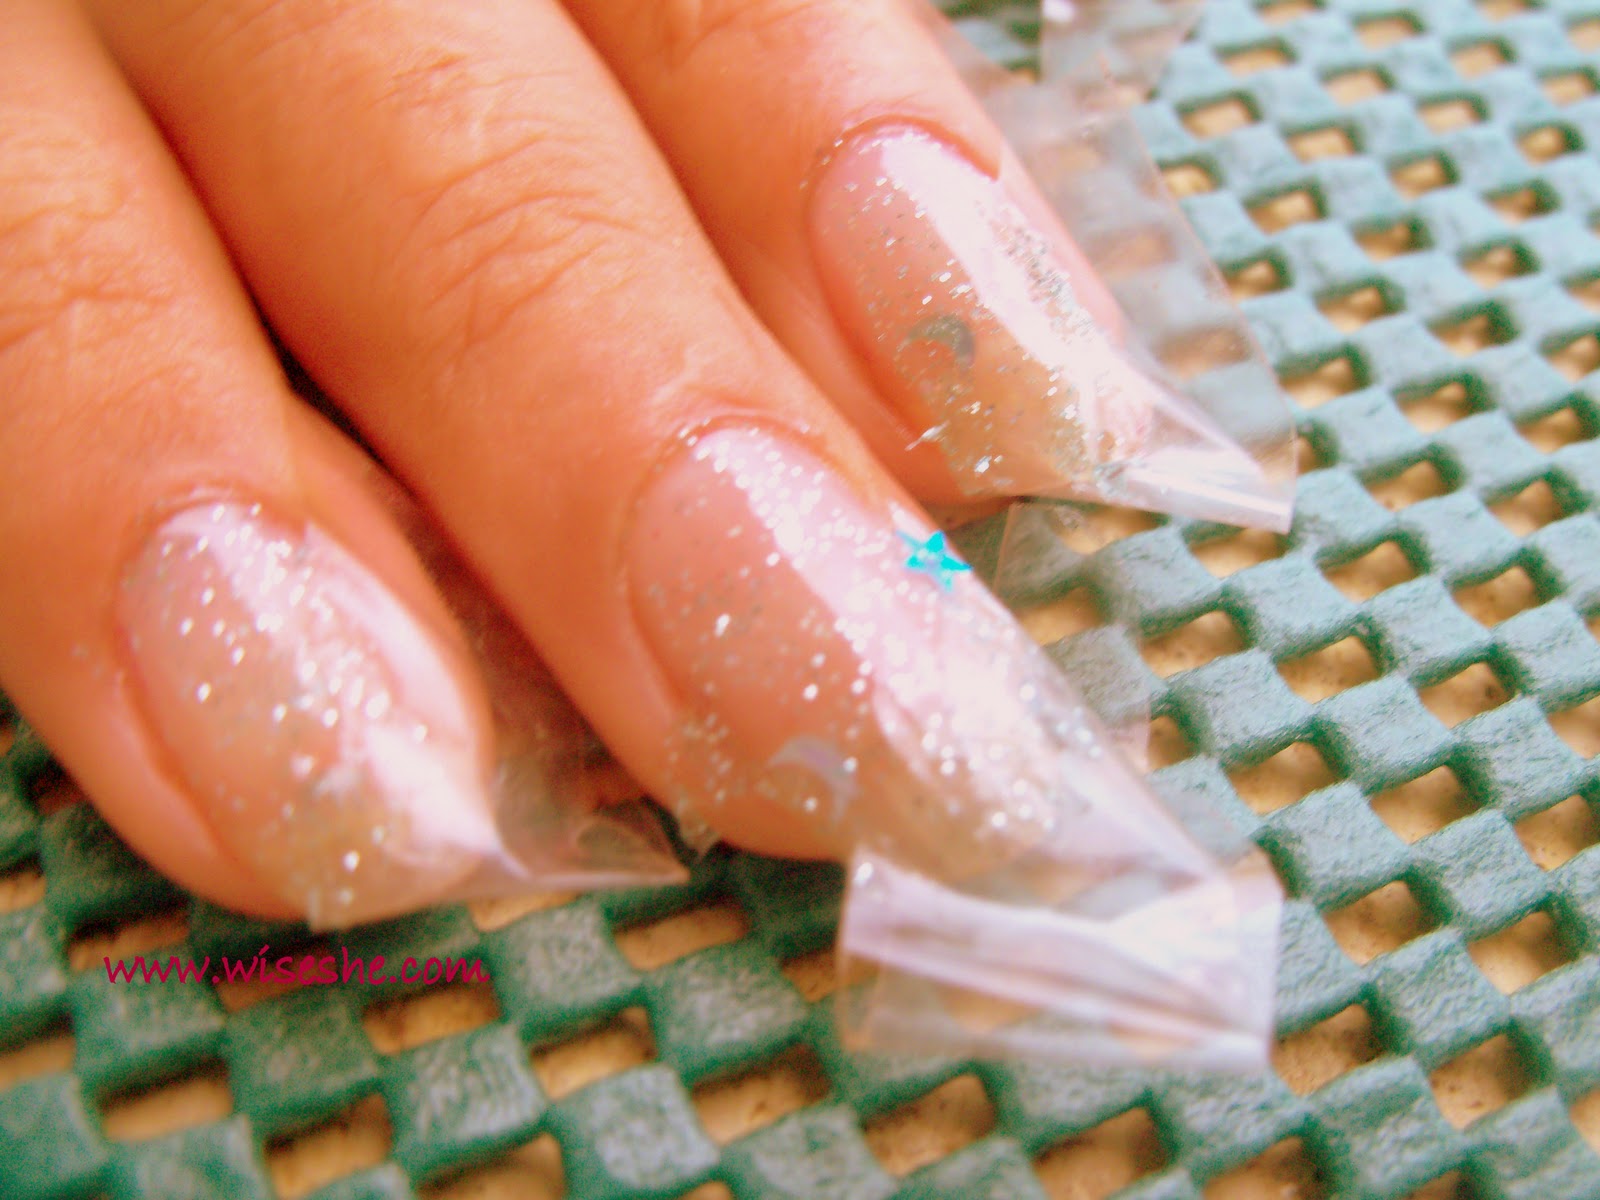
Glitter nail art allows you to get creative with different glitter options. You can choose from loose glitter, glitter nail polish, or glitter dust. You can also mix and match different glitter colors and sizes to create a unique look.
Pro tip:
Use a small brush or toothpick to pick up and apply the glitter for more precision.
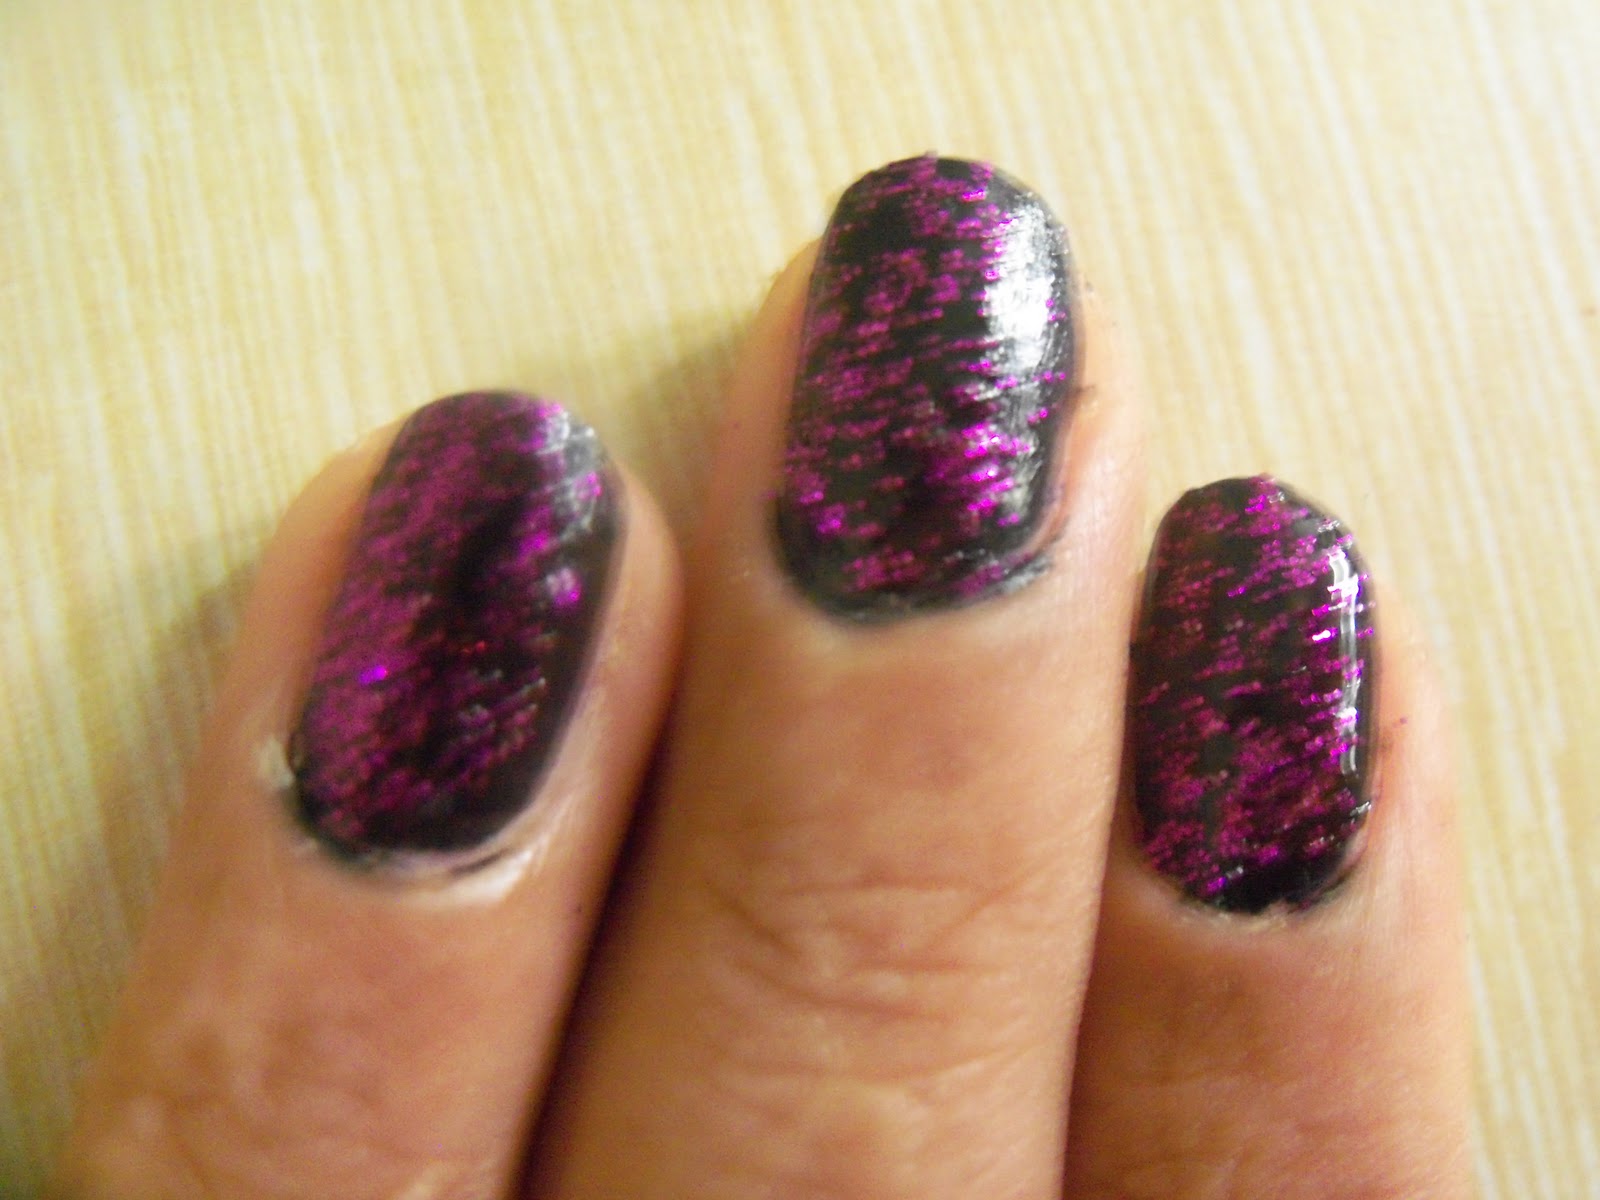
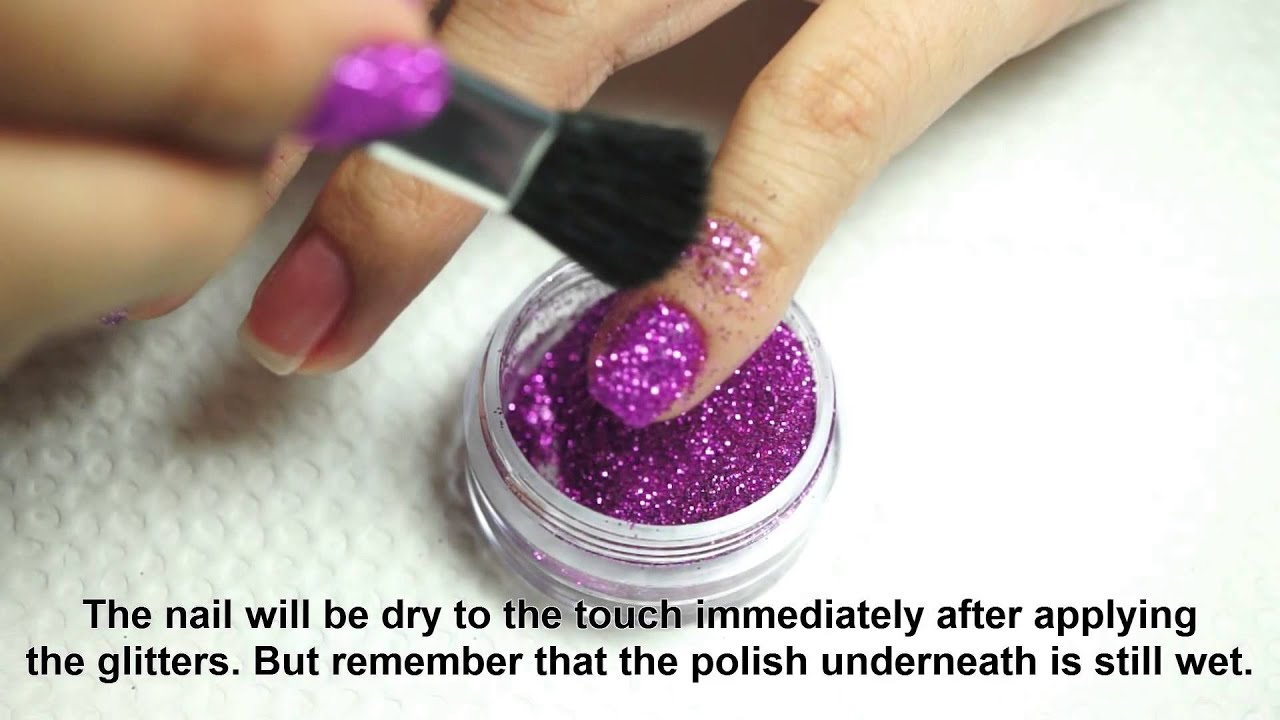
Step 4: Apply the Glitter
Now it's time to add some sparkle to your nails! Start by applying a layer of glitter to your nails. You can either cover the entire nail or create a design by applying glitter to specific areas. If using loose glitter, gently press it onto the wet nail polish. For glitter nail polish, apply it in thin layers for a more opaque look.
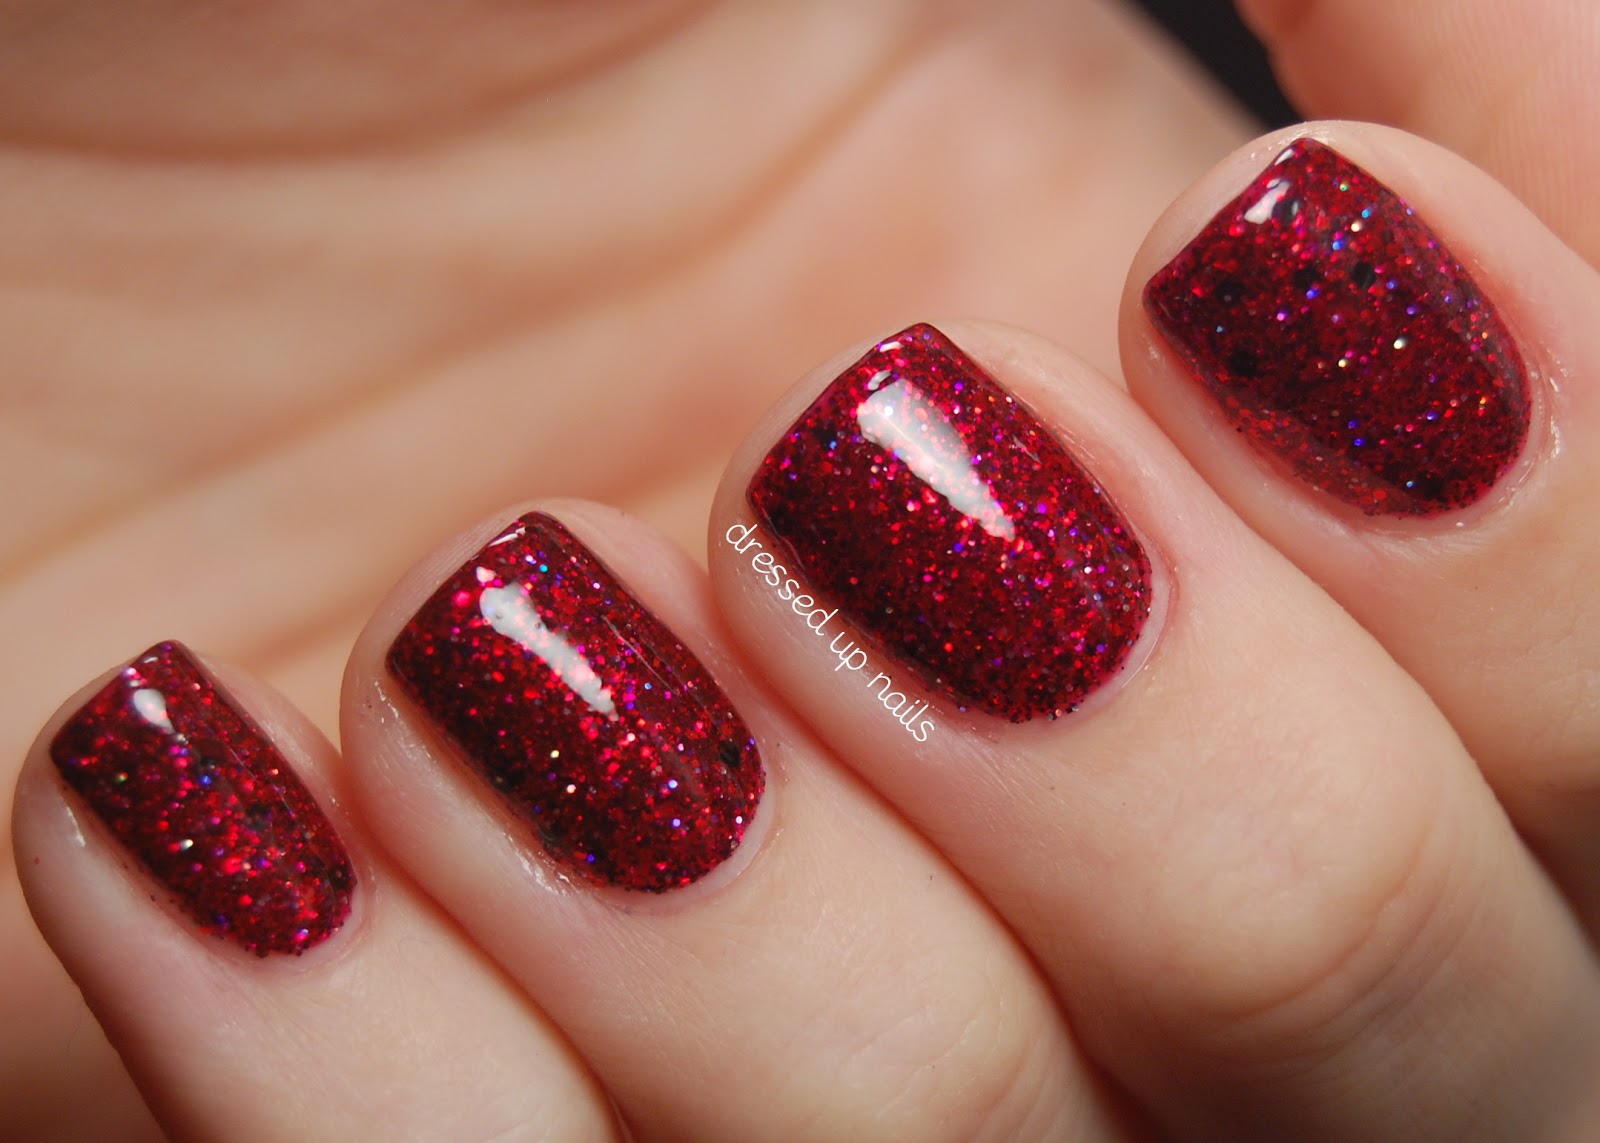
Step 5: Seal the Glitter
To prevent the glitter from rubbing off, it is crucial to seal it with a top coat. This will also give your nails a glossy finish and protect the design. Apply a thin layer of top coat and let it dry completely.
Step 1: Prep and Prime
Before starting the glitter nail art, it is important to prepare your nails. Start by removing any old nail polish and trimming and shaping your nails. Next, use a nail buffer to gently buff the surface of your nails. This will help the glitter polish adhere better and give you a smooth base for the design.
Step 2: Apply a Base Coat
A base coat is essential for a long-lasting glitter nail art. It not only helps the polish adhere better but also prevents staining and strengthens your nails. Apply a thin layer of base coat and let it dry completely before moving on to the next step.
Step 3: Choose Your Glitter
Glitter nail art allows you to get creative with different glitter options. You can choose from loose glitter, glitter nail polish, or glitter dust. You can also mix and match different glitter colors and sizes to create a unique look.
Pro tip:
Use a small brush or toothpick to pick up and apply the glitter for more precision.
Step 4: Apply the Glitter
Now it's time to add some sparkle to your nails! Start by applying a layer of glitter to your nails. You can either cover the entire nail or create a design by applying glitter to specific areas. If using loose glitter, gently press it onto the wet nail polish. For glitter nail polish, apply it in thin layers for a more opaque look.
Step 5: Seal the Glitter
To prevent the glitter from rubbing off, it is crucial to seal it with a top coat. This will also give your nails a glossy finish and protect the design. Apply a thin layer of top coat and let it dry completely.
Tips for a Long-Lasting Glitter Manicure
 - Use a good quality base and top coat.
- Apply thin layers of nail polish and let them dry completely before adding the next layer.
- Seal the glitter with a top coat to prevent chipping and rubbing off.
- Avoid using your nails as tools to prevent the design from getting damaged.
- Reapply top coat every few days to keep the glitter looking fresh.
- Use a good quality base and top coat.
- Apply thin layers of nail polish and let them dry completely before adding the next layer.
- Seal the glitter with a top coat to prevent chipping and rubbing off.
- Avoid using your nails as tools to prevent the design from getting damaged.
- Reapply top coat every few days to keep the glitter looking fresh.
Final Words
 Glitter nail art is a fun and creative way to add some sparkle to your look. With this step by step guide, you can achieve the perfect glitter nails at home. So, go ahead and show off your glamorous and glittery nails!


