Are you new to the world of nail art and feeling overwhelmed by all the intricate designs and tools? Don't worry, we've got you covered with these simple and easy nail art designs for beginners. With just a few basic supplies and some creativity, you can achieve stunning nail art that will make your friends envious. If you're ready to give your nails a makeover, check out these 10 easy nail art ideas and designs that are perfect for beginners.Simple Nail Art Designs for Beginners

Simple Nail Art Designs for Beginners


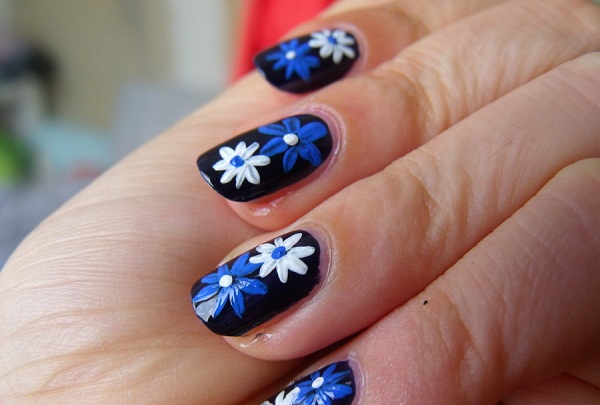
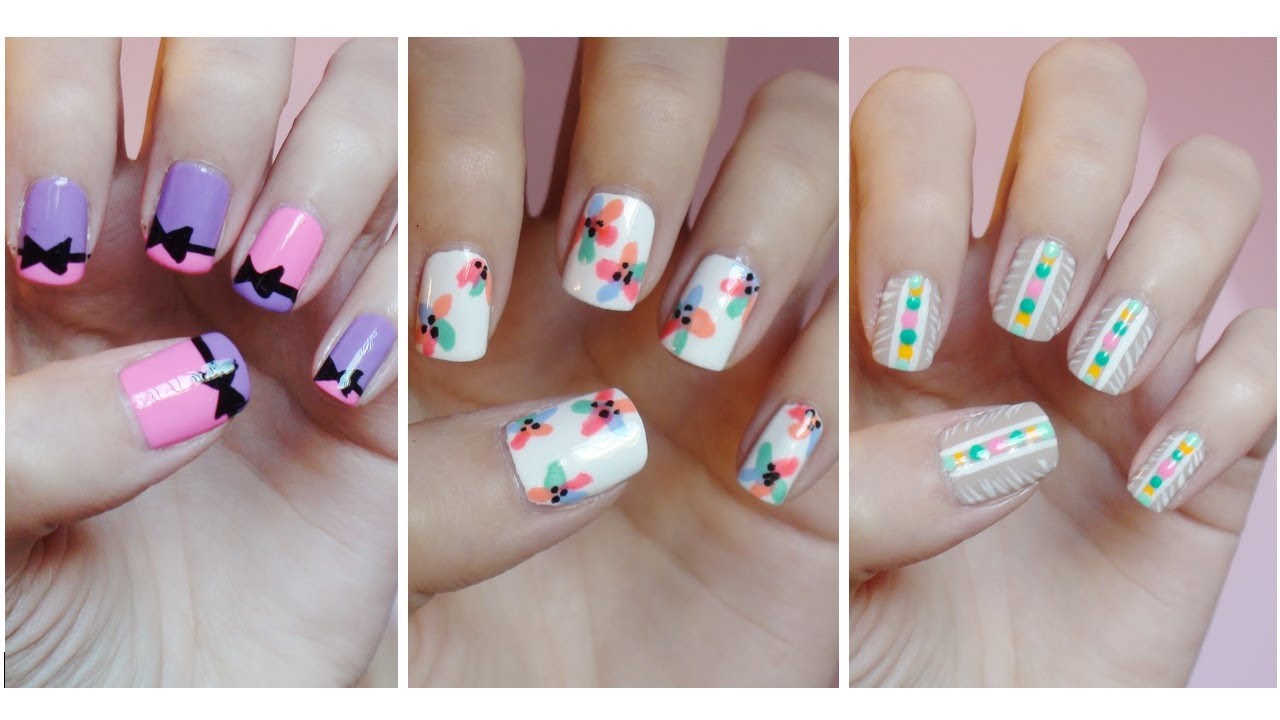

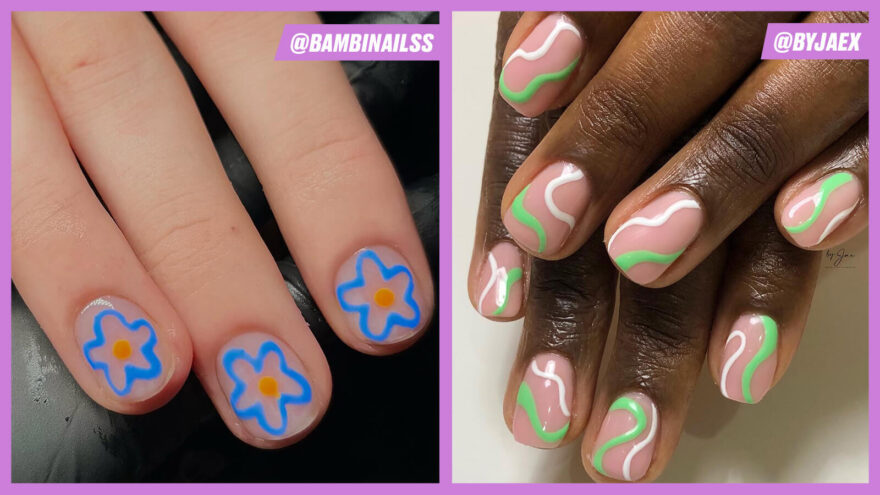
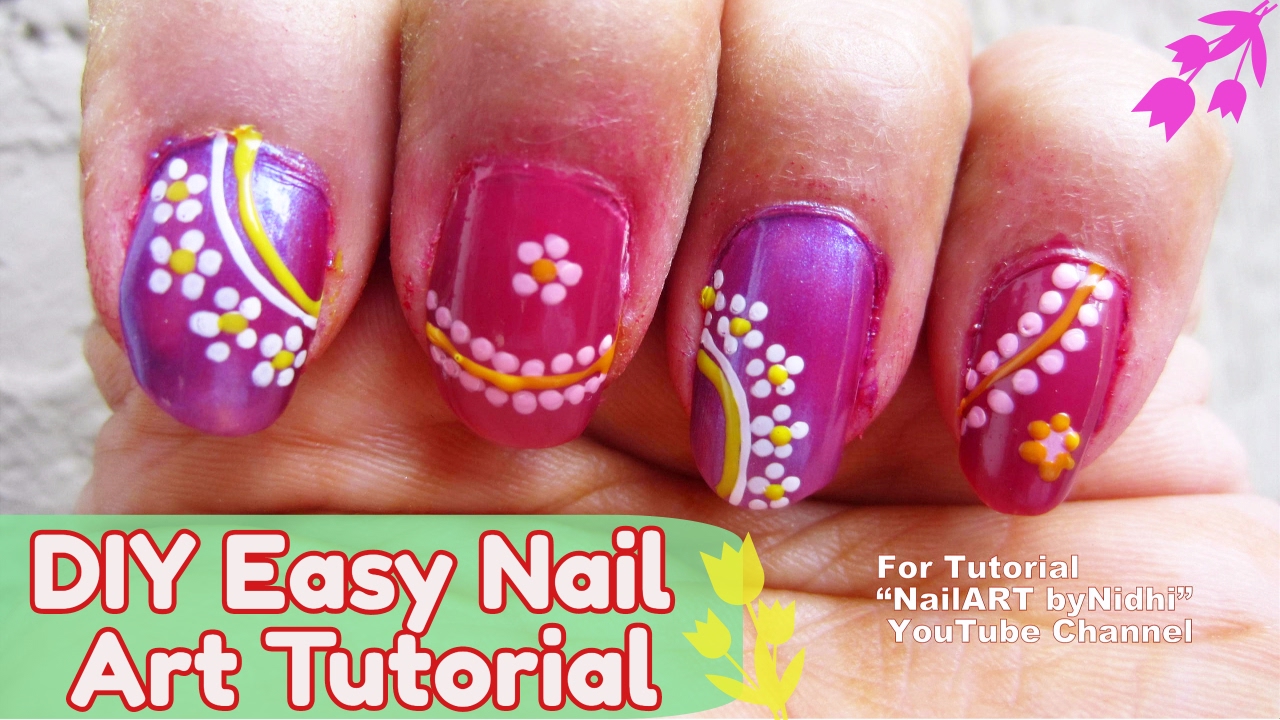
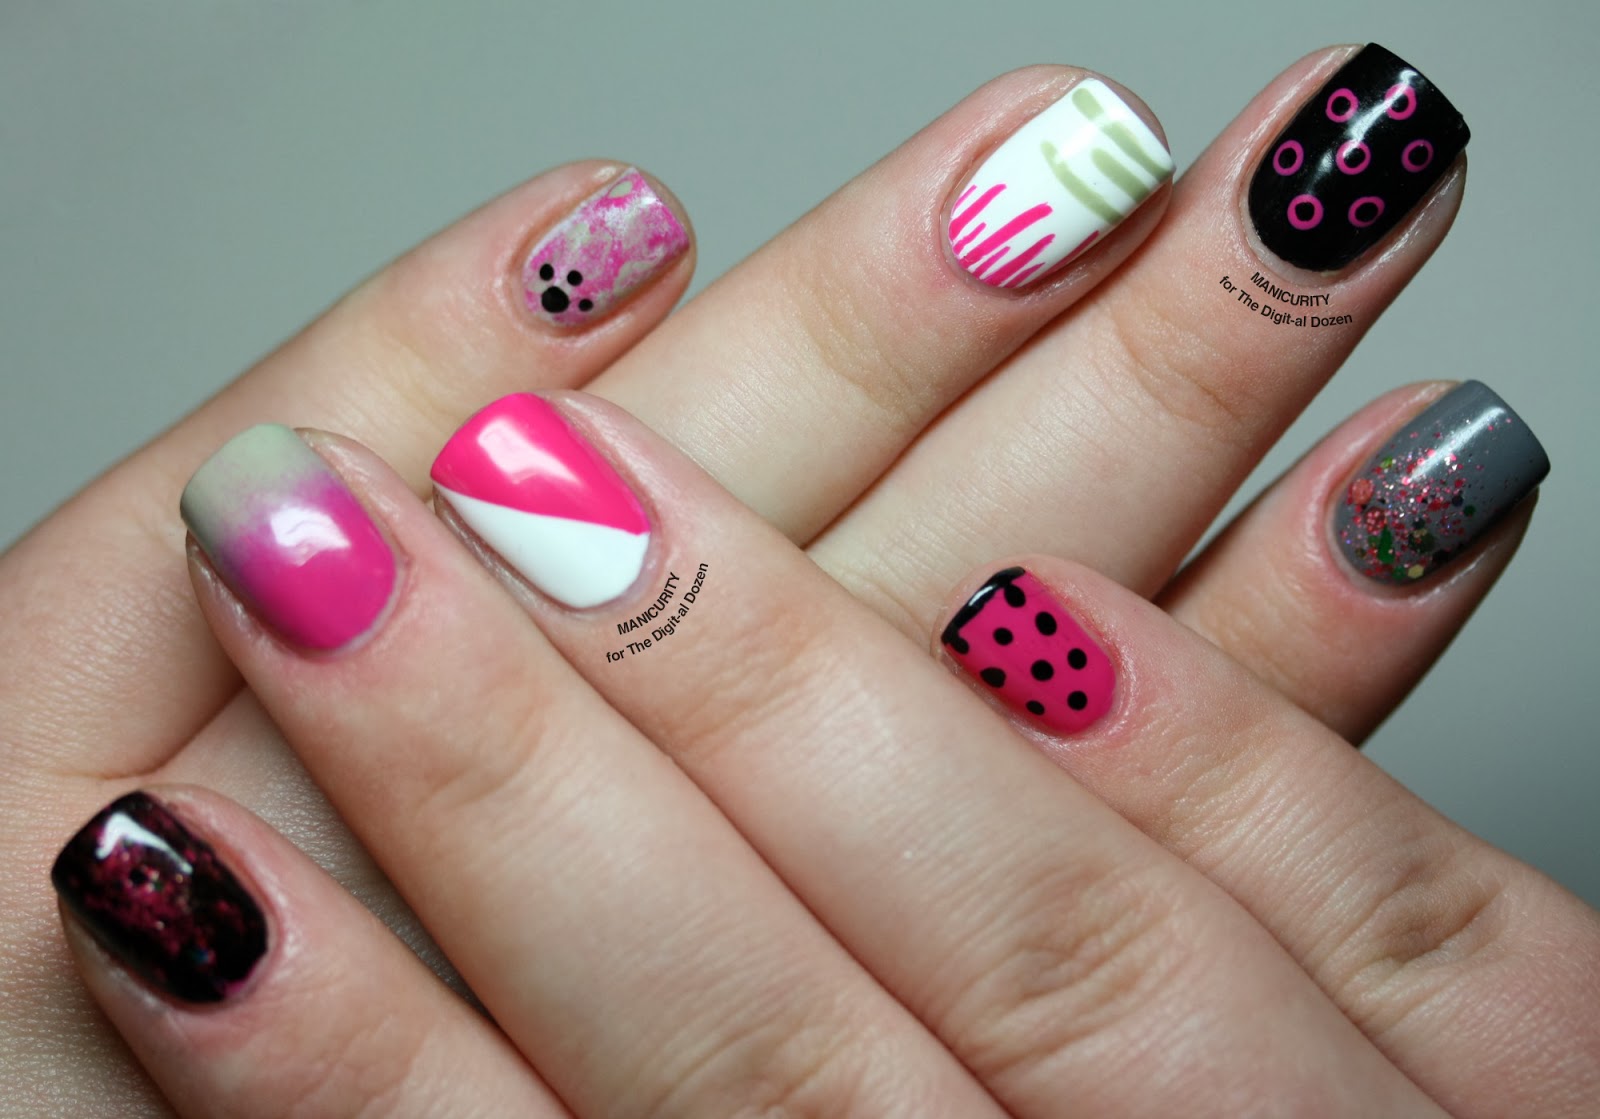
1. Flower Power: For a fun and feminine look, try creating simple flower designs on your nails. Use a toothpick or dotting tool to create small dots in a circle, then use a contrasting color to create smaller dots in the center for the flower's center. 2. Animal Print: Animal prints are always a popular choice for nail art, and they're surprisingly easy to create. Use a toothpick to create small, irregular dots in a pattern to mimic the look of leopard or cheetah print. 3. Stripes: Stripes are a classic and easy nail art design that can be achieved with just a striping brush or even a toothpick. You can create vertical, horizontal, or diagonal stripes in any color combination you like. 4. Polka Dots: Another simple yet effective design, polka dots are perfect for beginners. Use a dotting tool or the end of a bobby pin to create different-sized dots on your nails in any pattern you desire. 5. Ombre: Ombre nails are all the rage, and they're surprisingly easy to achieve. All you need is a makeup sponge and two or more nail polish colors. Paint the colors onto the sponge in a gradient and dab it onto your nails for a beautiful ombre effect.Easy Nail Art Ideas and Designs for Beginners

Easy Nail Art Ideas and Designs for Beginners


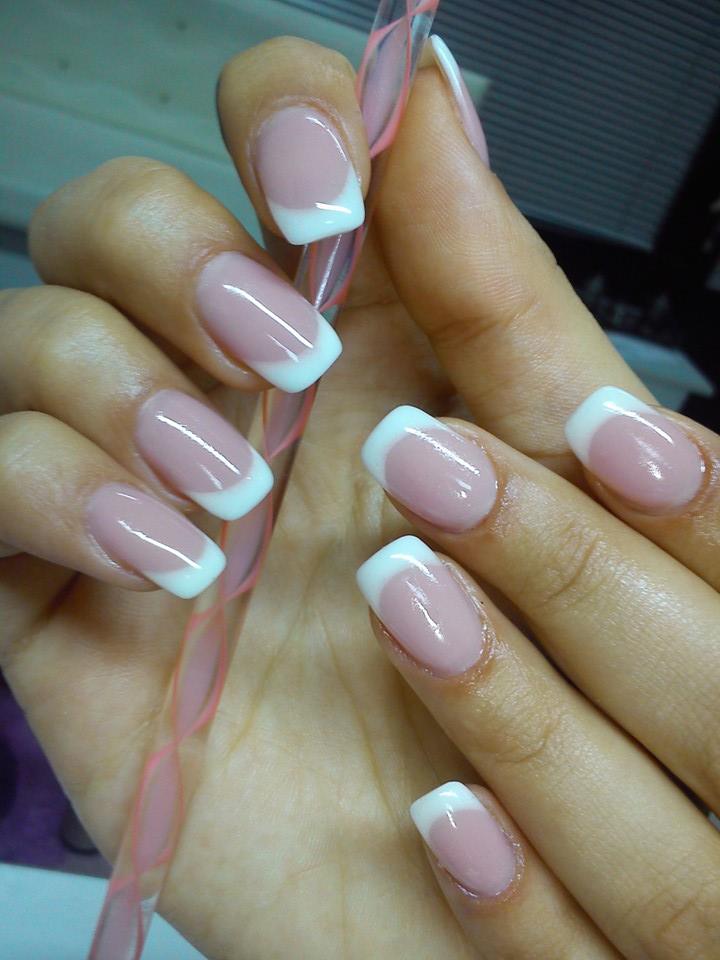
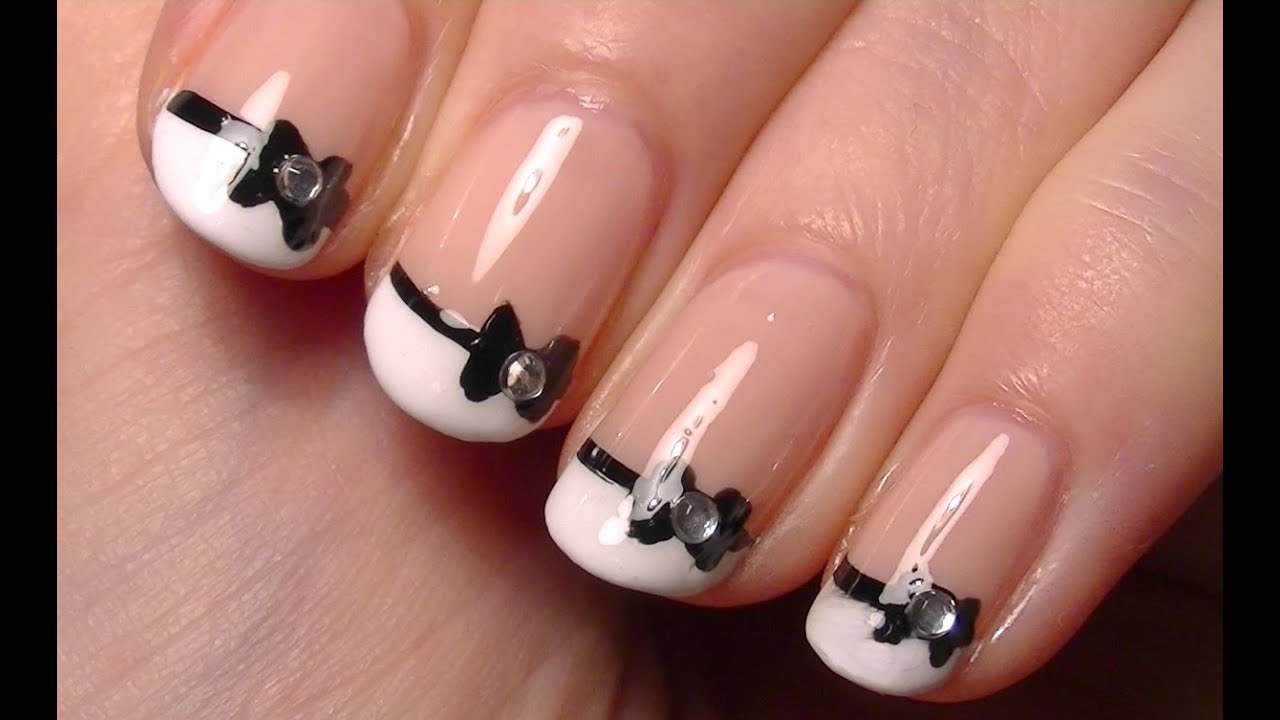
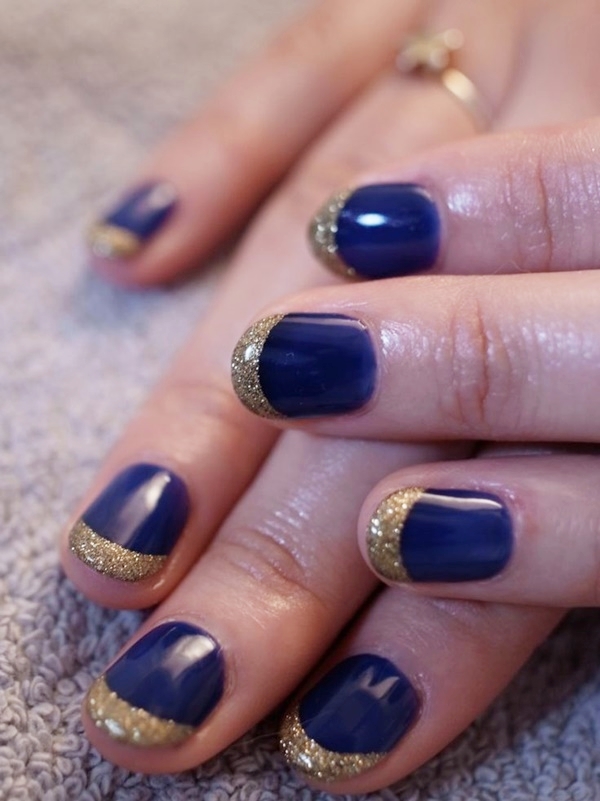
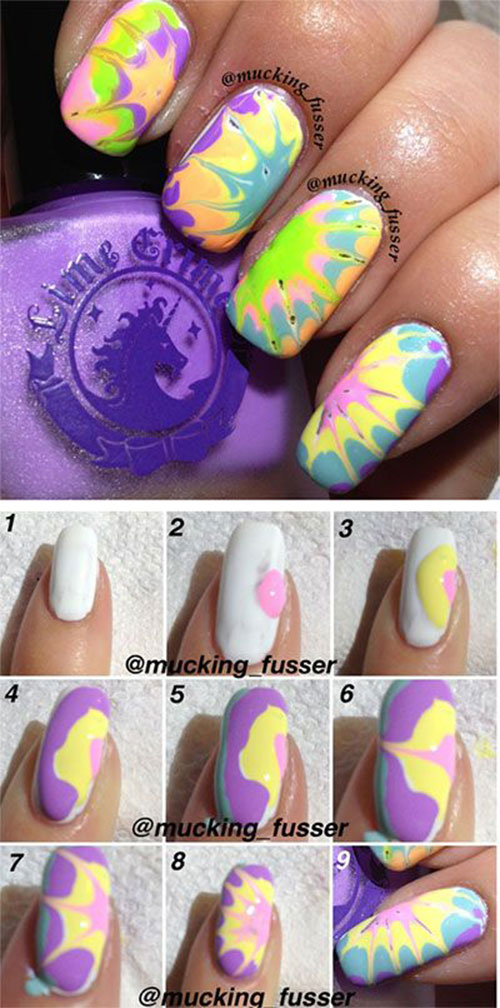
6. French Tips: French tips are a classic and elegant look for short nails. Use a striping brush or tape to create a clean, white tip on your nails. 7. Glitter Accent: Add some sparkle to your short nails with a glitter accent. Use a small brush to apply glitter polish to one or two accent nails for a subtle yet stunning look. 8. Nail Stickers: If you're not confident in your nail art skills, nail stickers are a great option. They come in a variety of designs and are easy to apply, making them perfect for short nails. 9. Marble Nails: Create a marbled effect on your nails using just nail polish and water. Simply drop different colors of polish into a bowl of water, swirl them together, and dip your nails in for a unique and easy design. 10. Matte Finish: Give your short nails a chic and sophisticated look by using a matte top coat. This will transform any nail polish color into a smooth and matte finish.Easy Nail Art Designs for Short Nails

Easy Nail Art Designs for Short Nails


:max_bytes(150000):strip_icc()/072922-beauty-nail-art-lead-2000-21de3481261e48a995c855269f9846ad.jpg)


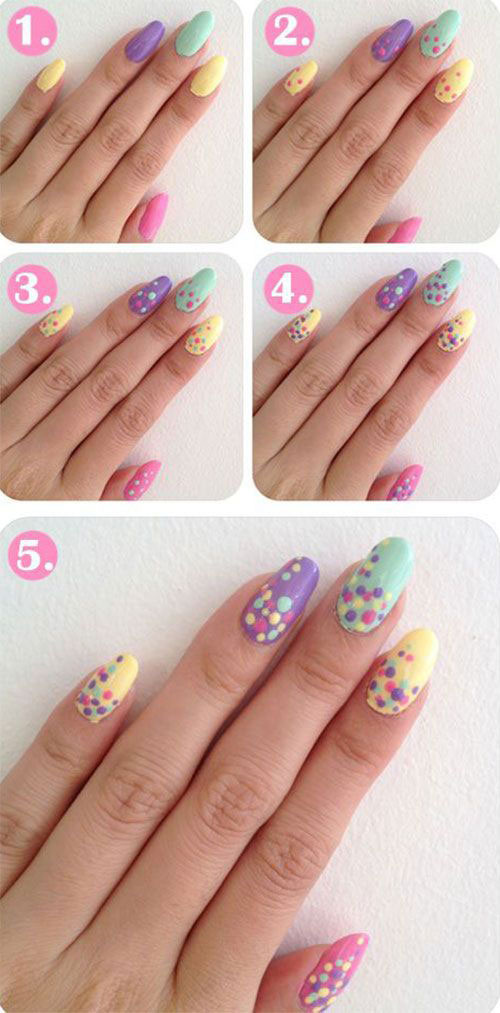
1. Start by applying a base coat to protect your nails and help the polish adhere better. 2. Choose your desired nail polish colors and have a toothpick, striping brush, or dotting tool on hand. 3. Follow the steps outlined for each design, using the toothpick or brush to create the desired effect. 4. Once your design is complete, wait for it to dry before applying a top coat to seal in your design and add shine. 5. Clean up any excess polish around your nails using a cotton swab dipped in nail polish remover.Easy Nail Art Designs for Beginners Step by Step

Easy Nail Art Designs for Beginners Step by Step
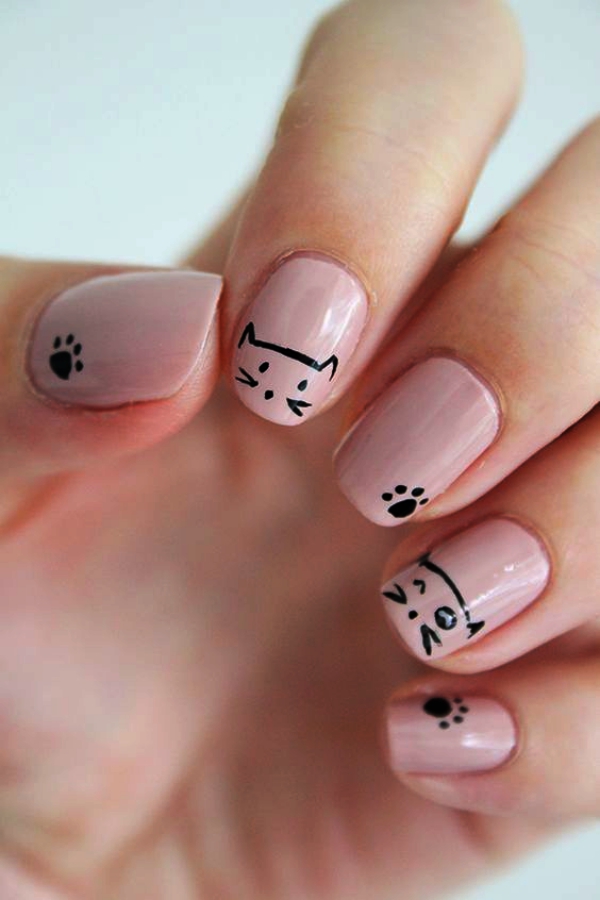
1. Rainbow Nails: Kids will love this colorful and fun design. Use a variety of bright nail polish colors to create a rainbow pattern on each nail. 2. Emoji Nails: Let your kids express themselves with these cute and easy emoji nails. Use a dotting tool to create different emojis on each nail. 3. Animal Faces: Use a toothpick or brush to create simple animal faces on each nail, such as a cat, dog, or bunny. 4. Cartoon Characters: Kids will love having their favorite cartoon characters on their nails. Use nail polish and a small brush to recreate their favorite characters. 5. Fruit Nails: Create a fruity design on each nail, using different colors to represent different fruits like strawberries, watermelon, and pineapple.Easy Nail Art Designs for Kids


Easy Nail Art Designs for Kids


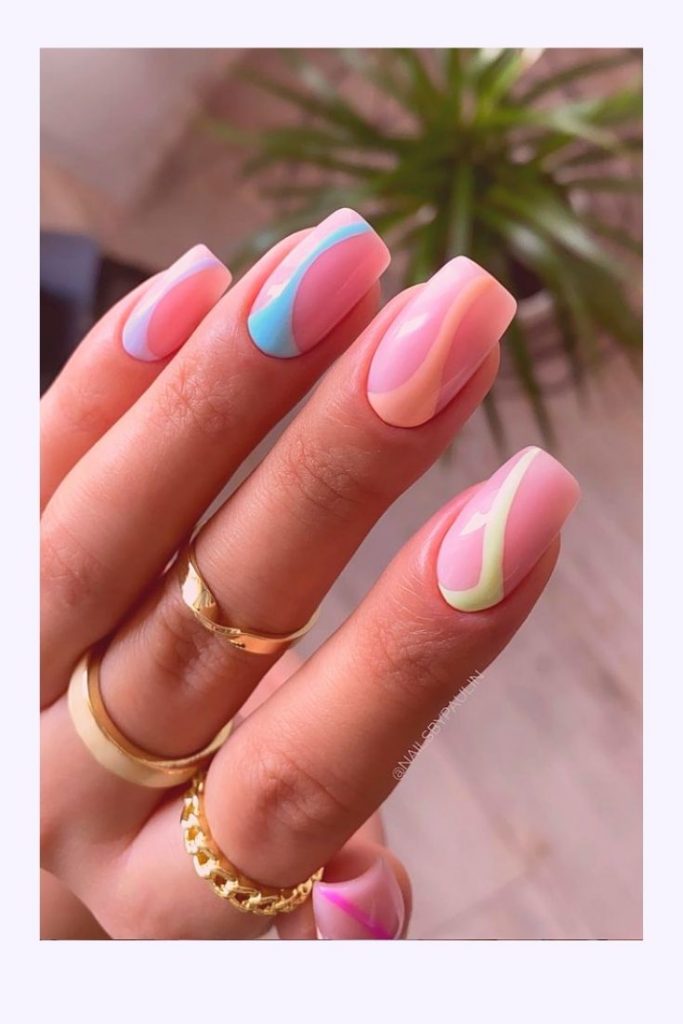
1. Watercolor Nails: Use a makeup sponge to create a watercolor effect on your nails. Simply paint different colors onto the sponge and dab it onto your nails. 2. Gradient Nails: Use a makeup sponge to create a gradient effect on your nails. Paint two or more colors onto the sponge and dab it onto your nails for a beautiful ombre effect. 3. Marble Nails: Use a plastic bag or cling wrap to create a marbled effect on your nails. Drop different colors of polish onto the bag or wrap, swirl them together, and press your nails onto the design. 4. Stickers as Guides: Use small stickers as guides for your nail art designs. Simply place the sticker on your nail and paint around it for a clean and precise design. 5. Color Blocking: Use different colors of nail polish to create geometric shapes on your nails for a bold and modern look.Easy Nail Art Designs for Beginners without Tools
Easy Nail Art Designs for Beginners without Tools


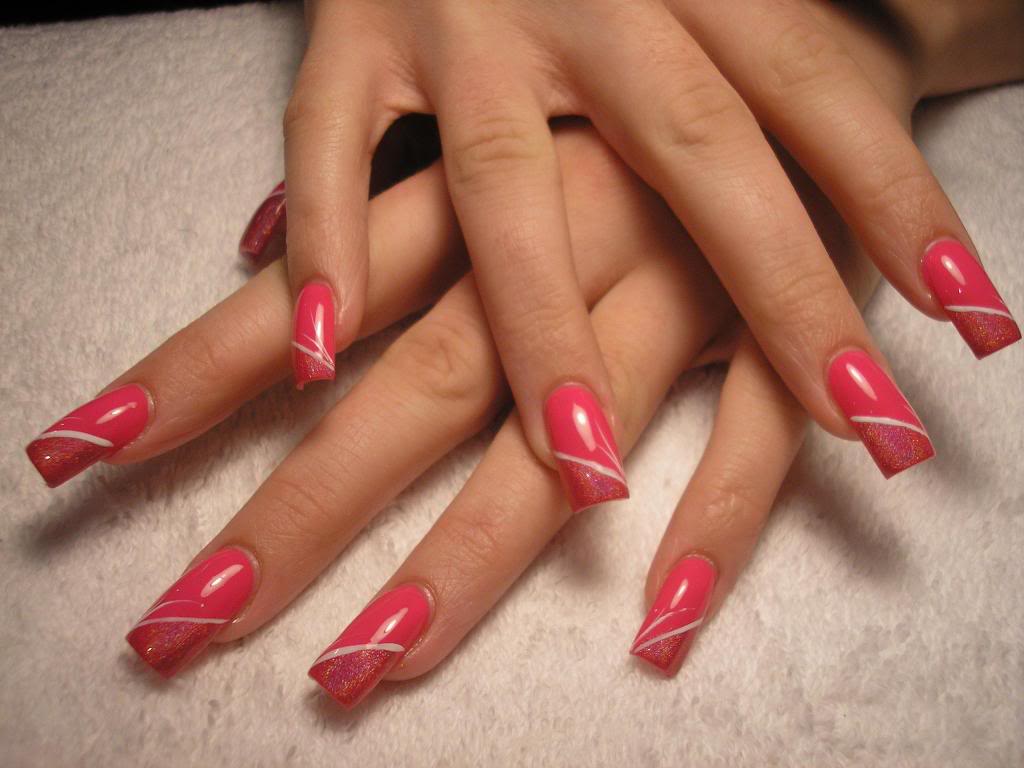
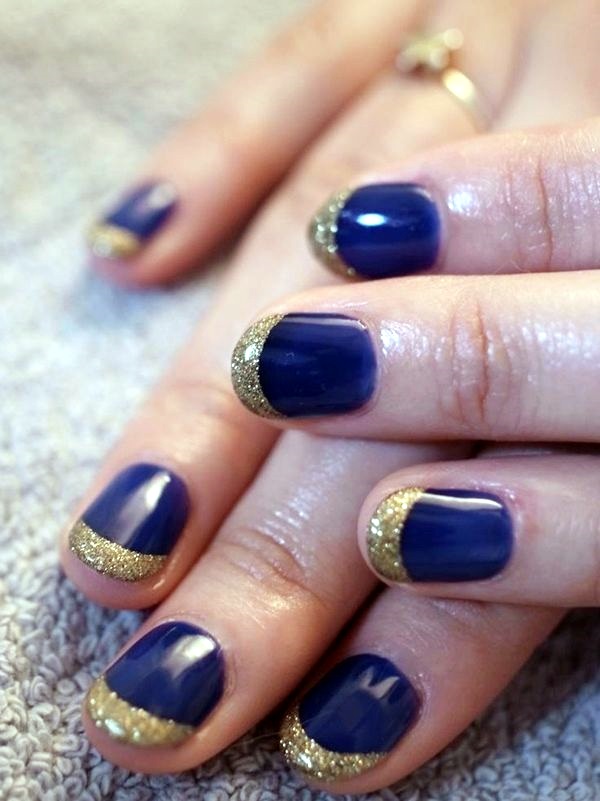
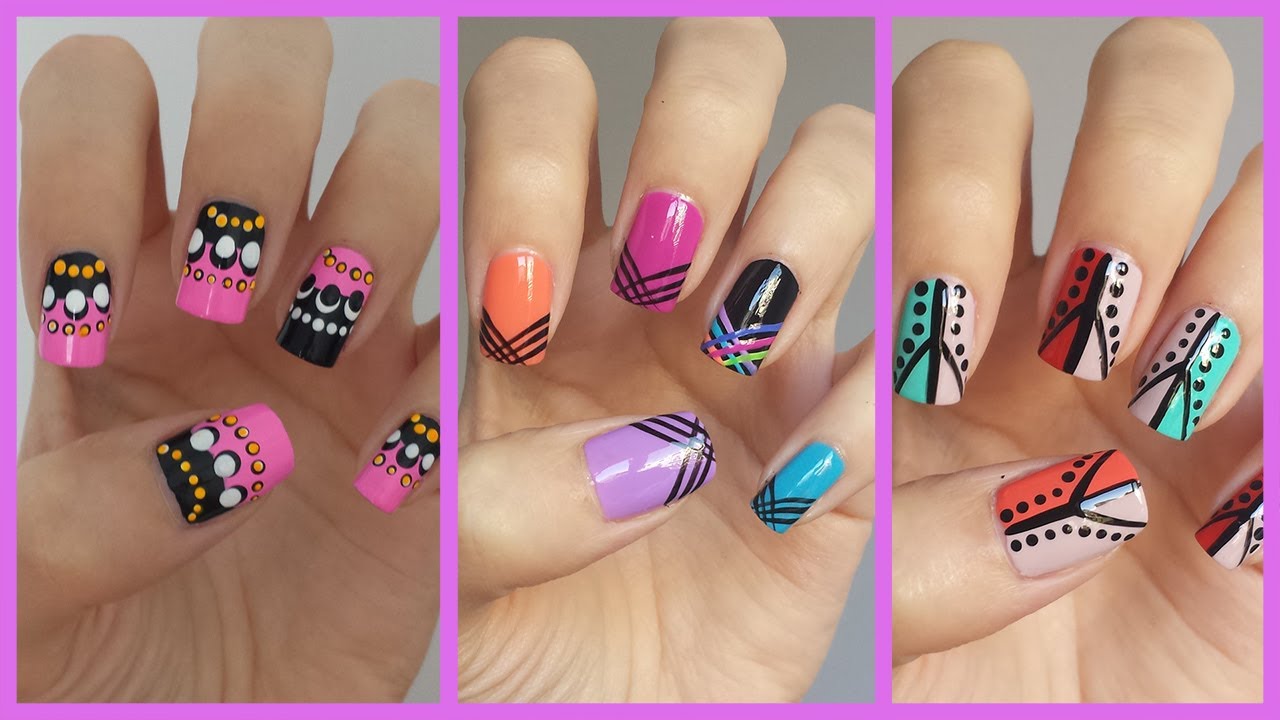
1. Negative Space: Leave some of your natural nail exposed for a trendy and minimalist design. Use tape or stickers to create clean lines for a more polished look. 2. Floral Accent: Add a pop of color to your nails with a floral accent. Use a small brush or toothpick to create simple flower designs on one or two nails. 3. Polka Dot French Tips: Put a spin on the classic French tip by adding polka dots instead of a solid white line. 4. Abstract Nails: Let your creativity run wild with an abstract nail art design. Use different colors and shapes to create a unique and eye-catching design on each nail. 5. Striped Accent: Use striping tape to create clean lines and add a pop of color to your nails.Easy Nail Art Designs for Beginners at Home

Easy Nail Art Designs for Beginners at Home

1. Heart Nails: Create cute and simple hearts on your nails using a toothpick. Simply dip the toothpick in nail polish and draw a heart shape onto your nails. 2. Star Nails: Use a toothpick to create stars on your nails for a fun and celestial look. 3. Checkerboard Nails: Use a toothpick to create a checkerboard pattern on your nails. Simply dip the toothpick in different colors of nail polish and drag it across your nails in a grid pattern. 4. Paisley Nails: Use a toothpick to create paisley designs on your nails for a boho-chic look. 5. Geometric Nails: Use a toothpick to create geometric shapes on your nails for a modern and edgy design.Easy Nail Art Designs for Beginners with Toothpick


Easy Nail Art Designs for Beginners with Toothpick


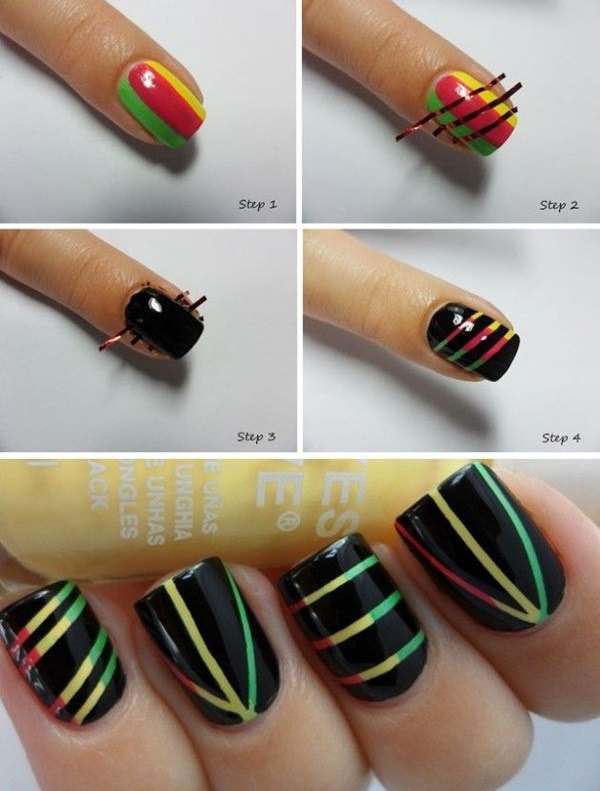
1. Striped Nails: Use striping tape to create clean and precise stripes on your nails in any color combination you desire. 2. Triangle Nails: Use tape to create geometric triangle designs on your nails for a bold and edgy look. 3. Color Blocking: Use tape to create clean lines and color block different sections of your nails for a modern and chic design. 4. Chevron Nails: Use tape to create a chevron pattern on your nails for a trendy and eye-catching design. 5. Zigzag Nails: Use tape to create a zigzag pattern on your nails for a fun and playful design.Easy Nail Art Designs for Beginners with Tape
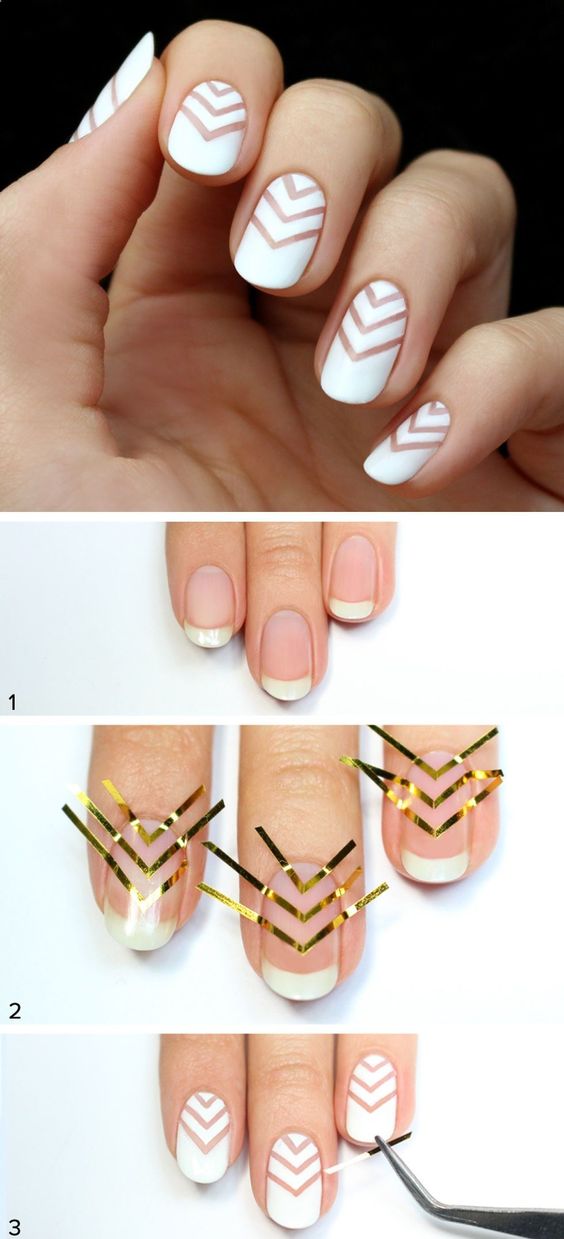
Easy Nail Art Designs for Beginners with Tape
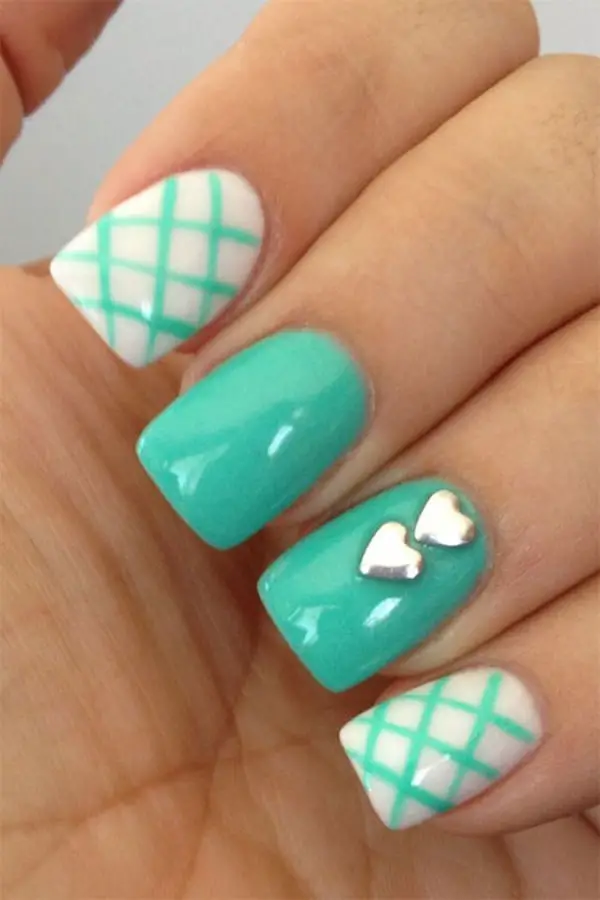
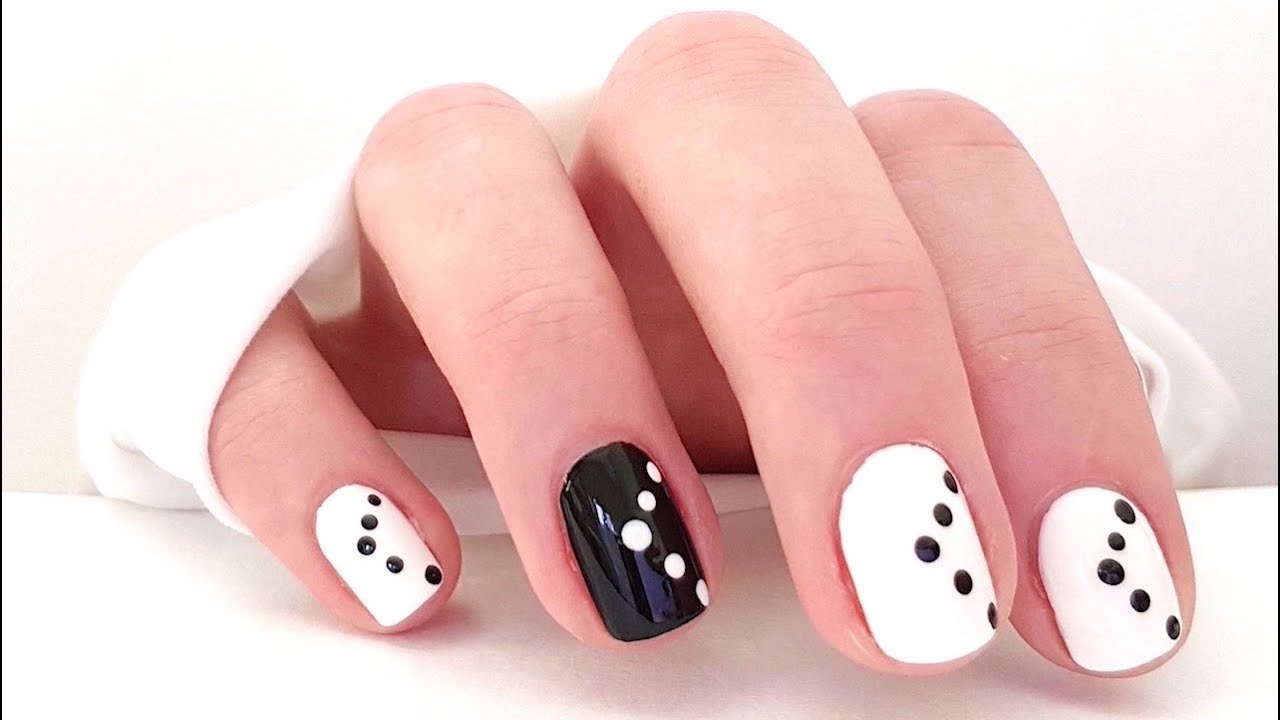
1. Polka Dot Nails: Create classic polka dot nails using a dotting tool or the end of a bobby pin. 2. Galaxy Nails: Create a galaxy design on your nails using different-sized dots in different colors to mimic the look of stars and galaxies. 3. Bubble Nails: Create a bubble effect on your nails using small dots in different colors. 4. Pearl Nails: Add some elegance to your nails by using small pearl or rhinestone dots on your nails. 5. Constellation Nails: Create a stunning constellation design on your nails using tiny dots to mimic the stars in the night sky.Easy Nail Art Designs for Beginners with Dots

Easy Nail Art Designs for Beginners with Dots
The Art of Nail Design: Easy and Eye-Catching
Express Yourself Through Nail Art
 Nail art has become a popular form of self-expression and creativity, and it's no surprise why. Not only does it add a touch of personality to your overall look, but it's also a fun and easy way to experiment with different designs and colors. With the rise of social media, there has been a surge of
nail art easy
tutorials and inspiration, making it accessible to everyone. Whether you're a beginner or a seasoned pro, there's always something new and exciting to try in the world of nail art.
Nail art has become a popular form of self-expression and creativity, and it's no surprise why. Not only does it add a touch of personality to your overall look, but it's also a fun and easy way to experiment with different designs and colors. With the rise of social media, there has been a surge of
nail art easy
tutorials and inspiration, making it accessible to everyone. Whether you're a beginner or a seasoned pro, there's always something new and exciting to try in the world of nail art.
Why Nail Art Is More Than Just Pretty Nails
 Aside from being a way to show off your personal style, nail art can also be a form of self-care and self-expression. Taking the time to
create
beautiful
nail designs
can be a therapeutic and relaxing activity, allowing you to focus on yourself and let your creativity flow. It's a small but effective way to boost your self-confidence and express yourself without saying a word.
Aside from being a way to show off your personal style, nail art can also be a form of self-care and self-expression. Taking the time to
create
beautiful
nail designs
can be a therapeutic and relaxing activity, allowing you to focus on yourself and let your creativity flow. It's a small but effective way to boost your self-confidence and express yourself without saying a word.
Easy and Accessible Designs for Everyone
 One of the best things about
nail art
is that there are endless possibilities and designs to choose from. From simple
geometric
patterns to intricate floral designs, there's something for every skill level and taste. And with the help of
easy
and
affordable
tools like nail stickers, stamps, and decals, you don't have to be a professional to achieve a stunning look. Just let your imagination run wild and have fun with it!
One of the best things about
nail art
is that there are endless possibilities and designs to choose from. From simple
geometric
patterns to intricate floral designs, there's something for every skill level and taste. And with the help of
easy
and
affordable
tools like nail stickers, stamps, and decals, you don't have to be a professional to achieve a stunning look. Just let your imagination run wild and have fun with it!
Make a Statement with Your Nails
 Nail art is the perfect way to spice up any outfit and make a statement. It's also a great conversation starter and can be a reflection of your mood, interests, and personality. Want to show off your love for animals? Try a cute animal print design. Feeling bold and edgy? Go for a
metallic
foil
design. The possibilities are endless, and the best part is that you can change it up as often as you'd like.
In conclusion, nail art is a fun, easy, and accessible way to express yourself and add a touch of creativity to your look. Whether you're a beginner or an expert, there's always something new to discover and try. So go ahead, grab your favorite nail polish and tools, and let your fingertips do the talking.
Nail art is the perfect way to spice up any outfit and make a statement. It's also a great conversation starter and can be a reflection of your mood, interests, and personality. Want to show off your love for animals? Try a cute animal print design. Feeling bold and edgy? Go for a
metallic
foil
design. The possibilities are endless, and the best part is that you can change it up as often as you'd like.
In conclusion, nail art is a fun, easy, and accessible way to express yourself and add a touch of creativity to your look. Whether you're a beginner or an expert, there's always something new to discover and try. So go ahead, grab your favorite nail polish and tools, and let your fingertips do the talking.


