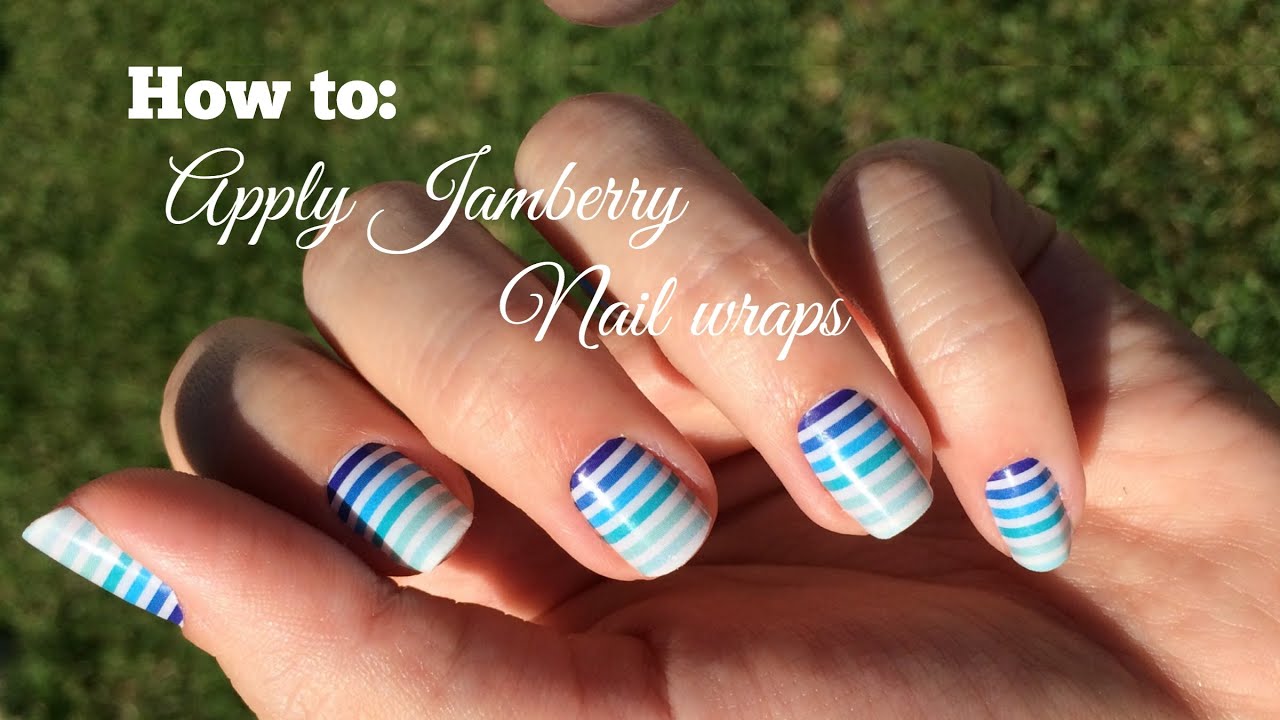
If you're new to the world of nail art, using the Jamberry Nail Art Studio Tutorial may seem intimidating at first. But don't worry, we've got you covered! Here's everything you need to know to get started. The first step is to gather all the necessary tools and materials. This includes a Jamberry Nail Art Studio Kit, nail wraps of your choice, a nail file, scissors, and a hairdryer. Make sure your nails are clean and free of any polish or oils before starting. Next, carefully select the nail wrap design you want to use and cut it to fit your nail. This is where the scissors come in handy. Make sure to trim any excess wrap that extends past your nail bed. Once you have your design ready, start by heating up the wrap with a hairdryer for a few seconds. This will make it more pliable and easier to apply. Now, place the wrap on your nail and gently press it down, starting from the cuticle and working your way to the tip of your nail. Use the nail file to smooth out any wrinkles or bubbles. Finally, use the hairdryer again to seal the wrap onto your nail. Hold it for a few seconds and voila! You now have a gorgeous, salon-worthy nail design.How to Use the Jamberry Nail Art Studio Tutorial


How to Use the Jamberry Nail Art Studio Tutorial


Once you've mastered the basics of using the Jamberry Nail Art Studio, it's time to take your nail art game to the next level with these tips and tricks. Firstly, if you're having trouble getting the nail wrap to stick, try using a base coat or a clear topcoat as a base. This will help the wrap adhere better to your nail. If you want to create a more intricate design, you can layer different nail wraps on top of each other. Just make sure to use the hairdryer to seal each layer before moving on to the next one. Another tip is to use a toothpick or a small dotting tool to add details or patterns to your design. This will give you more precision and control over your nail art. Lastly, if you accidentally smudge or mess up your nail wrap, don't worry! You can use a cotton swab dipped in nail polish remover to clean up any mistakes.Jamberry Nail Art Studio Tutorial: Tips and Tricks


Jamberry Nail Art Studio Tutorial: Tips and Tricks


For those who prefer a more visual guide, here's a step-by-step breakdown of how to use the Jamberry Nail Art Studio Tutorial. Step 1: Gather all the necessary tools and materials. Step 2: Clean your nails and make sure they are free of any oils or polish. Step 3: Select and cut your desired nail wrap design. Step 4: Heat up the wrap with a hairdryer for a few seconds. Step 5: Apply the wrap to your nail, starting from the cuticle and working your way to the tip. Step 6: Use a nail file to smooth out any wrinkles or bubbles. Step 7: Seal the wrap onto your nail with the hairdryer. Step 8: Repeat steps 4-7 for each nail. Step 9: Use a topcoat for added shine and longevity. Step 10: Show off your beautiful and unique nail art!Jamberry Nail Art Studio Tutorial: Step-by-Step Guide


Jamberry Nail Art Studio Tutorial: Step-by-Step Guide


If you're new to the world of nail art, the Jamberry Nail Art Studio is the perfect place to start. With easy-to-use tools and a wide range of designs to choose from, you'll be creating gorgeous nail art in no time. Start by experimenting with different designs and techniques. Don't be afraid to make mistakes, as they can often lead to new and unexpected designs. Practice makes perfect, so don't get discouraged if your first few attempts don't turn out as expected. Keep trying and have fun with it! You can also join online communities or forums for nail art enthusiasts to get inspiration and tips from fellow Jamberry users.Jamberry Nail Art Studio Tutorial: Beginner's Guide
Jamberry Nail Art Studio Tutorial: Beginner's Guide

For those who have mastered the basics of using the Jamberry Nail Art Studio, here are some advanced techniques to take your nail art to the next level. One technique is called the "water marble" method, where you use a cup of water to create a marbled design with your nail wraps. This technique requires a bit of practice, but the results are stunning. Another advanced technique is using a nail stamping kit in combination with your Jamberry nail wraps. This allows you to create intricate designs and patterns with ease. Don't be afraid to experiment and try new things. The possibilities are endless with the Jamberry Nail Art Studio.Jamberry Nail Art Studio Tutorial: Advanced Techniques

Jamberry Nail Art Studio Tutorial: Advanced Techniques
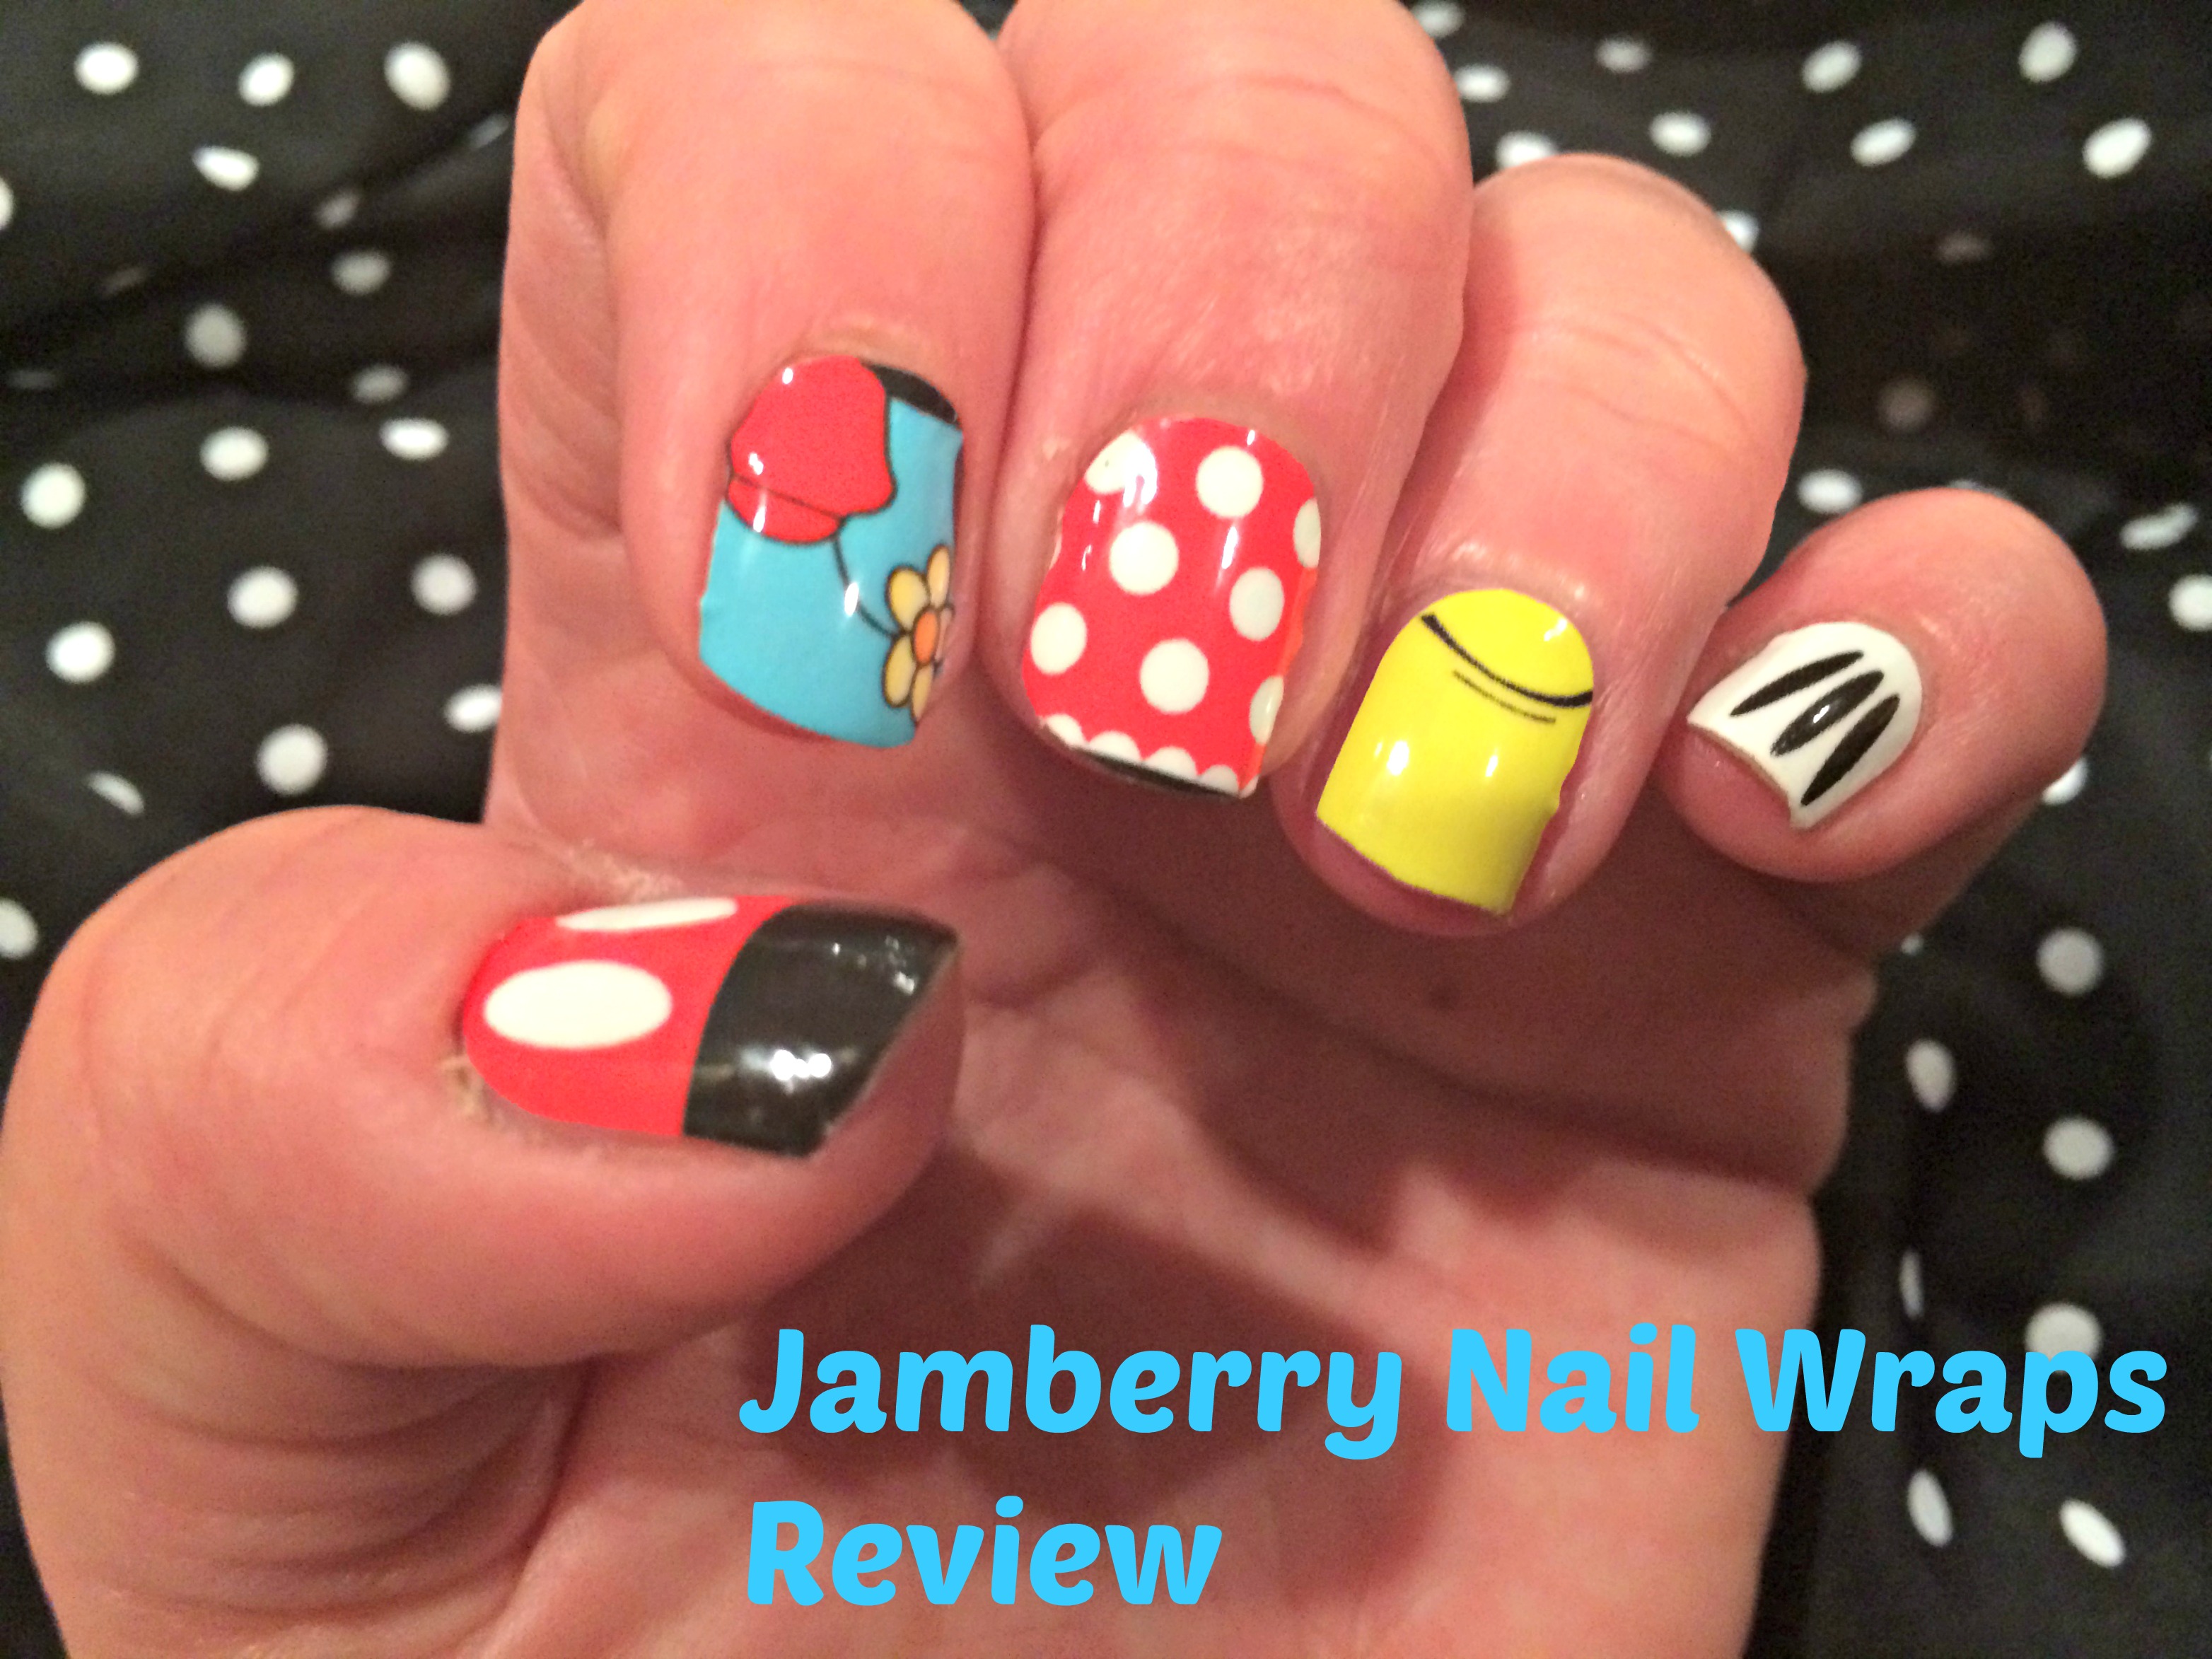
If you're in need of some inspiration for your next nail art design, look no further than the Jamberry Nail Art Studio. With hundreds of designs to choose from, you'll never run out of ideas. From floral patterns to geometric designs, there's something for everyone in the Jamberry collection. You can also mix and match different wraps to create your own unique design. Follow Jamberry's social media pages for even more inspiration and ideas from fellow Jamberry users.Jamberry Nail Art Studio Tutorial: Nail Art Inspiration


Jamberry Nail Art Studio Tutorial: Nail Art Inspiration

While using the Jamberry Nail Art Studio is generally straightforward, there may be some common issues that you may encounter. Here's how to troubleshoot them. If your nail wraps are not sticking properly, make sure your nails are clean and free of any oils. You can also try using a base coat or a clear topcoat as a base. If the wrap doesn't fit your nail perfectly, you can use a nail file to trim off any excess wrap that extends past your nail bed. If you accidentally apply the wrap to your skin, you can use a cuticle pusher or an orange stick to gently remove it without damaging the wrap. If you experience any other issues, don't hesitate to reach out to Jamberry's customer service for assistance.Jamberry Nail Art Studio Tutorial: Troubleshooting Common Issues
Jamberry Nail Art Studio Tutorial: Troubleshooting Common Issues

One of the best things about the Jamberry Nail Art Studio is the ability to create custom designs. Here's how you can do it. Start by selecting a plain or solid-colored wrap as your base. Then, use a toothpick or a small dotting tool to add designs or patterns with different colored nail polish. You can also use nail stamps, stencils, or even hand-paint your own designs on top of the wraps. Get creative and have fun with it!Jamberry Nail Art Studio Tutorial: Creating Custom Designs


Jamberry Nail Art Studio Tutorial: Creating Custom Designs


The Jamberry Nail Art Studio is not limited to just nail wraps. You can also use different tools and materials to create unique nail art designs. For example, you can use glitter, rhinestones, or even small decals to add some extra bling to your nails. You can also use a variety of nail polish colors to create your own custom designs. Don't be afraid to mix and match different techniques and materials to create your own one-of-a-kind nail art.Jamberry Nail Art Studio Tutorial: Using Different Tools and Materials

Jamberry Nail Art Studio Tutorial: Using Different Tools and Materials
When it's time to remove your Jamberry nail wraps, simply use nail polish remover on a cotton pad and gently rub it over the wrap. It should come off easily without damaging your nails. If you want to replace the wraps with a new design, make sure to clean your nails thoroughly and follow the same steps as before to apply the new wrap. Remember to take breaks in between wearing nail wraps to give your nails a chance to breathe and stay healthy.Jamberry Nail Art Studio Tutorial: How to Remove and Replace Nail Wraps

Jamberry Nail Art Studio Tutorial: How to Remove and Replace Nail Wraps
Creating a Customized Look with Jamberry Nail Art Studio

Transforming Your Nails into a Work of Art
 If you're someone who loves to express your personality through your nails, then you've probably heard of Jamberry Nail Art Studio. This innovative brand offers a wide range of nail wraps, lacquers, and other nail products that allow you to create stunning and unique designs right at home. With Jamberry, you can say goodbye to boring, single-color nails and hello to a world of endless possibilities.
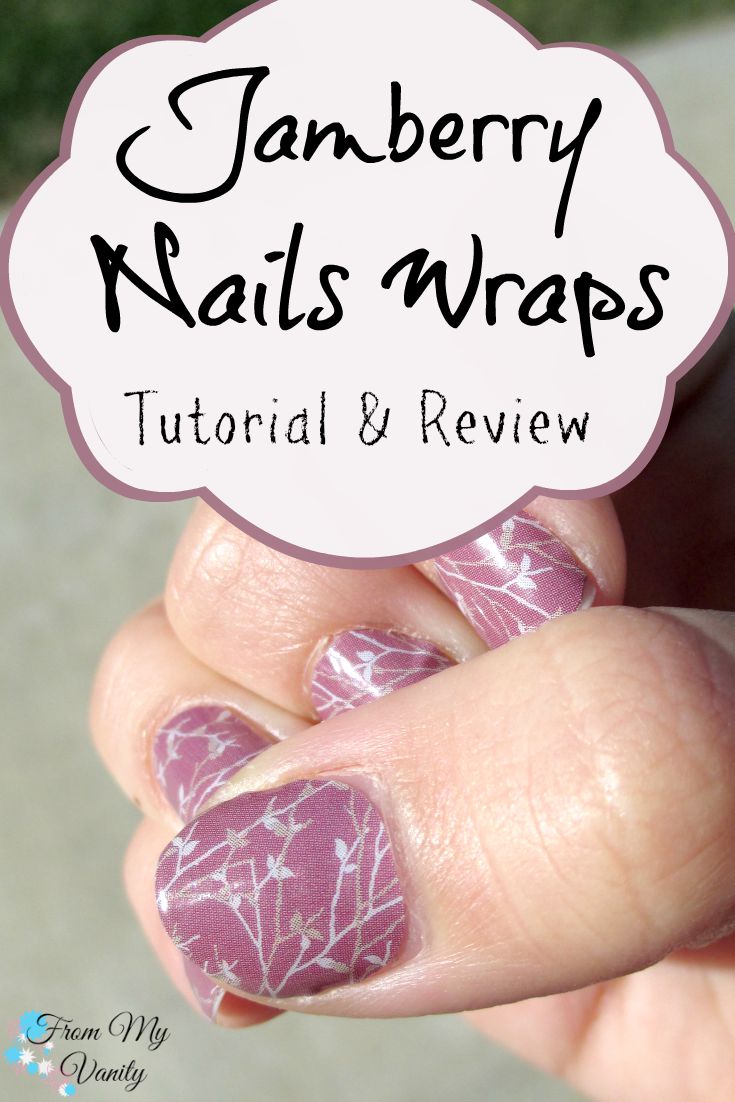
Jamberry nail wraps
are the star of the show when it comes to creating beautiful nail art designs. These wraps are made from high-quality vinyl and come in a variety of patterns, colors, and finishes. They are also heat-activated, making them easy to apply and customize to fit your nail size and shape. Whether you prefer bold and vibrant designs or subtle and classic ones, Jamberry has something for every style.
If you're someone who loves to express your personality through your nails, then you've probably heard of Jamberry Nail Art Studio. This innovative brand offers a wide range of nail wraps, lacquers, and other nail products that allow you to create stunning and unique designs right at home. With Jamberry, you can say goodbye to boring, single-color nails and hello to a world of endless possibilities.
Jamberry nail wraps
are the star of the show when it comes to creating beautiful nail art designs. These wraps are made from high-quality vinyl and come in a variety of patterns, colors, and finishes. They are also heat-activated, making them easy to apply and customize to fit your nail size and shape. Whether you prefer bold and vibrant designs or subtle and classic ones, Jamberry has something for every style.
Getting Started with Jamberry Nail Art Studio
 To begin your Jamberry nail art journey, you'll need a few essential tools: a nail file, a cuticle pusher, scissors, and a Jamberry mini heater. The nail file and cuticle pusher are used to prep your nails by removing any excess oils and pushing back your cuticles. Then, you can use the scissors to trim your chosen nail wrap to fit your nail shape perfectly. The Jamberry mini heater is used to activate the adhesive on the wraps, ensuring a long-lasting hold.
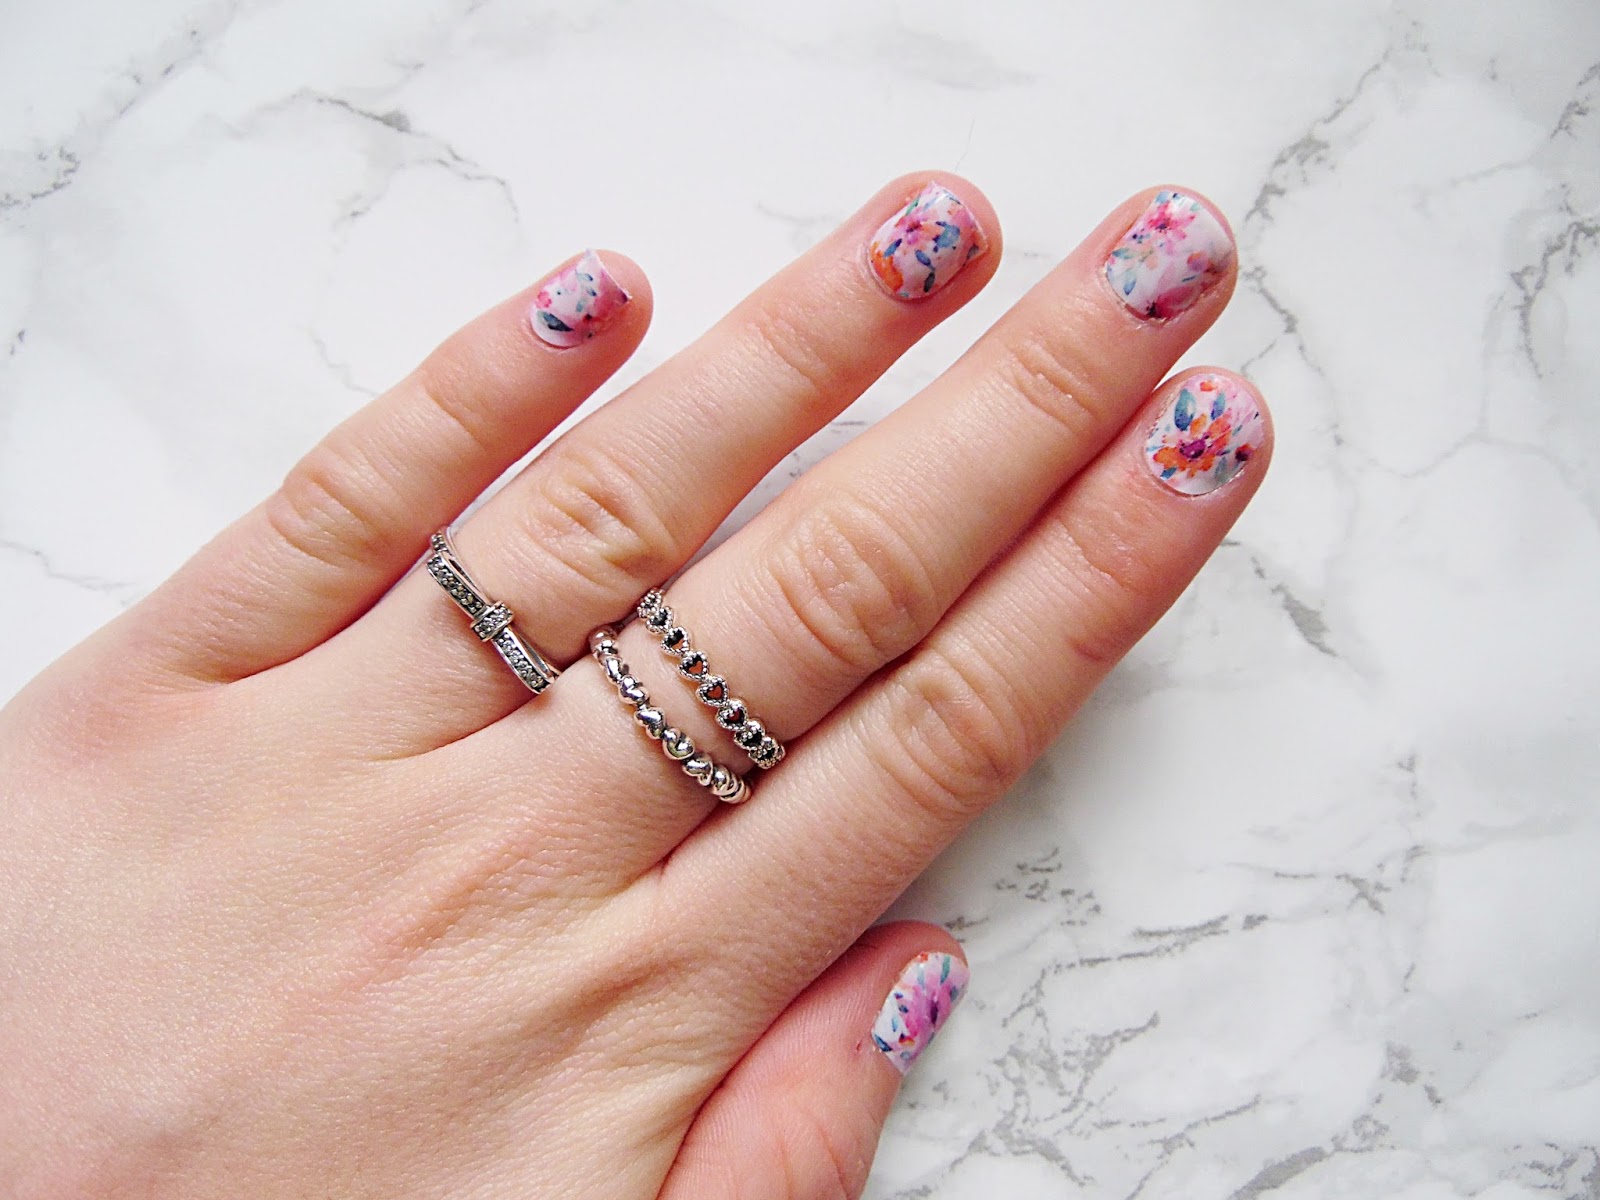
Now comes the fun part – choosing your design! Jamberry offers hundreds of designs to choose from, ranging from intricate florals to trendy geometric patterns. You can also mix and match different wraps to create your own unique look. Once you've selected your design, simply follow the instructions on the packaging to apply the wrap to your nail, using the mini heater to seal it in place. The result? A professional-looking nail design that can rival any salon manicure.
To begin your Jamberry nail art journey, you'll need a few essential tools: a nail file, a cuticle pusher, scissors, and a Jamberry mini heater. The nail file and cuticle pusher are used to prep your nails by removing any excess oils and pushing back your cuticles. Then, you can use the scissors to trim your chosen nail wrap to fit your nail shape perfectly. The Jamberry mini heater is used to activate the adhesive on the wraps, ensuring a long-lasting hold.
Now comes the fun part – choosing your design! Jamberry offers hundreds of designs to choose from, ranging from intricate florals to trendy geometric patterns. You can also mix and match different wraps to create your own unique look. Once you've selected your design, simply follow the instructions on the packaging to apply the wrap to your nail, using the mini heater to seal it in place. The result? A professional-looking nail design that can rival any salon manicure.
Creating a Customized Look
 One of the best things about Jamberry Nail Art Studio is the ability to customize your look. You can add extra embellishments, like
glitter
or
crystals
, to your nail wraps to give them an extra touch of glam. You can also use Jamberry's lacquers to create unique designs, like ombre or a French tip. With Jamberry, the possibilities are endless, and you can let your creativity run wild.
Whether you're new to the world of nail art or a seasoned pro, Jamberry Nail Art Studio is the perfect addition to your beauty routine. With their high-quality products and endless design options, you can create a one-of-a-kind look that reflects your personal style. So say goodbye to boring nails and hello to stunning and customized nail art with Jamberry.
One of the best things about Jamberry Nail Art Studio is the ability to customize your look. You can add extra embellishments, like
glitter
or
crystals
, to your nail wraps to give them an extra touch of glam. You can also use Jamberry's lacquers to create unique designs, like ombre or a French tip. With Jamberry, the possibilities are endless, and you can let your creativity run wild.
Whether you're new to the world of nail art or a seasoned pro, Jamberry Nail Art Studio is the perfect addition to your beauty routine. With their high-quality products and endless design options, you can create a one-of-a-kind look that reflects your personal style. So say goodbye to boring nails and hello to stunning and customized nail art with Jamberry.


