Looking for a fun and adorable way to jazz up your nails? Look no further than this cute kitty nail art tutorial! This step-by-step guide will have you rocking a meow-tastic manicure in no time. So grab your favorite nail polish colors and let's get started!1. Cute Kitty Nail Art Tutorial


1. Cute Kitty Nail Art Tutorial


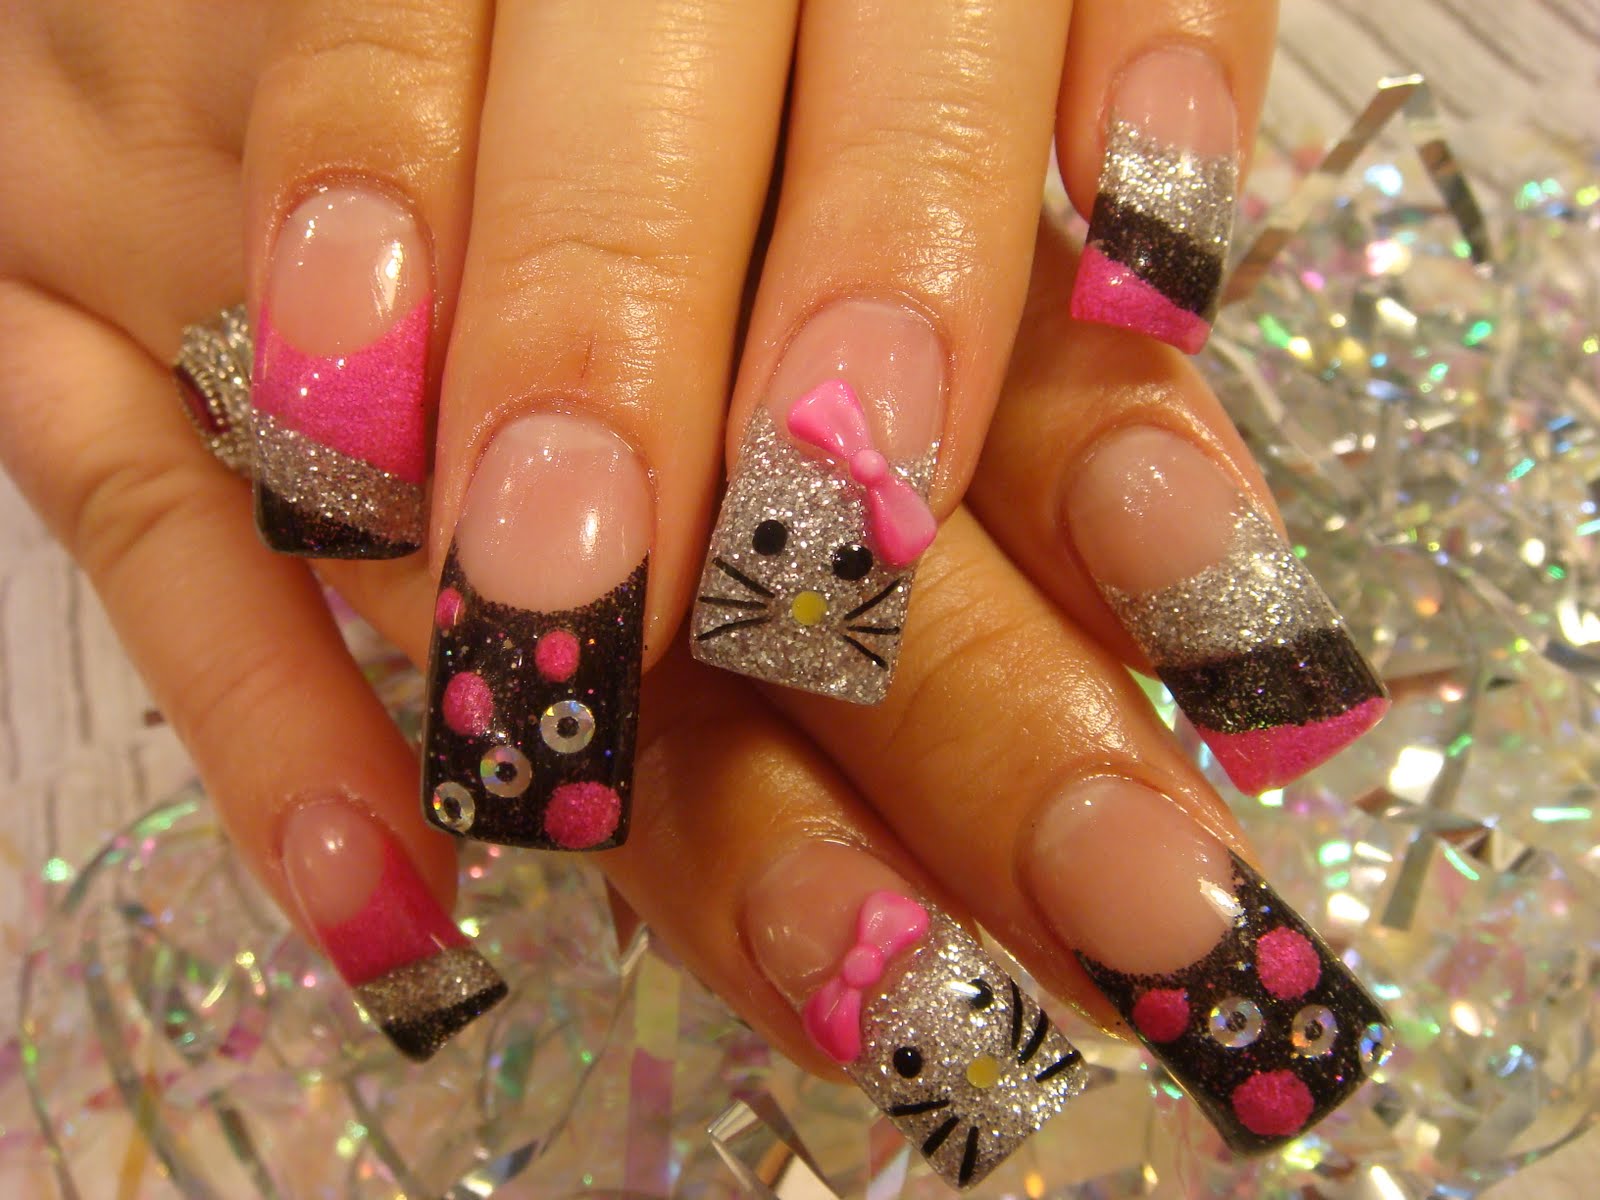
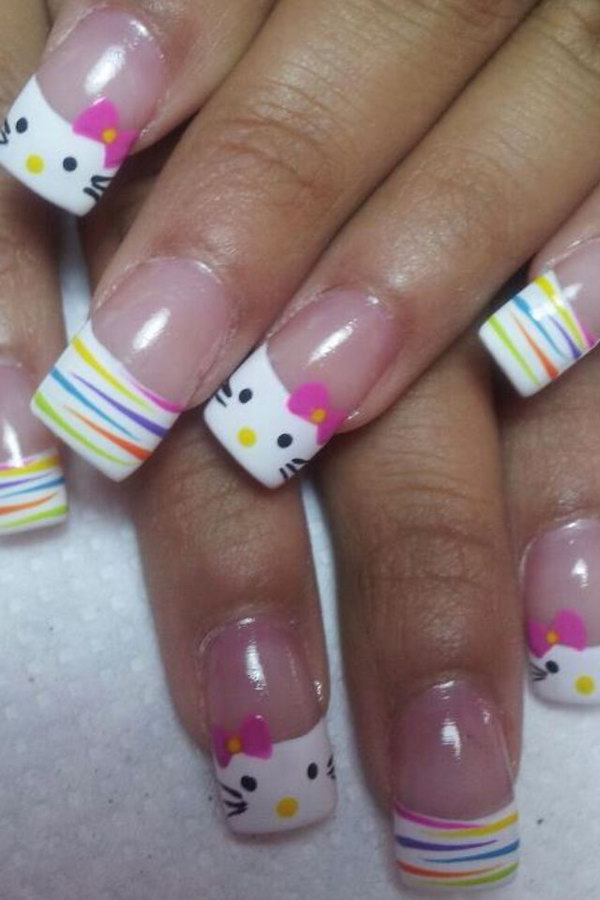
Creating kitty nail art may seem daunting, but with this easy step-by-step guide, you'll have no trouble at all. Start by painting your nails with a light base color, such as Purr-fect Peach. Next, using a thin brush or a toothpick, draw two small triangles at the top of your nail for the ears. Then, using a darker color, create two small dots for the eyes and a small triangle for the nose. Finally, add some whiskers and voila! You have adorable kitty nails.2. Easy Step-by-Step Guide for Kitty Nails


2. Easy Step-by-Step Guide for Kitty Nails


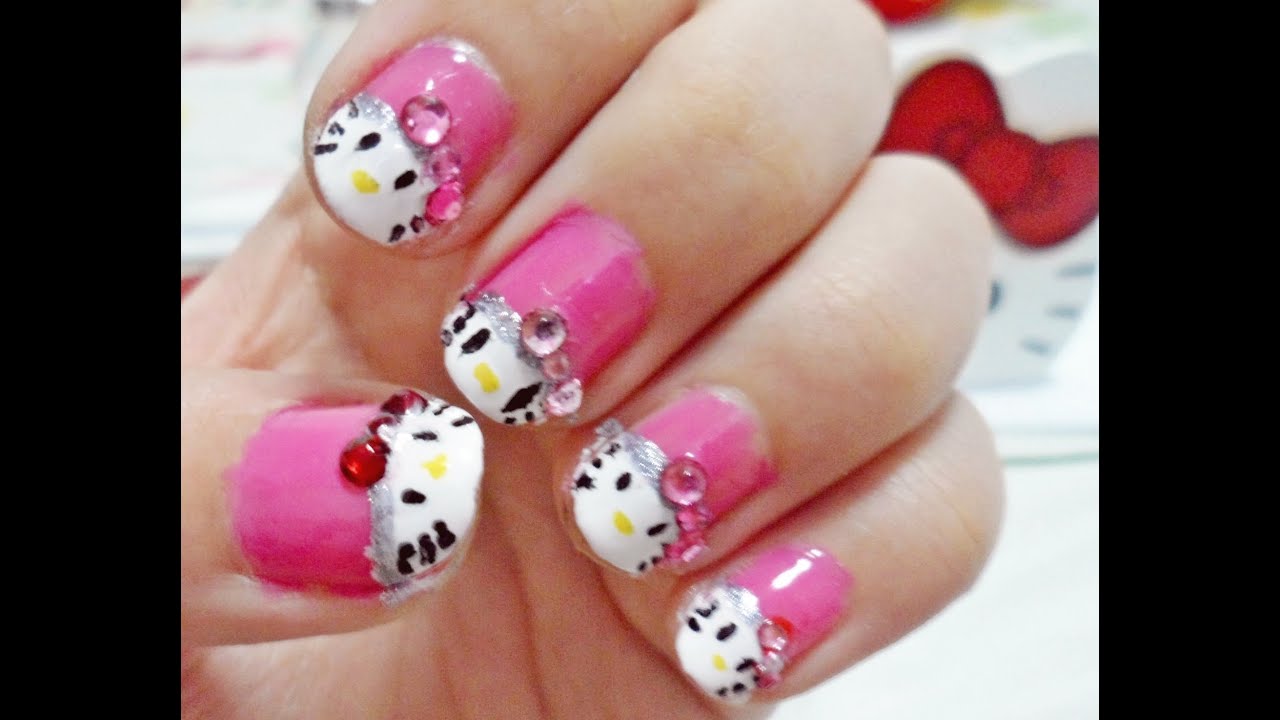
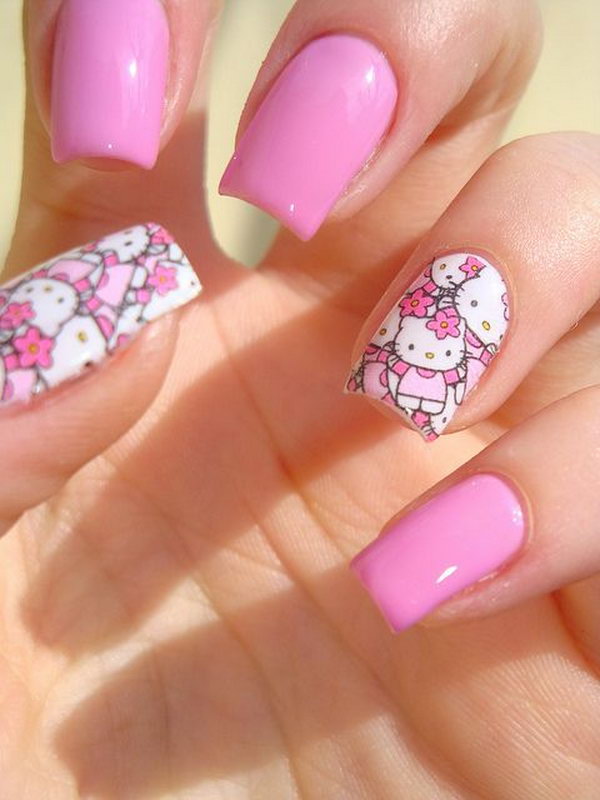
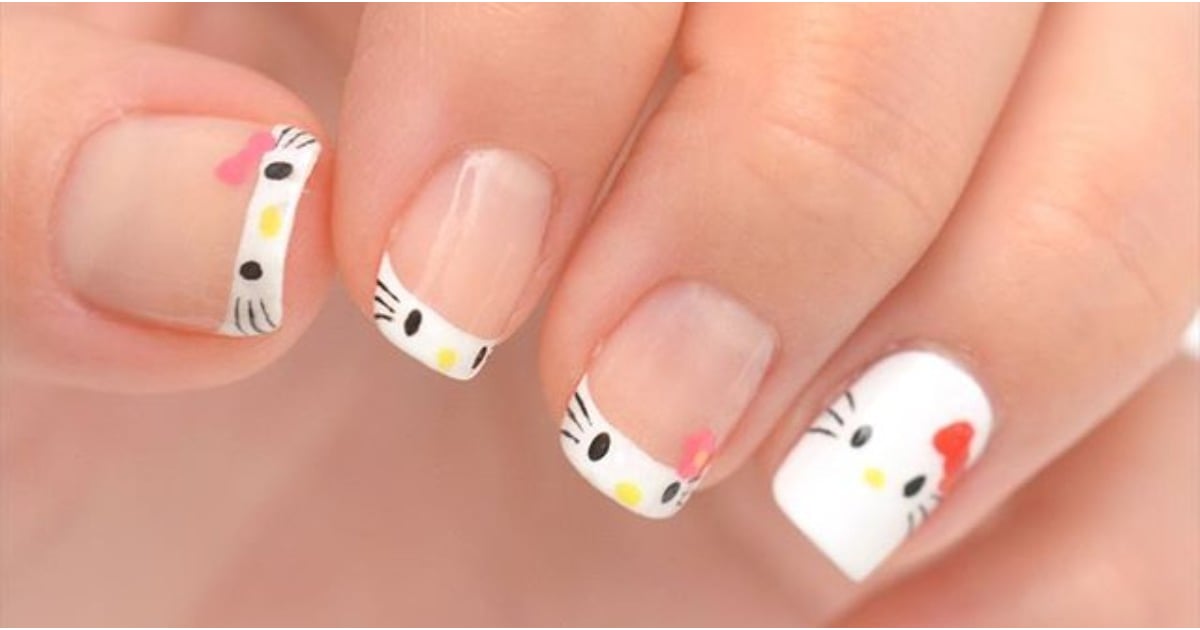
If you're new to nail art, don't worry! These adorable cat designs are perfect for beginners. Start by painting your nails with a light pink base color, such as Kitty Kisses. Then, using a thin brush, create two small triangles for the ears. Next, use a toothpick to add two dots for the eyes and a small triangle for the nose. Finally, use a black nail polish to draw on the whiskers. This simple design is sure to impress.3. Adorable Cat Nail Designs for Beginners

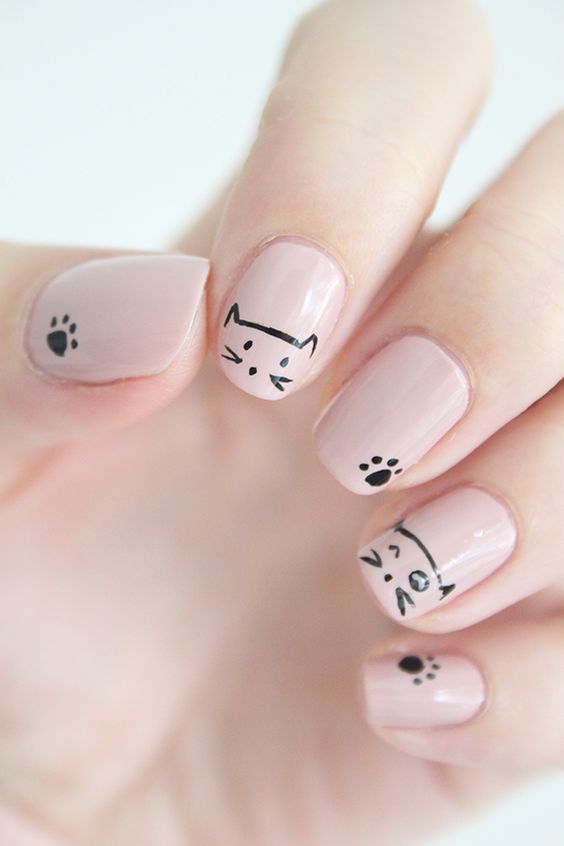

3. Adorable Cat Nail Designs for Beginners

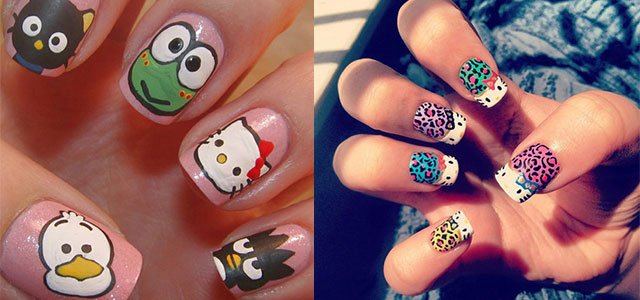


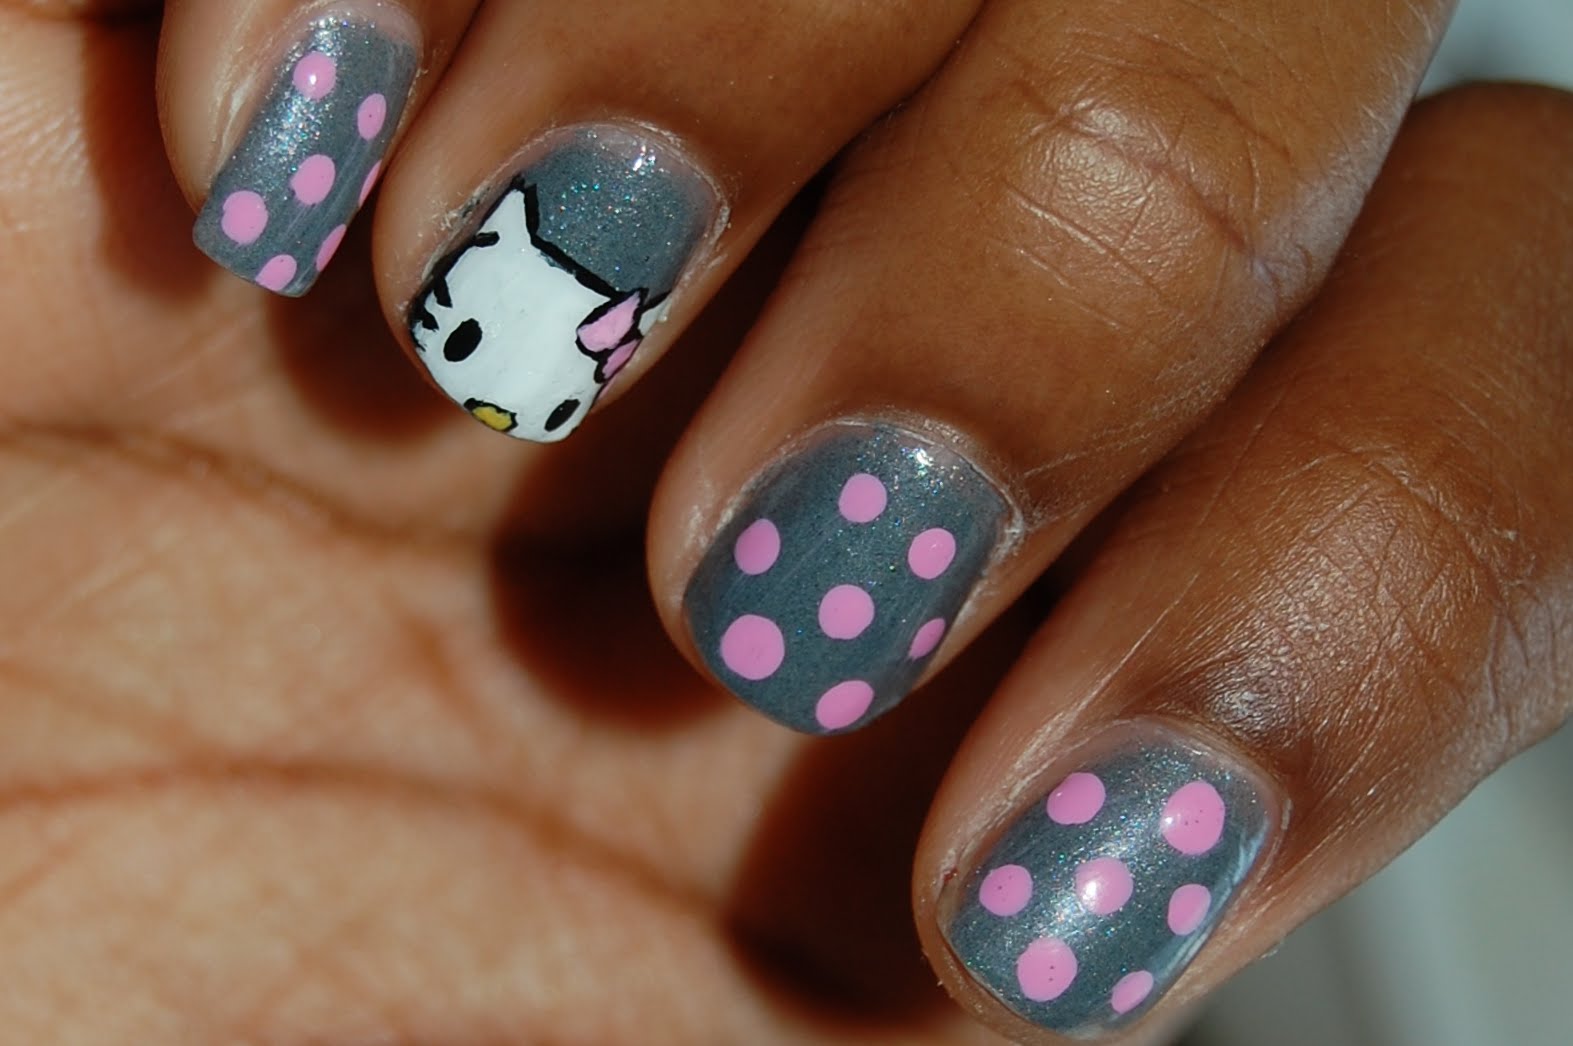
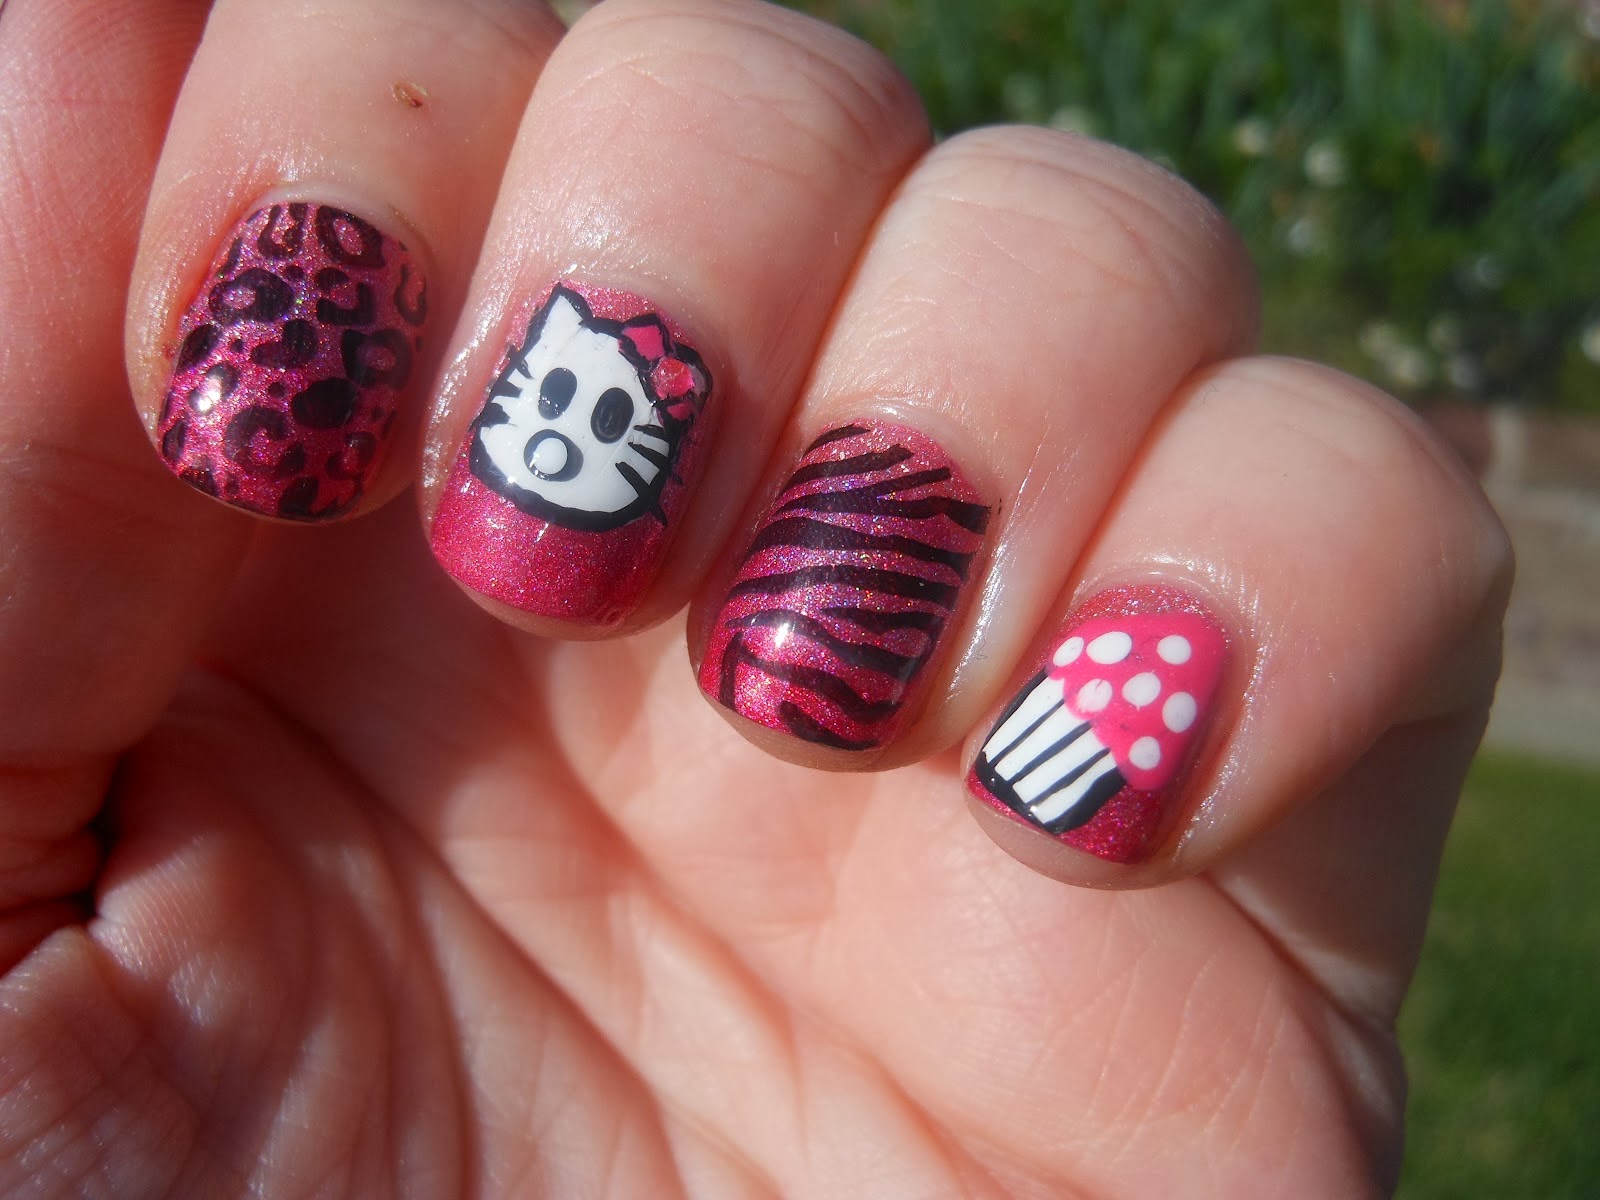
Ready to take your kitty nail art to the next level? This tutorial will show you how to create a meow-tastic manicure that will have everyone talking. Start by painting your nails with a light grey base color, such as Cool Cat. Using a thin brush, create two small triangles for the ears and fill them in with a darker grey shade. Then, using a toothpick, draw on two small dots for the eyes and a small triangle for the nose. Finish off with some cute pink whiskers and you'll have the most purr-fect manicure around.4. How to Create a Meow-tastic Manicure


4. How to Create a Meow-tastic Manicure


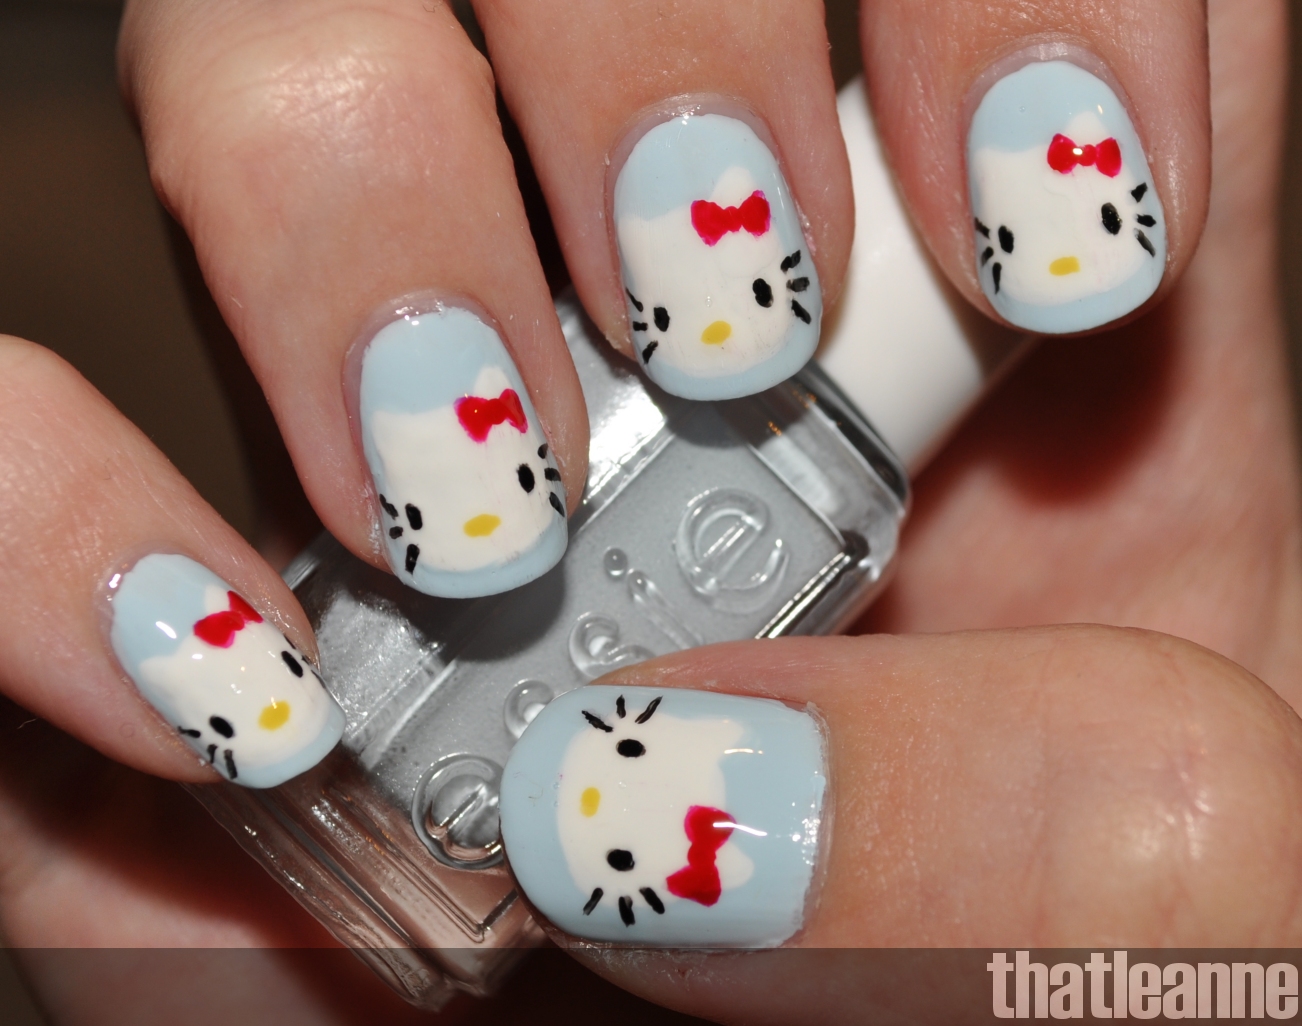
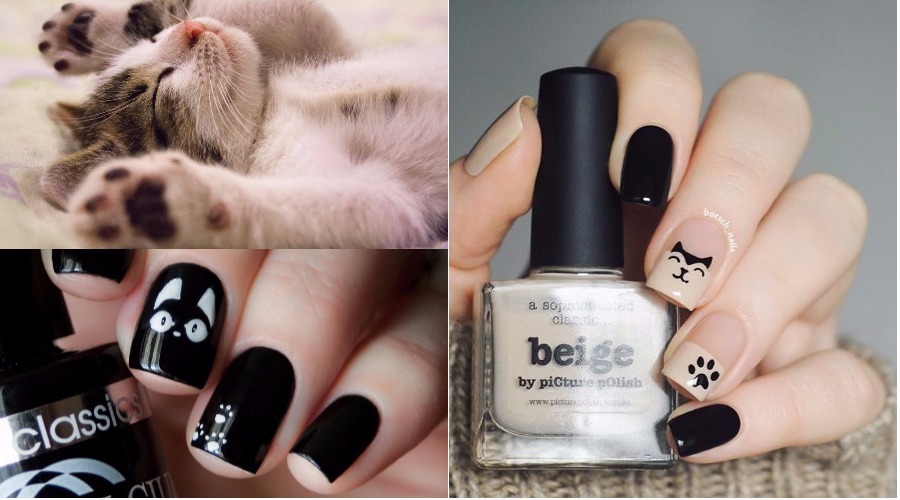
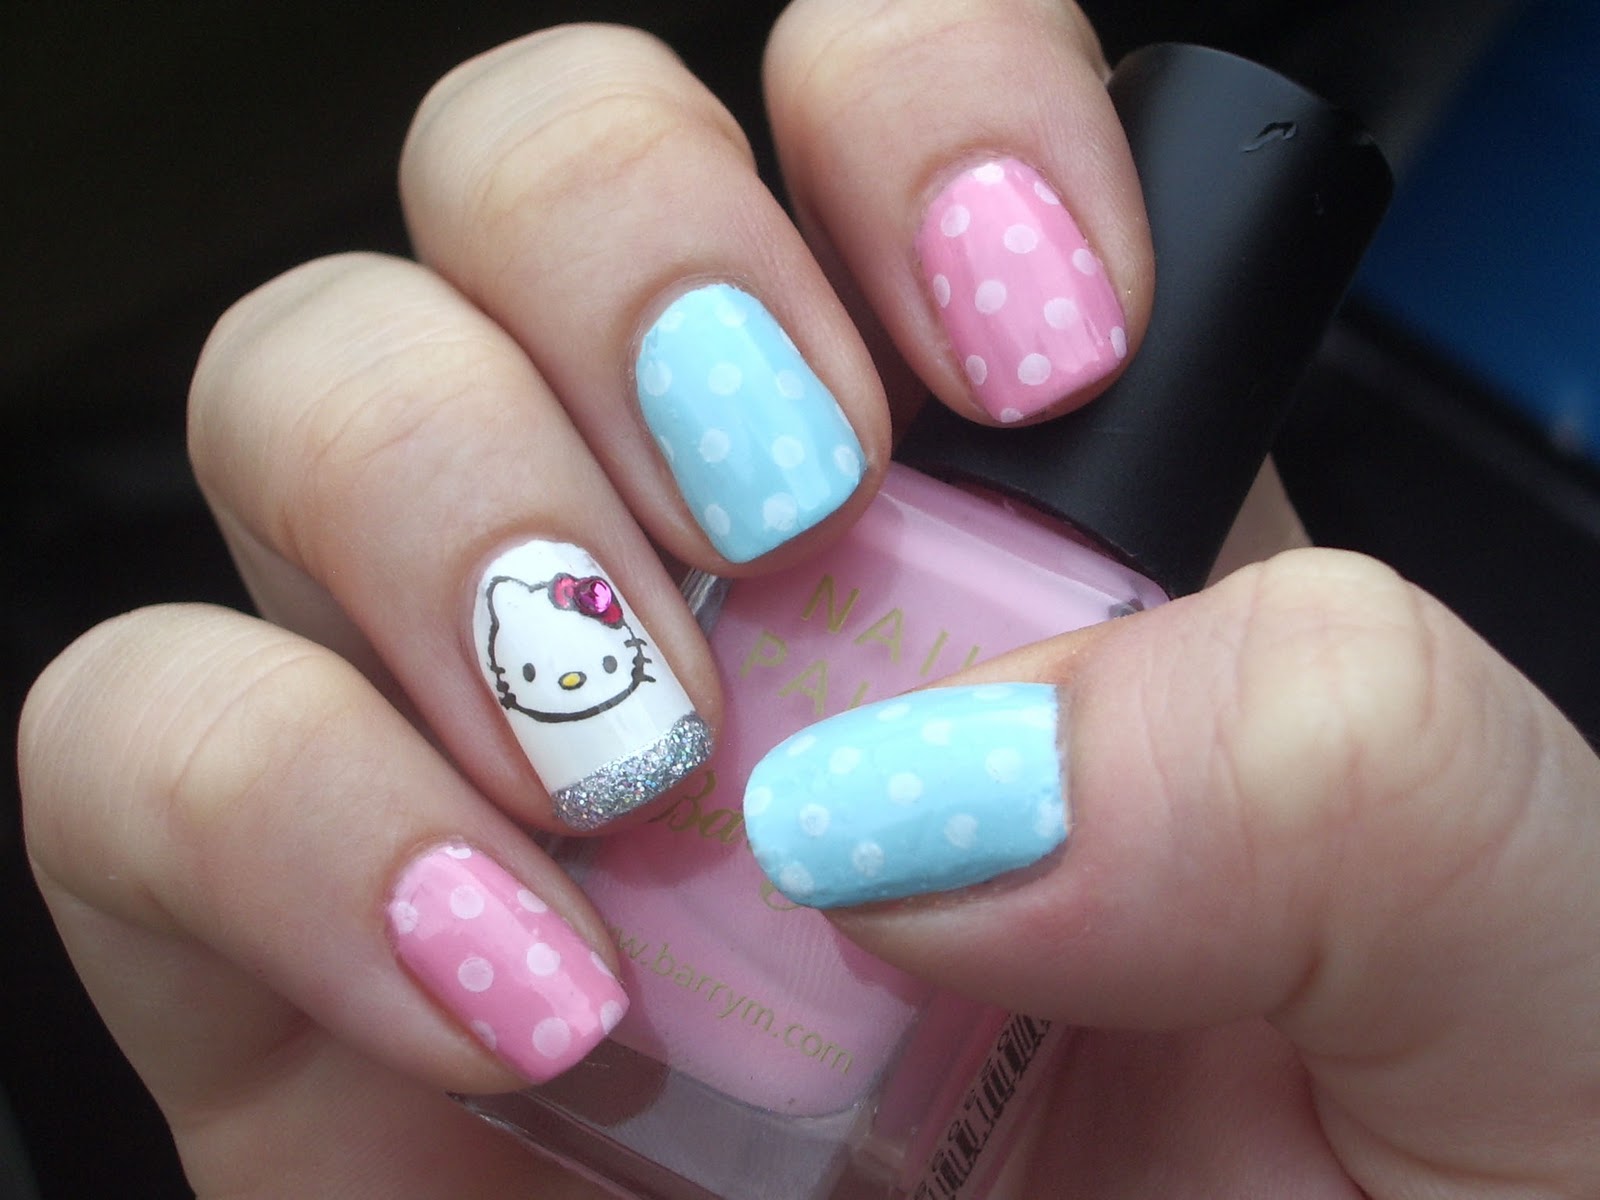
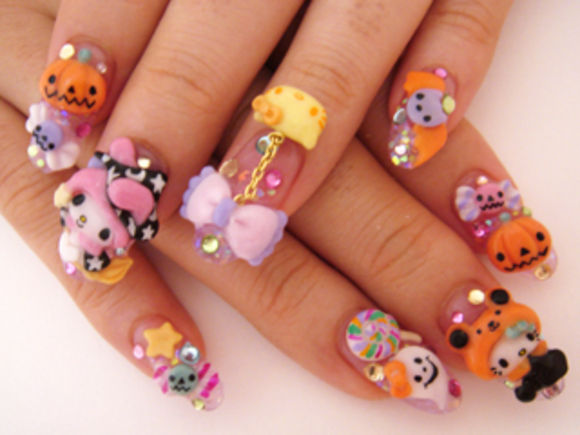
If you're a cat lover, then this DIY kitty nail art is a must-try. Start by painting your nails with a light blue base color, such as Kitten Blue. Then, using a thin brush, create two small triangles for the ears and fill them in with a darker blue shade. Next, use a toothpick to add two dots for the eyes and a small triangle for the nose. Finally, add some white dots along the top of your nail for the kitty's fluffy fur. This cute design is sure to make your heart melt.5. DIY Kitty Nail Art for Cat Lovers


5. DIY Kitty Nail Art for Cat Lovers

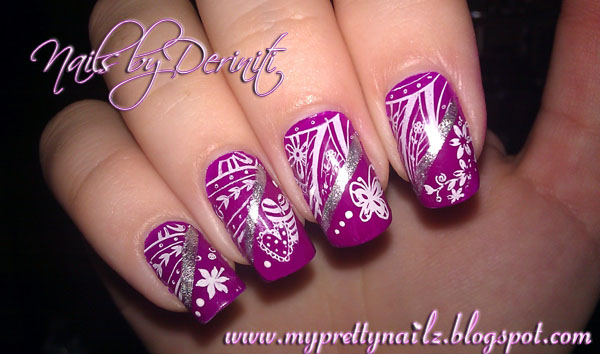
Looking for a unique twist on traditional kitty nail art? Why not try out these adorable whisker nails? Start by painting your nails with a light purple base color, such as Purr-ple Passion. Then, using a thin brush, create two small triangles for the ears and fill them in with a darker purple shade. Next, use a toothpick to add two dots for the eyes and a small triangle for the nose. Finally, use a black nail polish to draw on the whiskers. This design is sure to make a statement.6. Step-by-Step Instructions for Whisker Nails


6. Step-by-Step Instructions for Whisker Nails


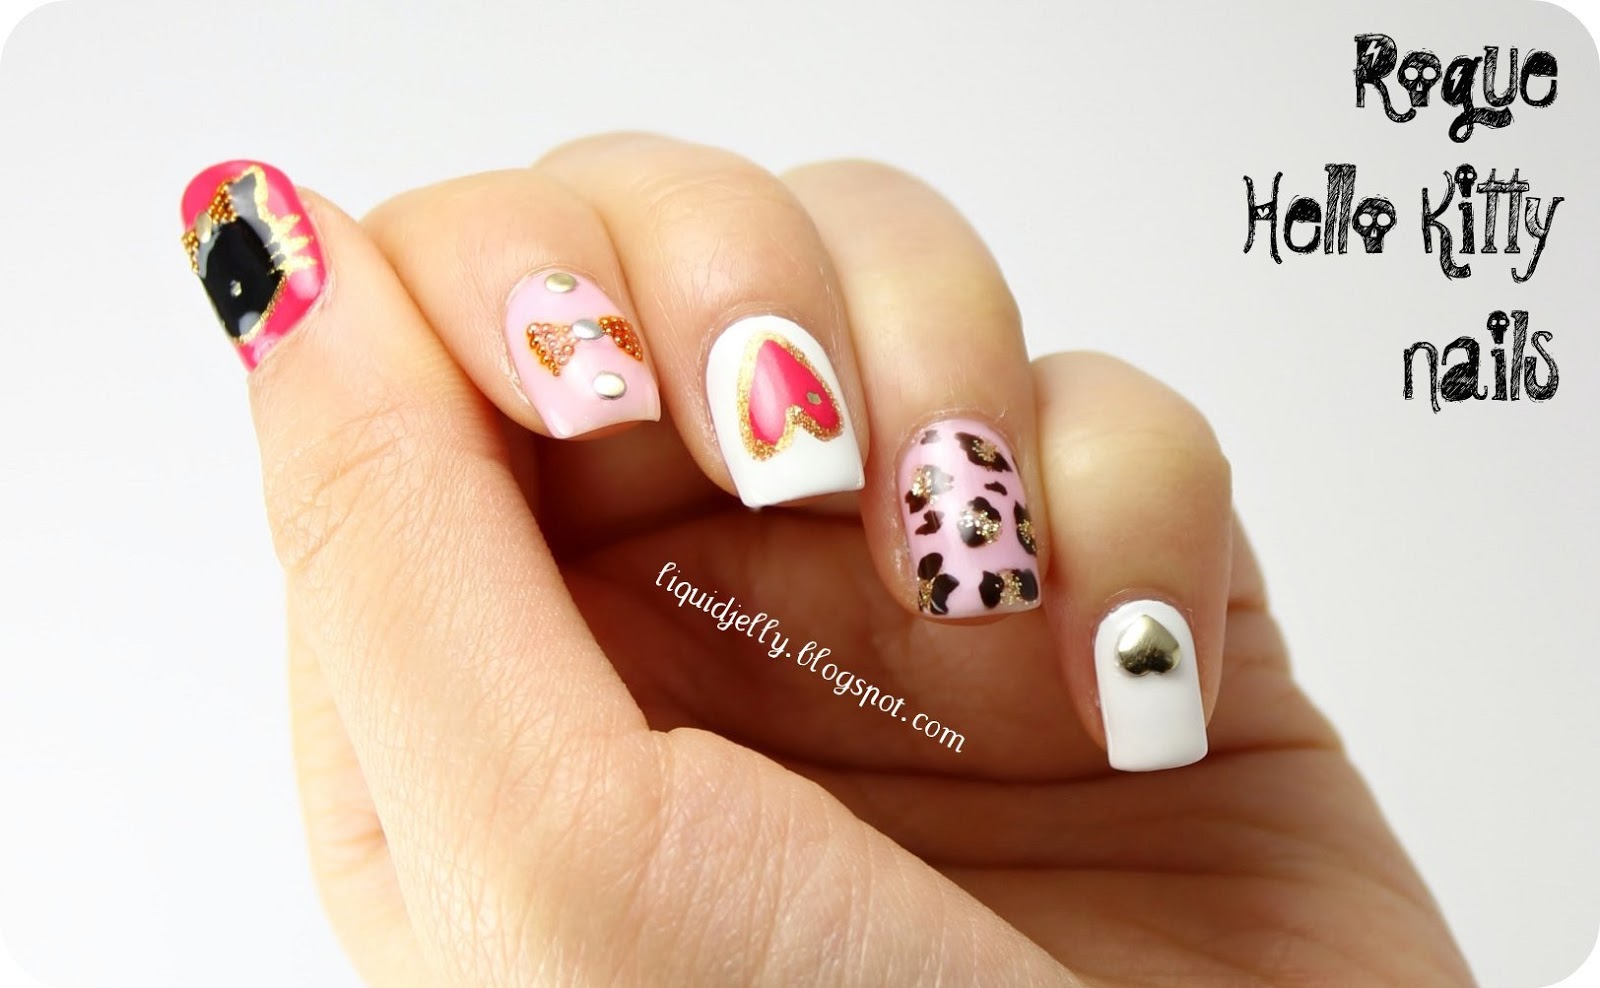
Calling all cat lovers! These purr-fect nail art ideas are sure to make your heart skip a beat. Start by painting your nails with a light grey base color, such as Feline Fancy. Then, using a thin brush, create two small triangles for the ears and fill them in with a darker grey shade. Next, use a toothpick to add two dots for the eyes and a small triangle for the nose. Finally, add some cute pink hearts for a touch of sweetness. These nails are a must-try for any feline fan.7. Purr-fect Nail Art Ideas for Feline Fans


7. Purr-fect Nail Art Ideas for Feline Fans
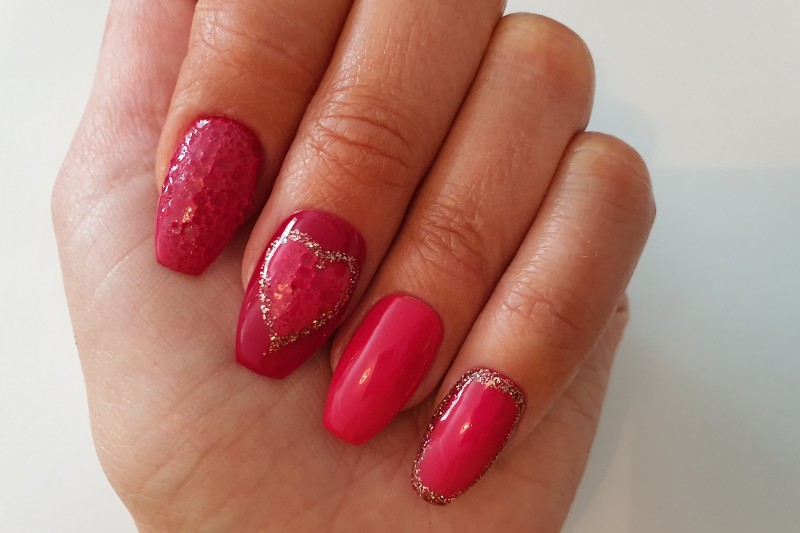
:max_bytes(150000):strip_icc()/121020-red-art-nail-designs-lead-2000-d0787e7365f44dfeaa27972ae713d448.jpg)


Looking for a cute and simple design for your kitty nails? Look no further than this tutorial. Start by painting your nails with a light pink base color, such as Purr-ty Pink. Then, using a thin brush, create two small triangles for the ears and fill them in with a darker pink shade. Next, use a toothpick to add two dots for the eyes and a small triangle for the nose. Finally, use a black nail polish to draw on the whiskers. This design is easy to create and oh-so-adorable.8. Cute and Simple Cat Nail Designs


8. Cute and Simple Cat Nail Designs


Take your kitty nail art to the next level with this meow-nificent design. Start by painting your nails with a light blue base color, such as Whisker Wonderland. Then, using a thin brush, create two small triangles for the ears and fill them in with a darker blue shade. Next, use a toothpick to add two dots for the eyes and a small triangle for the nose. Finally, use a black nail polish to draw on the whiskers and add some glitter for a touch of sparkle. These nails are the ultimate cat lover's dream.9. Meow-nificent Nail Art for Cat Nails


9. Meow-nificent Nail Art for Cat Nails


Looking for a fun activity for kids? This easy kitty nail art tutorial is perfect for little ones. Start by painting their nails with a light pink base color, such as Kitty Cutie. Then, using a thin brush, create two small triangles for the ears and fill them in with a darker pink shade. Next, use a toothpick to add two dots for the eyes and a small triangle for the nose. Finally, add some glitter for a touch of sparkle. These nails are sure to make any child smile.10. Easy Kitty Nail Art for Kids


10. Easy Kitty Nail Art for Kids


Creating a Unique and Adorable Look with Kitty Nail Art Step by Step
 When it comes to house design, every detail matters – even your nails! And what better way to add a touch of cuteness and playfulness to your home than with
kitty nail art
? This fun and creative trend has taken the beauty world by storm with its adorable designs and endless possibilities. Whether you're a nail art pro or just starting out, this step by step guide will help you achieve a unique and eye-catching look for your nails.
When it comes to house design, every detail matters – even your nails! And what better way to add a touch of cuteness and playfulness to your home than with
kitty nail art
? This fun and creative trend has taken the beauty world by storm with its adorable designs and endless possibilities. Whether you're a nail art pro or just starting out, this step by step guide will help you achieve a unique and eye-catching look for your nails.
Step 1: Prep and Prime
 Before you begin, it's important to prep and prime your nails. Start by removing any old nail polish and shaping your nails to your desired length. Then, gently push back your cuticles and use a cuticle trimmer to remove any excess skin. To ensure your nail polish lasts longer, apply a base coat to your nails. This will also prevent your nails from staining.
Step 2: Choose Your Design
 The beauty of
kitty nail art
is that there are endless design options to choose from. You can opt for a cute and simple design with just a kitty face on one or two nails, or go all out with a full set of kitty nails. You can also choose from different colors and styles, such as cartoon-like or realistic. The choice is yours, so let your creativity run wild!
The beauty of
kitty nail art
is that there are endless design options to choose from. You can opt for a cute and simple design with just a kitty face on one or two nails, or go all out with a full set of kitty nails. You can also choose from different colors and styles, such as cartoon-like or realistic. The choice is yours, so let your creativity run wild!
Step 3: Gather Your Tools
 To achieve the perfect kitty nail art, you'll need a few tools. These include a thin nail art brush, a dotting tool, and a toothpick. You can also use a bobby pin or a makeshift dotting tool using the end of a pencil if you don't have one. Make sure to have a variety of nail polish colors on hand as well, including black, white, and any other colors you want to incorporate into your design.
Step 4: Paint the Base Color
 Start by painting your nails with your base color of choice. This can be a solid color or a gradient. Let the polish dry completely before moving on to the next step.
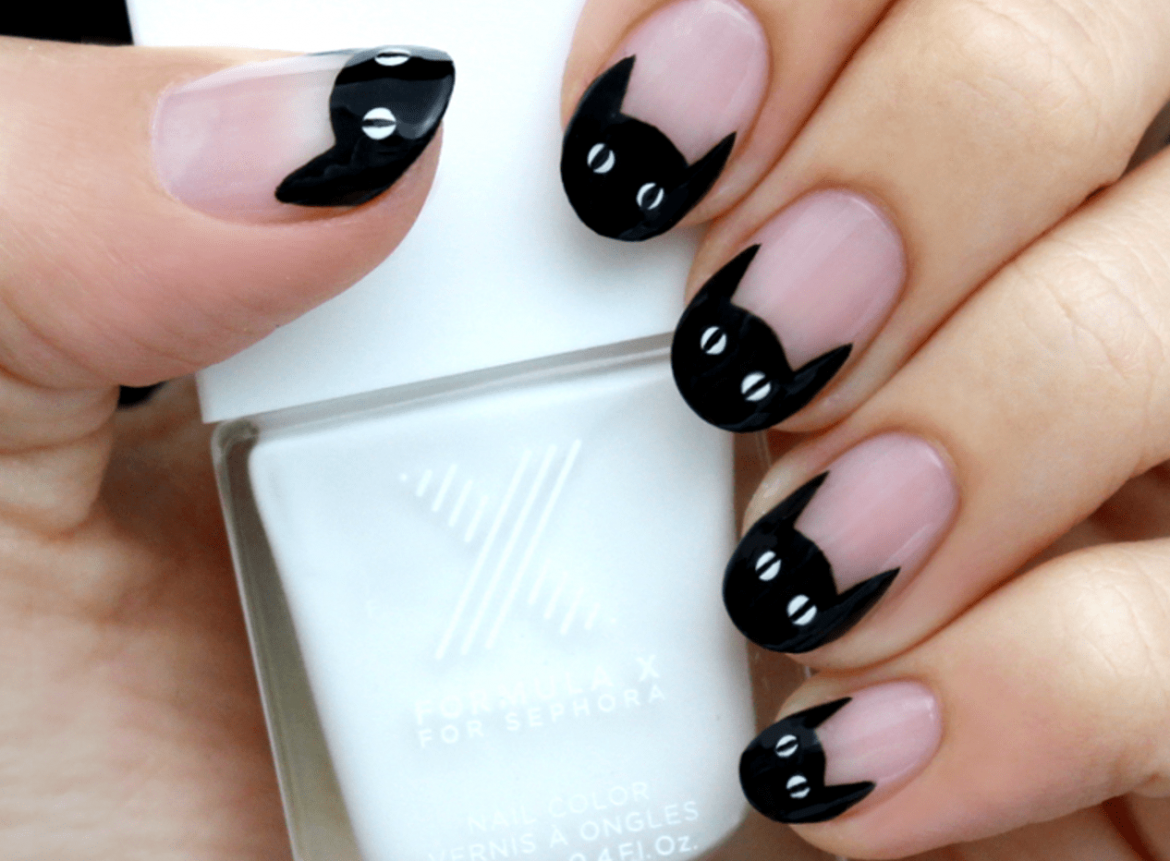
Step 5: Draw the Kitty Face
 Using your thin nail art brush, dip it into black nail polish and carefully draw the outline of the kitty face on your nail. Start with the ears, then add the eyes, nose, and mouth. For a more realistic look, you can use white nail polish for the eyes and add details with black polish.
Step 6: Add Details
 Use your dotting tool or toothpick to add details such as whiskers or a bowtie to your kitty face. You can also use different colors to add more dimension to your design.
Step 7: Seal the Design
 Once your design is complete and dry, seal it with a top coat to protect it and add shine. This will also help your design last longer.
With these simple steps, you can easily achieve a unique and adorable look with
kitty nail art
. Let your imagination run wild and have fun with different designs and colors to add a touch of cuteness to your house design. So go ahead and give it a try – your nails (and your home) will thank you!
Once your design is complete and dry, seal it with a top coat to protect it and add shine. This will also help your design last longer.
With these simple steps, you can easily achieve a unique and adorable look with
kitty nail art
. Let your imagination run wild and have fun with different designs and colors to add a touch of cuteness to your house design. So go ahead and give it a try – your nails (and your home) will thank you!


