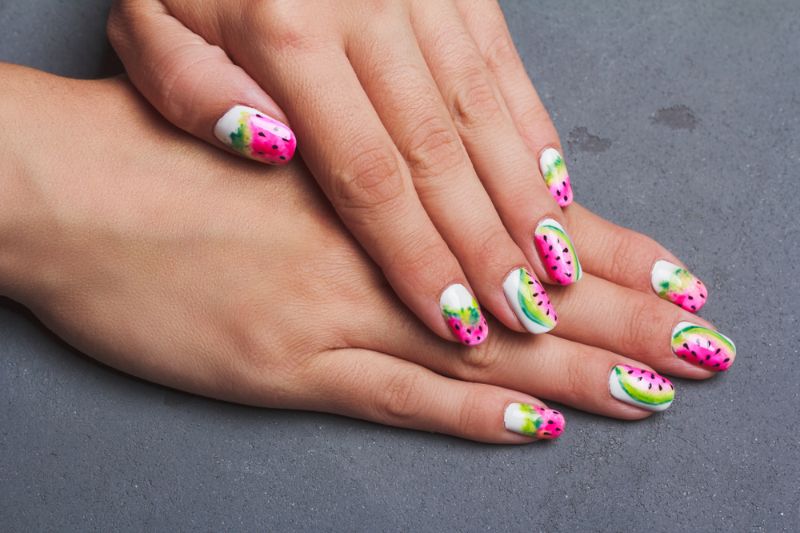
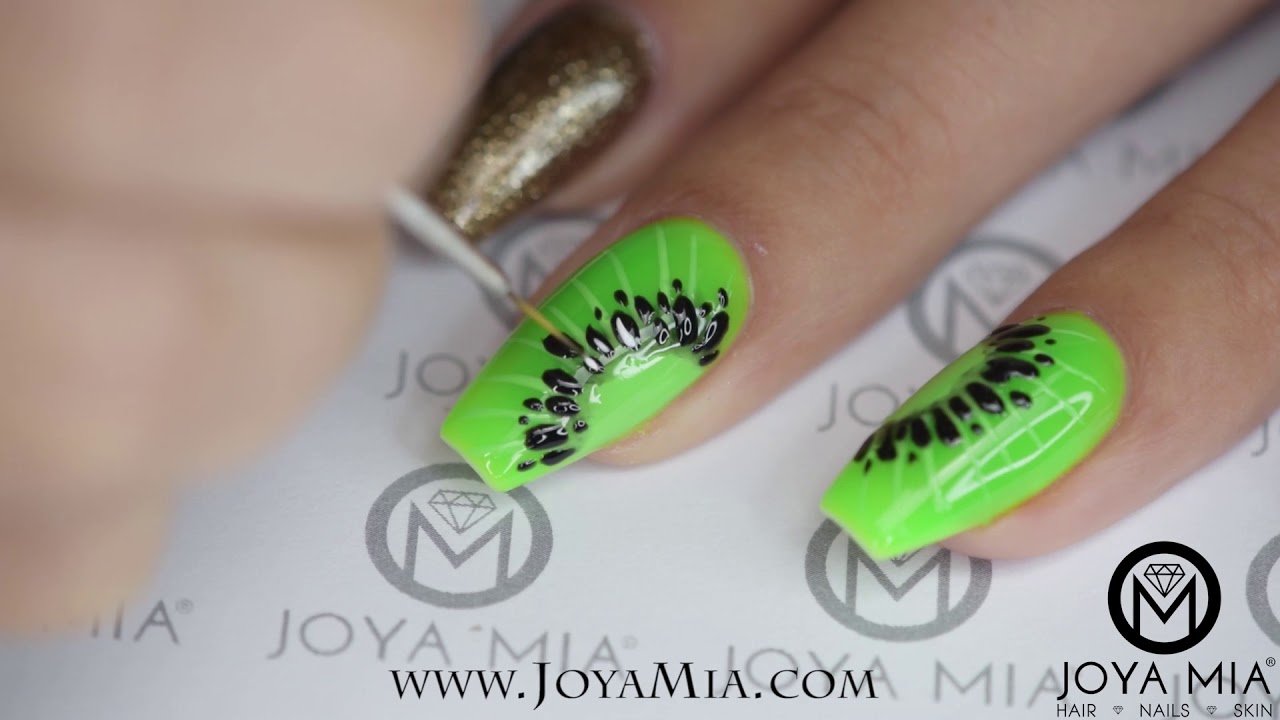
Are you looking for a fun and unique way to spice up your nail game? Look no further than this easy kiwi fruit nail art tutorial! With just a few simple steps, you can create a playful and eye-catching design that is perfect for any occasion. So grab your green and brown nail polish and let's get started!1. "Easy Kiwi Fruit Nail Art Tutorial"


1. "Easy Kiwi Fruit Nail Art Tutorial"


.jpg)
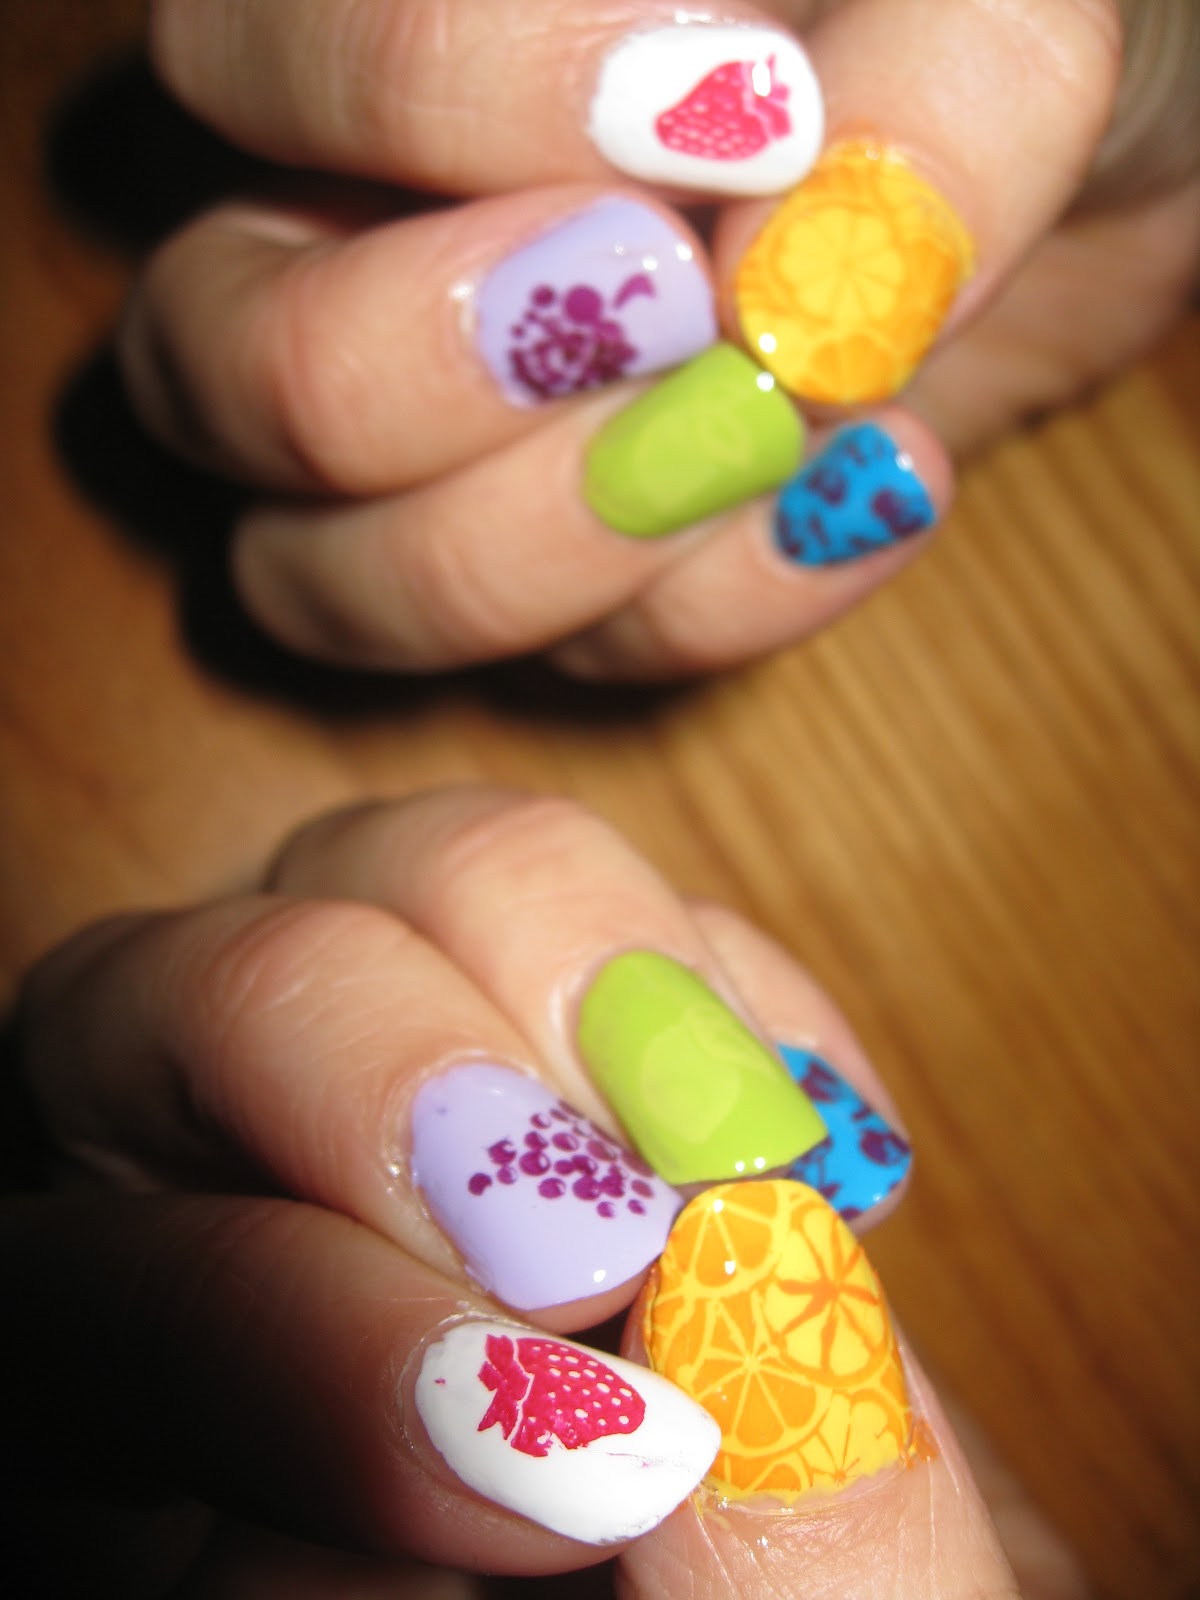
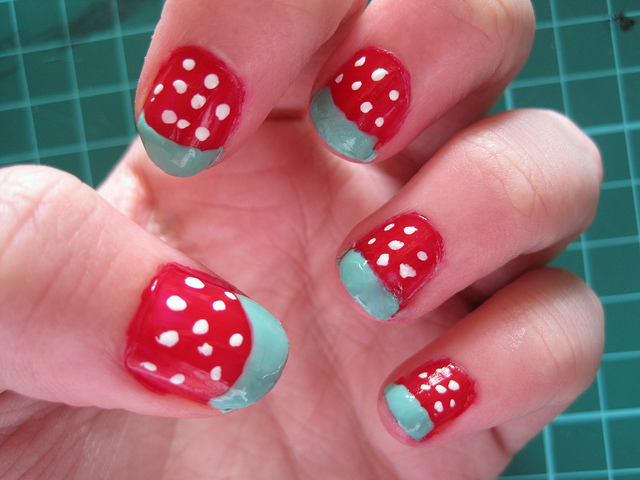
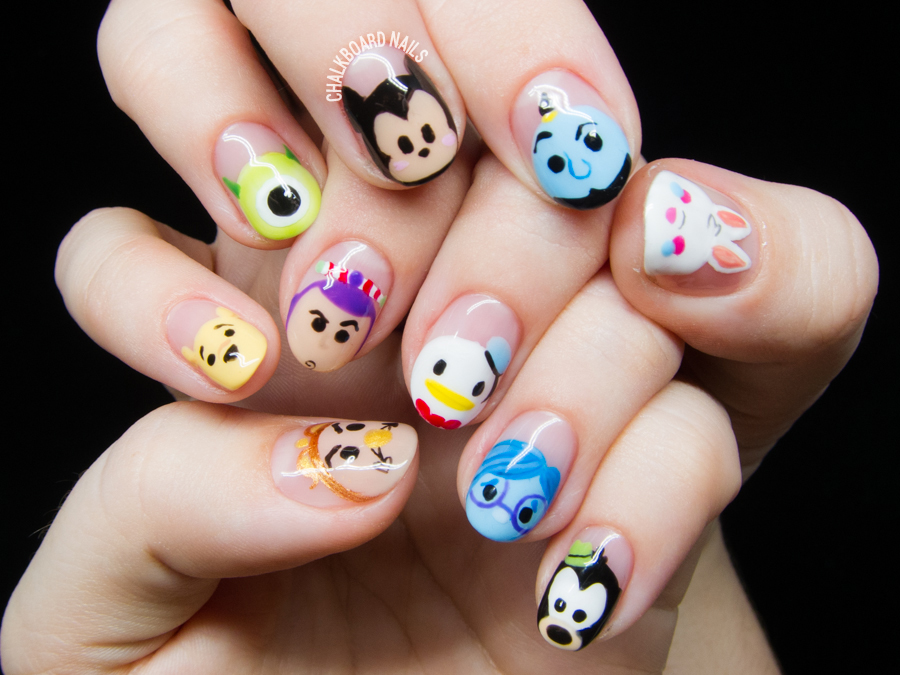
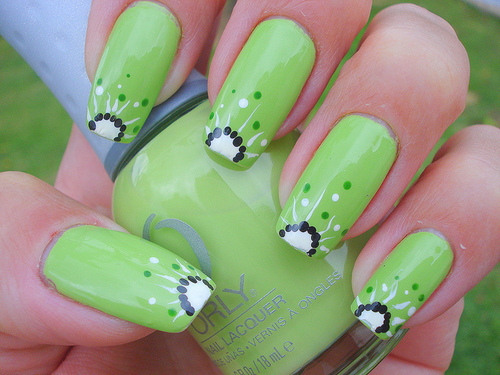
If you love to do your own nails and are always on the lookout for cute and creative designs, then this DIY kiwi fruit nail art tutorial is perfect for you. Not only is it a fun and easy project to do, but it also allows you to customize your nails to your liking. So get ready to show off your artistic skills with this fun and fruity nail art design!2. "DIY Kiwi Fruit Nail Art Tutorial"


2. "DIY Kiwi Fruit Nail Art Tutorial"

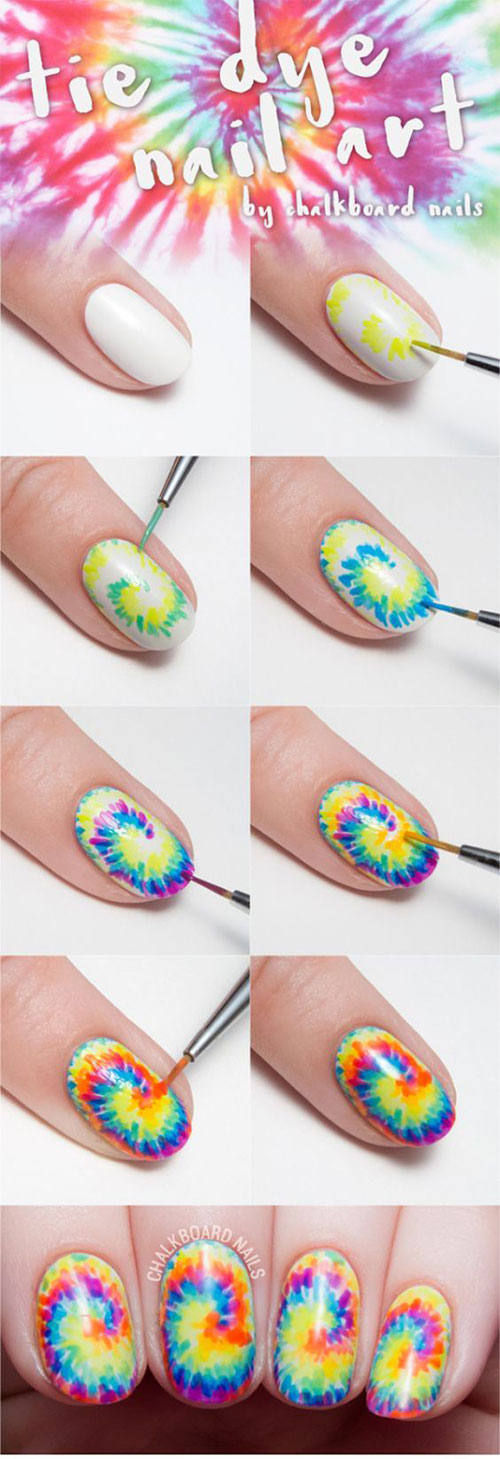
For those who are new to nail art, it can seem like a daunting task. But fear not, because this step-by-step kiwi fruit nail art tutorial will guide you through the process with ease. From prepping your nails to adding the finishing touches, each step is clearly explained and accompanied by helpful visuals. So get ready to rock this cute and trendy nail design!3. "Step-by-Step Kiwi Fruit Nail Art Tutorial"

3. "Step-by-Step Kiwi Fruit Nail Art Tutorial"


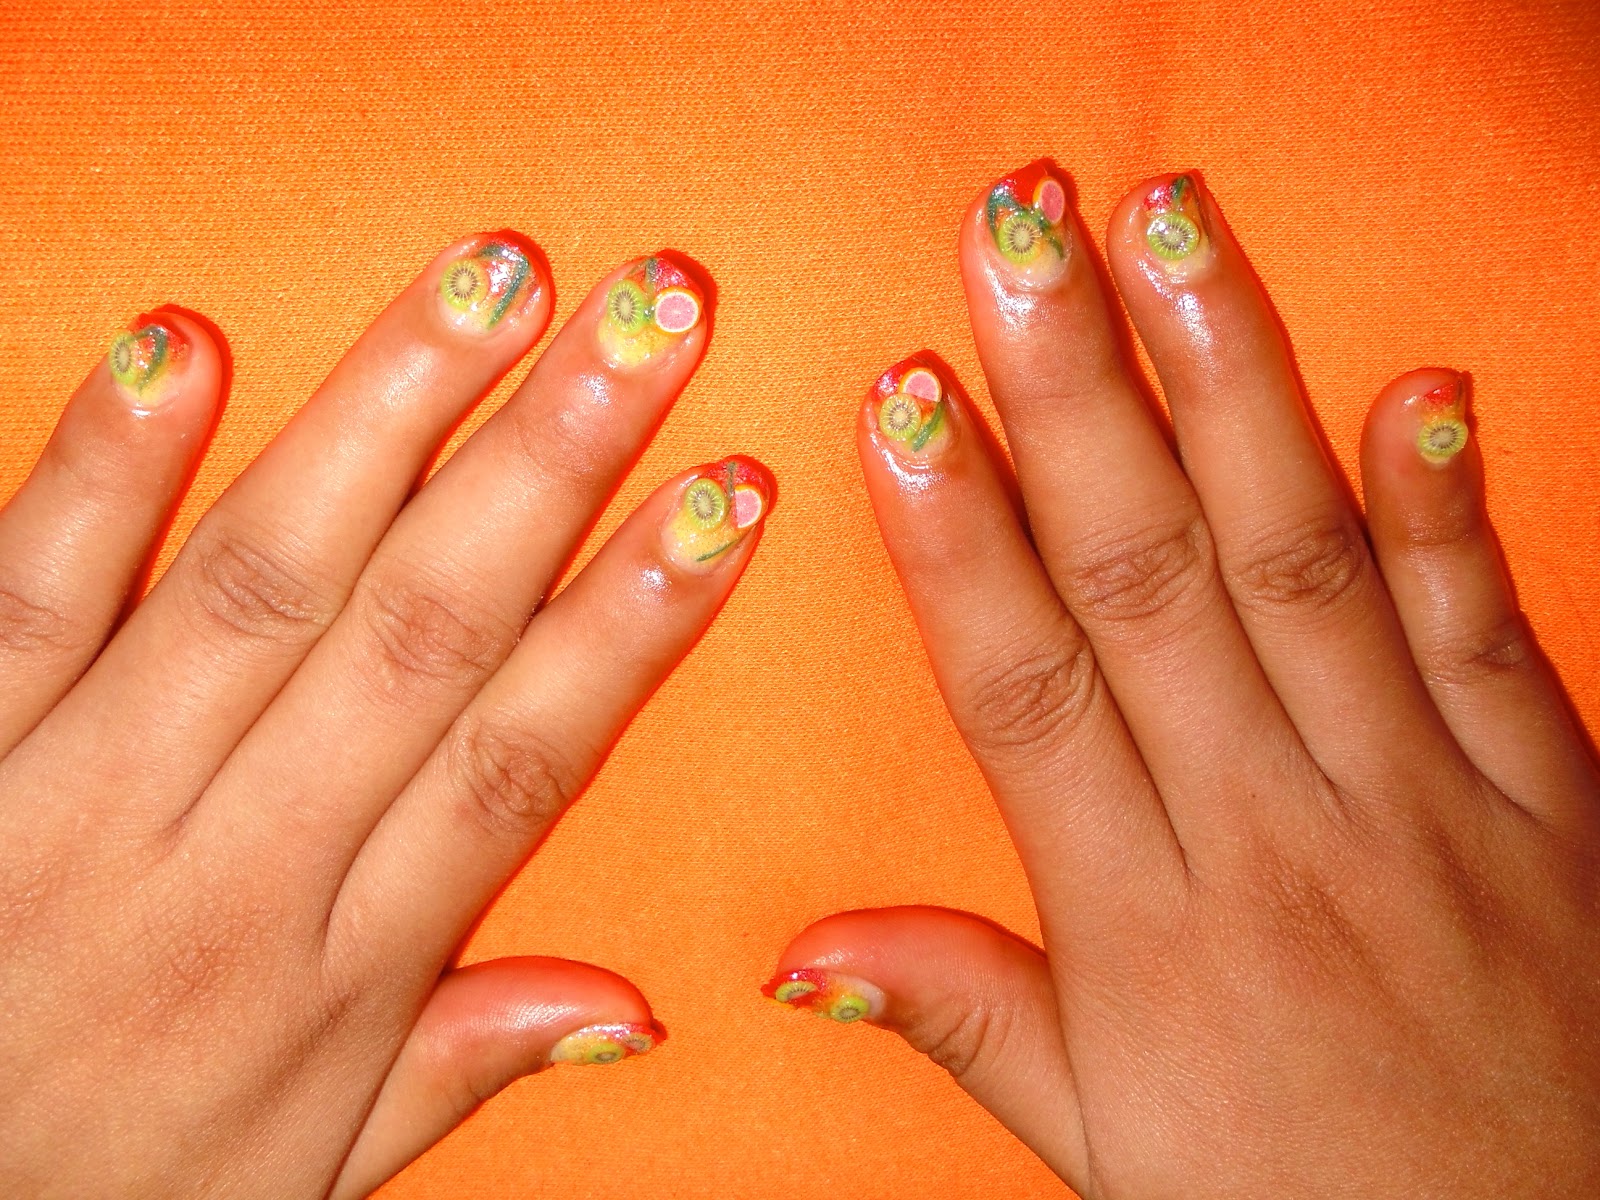
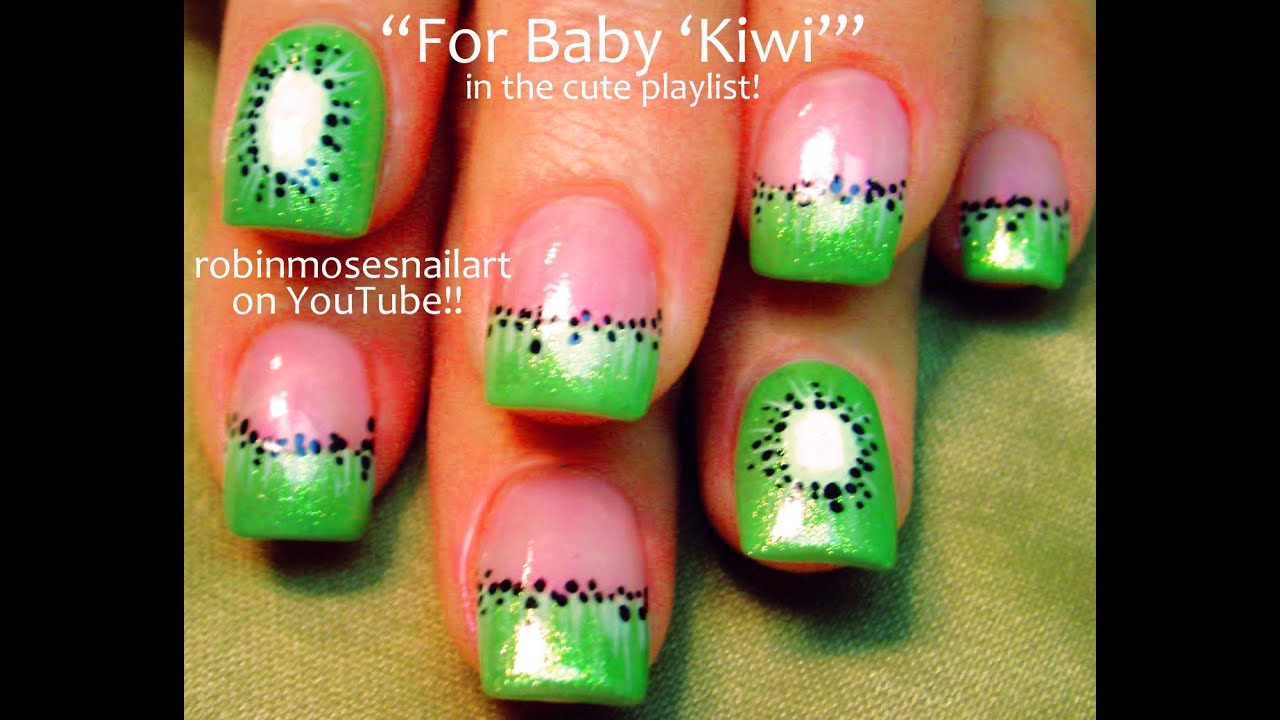
If you're a beginner in the world of nail art, it's important to start with simple and easy designs. And this kiwi fruit nail art tutorial is perfect for beginners who want to try their hand at something fun and unique. With minimal supplies and simple techniques, you can achieve a professional-looking result that will impress everyone!4. "Kiwi Fruit Nail Art Tutorial for Beginners"

4. "Kiwi Fruit Nail Art Tutorial for Beginners"

.jpg)


Bring a touch of the tropics to your nails with this kiwi fruit nail art tutorial. With its bright and vibrant colors, this design is perfect for summer or any time you want to add a little fun to your nails. So grab your sunglasses and a fruity drink, and get ready to transport yourself to a tropical paradise with this nail art design.5. "Tropical Kiwi Fruit Nail Art Tutorial"


5. "Tropical Kiwi Fruit Nail Art Tutorial"

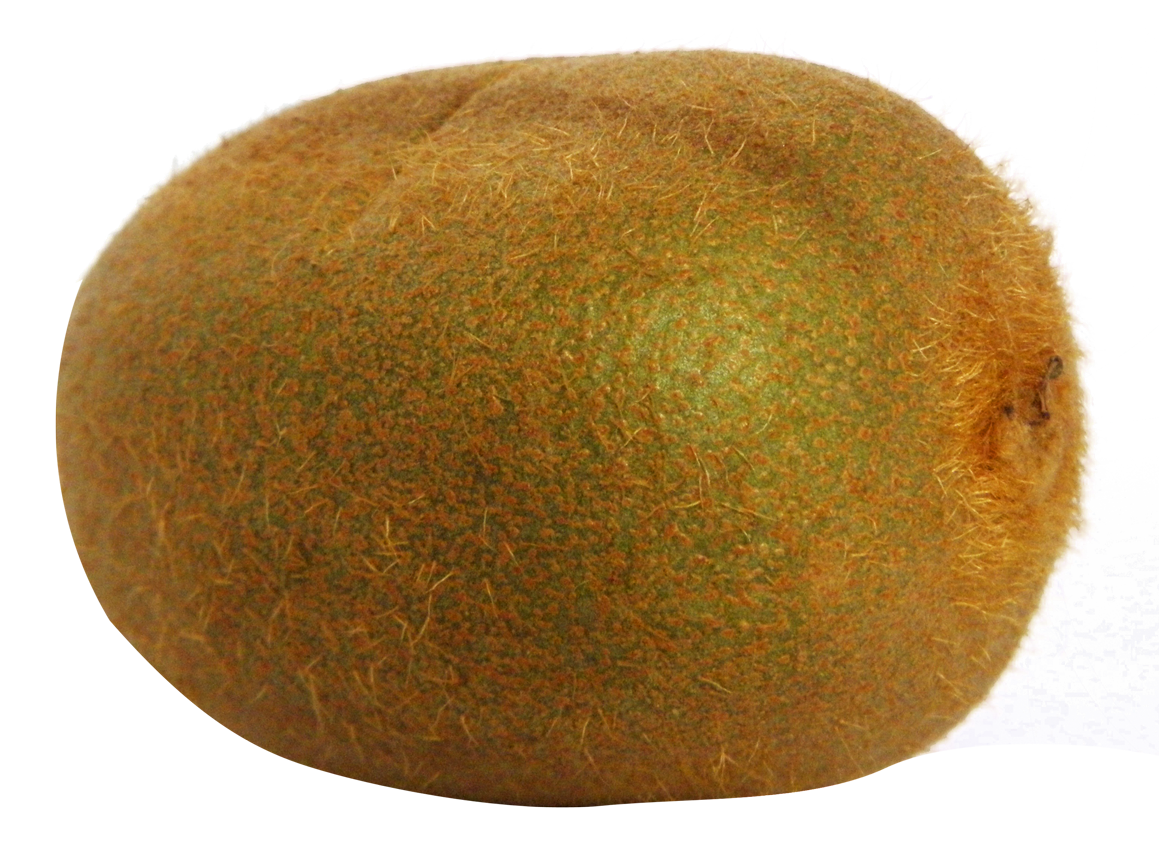
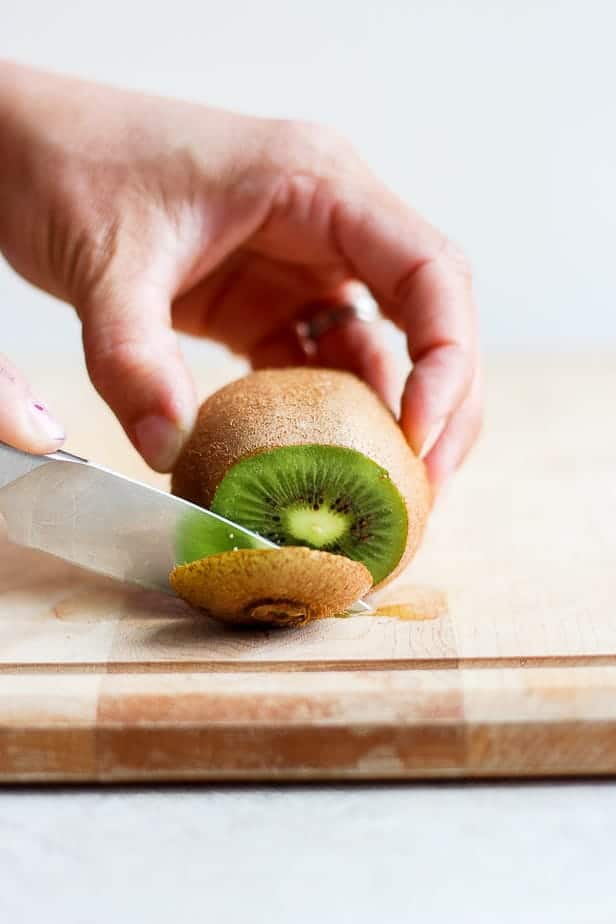
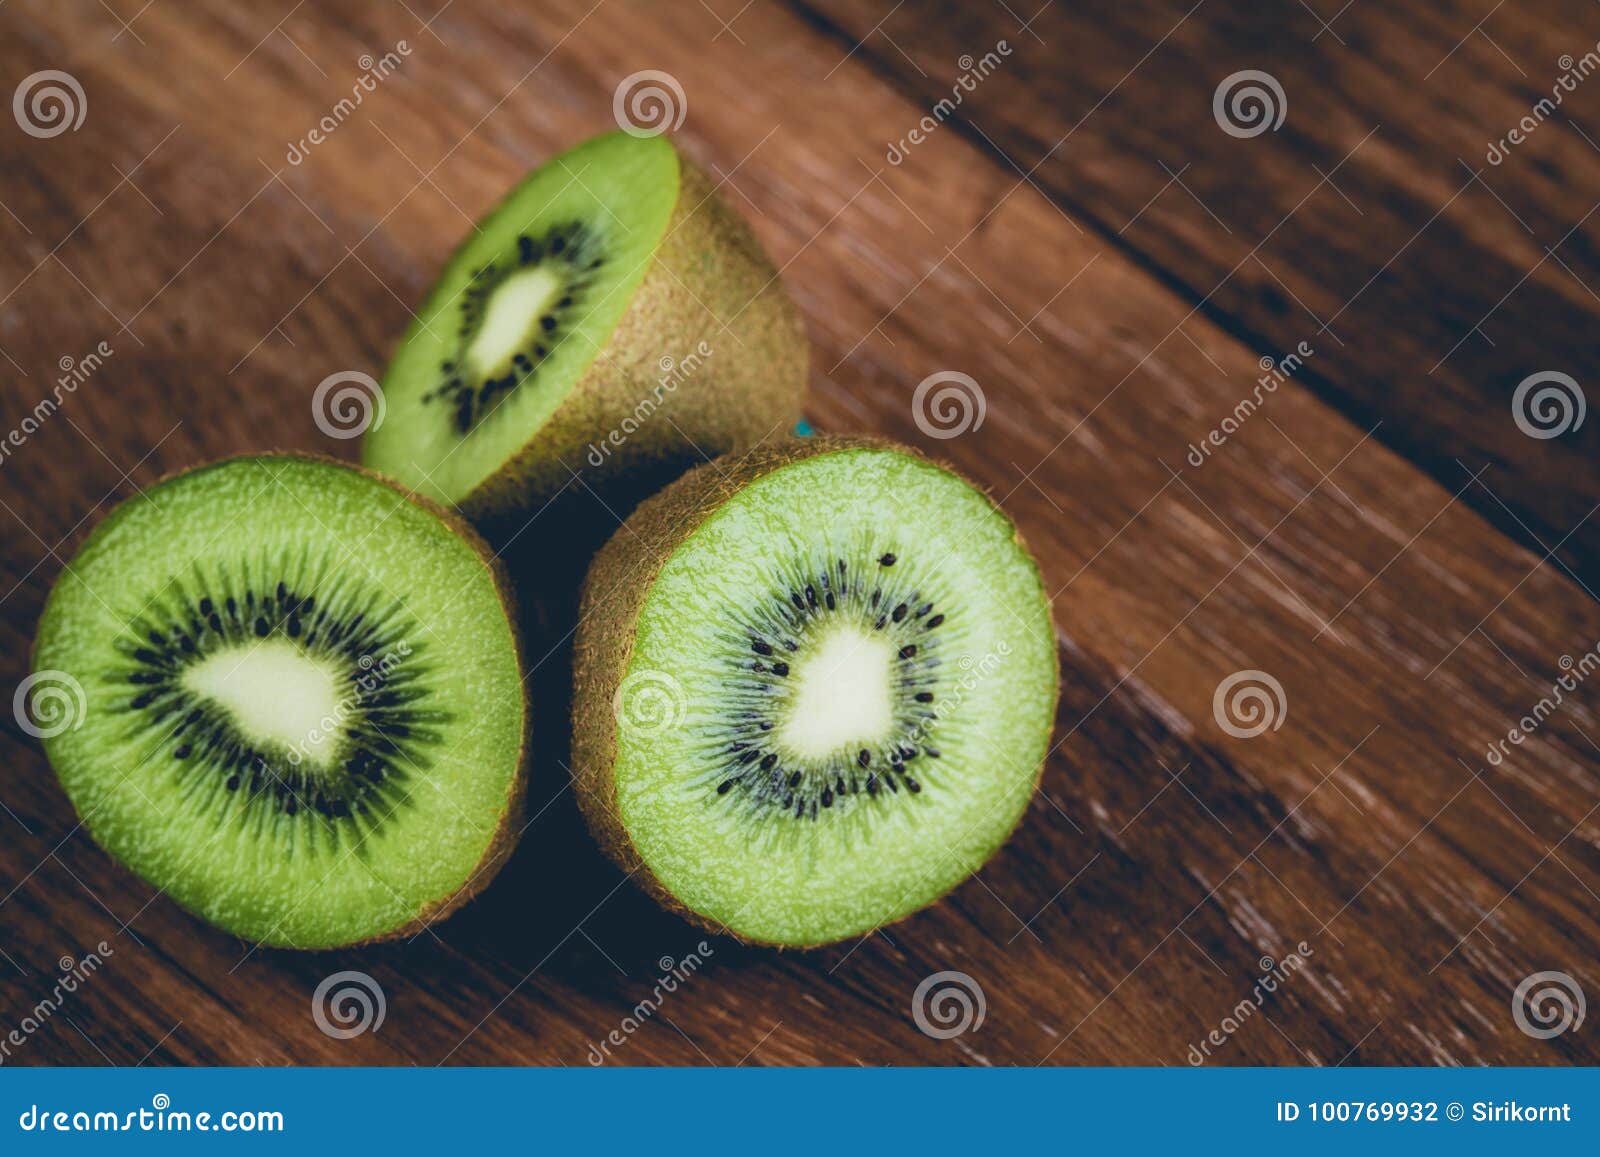
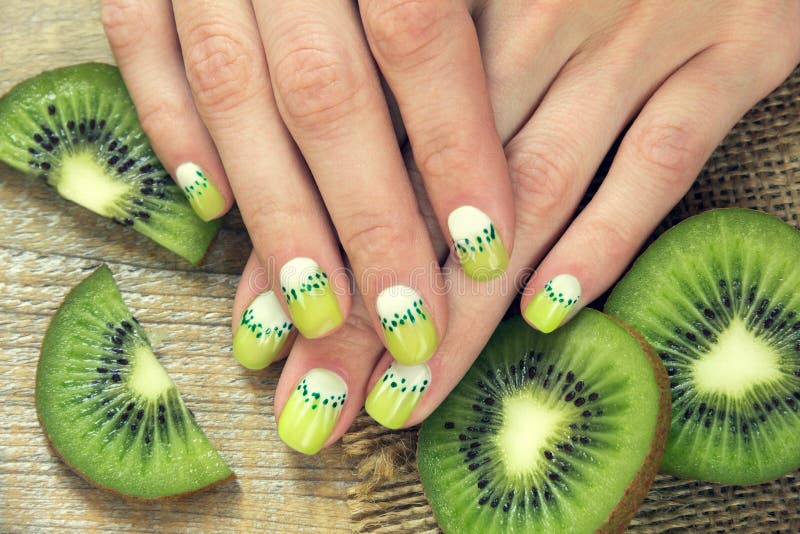
Take your kiwi fruit nail art to the next level by incorporating real fruit into the design. This unique twist on the traditional nail art tutorial will have you feeling like a true artist. Not only will your nails look amazing, but they will also smell delicious! So grab some kiwi slices and get ready to create a one-of-a-kind nail art masterpiece.6. "Kiwi Fruit Nail Art Tutorial with Real Fruit"


6. "Kiwi Fruit Nail Art Tutorial with Real Fruit"


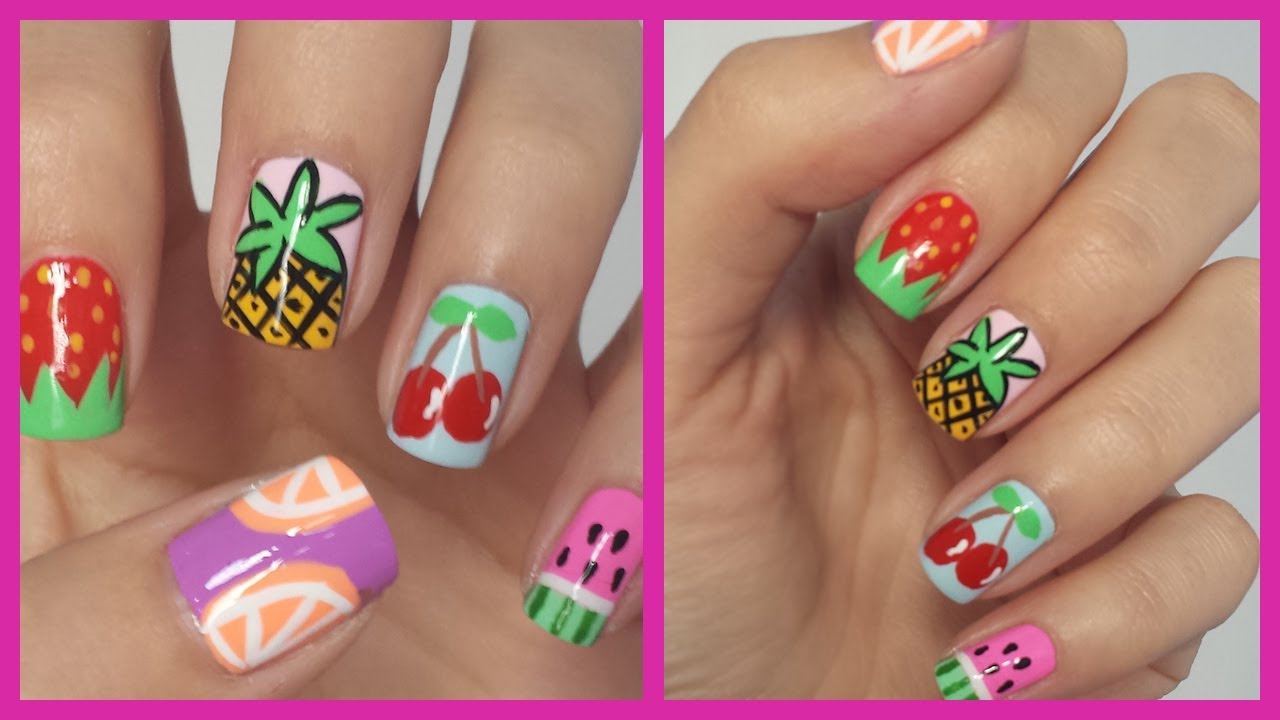
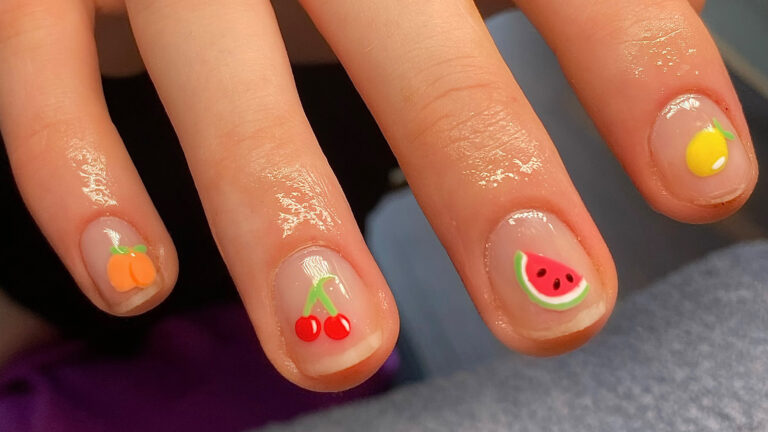
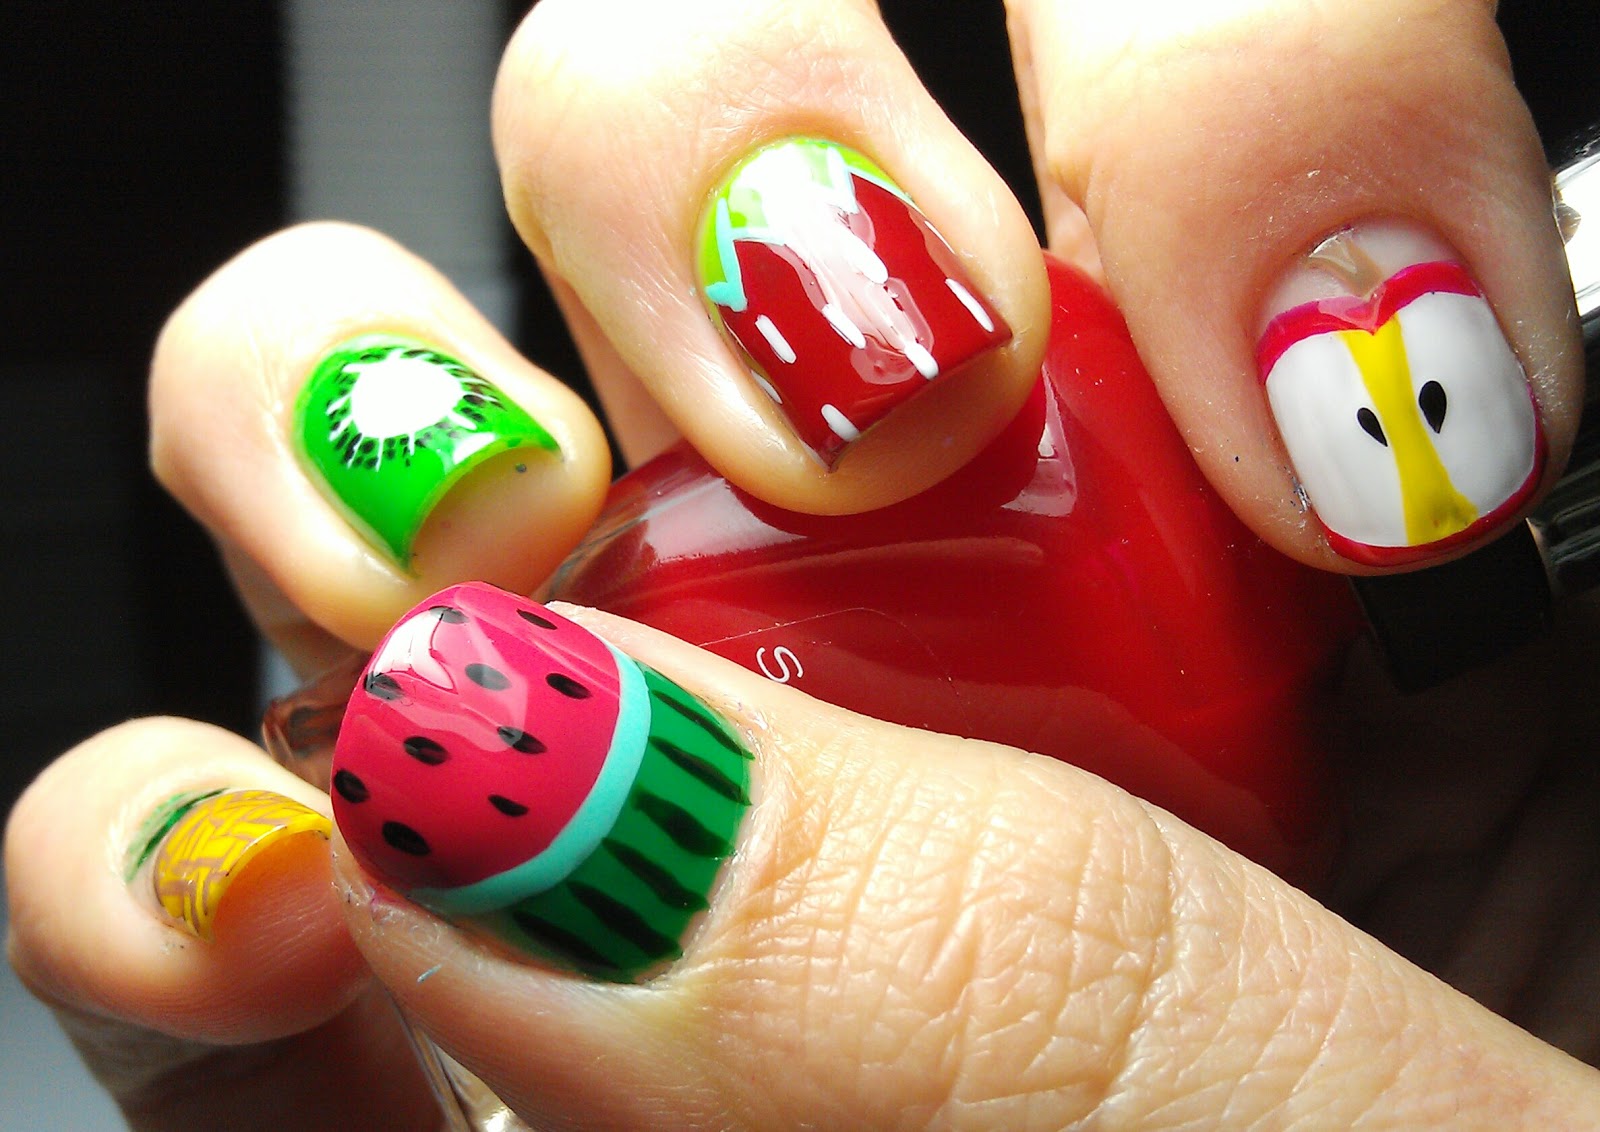
Who says fruit is just for eating? With this fruit-inspired nail art tutorial featuring kiwis, you can wear your love for fruit on your nails. This design is a fun and playful way to show off your personality and love for all things fruity. So why settle for plain nails when you can have a fun and delicious design like this?7. "Fruit-Inspired Nail Art Tutorial: Kiwi Edition"
7. "Fruit-Inspired Nail Art Tutorial: Kiwi Edition"


If you're short on time but still want to rock a cute nail design, then this kiwi fruit nail art tutorial using nail stickers is perfect for you. Nail stickers are a quick and easy way to achieve a professional-looking design without all the fuss. With a variety of kiwi fruit designs to choose from, you can mix and match to create a unique and personalized look.8. "Kiwi Fruit Nail Art Tutorial Using Nail Stickers"


8. "Kiwi Fruit Nail Art Tutorial Using Nail Stickers"

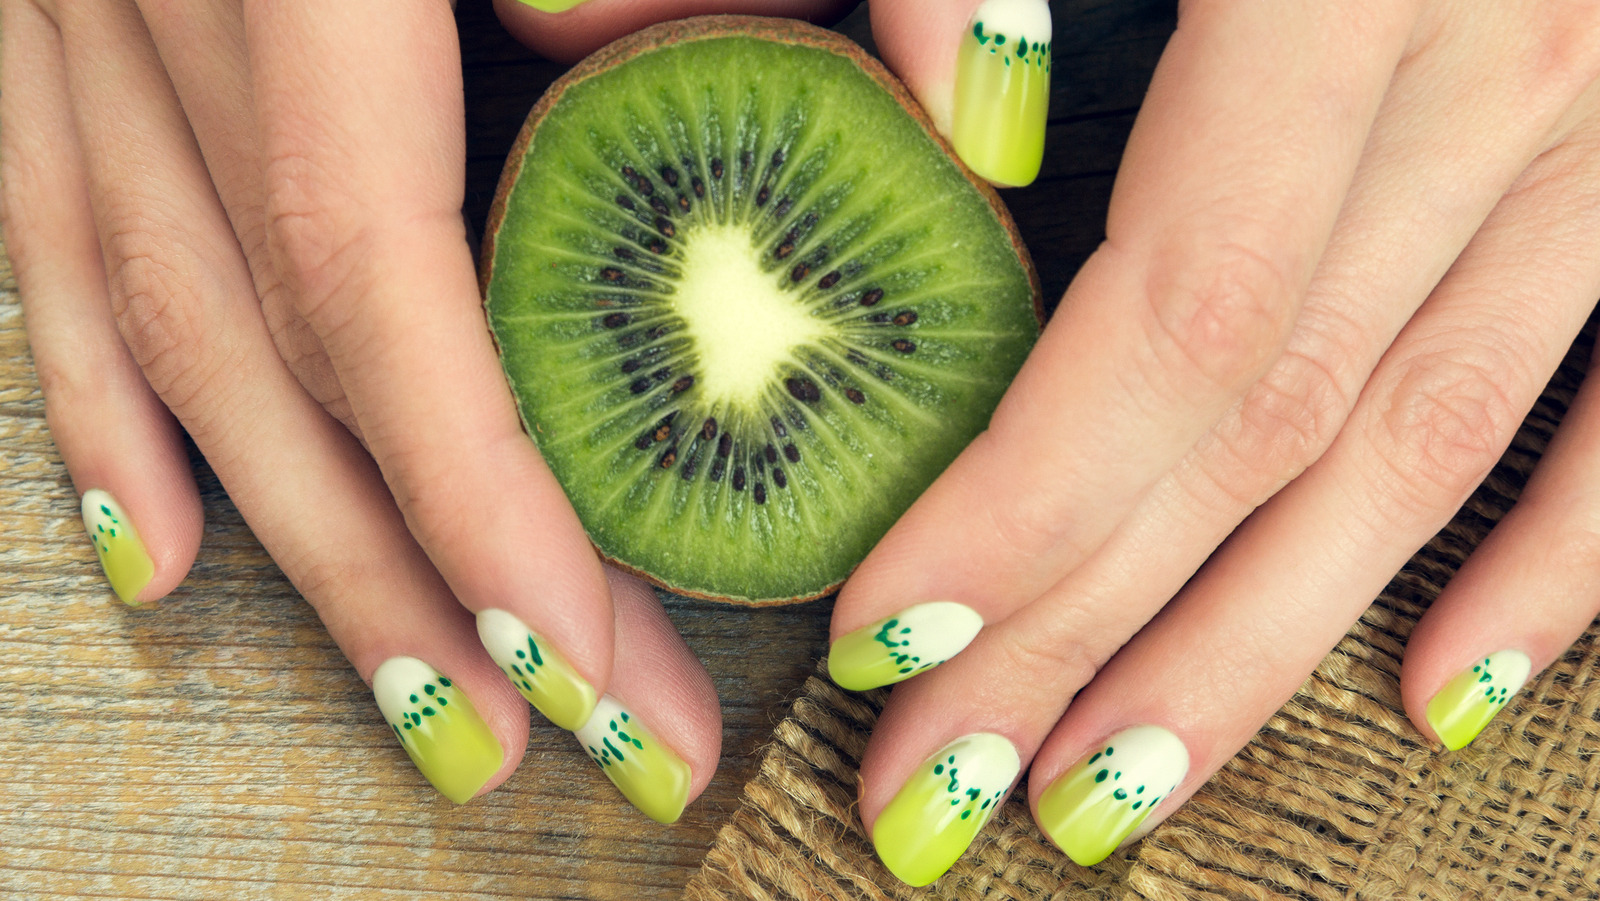
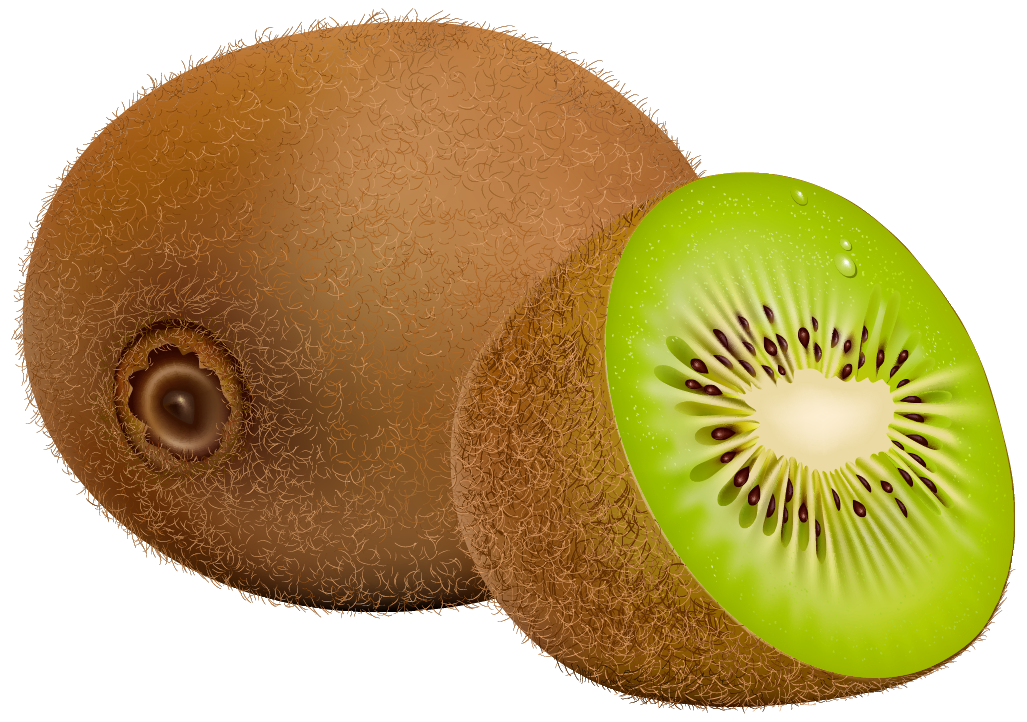
For a more subtle and sophisticated kiwi fruit nail art design, try this green and brown tutorial. The combination of these two colors creates a chic and understated look that is perfect for any occasion. And with the added touch of a glittery top coat, your nails will have just the right amount of sparkle.9. "Green and Brown Kiwi Fruit Nail Art Tutorial"

9. "Green and Brown Kiwi Fruit Nail Art Tutorial"

Add a trendy ombre effect to your kiwi fruit nail art with this tutorial. By blending green and white nail polish, you can create a gradient effect that mimics the inside of a kiwi fruit. This design is perfect for those who want a more subtle and elegant look, while still incorporating the fun and playful element of kiwi fruit.10. "Kiwi Fruit Nail Art Tutorial with Ombre Effect"
10. "Kiwi Fruit Nail Art Tutorial with Ombre Effect"


Adding a Touch of Fun to Your Nails with Kiwi Fruit Nail Art
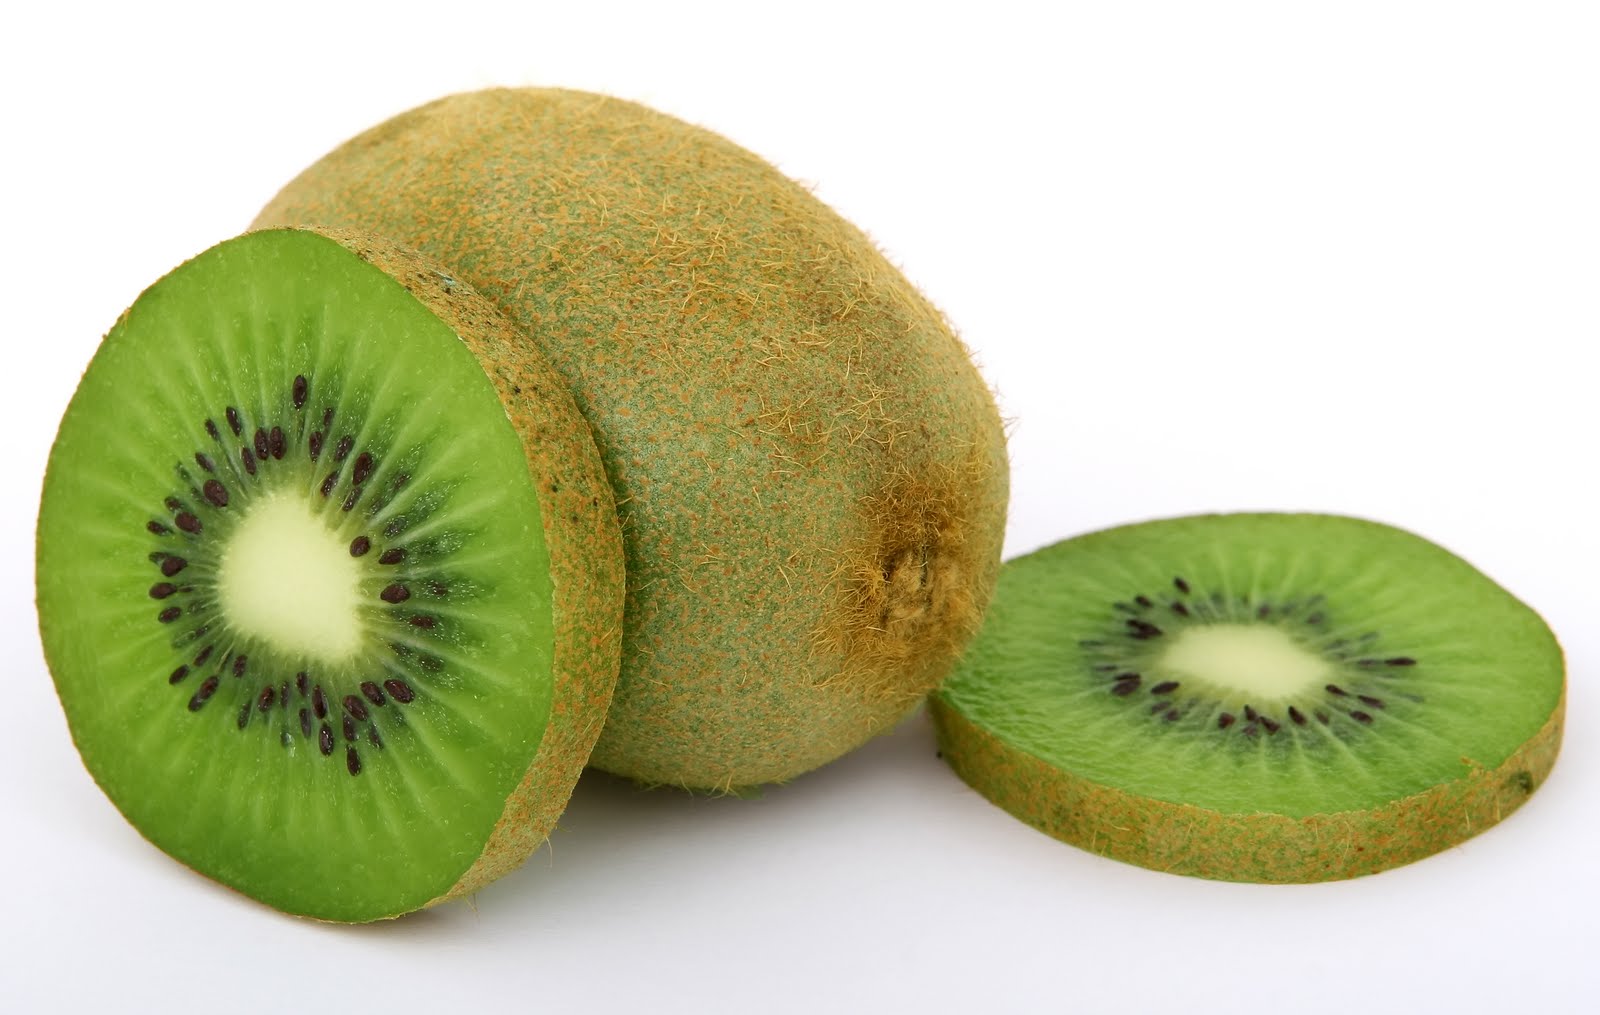
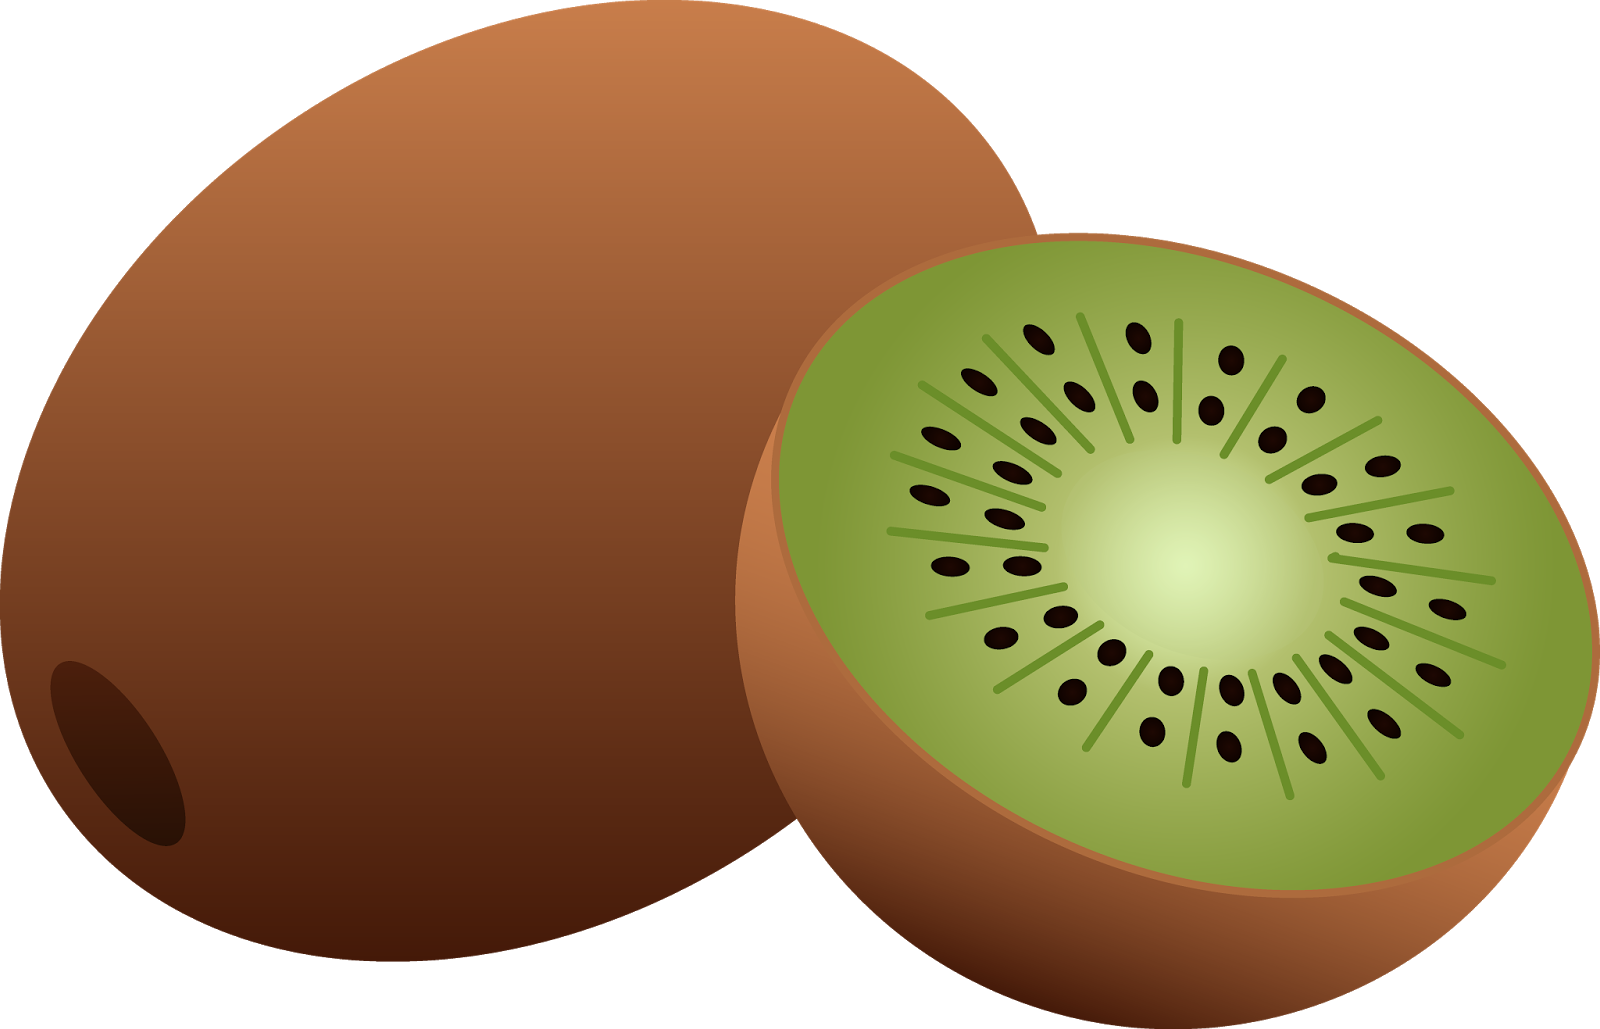
 Kiwi fruit is not only a delicious and healthy snack, but it can also add a pop of color and fun to your nails. Nail art has become a popular trend, and incorporating fruits into this creative form of expression is a great way to showcase your personality. In this tutorial, we will show you how to create kiwi fruit nail art that is perfect for any occasion.
Gather Your Materials
 Before we get started, make sure you have all the necessary materials. You will need a base coat, top coat, green, white, and black nail polish, a thin nail art brush, a dotting tool, and a toothpick. You can also use a peel-off nail polish barrier or tape to protect your skin from excess polish.
Prep Your Nails
 Start by shaping and filing your nails to your desired length and shape. Then, apply a base coat to protect your nails and allow it to dry completely.
Creating the Kiwi Fruit Design
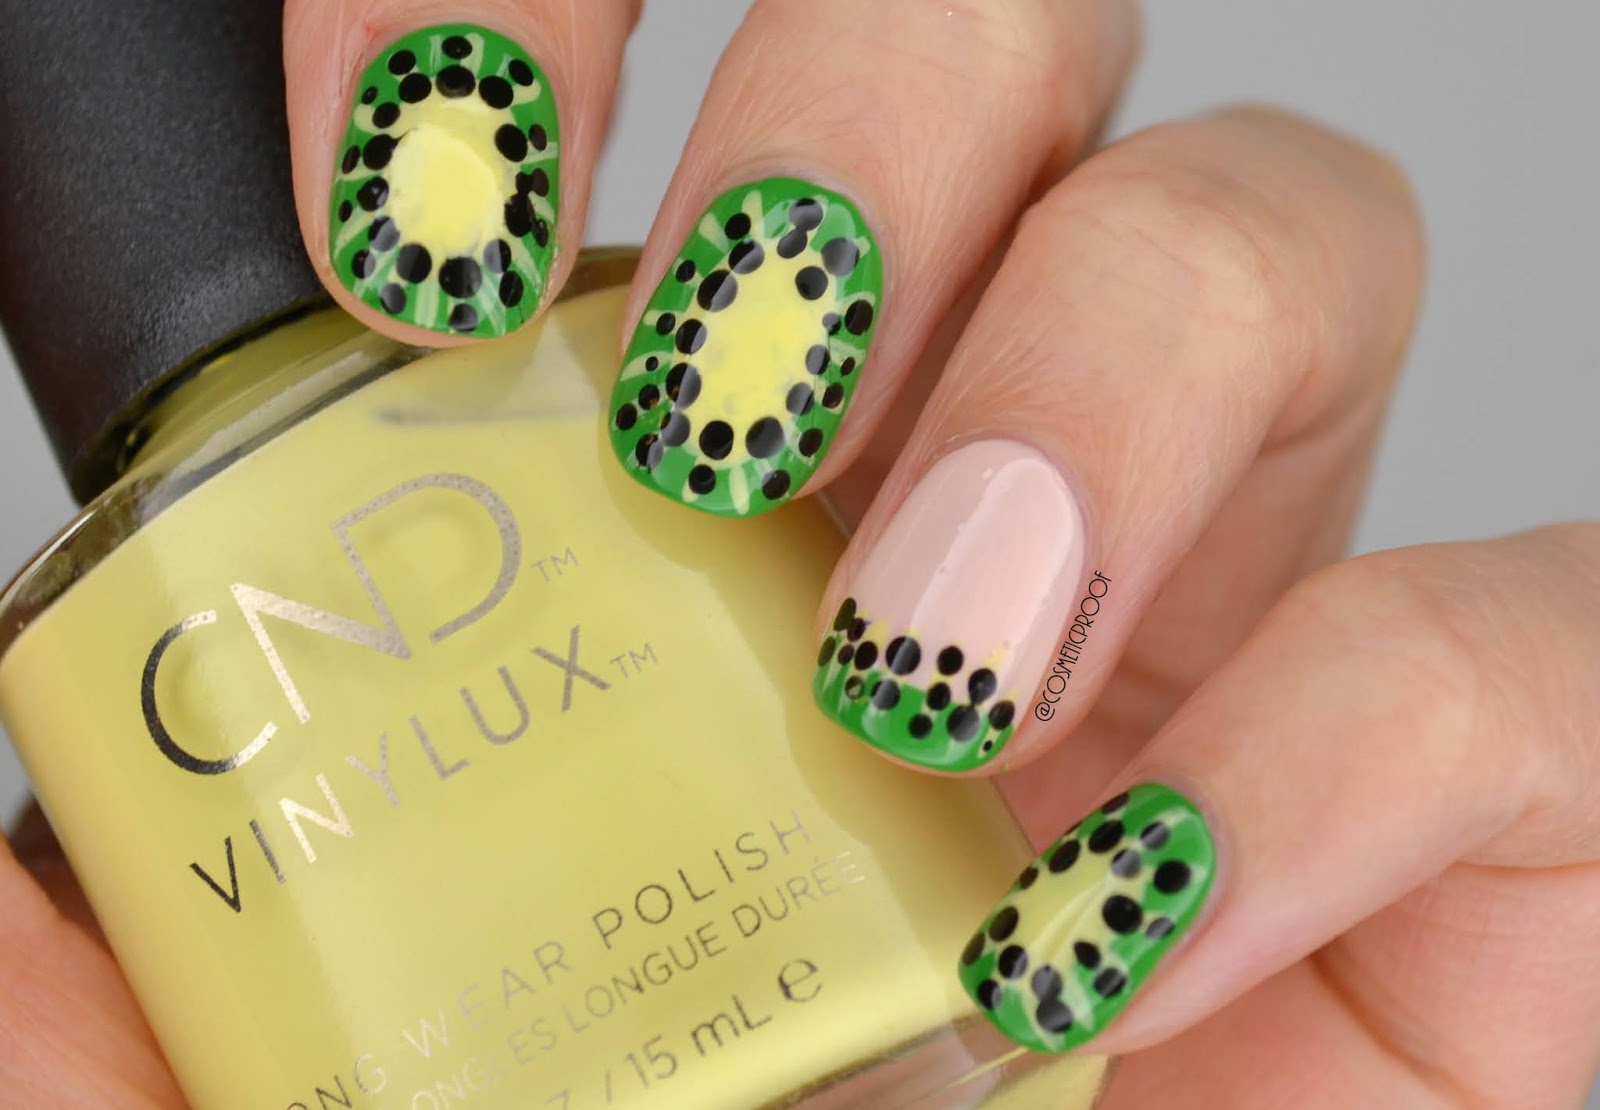
 Take your green nail polish and apply two coats on all nails except for your ring finger. On your ring finger, use white nail polish as the base color. Once the green polish is dry, use a dotting tool or toothpick to create small black dots on the green nails. This will represent the seeds of the kiwi fruit.
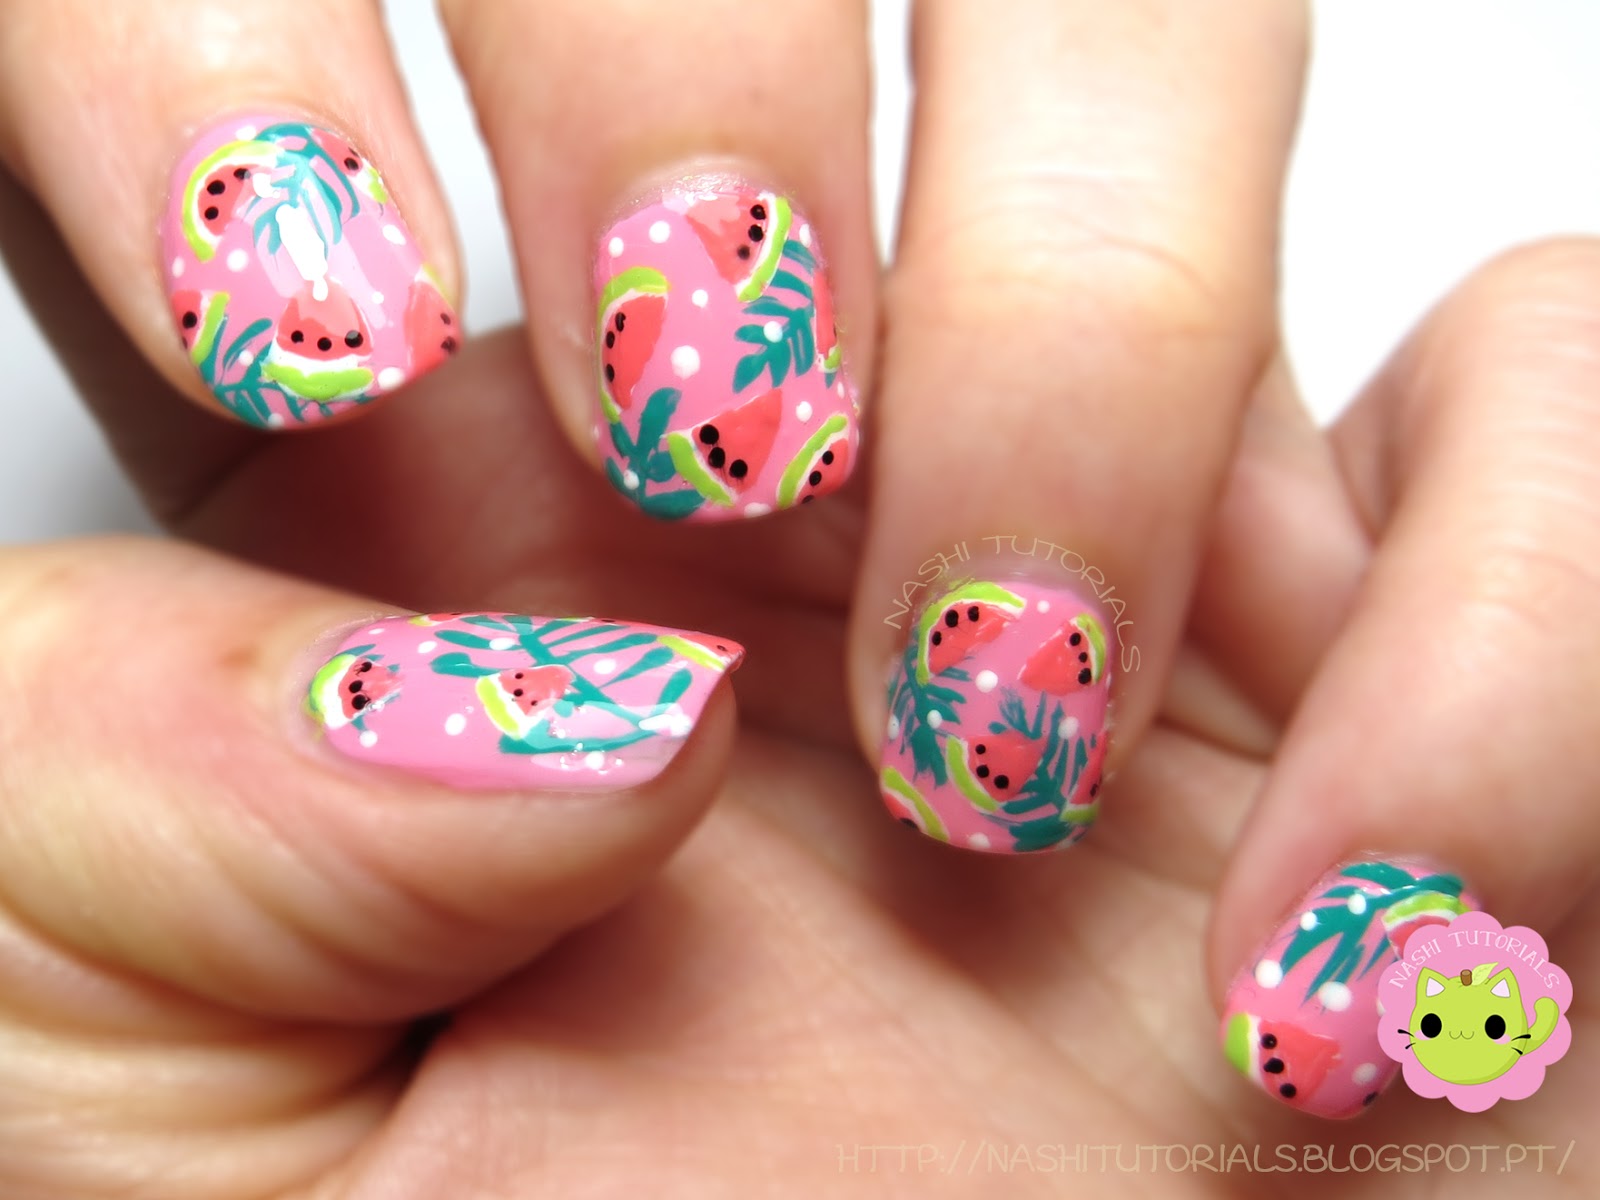
Adding the Kiwi Fruit Slices
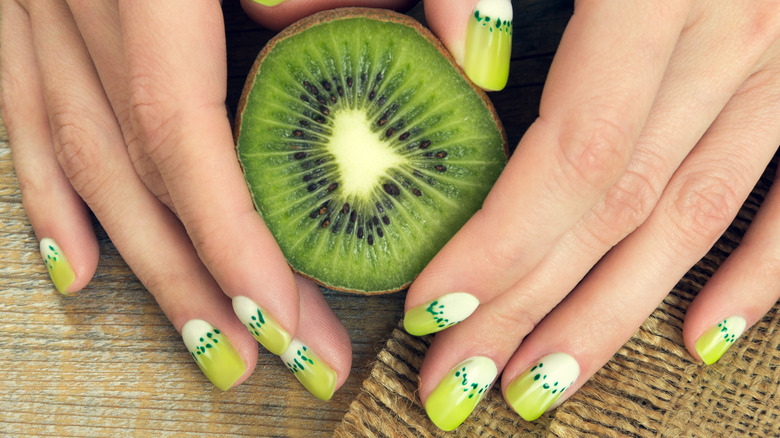
.jpg) Using your thin nail art brush, create small curved lines on the white nail to represent kiwi fruit slices. These lines should be in a half-moon shape, with one end thicker than the other. Don't worry if they are not perfect as this will add to the natural look of the fruit.
Using your thin nail art brush, create small curved lines on the white nail to represent kiwi fruit slices. These lines should be in a half-moon shape, with one end thicker than the other. Don't worry if they are not perfect as this will add to the natural look of the fruit.
Finishing Touches
 Once the design is complete, apply a top coat to seal in your design and add shine. This will also help your nail art last longer. Clean up any excess polish around your nails using a cotton swab dipped in nail polish remover.
Enjoy Your Kiwi Fruit Nail Art
 And there you have it - a fun and vibrant kiwi fruit nail art design that is sure to turn heads. You can mix and match different colors and designs to create your own unique kiwi fruit nail art. So why not give it a try and let your nails make a statement with this delicious and creative design.


