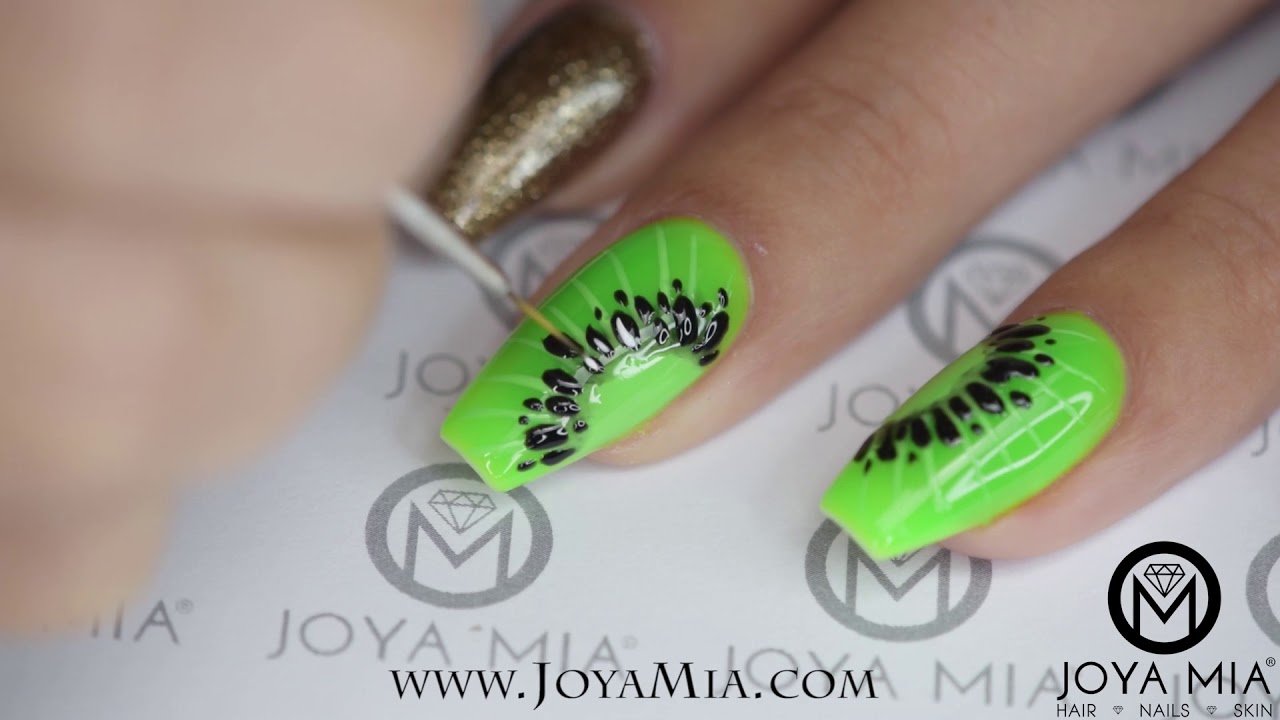
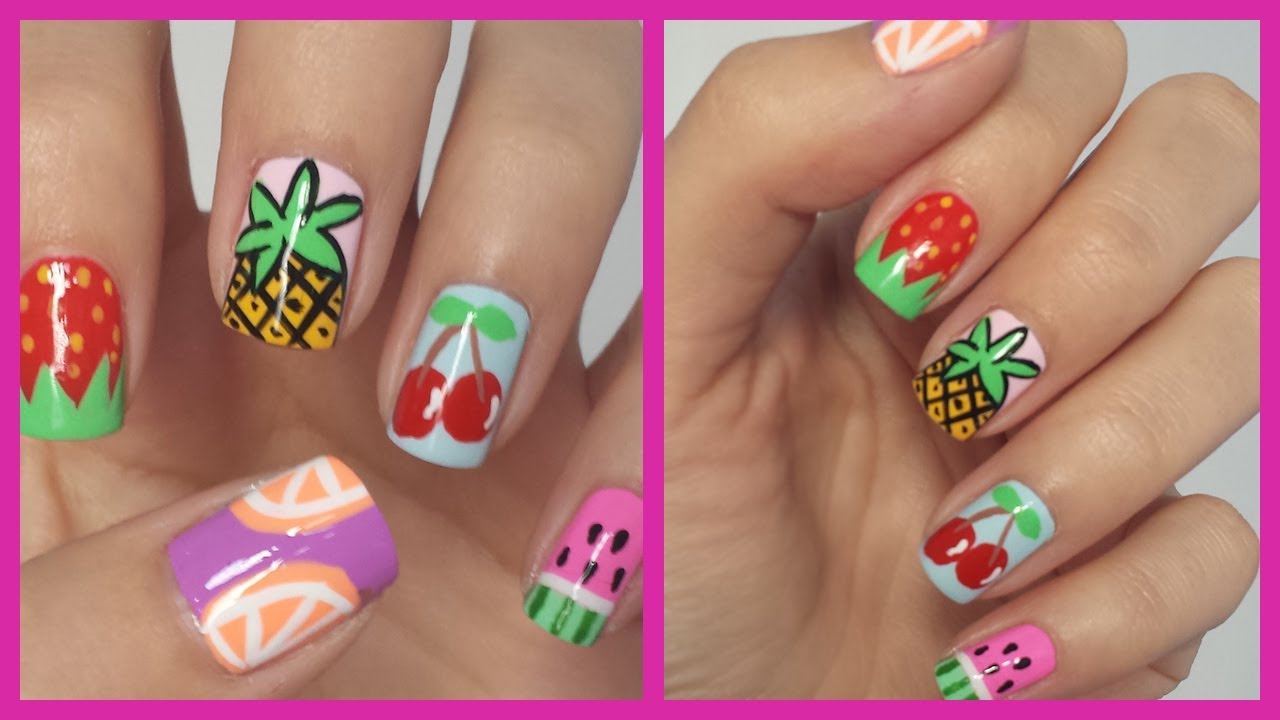
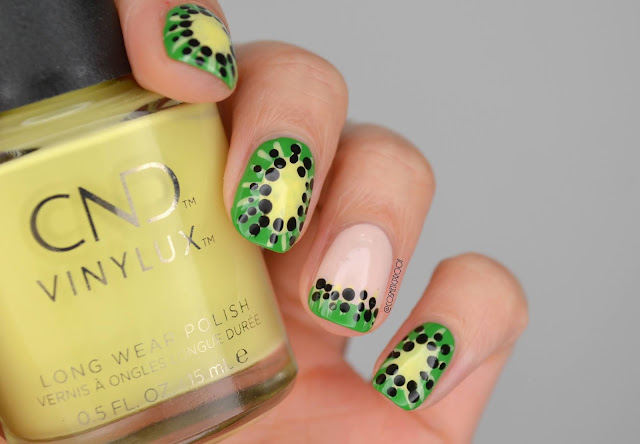
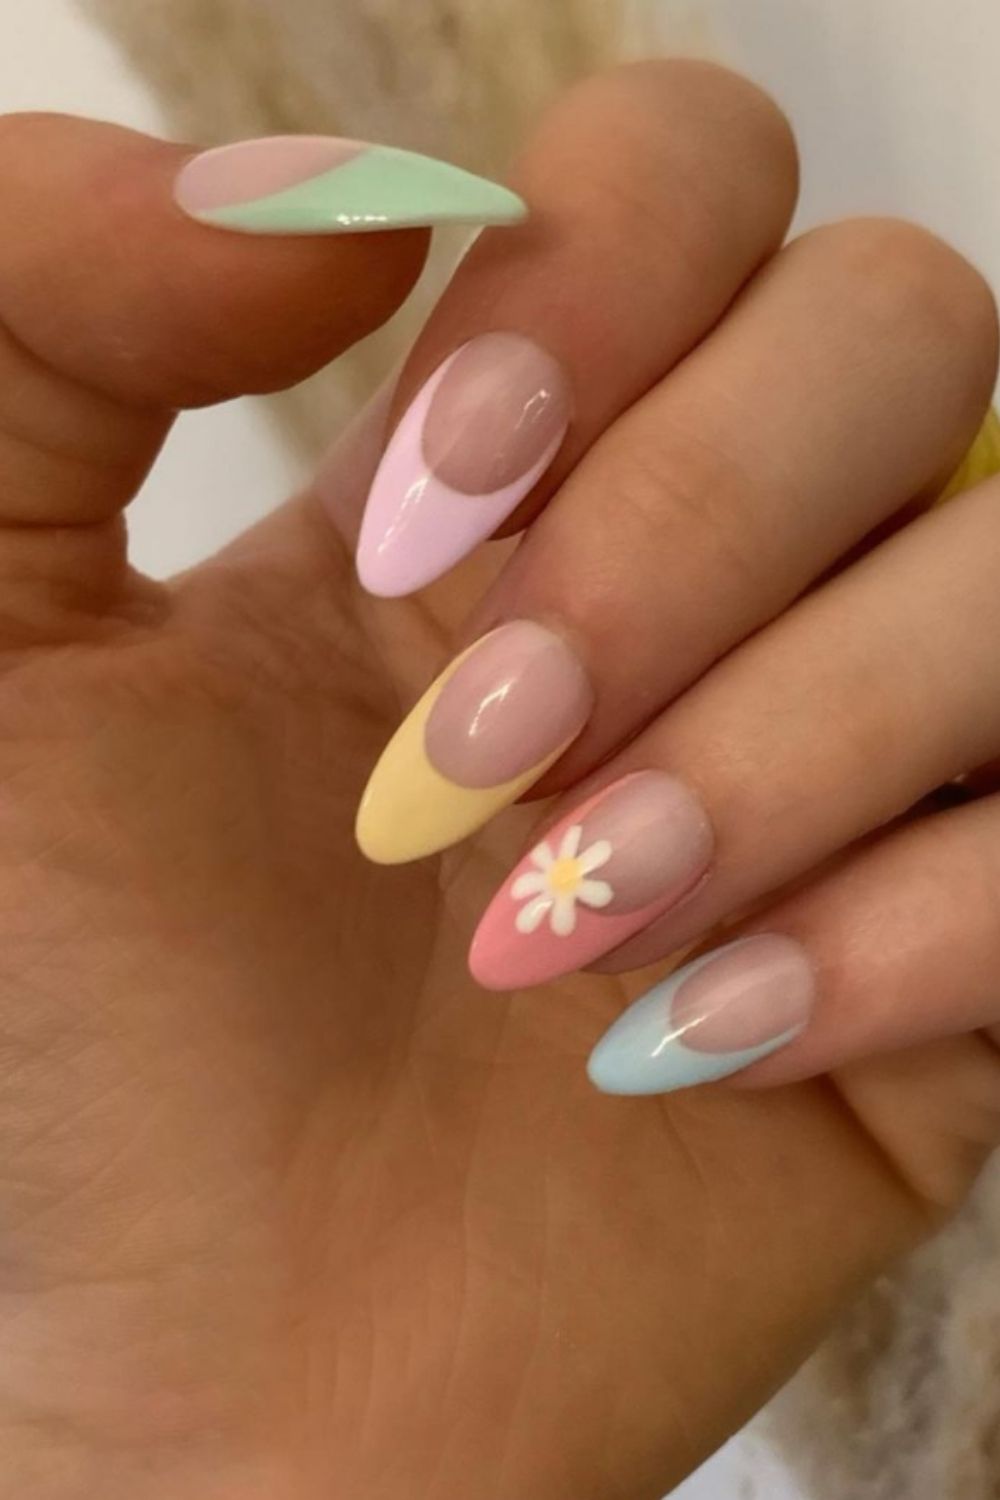
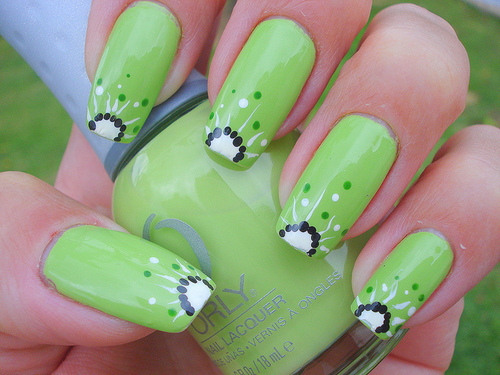
Are you a fan of cute and fruity nail designs? Look no further because we have the perfect kiwi nail art tutorial for you! This fun and colorful design will add a pop of personality to your nails and is perfect for any occasion. Follow these simple steps to create your own kiwi nail art. Start by prepping your nails with a base coat to protect them and create a smooth canvas for your design. Then, apply a light green polish to your nails. This will serve as the base color for your kiwi design. Next, take a thin nail art brush or a toothpick and dip it into a dark green nail polish. Create small dots on your nails to represent the seeds of a kiwi fruit. You can place them randomly or in a diagonal pattern for a more realistic look. For the kiwi's juicy flesh, use a white polish and create a curved line at the bottom of your nail. Then, use a toothpick to blend the white polish upwards, creating a gradient effect. This will give the illusion of a sliced kiwi. Finally, add a top coat to seal in your design and give it a glossy finish. And there you have it, a fun and colorful kiwi nail art that is sure to make your nails stand out!1. Kiwi Fruit Nail Art Tutorial


1. Kiwi Fruit Nail Art Tutorial

.jpg)

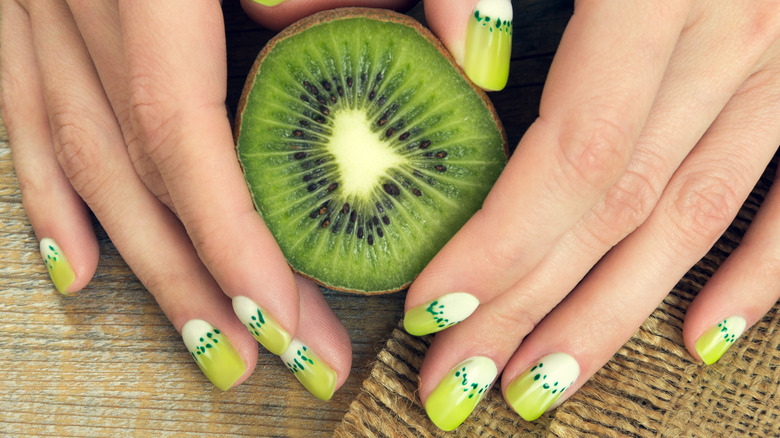
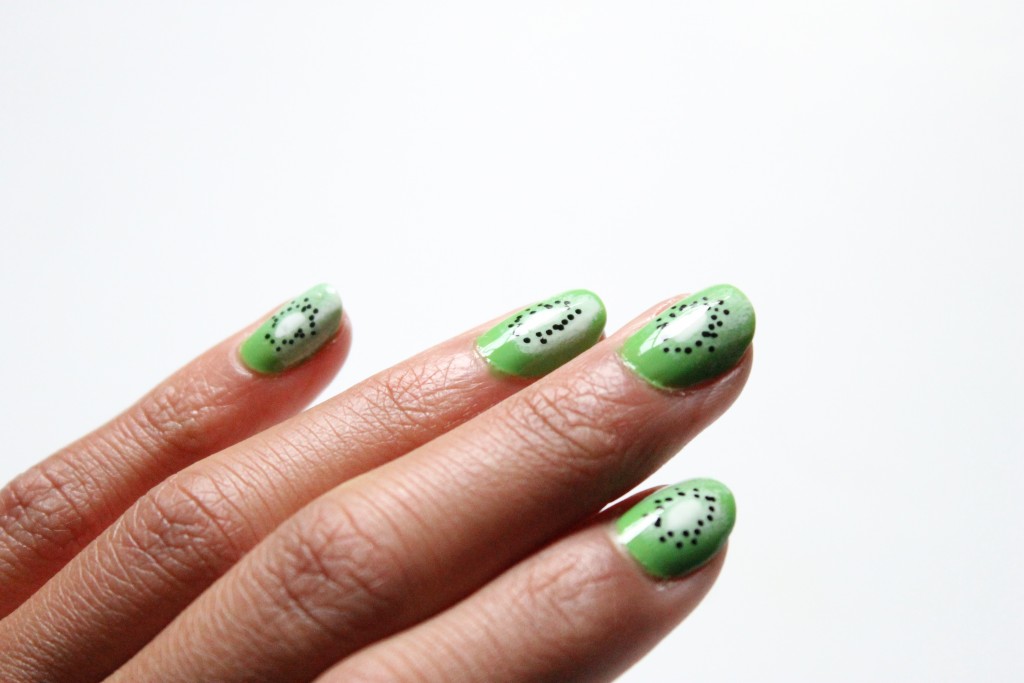
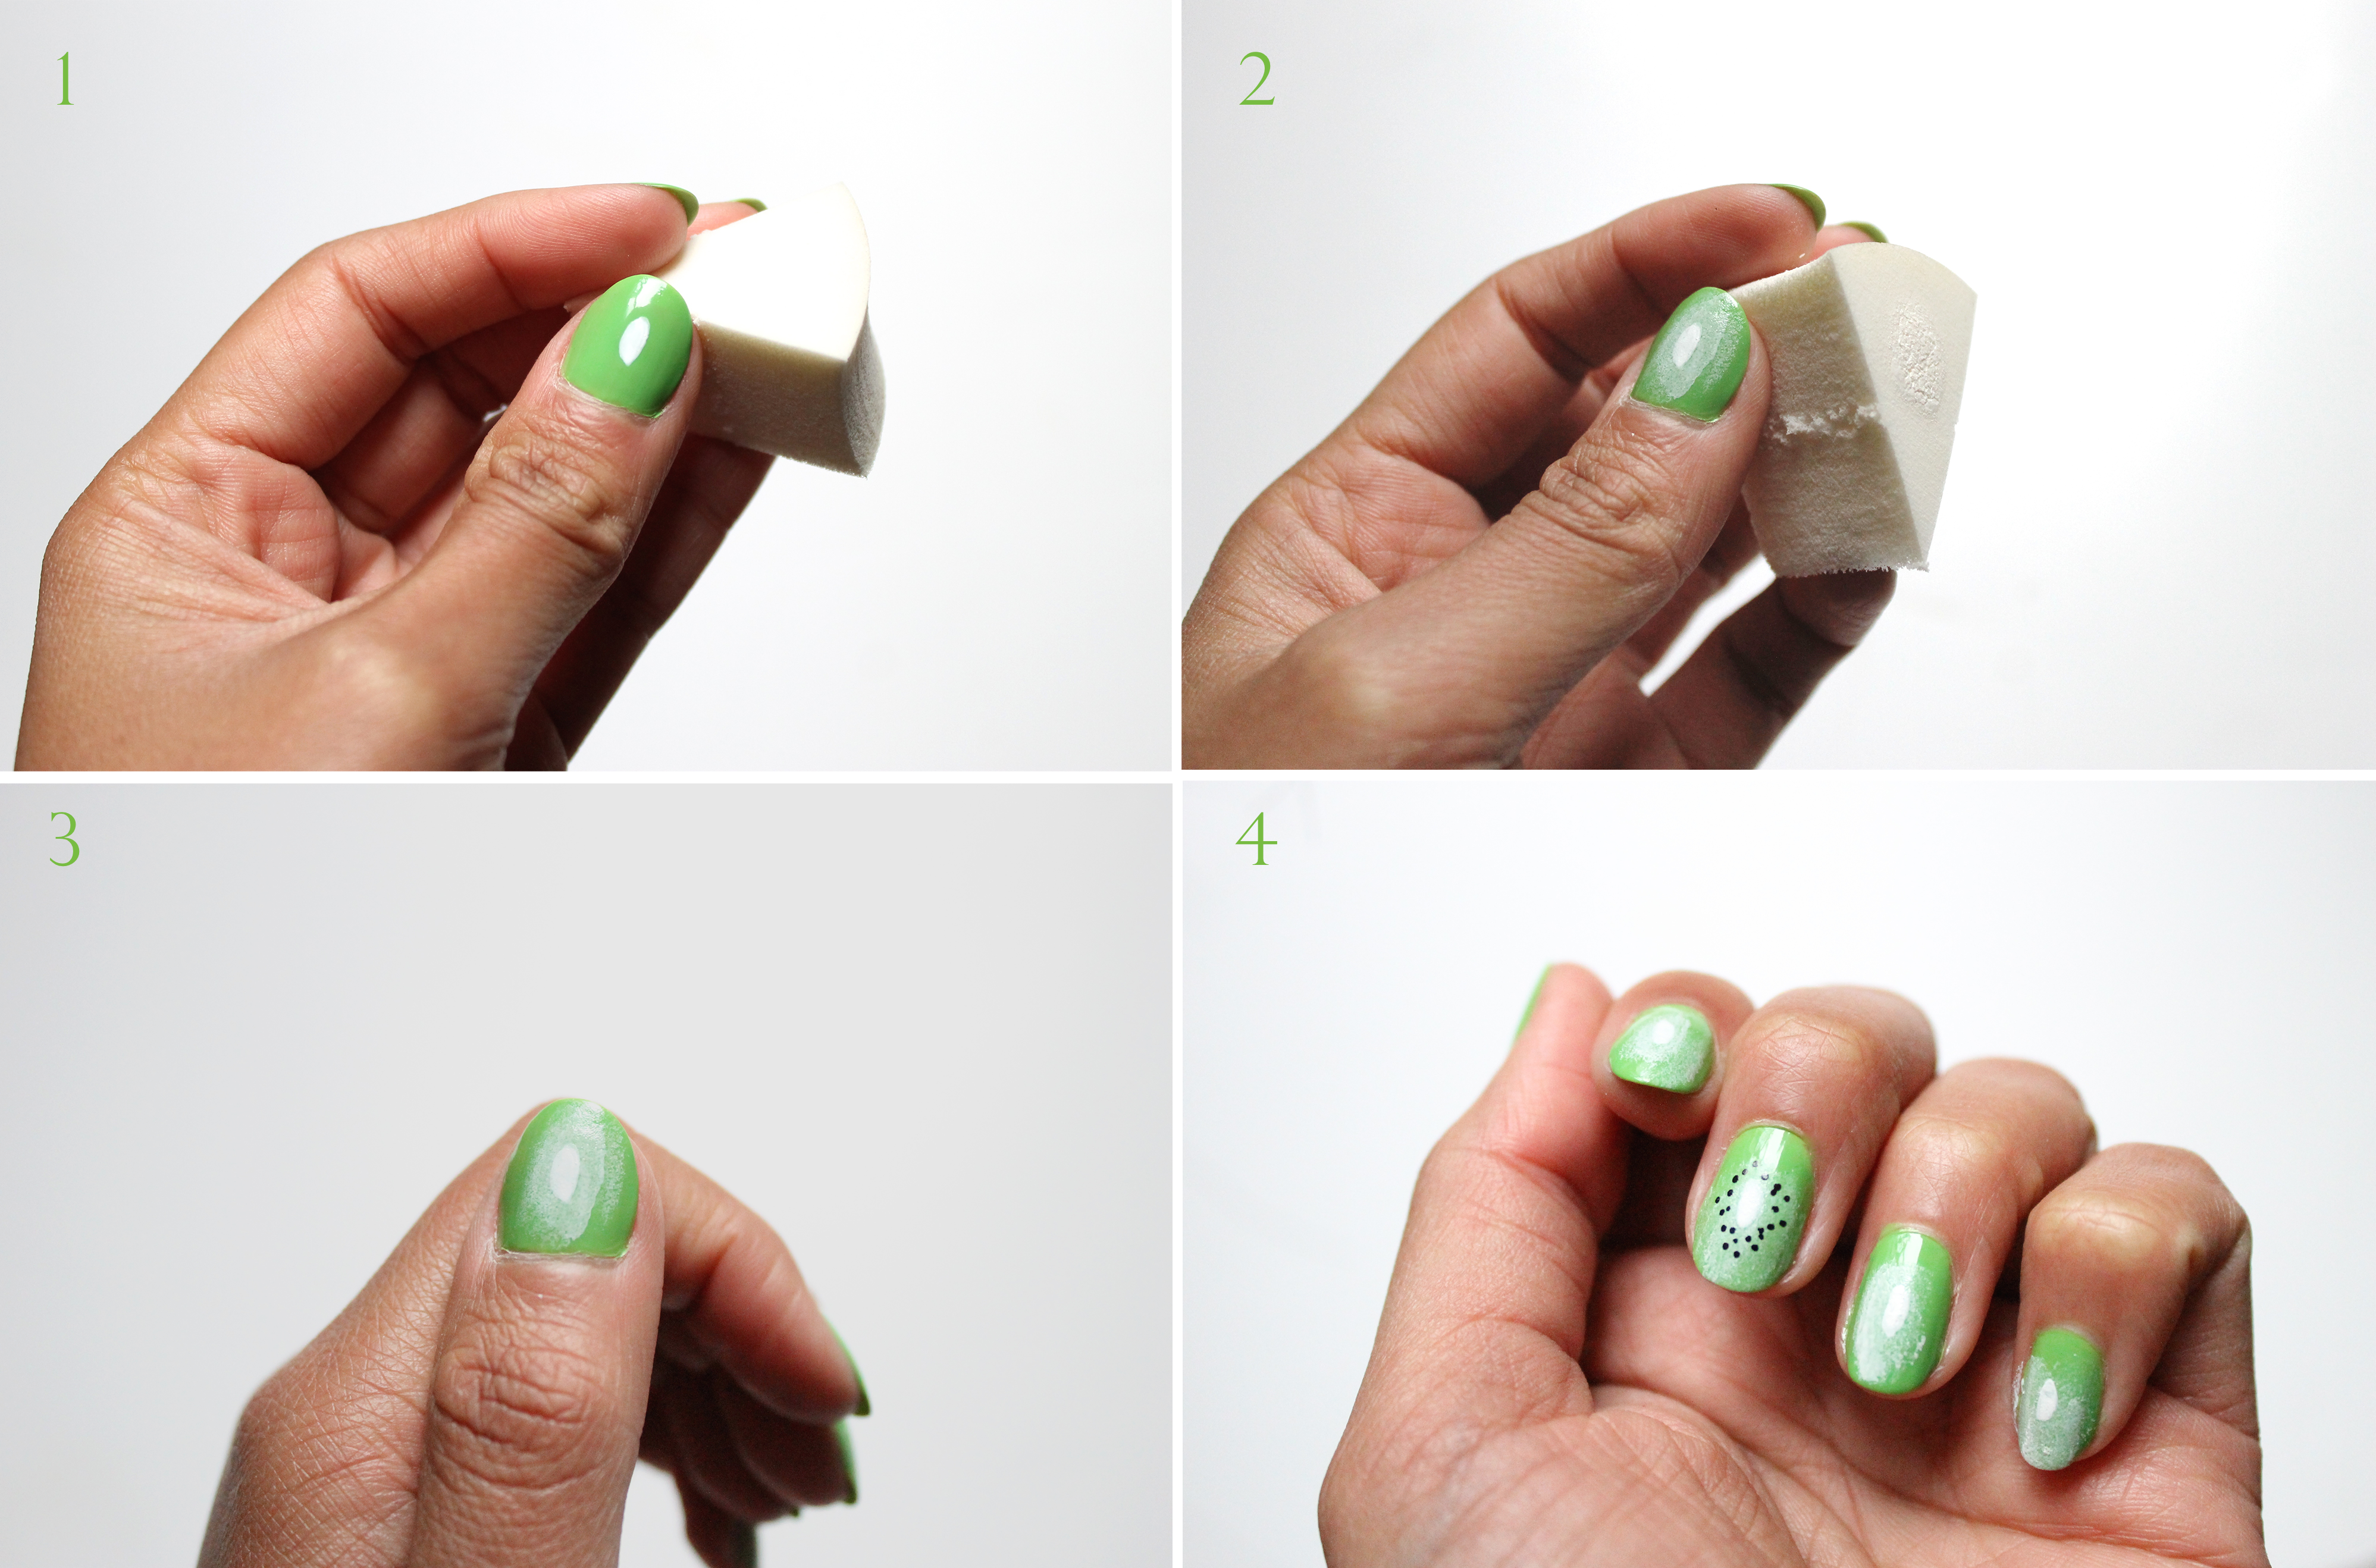
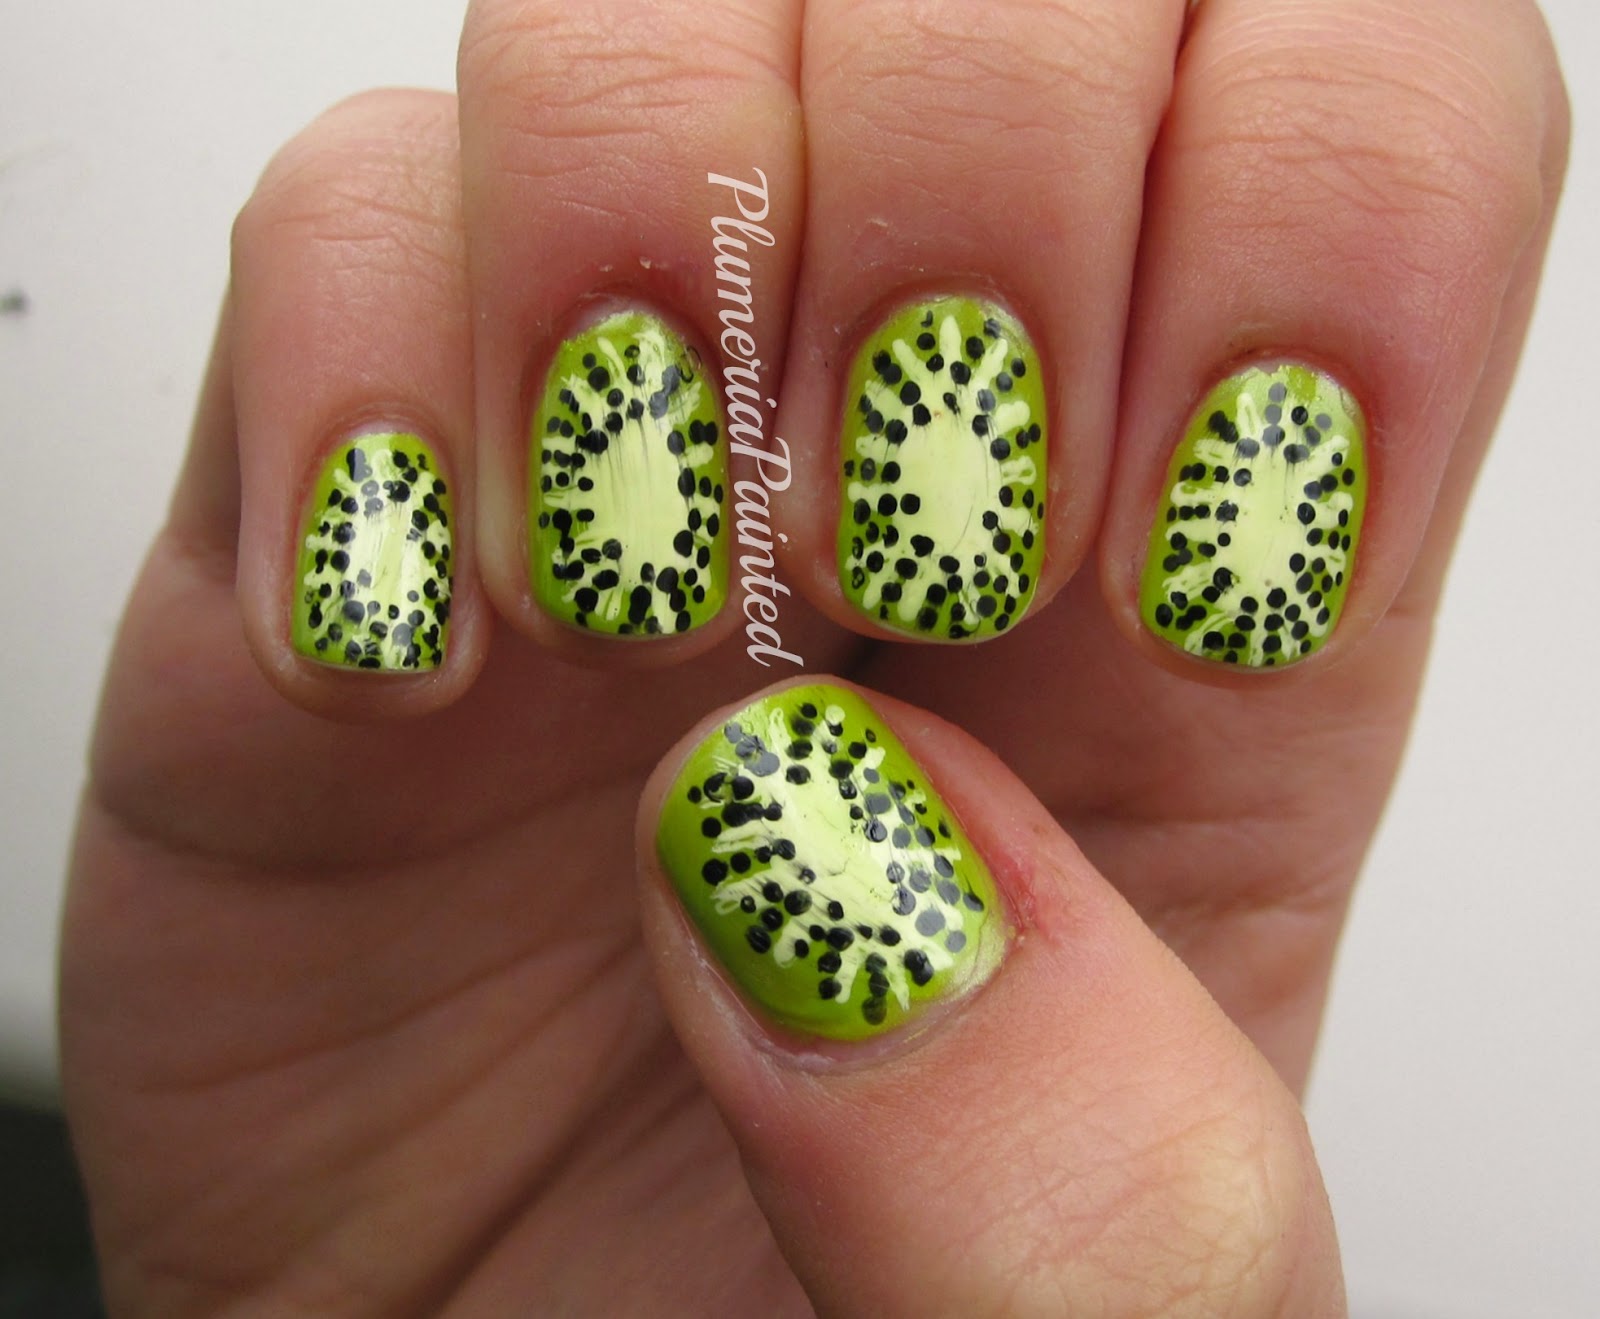
If you're new to nail art, don't worry, we've got you covered with this step by step kiwi nail design tutorial. With just a few simple steps, you can create a cute and summery nail design that will have everyone asking for your secret. Start by painting your nails with a light green polish. This will serve as the base color for your kiwi design. Let it dry completely before moving on to the next step. Next, take a thin nail art brush or a toothpick and dip it into a dark green nail polish. Create small dots on your nails, leaving some space between them. These dots will represent the seeds of a kiwi fruit. Using the same dark green polish, create small curved lines on your nails. These lines will represent the outer skin of the kiwi fruit. You can place them randomly or in a diagonal pattern for a more realistic look. For the kiwi's juicy flesh, use a white polish and create a curved line at the bottom of your nail. Then, use a toothpick to blend the white polish upwards, creating a gradient effect. This will give the illusion of a sliced kiwi. Finish off your design with a top coat to protect it and give it a glossy finish. And there you have it, a simple and cute kiwi nail design that is perfect for any occasion.2. Step by Step Kiwi Nail Design

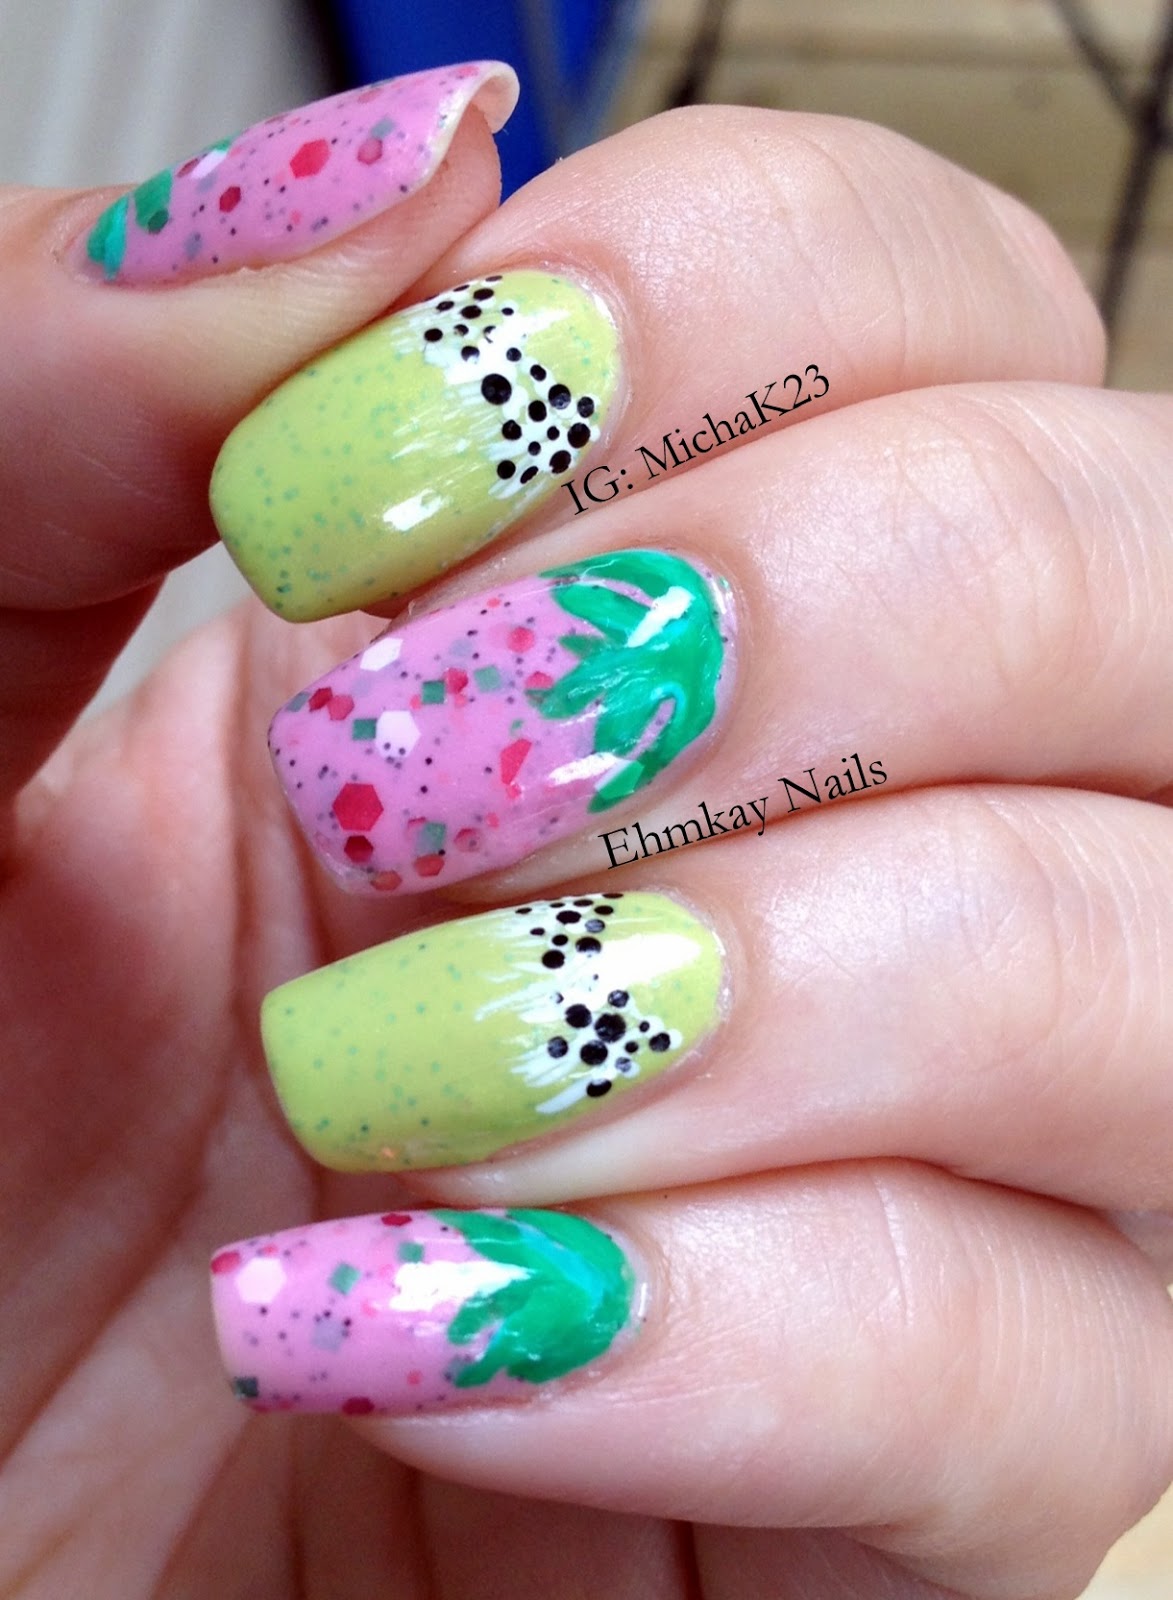

2. Step by Step Kiwi Nail Design

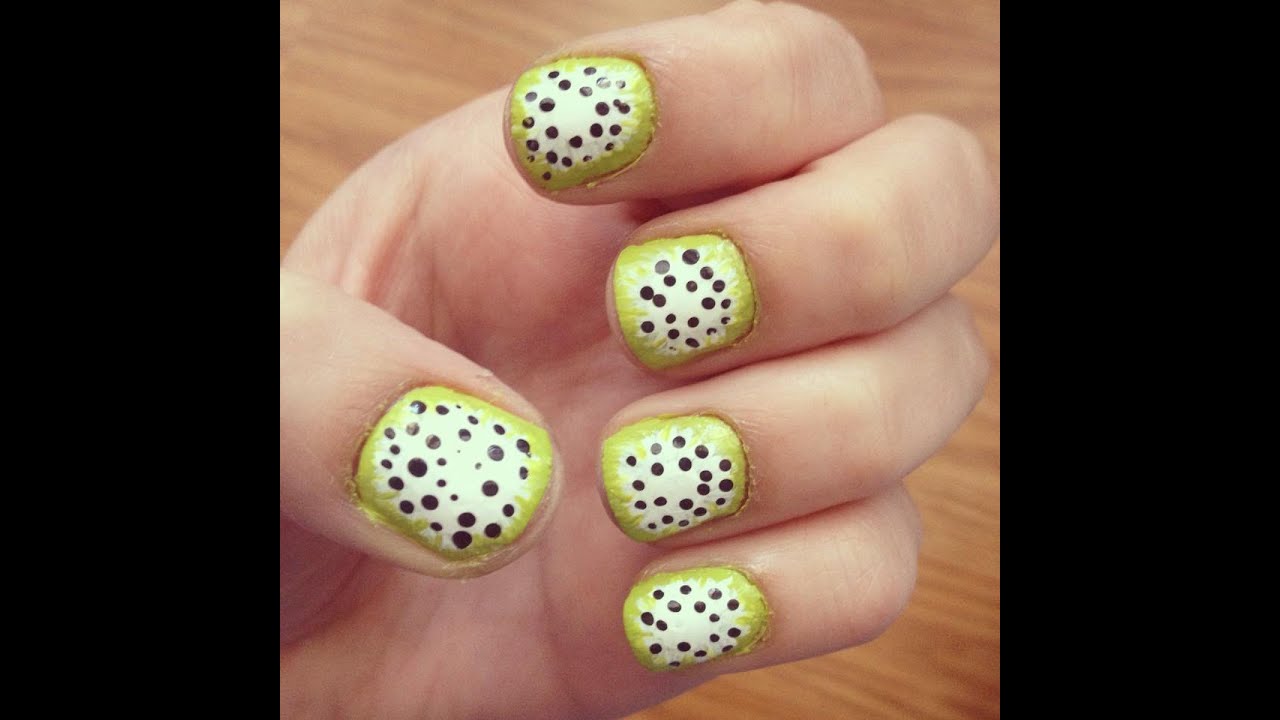


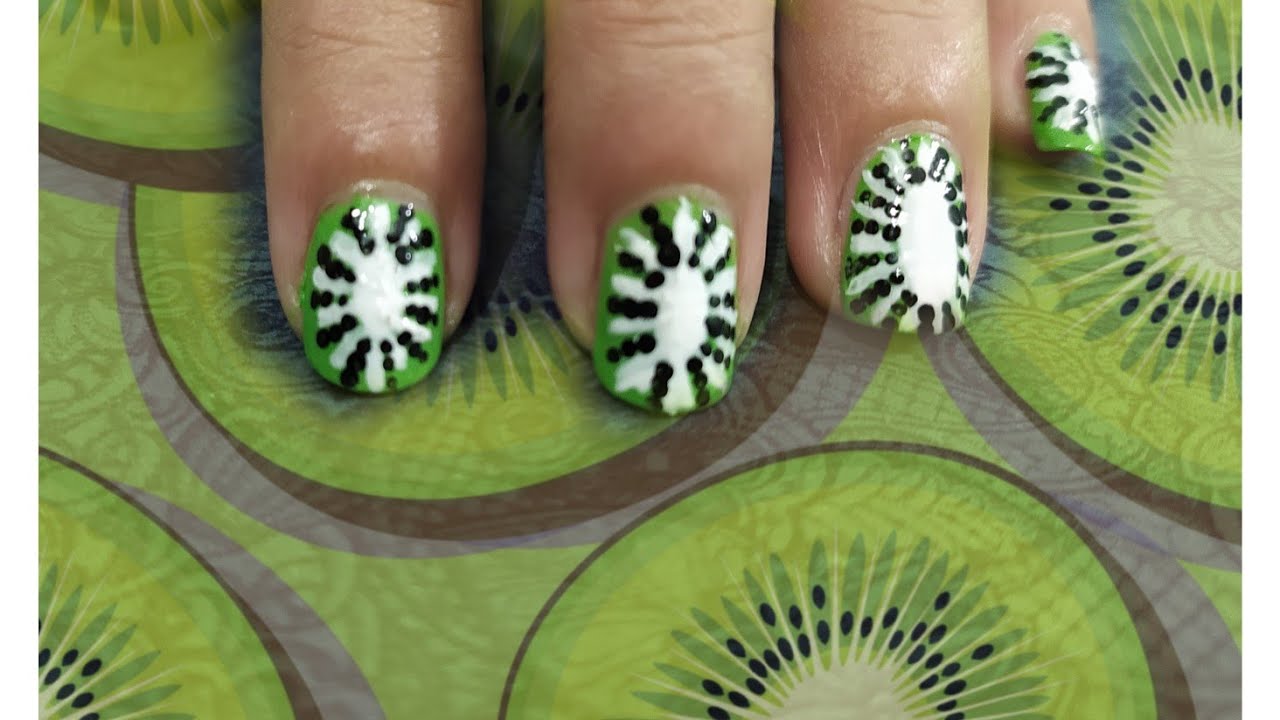
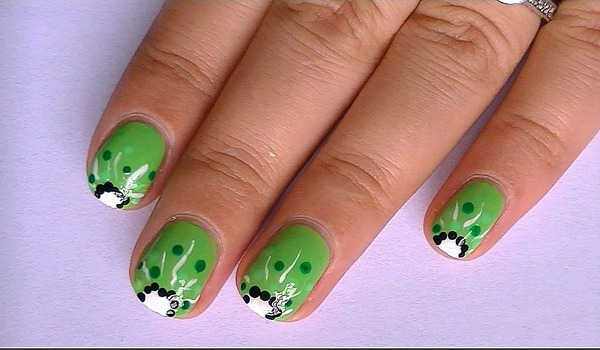
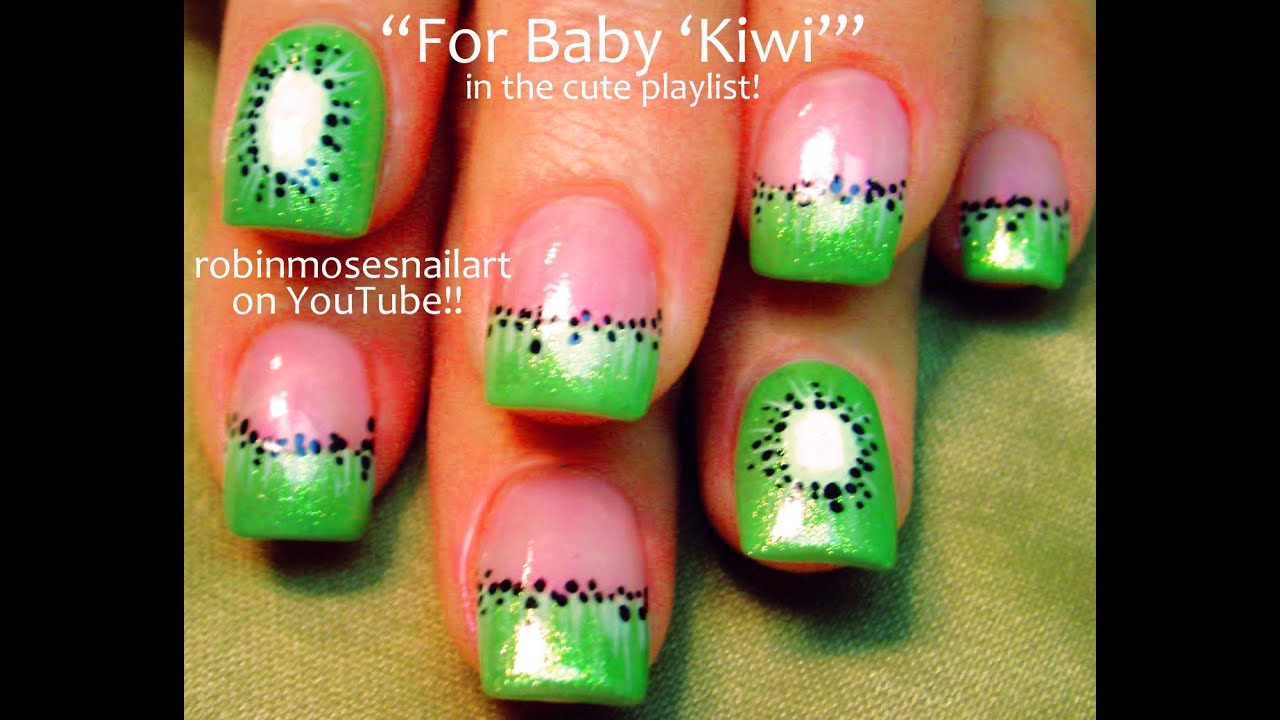
Looking for a quick and easy nail art design? This easy kiwi nail art tutorial is perfect for beginners or anyone who wants a fun and colorful design without spending too much time on it. Start by painting your nails with a light green polish. This will serve as the base color for your kiwi design. Let it dry completely before moving on to the next step. Next, take a thin nail art brush or a toothpick and dip it into a dark green nail polish. Create small dots on your nails, leaving some space between them. These dots will represent the seeds of a kiwi fruit. Using the same dark green polish, create small curved lines on your nails. These lines will represent the outer skin of the kiwi fruit. You can place them randomly or in a diagonal pattern for a more realistic look. For the kiwi's juicy flesh, use a white polish and create a curved line at the bottom of your nail. Then, use a toothpick to blend the white polish upwards, creating a gradient effect. This will give the illusion of a sliced kiwi. Finish off your design with a top coat to protect it and give it a glossy finish. And there you have it, an easy and cute kiwi nail art that you can recreate in no time.3. Easy Kiwi Nail Art Tutorial


3. Easy Kiwi Nail Art Tutorial
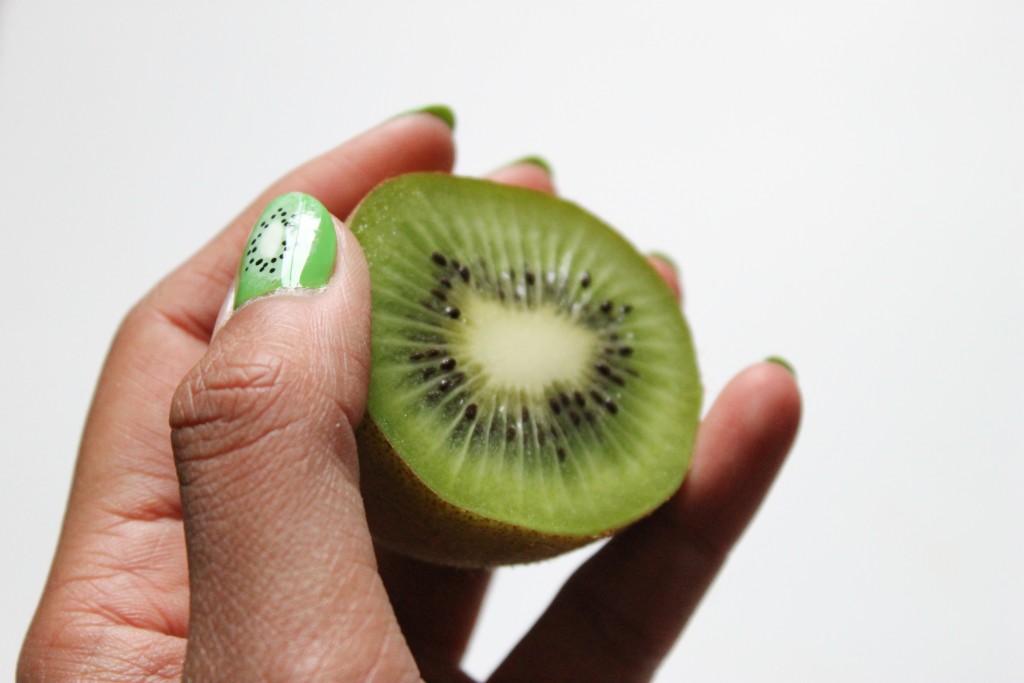
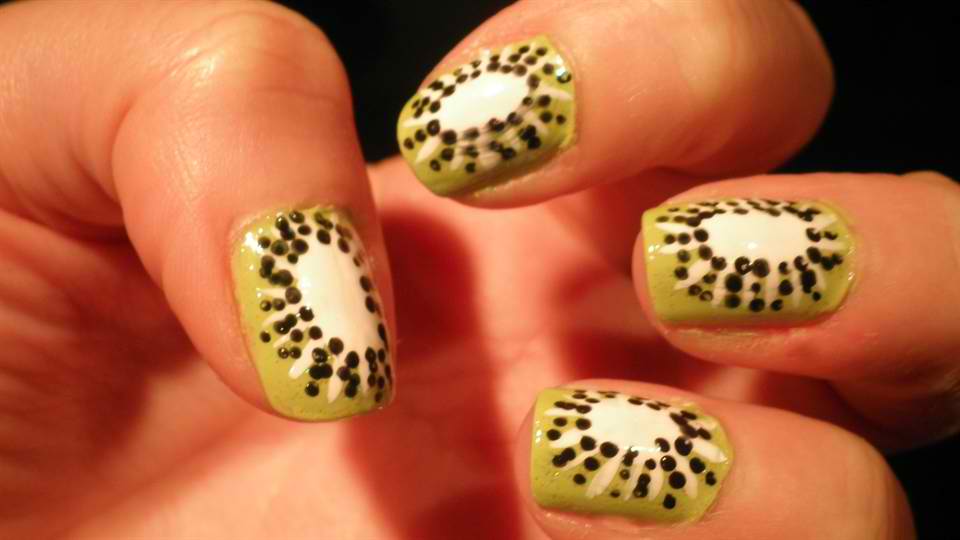
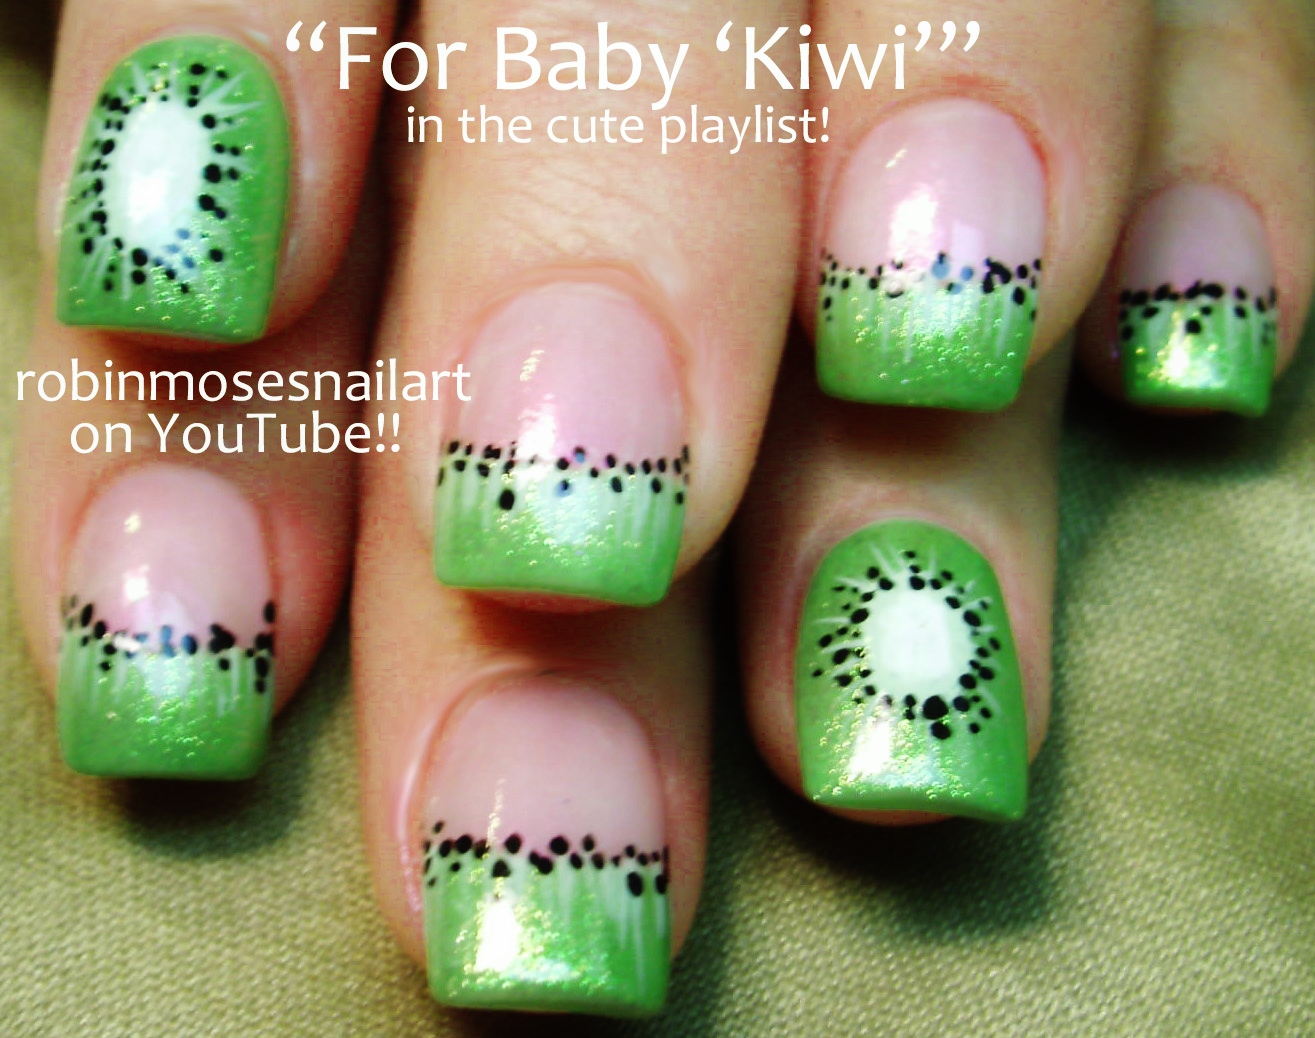
If you're feeling creative and want to try your hand at some DIY nail art, this kiwi nail art step by step tutorial is perfect for you. With just a few simple materials, you can create a fun and unique kiwi nail design. Start by prepping your nails with a base coat to protect them and create a smooth canvas for your design. Then, apply a light green polish to your nails. This will serve as the base color for your kiwi design. Next, take a thin nail art brush or a toothpick and dip it into a dark green nail polish. Create small dots on your nails to represent the seeds of a kiwi fruit. You can place them randomly or in a diagonal pattern for a more realistic look. Using the same dark green polish, create small curved lines on your nails. These lines will represent the outer skin of the kiwi fruit. You can place them randomly or in a diagonal pattern for a more realistic look. For the kiwi's juicy flesh, use a white polish and create a curved line at the bottom of your nail. Then, use a toothpick to blend the white polish upwards, creating a gradient effect. This will give the illusion of a sliced kiwi. Finally, add a top coat to seal in your design and give it a glossy finish. And there you have it, a fun and unique kiwi nail art that you can proudly say you did yourself.4. DIY Kiwi Nail Art Step by Step
4. DIY Kiwi Nail Art Step by Step

If you're just starting out in the world of nail art, it can be overwhelming to try and recreate intricate designs. But with this easy kiwi nail art for beginners tutorial, you can create a cute and simple design that will boost your confidence and nail art skills. Start by painting your nails with a light green polish. This will serve as the base color for your kiwi design. Let it dry completely before moving on to the next step. Next, take a thin nail art brush or a toothpick and dip it into a dark green nail polish. Create small dots on your nails, leaving some space between them. These dots will represent the seeds of a kiwi fruit. Using the same dark green polish, create small curved lines on your nails. These lines will represent the outer skin of the kiwi fruit. You can place them randomly or in a diagonal pattern for a more realistic look. For the kiwi's juicy flesh, use a white polish and create a curved line at the bottom of your nail. Then, use a toothpick to blend the white polish upwards, creating a gradient effect. This will give the illusion of a sliced kiwi. Finish off your design with a top coat to protect it and give it a glossy finish. And there you have it, a simple and cute kiwi nail art that is perfect for beginners.5. Kiwi Nail Art for Beginners


5. Kiwi Nail Art for Beginners


If you're in need of a cute and playful nail design, this kiwi nail art tutorial is just what you need. With its bright colors and fun design, it's sure to bring a smile to your face every time you look at your nails. Start by prepping your nails with a base coat to protect them and create a smooth canvas for your design. Then, apply a light green polish to your nails. This will serve as the base color for your kiwi design. Next, take a thin nail art brush or a toothpick and dip it into a dark green nail polish. Create small dots on your nails to represent the seeds of a kiwi fruit. You can place them randomly or in a diagonal pattern for a more realistic look. Using the same dark green polish, create small curved lines on your nails. These lines will represent the outer skin of the kiwi fruit. You can place them randomly or in a diagonal pattern for a more realistic look. For the kiwi's juicy flesh, use a white polish and create a curved line at the bottom of your nail. Then, use a toothpick to blend the white polish upwards, creating a gradient effect. This will give the illusion of a sliced kiwi. Finally, add a top coat to seal in your design and give it a glossy finish. And there you have it, a cute and playful kiwi nail design that is perfect for any occasion.6. Cute Kiwi Nail Design Tutorial
6. Cute Kiwi Nail Design Tutorial

Short nails, don't care? This step by step kiwi nail art for short nails tutorial is perfect for those with shorter nails who still want to rock a fun and colorful design. With just a few simple steps, you can create a cute and unique look that will make your nails stand out. Start by painting your nails with a light green polish. This will serve as the base color for your kiwi design. Let it dry completely before moving on to the next step. Next, take a thin nail art brush or a toothpick and dip it into a dark green nail polish. Create small dots on your nails, leaving some space between them. These dots will represent the seeds of a kiwi fruit. Using the same dark green polish, create small curved lines on your nails. These lines will represent the outer skin of the kiwi fruit. You can place them randomly or in a diagonal pattern for a more realistic look. For the kiwi's juicy flesh, use a white polish and create a curved line at the bottom of your nail. Then, use a toothpick to blend the white polish upwards, creating a gradient effect. This will give the illusion of a sliced kiwi. Finish off your design with a top coat to protect it and give it a glossy finish. And there you have it, a simple and cute kiwi nail art that is perfect for short nails.7. Step by Step Kiwi Nail Art for Short Nails

7. Step by Step Kiwi Nail Art for Short Nails
Looking for some inspiration for your next nail design? Look no further because we have some kiwi nail art ideas that will get your creative juices flowing. From simple and cute designs to more intricate and detailed ones, there's something for everyone. For a simple and cute kiwi nail art, you can recreate the tutorial mentioned above using a light green base color, dark green dots for the seeds, and a white gradient for the flesh. If you want to add some extra flair to your design, you can incorporate other elements such as glitter, rhinestones, or even a kiwi slice sticker to your nails. For those who are more skilled in nail art, you can try creating a 3D kiwi design using acrylic or gel. This will give your nails a more realistic look and will definitely make a statement. Don't be afraid to play around with different colors and designs to find what works best for you. The possibilities with kiwi nail art are endless, so have fun and let your creativity shine!8. Kiwi Nail Art Ideas and Inspiration

8. Kiwi Nail Art Ideas and Inspiration
If you're wondering how to create a kiwi nail art look, we've got you covered. Whether you're a beginner or an experienced nail artist, these tips will help you achieve the perfect kiwi nail design. Start by prepping your nails with a base coat to protect them and create a smooth canvas for your design. Then, apply a light green polish to your nails. This will serve as the base color for your kiwi design. For a more realistic look, you can use a nail art brush or a toothpick to create small dots with a yellow polish on top of the white gradient. This will represent the seeds of a kiwi fruit. For the kiwi's outer skin, you can use a dark green polish and create small curved lines on your nails. You can place them randomly or in a diagonal pattern for a more realistic look. For an extra touch, you can add a small brown dot at the top of your kiwi design to represent the stem of the fruit. Finish off your design with a top coat to protect it and give it a glossy finish. And there you have it, a perfect kiwi nail art look that is sure to impress.9. How to Create a Kiwi Nail Art Look

9. How to Create a Kiwi Nail Art Look

If you're a visual learner, this kiwi nail art step by step video tutorial is perfect for you. Watch as a professional nail artist creates a cute and colorful kiwi nail design, and follow along to recreate it on your own nails. Start by prepping your nails with a base coat to protect them and create a smooth canvas for your design. Then, apply a light green polish to your nails. This will serve as the base color for your kiwi design. Next, use a thin nail art brush or a toothpick to create small dots with a dark green polish. These dots will represent the seeds of a kiwi fruit. You can place them randomly or in a diagonal pattern for a more realistic look. Using the same dark green polish, create small curved lines on your nails to represent the outer skin of the kiwi fruit. For the kiwi's juicy flesh, use a white polish and create a curved line at the bottom of your nail. Then, use a toothpick to blend the white polish upwards, creating a gradient effect. Finish off your design with a top coat to protect it and give it a glossy finish. And there you have it, a fun and colorful kiwi nail art that you can easily recreate by following this step by step video tutorial.10. Kiwi Nail Art Step by Step Video Tutorial

10. Kiwi Nail Art Step by Step Video Tutorial
The Perfect Way to Add a Touch of Whimsy to Your Nails: Kiwi Nail Art
If you're looking for a fun and unique way to spice up your nail game, look no further than kiwi nail art. This playful and whimsical design will have your nails looking fresh and funky in no time. Not only is it eye-catching and fun, but it's also surprisingly easy to create. With just a few simple steps, you can have a kiwi-inspired manicure that will have everyone asking for your nail secrets. So let's dive into this step by step guide on how to achieve the perfect kiwi nail art look.
Gather Your Supplies
The key to any successful nail art is having the right tools and products. For this kiwi design, you'll need a green nail polish , a white nail polish , a black nail polish , a small detailing brush , and a dotting tool . You can also add a clear top coat to seal and protect your design.
Prep Your Nails

Before you start painting your nails, make sure to properly prep them. This includes removing any old polish, pushing back your cuticles, and filing your nails to your desired shape. Once your nails are clean and ready, apply a base coat to protect your natural nails and help your polish last longer.
Create the Kiwi Design
Now it's time to get creative and start painting. Begin by applying two coats of green nail polish to all of your nails. Once the polish is dry, use your dotting tool to create small black dots all over your nails. These will represent the kiwi seeds.
Next, take your detailing brush and dip it into the white nail polish . Carefully draw a curved line at the tip of your nail, mimicking the shape of a kiwi slice. Fill in the rest of the tip with white polish, leaving a small green border at the edge. You can also add some white lines to create texture and give the kiwi a more realistic look.
Seal the Look

Once your design is complete, let it dry completely before applying a top coat. This will not only seal and protect your design, but it will also give your nails a shiny finish.
Get Creative
While this tutorial shows a traditional kiwi design, don't be afraid to get creative and put your own spin on it. You can try different color combinations, add glitter, or even use a matte top coat for a unique look. The possibilities are endless with kiwi nail art.
In conclusion, kiwi nail art is a fun and playful way to add a touch of whimsy to your nails. With just a few simple steps and some basic supplies, you can achieve a unique and eye-catching manicure that will have everyone asking for your nail secrets. So go ahead and give it a try, and let your creativity run wild!


