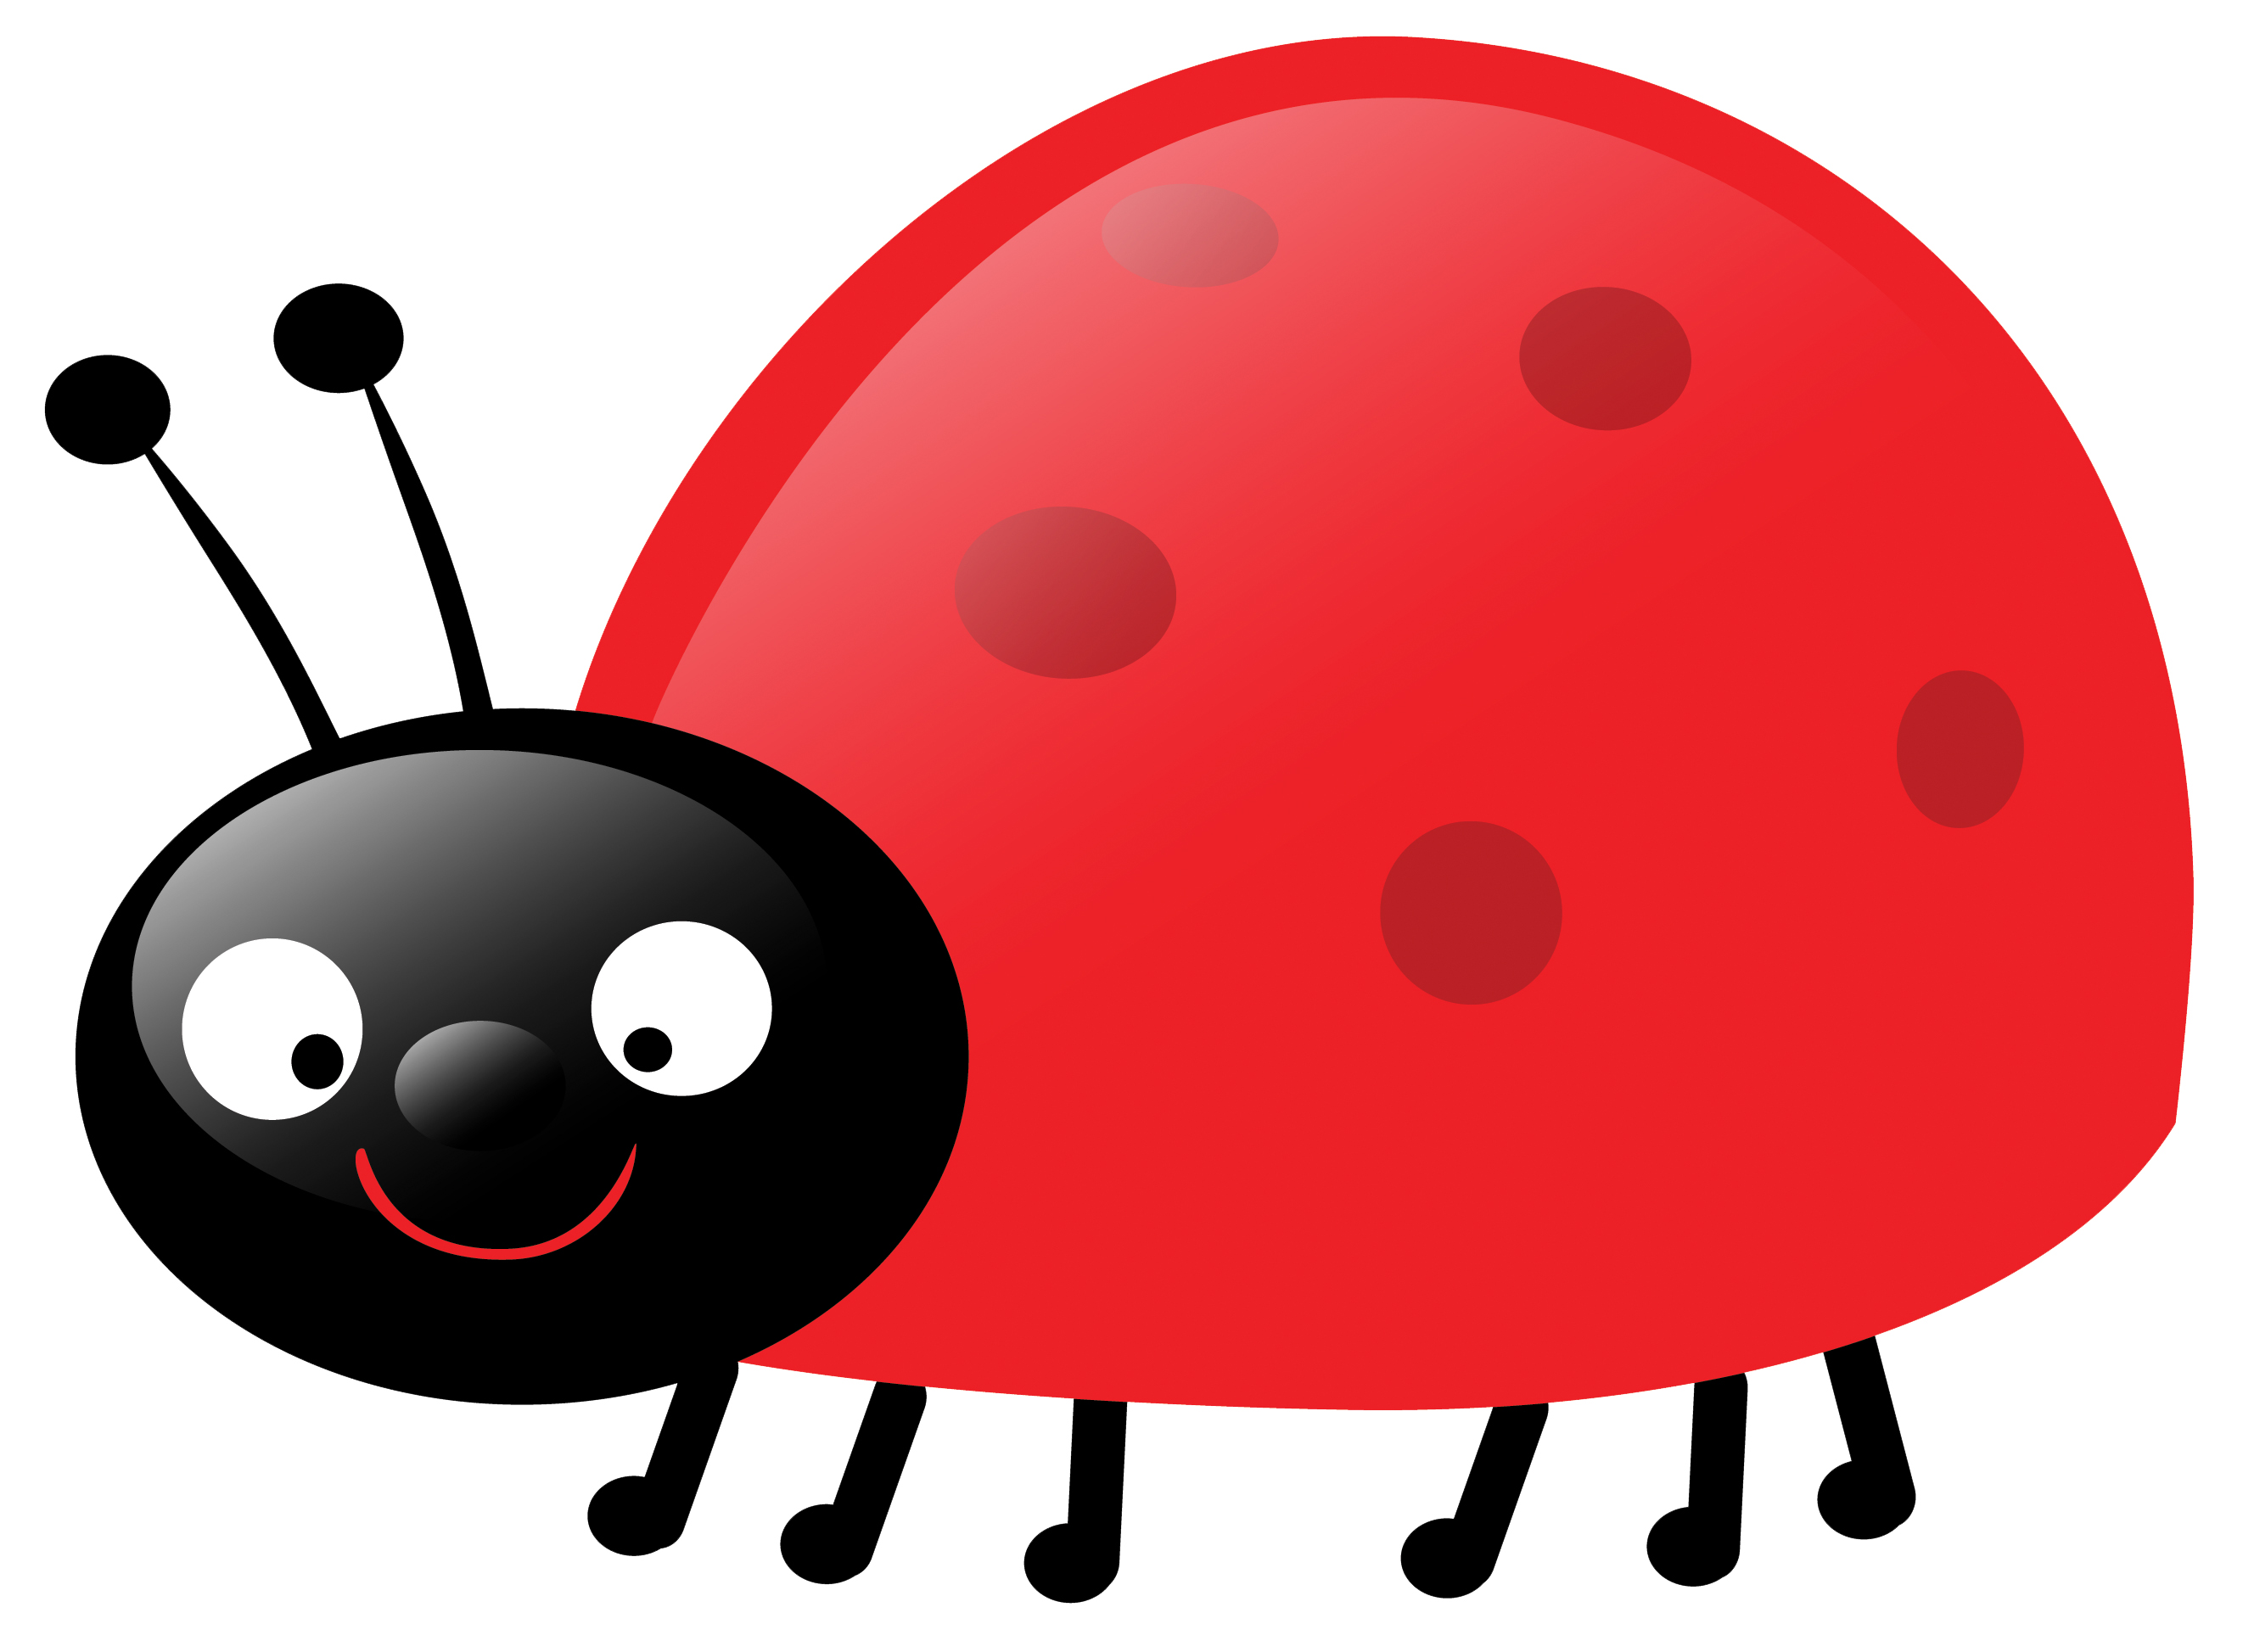
Are you tired of the same old plain nail designs? Why not add some whimsy and fun to your pedicure with ladybug toe nail art? These cute and colorful designs are perfect for any occasion and will definitely make your toes stand out. Whether you're a nail art pro or just starting out, these ladybug designs are easy to recreate and will surely impress. So grab your nail polish and let's take a look at the top 10 ladybug toe nail art designs that you'll fall in love with! Ladybug Toe Nail Art Designs


Ladybug Toe Nail Art Designs


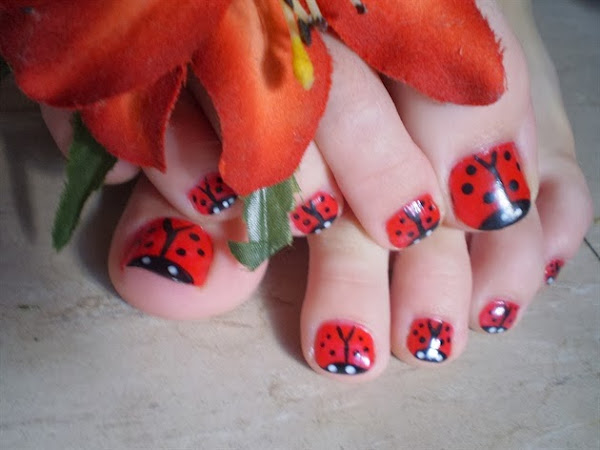


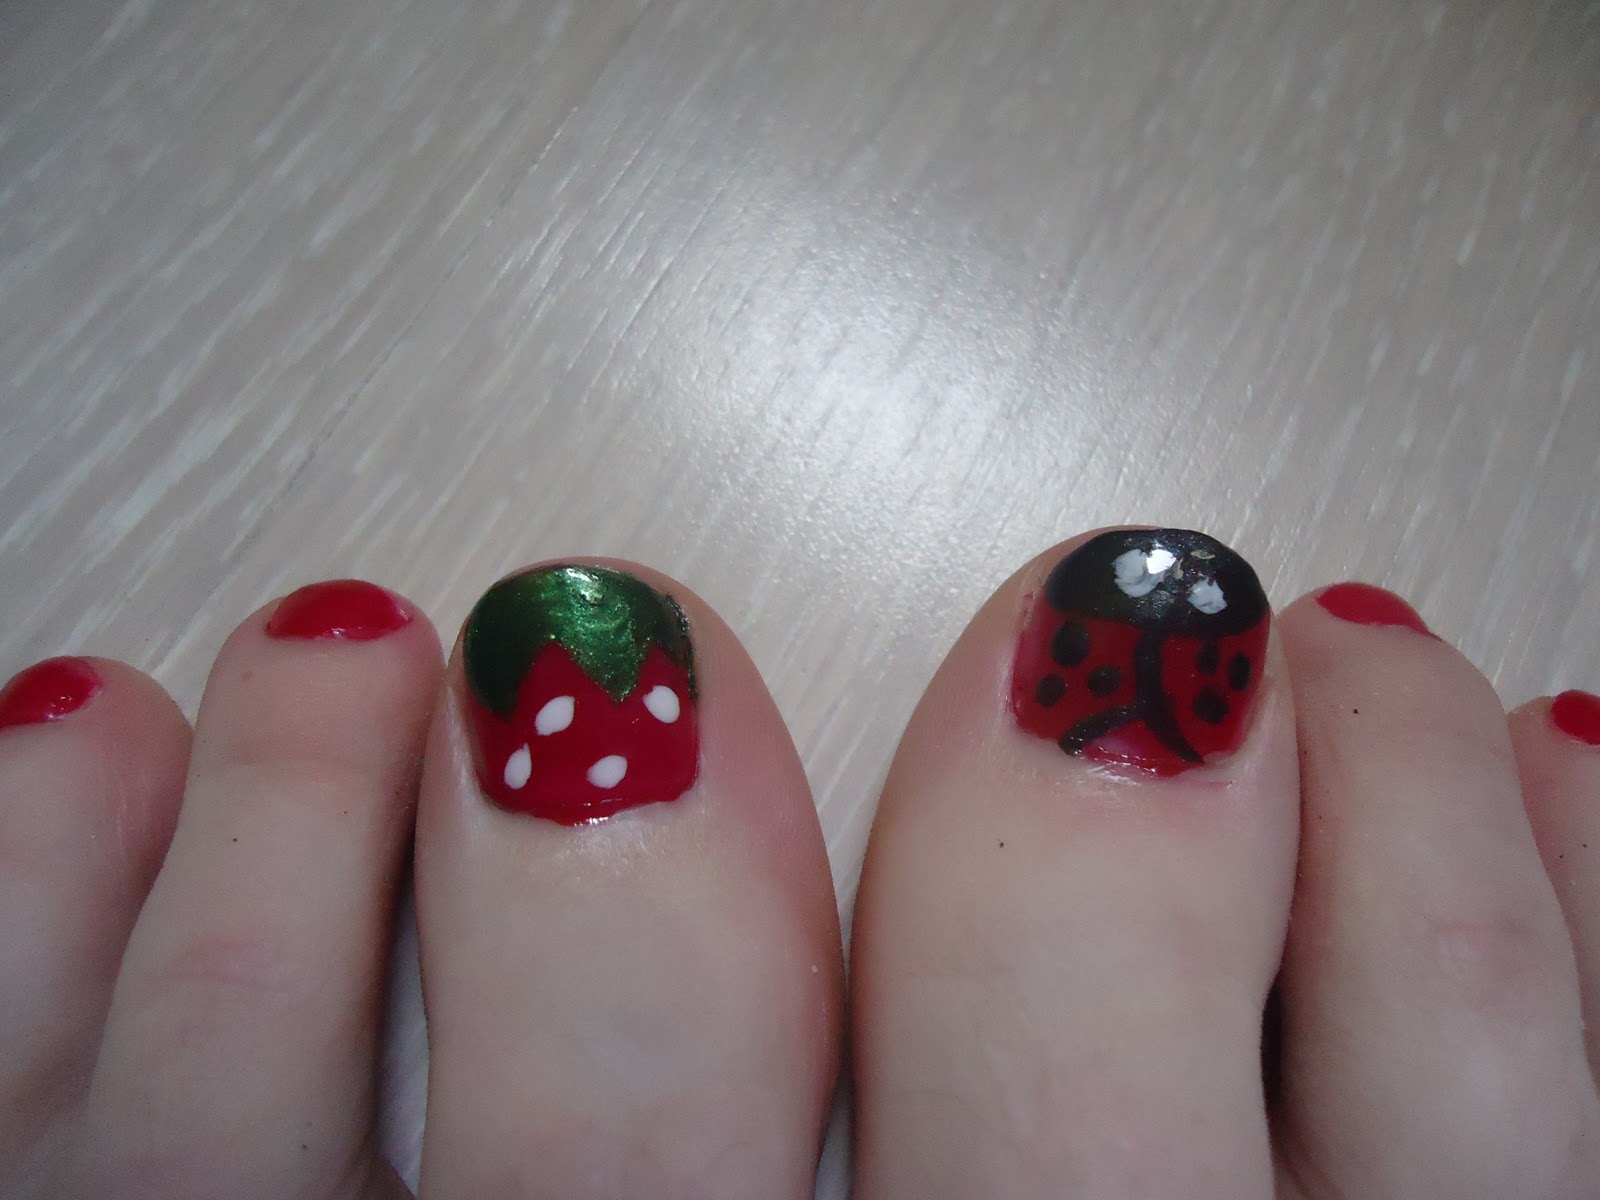
Looking for a cute and playful design? These ladybug toe nail art ideas are perfect for those who love a touch of cuteness in their nail designs. Using bright red and black polishes, you can create adorable ladybug faces on your toes. To add some extra charm, try using a white polish to create tiny polka dots on the red background. You can also add details like antennas and cute little eyes using a thin brush or a toothpick. This design is perfect for any casual outing or a day at the park. Cute Ladybug Toe Nail Art


Cute Ladybug Toe Nail Art


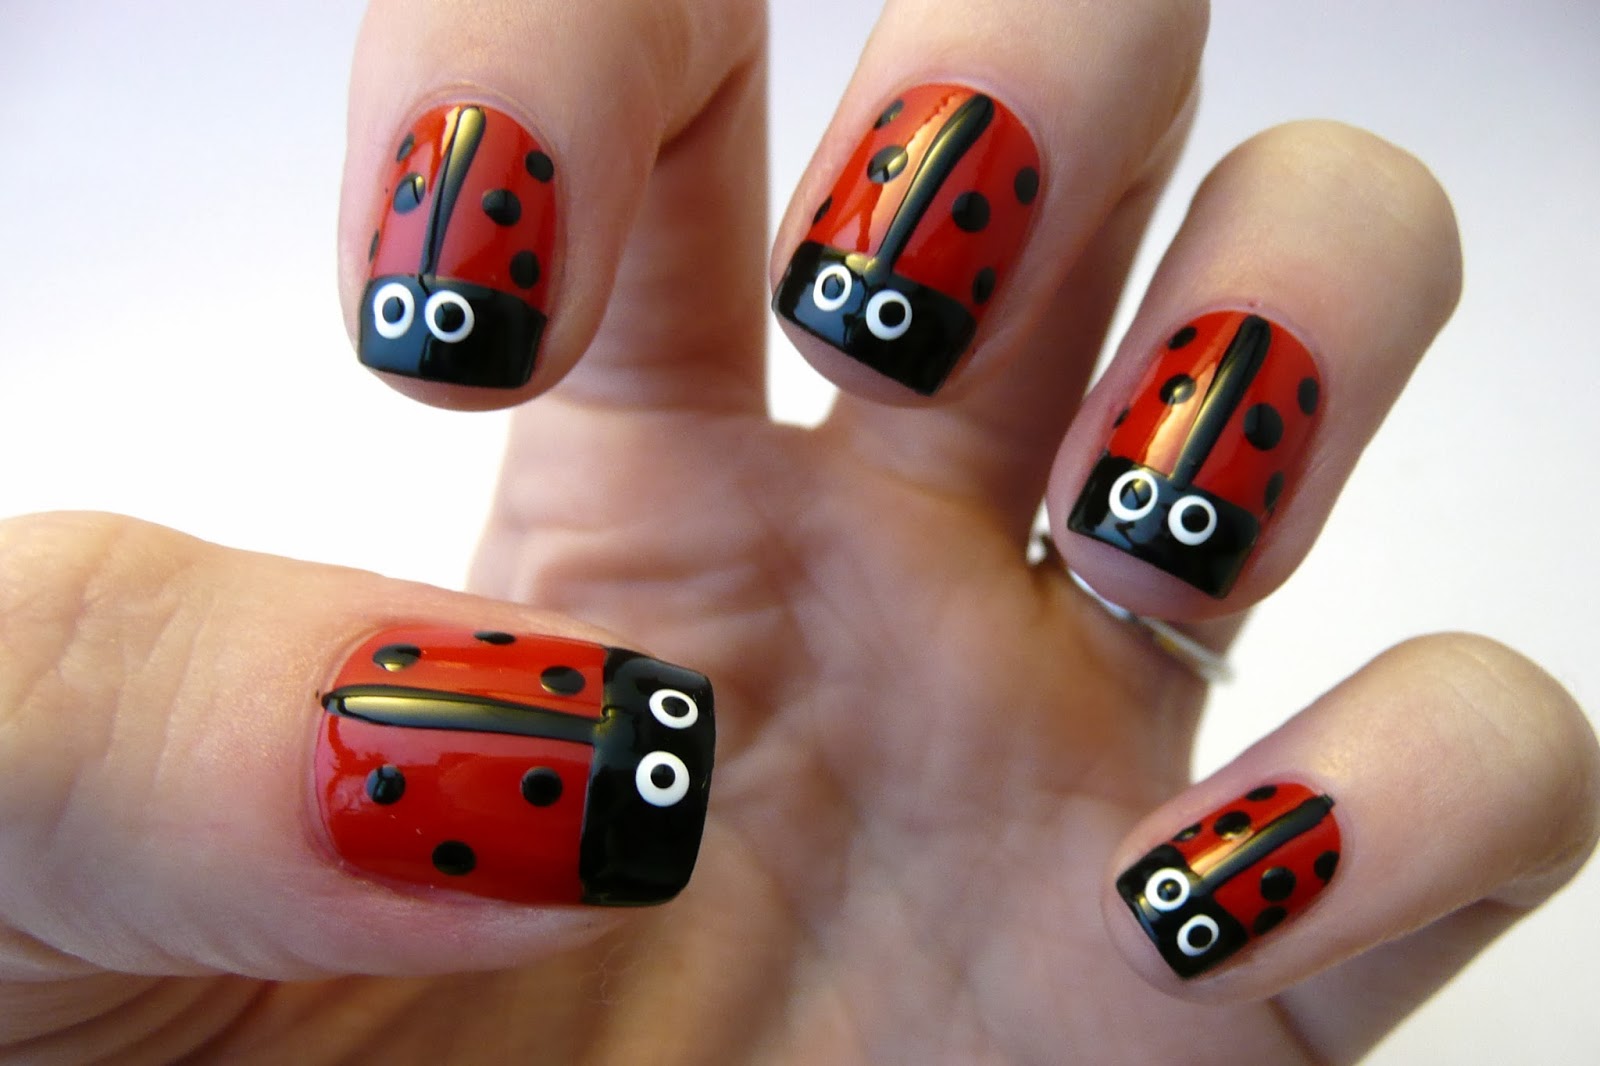
If you're new to nail art, don't worry, we've got you covered! This ladybug toe nail art tutorial will guide you through the steps to create a perfect ladybug design on your toes. First, start by painting your nails with a bright red polish. Once it's dry, use a black polish to create a half-circle on the top of your nail, leaving some space for the head. Then, using a dotting tool or a toothpick, create black dots on the red background. Finally, add the details like antennas and eyes using a thin brush. Voila, you have a cute ladybug design on your toes! Ladybug Toe Nail Art Tutorial


Ladybug Toe Nail Art Tutorial

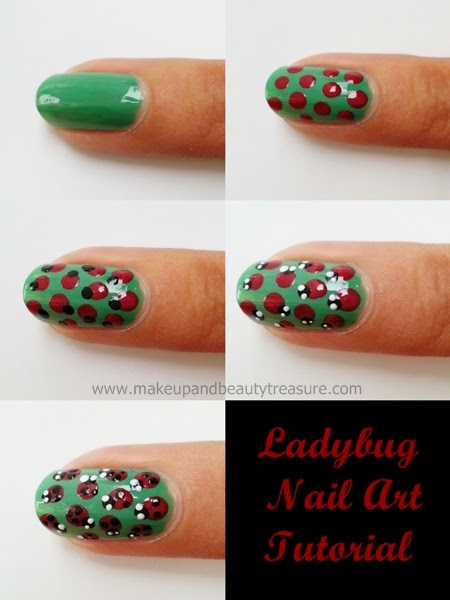
For those who prefer a more detailed step by step guide, here's how you can create a ladybug toe nail art design in just a few simple steps. Start with a bright red base and let it dry completely. Next, using a black polish and a thin brush, create a half-circle on the top of your nail, leaving some space for the head. Then, using a dotting tool or toothpick, create black dots on the red background. Once that's done, use a white polish to create smaller dots inside the black ones. Finally, add the finishing touches by creating antennas and eyes using a thin brush and black polish. You can also add a top coat for a shiny finish. Follow these steps and you'll have a perfect ladybug design on your toes in no time! Ladybug Toe Nail Art Step by Step


Ladybug Toe Nail Art Step by Step

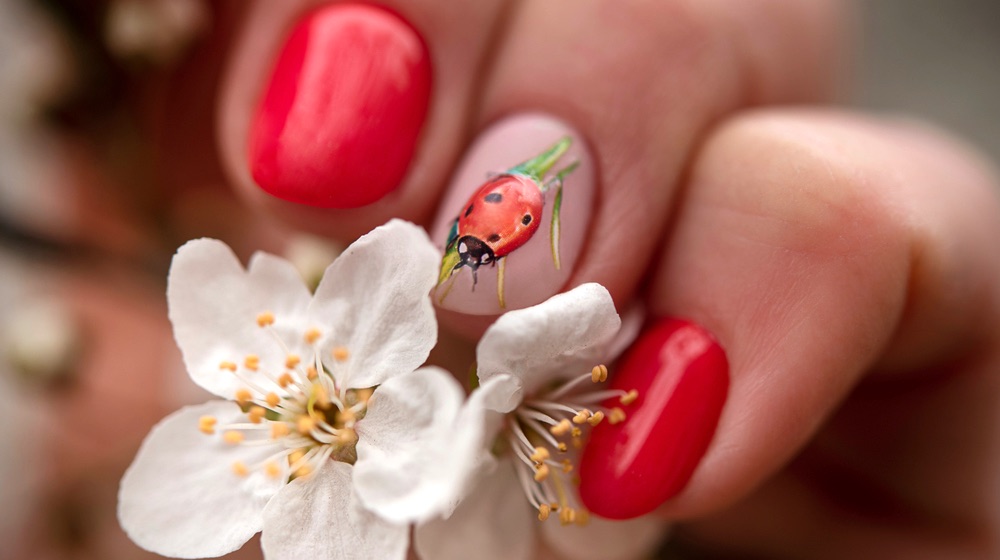
Looking for more ladybug toe nail art ideas? You're in luck because we have plenty! How about a ladybug and flower design? Paint your nails with a light pink or white base and then use a black polish to create a half-circle on the top of your nail. Next, use a dotting tool to create black dots on the pink or white background. For the flower, use a small brush to create petals in different colors and add a rhinestone in the center. Finish off with antennas and eyes using a thin brush and black polish. This design is perfect for a summer day or a garden party. Ladybug Toe Nail Art Ideas


Ladybug Toe Nail Art Ideas


If you're not confident in your nail art skills, don't worry, there's an easy solution – ladybug toe nail stickers! These cute little decals are easy to apply and will give you a perfect ladybug design in seconds. You can find these stickers in various sizes and designs, from simple ladybug shapes to more intricate designs with flowers and other insects. Just apply them on your nails and seal with a top coat for a long-lasting design. It's a quick and easy way to add some fun to your pedicure. Ladybug Toe Nail Art Stickers

Ladybug Toe Nail Art Stickers

For those who are just starting out with nail art, it can be intimidating to try out complex designs. But with these ladybug toe nail art ideas, even beginners can create a cute and eye-catching design. Start with a red base and let it dry. Next, using a toothpick, create black dots on the red background. Then, using a thin brush, add the details like antennas and eyes with black polish. If you're feeling adventurous, you can even add some tiny flowers or leaves using different colors. It's an easy and fun design that anyone can try. Ladybug Toe Nail Art for Beginners

Ladybug Toe Nail Art for Beginners
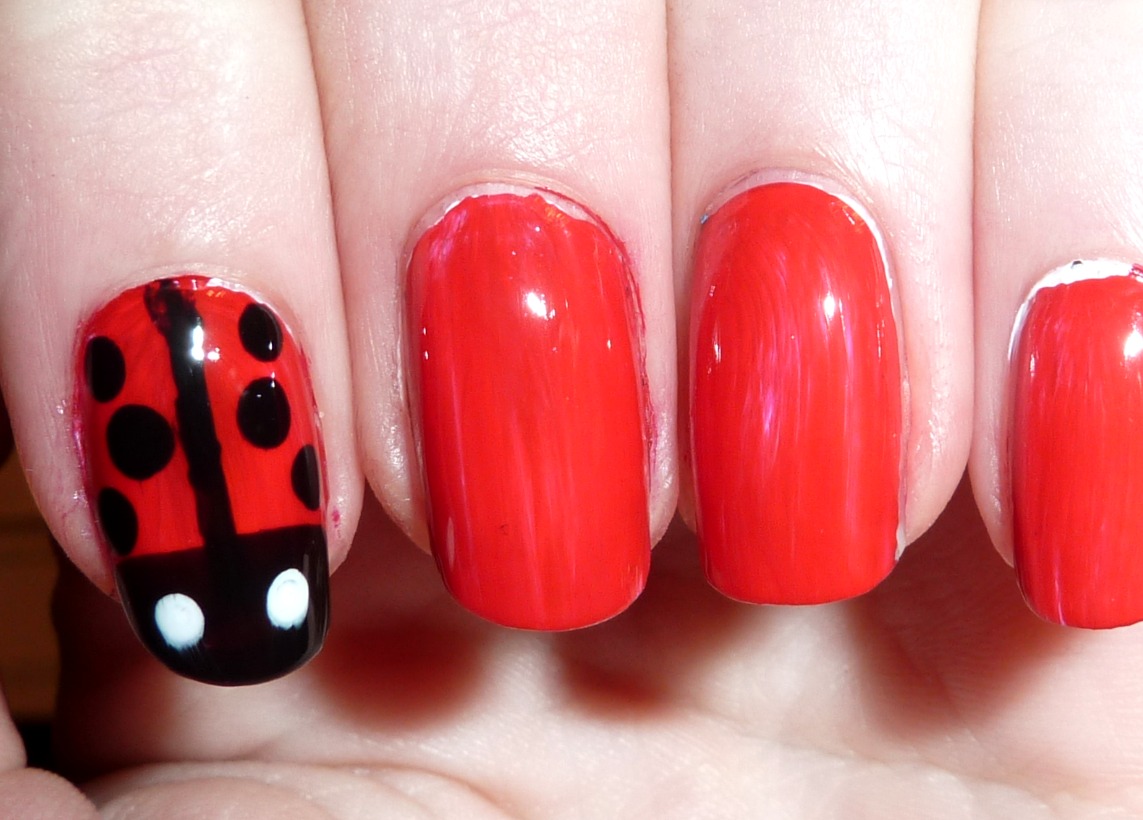
Adding dots to your ladybug toe nail art design can give it a more playful and whimsical look. Start with a red base and let it dry. Next, using a dotting tool or toothpick, create black dots on the red background. For a twist on the classic ladybug design, try adding white dots on the red background instead. You can also create a gradient effect using different shades of red and black polishes. It's a simple but effective way to make your ladybug design stand out. Ladybug Toe Nail Art with Dots
Ladybug Toe Nail Art with Dots

Looking to add some extra charm to your ladybug design? How about incorporating some flowers into the mix? Start with a red base and let it dry. Next, using a toothpick or a thin brush, create a half-circle on the top of your nail with black polish. Then, using different colored polishes, create tiny flowers around the black half-circle. You can also add some green leaves for a more realistic look. Finish off with antennas and eyes using a thin brush and black polish. This design is perfect for spring or summer. Ladybug Toe Nail Art with Flowers
Ladybug Toe Nail Art with Flowers

For a more glamorous and eye-catching design, why not add some rhinestones to your ladybug toe nail art? Start with a red base and let it dry. Next, using a toothpick or a thin brush, create a half-circle on top of your nail with black polish. Then, using a dotting tool or toothpick, create black dots on the red background. Finish off by adding a rhinestone in the center of the black half-circle for a touch of bling. You can also add some smaller rhinestones for extra sparkle. It's a perfect design for a special occasion or a night out. In conclusion, ladybug toe nail art is a fun and creative way to add some personality to your pedicure. With these top 10 designs, there's something for everyone, from beginners to nail art experts. So why not give them a try and show off your cute and colorful ladybug toes? Ladybug Toe Nail Art with Rhinestones


Ladybug Toe Nail Art with Rhinestones
The Adorable Trend of Ladybug Toe Nail Art
 Ladybug toe nail art is a fun and playful way to add a touch of cuteness to your nail designs. This trend has gained a lot of popularity in recent years, with many people opting for this cute and quirky design on their toes. Not only does it look adorable, but it also adds a unique and eye-catching element to your overall look.
Ladybug
designs are not just limited to children's cartoons anymore, they have made their way into the world of fashion and beauty.
Ladybug toe nail art is a fun and playful way to add a touch of cuteness to your nail designs. This trend has gained a lot of popularity in recent years, with many people opting for this cute and quirky design on their toes. Not only does it look adorable, but it also adds a unique and eye-catching element to your overall look.
Ladybug
designs are not just limited to children's cartoons anymore, they have made their way into the world of fashion and beauty.
Where did it all start?
 The inspiration for ladybug toe nail art can be traced back to the traditional Japanese nail art called "Akasaka." This art form involves creating intricate designs using tiny beads and other embellishments on the nails. One of the popular designs in this style is the ladybug, which symbolizes good luck and happiness. This design quickly caught on and became a staple in the world of nail art.
The Process
 Creating ladybug toe nail art is not as complicated as it may seem. All you need is a steady hand, some basic nail art tools, and a little bit of patience. Start by painting your nails with a base color of your choice. Then, using a small brush or a dotting tool, create the ladybug's round body using red nail polish. Next, add the black dots and head using a thin brush or a toothpick. Complete the look by adding small white dots for the eyes and cute little antennas using black polish. You can also get creative and add some flowers or grass to make it look like a ladybug in its natural habitat.
Why Ladybug Toe Nail Art?
 Not only is ladybug toe nail art aesthetically pleasing, but it also has a deeper meaning behind it. Ladybugs are believed to bring good luck and prosperity, making it the perfect design for someone who wants to embrace positivity in their life. Additionally, this design is versatile and can be incorporated into various styles and occasions. Whether you're going for a casual look or dressing up for a special event, ladybug toe nail art is a perfect choice.
In conclusion, ladybug toe nail art is a fun and adorable trend that has taken the fashion and beauty world by storm. With its cute and playful design and deeper meaning, it's no wonder that more and more people are opting for this nail art style. So, why not give it a try and add a touch of good luck and cuteness to your nails?
Not only is ladybug toe nail art aesthetically pleasing, but it also has a deeper meaning behind it. Ladybugs are believed to bring good luck and prosperity, making it the perfect design for someone who wants to embrace positivity in their life. Additionally, this design is versatile and can be incorporated into various styles and occasions. Whether you're going for a casual look or dressing up for a special event, ladybug toe nail art is a perfect choice.
In conclusion, ladybug toe nail art is a fun and adorable trend that has taken the fashion and beauty world by storm. With its cute and playful design and deeper meaning, it's no wonder that more and more people are opting for this nail art style. So, why not give it a try and add a touch of good luck and cuteness to your nails?


