Lattice nail art is a trendy and versatile design that adds a unique touch to any manicure. It involves creating a criss-cross pattern on your nails, resembling a lattice fence. This design can be customized in various colors and styles to suit any occasion. In this tutorial, we will guide you through the step-by-step process of creating a lattice nail art design. To start, you will need:How to Create a Lattice Nail Art Design: Step by Step Tutorial


How to Create a Lattice Nail Art Design: Step by Step Tutorial


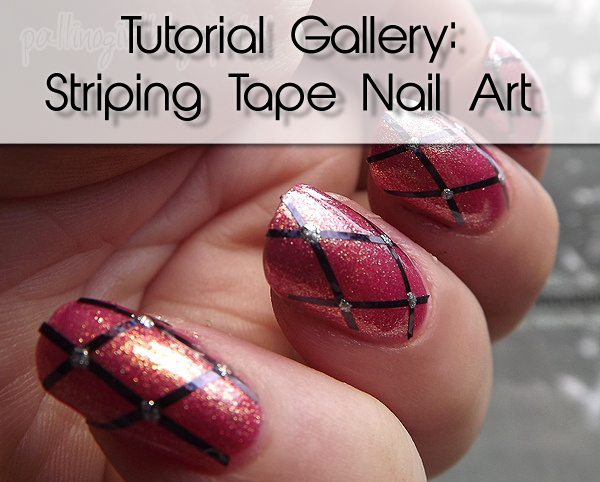
If you're looking for a budget-friendly way to achieve a lattice nail art design, this tutorial is for you. Start by applying a base coat to protect your nails and allow it to dry completely. Then, choose two contrasting nail polish colors. We recommend using a light color as the base and a darker color for the lattice design. Next, take a striping tape and cut it into thin strips. Place the strips vertically on your nails, leaving equal spaces in between. Use tweezers to ensure the tape is placed firmly on the nail. Apply the darker nail polish over the entire nail, including the striping tape. Wait a few seconds before carefully removing the tape using tweezers. This will create a criss-cross pattern on your nails, resembling a lattice fence. Finish off with a top coat for a glossy finish.DIY Lattice Nail Art Tutorial


DIY Lattice Nail Art Tutorial


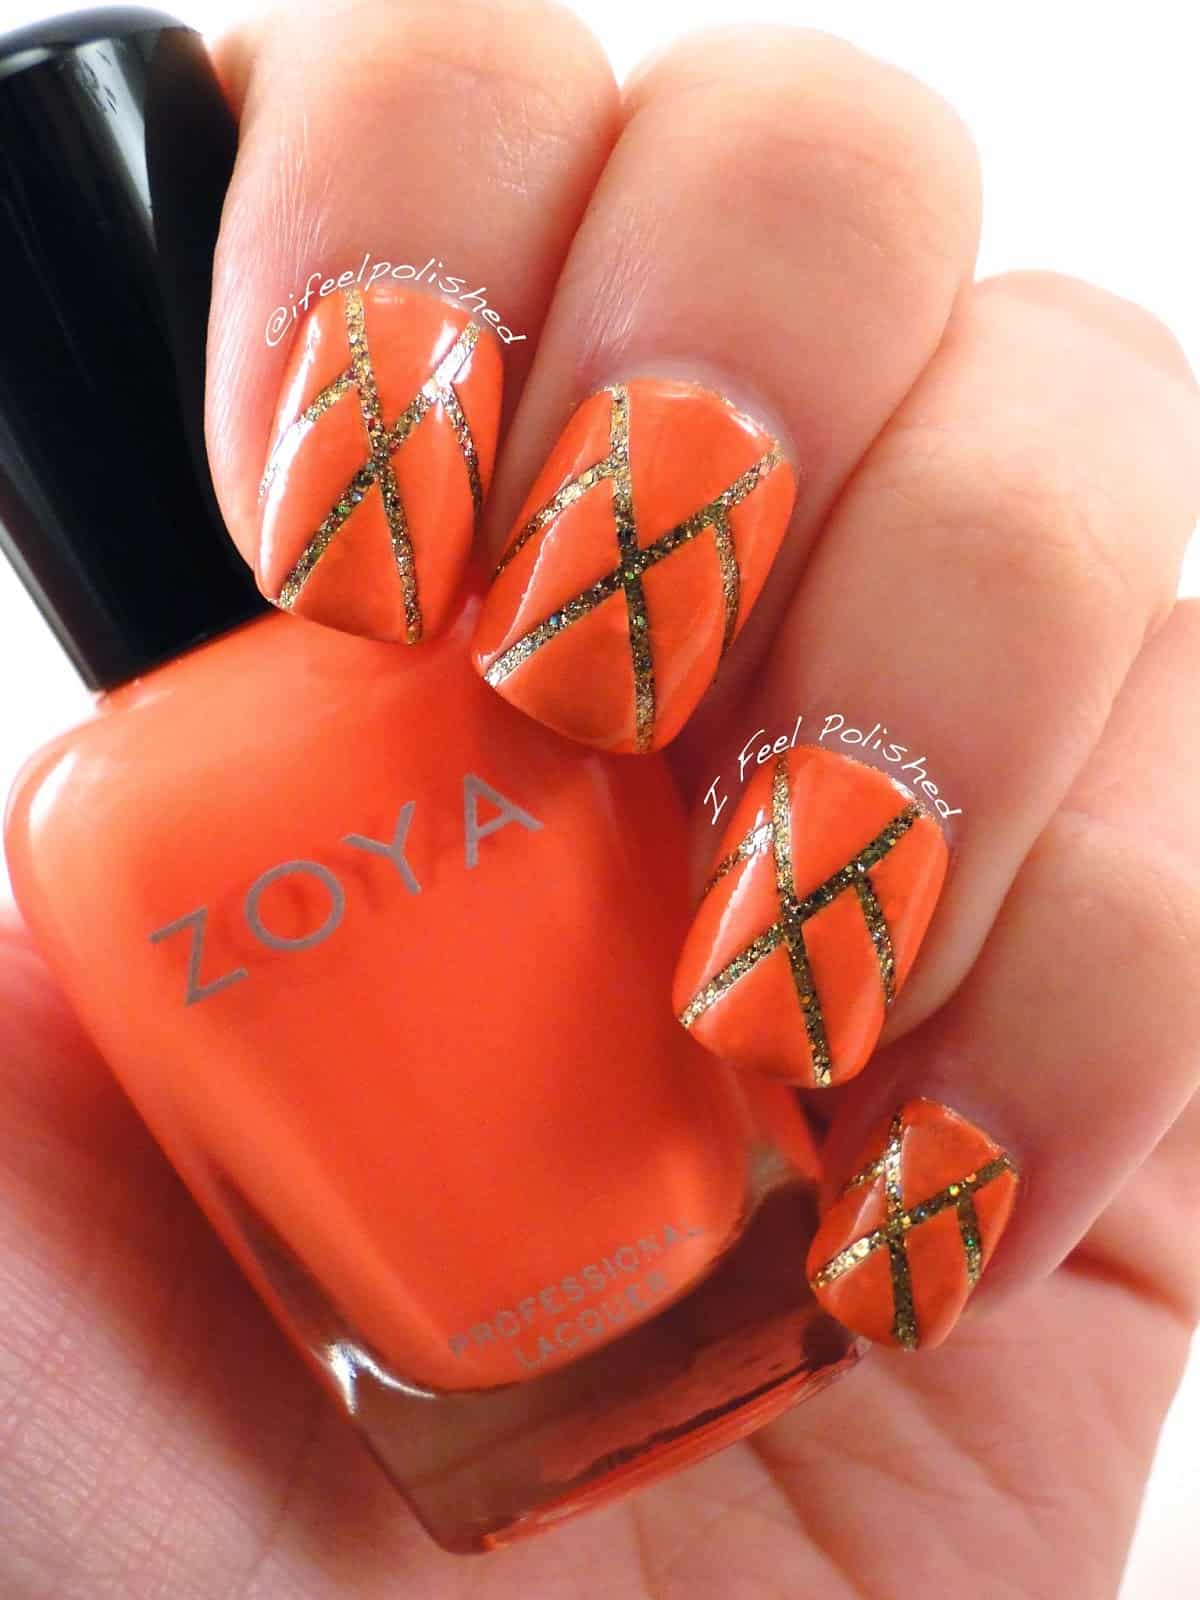
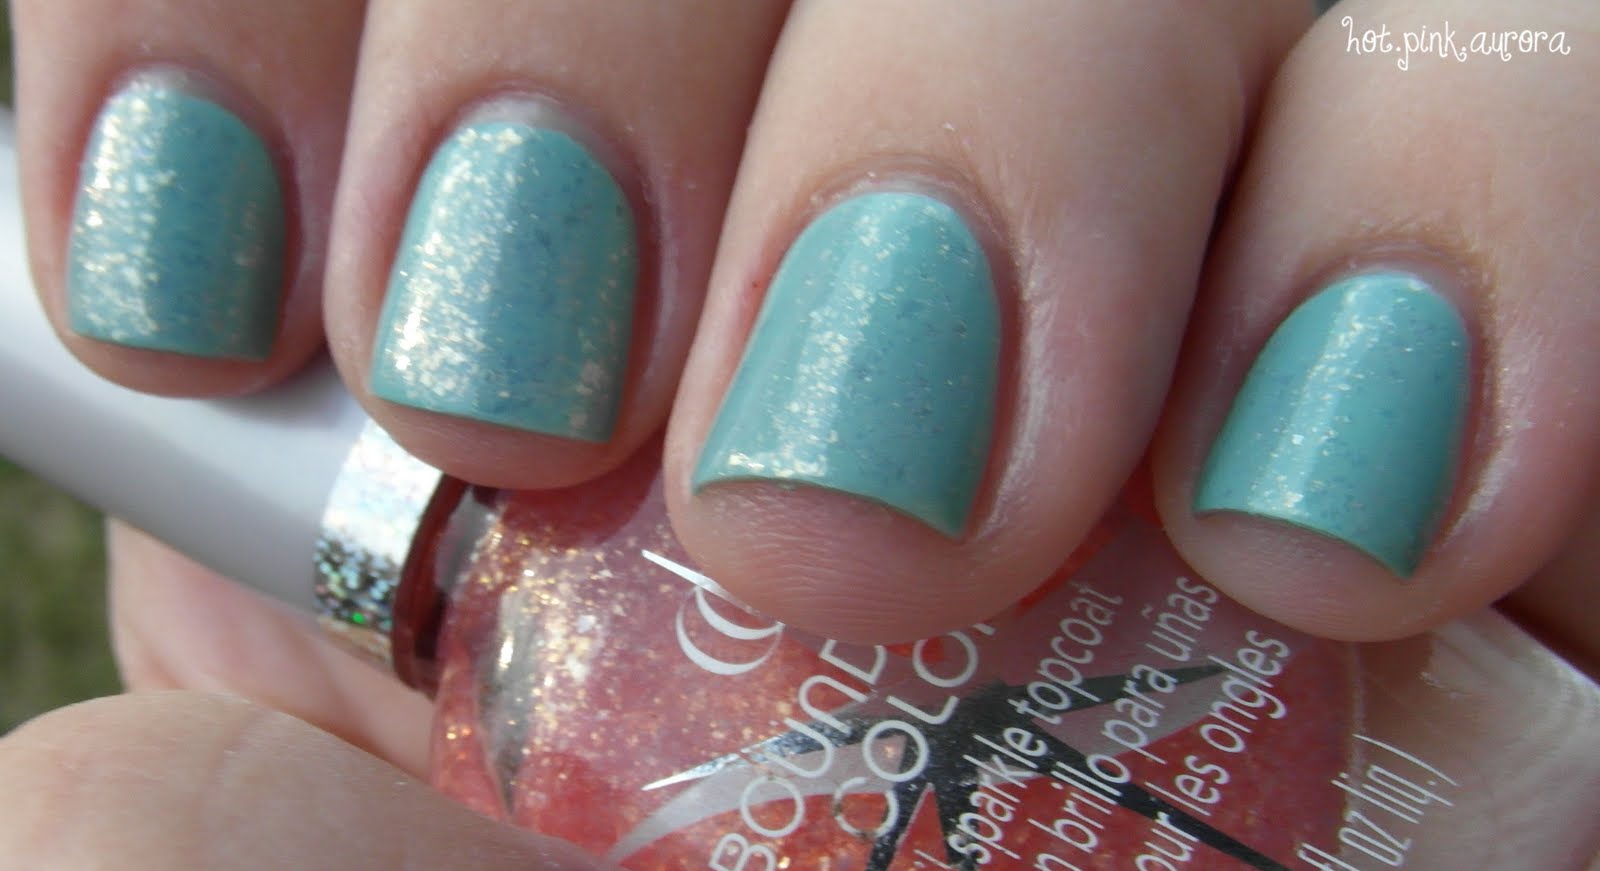
If you're new to nail art, this easy lattice nail art tutorial is perfect for you. Start by applying a base coat and let it dry completely. Then, choose two nail polish colors that complement each other. We recommend using a light color as the base and a metallic or glittery color for the lattice design. Next, take a striping tape and cut it into thin strips. Place the strips vertically on your nails, leaving equal spaces in between. Use tweezers to ensure the tape is placed firmly on the nail. Apply the base color over the entire nail, including the striping tape. Wait a few seconds before carefully removing the tape using tweezers. This will create a criss-cross pattern on your nails. Using a nail art brush, fill in the gaps with the metallic or glittery nail polish. Finish off with a top coat for a shiny finish.Easy Lattice Nail Art Tutorial for Beginners
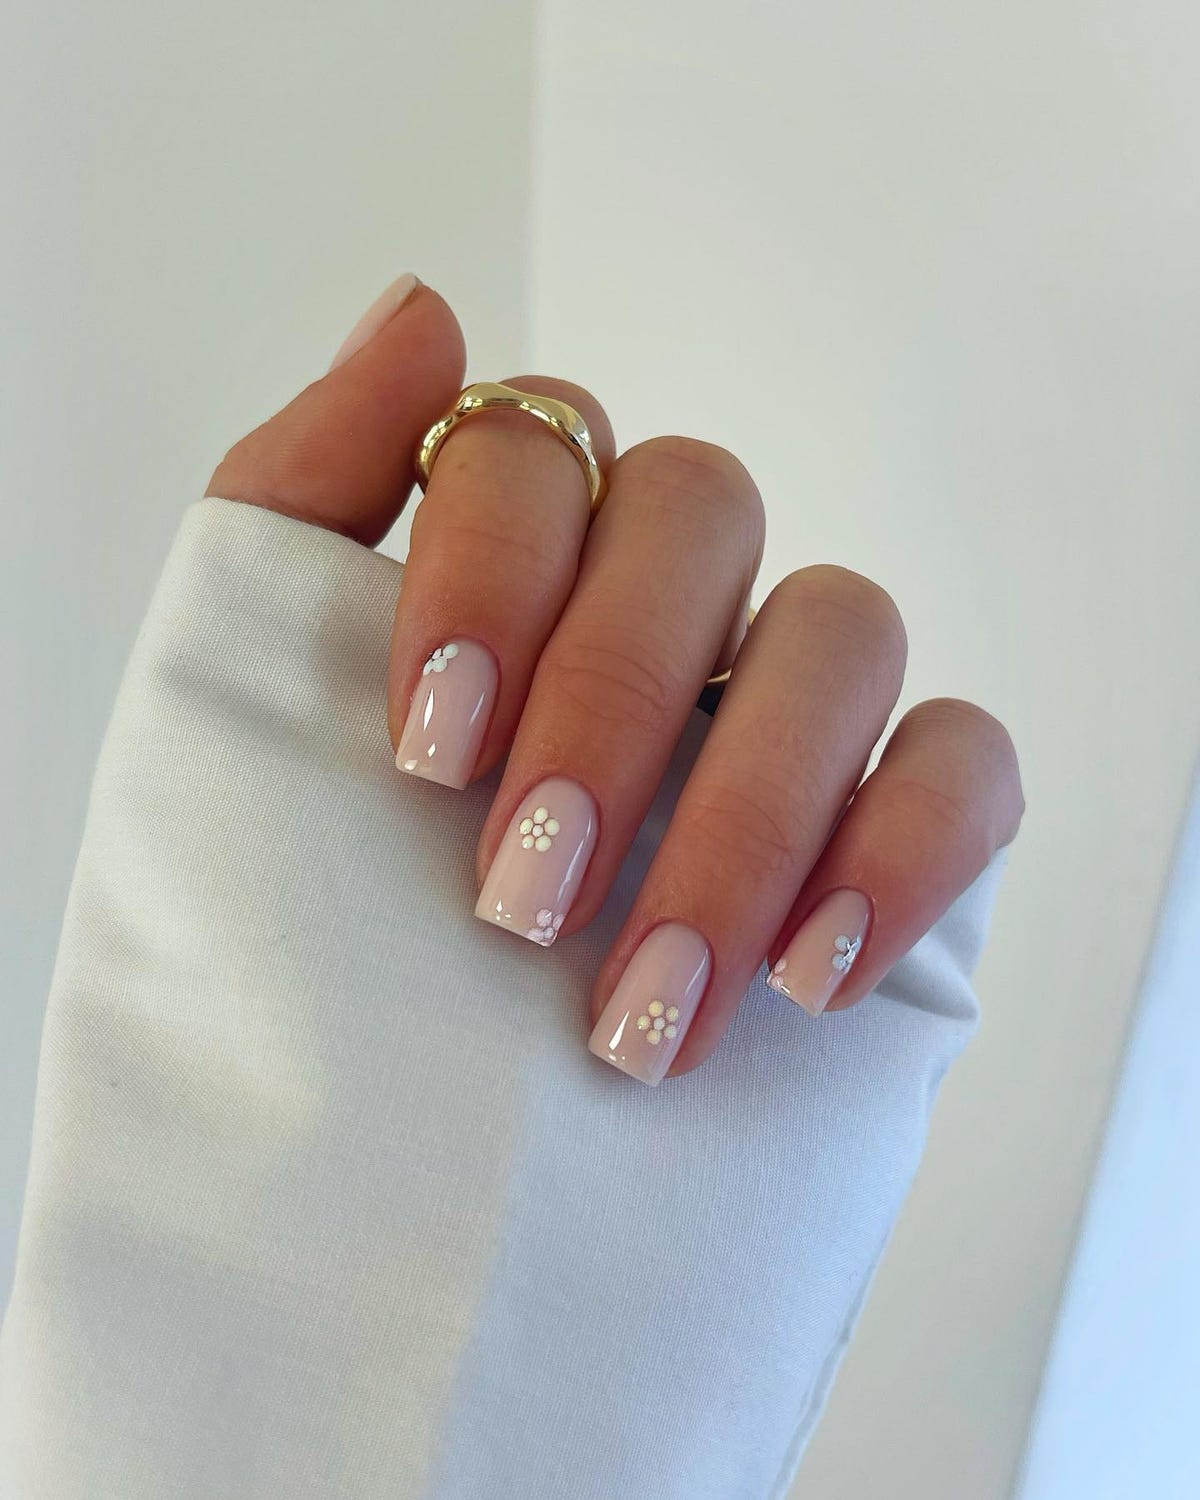

Easy Lattice Nail Art Tutorial for Beginners


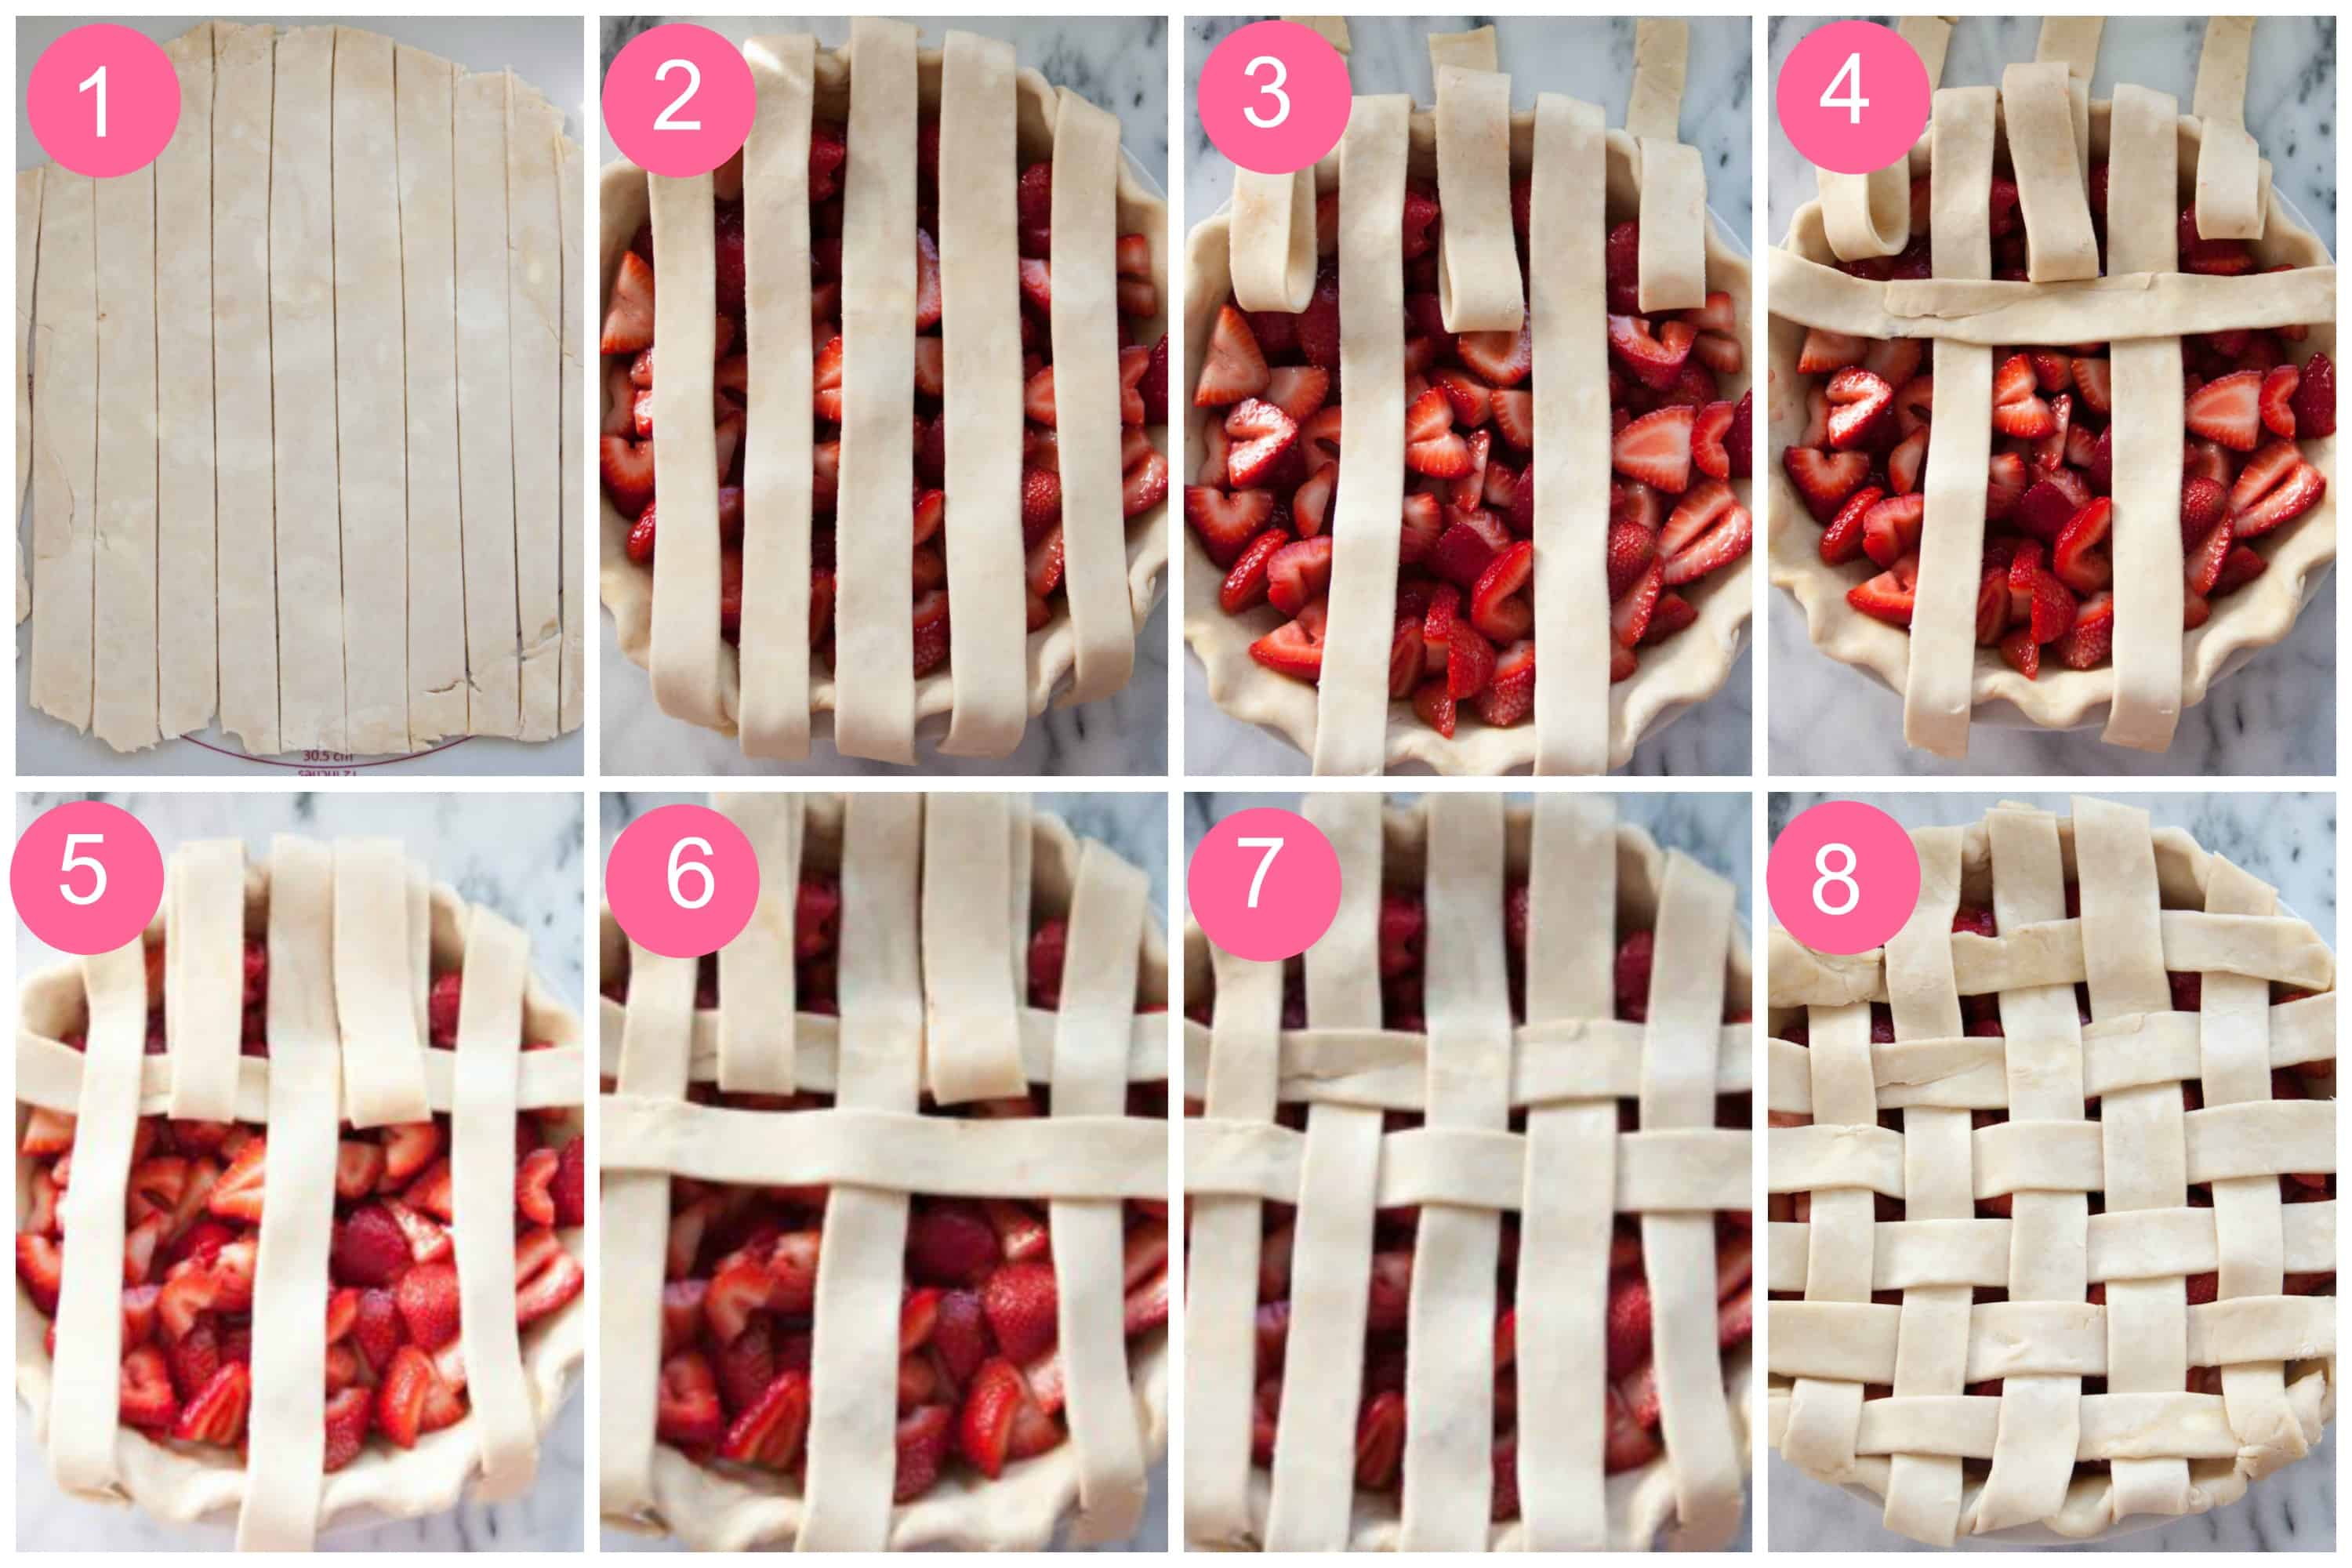
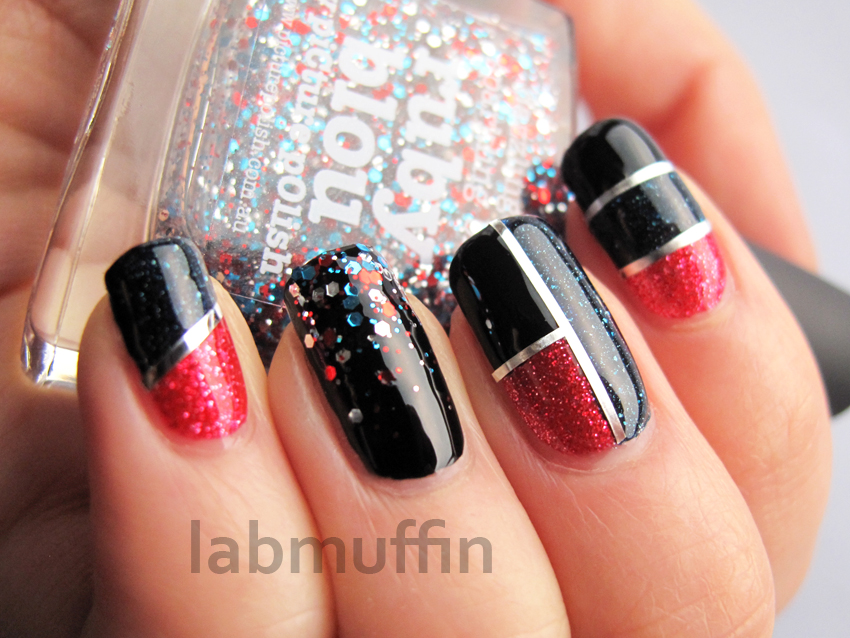
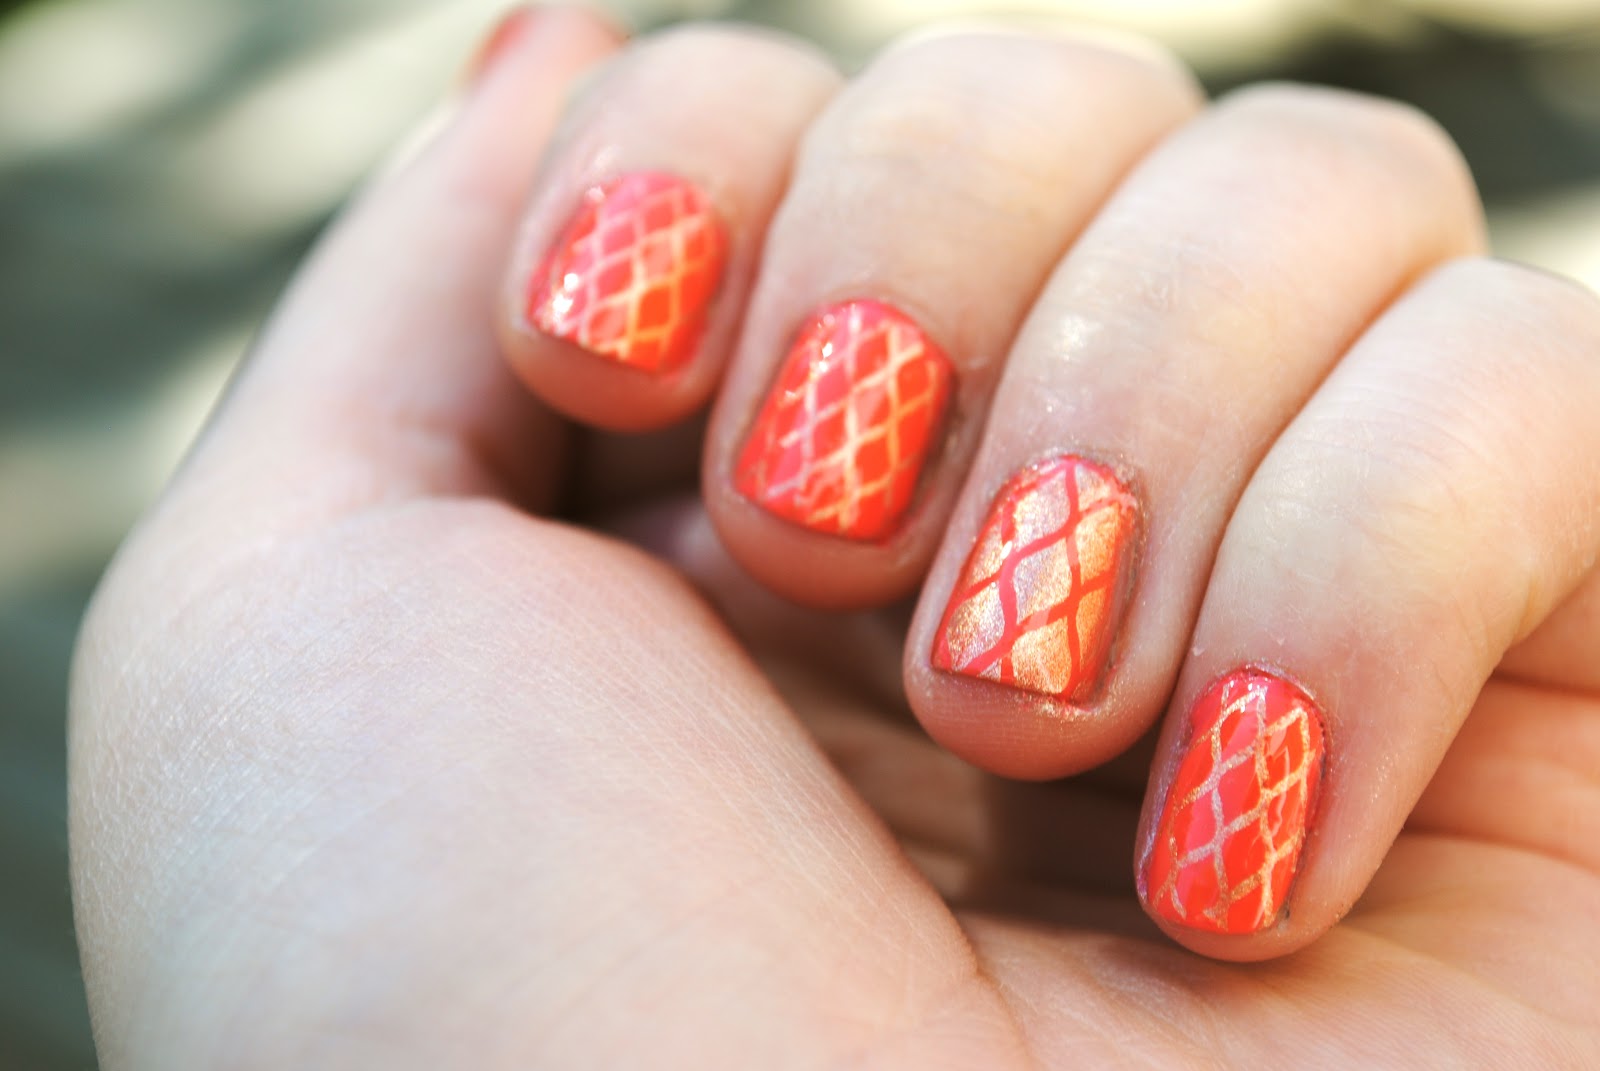
Striping tape is an essential tool for creating a lattice nail art design. It allows for precise and clean lines, making the process much easier. Start by applying a base coat and let it dry completely. Then, choose two nail polish colors that you want to use for the design. Next, take a striping tape and cut it into thin strips. Place the strips vertically on your nails, leaving equal spaces in between. Use tweezers to ensure the tape is placed firmly on the nail. Apply the first nail polish color over the entire nail, including the striping tape. Wait a few seconds before carefully removing the tape using tweezers. This will create a criss-cross pattern on your nails. Then, repeat the process with the second nail polish color, but this time, place the tape horizontally. Finish off with a top coat for a glossy finish.Lattice Nail Art Tutorial Using Striping Tape


Lattice Nail Art Tutorial Using Striping Tape


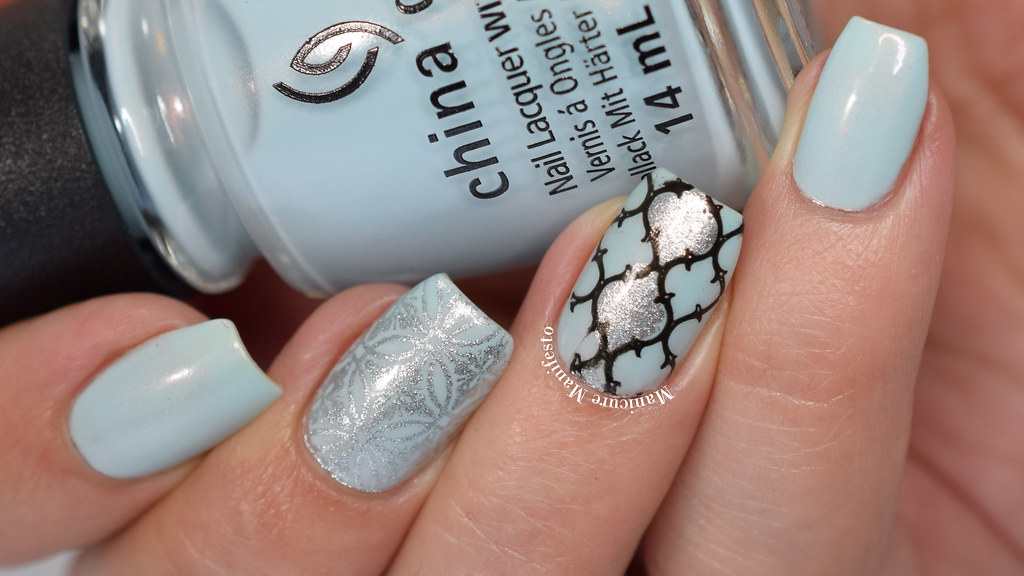
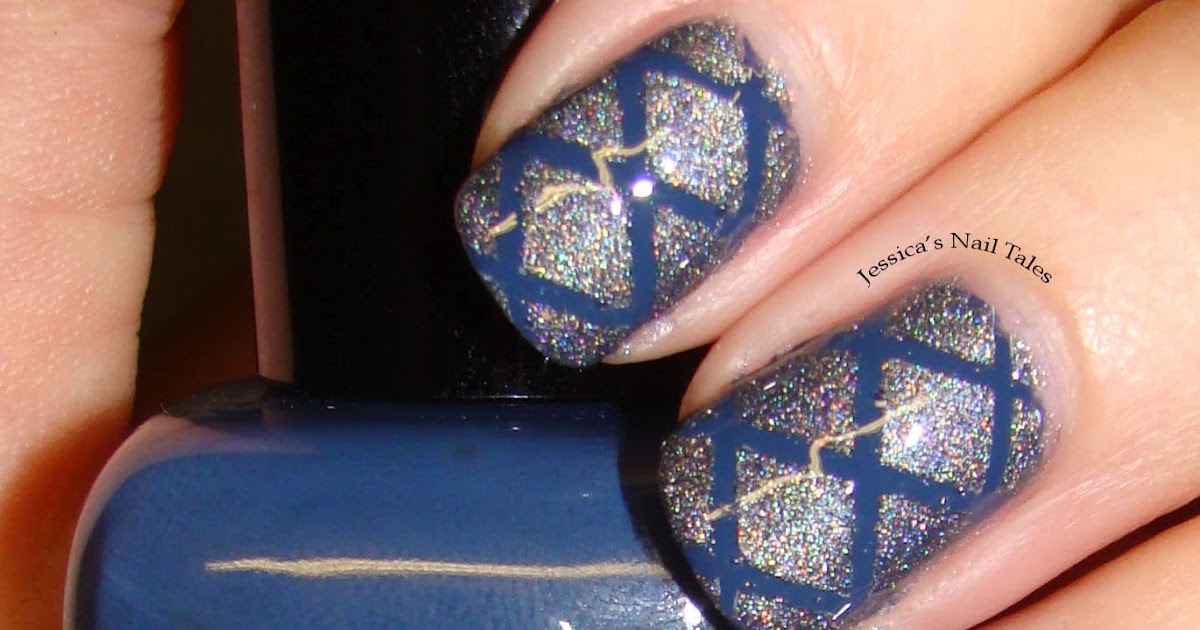
Stamping is a quick and easy way to achieve a lattice nail art design. Start by applying a base coat and let it dry completely. Then, choose two nail polish colors and a stamping plate with a lattice pattern. Use a stamping tool to transfer the pattern onto your nails. If you don't have a stamping tool, you can use a cotton swab or a toothpick to create the criss-cross pattern. Finish off with a top coat for a glossy finish.Lattice Nail Art Tutorial with Stamping

Lattice Nail Art Tutorial with Stamping


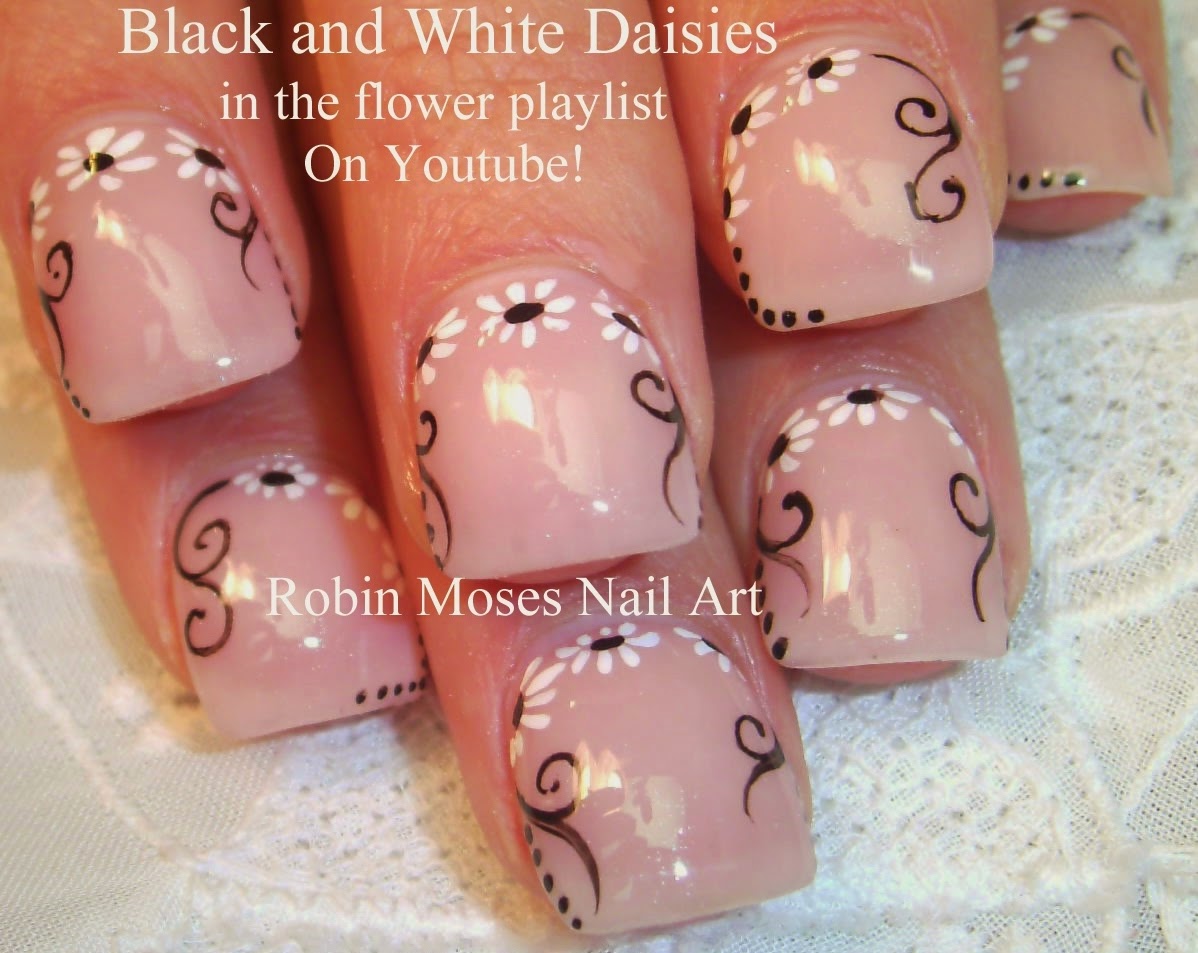
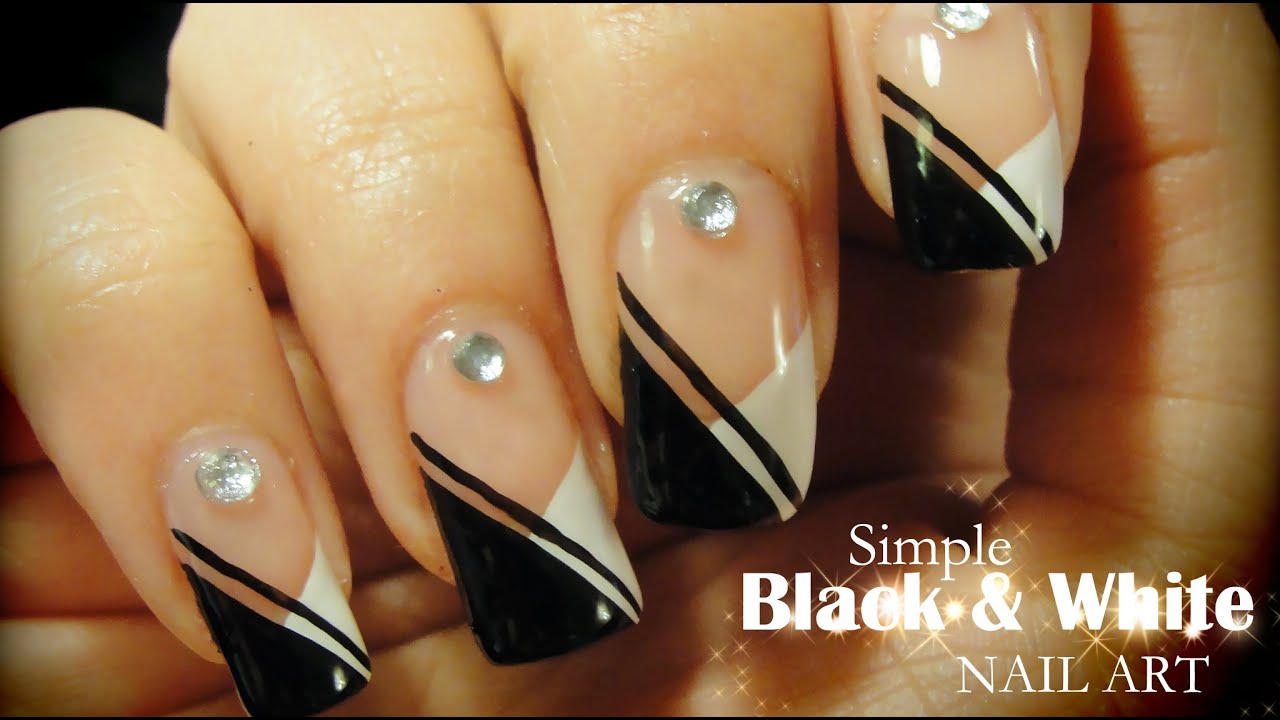
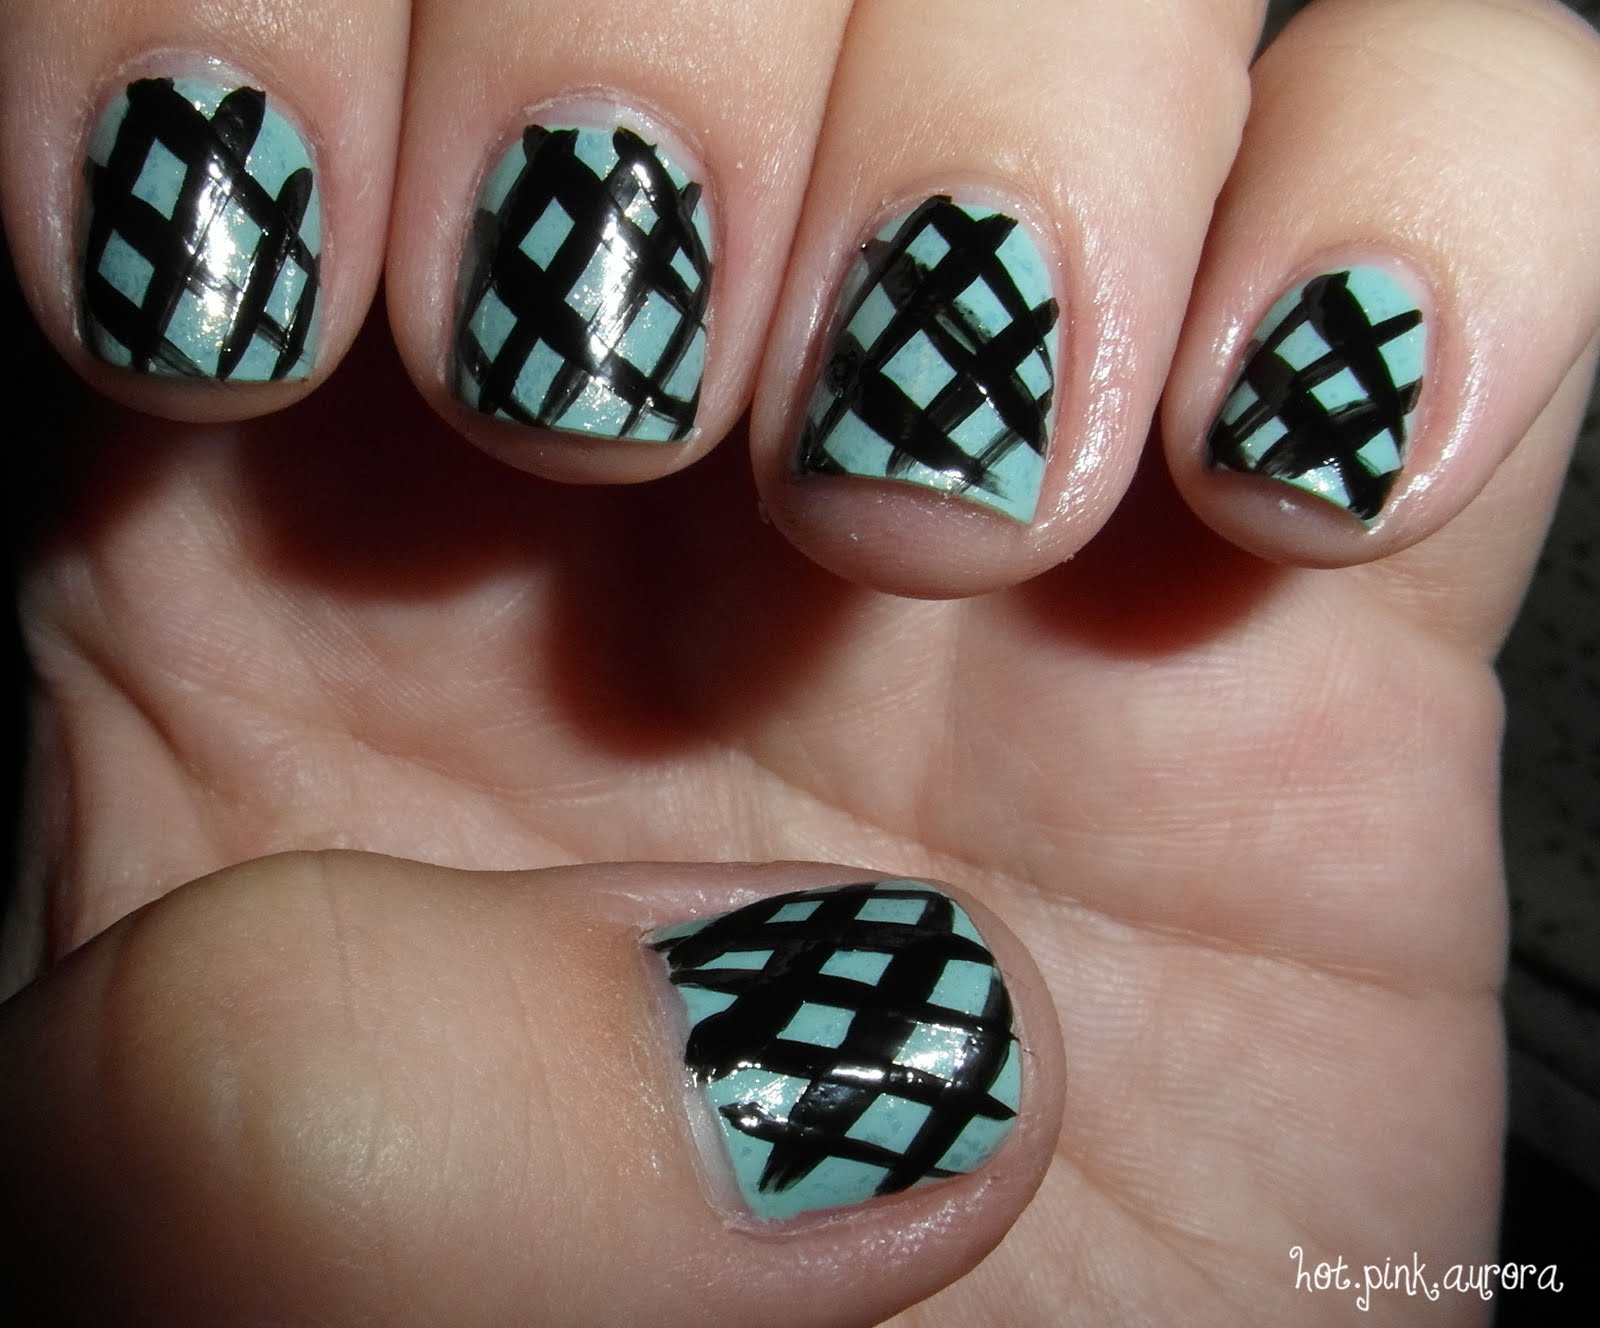
For a classic and chic look, try a black and white lattice nail art design. Start by applying a base coat and let it dry completely. Then, paint your nails black and let it dry. Next, take a striping tape and cut it into thin strips. Place the strips vertically on your nails, leaving equal spaces in between. Use tweezers to ensure the tape is placed firmly on the nail. Paint your nails white, including the striping tape. Wait a few seconds before carefully removing the tape using tweezers. This will create a black and white criss-cross pattern on your nails. Finish off with a top coat for a polished finish.Black and White Lattice Nail Art Tutorial

Black and White Lattice Nail Art Tutorial
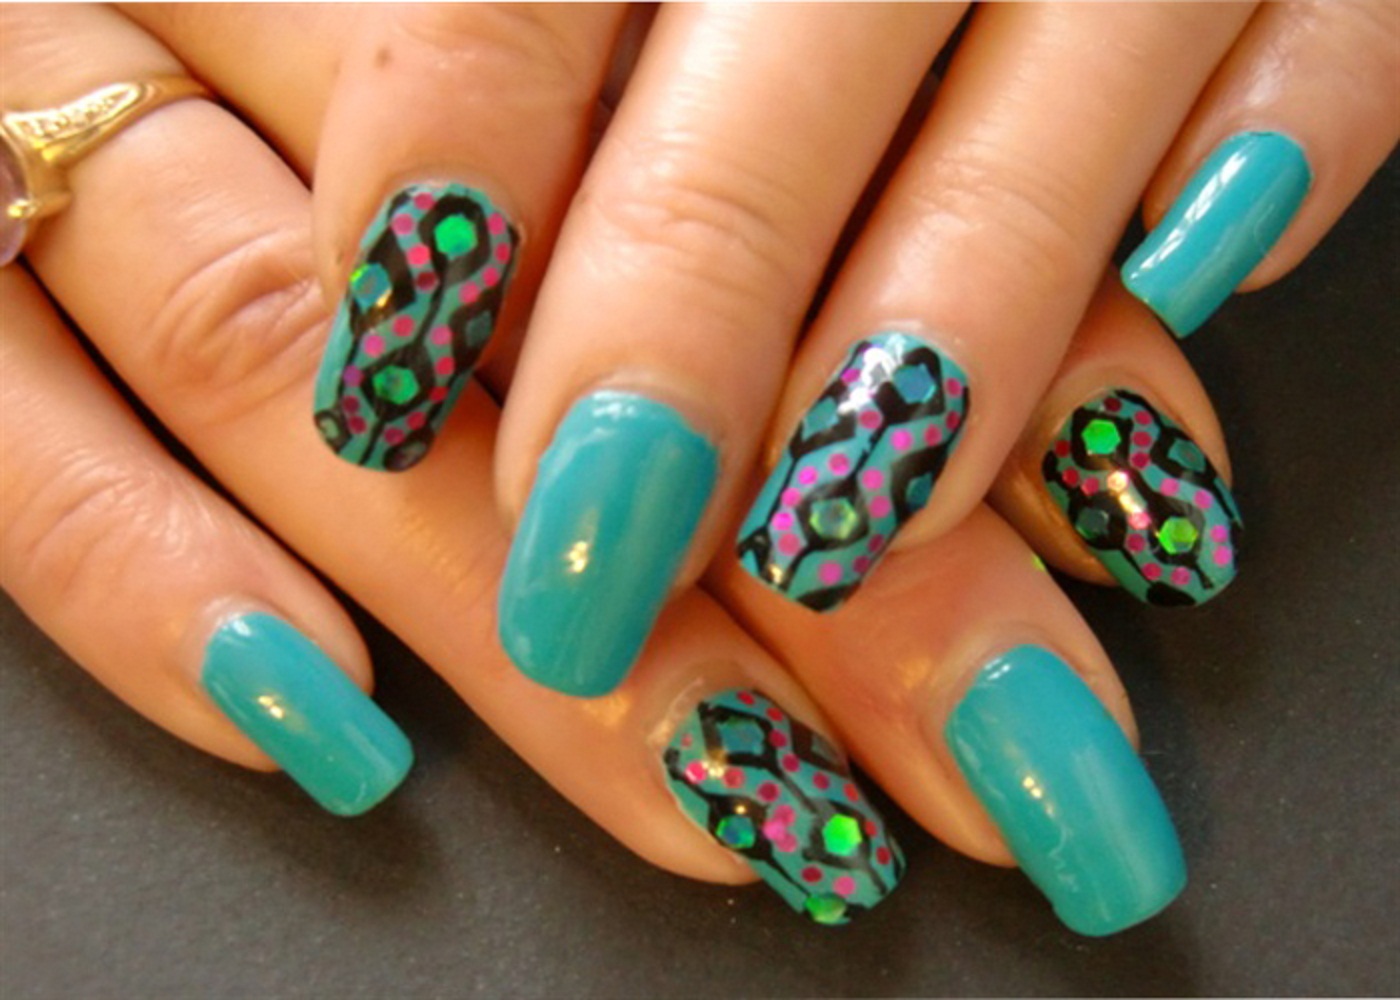
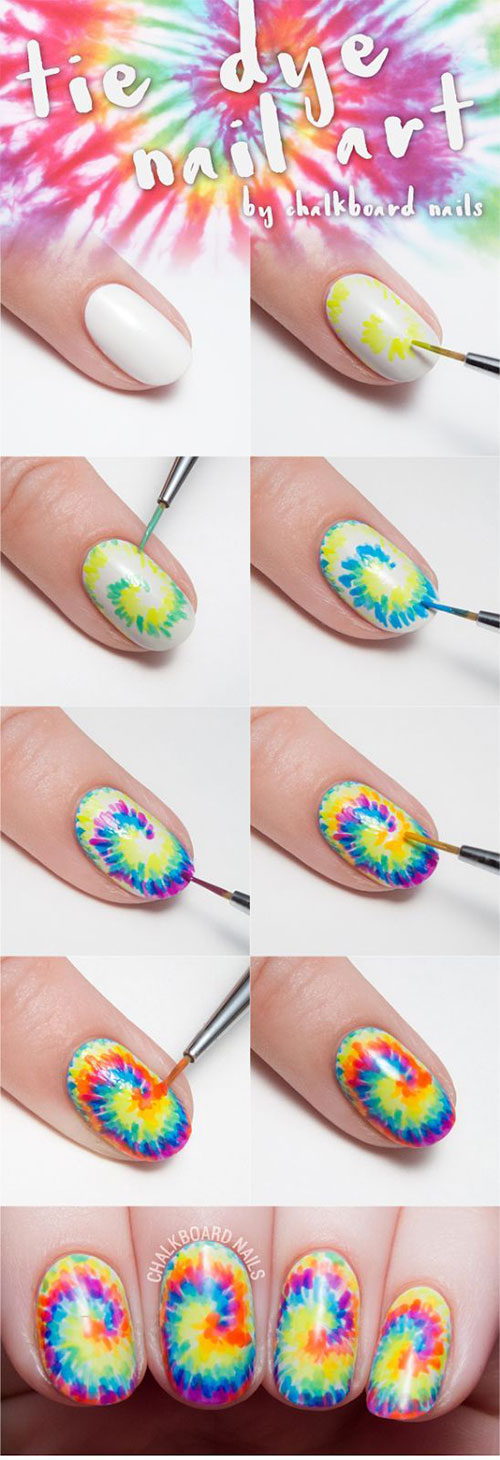
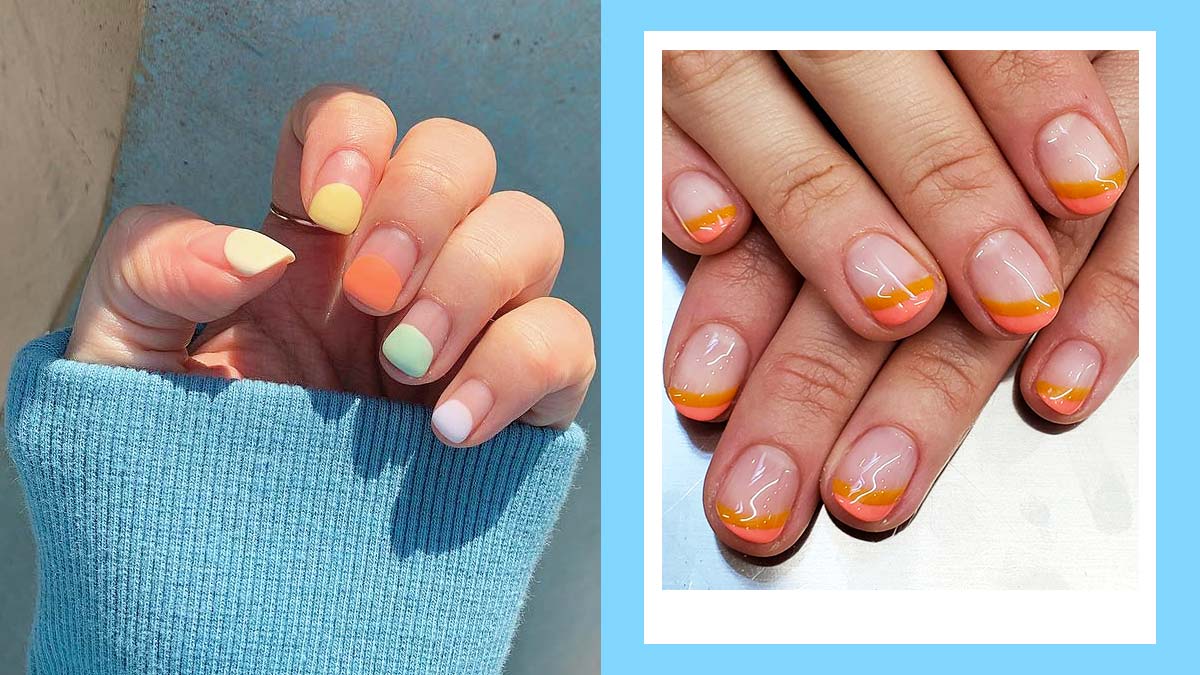
If you love bright and bold nail designs, try a colorful lattice nail art design. Start by applying a base coat and let it dry completely. Then, choose multiple nail polish colors that complement each other. Use a striping tape to create a criss-cross pattern on your nails. Paint each section with a different nail polish color. Wait a few seconds before carefully removing the tape using tweezers. Finish off with a top coat for a vibrant finish.Colorful Lattice Nail Art Tutorial


Colorful Lattice Nail Art Tutorial


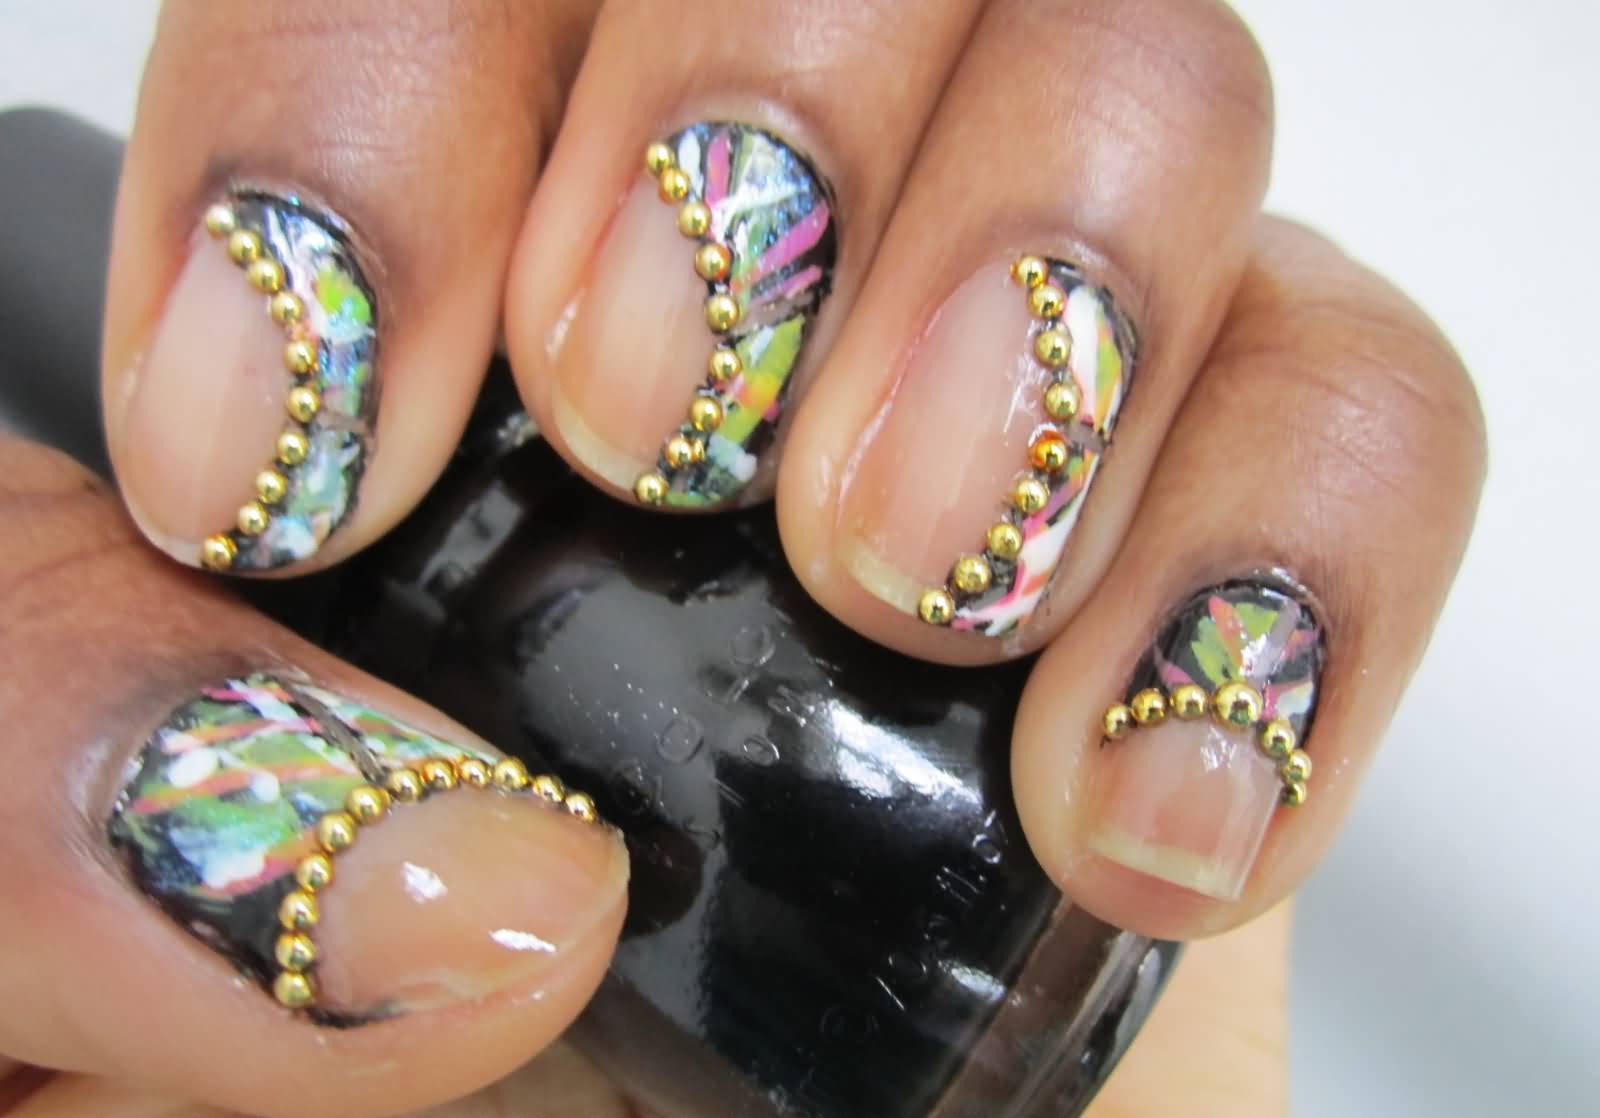
Rhinestones are a great way to add some bling to your lattice nail art design. Start by applying a base coat and let it dry completely. Then, choose two contrasting nail polish colors and a set of rhinestones. Create a criss-cross pattern using a striping tape and paint your nails with the first color. Wait a few seconds before carefully removing the tape using tweezers. Then, add a rhinestone on each intersection of the lattice design. Finish off with a top coat for a glamorous finish.Lattice Nail Art Tutorial with Rhinestones


Lattice Nail Art Tutorial with Rhinestones

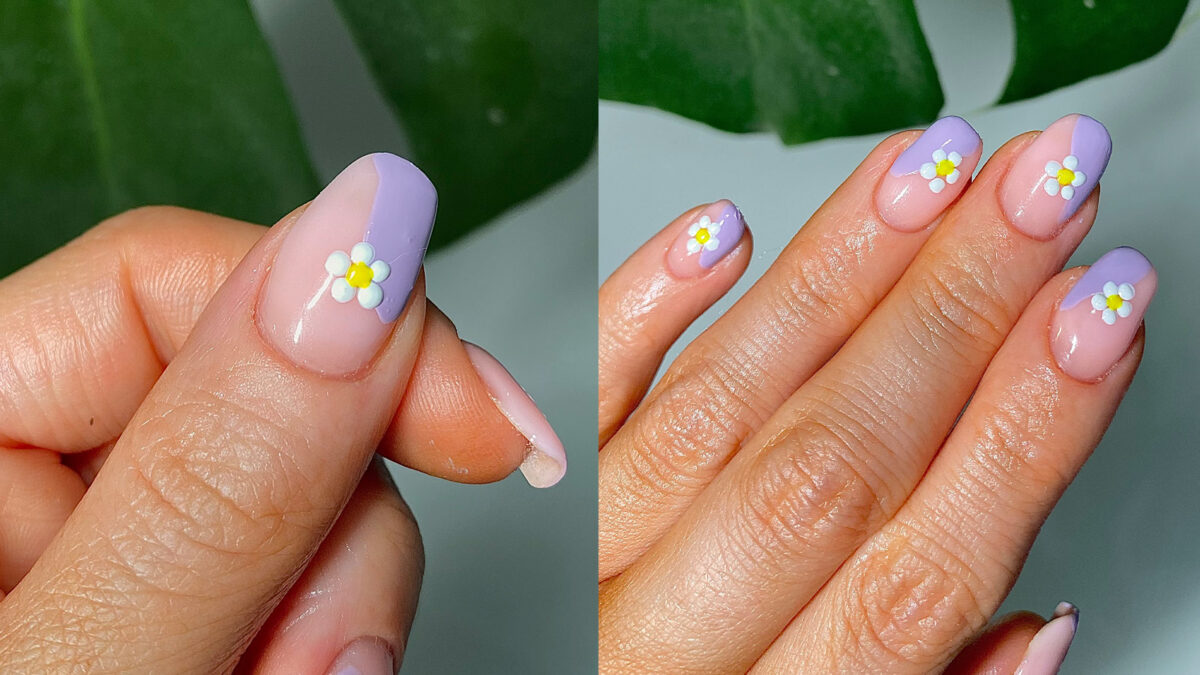
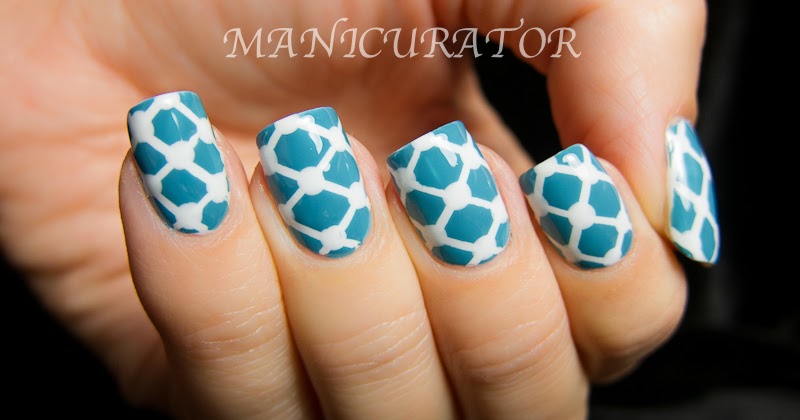
Negative space lattice nail art is a unique and modern take on this design. Start by applying a base coat and let it dry completely. Then, use a striping tape to create a criss-cross pattern, leaving some spaces empty. Paint your nails with a light color, including the striping tape. Carefully remove the tape using tweezers. Then, using a nail art brush, paint the empty spaces with a darker color. Finish off with a top coat for a chic finish.Lattice Nail Art Tutorial with Negative Space
Lattice Nail Art Tutorial with Negative Space
If you prefer gel polish over regular nail polish, you can still achieve a lattice nail art design. Start by applying a base coat and let it dry completely. Then, choose two gel polish colors and a striping tape. Create a criss-cross pattern on your nails using the tape. Cure each layer of gel polish before moving on to the next. After curing the final layer, carefully remove the striping tape using tweezers. Finish off with a top coat and cure it for a perfect gel lattice nail art design. Now that you have learned 10 different lattice nail art tutorials, it's time to try them out and show off your unique and stylish manicure. Remember to have fun and experiment with different colors and techniques to create your own lattice nail art design. Happy painting!Lattice Nail Art Tutorial with Gel Polish


Lattice Nail Art Tutorial with Gel Polish
How Lattice Nail Art Can Elevate Your House Design

The Art of Lattice Nail Design
 Lattice nail art is a popular trend that has taken the world of fashion and design by storm. This unique and intricate nail design involves creating a grid-like pattern on the nails using different colors and designs. While it may seem like a complicated process, it is actually quite simple and can be done at home with a few tools and some creativity.
Bringing Lattice Nail Art into Your Home
 Lattice nail art is not just limited to your nails; it can also be incorporated into your house design. This trend has gained popularity among interior designers and homeowners alike, as it adds a touch of elegance and sophistication to any space. Whether you want to add a subtle touch or make a bold statement, lattice nail art can be used in various ways to enhance the overall aesthetic of your home.
Ways to Incorporate Lattice Nail Art in Your House Design
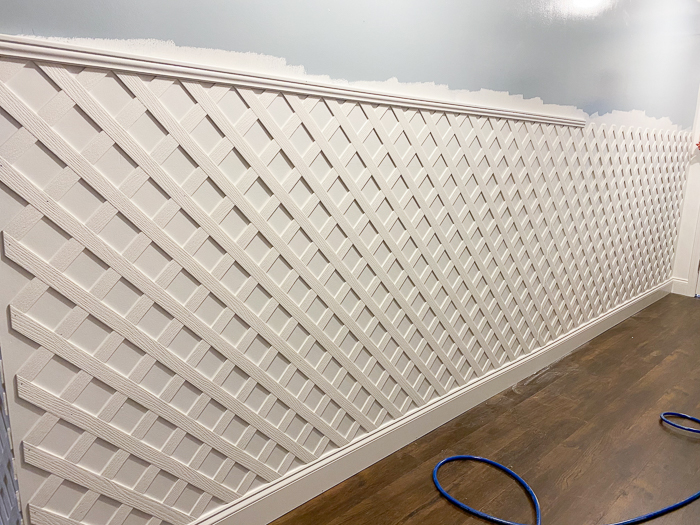
 One way to bring lattice nail art into your house design is by incorporating it into your flooring. Instead of opting for traditional patterns or plain colors, consider using tiles with a lattice design to add a unique and eye-catching element to your floors. You can also use lattice patterns on your walls, whether through wallpaper, stencils, or even hand-painted designs. This will add depth and texture to your walls, making them stand out.
Another way to incorporate lattice nail art in your house design is by using it in your furniture. Upholstery with lattice patterns can add a touch of elegance to your living room, while lattice-inspired headboards can add charm to your bedroom. You can also use lattice designs on throw pillows, curtains, and other home decor items to tie the whole look together.
One way to bring lattice nail art into your house design is by incorporating it into your flooring. Instead of opting for traditional patterns or plain colors, consider using tiles with a lattice design to add a unique and eye-catching element to your floors. You can also use lattice patterns on your walls, whether through wallpaper, stencils, or even hand-painted designs. This will add depth and texture to your walls, making them stand out.
Another way to incorporate lattice nail art in your house design is by using it in your furniture. Upholstery with lattice patterns can add a touch of elegance to your living room, while lattice-inspired headboards can add charm to your bedroom. You can also use lattice designs on throw pillows, curtains, and other home decor items to tie the whole look together.
The Benefits of Using Lattice Nail Art in Your House Design
 Apart from being visually appealing, lattice nail art can also have practical benefits in your house design. The grid-like pattern can create the illusion of more space, making your rooms appear larger and more spacious. It can also add a sense of symmetry and balance to a room, creating a harmonious and cohesive design.
In conclusion, lattice nail art is a versatile and creative way to elevate your house design. From floors to walls to furniture, there are endless possibilities to incorporate this trend into your home. So why not give it a try and see how lattice nail art can transform your living space?
Apart from being visually appealing, lattice nail art can also have practical benefits in your house design. The grid-like pattern can create the illusion of more space, making your rooms appear larger and more spacious. It can also add a sense of symmetry and balance to a room, creating a harmonious and cohesive design.
In conclusion, lattice nail art is a versatile and creative way to elevate your house design. From floors to walls to furniture, there are endless possibilities to incorporate this trend into your home. So why not give it a try and see how lattice nail art can transform your living space?


