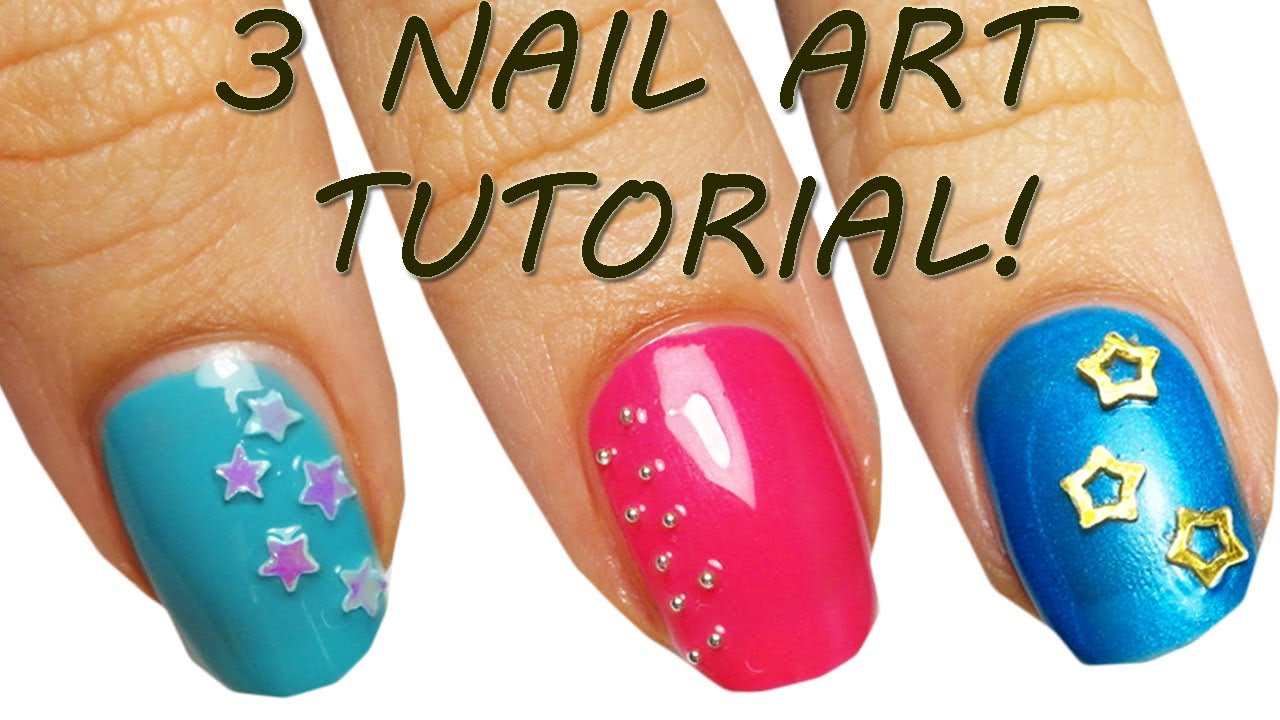
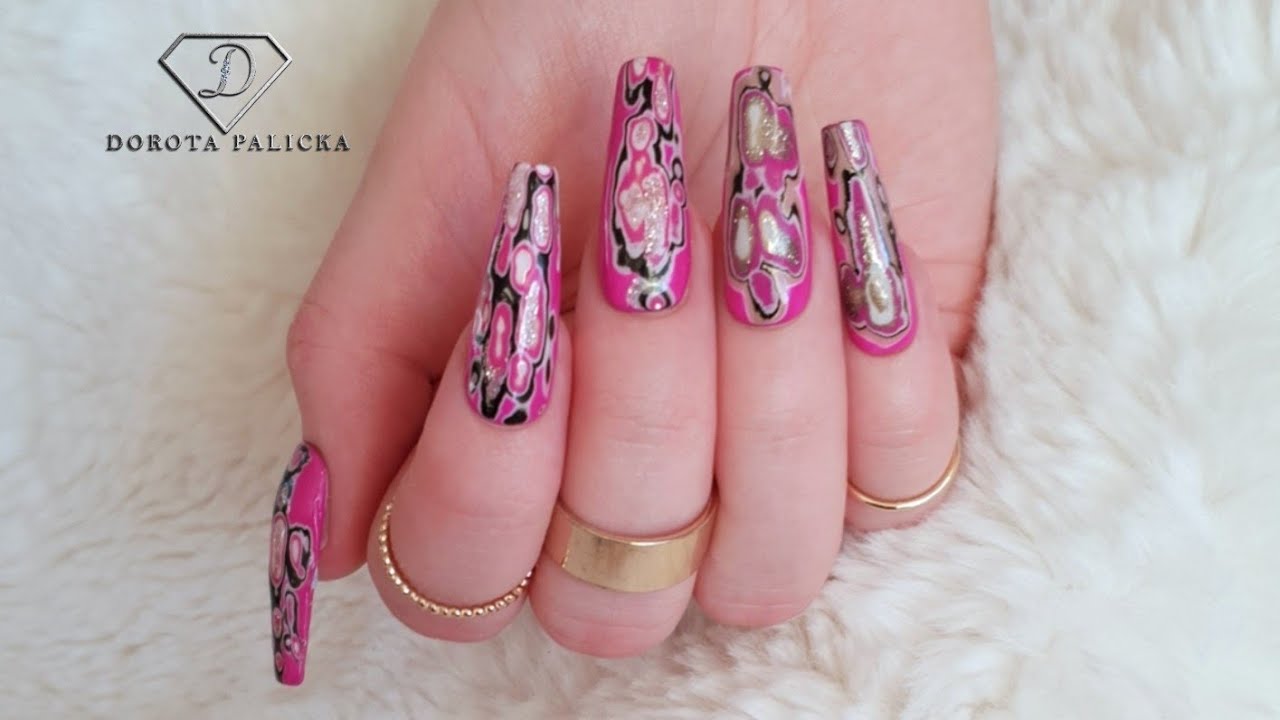
Looking for a simple yet stunning nail art design? Look no further than this easy layered nail art tutorial. With just a few simple steps, you can achieve a beautiful layered look that is perfect for any occasion. To start, gather your supplies. You will need a base coat, nail polish in your desired colors, nail art tools such as a dotting tool or nail tape, and a top coat. Make sure you have a clean and flat surface to work on. First, apply a clear base coat to protect your nails and help the polish adhere better. Next, choose two or three complementary colors for your design. Blue and green or pink and purple are great color combinations for a layered look. Once your base coat is dry, take your first color and paint your nails. Let this dry completely before moving on to the next step. This will ensure that the colors do not mix and create a muddy look. Now it's time for the fun part – layering! Take your second color and create your first layer. This can be done using nail tape for clean lines or using a dotting tool to create a polka dot effect. Get creative with your design and have fun! If you are using nail tape, be sure to remove it while the polish is still wet to avoid any smudging. Once your design is complete, let it dry completely before moving on to the next step. Finish off your design with a clear top coat to seal in your layers and add shine. This will also help your design last longer. And there you have it – a simple and beautiful layered nail art design that is sure to turn heads. Experiment with different colors and designs to create your own unique look.1. Easy Layered Nail Art Tutorial


1. Easy Layered Nail Art Tutorial


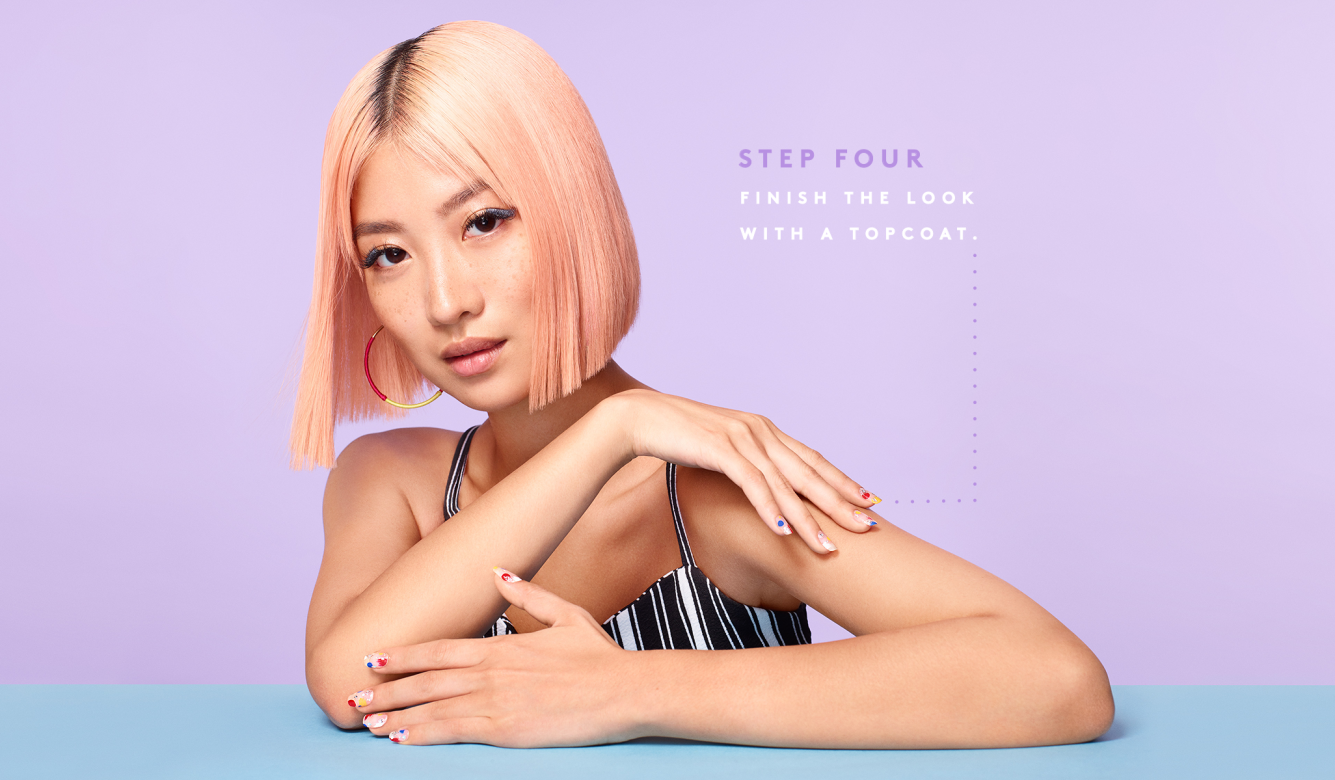
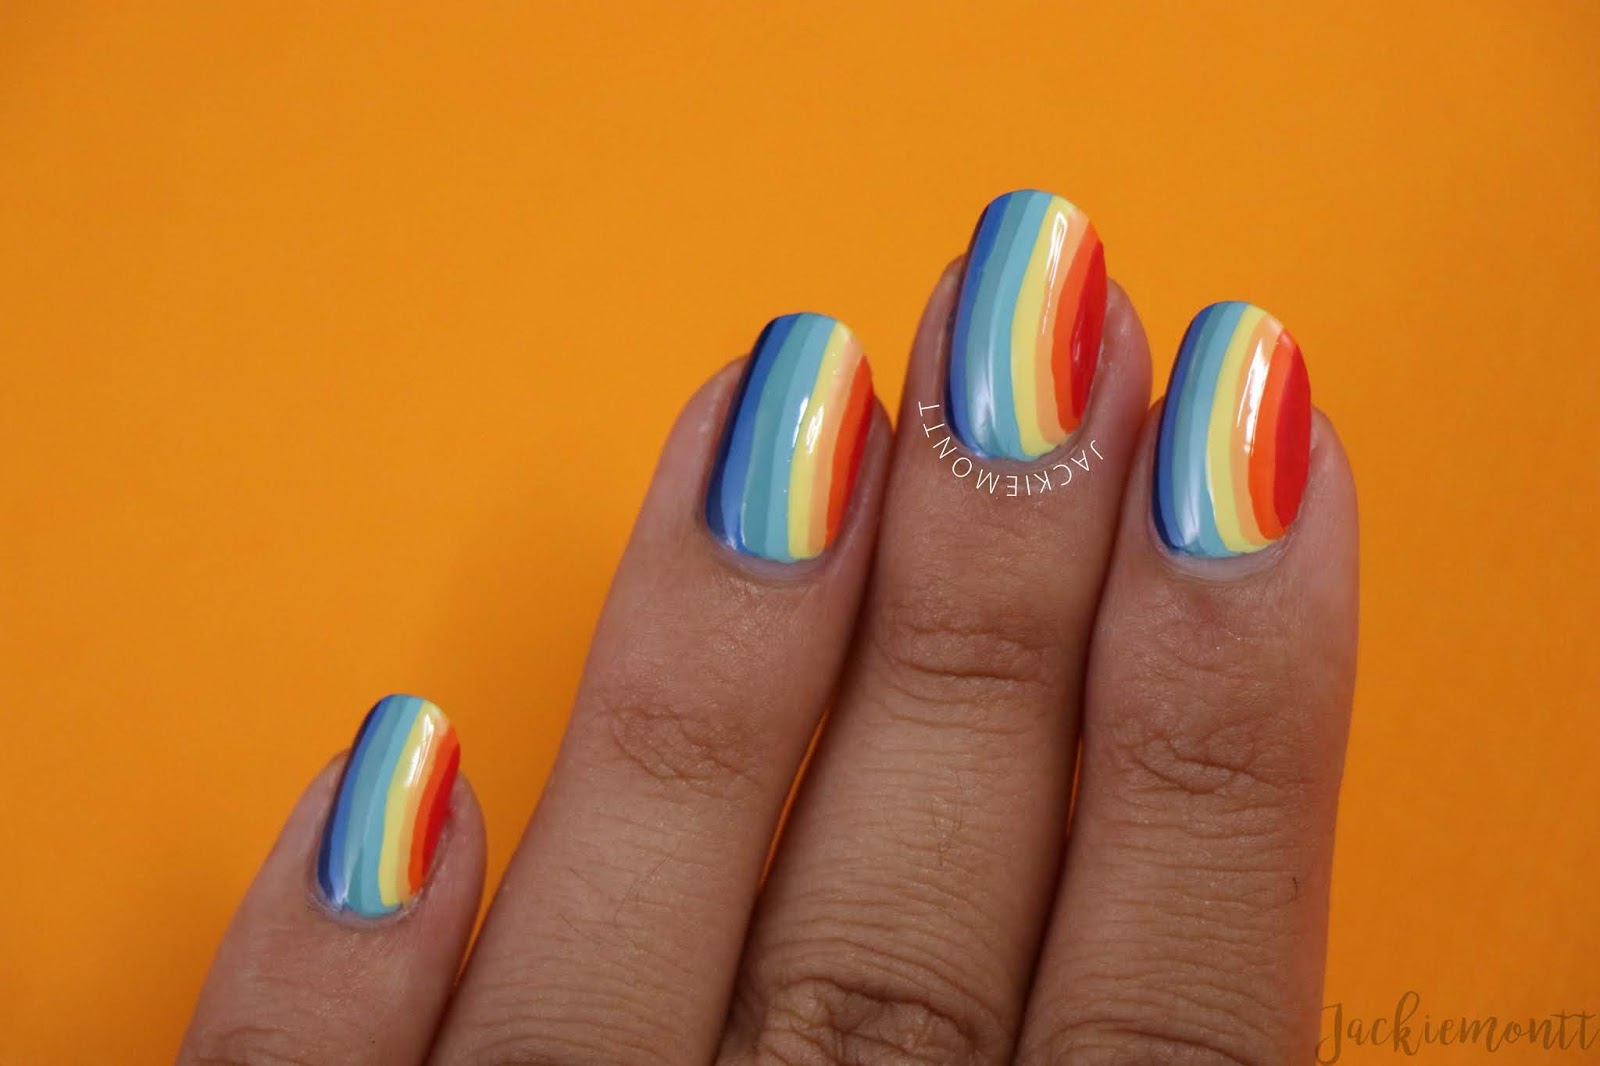
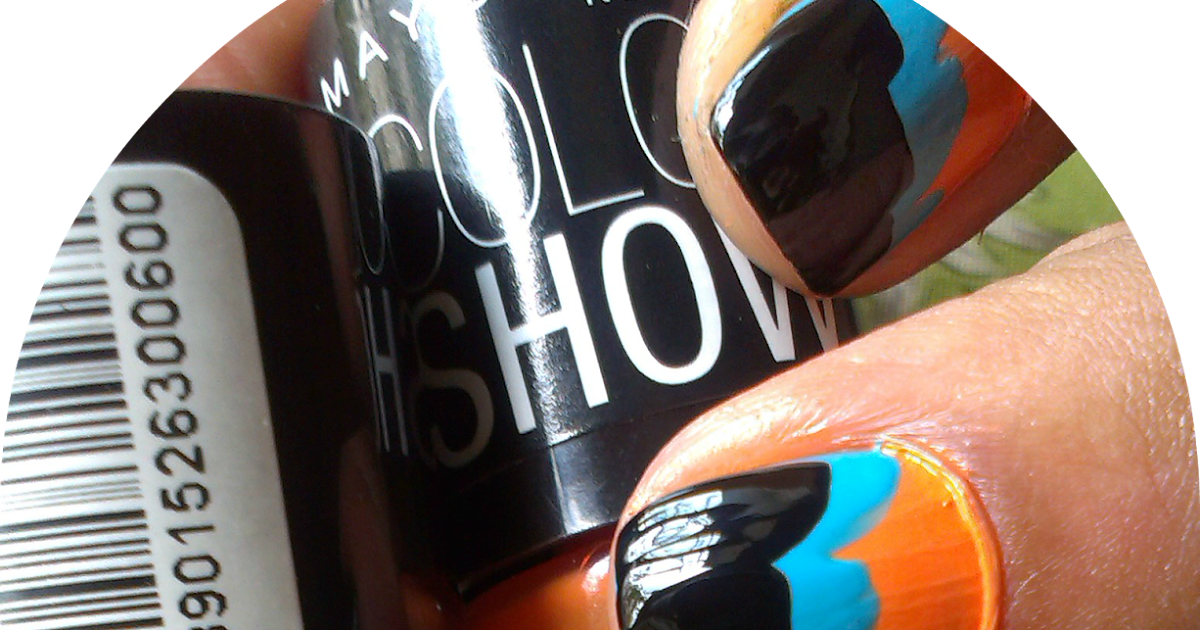
If you're new to nail art, a step-by-step tutorial is the perfect way to learn and practice different techniques. This layered nail art tutorial will guide you through each step, making it easy for you to achieve a stunning design. Before you begin, make sure you have all of your supplies ready. This includes a base coat, nail polish in your chosen colors, nail art tools such as a nail brush or sponge, and a top coat. Start by prepping your nails with a clear base coat. This will protect your nails and help the polish adhere better. Let this dry completely before moving on to the next step. Next, choose your colors. For this tutorial, we will use yellow, orange, and red. Take your first color and paint your nails. Let this dry completely before moving on to the next step. Now it's time to add the layers. Using a nail brush or sponge, create a gradient effect by dabbing the second color onto the tips of your nails. This will create a beautiful transition from one color to the next. For the final layer, use the same technique with your third color, but only apply it to the very tips of your nails. This will create a layered effect that adds depth to your design. Once your layers are complete, let them dry completely before applying a clear top coat. This will seal in your design and add shine. And there you have it – a stunning layered nail art design that is perfect for any occasion. With a little practice, you can create endless designs using this step-by-step tutorial.2. Step-by-Step Layered Nail Art Tutorial
.JPG)


2. Step-by-Step Layered Nail Art Tutorial


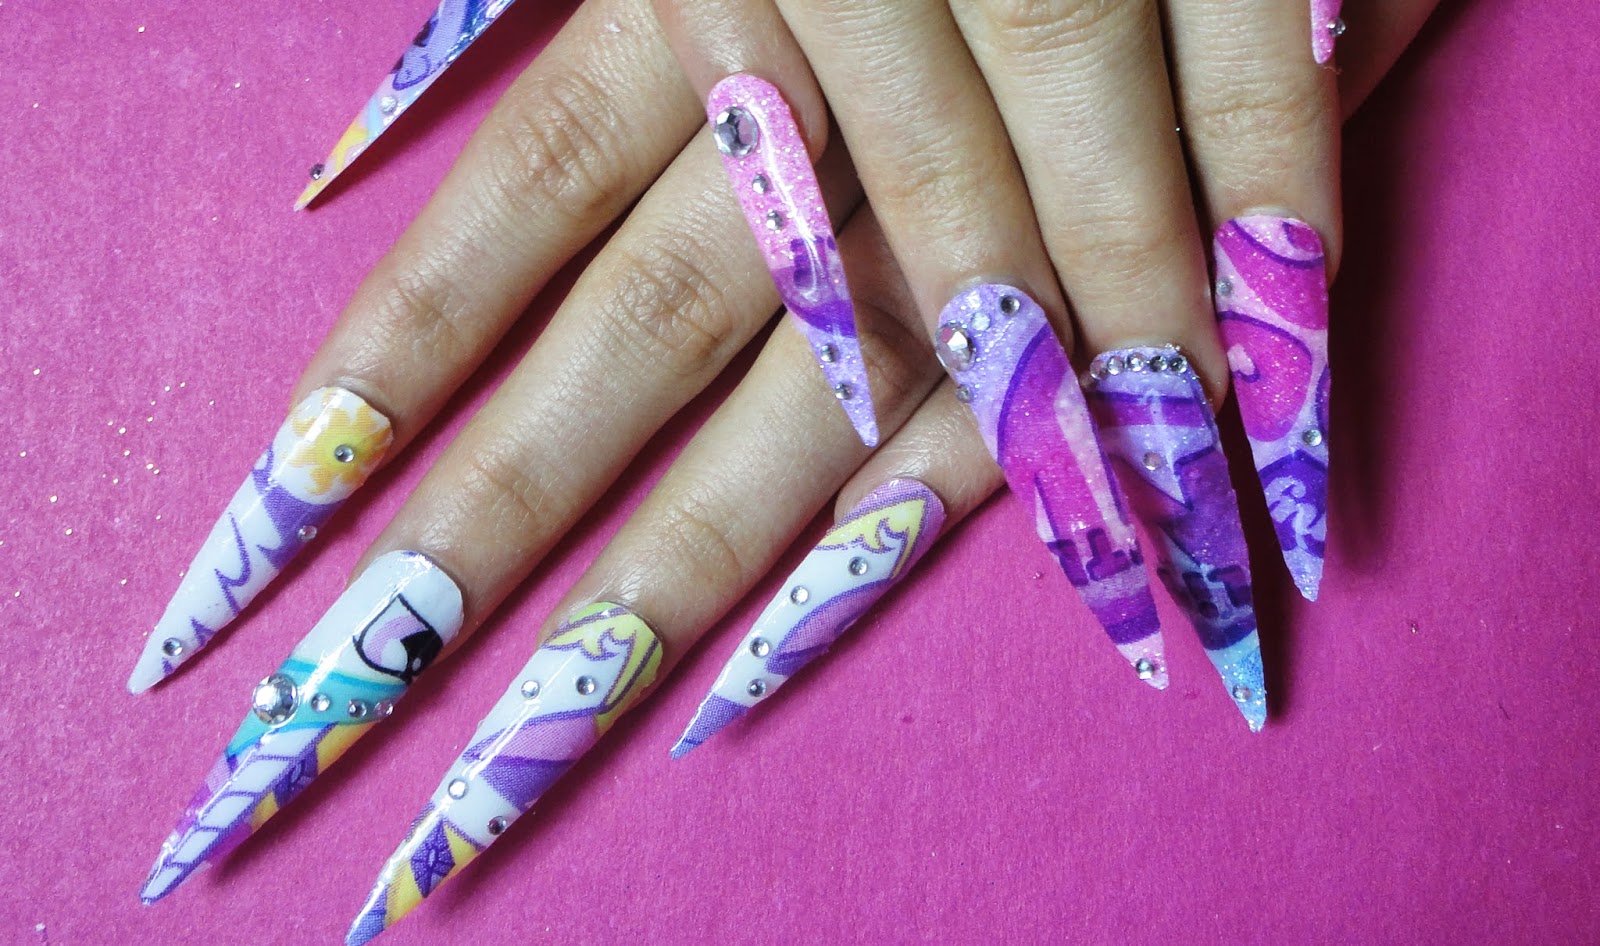
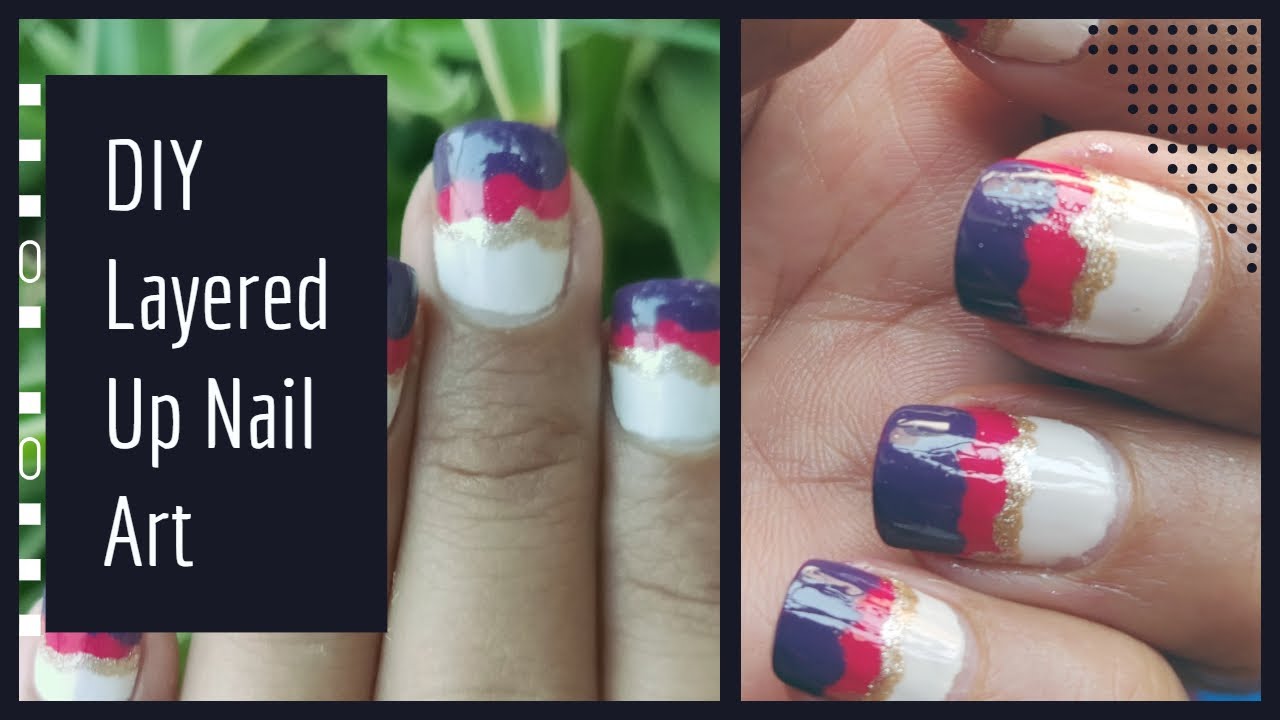
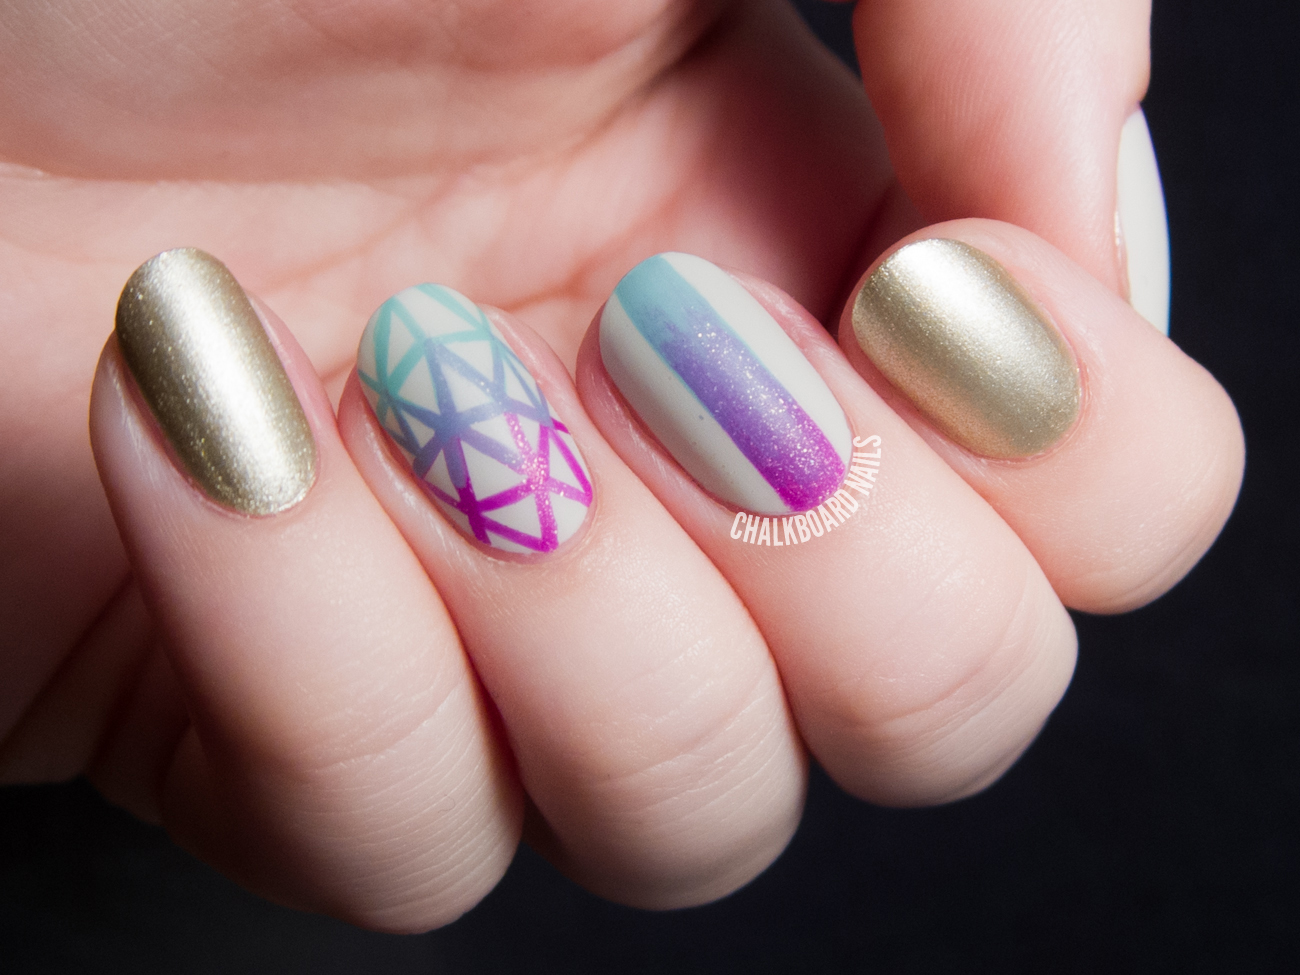
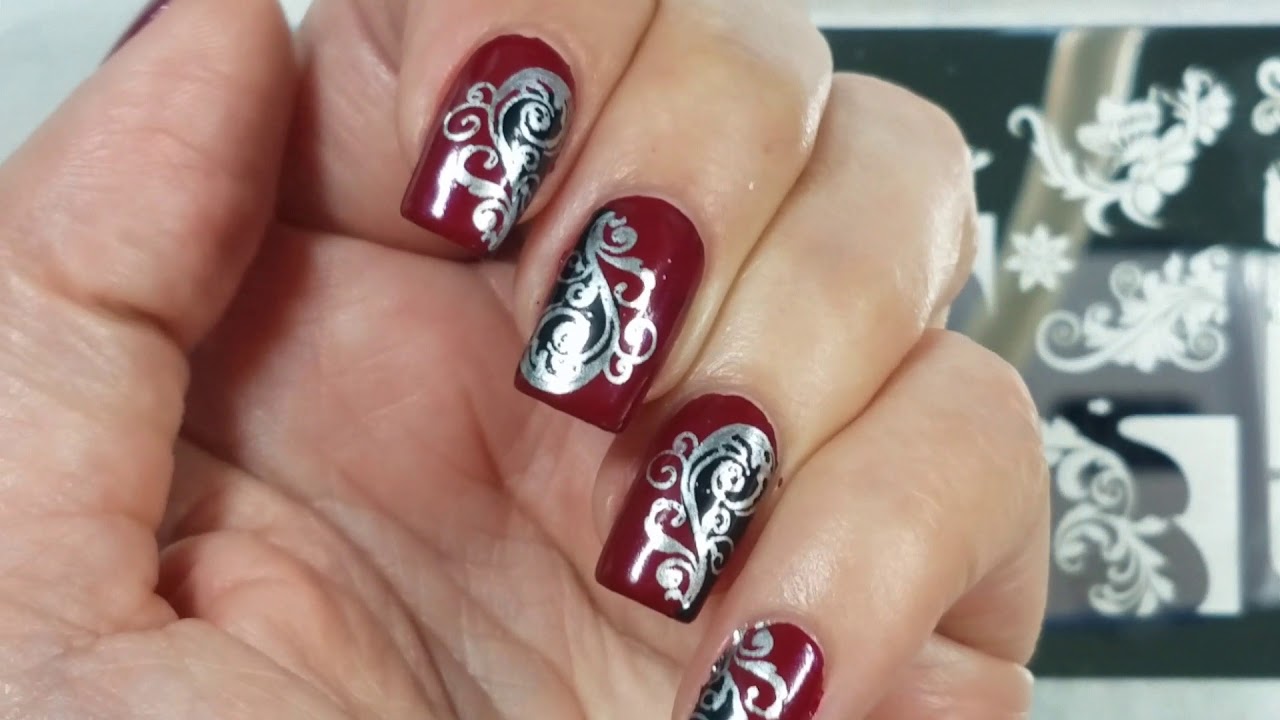
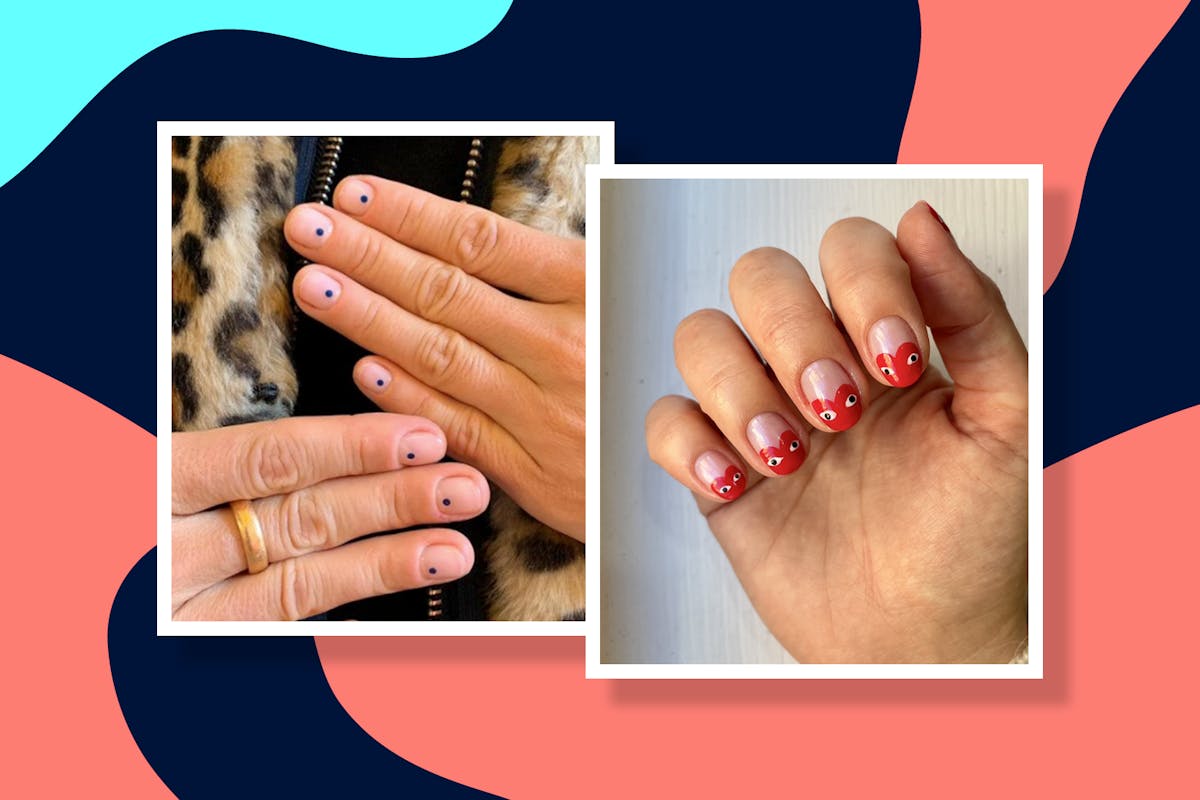
Why spend money at a salon when you can create beautiful layered nail art designs at home? This DIY layered nail art tutorial will show you how to achieve a professional look without breaking the bank. You will need a base coat, nail polish in your desired colors, nail art tools such as a striper brush or toothpick, and a top coat. Make sure you have a clean and flat surface to work on. Start by prepping your nails with a clear base coat. This will protect your nails and help the polish adhere better. Let this dry completely before moving on to the next step. Next, choose your colors. For this tutorial, we will use purple and silver. Take your first color and paint your nails. Let this dry completely before moving on to the next step. Using a striper brush or toothpick, create thin lines on your nails with your second color. You can also create a criss-cross pattern for a more intricate design. Once your lines are complete, let them dry completely before applying a clear top coat. This will seal in your design and add shine. And there you have it – a beautiful and budget-friendly DIY layered nail art design. Experiment with different colors and patterns to create your own unique look.3. DIY Layered Nail Art Tutorial

3. DIY Layered Nail Art Tutorial


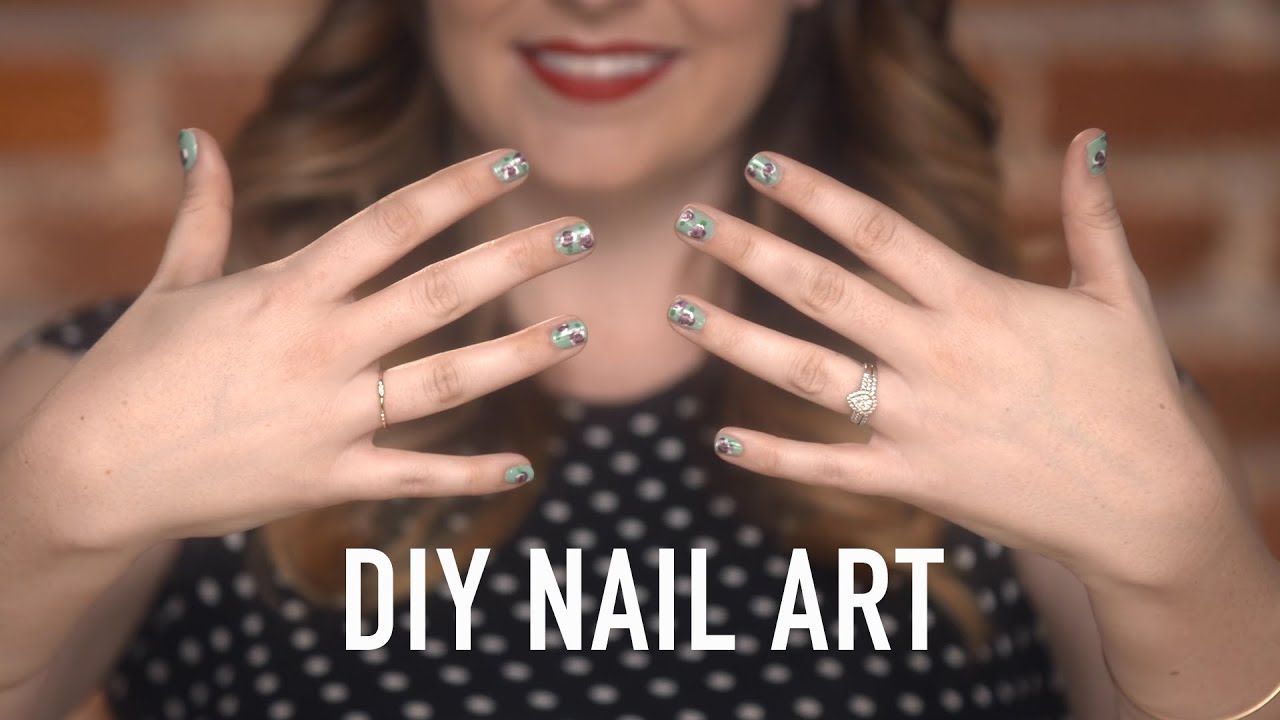
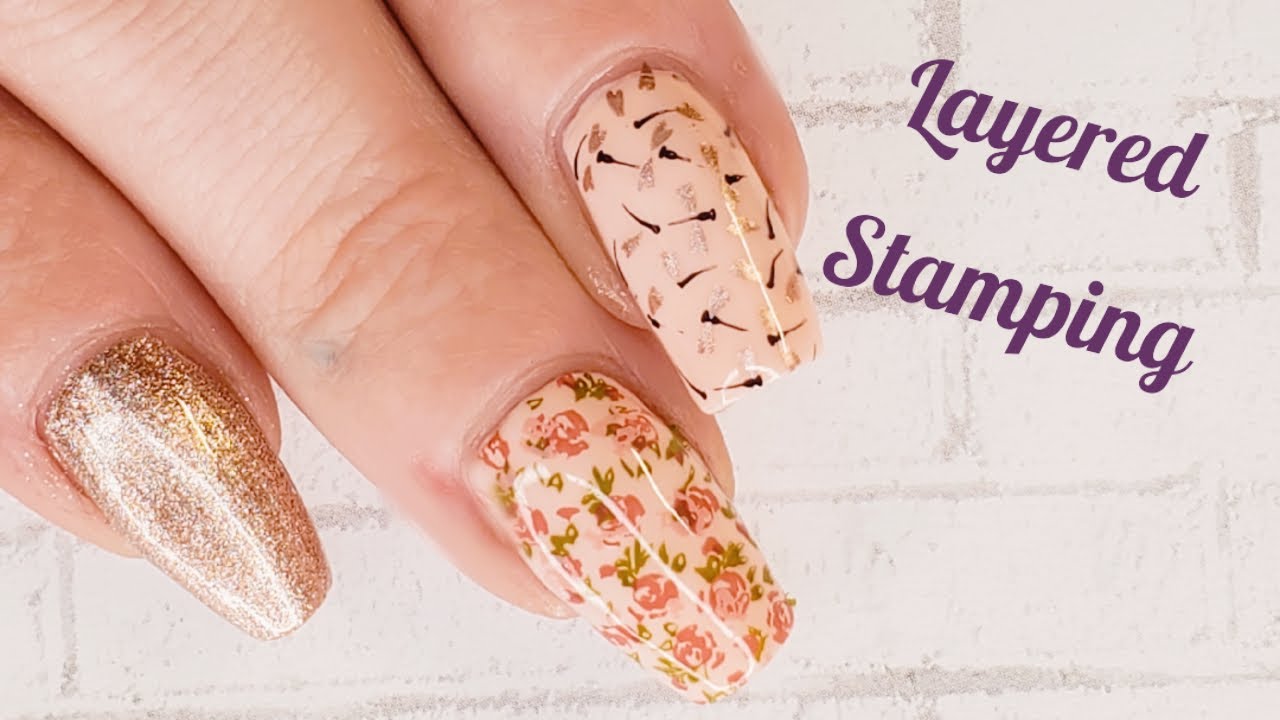
Layered nail art doesn't have to be limited to just two or three colors. Get creative with this layered nail art tutorial and create a unique design using multiple colors and techniques. Before you begin, gather your supplies. This includes a base coat, nail polish in various colors, nail art tools such as a striping brush or dotting tool, and a top coat. Make sure you have a clean and flat surface to work on. Start by prepping your nails with a clear base coat. This will protect your nails and help the polish adhere better. Let this dry completely before moving on to the next step. Next, choose your colors. For this tutorial, we will use blue, pink, purple, green, and yellow. Take your first color and paint your nails. Let this dry completely before moving on to the next step. Now it's time to get creative with your layers. Use a striping brush to create thin lines or a dotting tool to create polka dots. You can also use nail tape to create clean lines or nail stencils for more intricate designs. Let your design dry completely before applying a clear top coat to seal in your layers and add shine. And there you have it – a beautiful and creative layered nail art design that is sure to make a statement. Have fun experimenting with different colors and techniques to create your own unique look.4. Creative Layered Nail Art Tutorial
4. Creative Layered Nail Art Tutorial
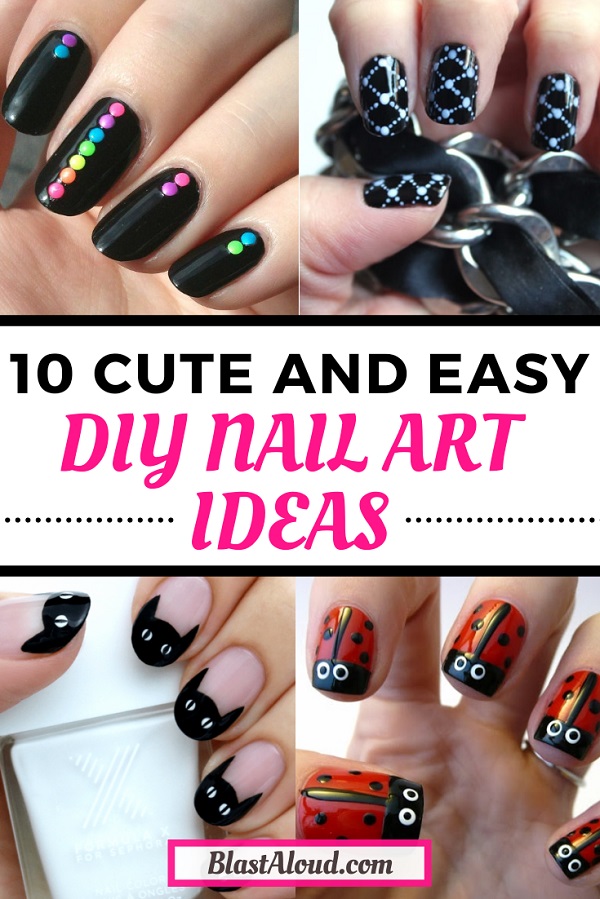
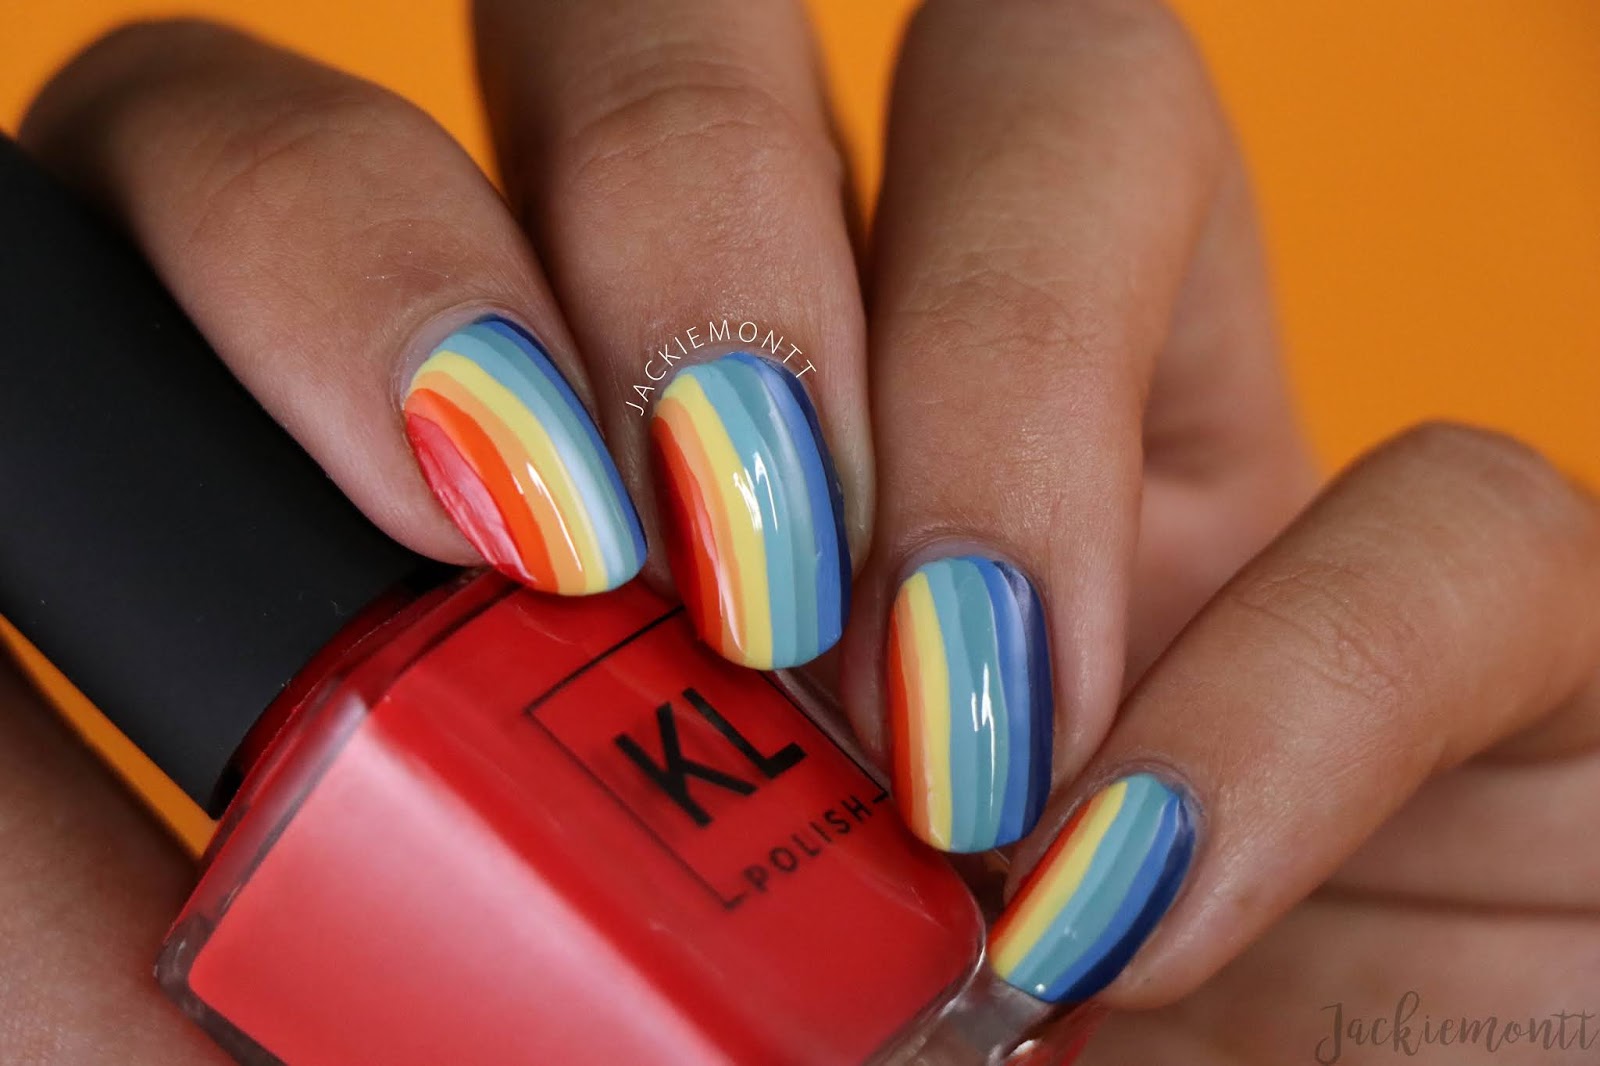
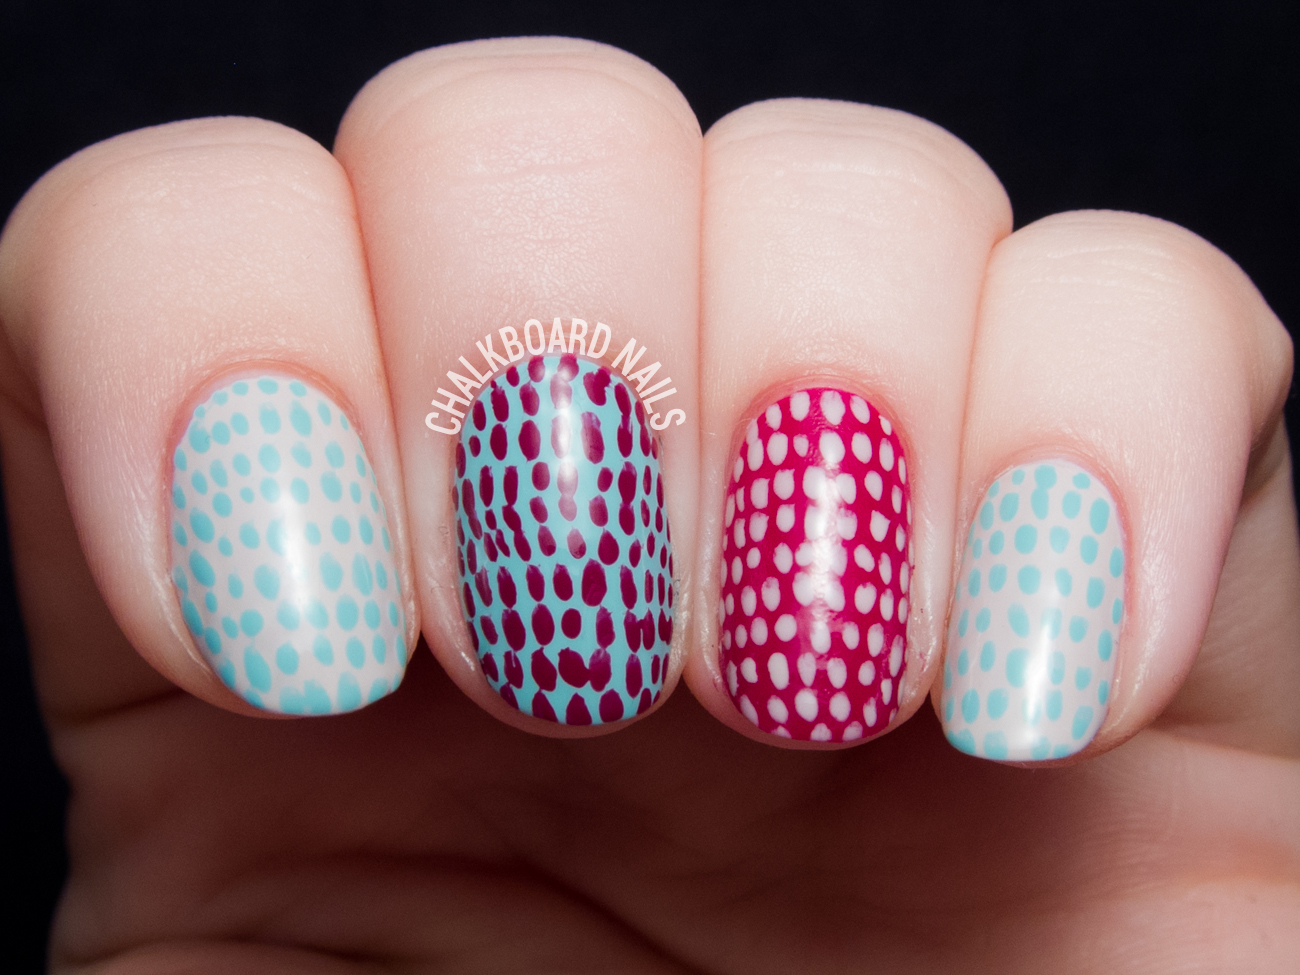
Make a bold statement with this colorful layered nail art tutorial. Using bright and vibrant colors, you can create a fun and eye-catching design that is perfect for any occasion. Before you begin, make sure you have all of your supplies ready. This includes a base coat, nail polish in various colors, nail art tools such as a dotting tool or striping brush, and a top coat. Make sure you have a clean and flat surface to work on. Start by prepping your nails with a clear base coat. This will protect your nails and help the polish adhere better. Let this dry completely before moving on to the next step. Next, choose your colors. For this tutorial, we will use orange, pink, blue, and purple. Take your first color and paint your nails. Let this dry completely before moving on to the next step. Using a dotting tool, create dots on your nails using your second color. You can also create a striped or swirl pattern for a more intricate design. Once your design is complete, let it dry completely before applying a clear top coat to seal in your layers and add shine. And there you have it – a colorful and fun layered nail art design that is sure to brighten up your day.5. Colorful Layered Nail Art Tutorial


5. Colorful Layered Nail Art Tutorial
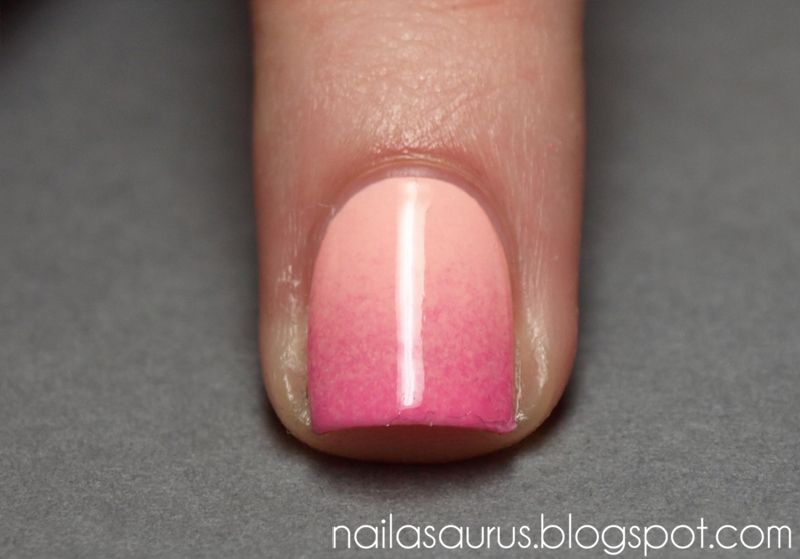
Create a beautiful gradient effect with this layered nail art tutorial. This design is perfect for those who love a soft and subtle look. Before you begin, gather your supplies. This includes a base coat, nail polish in your chosen colors, nail art tools such as a sponge or brush, and a top coat. Make sure you have a clean and flat surface to work on. Start by prepping your nails with a clear base coat. This will protect your nails and help the polish adhere better. Let this dry completely before moving on to the next step. Next, choose your colors. For this tutorial, we will use pink, purple, and blue. Take your first color and paint your nails. Let this dry completely before moving on to the next step. Using a sponge or brush, create a gradient effect by dabbing your second color onto the tips of your nails. Use a light hand to blend the colors together for a seamless transition. For the final layer, use the same technique with your third color, but only apply it to the very tips of your nails. This will create a layered effect that adds depth to your design. Once your layers are complete, let them dry completely before applying a clear top coat. This will seal in your design and add shine. And there you have it – a beautiful gradient layered nail art design that is perfect for any occasion.6. Gradient Layered Nail Art Tutorial


6. Gradient Layered Nail Art Tutorial


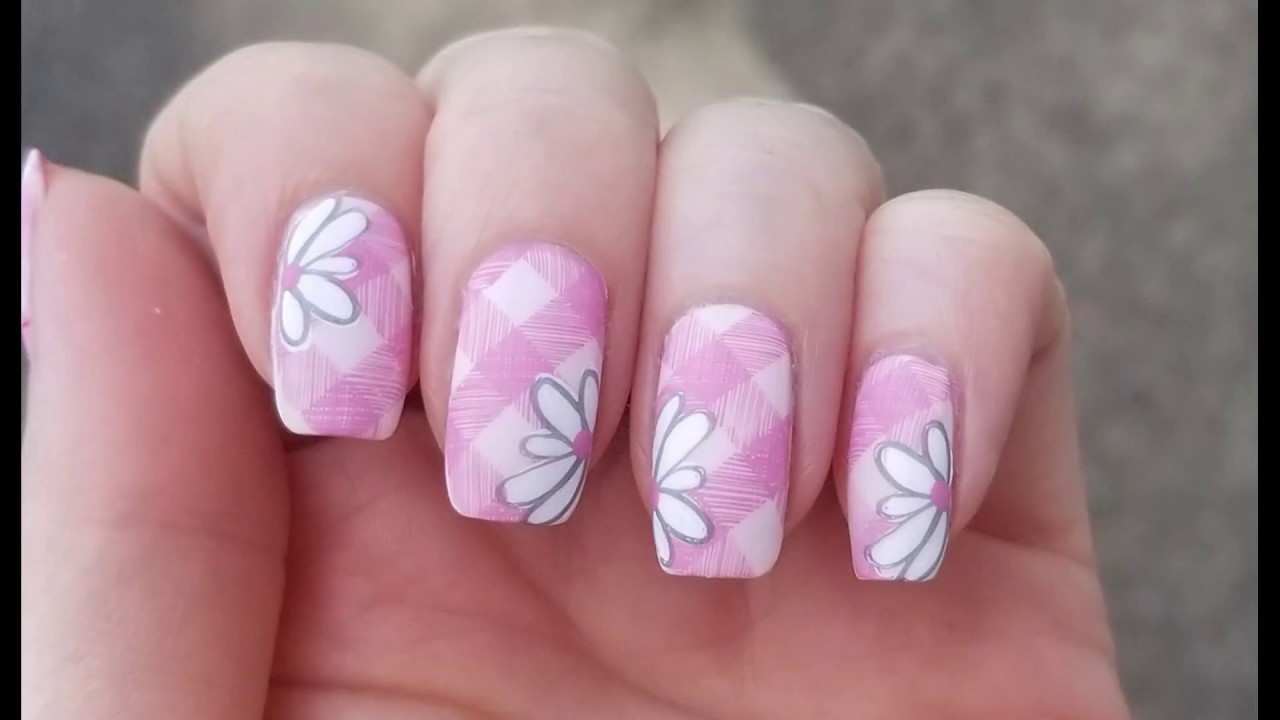
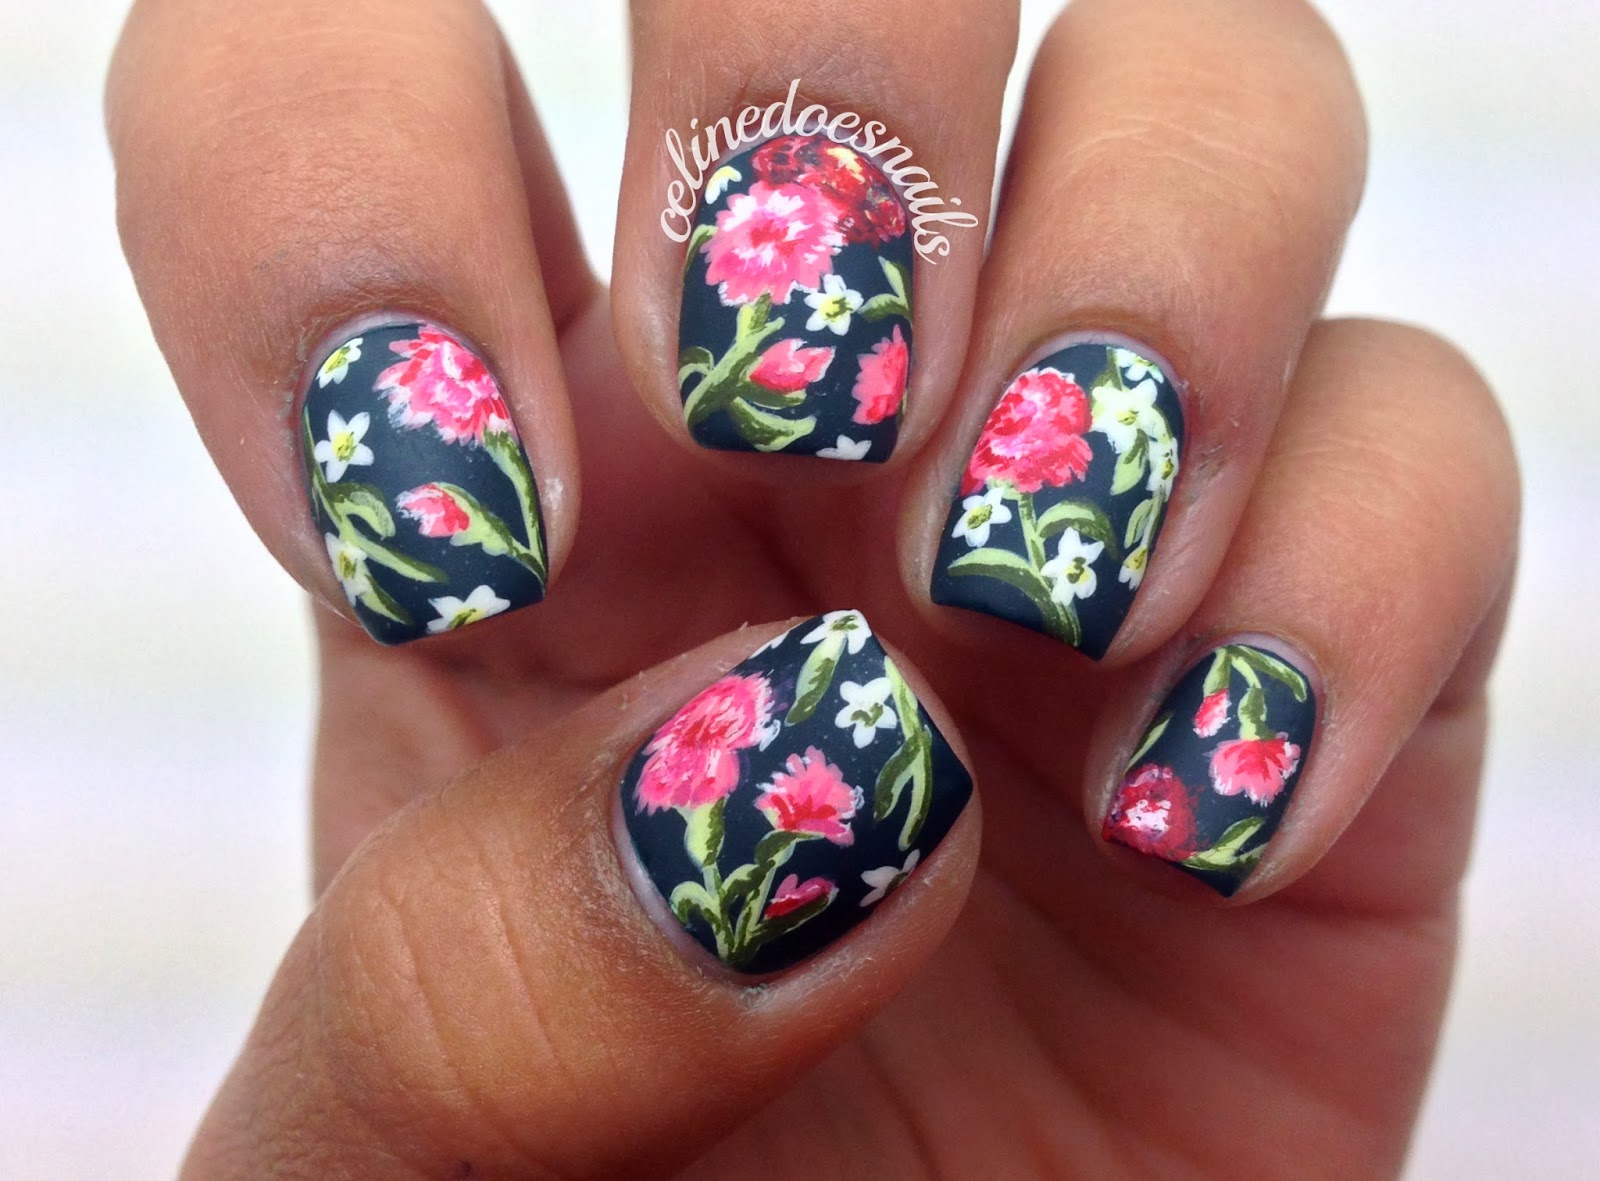
Add a touch of femininity to your nails with this floral layered nail art tutorial. This design is perfect for spring and summer and can be customized with different flower patterns and colors. Before you begin, make sure you have all of your supplies ready. This includes a base coat, nail polish in your desired colors, nail art tools such as a dotting tool or nail brush, and a top coat. Make sure you have a clean and flat surface to work on. Start by prepping your nails with a clear base coat. This will protect your nails and help the polish adhere better. Let this dry completely before moving on to the next step. Next, choose your colors. For this tutorial, we will use yellow, pink, blue, and green. Take your first color and paint your nails. Let this dry completely before moving on to the next step. Using a dotting tool or nail brush, create small flowers on your nails using your second color. You can also add leaves or stems using a different color. Once your flowers are complete, let them dry completely before adding a layer of your third color. This will create a layered effect that adds depth to your design. Finish off your design with a clear top coat to seal in your layers and add shine. And there you have it – a beautiful floral layered nail art design that is perfect for any occasion.7. Floral Layered Nail Art Tutorial
7. Floral Layered Nail Art Tutorial


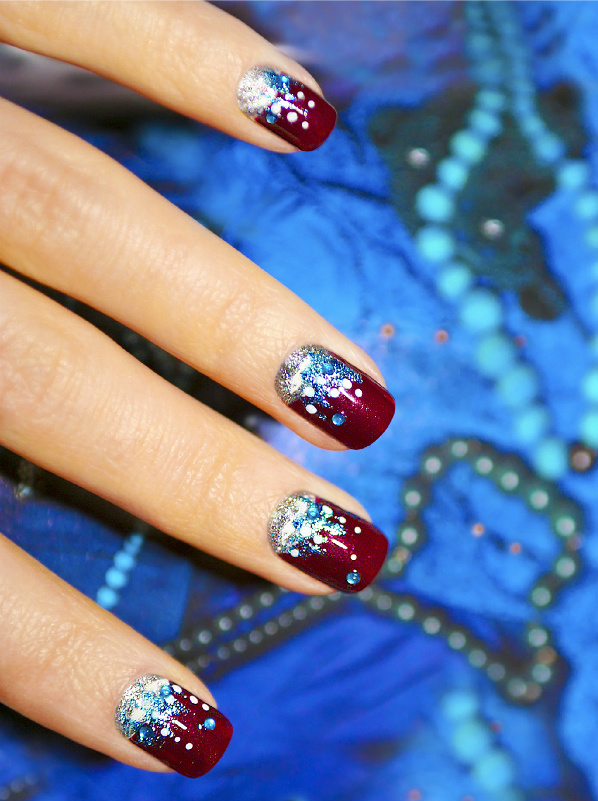
Who doesn't love a little sparkle on their nails? This glitter layered nail art tutorial will show you how to create a stunning design that is perfect for a night out or a special occasion. You will need a base coat, nail polish in your desired colors, nail art tools such as a sponge or brush, glitter polish, and a top coat. Make sure you have a clean and flat surface to work on. Start by prepping your nails with a clear base coat. This will protect your nails and help the polish adhere better. Let this dry completely before moving on to the next step. Next, choose your colors. For this tutorial, we will use purple, pink, and silver glitter. Take your first color and paint your nails. Let this dry completely before moving on to the next step. Using a sponge or brush, create a gradient effect by dabbing your second color onto the tips of your nails. Use a light hand to blend the colors together for a seamless transition. For the final layer, apply a coat of silver glitter polish to the tips of your nails. This will add a touch of sparkle and create a layered effect. Let your design dry completely before applying a clear top coat to seal in your layers and add shine. And there you have it – a gorgeous glitter layered nail art design that is sure to make a statement.8. Glitter Layered Nail Art Tutorial


8. Glitter Layered Nail Art Tutorial
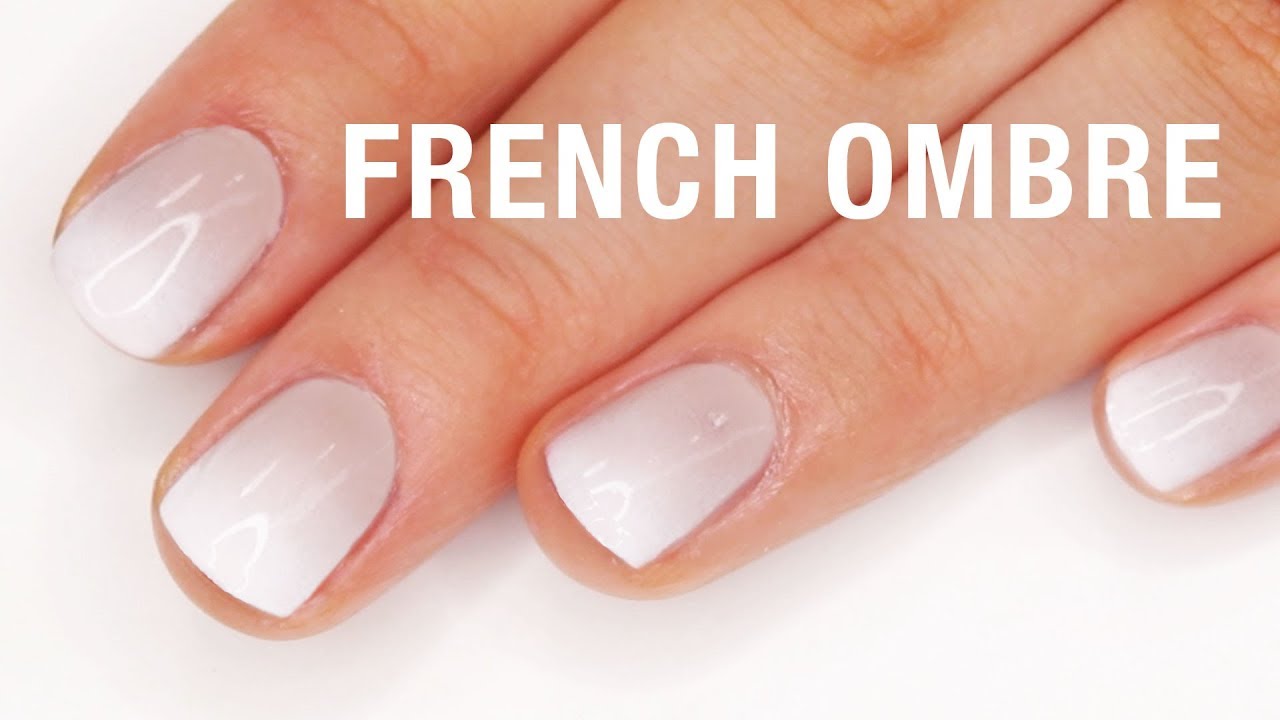
Combine two popular nail trends – ombre and layering – with this ombre layered nail art tutorial. This design is perfect for those who love a subtle and elegant look.9. Ombre Layered Nail Art Tutorial


9. Ombre Layered Nail Art Tutorial


The Art of Layered Nail Design: A Step-by-Step Tutorial

Creating a Unique Look for Your Nails

When it comes to nail art, there are endless possibilities to express your personal style and creativity. One trend that has been gaining popularity is layered nail art, where multiple colors and designs are combined to create a unique and eye-catching look. In this tutorial, we will guide you through the process of creating your own layered nail design, from selecting the right colors to applying the final touches.
Gather Your Supplies

Before getting started, make sure you have all the necessary supplies. You will need a base coat, top coat, nail polish in different colors and finishes, a small brush or dotting tool, and nail tape or stickers. Having all these supplies ready will ensure a smooth and efficient process.
Prep Your Nails
Start by removing any old nail polish and trimming and shaping your nails. Then, apply a base coat to protect your nails and create a smooth surface for the nail polish to adhere to. Let the base coat dry completely before moving on to the next step.
Choose Your Colors

Now comes the fun part - choosing the colors for your layered design. You can select complementary colors, ombre shades, or even contrasting colors for a bold look. Be sure to bold experiment with different color combinations to find the perfect one for you.
Create Your Layers
Once your base coat is dry, it's time to start creating your layers. Use the nail tape or stickers to mark off sections of your nails where you want to apply different colors. This will help you achieve clean and precise lines. Apply your first color and let it dry before moving on to the next layer. Repeat this process for each layer, making sure to let each color dry completely before applying the next one.
Add Finishing Touches
After all your layers are dry, remove the nail tape or stickers to reveal your layered design. Use a small brush or dotting tool to add any final touches, such as dots or stripes, to enhance the design. Finally, finish off with a top coat to seal in your design and give it a glossy finish.
Express Your Creativity
Layered nail art is all about expressing your creativity and creating a unique look. Don't be afraid to bold experiment with different color combinations, designs, and techniques. With practice, you'll be able to create stunning layered designs that will make your nails stand out.
Now that you know the basics of creating a layered nail design, it's time to get creative and try it out for yourself. With this step-by-step tutorial, you'll have the skills to create a beautiful and unique design that will make your nails the talk of the town. So gather your supplies, choose your colors, and let your creativity run wild!


