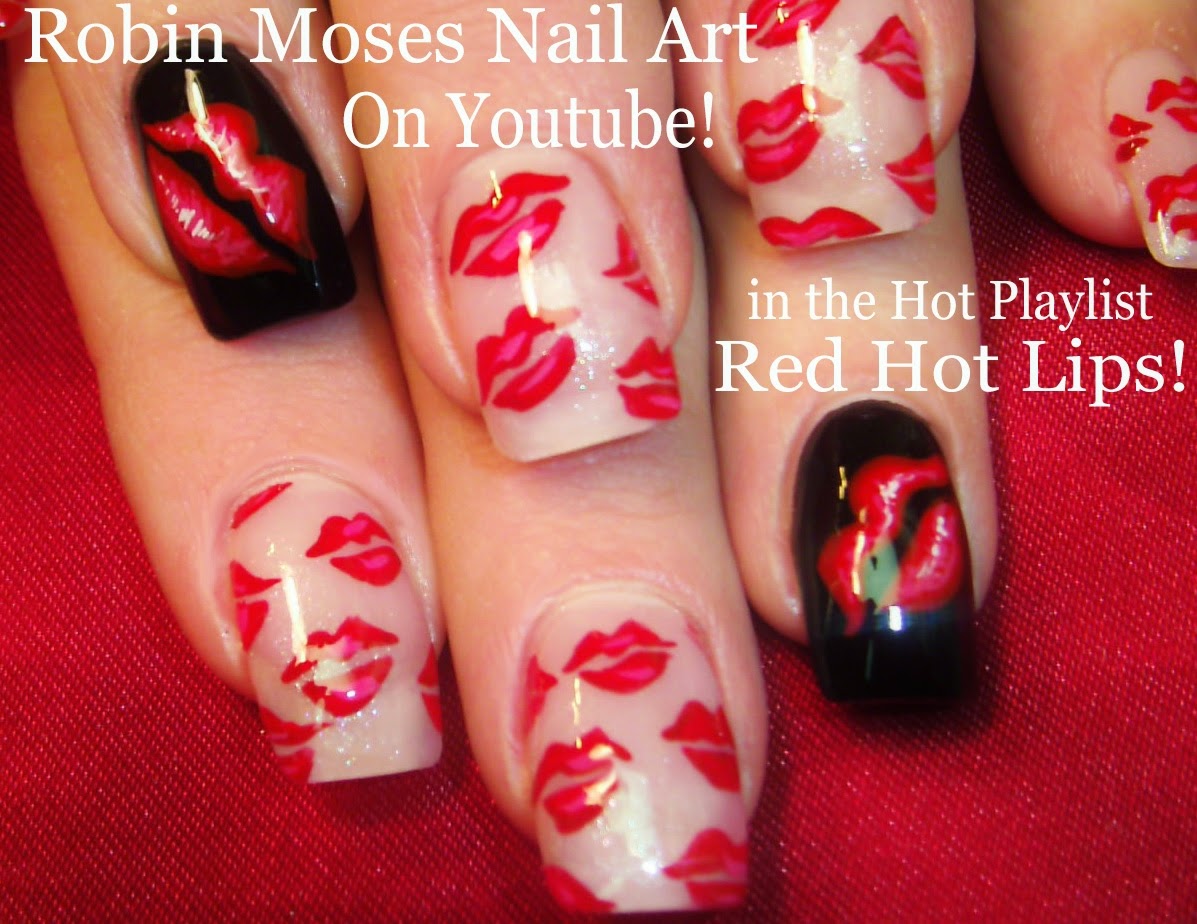
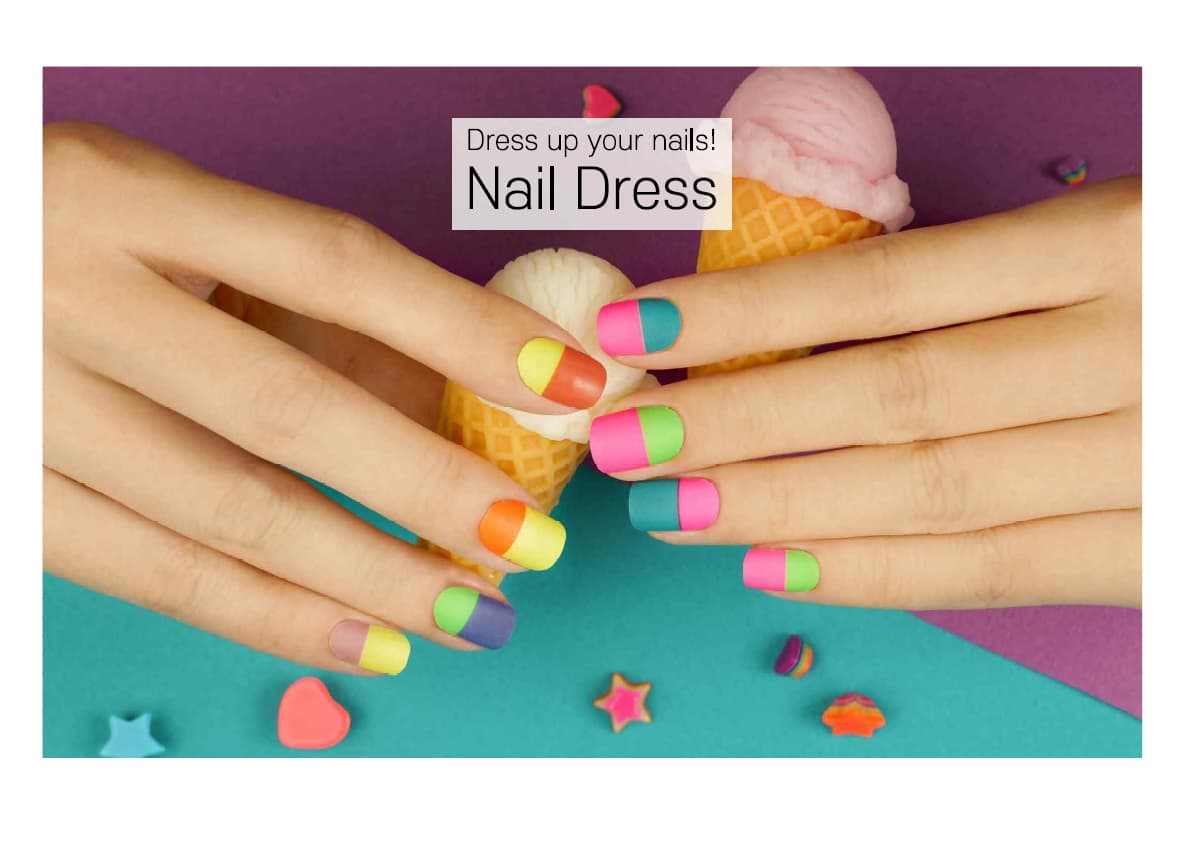
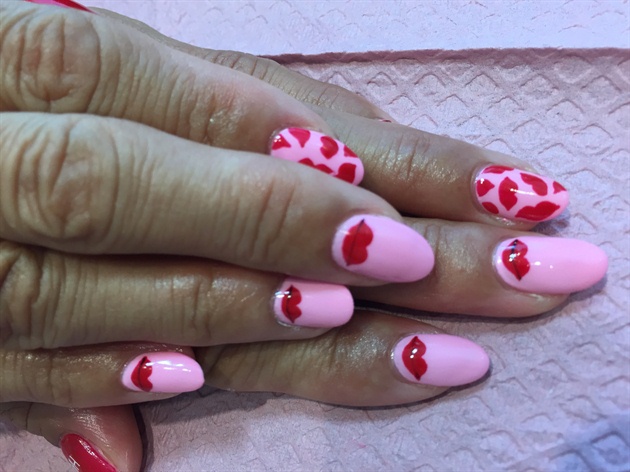
Are you new to the world of nail art and looking for some simple designs to start with? Look no further than this easy lips nail art tutorial! With just a few basic nail polish colors and some simple tools, you can achieve a fun and playful lips design on your nails. Follow along with these step-by-step instructions to create a cute and colorful look that is perfect for both beginners and pros. Easy lips nail art tutorial nail art nail polish colors nails step-by-step cute and colorful1. "Easy Lips Nail Art Tutorial for Beginners"


1. "Easy Lips Nail Art Tutorial for Beginners"


Why settle for just applying lipstick on your lips when you can have it on your nails as well? This lipstick nail art tutorial will show you how to create a bold and vibrant look on your nails using your favorite lipstick shades. You'll need some clear nail polish, a makeup sponge, and, of course, your lipsticks to achieve this unique and stylish design. Get ready to make a statement with your nails! Lipstick nail art tutorial bold and vibrant nails clear nail polish makeup sponge lipsticks unique and stylish make a statement2. "Lipstick Nail Art Tutorial"


2. "Lipstick Nail Art Tutorial"


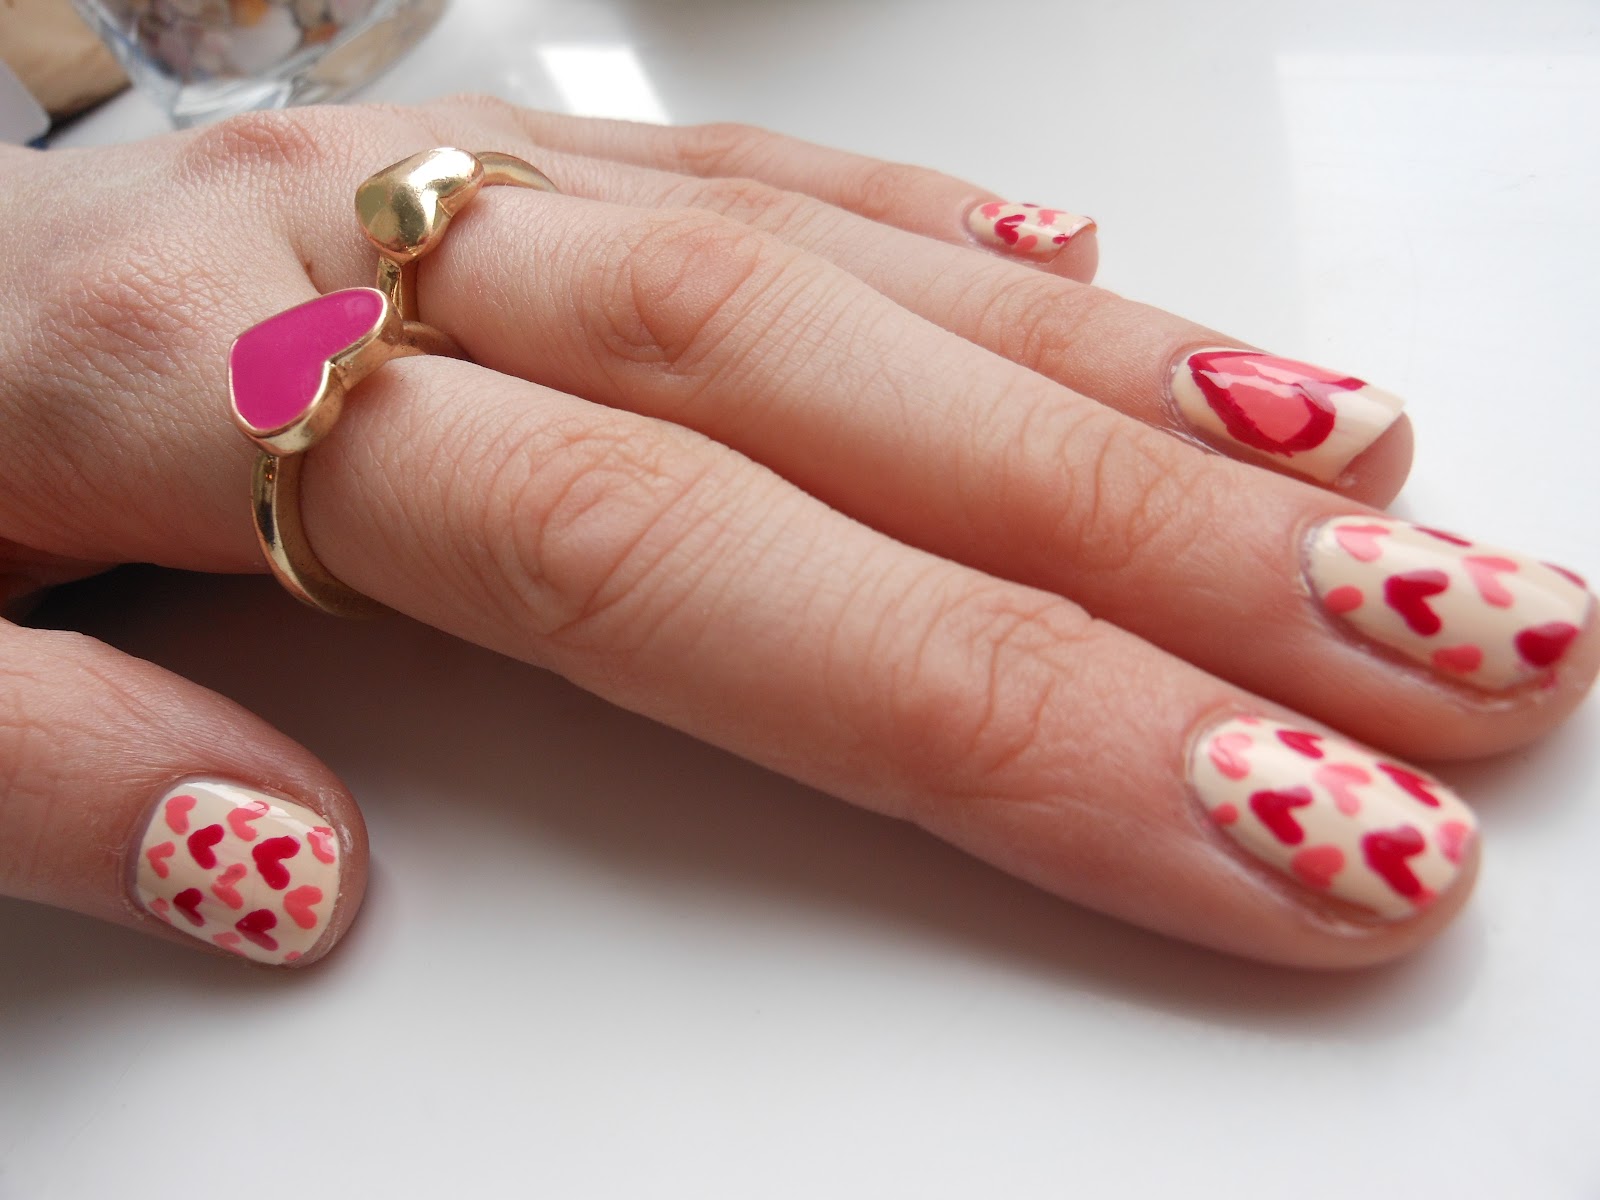
Spread some love with this lips and hearts nail art tutorial! Using a few different shades of pink and a dotting tool, you can create an adorable design featuring lips and hearts on your nails. This design is perfect for Valentine's Day or any time you're feeling romantic. Get ready to show off your love for nail art with these cute and flirty nails. Lips and hearts nail art tutorial spread some love shades of pink dotting tool adorable design Valentine's Day romantic cute and flirty3. "Lips and Hearts Nail Art Tutorial"


3. "Lips and Hearts Nail Art Tutorial"


Looking for a more subtle and sophisticated lips nail art design? This gradient lips nail art tutorial is the perfect choice. Using a sponge and some pastel shades, you can create a beautiful gradient effect on your nails that resembles a soft and dreamy lip color. This design is perfect for a special occasion or just when you want a delicate and elegant look. Gradient lips nail art tutorial subtle and sophisticated sponge pastel shades gradient effect soft and dreamy special occasion delicate and elegant4. "Gradient Lips Nail Art Tutorial"


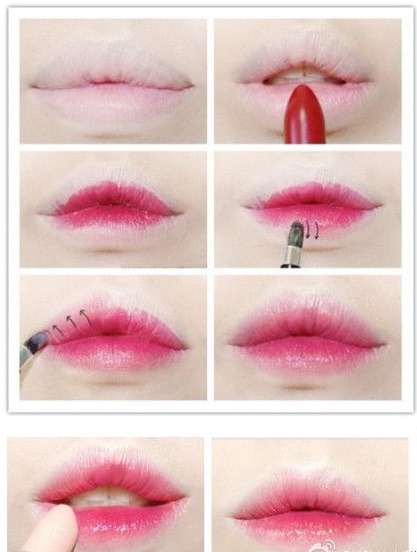
4. "Gradient Lips Nail Art Tutorial"


Get ready to pucker up with this lips and kisses nail art tutorial! Using a small brush and some red and white nail polish, you can create a playful design featuring lips and kisses on your nails. This design is perfect for a girls' night out or a fun date night. Get ready to show off your flirty and fun side with these cute and kissable nails. Lips and kisses nail art tutorial pucker up small brush red and white nail polish playful design girls' night out date night flirty and fun cute and kissable5. "Lips and Kisses Nail Art Tutorial"


5. "Lips and Kisses Nail Art Tutorial"

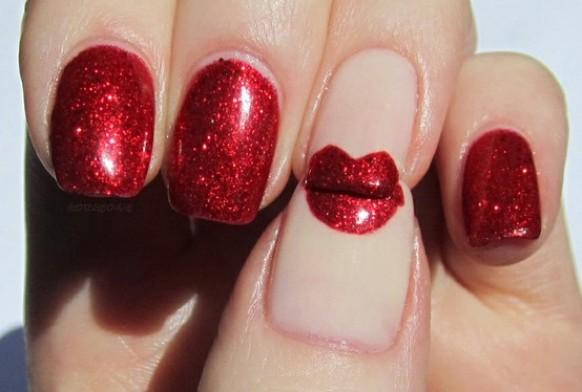
Take your lips nail art to the next level with this lips and glitter nail art tutorial. By using a glitter nail polish and a small brush, you can add a touch of sparkle and glam to your lips design. This look is perfect for a night out or a special event when you want to make a statement. Get ready to shine and stand out with these bold and beautiful nails. Lips and glitter nail art tutorial next level glitter nail polish small brush sparkle and glam night out special event make a statement shine and stand out bold and beautiful6. "Lips and Glitter Nail Art Tutorial"


6. "Lips and Glitter Nail Art Tutorial"


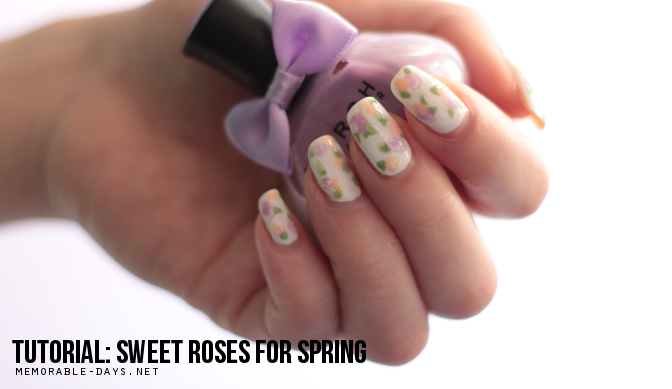
Add a touch of romance to your nails with this lips and roses nail art tutorial. Using a few different shades of red and a toothpick, you can create a beautiful rose design on your nails that is both elegant and feminine. This design is perfect for a wedding or a fancy dinner party. Get ready to feel like a floral goddess with these stunning and intricate nails. Lips and roses nail art tutorial touch of romance shades of red toothpick beautiful rose design elegant and feminine wedding fancy dinner party floral goddess stunning and intricate7. "Lips and Roses Nail Art Tutorial"

7. "Lips and Roses Nail Art Tutorial"

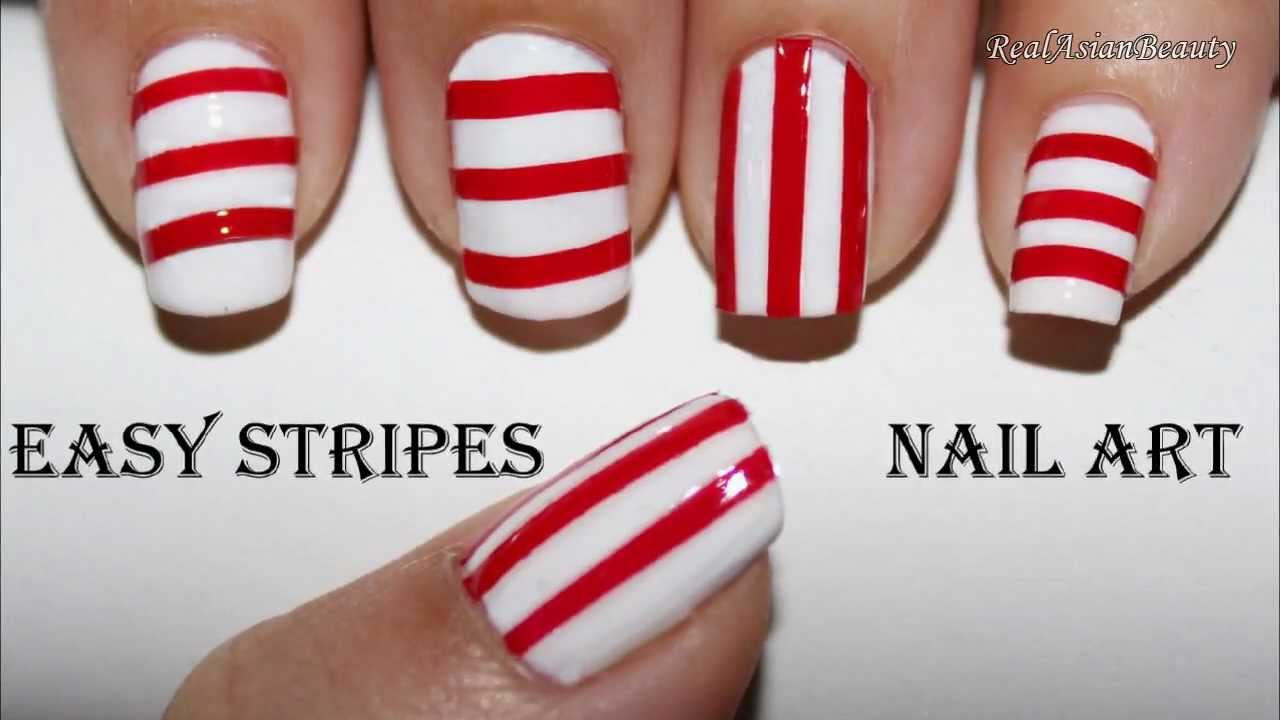
Stripes are a classic design element that can elevate any nails look. Add some lips to the mix and you have a winning combination with this lips and stripes nail art tutorial. By using tape and some black and white nail polish, you can create a bold and modern design on your nails. This look is perfect for a night out with friends or a day at the office. Lips and stripes nail art tutorial classic design element winning combination tape black and white nail polish bold and modern night out friends day at the office8. "Lips and Stripes Nail Art Tutorial"


8. "Lips and Stripes Nail Art Tutorial"


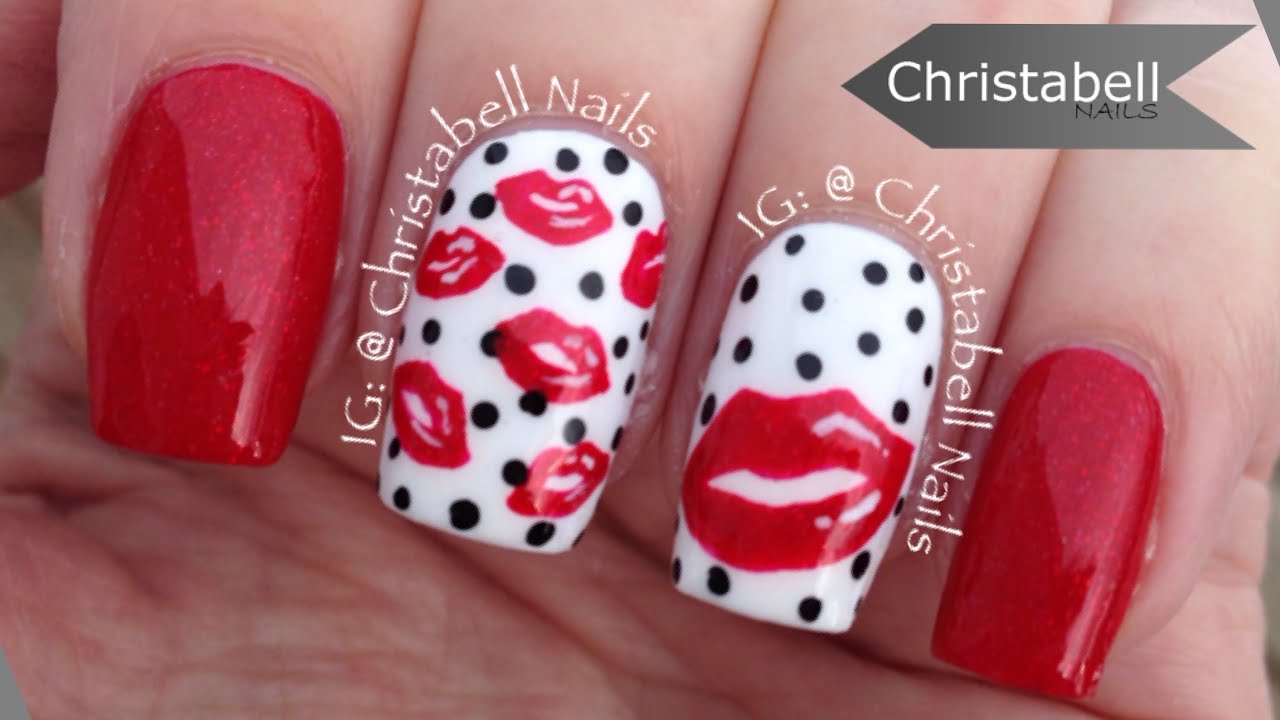


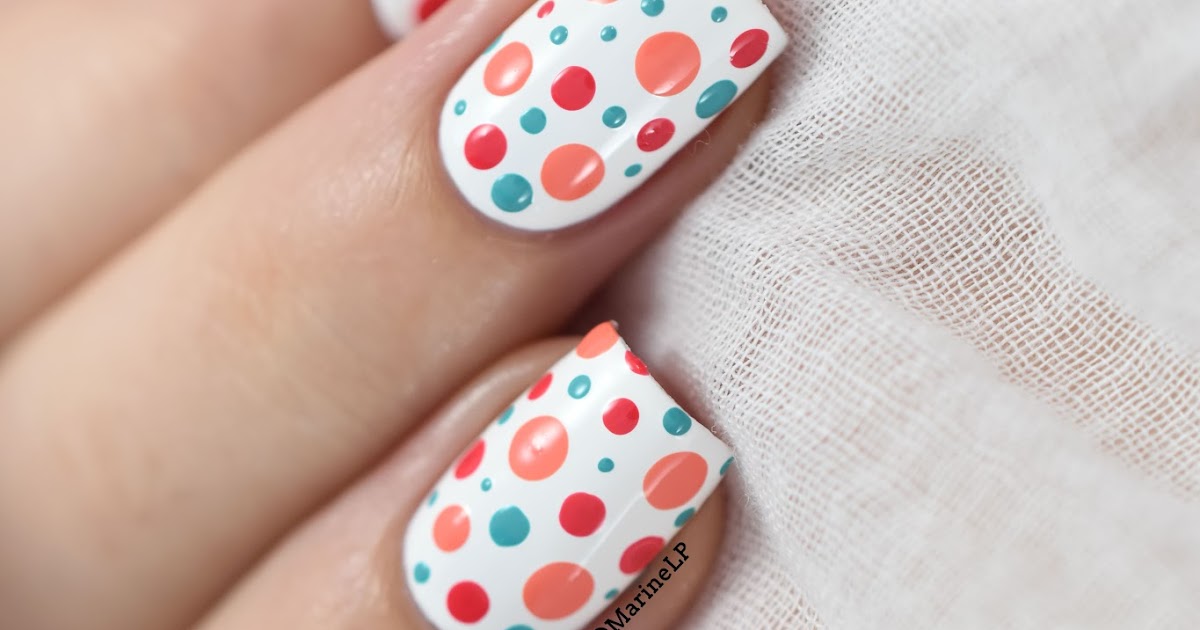
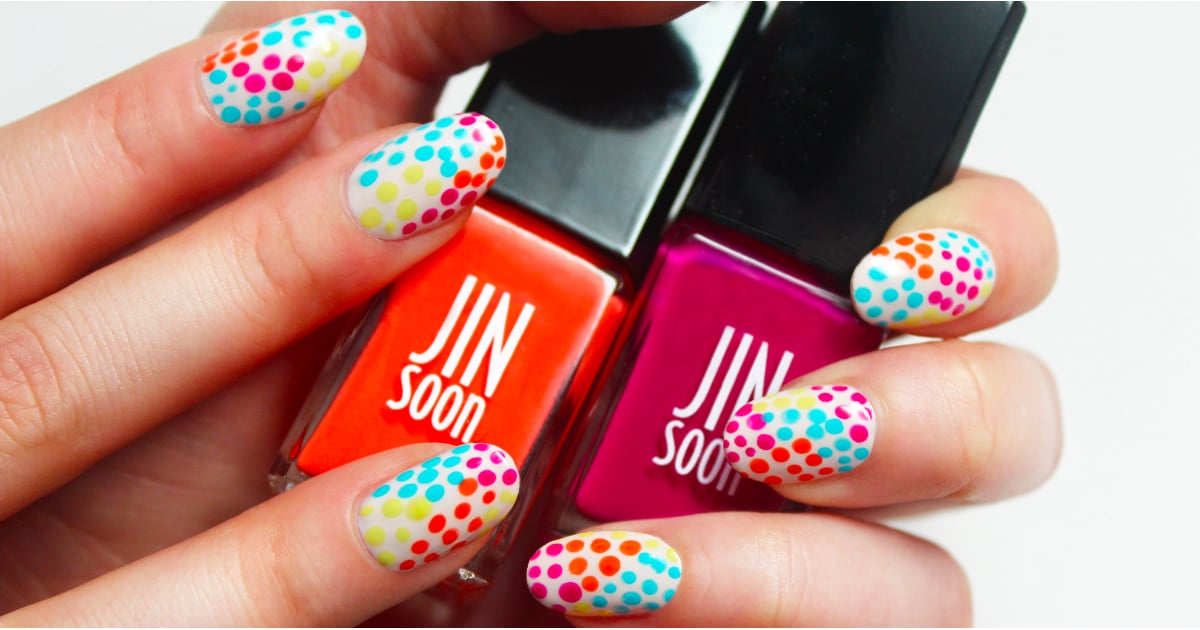
Polka dots are a fun and playful pattern that can add a touch of whimsy to any nails design. Combine them with lips and you have a cute and quirky look with this lips and polka dots nail art tutorial. Using a dotting tool and some pastel shades, you can create a sweet and charming design on your nails that is perfect for any occasion. Get ready to show off your fun and flirty side with these adorable nails. Lips and polka dots nail art tutorial fun and playful whimsy dotting tool pastel shades sweet and charming occasion fun and flirty adorable9. "Lips and Polka Dots Nail Art Tutorial"

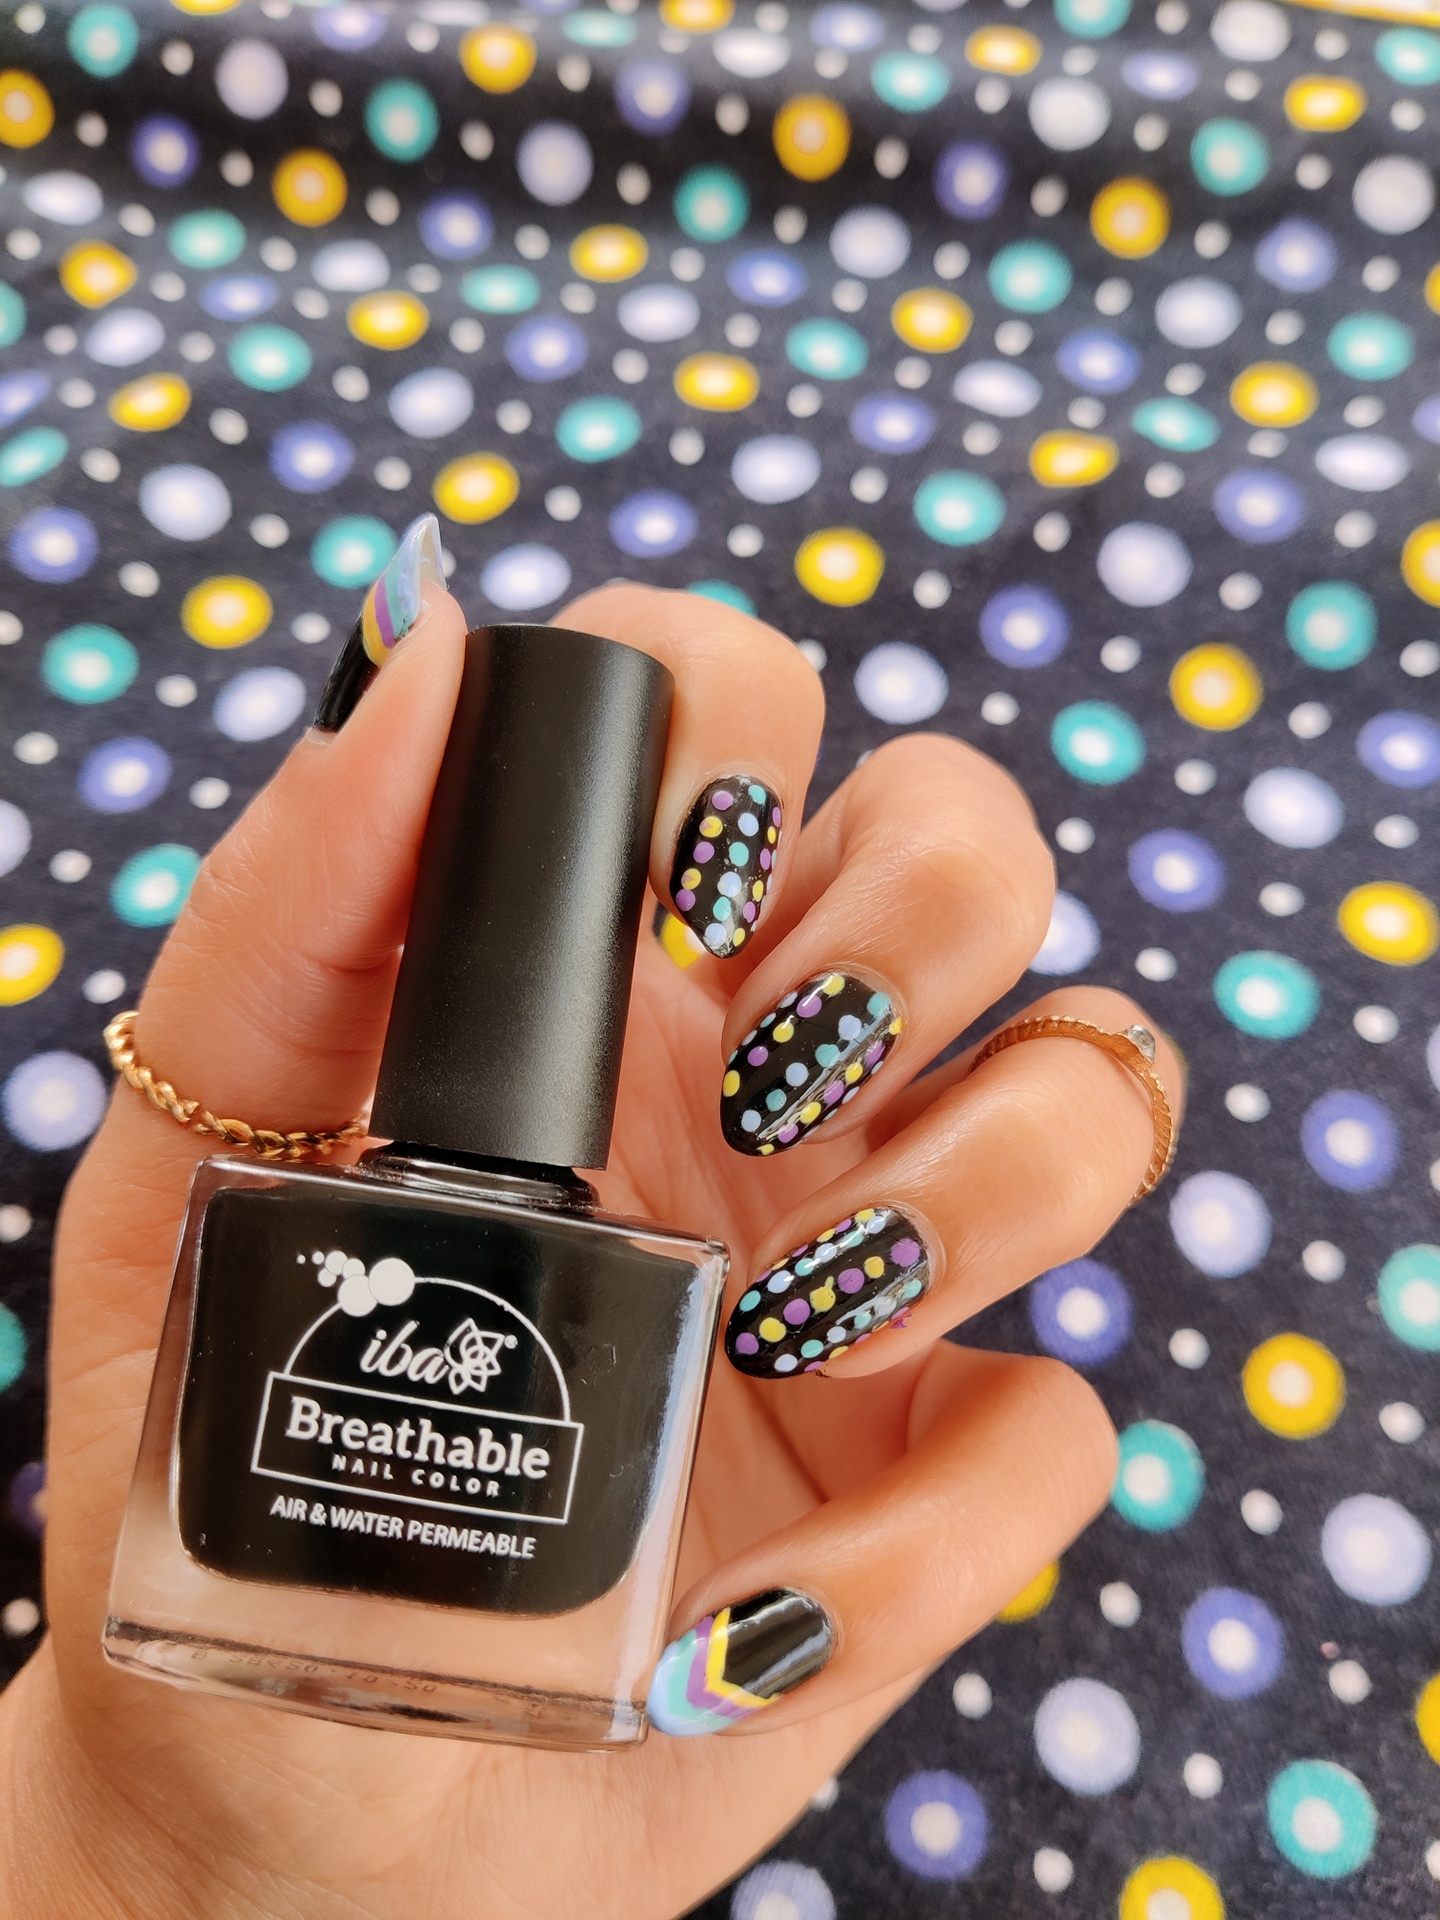

9. "Lips and Polka Dots Nail Art Tutorial"


.JPG)

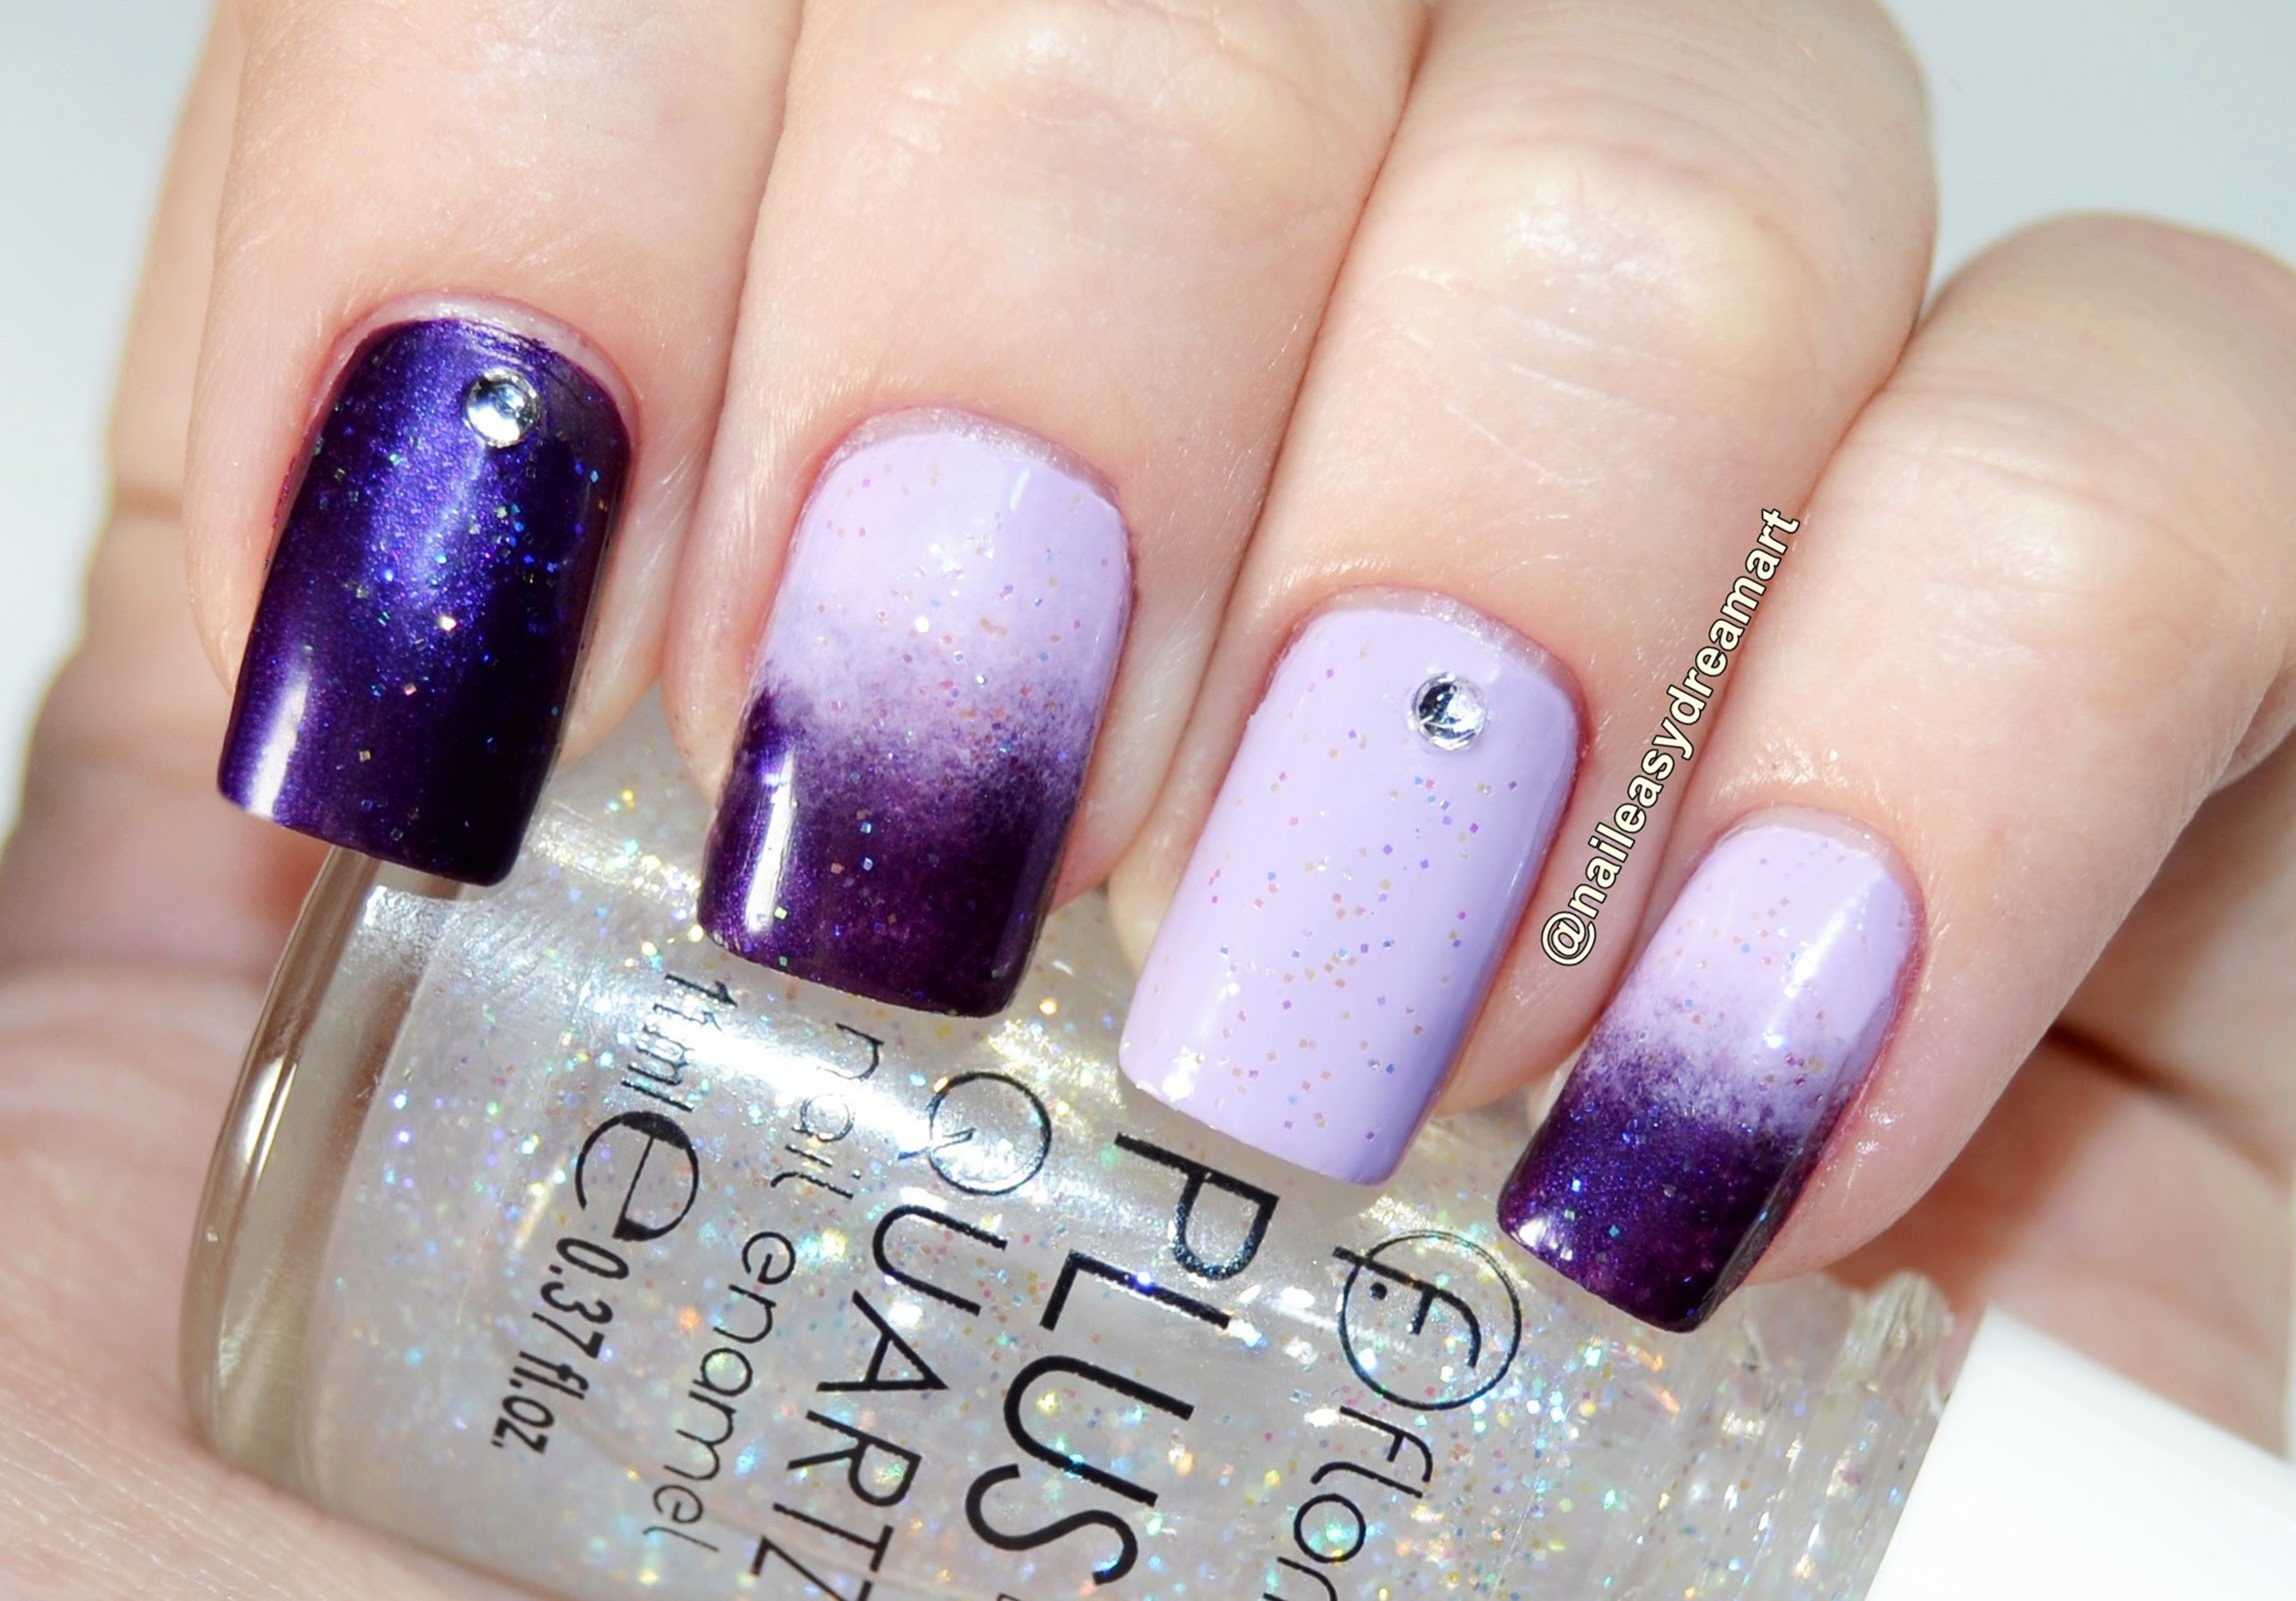
Ombre is a popular trend in the world of nail art, and for good reason. The gradual blending of colors creates a stunning and eye-catching effect on your nails. Add some lips to this trend and you have a beautiful and unique look with this lips and ombre nail art tutorial. Using a makeup sponge and a few different shades of pink, you can create a gorgeous and trendy design on your nails that is sure to turn heads. Lips and ombre nail art tutorial popular trend gradual blending eye-catching makeup sponge different shades of pink gorgeous and trendy turn heads10. "Lips and Ombre Nail Art Tutorial"


10. "Lips and Ombre Nail Art Tutorial"


Lips Nail Art Tutorial: A Fun and Creative Way to Spice Up Your Look
What is Lips Nail Art?
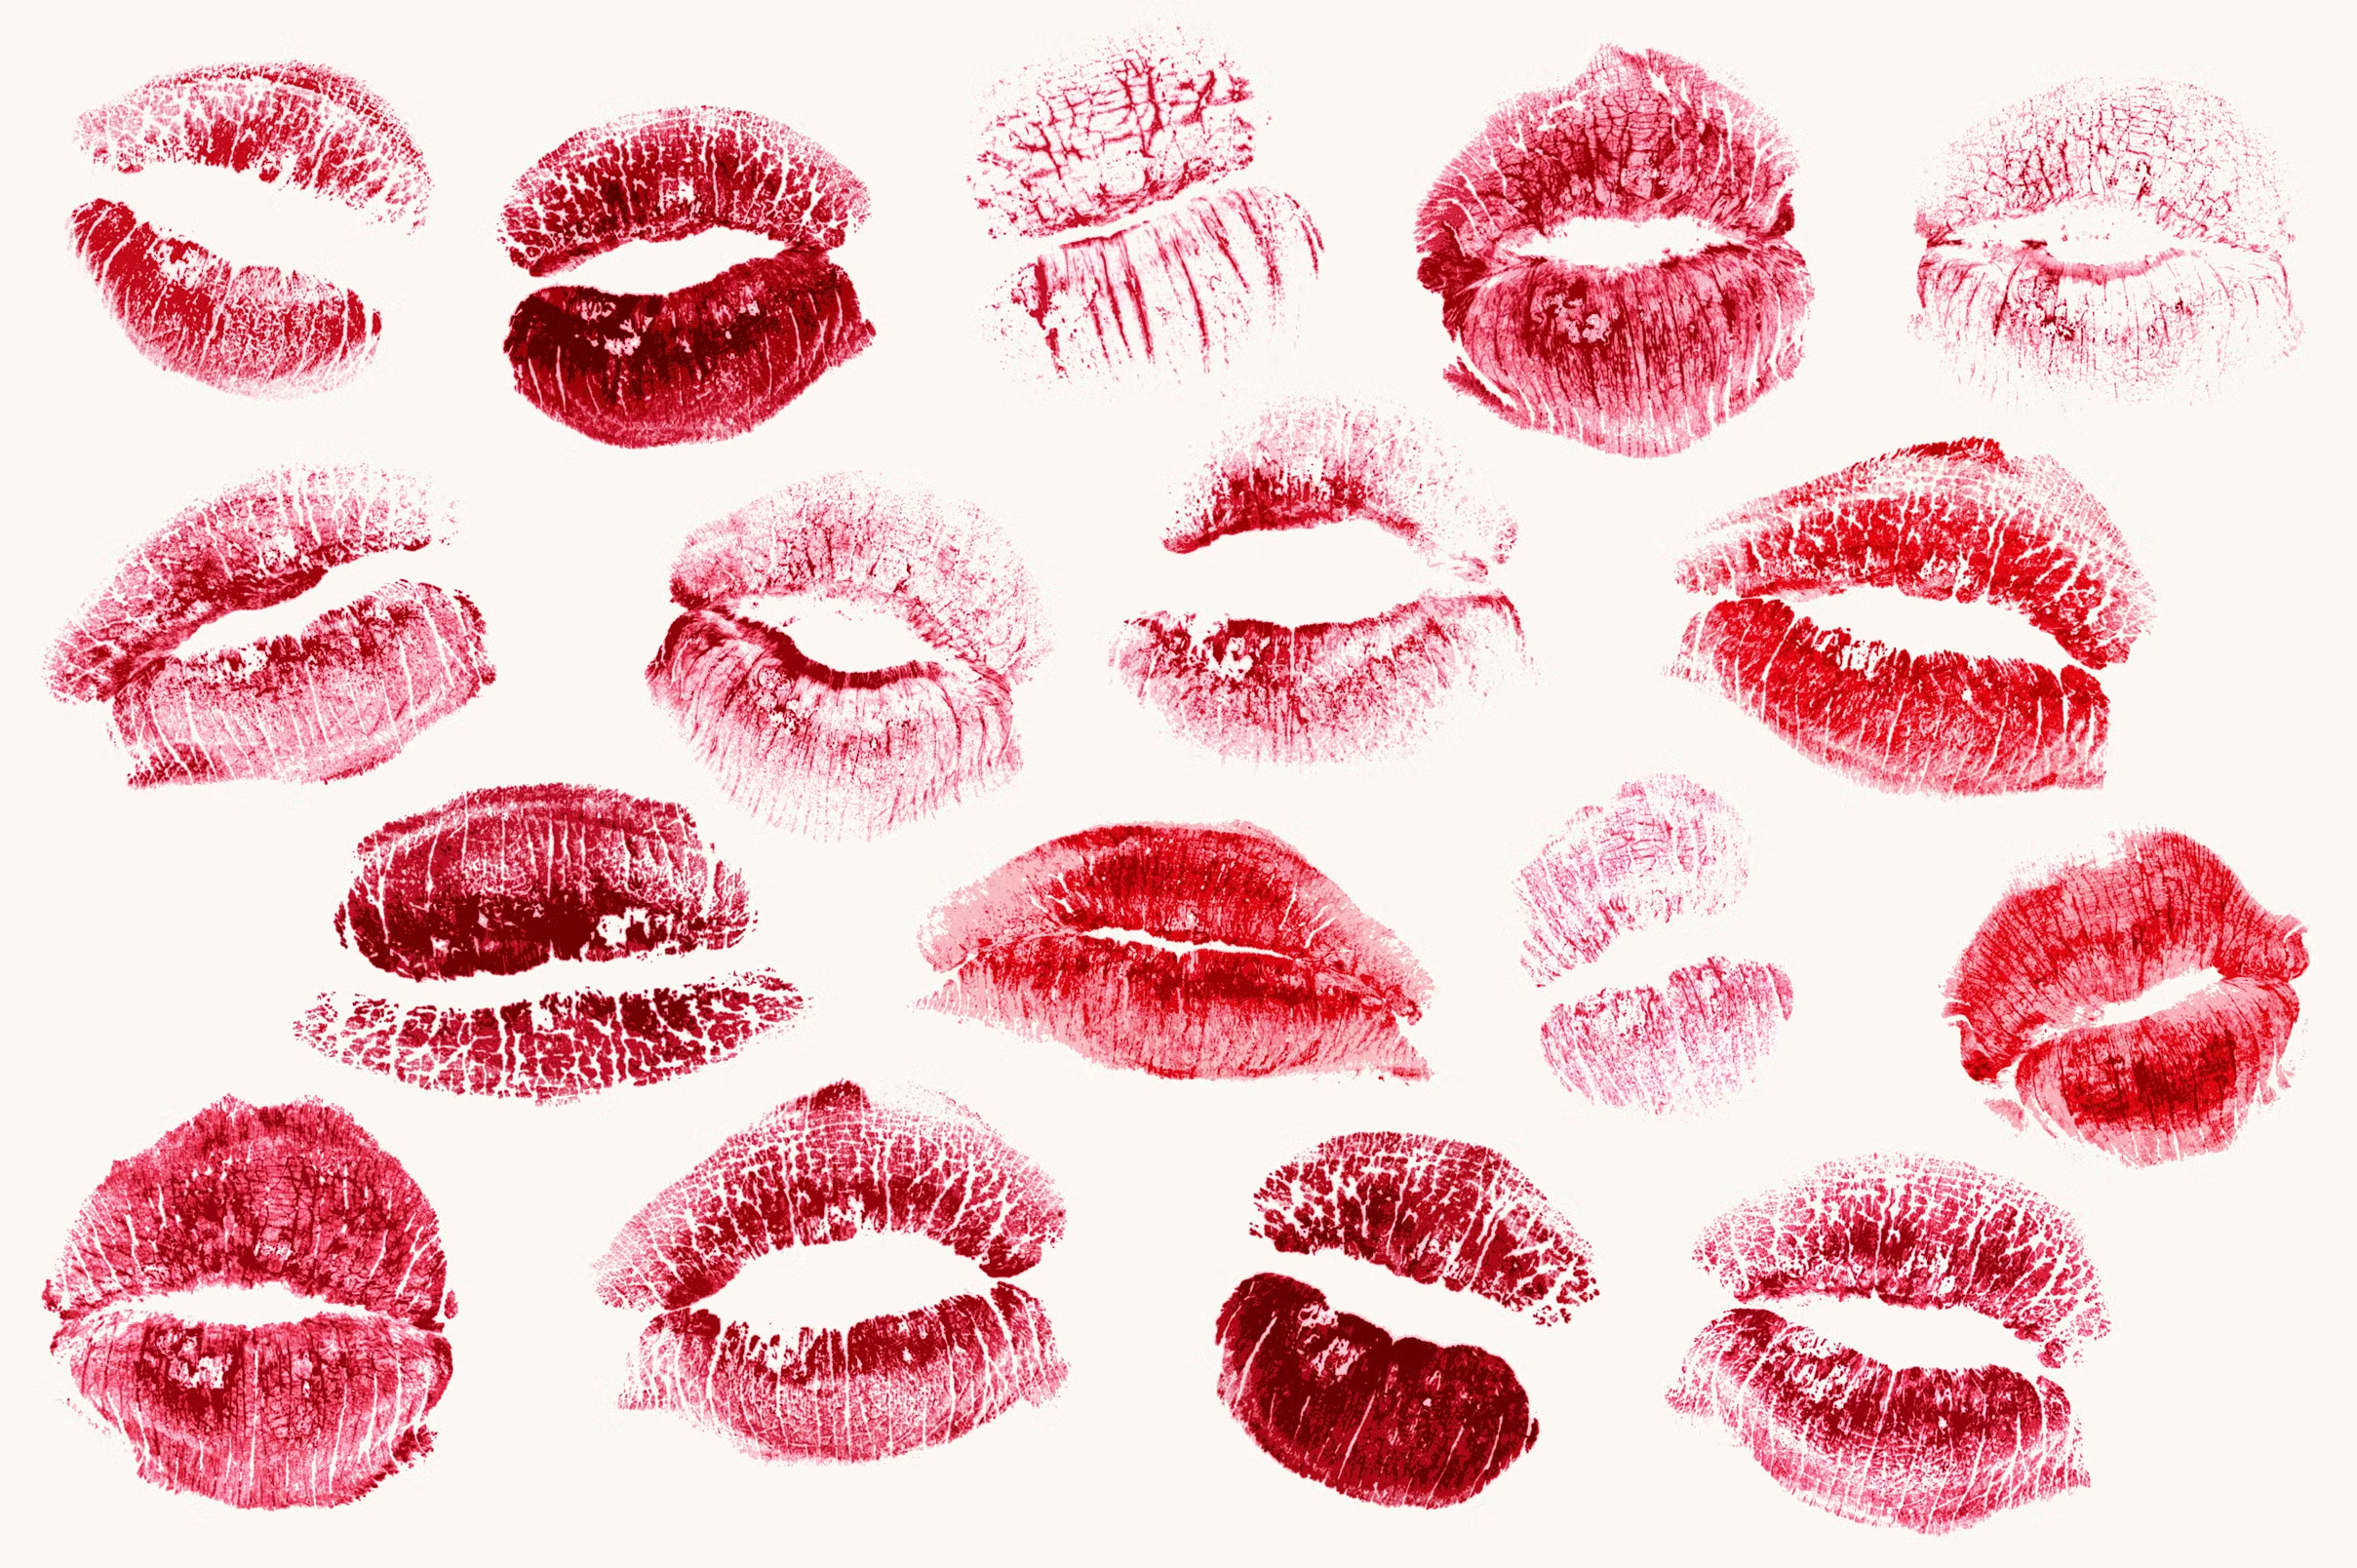
 If you're a fan of nail art, you've probably seen a lot of different designs and styles, but have you ever heard of lips nail art? This fun and whimsical trend is gaining popularity in the beauty world and it's not hard to see why. Lips nail art involves creating a design on your nails that resembles lips, whether it's a simple lip print or a more elaborate lipstick design. It's a playful and creative way to add a pop of color and personality to your nails. In this tutorial, we'll show you how to create your own lips nail art at home.
Step 1: Gather Your Materials
 Before we get started, you'll need to gather some materials. Here's what you'll need:
- Base coat
- Red nail polish
- White nail polish
- Black nail polish
- Toothpick or dotting tool
- Top coat
- Nail polish remover
- Cotton swabs
Before we get started, you'll need to gather some materials. Here's what you'll need:
- Base coat
- Red nail polish
- White nail polish
- Black nail polish
- Toothpick or dotting tool
- Top coat
- Nail polish remover
- Cotton swabs
Step 2: Prep Your Nails
 Start by prepping your nails for the design. Remove any old polish and trim and shape your nails as desired. Then, apply a base coat to protect your nails and help the polish last longer.
Step 3: Apply Red Polish
 Once your base coat is dry, it's time to apply the red polish. This will serve as the base for your lips design. Apply 2 coats of red polish, allowing each coat to dry completely.
Step 4: Create the Lips
 Now, it's time to create the lips design. Using a toothpick or dotting tool, create a half-moon shape on the tip of your nail with the white polish. This will be the outline of your lips. Then, using the black polish, create a small line in the center of the white half-moon to create the illusion of a pout.
Step 5: Add Details
 To add some dimension and detail to your lips, use a toothpick or dotting tool to create small dots with the black polish on the white half-moon. This will give the lips a textured look. You can also use the white polish to create small highlights on the lips.
Step 6: Seal and Clean Up
 Once you're happy with your lips design, seal it with a top coat. This will help your design last longer and give it a glossy finish. If you accidentally get polish on your skin, use a cotton swab dipped in nail polish remover to clean up any mistakes.
Step 7: Rock Your Lips Nail Art
 Now that your nails are dry and your lips design is complete, it's time to show off your new look! Pair it with a bold lip color for an extra bold statement or keep it subtle with a nude lip. Either way, your lips nail art is sure to turn heads and add a unique touch to your overall look.
Lips nail art is a fun and creative way to express your personal style and add a playful touch to your nails. With this simple tutorial, you can easily create your own lips design at home. So why not give it a try and have some fun with your nails?
Now that your nails are dry and your lips design is complete, it's time to show off your new look! Pair it with a bold lip color for an extra bold statement or keep it subtle with a nude lip. Either way, your lips nail art is sure to turn heads and add a unique touch to your overall look.
Lips nail art is a fun and creative way to express your personal style and add a playful touch to your nails. With this simple tutorial, you can easily create your own lips design at home. So why not give it a try and have some fun with your nails?


