Creating stunning and unique nail art doesn't have to be complicated or expensive. With the rising trend of liquid stones nail art, you can easily achieve a glamorous and eye-catching look with just a few simple steps. In this tutorial, we'll guide you through the process of creating your own liquid stones nail art design. liquid stones nail art refers to the technique of applying small, shiny beads onto your nails to create a textured and 3D effect. These beads, also known as caviar beads or microbeads, come in a variety of colors and sizes, allowing you to create endless designs and styles. First, gather all the necessary supplies for your liquid stones nail art. This includes a base coat, your choice of nail polish, caviar beads, and a top coat. Make sure to have a clean and flat surface to work on, such as a table or a nail art mat. Start by applying a base coat to your nails to protect them and help the nail polish adhere better. Once the base coat is dry, apply 2 coats of your chosen nail polish color. Pro tip: To achieve a cohesive and sophisticated look, choose a nail polish color that complements the caviar beads you'll be using. Next, while the second coat of nail polish is still wet, carefully pour the caviar beads onto your nails, making sure to cover the entire nail. Gently press the beads onto the nail to ensure they stick. You can also use a toothpick or a dotting tool to rearrange the beads and create your desired design. Once all your nails are covered with caviar beads, let them dry for a few minutes. Then, gently press down on the beads to secure them in place. Finally, apply a top coat to seal the design and protect it from chipping. Voila! Your liquid stones nail art is complete.1. Liquid Stones Nail Art Tutorial


1. Liquid Stones Nail Art Tutorial


Are you ready to take your nail game to the next level? Look no further than liquid stones nail art. This unique and stylish nail trend allows you to experiment with different colors, textures, and designs, making it a great choice for any occasion. To create your own liquid stones nail art, you'll need to follow a few simple steps. Start by prepping your nails with a base coat and 2 coats of your chosen nail polish. Then, while the second coat is still wet, sprinkle caviar beads onto the nails, making sure to cover the entire surface. To create a more intricate design, you can use different colors or sizes of caviar beads. You can also use a toothpick or a dotting tool to arrange the beads and create patterns or shapes. Once you're satisfied with the design, let the beads dry for a few minutes before pressing them down gently to secure them in place. To ensure your liquid stones nail art lasts longer, apply a top coat to seal the design and prevent the beads from falling off. With a little bit of practice and creativity, you can easily create stunning liquid stones nail art at home.2. How to Create Liquid Stones Nail Art


2. How to Create Liquid Stones Nail Art


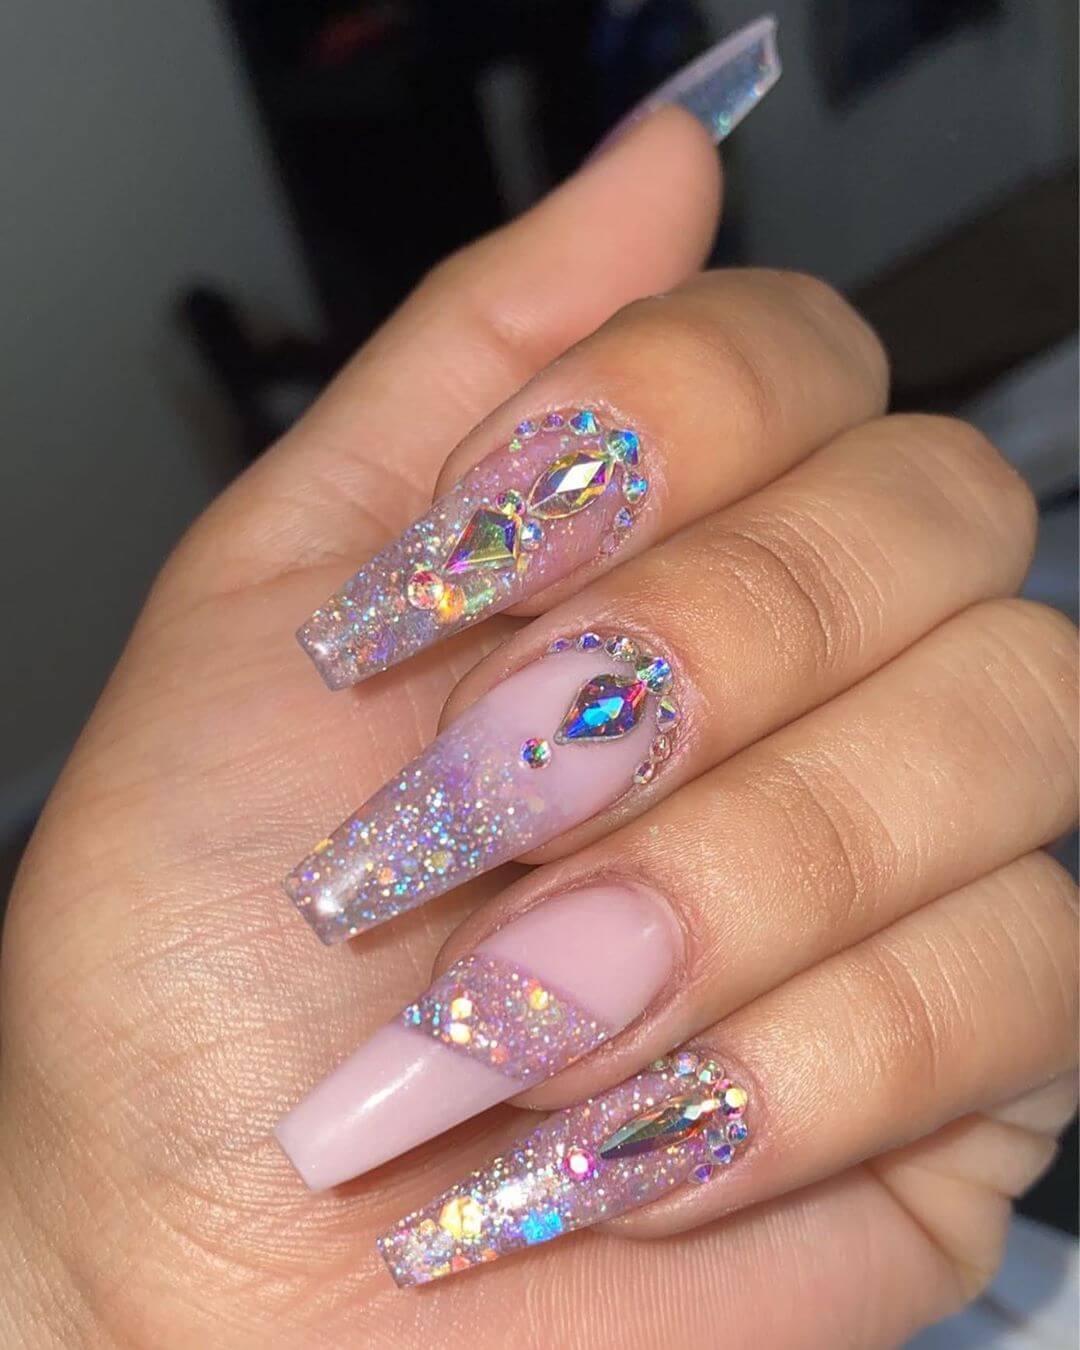
One of the best things about liquid stones nail art is its versatility. From elegant and classy to bold and edgy, there are endless designs and styles you can create with caviar beads. Here are a few ideas to inspire your next liquid stones nail art look: Monochromatic: Keep it simple yet stylish with a monochromatic design. Choose a nail polish color and caviar beads in the same shade for a sleek and sophisticated look. Ombré: Create a gradient effect by using caviar beads in different shades of the same color. This design is perfect for those who want a subtle yet eye-catching look. Patterned: Use caviar beads to create patterns on your nails, such as stripes, polka dots, or even a chevron design. This is a great way to add a unique touch to your liquid stones nail art. Mix and match: Don't be afraid to mix and match different colors and sizes of caviar beads for a fun and playful look. You can also add other nail art elements, such as glitter or rhinestones, to take your design to the next level. With these designs as inspiration, let your creativity run wild and create your own unique liquid stones nail art.3. Liquid Stones Nail Art Designs


3. Liquid Stones Nail Art Designs

To achieve the perfect liquid stones nail art, it's important to have all the necessary supplies. Here's a list of what you'll need: Base coat: This will not only protect your nails but also help the nail polish and caviar beads adhere better. Nail polish: Choose a color that complements the caviar beads you'll be using. Caviar beads: These small, shiny beads come in a variety of colors and sizes, allowing you to create different designs and styles. Top coat: This will seal the design and prevent the caviar beads from falling off. With these supplies in hand, you'll be ready to create your own liquid stones nail art at home.4. Liquid Stones Nail Art Supplies


4. Liquid Stones Nail Art Supplies

If you're new to liquid stones nail art, you may be wondering how to achieve this trendy and unique look. Here's a simple step-by-step guide to help you get started: Step 1: Prep your nails by applying a base coat. Step 2: Apply 2 coats of your chosen nail polish color and let it dry for a few minutes. Step 3: While the second coat is still wet, sprinkle caviar beads onto your nails, covering the entire surface. Step 4: Use a toothpick or a dotting tool to arrange the beads and create your desired design. Step 5: Let the beads dry for a few minutes before pressing them down gently to secure them in place. Step 6: Apply a top coat to seal the design and protect it from chipping. With these simple steps, you can easily create your own liquid stones nail art in no time.5. Liquid Stones Nail Art Step by Step

5. Liquid Stones Nail Art Step by Step
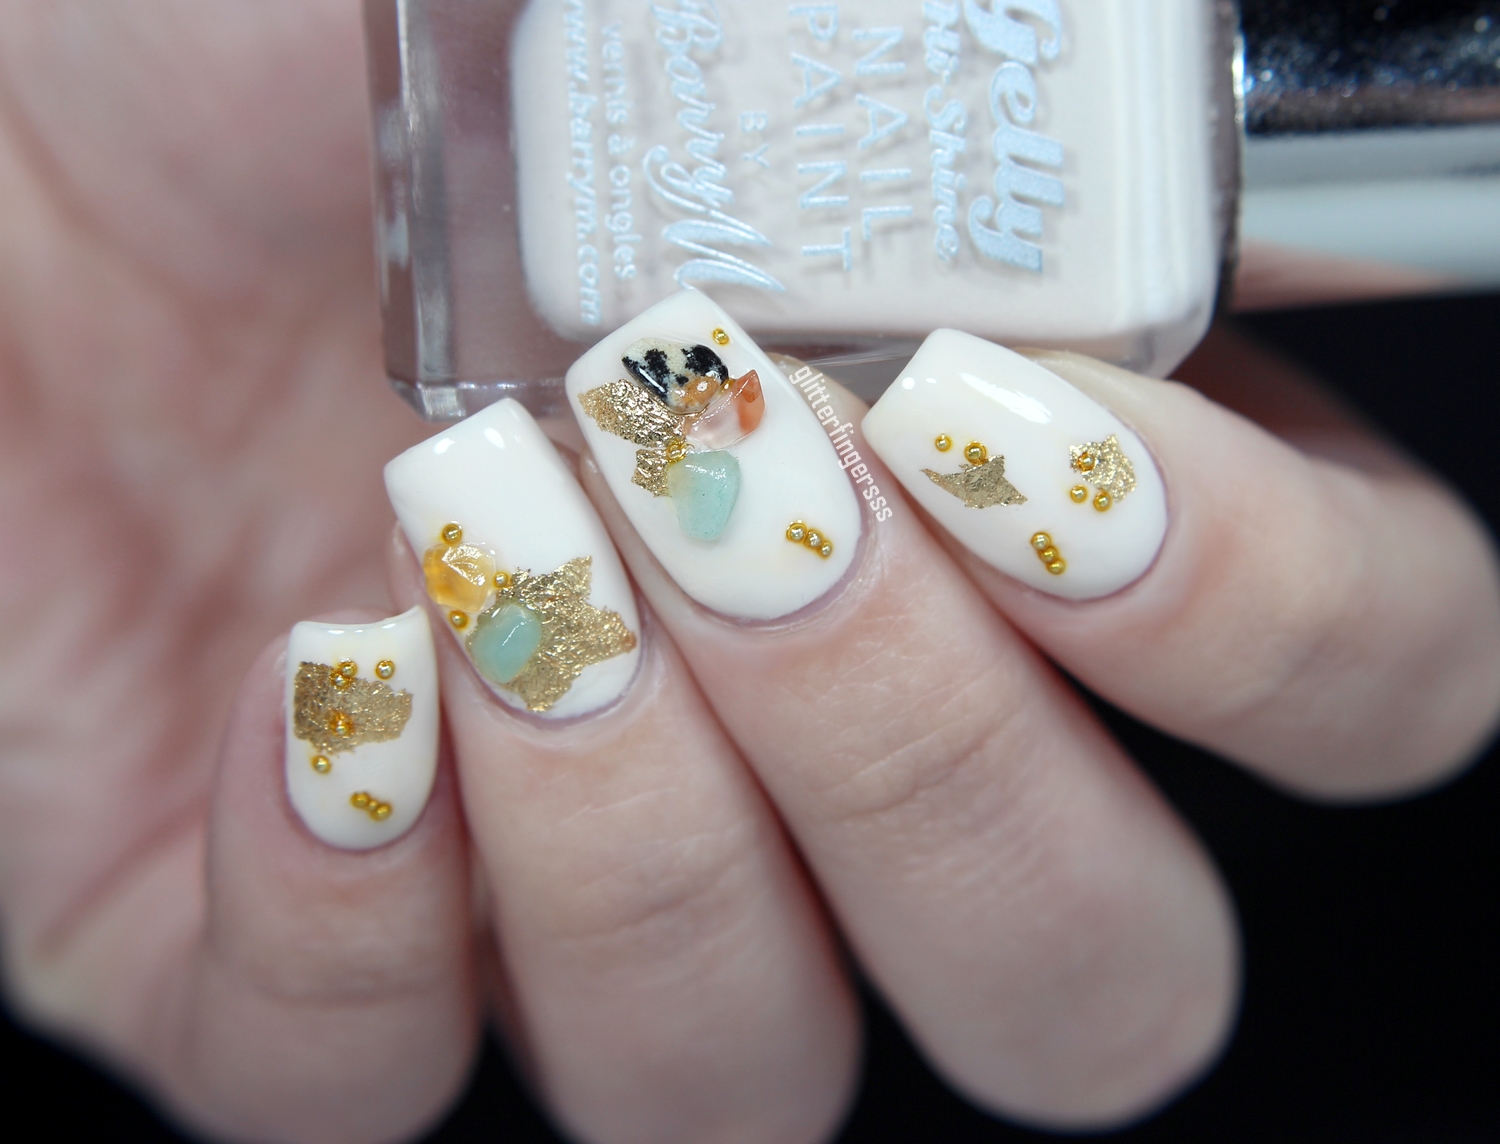
Looking for some liquid stones nail art inspiration? Here are a few ideas to help you get started: Bridal nails: Add a touch of elegance to your wedding day look with a white or nude base and sparkling caviar beads. Party nails: Make a statement at your next party with a bold and colorful liquid stones nail art design. Holiday nails: Get into the festive spirit with red and green caviar beads for Christmas, or opt for pastel colors for Easter. Summer nails: Embrace the sunny season with a beach-inspired liquid stones nail art design, such as a mermaid or seashell pattern. Everyday nails: For a more subtle look, choose neutral colors and simple designs to rock on a daily basis. With these ideas, you can easily incorporate liquid stones nail art into your personal style and make a statement with your nails.6. Liquid Stones Nail Art Ideas


6. Liquid Stones Nail Art Ideas
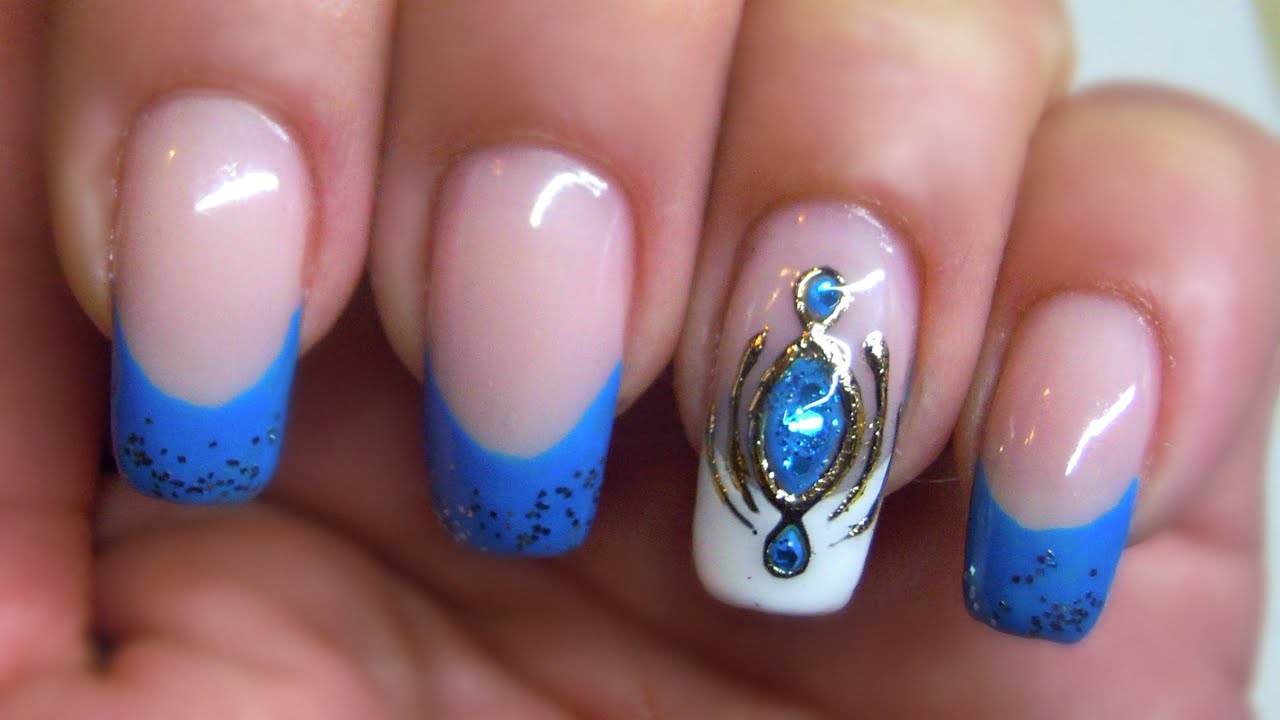
While the basic technique of applying caviar beads onto a wet coat of nail polish remains the same, there are a few techniques you can use to create different effects with your liquid stones nail art. Here are a few to try out: Gradient: Start by applying a lighter shade of nail polish, then gradually add darker shades of caviar beads to create a gradient effect. Half-moon: Apply the caviar beads only to the base or tip of the nail, leaving the rest of the nail polish exposed. French tip: Create a twist on the classic French manicure by using caviar beads instead of white polish for the tips of your nails. Marbling: Use 2 or more colors of caviar beads and swirl them together to create a marbled look. With these techniques, you can take your liquid stones nail art to the next level and create even more unique and eye-catching designs.7. Liquid Stones Nail Art Techniques
7. Liquid Stones Nail Art Techniques
If you're new to liquid stones nail art, it can be overwhelming to choose from the variety of products available. To make your search easier, here are a few products you can try out: Sally Hansen Caviar Manicure Kit: This kit comes with a base coat, top coat, and caviar beads in different colors. Ciate Caviar Manicure: This set includes a mini nail polish, caviar beads, and a funnel for easy application. Essie Luxeffects Top Coat: Add a touch of sparkle to your liquid stones nail art with this top coat in various shades. OPI Nail Lacquer: This brand offers a wide range of colors to choose from for your base coat. With these products, you can easily create stunning liquid stones nail art at home.8. Liquid Stones Nail Art Products

8. Liquid Stones Nail Art Products
Still not sure how to incorporate liquid stones nail art into your look? Look no further than social media platforms such as Instagram and Pinterest for some inspiration. You'll find endless posts and photos of different liquid stones nail art designs and techniques, allowing you to discover new ideas and styles. Don't be afraid to experiment and put your own spin on these designs to create a unique and personalized look.9. Liquid Stones Nail Art Inspiration


9. Liquid Stones Nail Art Inspiration
To finish off, here are a few tips and tricks to help you achieve the perfect liquid stones nail art: Use a small bowl: Pour the caviar beads into a small bowl to make it easier to pick them up and avoid spilling them. Apply the beads over a paper: This will make it easier to collect any excess beads and pour them back into the bottle. Work in small sections: Apply the beads to one nail at a time to avoid the nail polish drying out before you can add the beads. Seal the edges: Make sure to apply the top coat along the edges of your nails to prevent the caviar beads from falling off. With these tips and tricks, you'll be able to create flawless and long-lasting liquid stones nail art.10. Liquid Stones Nail Art Tips and Tricks


10. Liquid Stones Nail Art Tips and Tricks
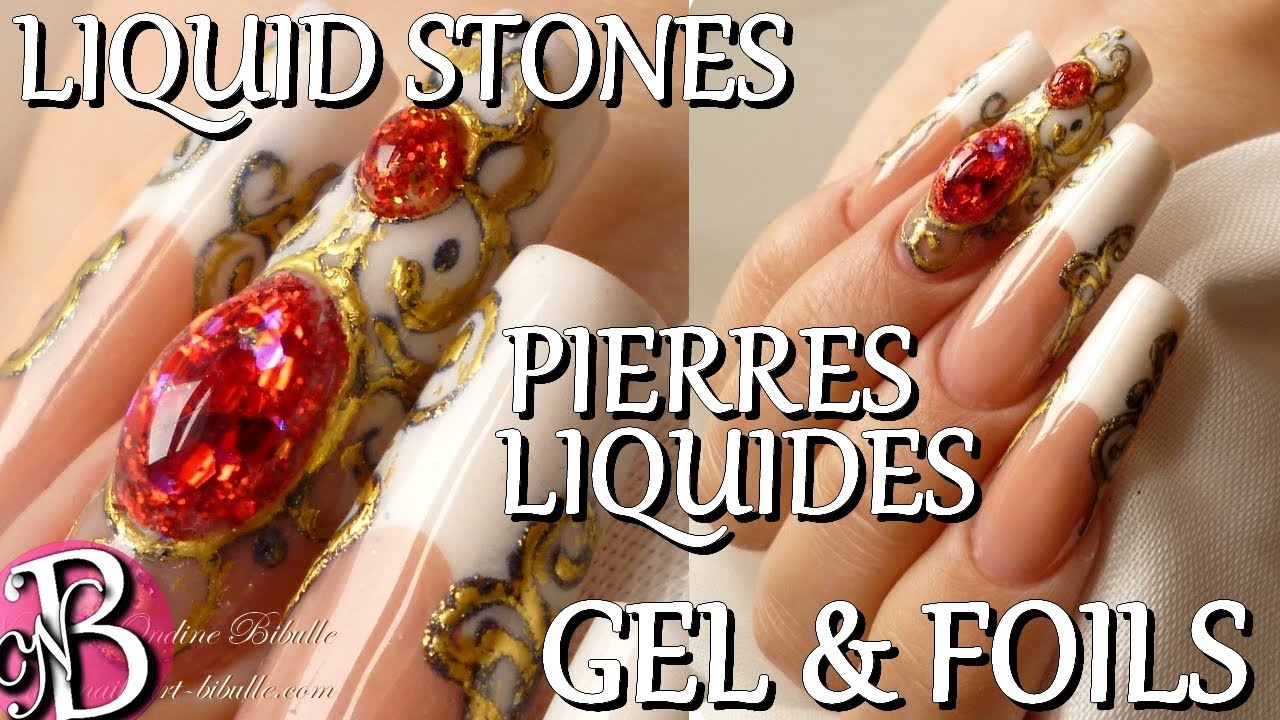
The Trendsetting Art of Liquid Stones Nail Art
An Introduction to the World of Liquid Stones Nail Art

In the world of nail art, there is always something new and exciting to try. From intricate designs to bold colors, nail art has become a form of self-expression and a way to make a fashion statement. And one of the latest and most popular trends in the world of nail art is liquid stones nail art .
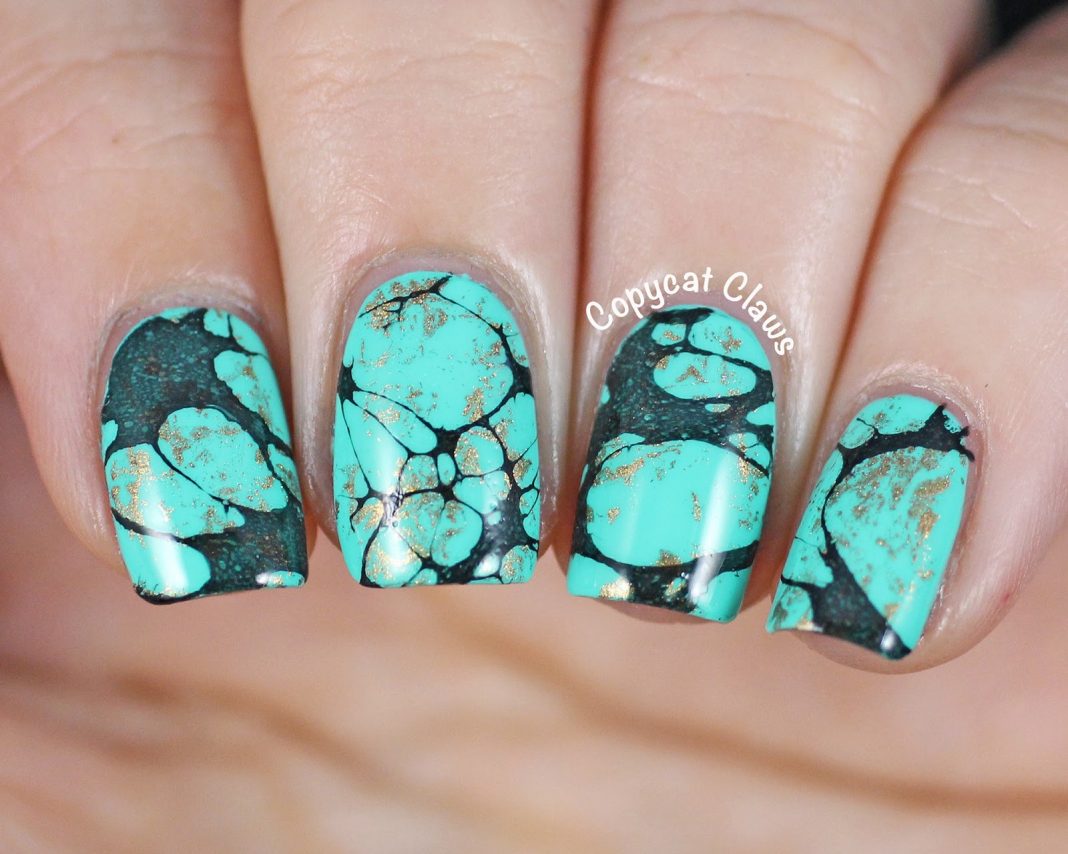
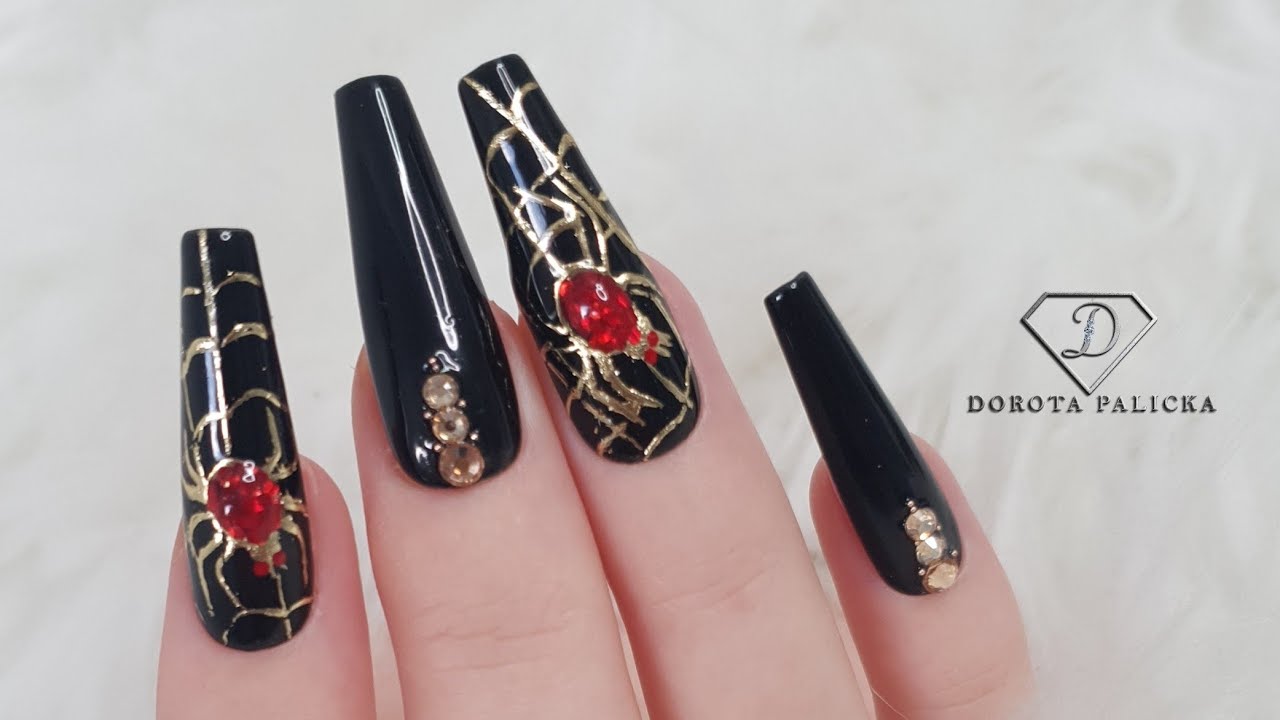
Liquid stones nail art is a technique that uses small, colorful stones to create stunning and unique designs on your nails. These stones come in a variety of shapes and colors, and can be applied to your nails using a special gel or glue.
The Beauty of Liquid Stones Nail Art
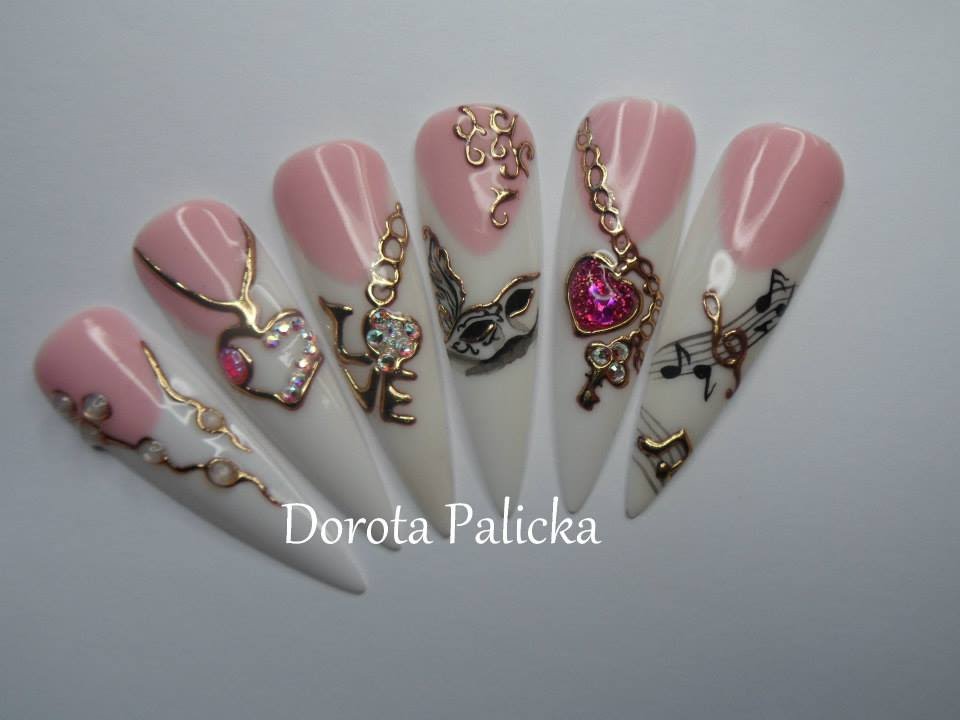
What makes liquid stones nail art stand out from other nail art techniques is its ability to add dimension and texture to your nails. The stones can be arranged in different patterns and colors, allowing for endless possibilities and creativity. Plus, they add a touch of elegance and glamour to your nails, making them perfect for any occasion.
Another advantage of liquid stones nail art is its durability. Unlike traditional nail polish, the stones are applied with a gel or glue, making them less likely to chip or peel off. This means you can enjoy your stunning nail art for a longer period of time.
How to Get the Perfect Liquid Stones Nail Art Look

While liquid stones nail art may seem complicated, it is actually quite easy to achieve with the right tools and techniques. Firstly, you will need to prepare your nails by cleaning and shaping them. Then, select the stones you want to use and arrange them in the desired pattern on your nails. Finally, apply a top coat to secure the stones in place and give your nails a glossy finish.
For those who want to take their liquid stones nail art to the next level, there are many tutorials and techniques available online to help you create intricate and stunning designs. And with a little bit of practice, you will soon become a pro at this trendsetting nail art technique.
The Bottom Line

Liquid stones nail art is not only a fashion statement, but also a form of art. With its endless possibilities and stunning results, it's no wonder this trend has taken the world of nail art by storm. So why not try it out for yourself and add a touch of elegance and glamour to your nails?


