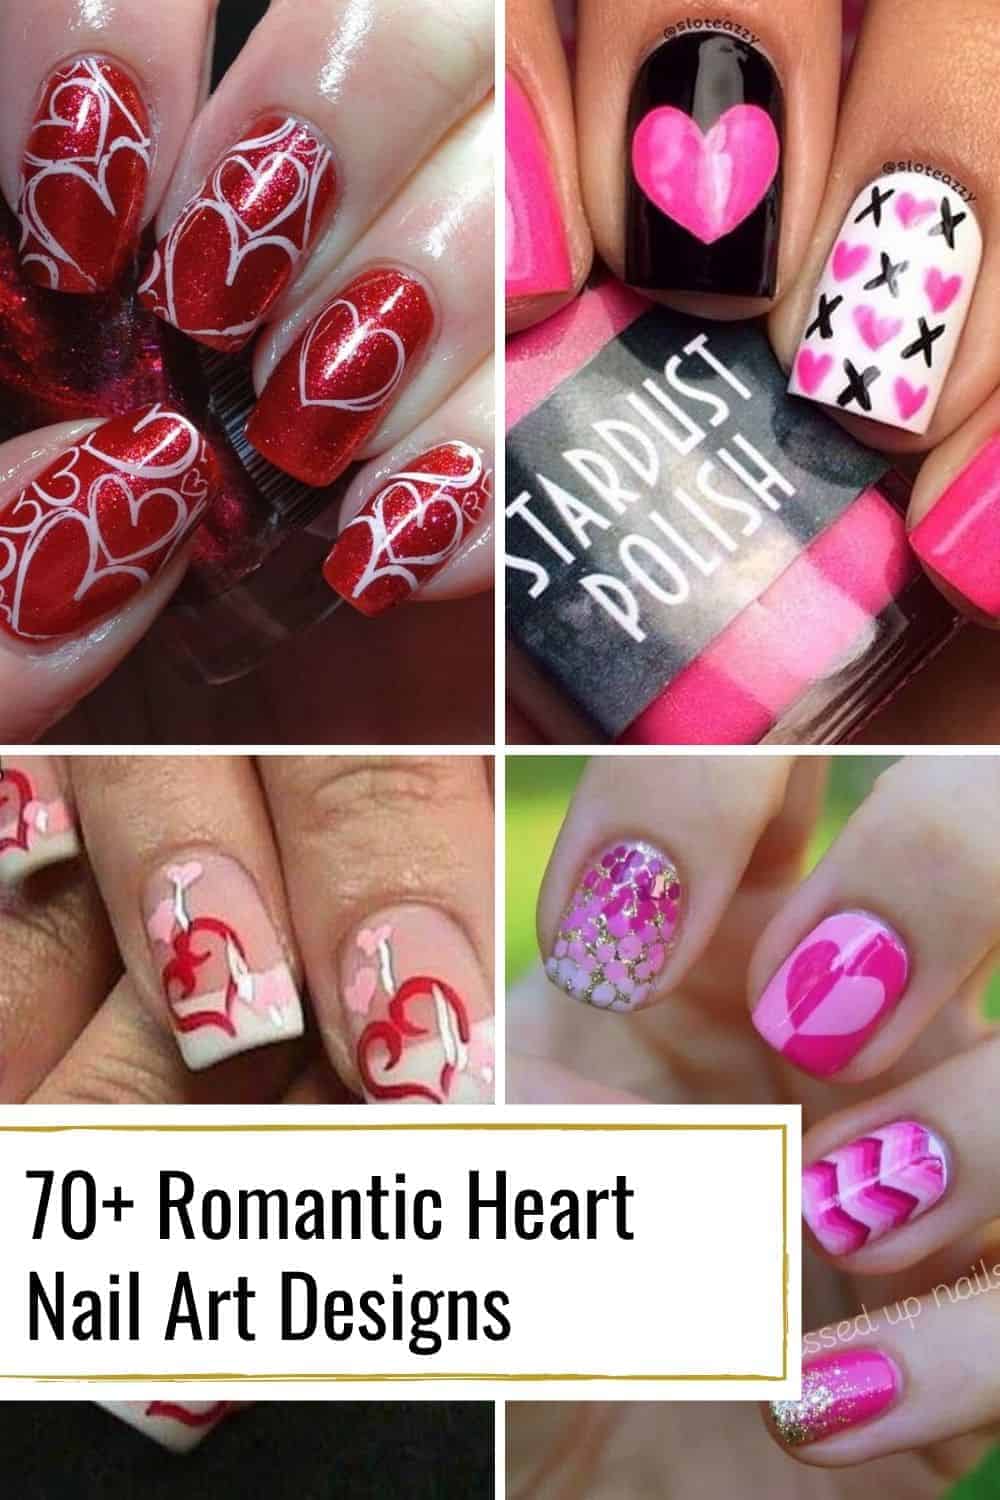
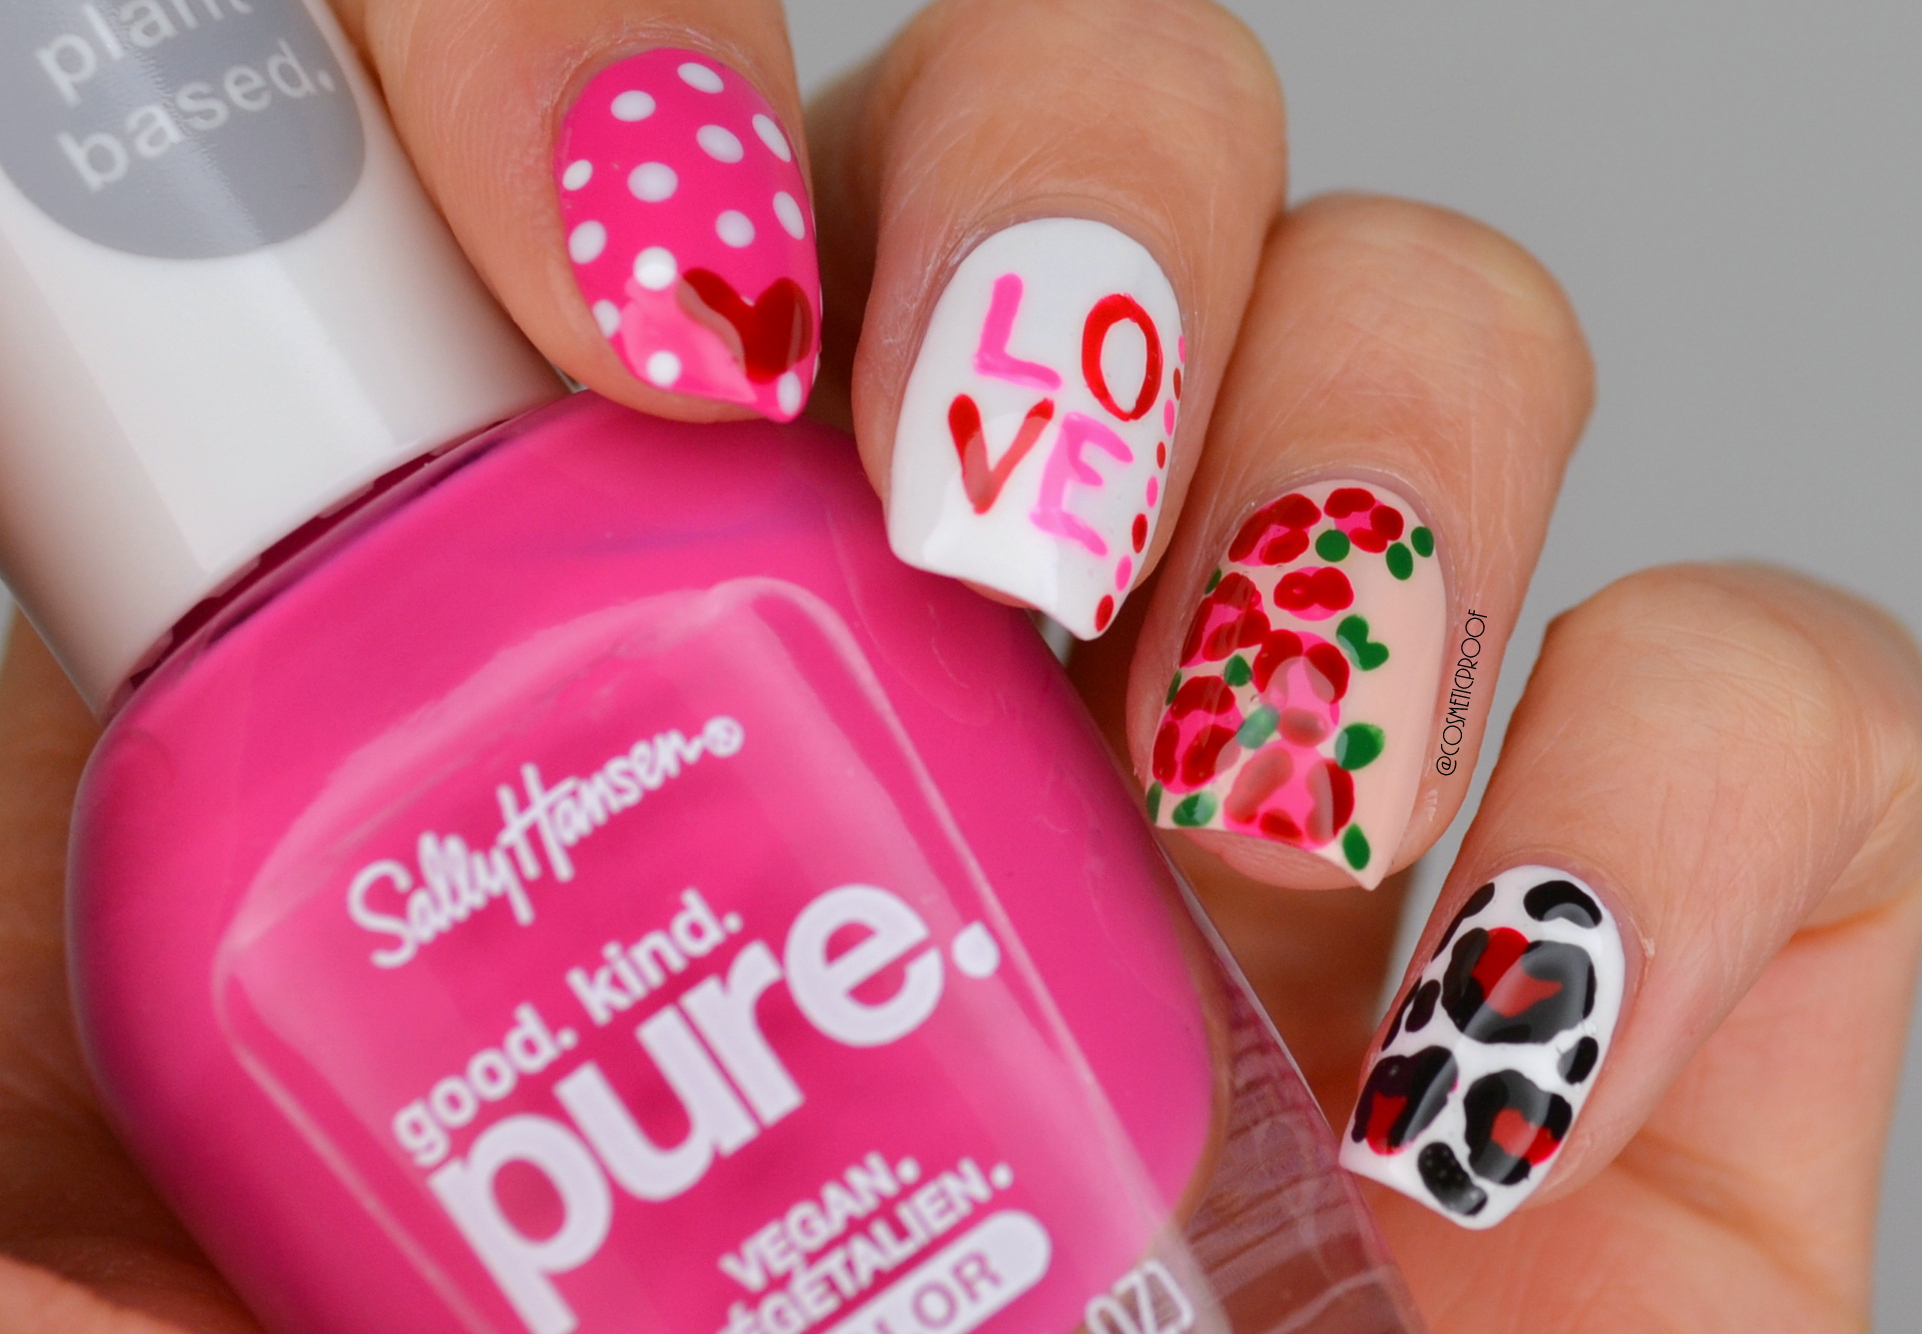
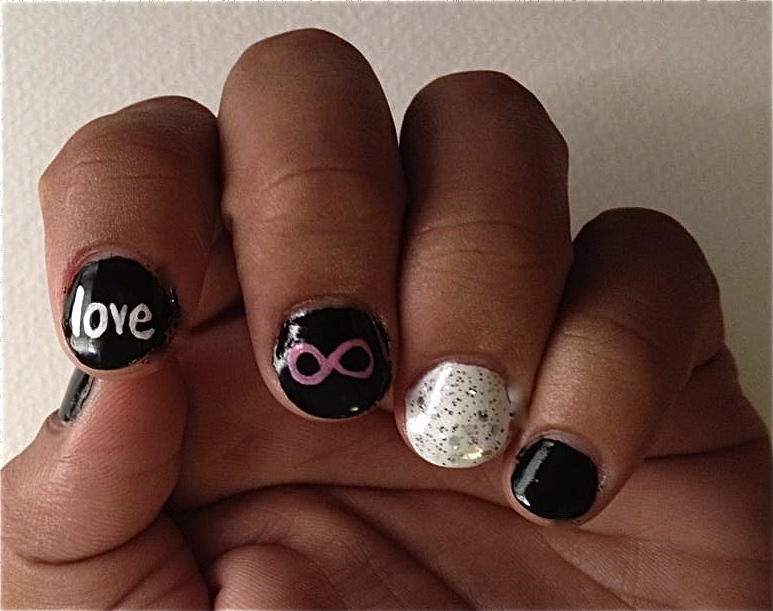
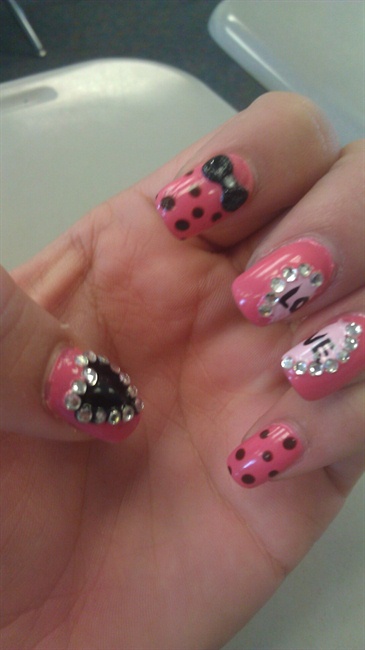
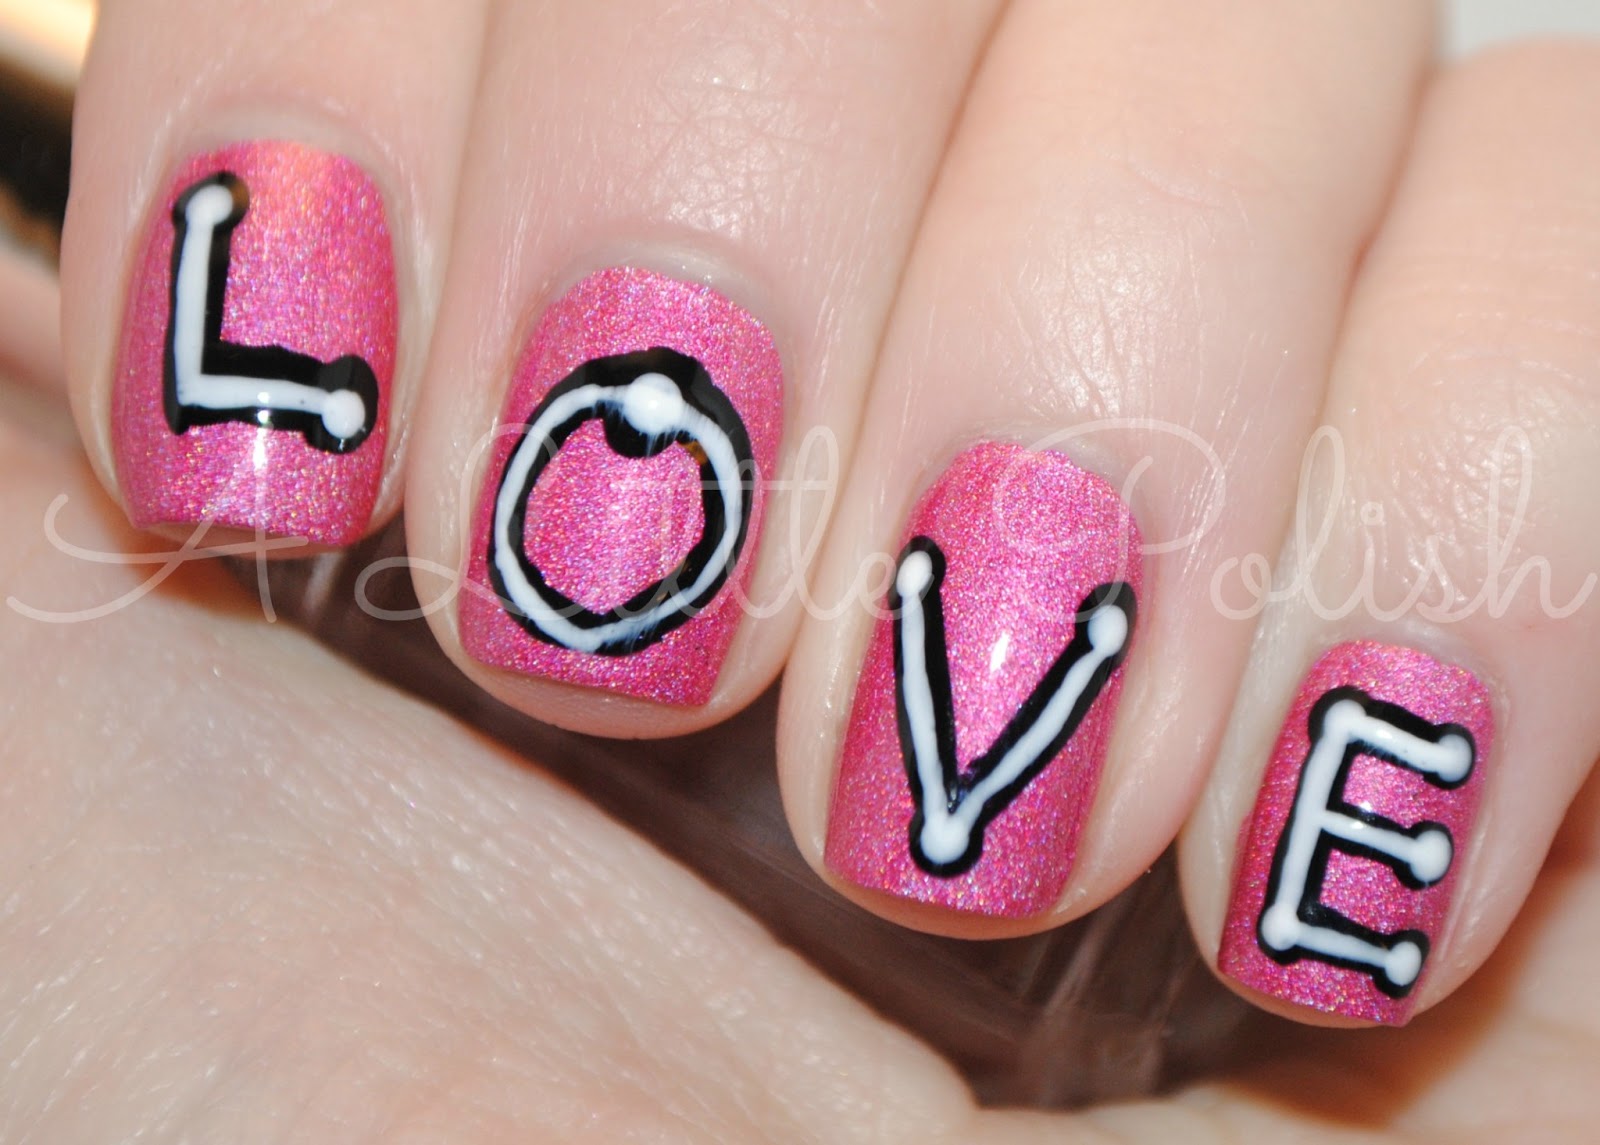
Love-themed nail art is a great way to add a touch of romance and charm to your manicure. Whether you're a beginner or an experienced nail artist, creating a love-inspired design can be both fun and rewarding. In this tutorial, we'll show you an easy and simple way to achieve a cute love nail art look that anyone can do! To start, you'll need a few basic supplies: Now, let's get started on this easy love nail art tutorial!1. "Easy Love Nail Art Tutorial for Beginners"
Nail polish: Choose your favorite shades of pink, red, and white to create a colorful and vibrant design.
Base and top coat: These are essential for a long-lasting and professional-looking manicure.
Small brush or toothpick: This will be used for creating designs and details on your nails.
Love-themed nail decals or stickers: These are optional but can make your design even more eye-catching.


1. "Easy Love Nail Art Tutorial for Beginners"


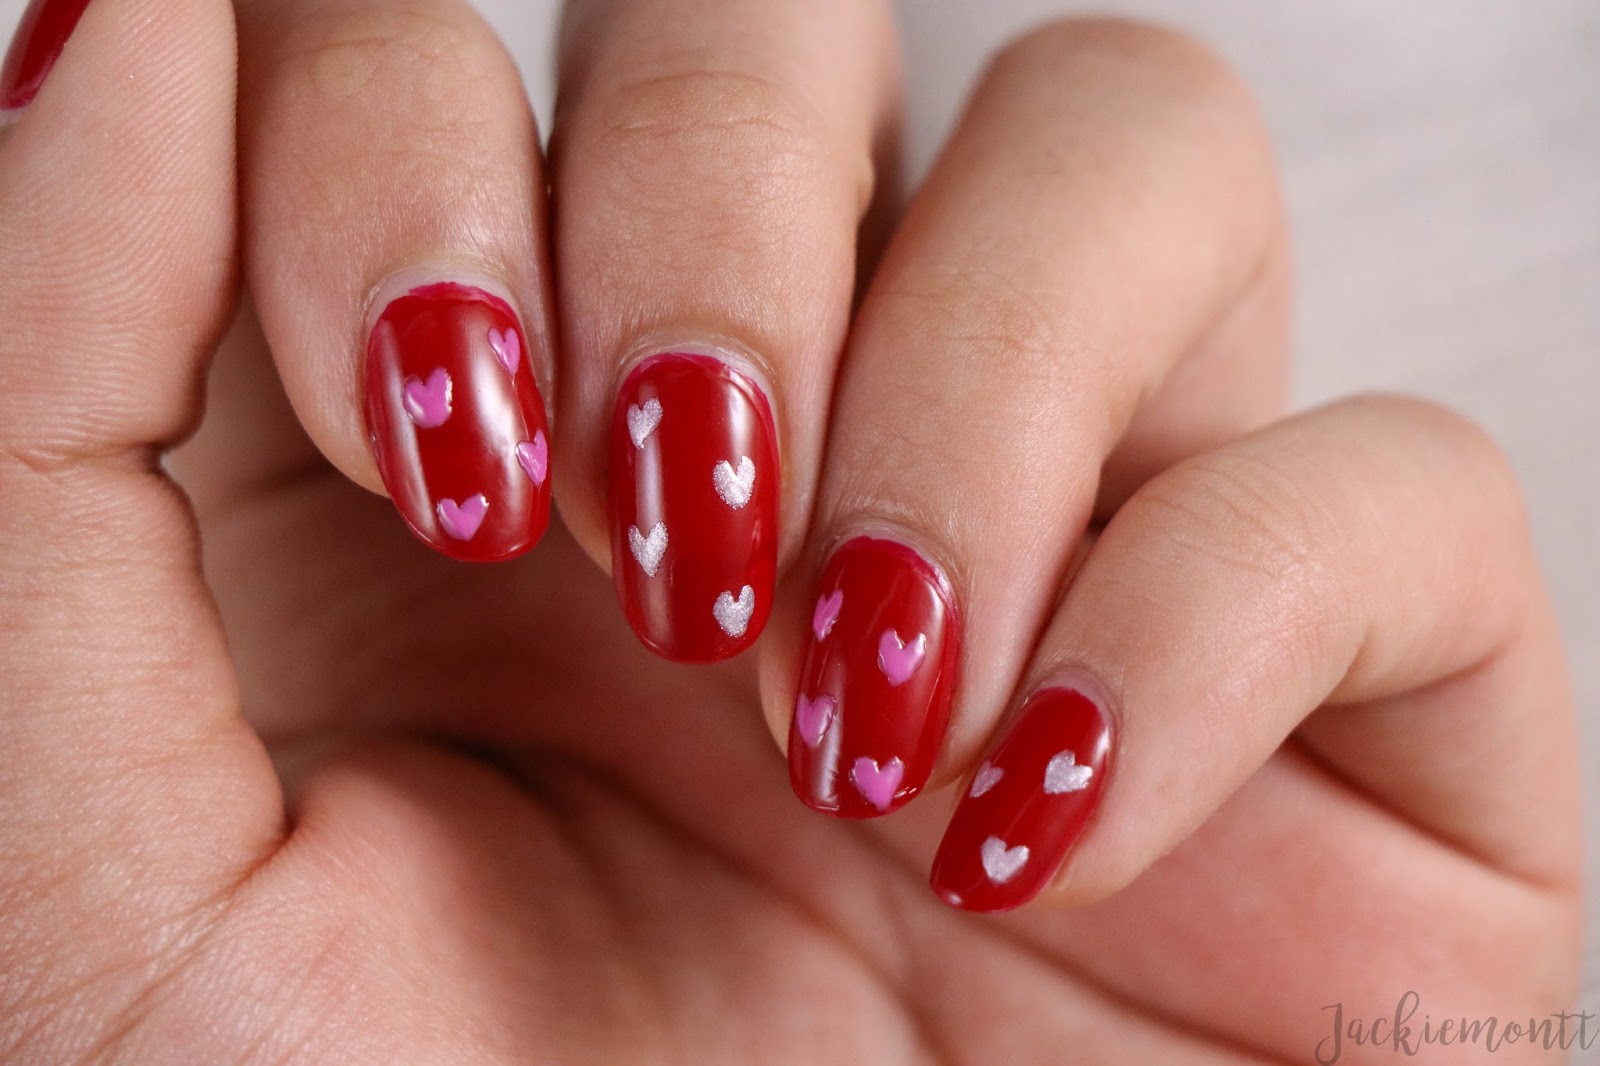
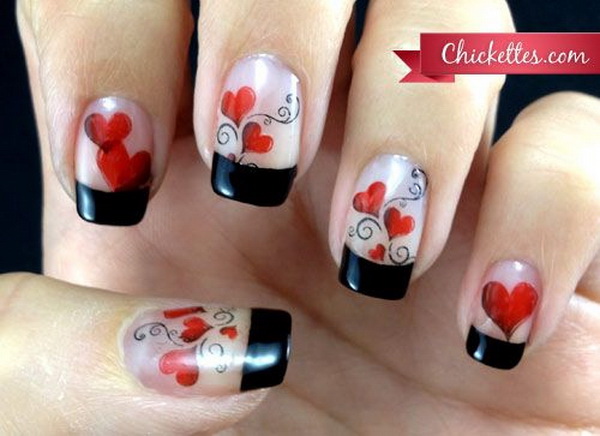
Valentine's Day is the perfect occasion to show off your love for nail art. Whether you have a special date or just want to embrace the holiday spirit, this romantic nail art tutorial is sure to make your nails stand out. For this tutorial, you'll need: Follow these steps to achieve a romantic Valentine's Day nail art look: Step 1: Start by applying a base coat to protect your nails and help the polish adhere better. There you have it, a romantic Valentine's Day nail art that will surely make hearts flutter!2. "Romantic Valentine's Day Nail Art Tutorial"
Nail polish: Choose shades of red, pink, and white to create a classic Valentine's Day look.
Stencils or tape: These will help you create clean and precise lines for your design.
Small brush or toothpick: This will be used for creating details and designs.
Glitter polish: This is optional but can add some sparkle to your nails.
Step 2: Using a stencil or tape, create a heart shape on your nails using the red polish.
Step 3: Fill in the heart shape with the red polish and let it dry completely.
Step 4: Using a small brush or toothpick, create white dots around the heart to add some dimension.
Step 5: Apply a top coat to seal in your design and add some shine.
Step 6: For an extra touch, you can add some glitter polish to the tips of your nails or create a glitter heart on one nail.


2. "Romantic Valentine's Day Nail Art Tutorial"

If you love hearts and want to add them to your nails, this DIY love heart nail art tutorial is perfect for you. It's easy, cute, and can be customized with your favorite colors. To create this love heart design, you'll need: Here's how to achieve this simple yet charming love heart nail art: Step 1: Apply a base coat to protect your nails and create a smooth surface for your polish. There you have it, a fun and creative way to incorporate hearts into your manicure!3. "DIY Love Heart Nail Art Tutorial"
Nail polish: Choose two contrasting colors, such as pink and white, to create a cute color block effect.
Small brush or toothpick: This will be used for creating the heart shapes.
Top coat: This is essential to seal in your design and make it last longer.
Step 2: Using the first color, paint one half of your nail diagonally.
Step 3: Let it dry completely, then using the second color, paint the other half of your nail diagonally, creating a color block effect.
Step 4: Once dry, use a small brush or toothpick to create a heart shape on the bottom corner of your nail.
Step 5: Repeat on all nails, alternating the colors.
Step 6: Apply a top coat to seal in your design and add some shine.


3. "DIY Love Heart Nail Art Tutorial"


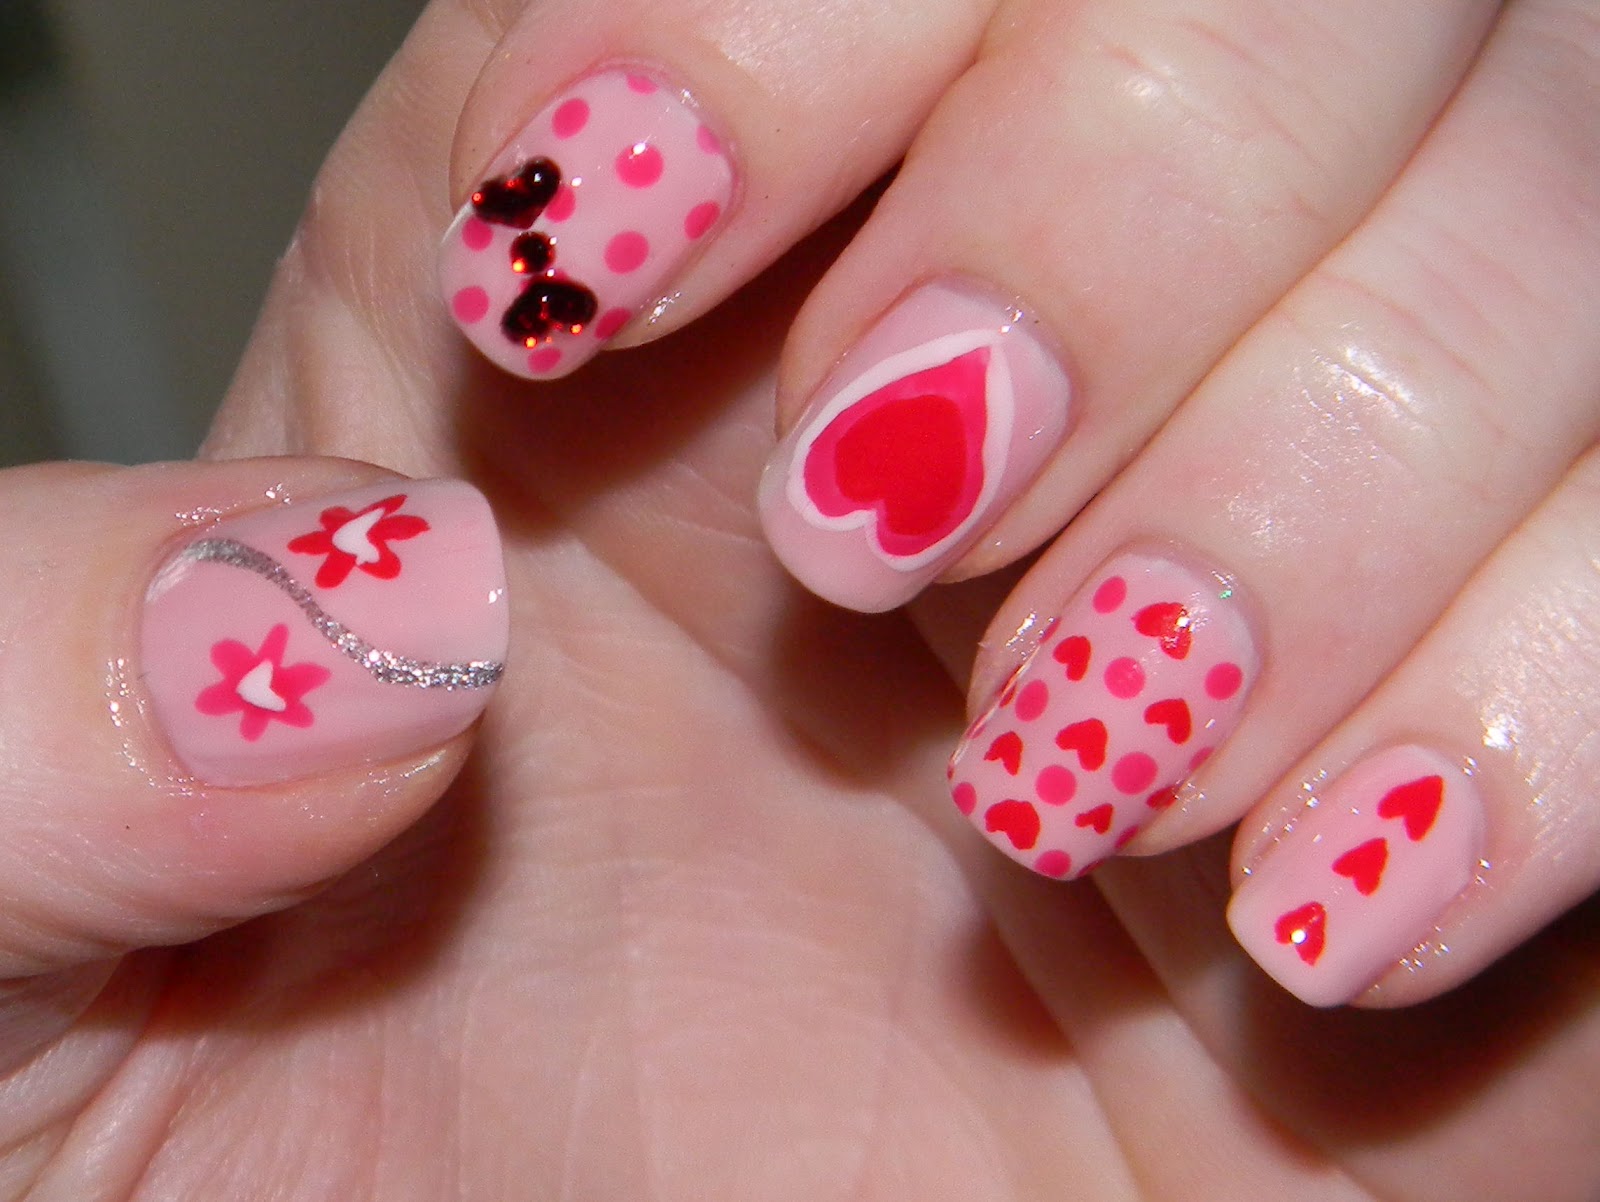
If you want a love-inspired nail art that is both cute and simple, this tutorial is for you. With just a few basic supplies, you can create an adorable love-themed design that is perfect for any occasion. You'll need the following supplies: Follow these steps to create a cute and simple love nail art look: Step 1: Apply a base coat to protect your nails and make your polish last longer. There you have it, a cute and simple love nail art that is perfect for everyday wear or a special occasion.4. "Cute and Simple Love Nail Art Tutorial"
Nail polish: Choose your favorite shades of pink, red, and white to create a sweet color palette.
Small brush or toothpick: This will be used for creating designs and details.
Top coat: This is essential to seal in your design and make it last longer.
Step 2: Using the pink polish, paint your nails and let them dry completely.
Step 3: Using a small brush or toothpick, create a white heart on each nail.
Step 4: Let it dry, then using the red polish, add smaller hearts inside the white hearts.
Step 5: Apply a top coat to seal in your design and add some shine.


4. "Cute and Simple Love Nail Art Tutorial"


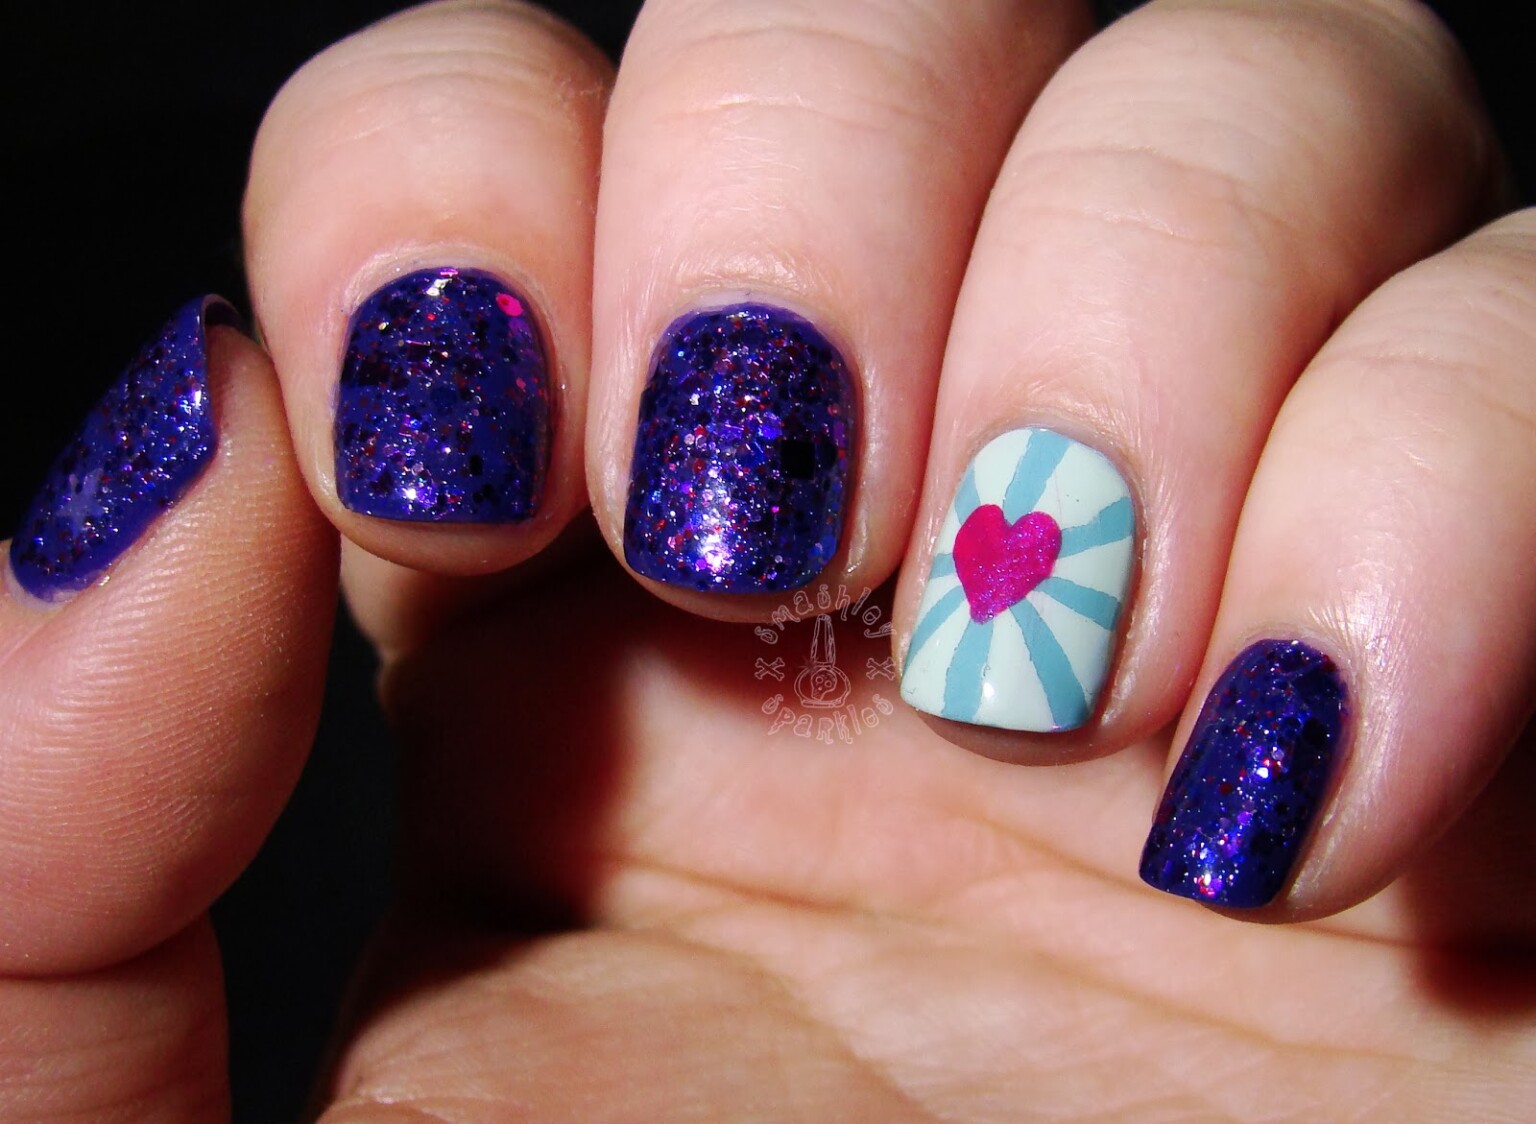
For those looking for a more sophisticated and elegant love nail art, this tutorial is for you. With a touch of glitter and some intricate designs, you can create a stunning and romantic manicure perfect for special occasions. To achieve this elegant love nail art, you'll need: Follow these steps to achieve an elegant love nail art look: Step 1: Start by applying a base coat to protect your nails and help the polish adhere better. There you have it, a beautiful and elegant love nail art that will surely turn heads at any special occasion.5. "Elegant Love Nail Art Tutorial for Special Occasions"
Nail polish: Choose shades of pink, red, and gold to create an elegant color scheme.
Glitter polish: This is essential for adding some sparkle and glamour to your manicure.
Small brush or toothpick: This will be used for creating designs and details on your nails.
Stencils or tape: These will help you create clean and precise lines for your design.
Top coat: This is essential to seal in your design and make it last longer.
Step 2: Using a stencil or tape, create a heart shape on your nails using the gold polish.
Step 3: Fill in the heart shape with the gold polish and let it dry completely.
Step 4: Using a small brush or toothpick, create intricate designs around the heart using the pink and red polish.
Step 5: Apply a glitter polish over the designs for a touch of glamour and let it dry.
Step 6: Apply a top coat to seal in your design and add some shine.

5. "Elegant Love Nail Art Tutorial for Special Occasions"


Planning a special date night with your significant other? Add some romance to your nails with this step-by-step love nail art tutorial. It's easy, elegant, and perfect for a romantic evening out. To create this date night-inspired love nail art, you'll need: Follow these simple steps to achieve a romantic date night nail art look: Step 1: Apply a base coat to protect your nails and create a smooth surface for your polish. There you have it, a simple and romantic love nail art perfect for a date night with your special someone.6. "Step-by-Step Love Nail Art Tutorial for Date Night"
Nail polish: Choose shades of red, pink, and white to create a classic and romantic color palette.
Small brush or toothpick: This will be used for creating designs and details on your nails.
Top coat: This is essential to seal in your design and make it last longer.
Step 2: Using the pink polish, paint your nails and let them dry completely.
Step 3: Using the red polish, create a heart shape on the bottom corner of each nail.
Step 4: Let it dry, then using the white polish, add smaller hearts inside the red hearts.
Step 5: Apply a top coat to seal in your design and add some shine.


6. "Step-by-Step Love Nail Art Tutorial for Date Night"


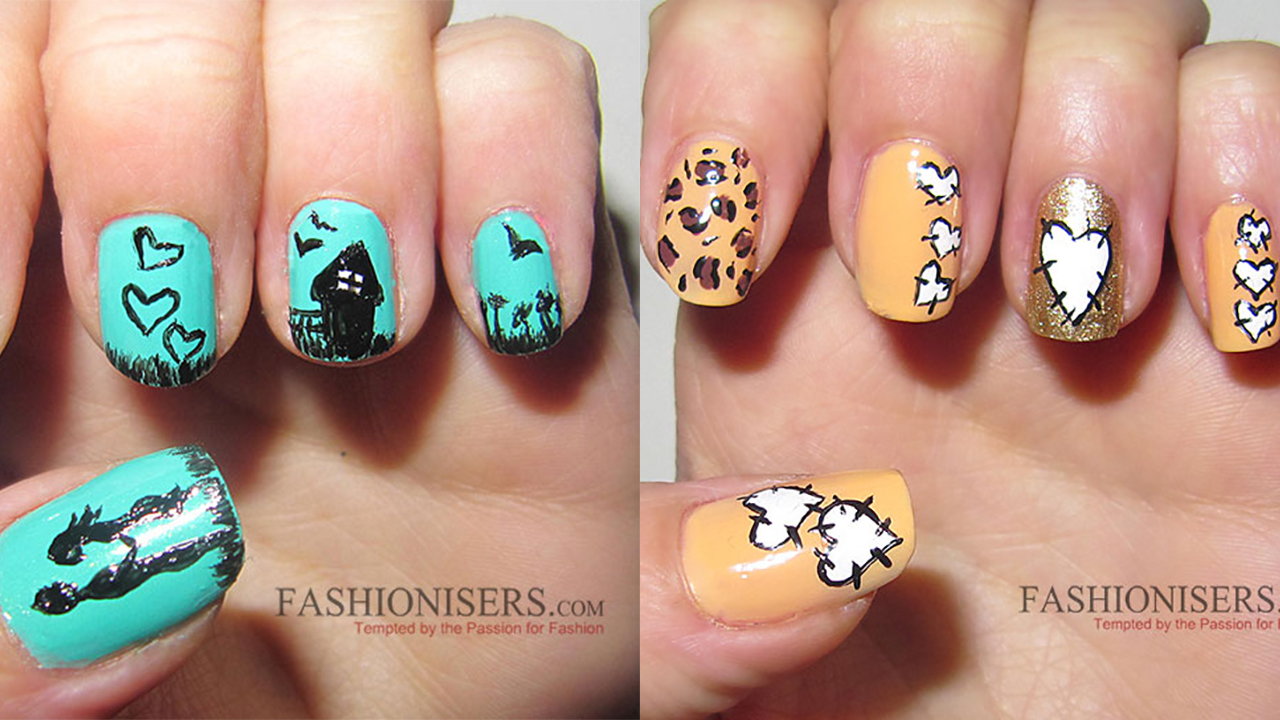
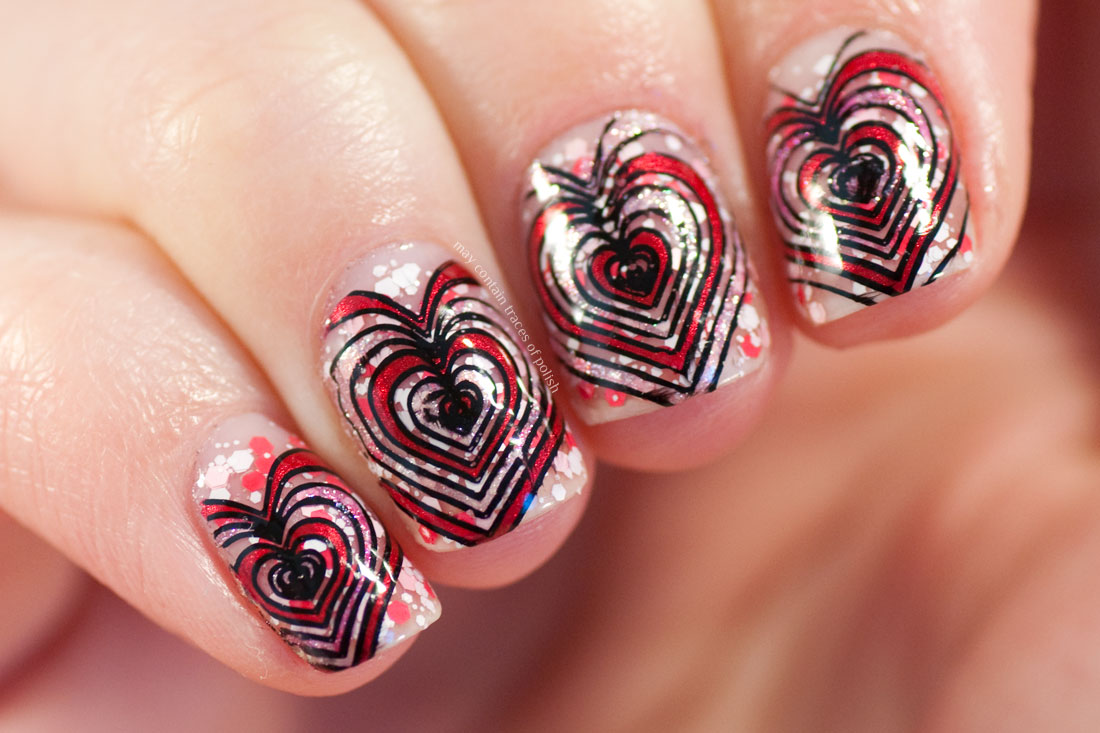
For those looking for a more playful and flirty love nail art, this tutorial is for you. With bright colors and fun designs, this manicure is perfect for a girls' night out or just for adding some fun to your everyday look. To create this fun and flirty love nail art, you'll need: Follow these steps to achieve a fun and flirty love nail art look: Step 1: Start by applying a base coat to protect your nails and help the polish adhere better. There you have it, a flirty and fun love nail art that is sure to make a statement.7. "Fun and Flirty Love Nail Art Tutorial"
Nail polish: Choose your favorite bright and bold shades to create a colorful and playful look.
Small brush or toothpick: This will be used for creating designs and details on your nails.
Top coat: This is essential to seal in your design and make it last longer.
Step 2: Using the pink polish, paint your nails and let them dry completely.
Step 3: Using a small brush or toothpick, create hearts on each nail using different colors.
Step 4: Add some dots and lines around the hearts to create a fun and playful design.
Step 5: Apply a top coat to seal in your design and add some shine.

7. "Fun and Flirty Love Nail Art Tutorial"

Heading out for a night on the town? Add some glamour and sparkle to your nails with this love nail art tutorial. With a touch of glitter and some elegant designs, you'll be ready to dance the night away with confidence. To achieve this glamorous love nail art, you'll need: Follow these steps to achieve a glamorous love nail art look: Step 1: Apply a base coat to protect your nails and create a smooth surface for your polish. There you have it, a glamorous love nail art perfect for a night out with your friends or significant other.8. "Glamorous Love Nail Art Tutorial for a Night Out"
Nail polish: Choose shades of pink, red, and gold to create a chic and elegant color scheme.
Glitter polish: This is essential for adding some sparkle and glamour to your manicure.
Small brush or toothpick: This will be used for creating designs and details on your nails.
Top coat: This is essential to seal in your design and make it last longer.
Step 2: Using the pink polish, paint your nails and let them dry completely.
Step 3: Using the red polish, create a heart shape on the bottom corner of each nail.
Step 4: Let it dry, then using the gold polish, add smaller hearts inside the red hearts.
Step 5: Apply a glitter polish over the designs for a touch of glamour and let it dry.
Step 6: Apply a top coat to seal in your design and add some shine.


8. "Glamorous Love Nail Art Tutorial for a Night Out"


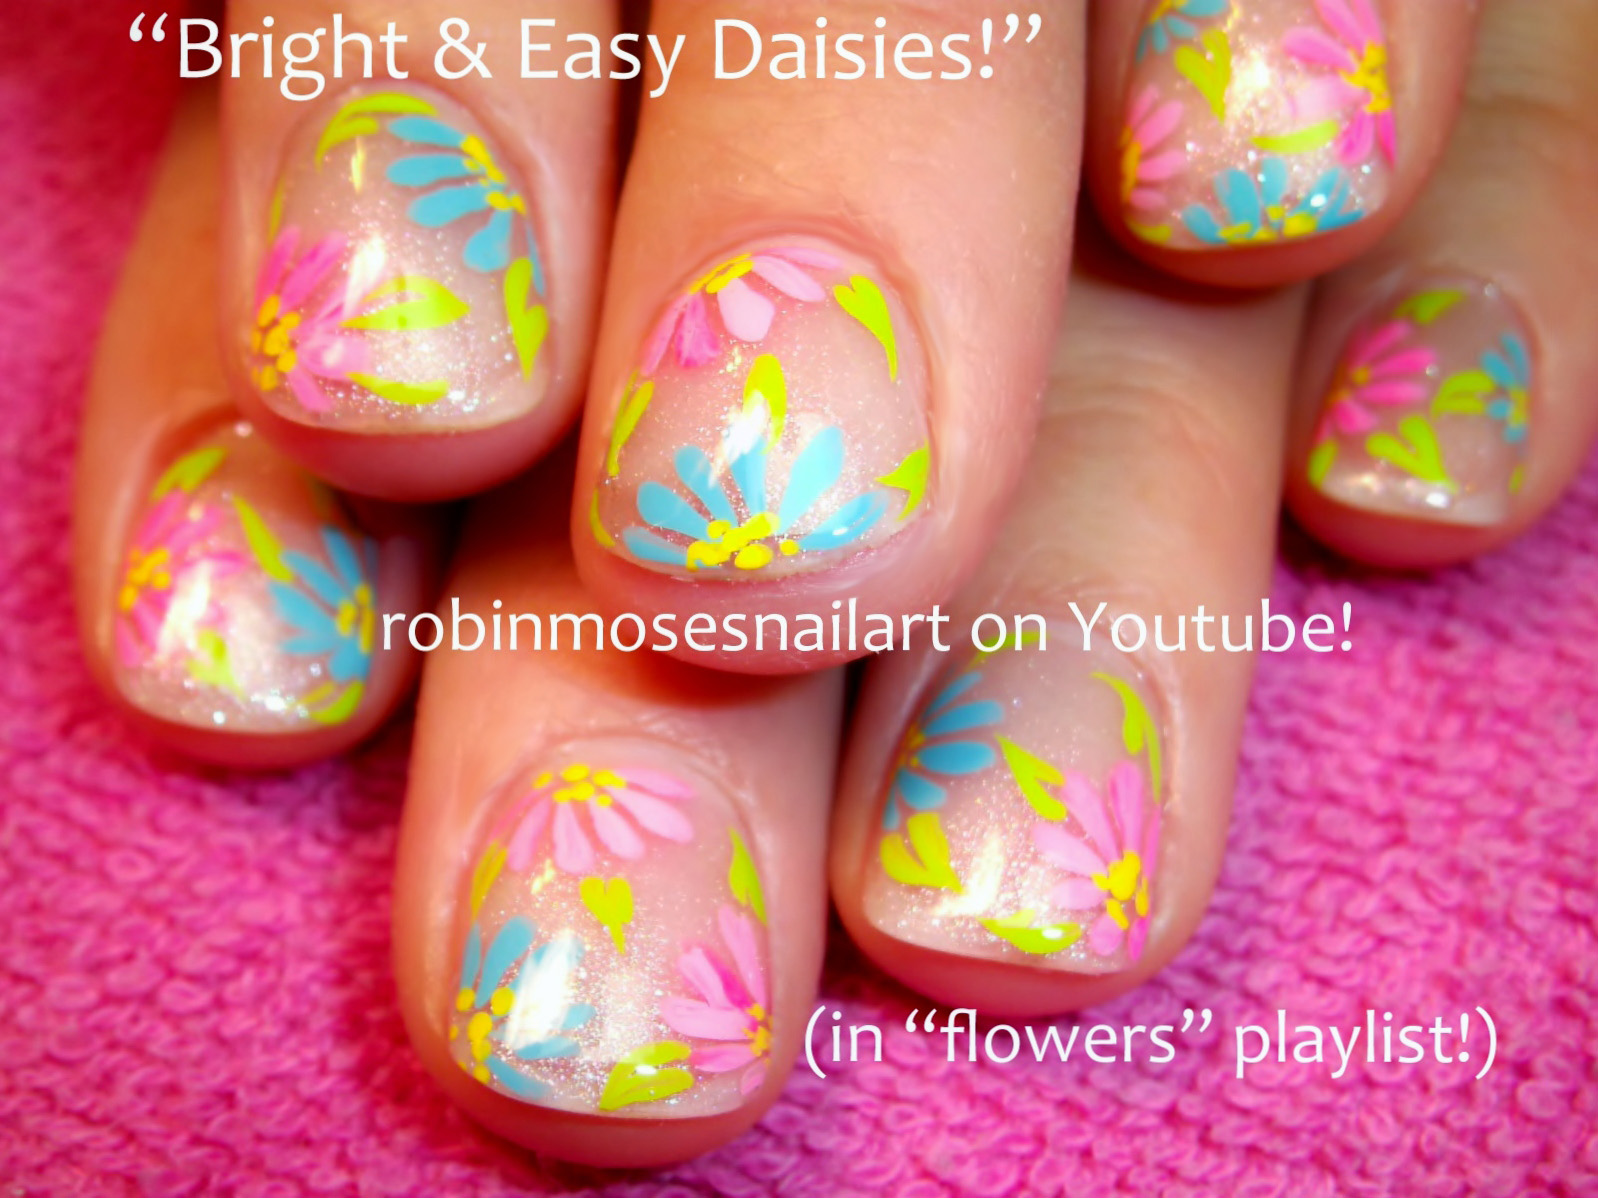
Looking for a love nail art that is perfect for the spring season? This whimsical and floral-inspired tutorial is just what you need. With pastel colors and delicate designs, your nails will be blooming with love. To achieve this whimsical love nail art, you'll need: Follow these steps to create a whimsical love nail art look perfect for spring: Step 1: Start by applying a base coat to protect your nails and help the polish adhere better. There you have it, a whimsical love nail art perfect for the spring season.9. "Whimsical Love Nail Art Tutorial for Spring"
Nail polish: Choose shades of pink, purple, and blue to create a soft and dreamy color palette.
Small brush or toothpick: This will be used for creating designs and details on your nails.
Flower decals or stickers: These are optional but can add a lovely touch to your design.
Top coat: This is essential to seal in your design and make it last longer.
Step 2: Using the pink polish, paint your nails and let them dry completely.
Step 3: Using the purple and blue polish, create flower designs on your nails using a small brush or toothpick.
Step 4: If using decals or stickers, apply them on a few nails for a more whimsical look.
Step 5: Apply a top coat to seal in your design and add some shine.
9. "Whimsical Love Nail Art Tutorial for Spring"
If you love bright and bold colors, this love nail art tutorial is for you. With a mix of patterns and designs, this manicure will make a statement and show off your love for nail art.10. "Bold and Colorful Love Nail Art Tutorial"
10. "Bold and Colorful Love Nail Art Tutorial"


Nail Art Designs: A Fun Way to Express Your Love

Love Nail Art Tutorial for Beginners
 Love is a universal language that can be expressed in many different ways. One of the most popular ways to show love is through nail art. It's a fun and creative way to express your feelings and personality through your fingertips. Whether you are a beginner or an experienced nail artist, there are endless possibilities to create unique and beautiful designs that represent love. In this love nail art tutorial, we will guide you through some easy and stunning designs that will make your nails stand out and spread love wherever you go.
The Power of Love in Nail Art
 Nail art has gained immense popularity in recent years, and it's no surprise that love has become a popular theme in this art form. From hearts, cupid, to romantic quotes, there are countless ways to incorporate love into your nail designs. The best part about love-inspired nail art is that it can be worn on any occasion, whether it's a date night, a wedding, or simply to express your feelings. It's a beautiful and subtle way to add a touch of romance to your look.
Easy Love Nail Art Designs
 If you are new to nail art, don't worry, we've got you covered. These simple love nail art designs are perfect for beginners and can be achieved with just a few tools. For a subtle yet elegant look, try painting a heart on your accent nail using
red
polish. You can also add some glitter or
rhinestones
for some extra sparkle. If you want to go all out, try creating a
gradient
effect using
pink
and
white
polish and then adding small hearts on top. These designs are easy to recreate and will surely make a statement.
If you are new to nail art, don't worry, we've got you covered. These simple love nail art designs are perfect for beginners and can be achieved with just a few tools. For a subtle yet elegant look, try painting a heart on your accent nail using
red
polish. You can also add some glitter or
rhinestones
for some extra sparkle. If you want to go all out, try creating a
gradient
effect using
pink
and
white
polish and then adding small hearts on top. These designs are easy to recreate and will surely make a statement.
Fall in Love with Nail Stamping
 Nail stamping is a technique that uses a stamping plate to transfer intricate designs onto your nails. It's a great way to achieve professional-looking nail art without spending hours on it. There are many love-themed stamping plates available, from cute hearts to romantic quotes. You can use
red, pink
or
white
polish to stamp the designs onto your nails. This method is perfect for those who are short on time but still want to show some love to their nails.
Nail stamping is a technique that uses a stamping plate to transfer intricate designs onto your nails. It's a great way to achieve professional-looking nail art without spending hours on it. There are many love-themed stamping plates available, from cute hearts to romantic quotes. You can use
red, pink
or
white
polish to stamp the designs onto your nails. This method is perfect for those who are short on time but still want to show some love to their nails.
Spread Love with Nail Decals
 Nail decals are another easy and quick way to add some love to your nails. They are pre-made designs that can be applied onto your nails using water or a top coat. You can find a variety of love-inspired decals, such as hearts, roses, and even love letters. These are perfect for those who are not confident in their nail art skills but still want to make a statement.
In conclusion, nail art is a fun and creative way to express your love. Whether you are a beginner or an expert, there are endless possibilities to create unique and beautiful designs. So why not spread some love through your nails and let them do the talking? Try out these easy love nail art designs and watch how they brighten up your day.
Nail decals are another easy and quick way to add some love to your nails. They are pre-made designs that can be applied onto your nails using water or a top coat. You can find a variety of love-inspired decals, such as hearts, roses, and even love letters. These are perfect for those who are not confident in their nail art skills but still want to make a statement.
In conclusion, nail art is a fun and creative way to express your love. Whether you are a beginner or an expert, there are endless possibilities to create unique and beautiful designs. So why not spread some love through your nails and let them do the talking? Try out these easy love nail art designs and watch how they brighten up your day.


