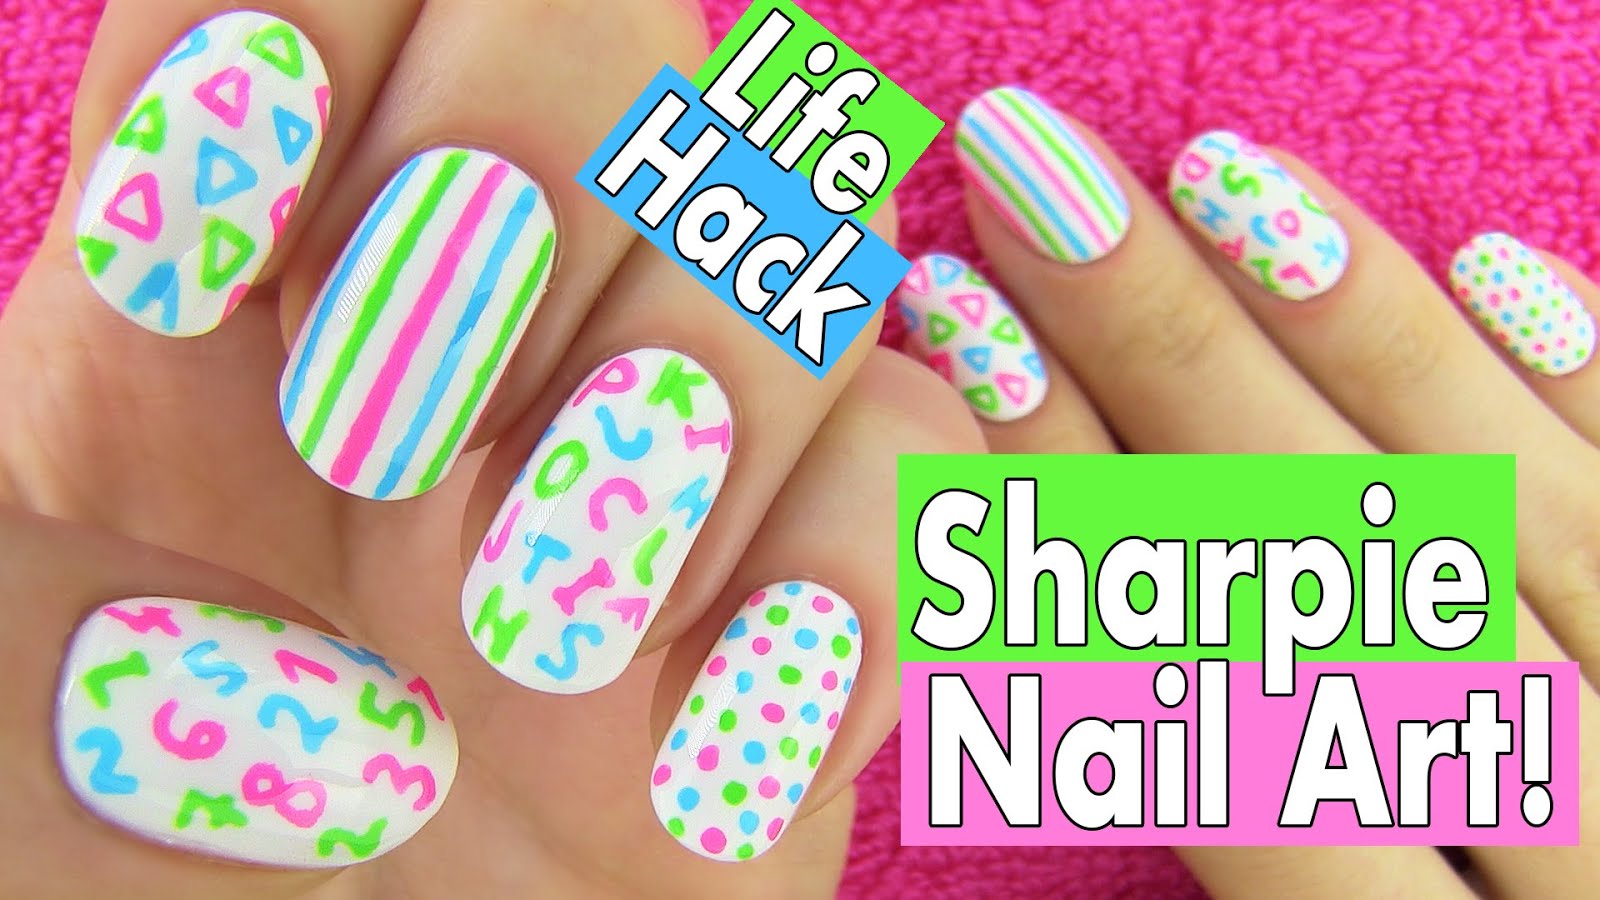
Looking for a quick and easy way to create stunning nail art? Look no further than magic tape nail art! This simple technique uses common household items to achieve professional-looking designs without any special tools or skills. Follow our step-by-step tutorial to learn how to create your own magic tape nail art designs. To start, gather your supplies. You'll need a base coat, nail polish, a top coat, magic tape, and scissors. Choose colors that complement each other and your desired design. Lighter colors tend to work best for this type of nail art. Begin by applying a base coat to your nails and allowing it to dry completely. This will help protect your natural nails and create a smooth surface for the nail polish to adhere to. Once the base coat is dry, apply your chosen nail polish color and allow it to dry fully. Next, take a small piece of magic tape and carefully place it on your nail in the desired pattern. You can create stripes, triangles, chevrons, or any other design you can imagine. Make sure the tape is pressed firmly against your nail to prevent any polish from seeping underneath. Now comes the fun part - painting! Using a different color of nail polish, paint over the exposed area of your nail, covering the tape. Try to keep the polish as even as possible for a clean design. Once you've painted all of your nails, carefully remove the tape while the polish is still wet. This will prevent the tape from pulling up any of the polish with it. Allow the polish to dry completely before applying a top coat to seal in your design and add shine. Clean up any excess polish around your nails with a small brush or cotton swab dipped in nail polish remover. And voila - you have beautiful magic tape nail art!1. Magic Tape Nail Art Tutorial


1. Magic Tape Nail Art Tutorial


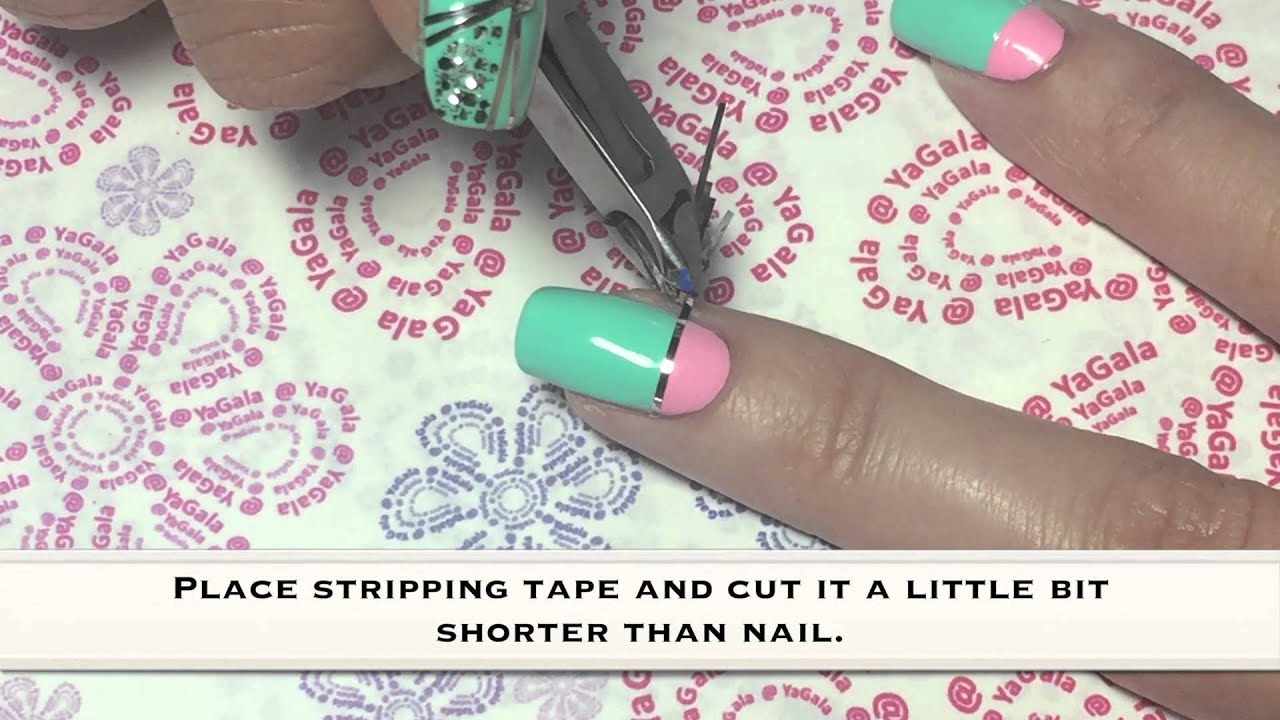
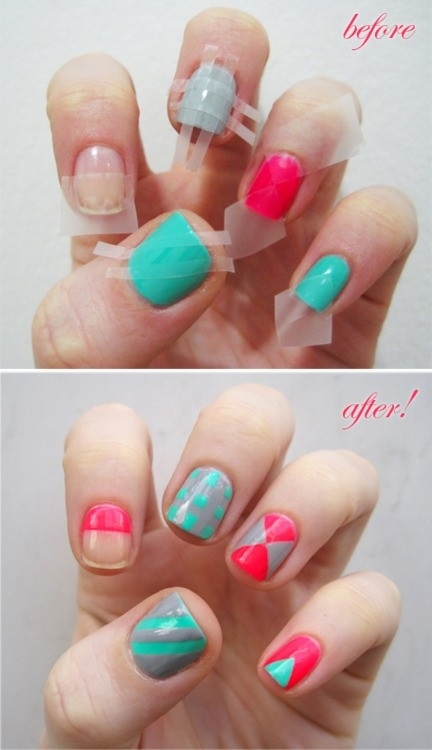
If you're new to nail art or just looking for a quick and easy design, magic tape nail art is the perfect choice. With this technique, you can create intricate designs with just a few simple steps. The best part? You don't need any special skills or tools to achieve stunning results. Start by prepping your nails with a base coat and your desired base color. Once your base color is dry, cut small pieces of magic tape to create your design. You can use regular scissors or nail scissors for more precise cuts. Place the tape on your nails in the desired pattern, making sure to press it firmly against your nail. Then, using a contrasting color of nail polish, paint over the exposed area. You can use multiple colors for a more dynamic design. Once the polish is dry, carefully remove the tape to reveal your design. If you want to add more dimension to your design, you can repeat this process with different colors and shapes of tape. For example, you can create a chevron pattern with one color of tape, then add a second layer with a different color of tape to create a 3D effect. The options are endless with magic tape nail art!2. Easy Nail Art with Magic Tape


2. Easy Nail Art with Magic Tape

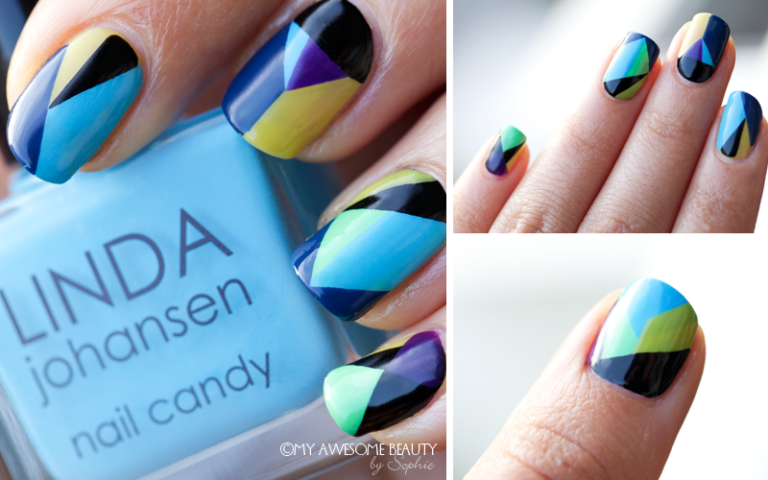
Magic tape nail art allows you to unleash your creativity and create unique designs that are sure to turn heads. With just a few simple steps, you can create intricate patterns, shapes, and designs that would otherwise be difficult to achieve. Start by choosing a base color and applying it to your nails. Once it is dry, cut small strips of magic tape and place them on your nails to create your desired design. You can use multiple colors of tape for a more colorful and dynamic look. Next, choose a contrasting color of nail polish and paint over the exposed areas of your nails. You can use a small paintbrush or a nail art pen for more precise application. Once the polish is dry, carefully remove the tape to reveal your design. You can add more layers of tape and polish for a more intricate design. Don't be afraid to experiment with different shapes and patterns. You can create geometric designs, abstract patterns, or even recreate famous artwork on your nails using magic tape. Let your imagination run wild and have fun with it!3. Creative Nail Art Using Magic Tape


3. Creative Nail Art Using Magic Tape
One of the best things about magic tape nail art is that you can easily create it at home without any special tools or skills. This makes it a fun and cost-effective way to achieve professional-looking nail art without having to go to a salon. Start by choosing your base color and applying it to your nails. Once it is dry, cut small pieces of magic tape to create your desired design. You can use scissors or a nail art knife for more precise cuts. Place the tape on your nails in the desired pattern and paint over it with a contrasting color of nail polish. You can use multiple colors and layers of tape for a more complex design. Once the polish is dry, carefully remove the tape to reveal your design. Don't limit yourself to just stripes and geometric shapes - you can also create fun and unique designs with different shaped tape. Try using circular, heart-shaped, or star-shaped tape for a playful and eye-catching look.4. DIY Magic Tape Nail Art Designs


4. DIY Magic Tape Nail Art Designs

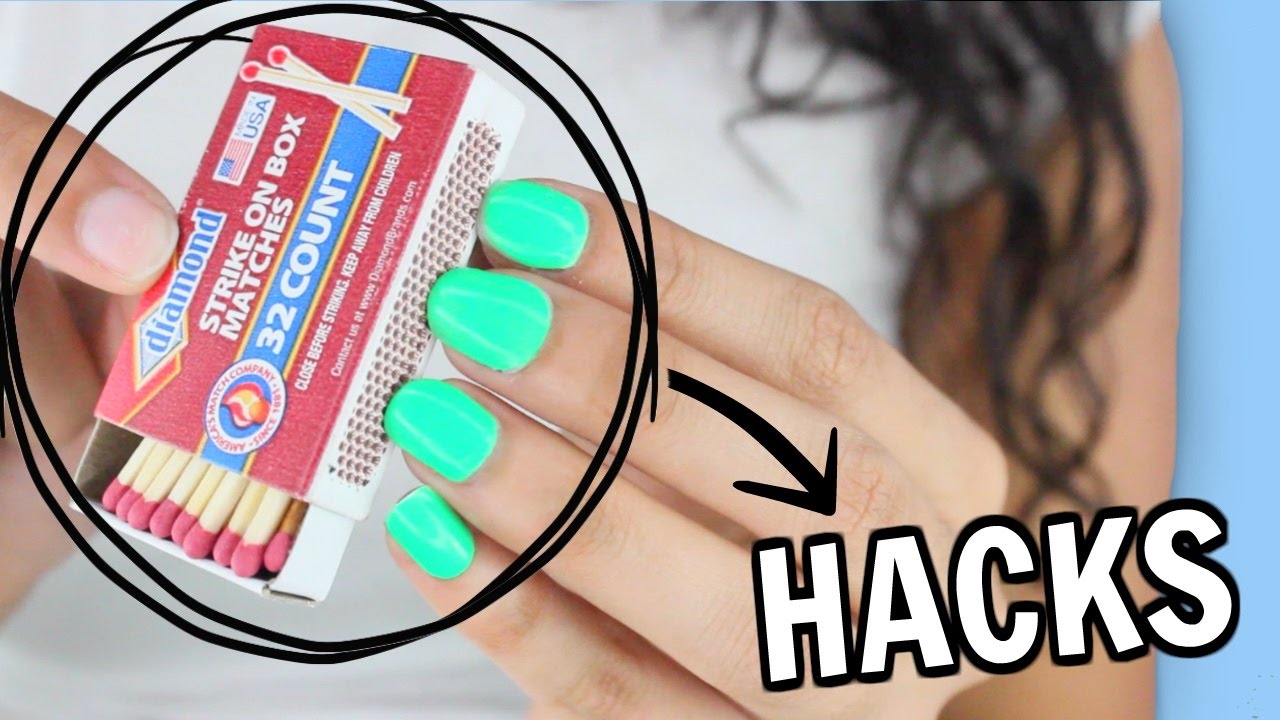
Looking for ways to take your magic tape nail art to the next level? Try out these clever hacks for even more stunning results. First, try using nail polish remover on a cotton swab to clean up any excess polish around your nails after removing the tape. This will give your design clean and crisp edges. You can also use tape to create negative space designs. Instead of placing the tape directly on your nail, place it on a piece of paper first and cut out the desired shape. Then, place the paper on your nail and paint over it with a contrasting color of nail polish. Once the polish is dry, carefully remove the paper to reveal your design. Lastly, you can use tape to create a gradient effect on your nails. Simply paint your base color, place strips of tape diagonally across your nail, and paint over them with a second color. Once the polish is dry, remove the tape to reveal a beautiful gradient design.5. Magic Tape Nail Art Hacks
5. Magic Tape Nail Art Hacks


Not all nail art has to be complicated and time-consuming. With magic tape nail art, you can create fun and simple designs that still make a statement. Start with a base color and allow it to dry completely. Then, cut small pieces of magic tape and place them on your nails to create your desired design. You can use multiple colors of tape for a more playful look. Next, paint over the tape with a contrasting color of nail polish and allow it to dry. Once the polish is dry, carefully remove the tape to reveal your design. You can add more layers of tape and polish for a more complex look, or keep it simple with just one layer of tape. This is a great option for those new to nail art or for those who want a low-maintenance design that still looks amazing.6. Fun and Simple Magic Tape Nail Art
6. Fun and Simple Magic Tape Nail Art

If you're new to magic tape nail art, you may be wondering how to use it effectively to achieve the best results. Follow these tips for a flawless design every time. First, make sure your base color is completely dry before applying the tape. This will prevent the tape from pulling up any of the polish with it when you remove it. Next, press the tape firmly onto your nail to create a tight seal. This will prevent any polish from seeping underneath and ruining your design. If you're having trouble getting the tape to stick, try warming it up between your fingers first. When painting over the tape, use a thin layer of polish for a clean and even application. If you use too much polish, it may seep under the tape and create a messy design. Lastly, always remove the tape while the polish is still wet. If you wait until it is dry, the tape may pull up some of the polish with it and ruin your design.7. How to Use Magic Tape for Nail Art

7. How to Use Magic Tape for Nail Art
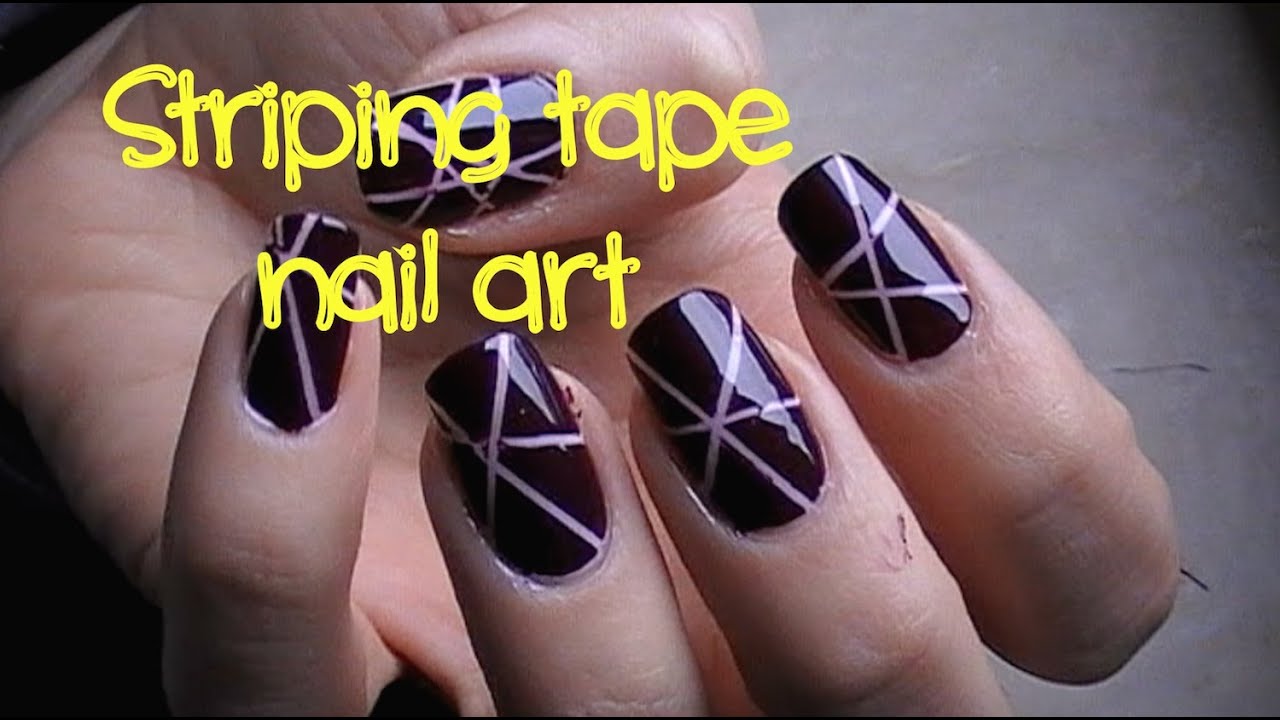
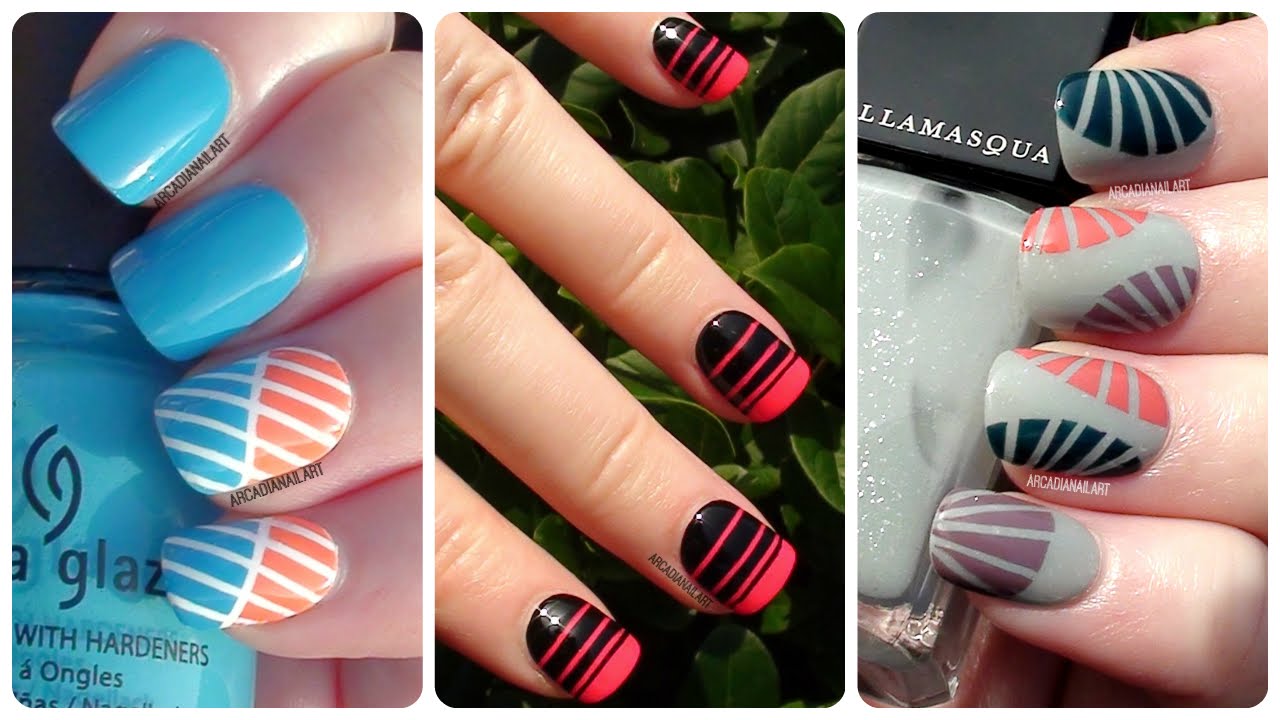
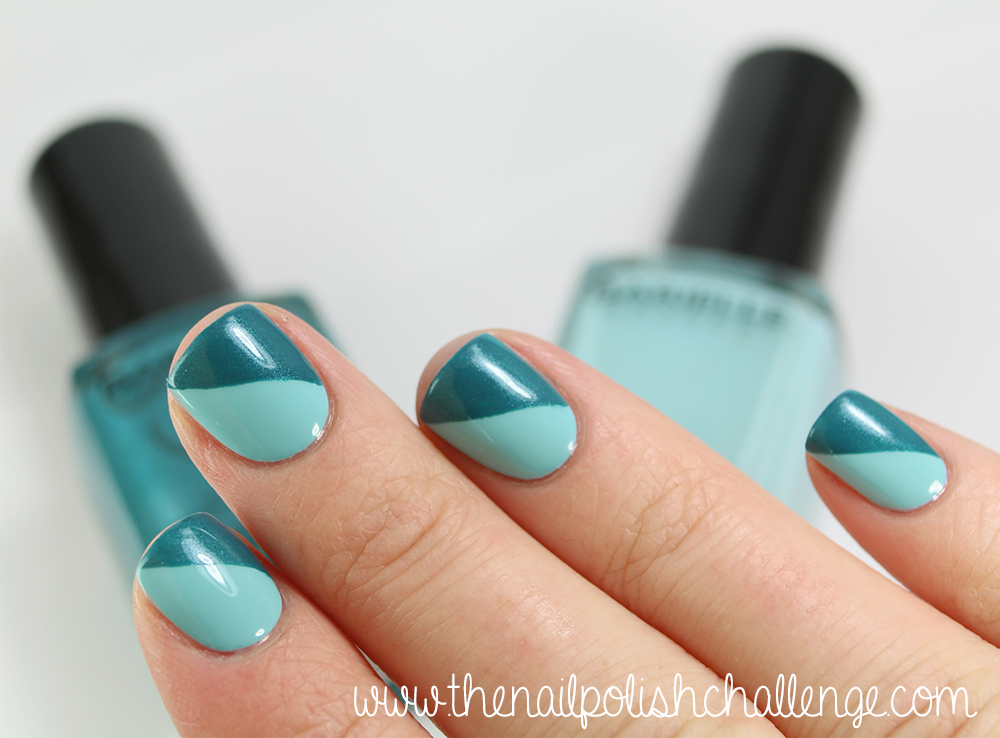
With the endless possibilities of designs you can create with magic tape nail art, it's easy to come up with unique and one-of-a-kind ideas. Here are a few to get you started: - Create a ombre design by painting one half of your nail with one color and the other half with a different color. Then, use strips of tape to create a diagonal line between the two colors.
- Use different widths of tape to create a striped effect on your nails.
- Create a geometric design by overlapping strips of tape in different directions on your nails.
- Cut out small shapes, like hearts or stars, from tape and place them on your nails for a fun and playful look.
- Use different shades of the same color to create a gradient effect with tape.8. Unique Magic Tape Nail Art Ideas


8. Unique Magic Tape Nail Art Ideas

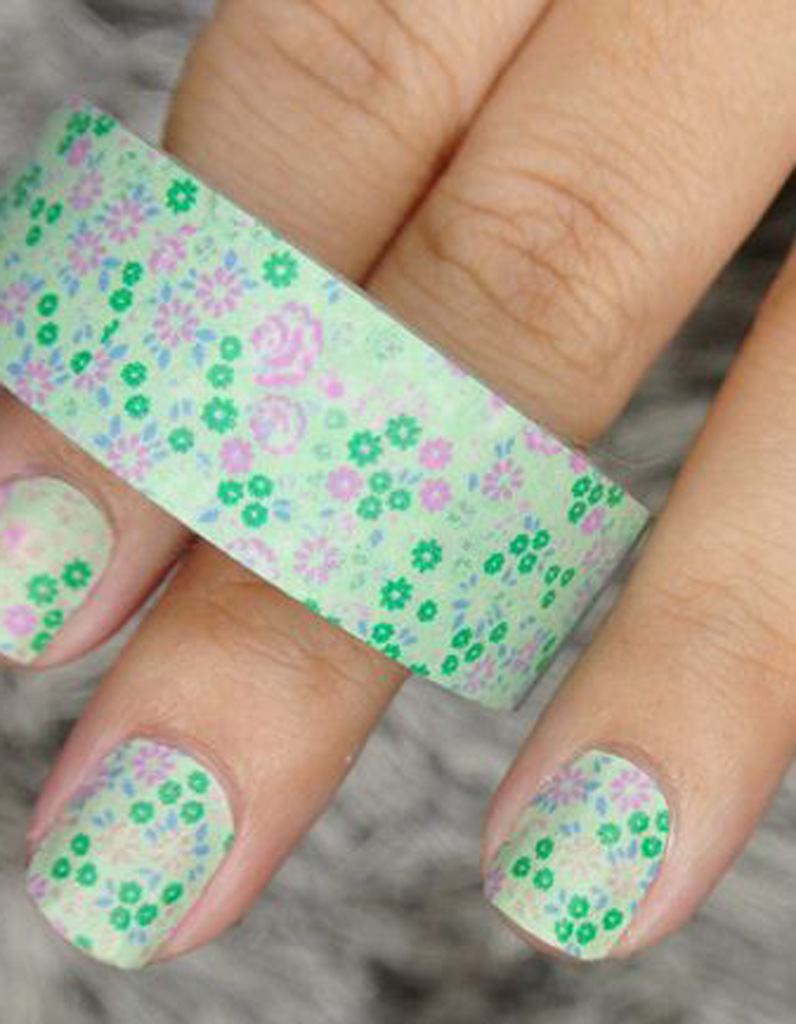
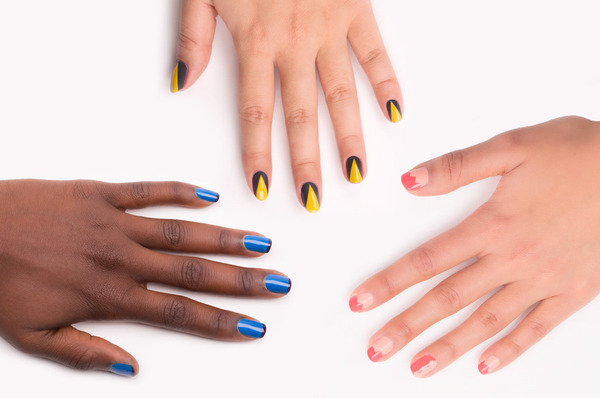
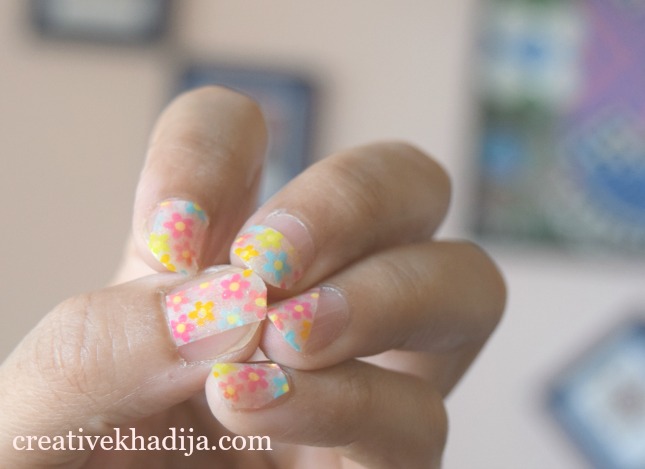
Bring some color to your nails with magic tape nail art! With this technique, you can easily create vibrant and eye-catching designs that are perfect for any occasion. Start with a base color and allow it to dry completely. Then, cut small pieces of magic tape and place them on your nails in your desired pattern. You can use multiple colors of tape for a more colorful look. Next, paint over the tape with a contrasting color of nail polish and allow it to dry. Once the polish is dry, carefully remove the tape to reveal your design. You can add more layers of tape and polish for a more complex and colorful design. Don't be afraid to mix and match different colors and patterns for a truly unique and vibrant look.9. Colorful Magic Tape Nail Art Designs

9. Colorful Magic Tape Nail Art Designs
Magic tape nail art isn't just for casual everyday wear - it can also be dressed up for special occasions. With a few simple tweaks, you can create elegant and sophisticated designs that are perfect for weddings, prom, or any other fancy event. Start with a neutral base color, such as nude or white, and allow it to dry completely. Then, use thin strips of magic tape to create a delicate and intricate design on your nails. You can create swirls, flowers, or any other design that fits your event's theme. Next, paint over the tape with a metallic or shimmery nail polish for a touch of elegance. Once the polish is dry, carefully remove the tape to reveal your design. You can also add small rhinestones or gems to your nails for extra sparkle. With these tips and ideas, you can create stunning magic tape nail art designs that will impress anyone who sees them. So grab your supplies and get creative with this fun and versatile nail art technique!10. Elegant Magic Tape Nail Art for Special Occasions


10. Elegant Magic Tape Nail Art for Special Occasions


Creating Magical Nail Art with Magic Tape

Unleashing Your Creativity
 If you're tired of the same old plain nail polish, then it's time to try out a fun and unique style – magic tape nail art. This trend has been taking the beauty world by storm, and for good reason. With just a roll of
magic tape
and a few basic nail polish colors, you can create endless designs that will make your nails stand out in a crowd. So, let your inner artist out and get ready to create some
magical
and
eye-catching
nail art with the help of some
magic tape
.
If you're tired of the same old plain nail polish, then it's time to try out a fun and unique style – magic tape nail art. This trend has been taking the beauty world by storm, and for good reason. With just a roll of
magic tape
and a few basic nail polish colors, you can create endless designs that will make your nails stand out in a crowd. So, let your inner artist out and get ready to create some
magical
and
eye-catching
nail art with the help of some
magic tape
.
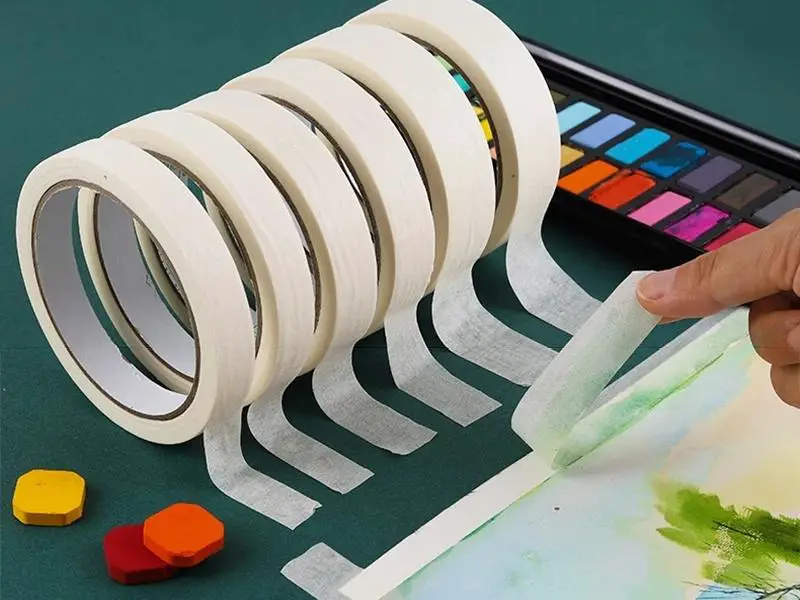
What You'll Need
 Before you begin, make sure you have all the necessary supplies for creating
magic tape nail art
. This includes:
nail polish
in various colors,
magic tape
,
nail polish remover
,
cotton swabs
, and
nail scissors
. It's also helpful to have a small paintbrush or dotting tool on hand for more intricate designs.
Before you begin, make sure you have all the necessary supplies for creating
magic tape nail art
. This includes:
nail polish
in various colors,
magic tape
,
nail polish remover
,
cotton swabs
, and
nail scissors
. It's also helpful to have a small paintbrush or dotting tool on hand for more intricate designs.
Step by Step Guide
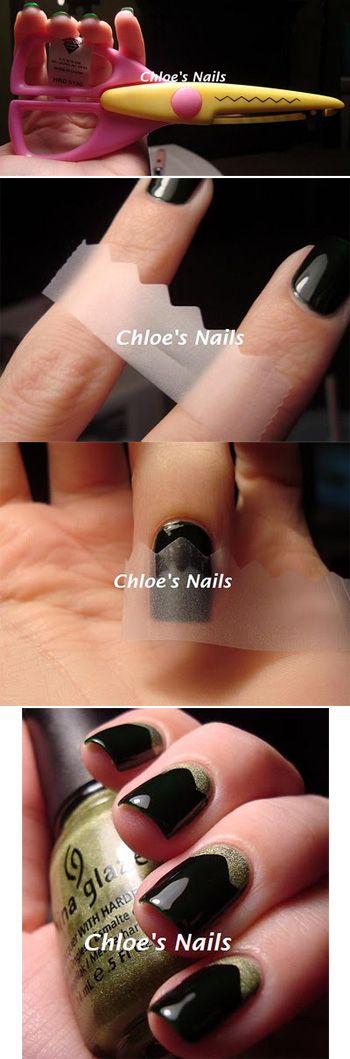
 1. Start by painting your nails with a base color of your choice. Let them dry completely before moving on to the next step.
2. Once your base color is dry, place a strip of
magic tape
diagonally across your nail, leaving a portion of the nail exposed.
Press down firmly
on the tape to ensure it adheres to the nail.
3. Using a different nail polish color, paint over the exposed portion of the nail. Be sure to
paint over the tape as well
to create a clean line.
4.
Carefully
peel off the tape while the polish is still wet. This will create a crisp line between the two colors.
5. Repeat this process on all of your nails, using different colors and patterns for a unique and
magical
look.
1. Start by painting your nails with a base color of your choice. Let them dry completely before moving on to the next step.
2. Once your base color is dry, place a strip of
magic tape
diagonally across your nail, leaving a portion of the nail exposed.
Press down firmly
on the tape to ensure it adheres to the nail.
3. Using a different nail polish color, paint over the exposed portion of the nail. Be sure to
paint over the tape as well
to create a clean line.
4.
Carefully
peel off the tape while the polish is still wet. This will create a crisp line between the two colors.
5. Repeat this process on all of your nails, using different colors and patterns for a unique and
magical
look.
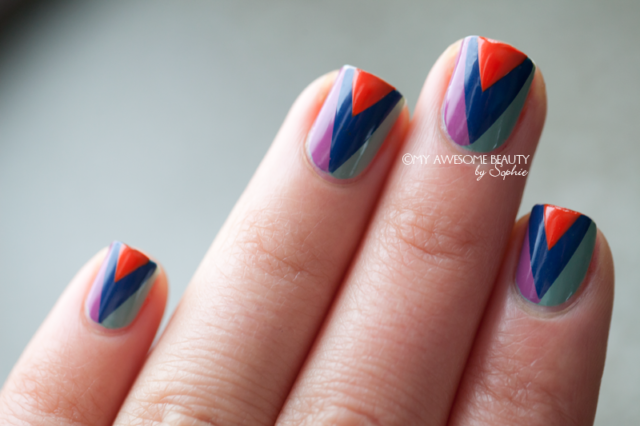
Customize and Experiment
 One of the best things about
magic tape nail art
is that it allows you to customize and experiment with different designs. You can create
stripes
,
geometric patterns
,
chevron designs
, and more. The possibilities are endless, and you can let your imagination run wild.
One of the best things about
magic tape nail art
is that it allows you to customize and experiment with different designs. You can create
stripes
,
geometric patterns
,
chevron designs
, and more. The possibilities are endless, and you can let your imagination run wild.
Final Touches
 Once your design is complete, use a small paintbrush or dotting tool to add
accents
and
details
to your nails. You can also use
glitter
polish or
rhinestones
for some extra sparkle and shine.
Once your design is complete, use a small paintbrush or dotting tool to add
accents
and
details
to your nails. You can also use
glitter
polish or
rhinestones
for some extra sparkle and shine.
In Conclusion
 With
magic tape nail art
, you can easily elevate your nail game and create
magical
and
unique
designs. So, next time you're looking to add some pizzazz to your nails, grab some
magic tape
and get creative. Your nails will thank you for it.
With
magic tape nail art
, you can easily elevate your nail game and create
magical
and
unique
designs. So, next time you're looking to add some pizzazz to your nails, grab some
magic tape
and get creative. Your nails will thank you for it.


