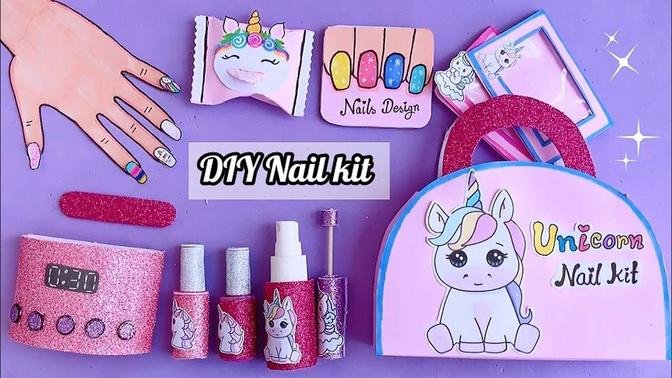
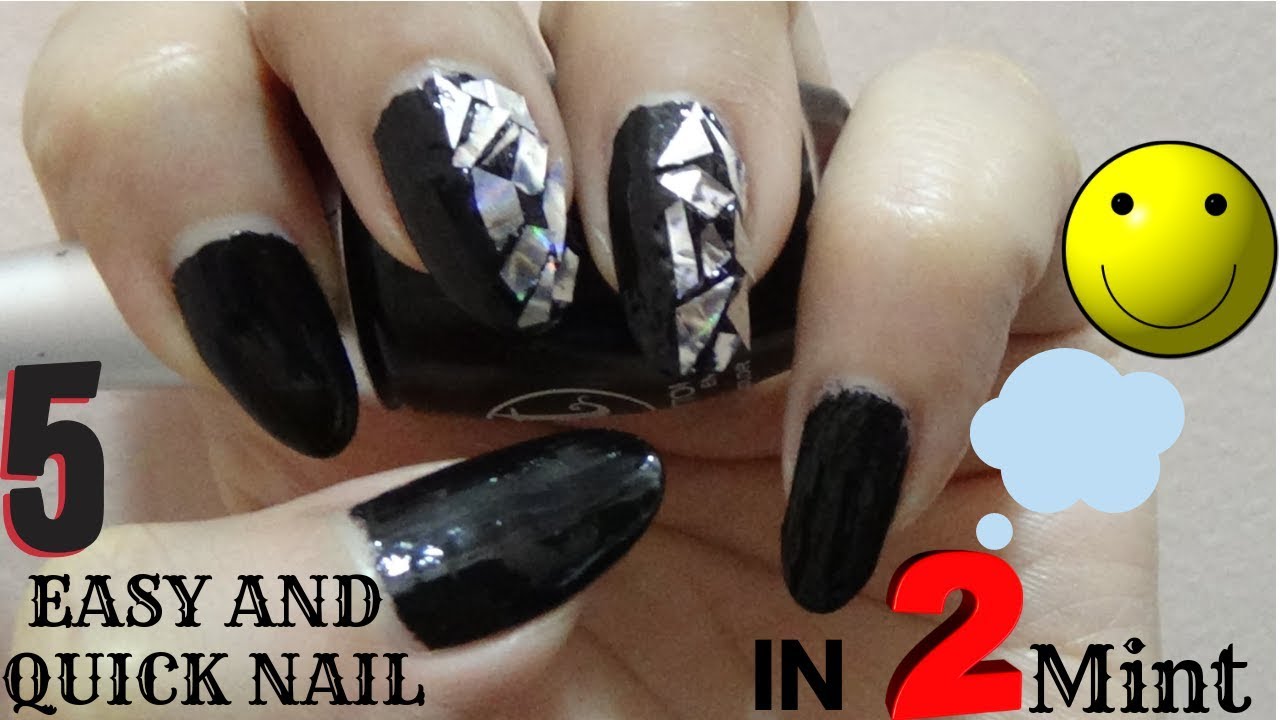
If you're a nail art lover and always looking for new and unique ways to jazz up your nails, then paper nail art is a must-try for you. It's a fun and creative way to add a pop of color and texture to your nails, and the best part is, you can easily do it at home with basic supplies. In this DIY paper nail art tutorial, we'll show you how to create stunning designs with just a few simple steps. So, let's get started!1. DIY Paper Nail Art Tutorial


1. DIY Paper Nail Art Tutorial


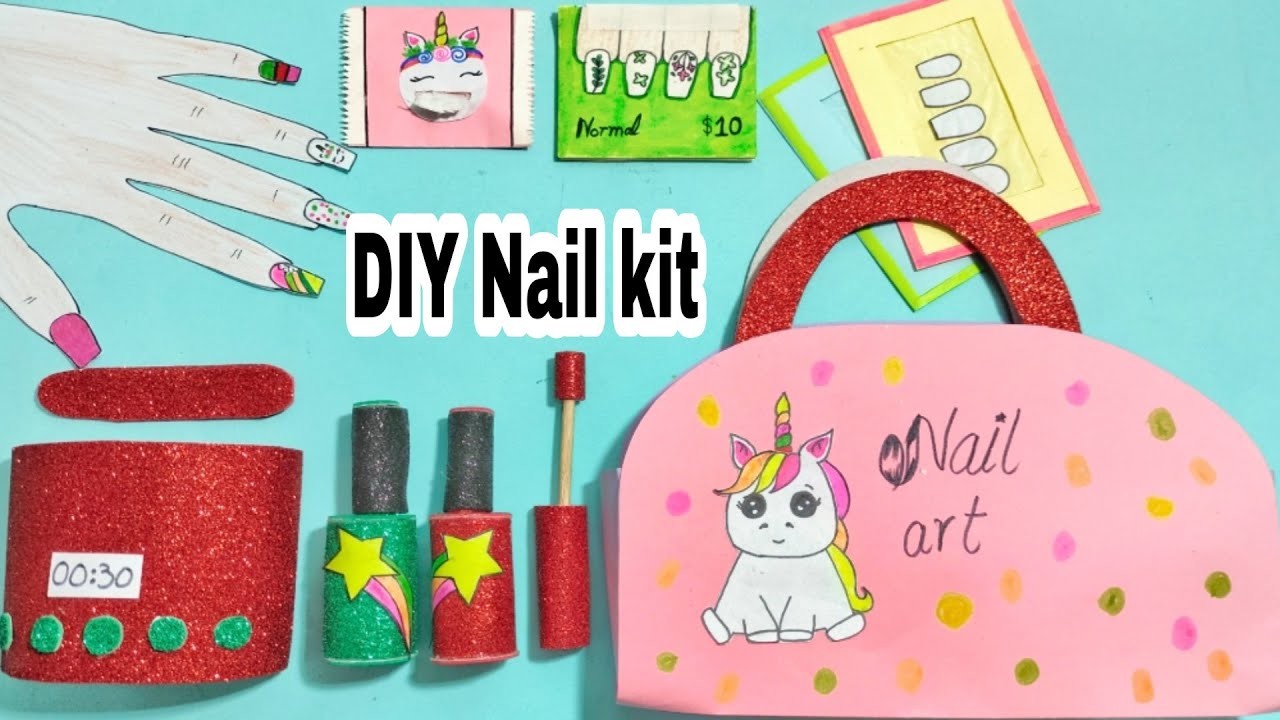


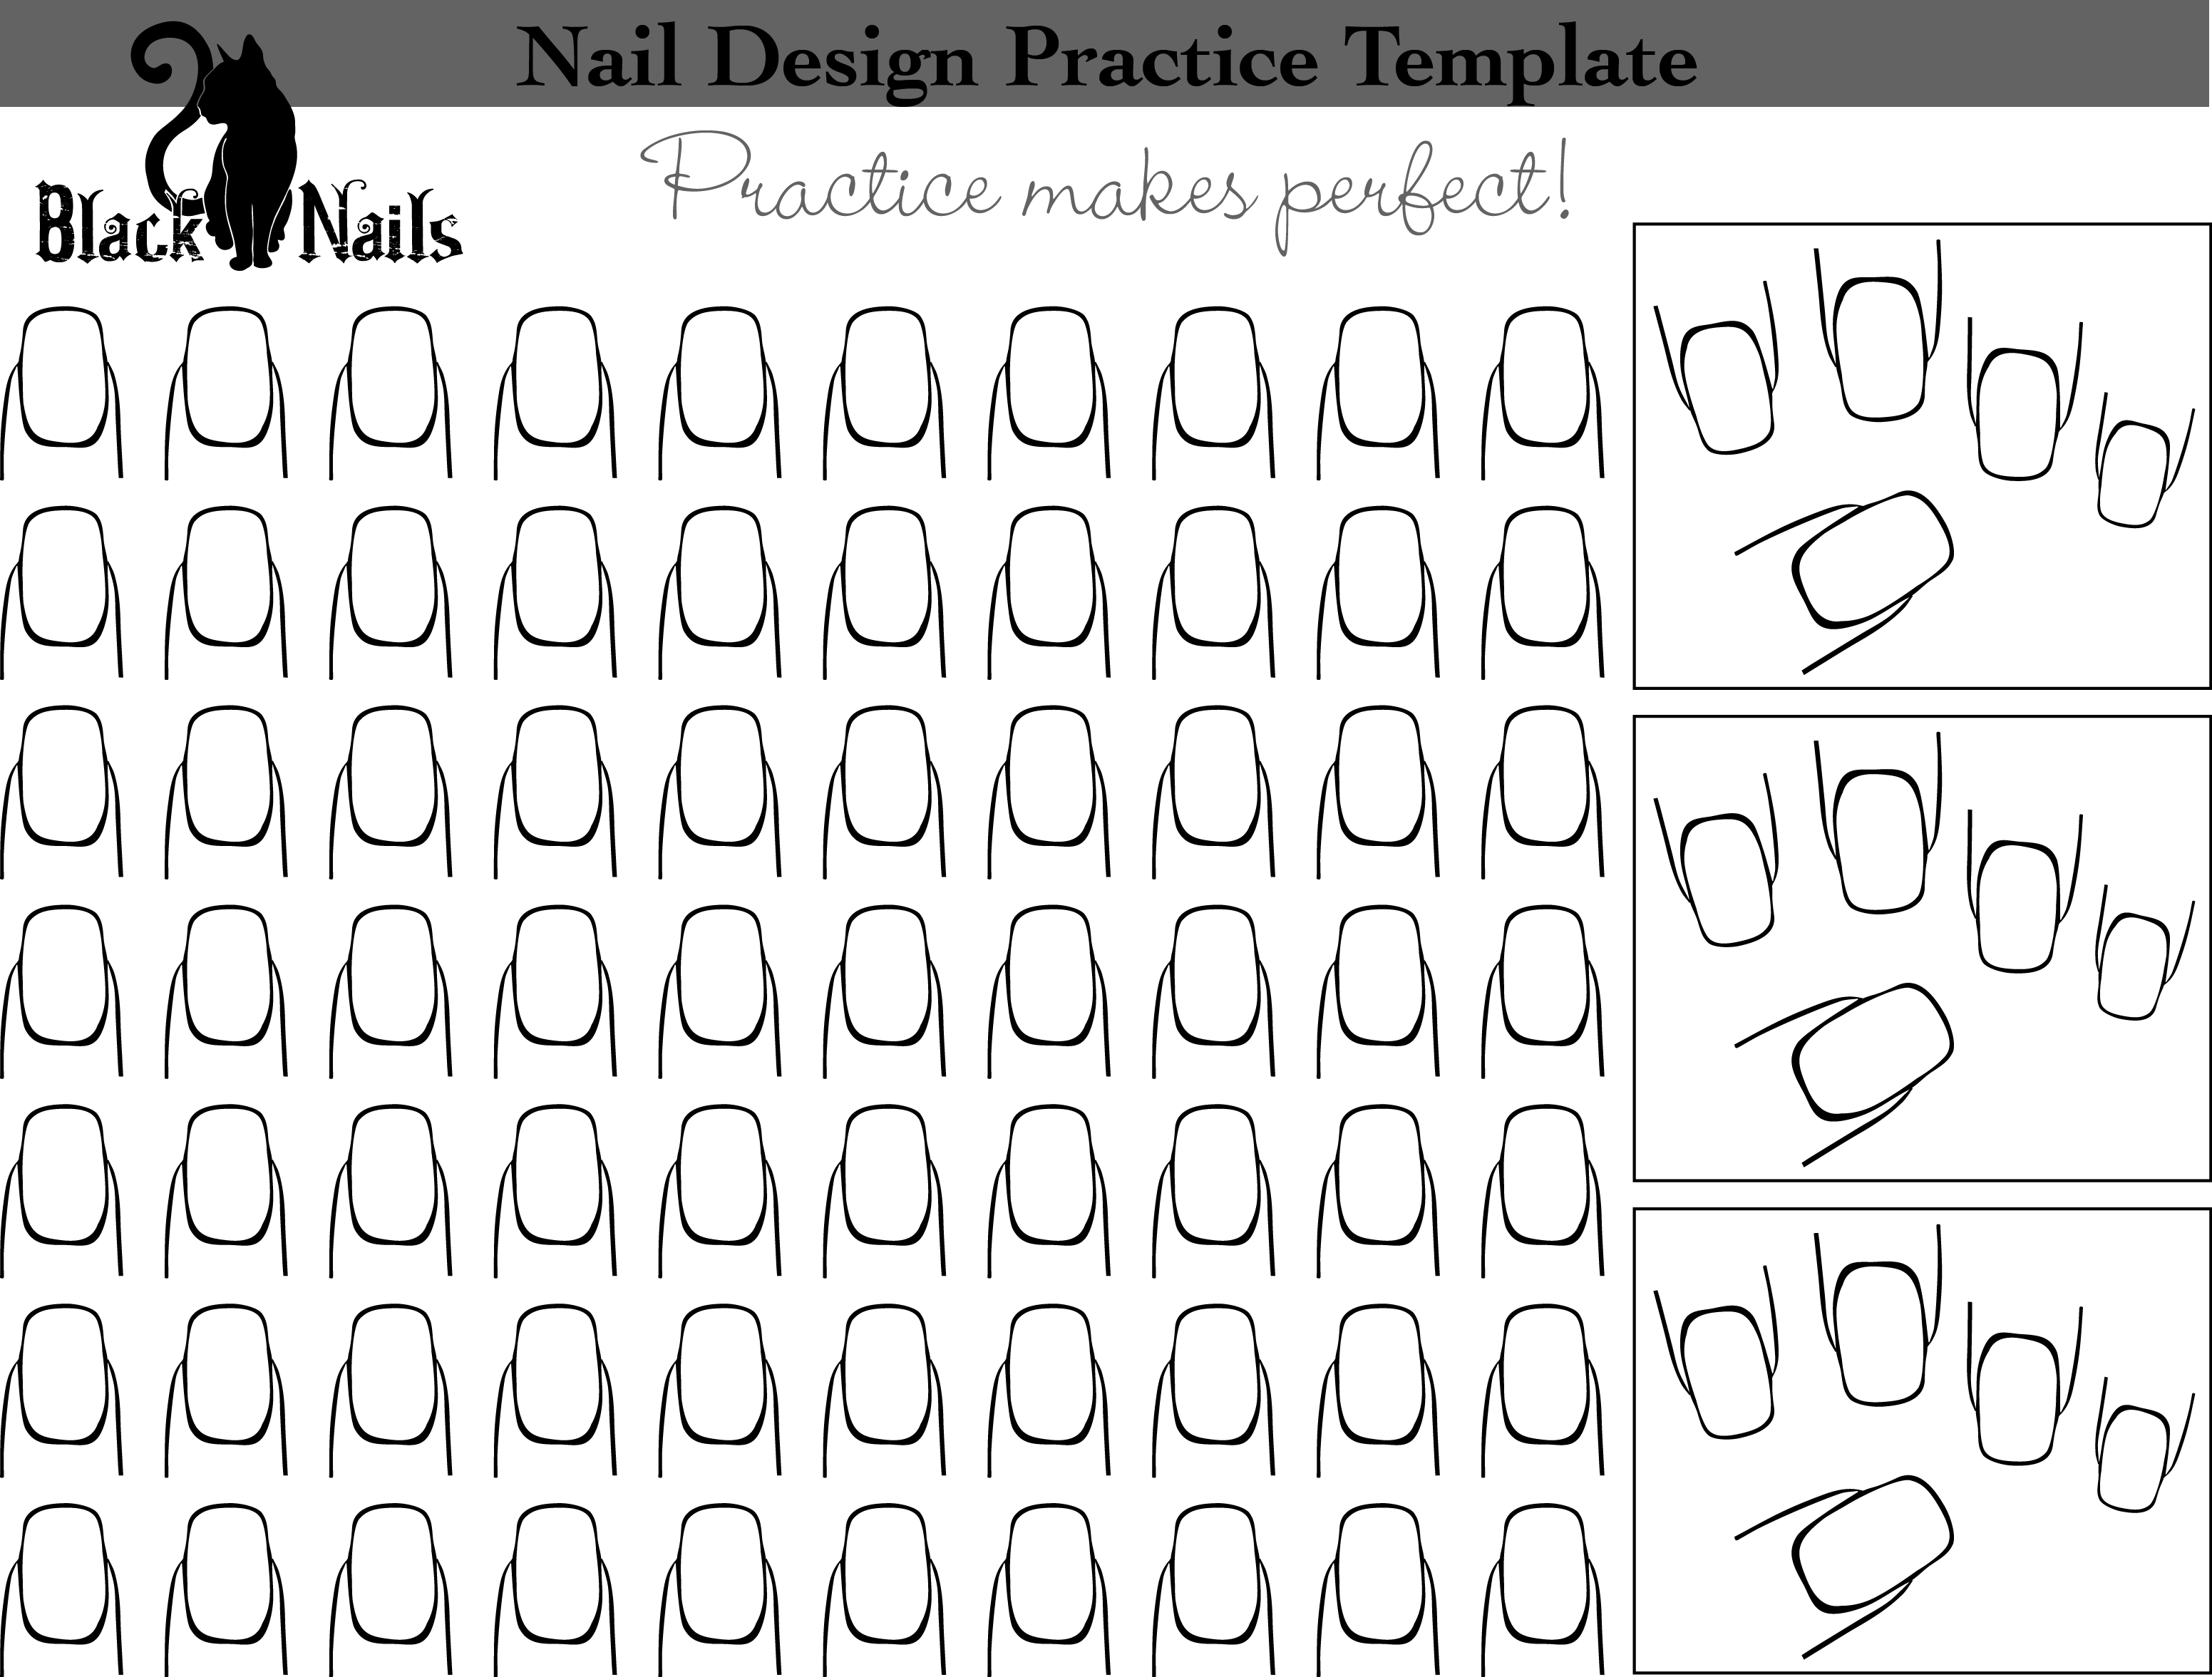
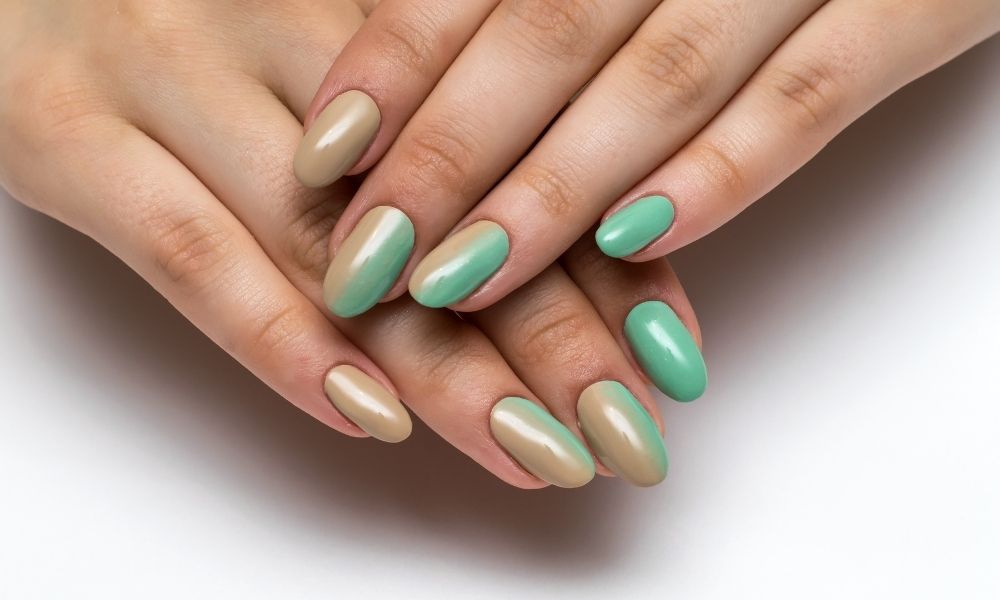
Before we dive into the steps, let's talk about the basics of paper nails. These are essentially just thin pieces of paper cut into various shapes and sizes, then adhered to the nail with a top coat. The key is to use thin, lightweight paper to avoid any bulkiness on the nail. You can use tissue paper, wrapping paper, or even newspaper for this technique.2. How to Make Paper Nails


2. How to Make Paper Nails


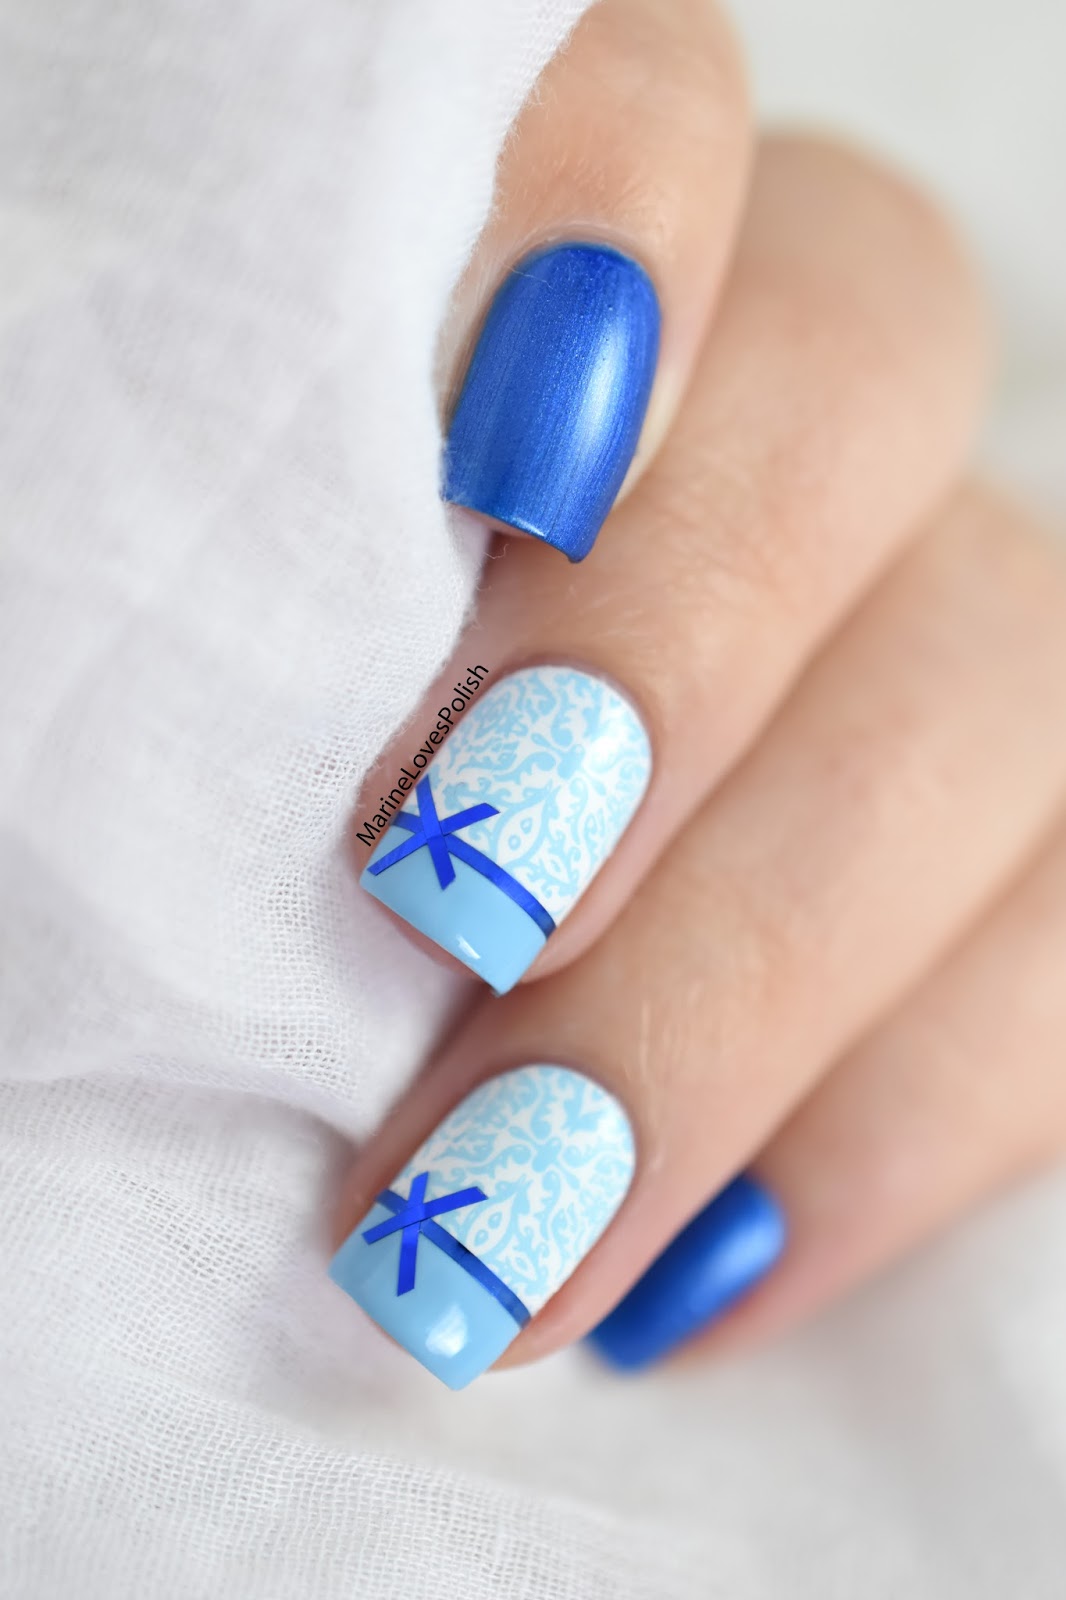
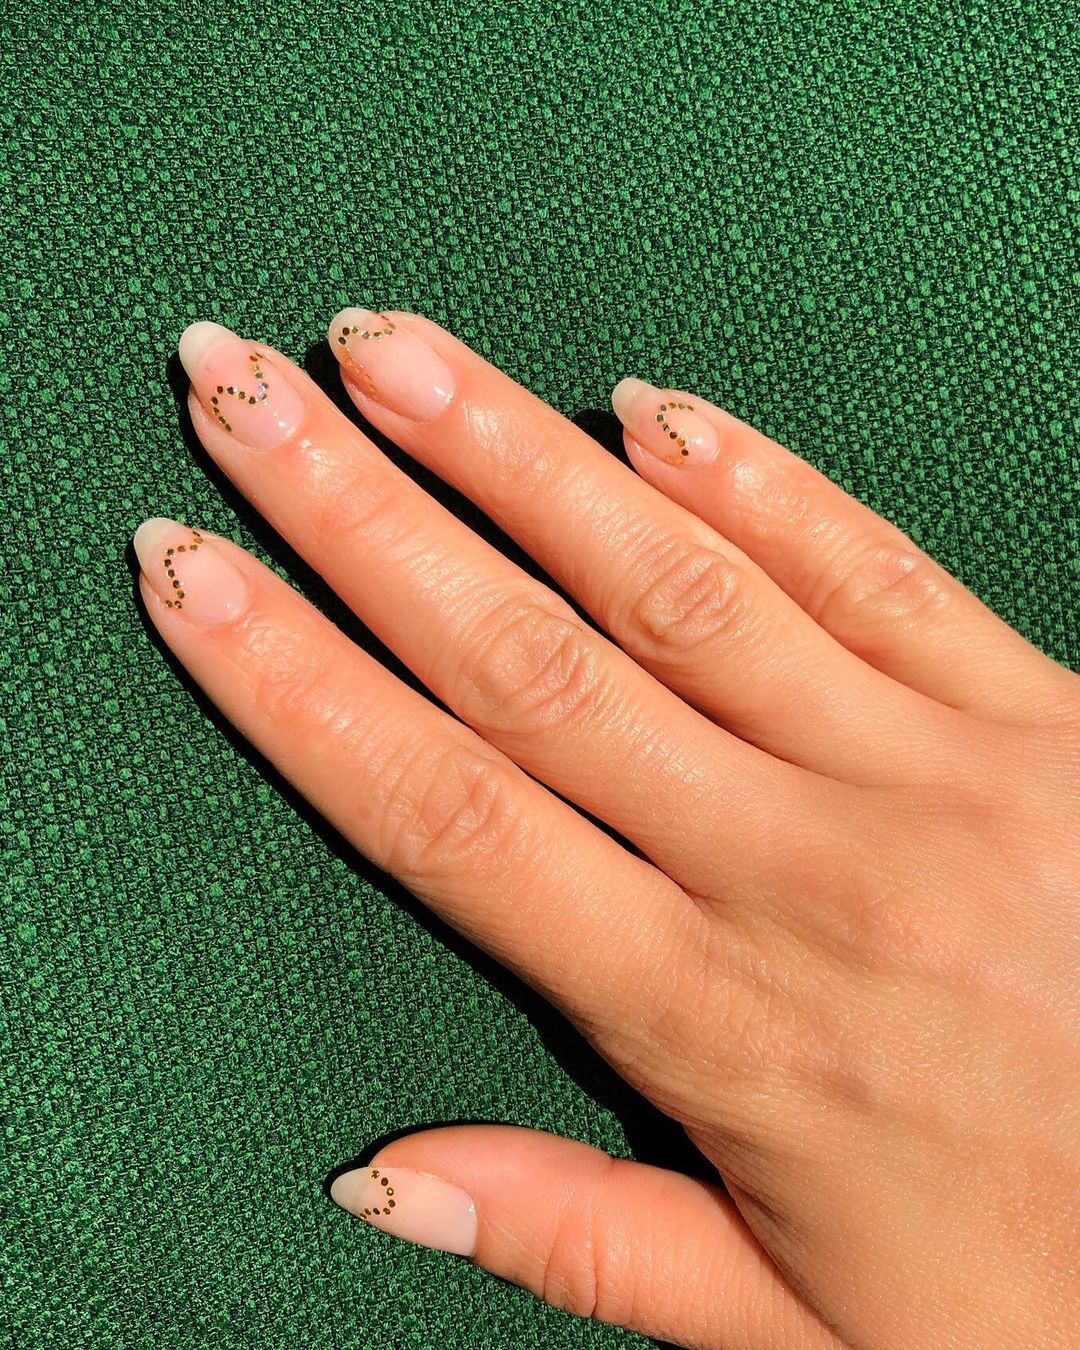
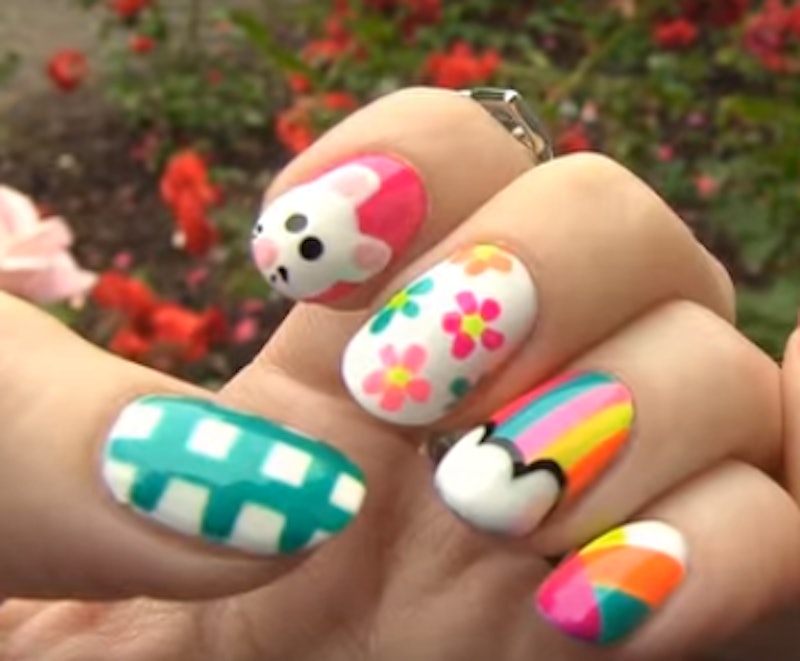
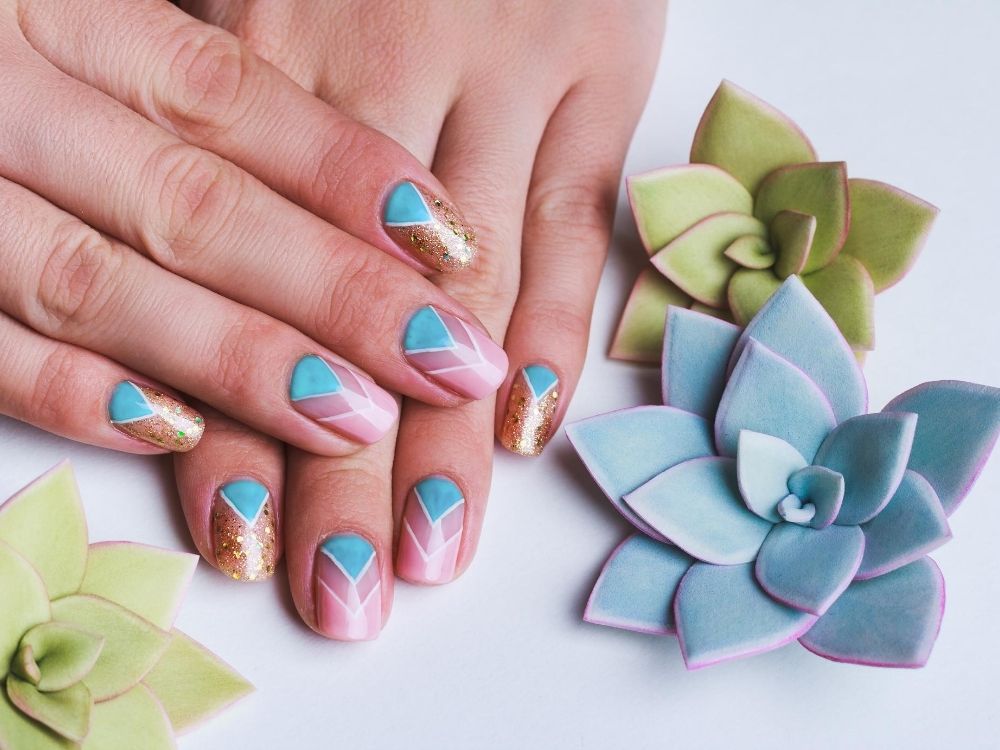
Now, let's move on to the fun part - the designs! There are endless possibilities when it comes to paper nail art, and you can let your creativity run wild. For a simple yet eye-catching design, try cutting out small circles or squares from colorful tissue paper and placing them randomly on your nails. Once you've placed all the pieces, seal them with a top coat for a glossy finish.3. Easy Paper Nail Art Designs


3. Easy Paper Nail Art Designs


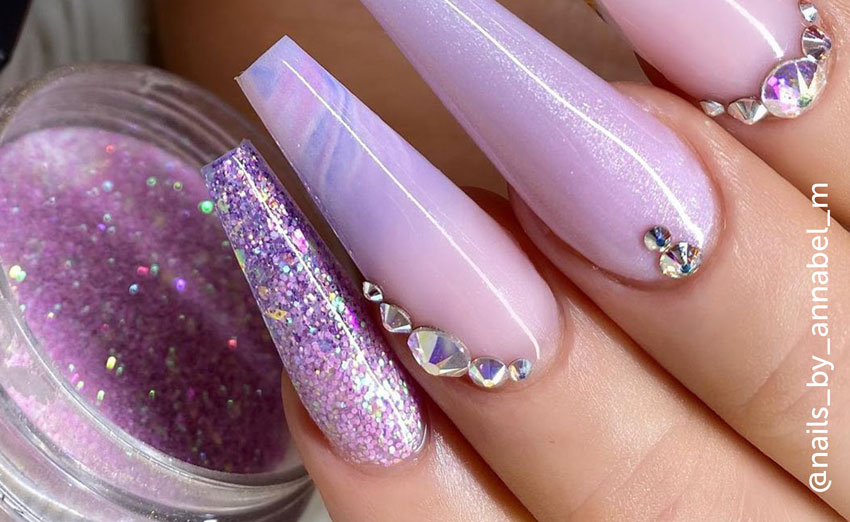
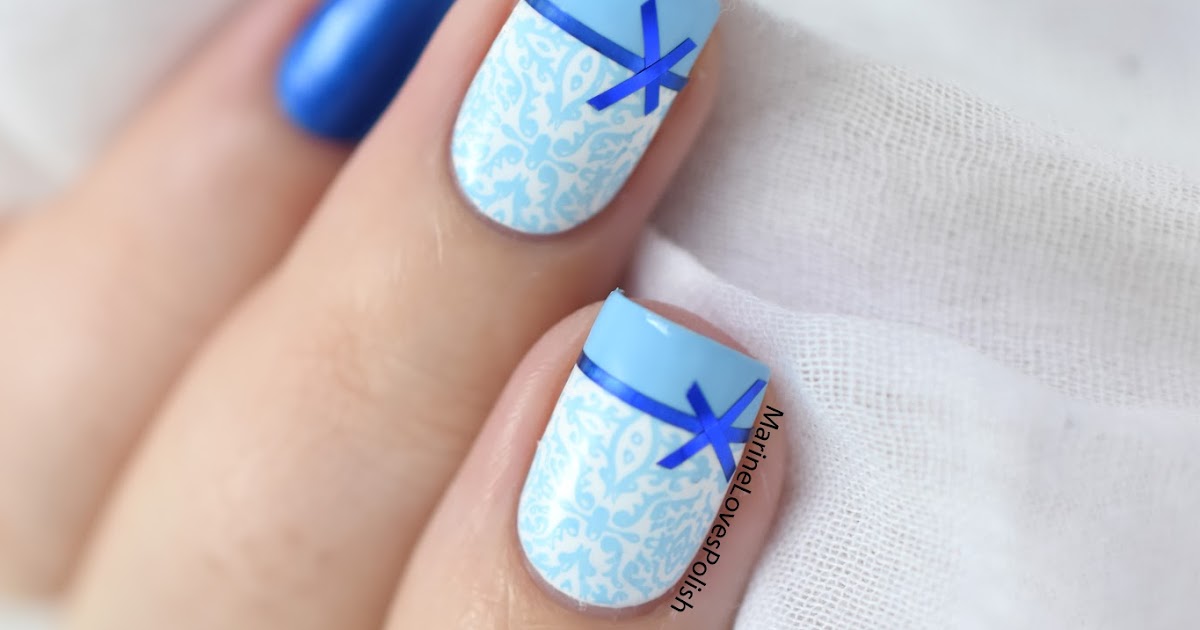
To create a more intricate design, such as a floral pattern, you'll need a little more time and patience. Start by cutting out small flower shapes from a printed paper, making sure they fit the size of your nails. Then, using a toothpick, gently pick up the paper flower and place it on your nail. Repeat this step until you have the desired design, and seal with a top coat.4. Paper Nail Art Step by Step


4. Paper Nail Art Step by Step


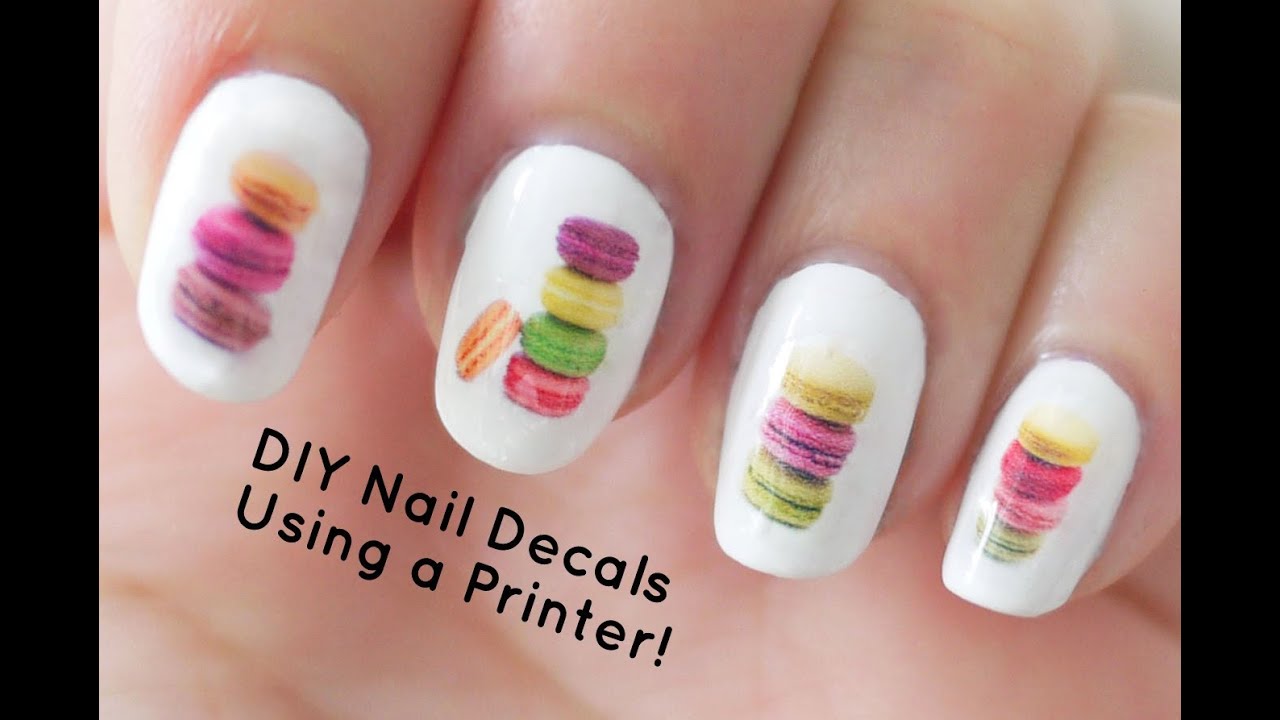
Looking for some out-of-the-box ideas for your paper nail art? How about using a piece of magazine or newspaper with your favorite quote or image on it? You can also use scrapbook paper with fun patterns and designs to create a unique look. Another idea is to create a collage on your nails using different paper shapes and colors.5. Creative Paper Nail Art Ideas


5. Creative Paper Nail Art Ideas


If you're new to paper nail art, don't worry! It may seem intimidating at first, but with a little practice, you'll be creating beautiful designs in no time. Start with simple shapes and designs, and gradually work your way up to more intricate designs. Remember to have fun and be patient - the end result will be worth it!6. Paper Nail Art for Beginners


6. Paper Nail Art for Beginners

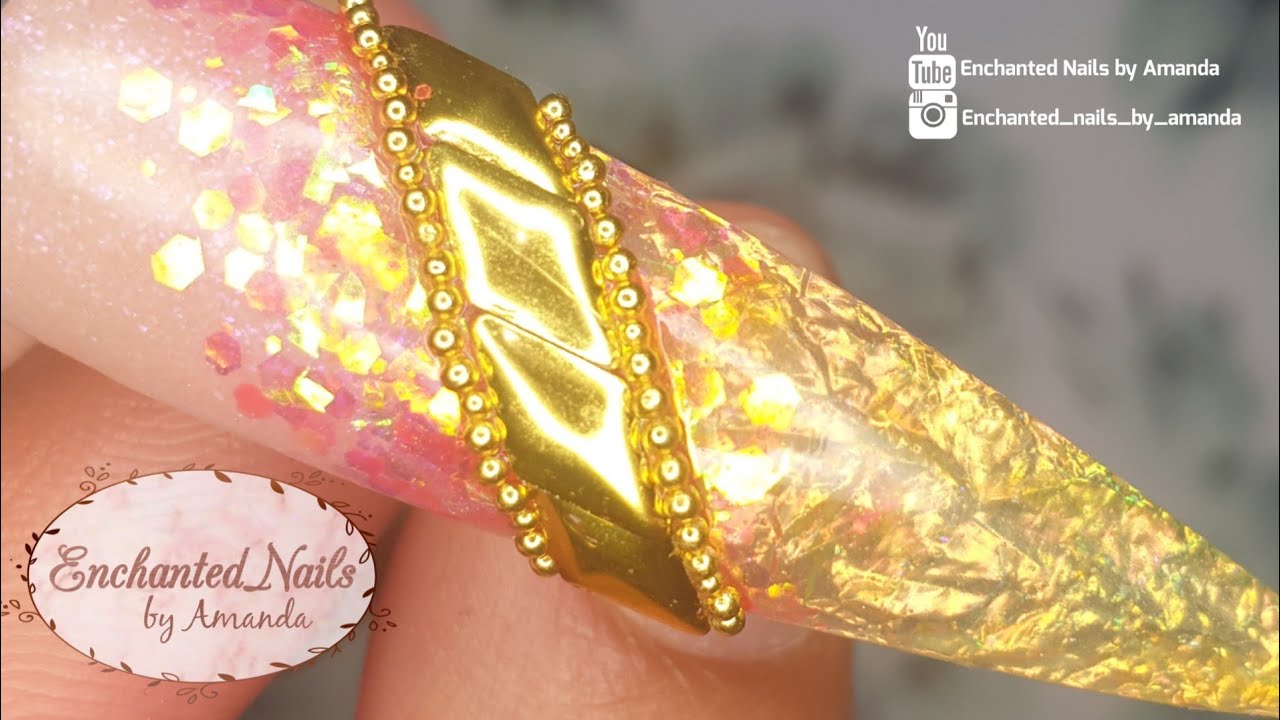
Aside from the basic cut and paste technique, there are other ways to incorporate paper into your nail art. For a more textured look, try crumpling up a piece of tissue paper and pressing it onto your wet nail polish. Once it dries, seal it with a top coat for a unique and edgy design.7. Paper Nail Art Techniques


7. Paper Nail Art Techniques


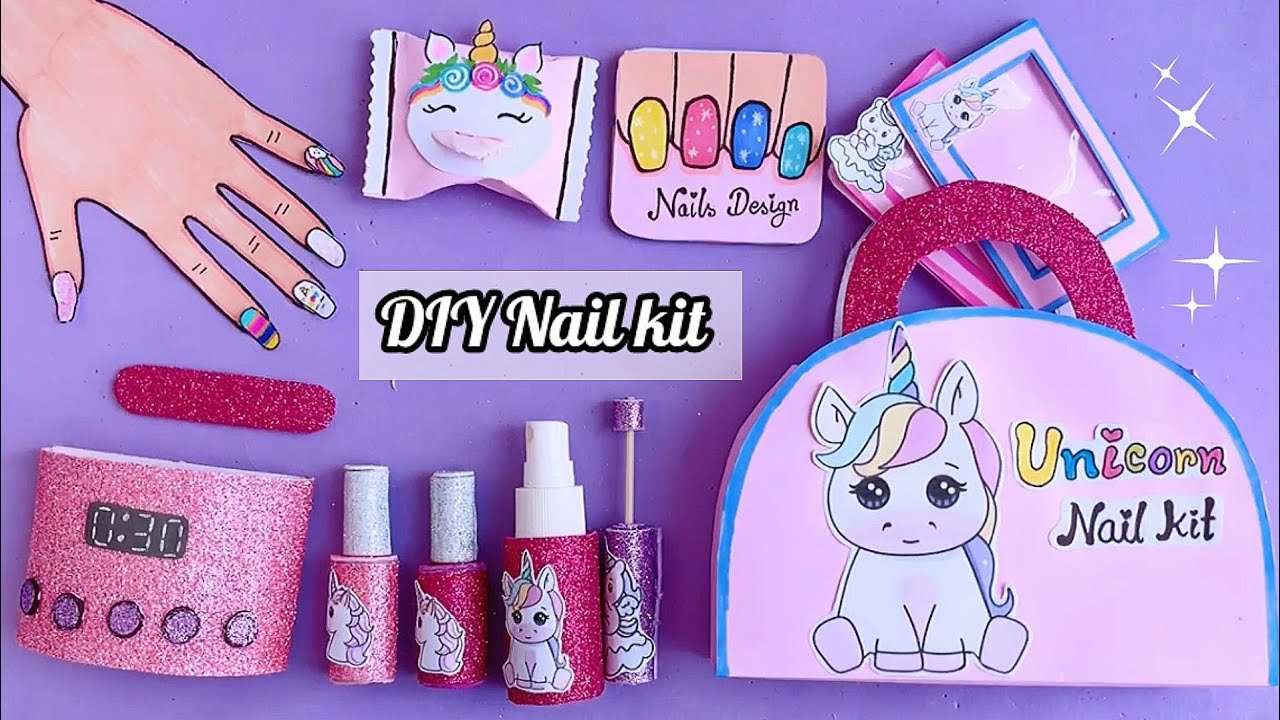
Now that you have some ideas for your paper nail art, let's talk about the supplies you'll need. As mentioned earlier, you'll need thin and lightweight paper, such as tissue paper, wrapping paper, or scrapbook paper. You'll also need a pair of scissors, a toothpick, and a top coat to seal your design. You can also use tweezers for more precise placement.8. Paper Nail Art Supplies


8. Paper Nail Art Supplies

If you're still unsure about what design to create, a quick search on social media platforms like Instagram or Pinterest will provide you with endless inspiration. You'll find a variety of designs and techniques to try out, and you can even put your own spin on them to make them unique.9. Paper Nail Art Inspiration

9. Paper Nail Art Inspiration

Finally, here are some tips and tricks to keep in mind when creating paper nail art. Always make sure your nails are clean and free of any oils or lotions before starting. This will ensure the paper adheres properly to the nail. Also, make sure to seal the paper with a top coat to prevent it from lifting off the nail. And lastly, have fun and experiment with different colors, shapes, and techniques to create your own one-of-a-kind paper nail art.10. Paper Nail Art Tips and Tricks
10. Paper Nail Art Tips and Tricks
Making Paper Nail Art: A Fun and Easy Way to Express Your Creativity
 Nail art has become an increasingly popular trend in the beauty world, with countless designs and techniques emerging. From intricate hand-painted designs to elaborate 3D embellishments, there seems to be no limit to what can be achieved on our nails. However, with all the fancy tools and materials available, sometimes it's nice to simplify things and get back to basics. That's where paper nail art comes in – a fun and easy way to express your creativity using just paper and a few simple tools.
The Basics of Paper Nail Art
 The concept of paper nail art is simple – using thin paper strips to create designs on your nails. It's a great way to add a unique and personal touch to your manicure without breaking the bank. All you need is some paper, scissors, tweezers, and a top coat to seal it all in.
Step-by-Step Guide to Creating Paper Nail Art
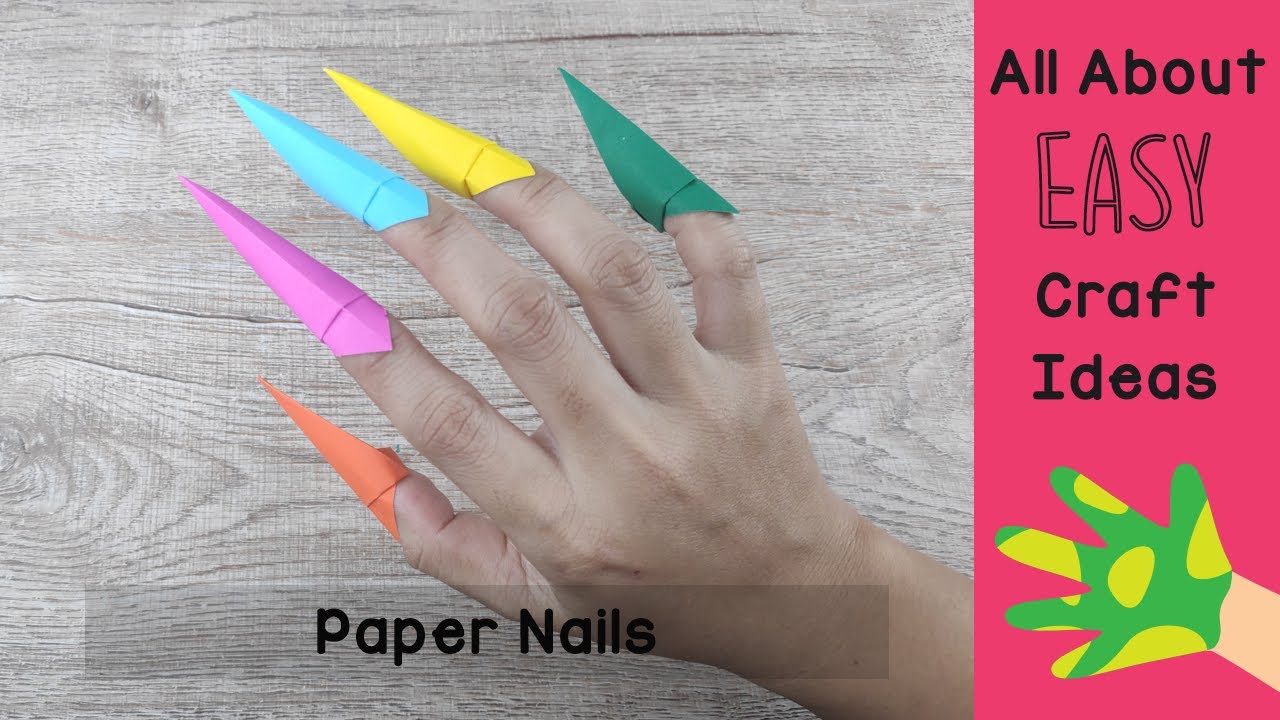
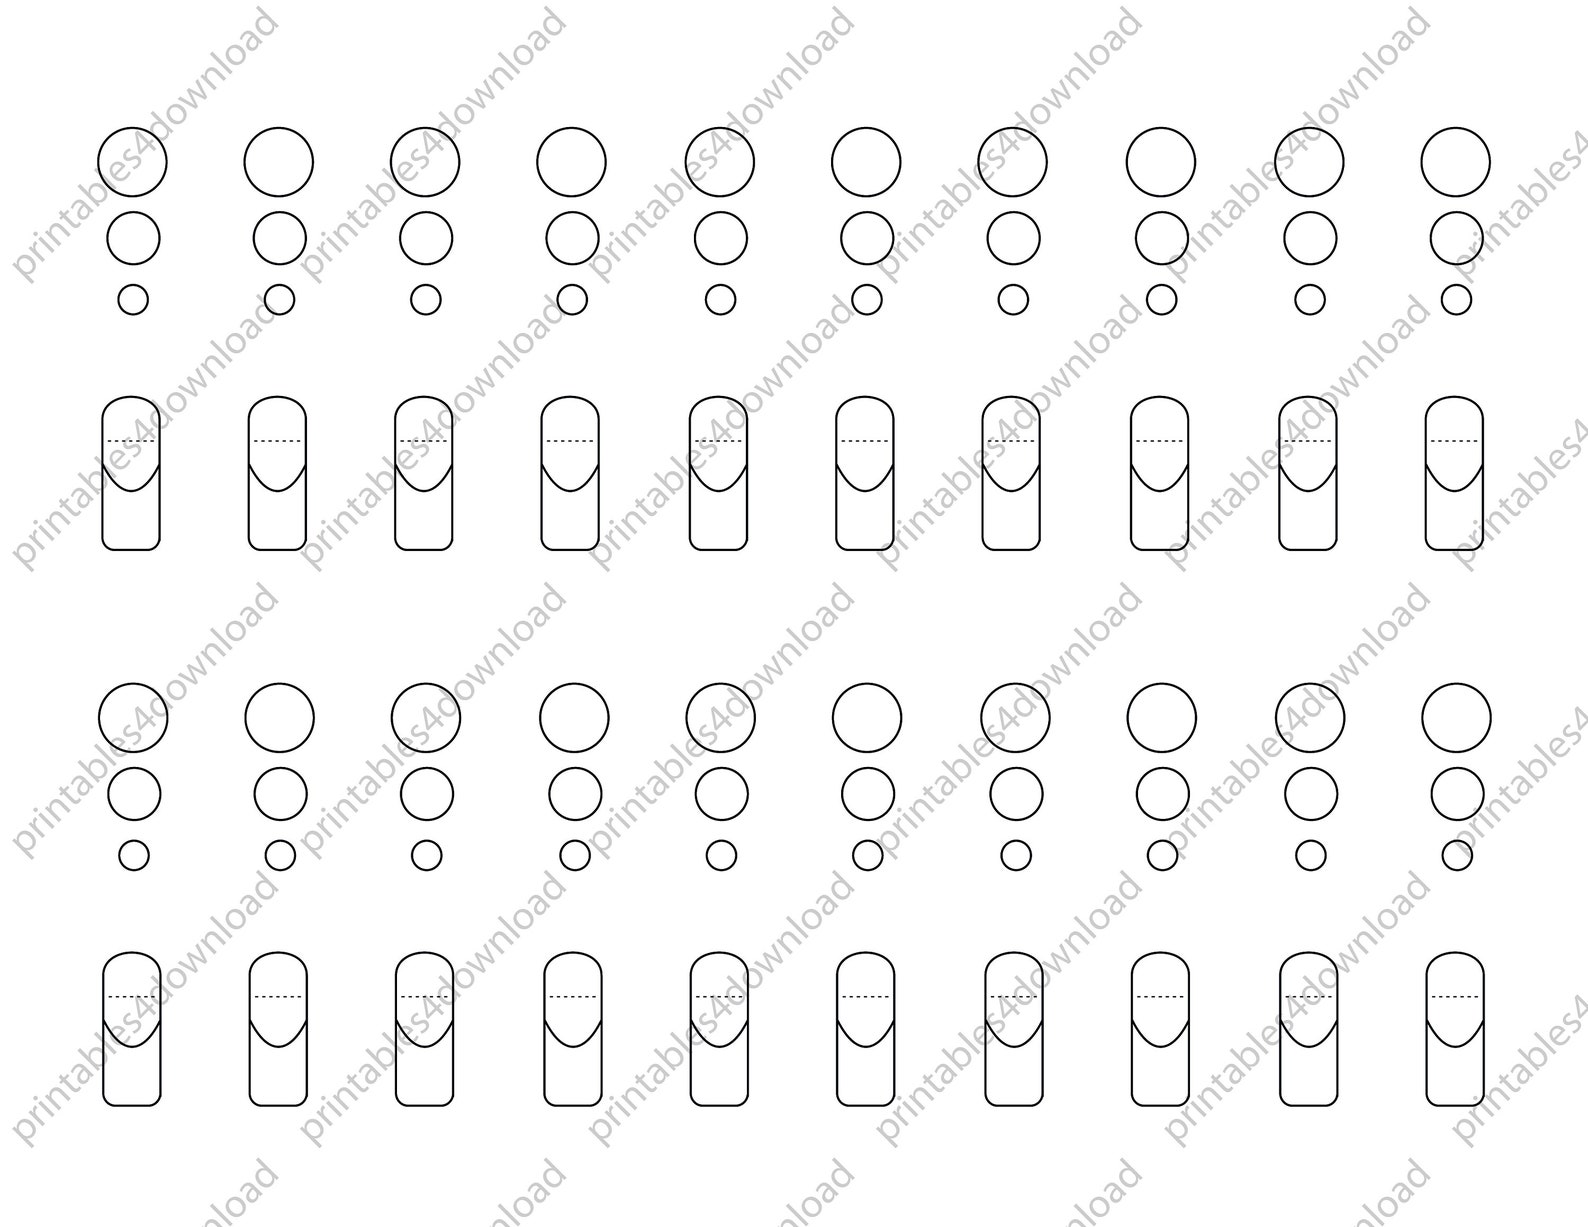
 Step 1: Choose your paper – You can use any type of paper for this technique, but thinner paper, like tissue paper or magazine pages, works best.
Step 2: Cut your paper into thin strips – You can use scissors or a paper cutter to create strips of different widths. The strips should be long enough to cover your entire nail.
Step 3: Apply a base coat – Just like with any other manicure, start with a base coat to protect your nails and create a smooth surface.
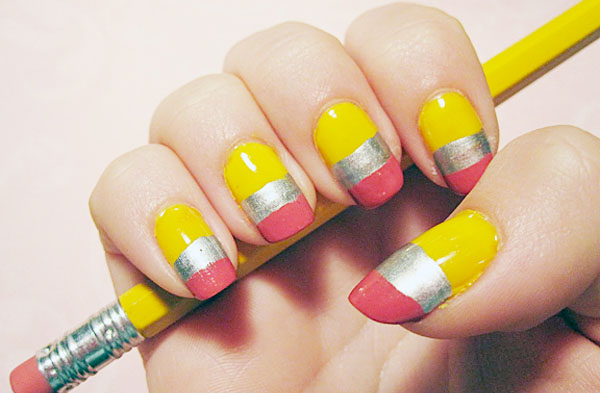
Step 4: Apply the paper strips – Using tweezers, carefully place the paper strips on your nails. You can create different designs by overlapping or crisscrossing the strips.
Step 5: Seal with a top coat – Once you're happy with your design, seal it in with a top coat. This will help the paper adhere to your nails and also give it a glossy finish.
Step 1: Choose your paper – You can use any type of paper for this technique, but thinner paper, like tissue paper or magazine pages, works best.
Step 2: Cut your paper into thin strips – You can use scissors or a paper cutter to create strips of different widths. The strips should be long enough to cover your entire nail.
Step 3: Apply a base coat – Just like with any other manicure, start with a base coat to protect your nails and create a smooth surface.
Step 4: Apply the paper strips – Using tweezers, carefully place the paper strips on your nails. You can create different designs by overlapping or crisscrossing the strips.
Step 5: Seal with a top coat – Once you're happy with your design, seal it in with a top coat. This will help the paper adhere to your nails and also give it a glossy finish.
Why Paper Nail Art?
 Not only is paper nail art a fun and easy way to express your creativity, but it also has many other benefits. For one, it's a great way to use up any scrap paper you have lying around. It's also a more affordable option compared to other nail art techniques, making it accessible to everyone. Plus, it's a great activity to do with friends or family, as you can share paper strips and come up with unique designs together.
In conclusion, paper nail art is a simple yet effective way to elevate your manicure game. It's a fun and creative activity that anyone can enjoy, and the possibilities are endless. So the next time you're looking to add a unique touch to your nails, grab some paper and get creative!
Not only is paper nail art a fun and easy way to express your creativity, but it also has many other benefits. For one, it's a great way to use up any scrap paper you have lying around. It's also a more affordable option compared to other nail art techniques, making it accessible to everyone. Plus, it's a great activity to do with friends or family, as you can share paper strips and come up with unique designs together.
In conclusion, paper nail art is a simple yet effective way to elevate your manicure game. It's a fun and creative activity that anyone can enjoy, and the possibilities are endless. So the next time you're looking to add a unique touch to your nails, grab some paper and get creative!


