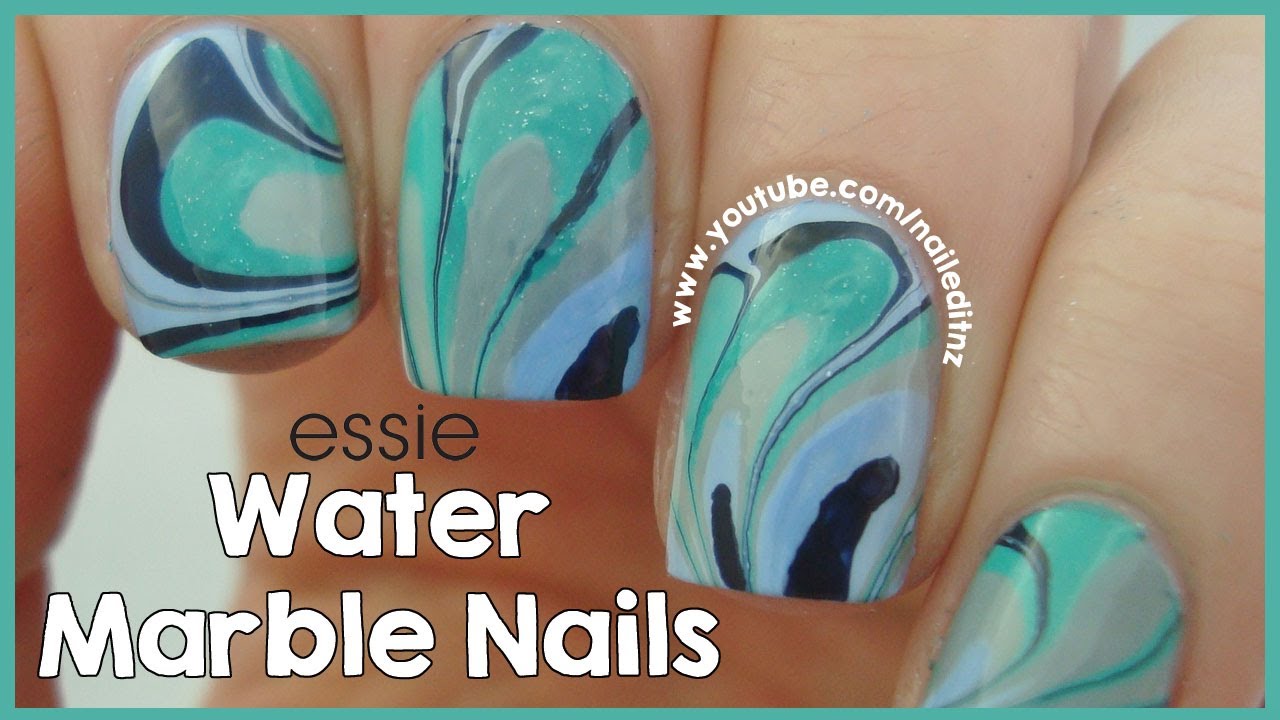
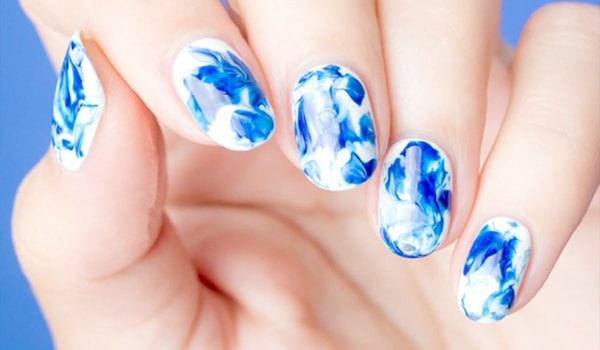
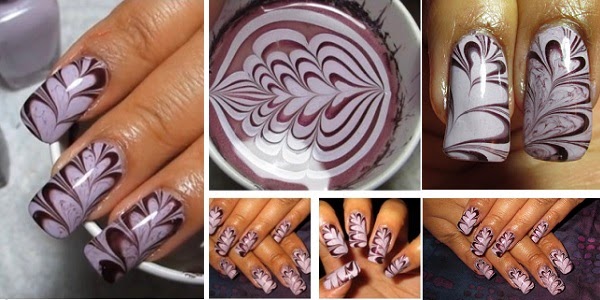
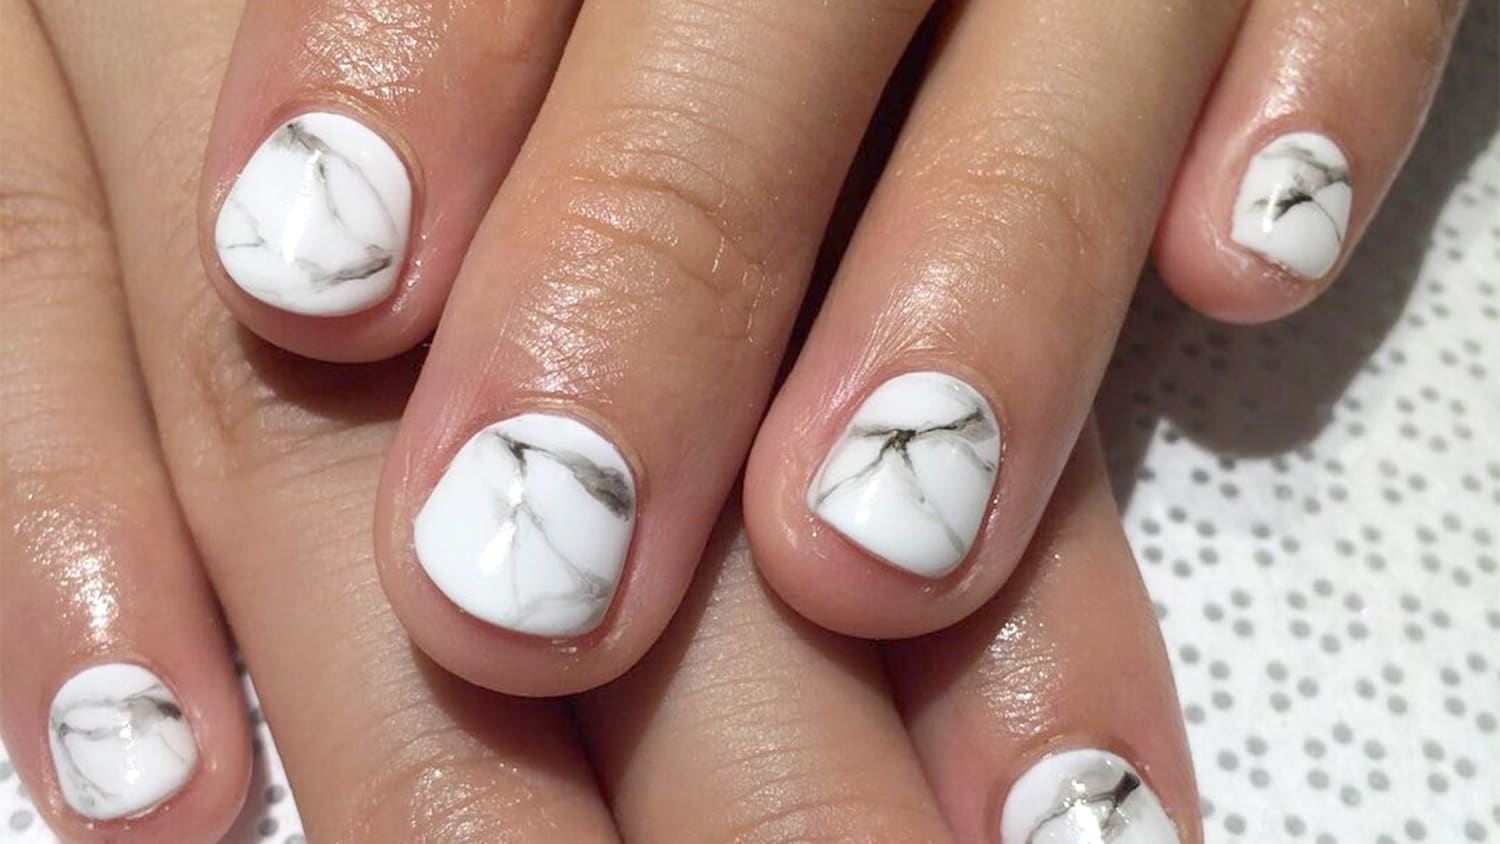
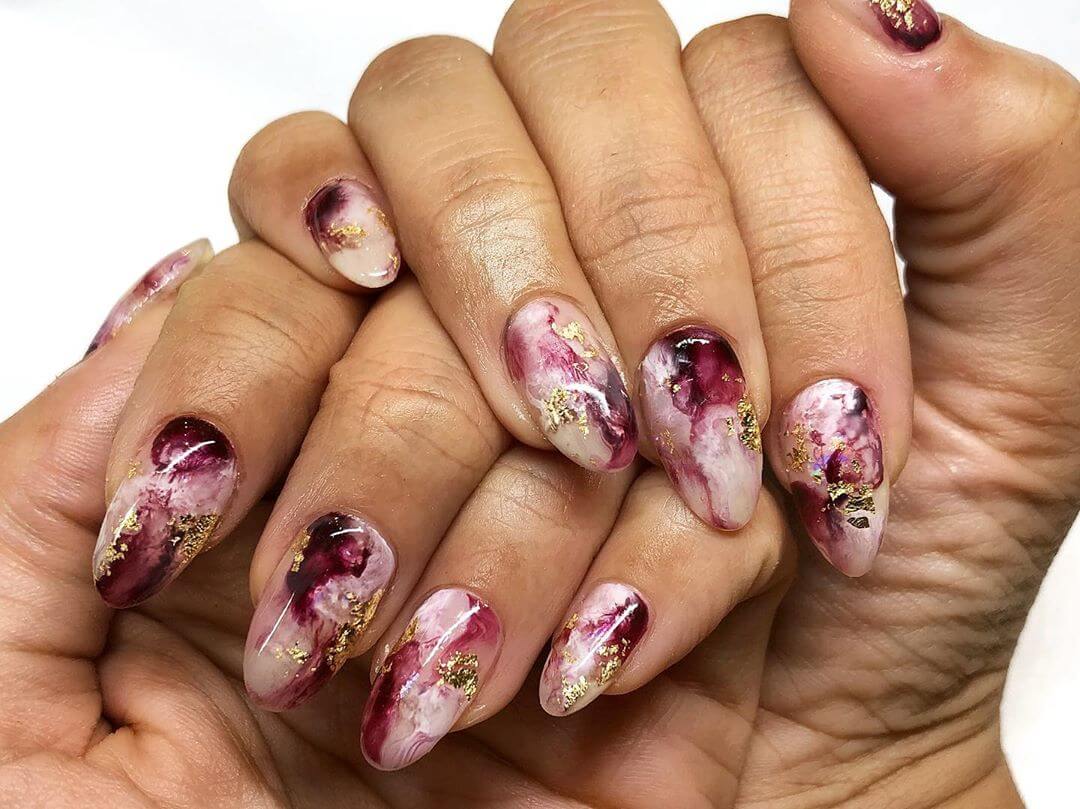
If you want to achieve a stunning marble nail art look without any special tools or techniques, try using water! This hack is perfect for beginners and requires minimal effort. Start by painting your nails with a light base color and let it dry completely. Then, take a few drops of a different color and place them on the surface of a cup of water. Use a toothpick to create a swirly pattern in the drops of polish. Next, dip your nail into the water, making sure to cover the entire nail. Gently remove your finger from the water and clean off any excess polish around your nail. Voila, you now have a beautiful marble design on your nail!1. How to Create Marble Nail Art Using Water

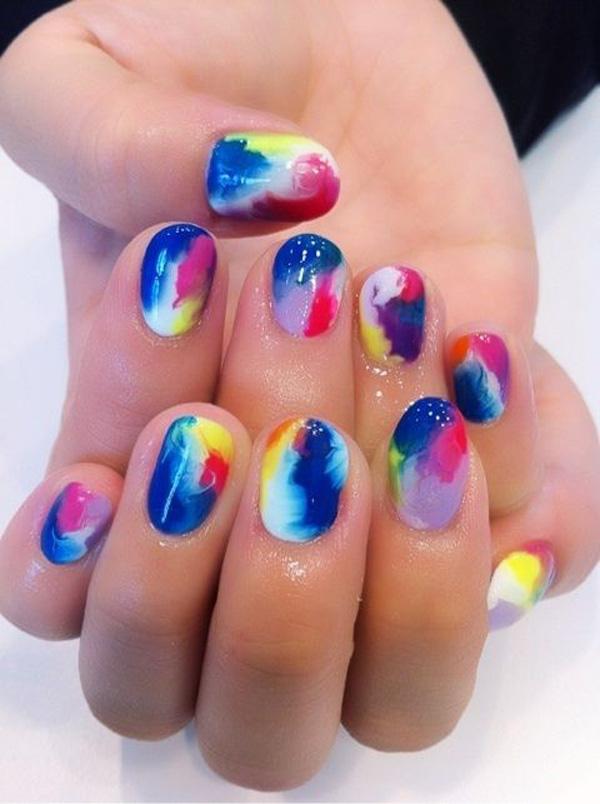

1. How to Create Marble Nail Art Using Water


If you're new to the world of nail art, don't worry! There are plenty of easy marble nail art hacks that you can try. One simple trick is to use a makeup sponge to create a marbled effect. Start by painting your nails with a light base color and let it dry. Then, apply a few drops of different colored polishes onto a makeup sponge and gently dab it onto your nail. This will give you a soft, marbled look. You can also try using a toothpick to swirl different colors together on your nail for a more abstract design.2. 10 Easy Marble Nail Art Hacks for Beginners
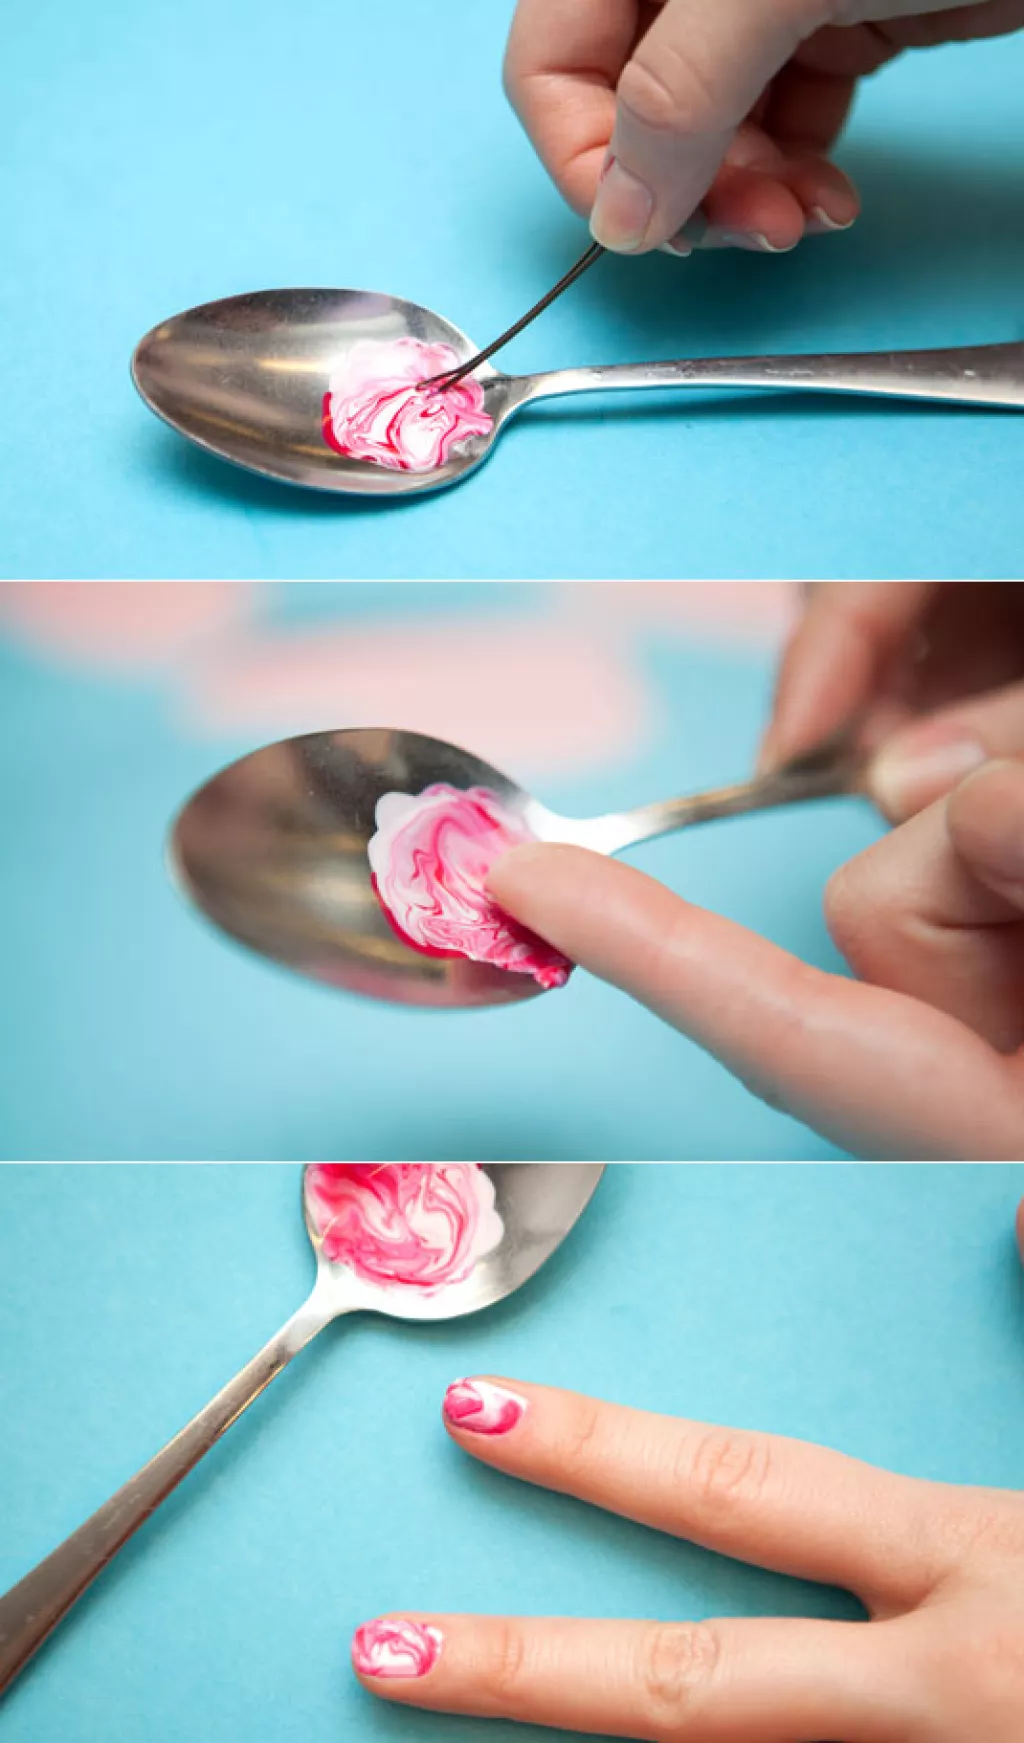


2. 10 Easy Marble Nail Art Hacks for Beginners


If you don't have any special tools for marble nail art, don't worry! You can create a similar effect using plastic wrap. Start by painting your nails with a base color and let it dry completely. Then, paint a different color on top and immediately press a crumpled piece of plastic wrap onto your nail. Gently remove the plastic wrap and you'll be left with a unique marbled design. You can also experiment with different colors and layering to create a more intricate look.3. DIY Marble Nail Art Using Plastic Wrap


3. DIY Marble Nail Art Using Plastic Wrap


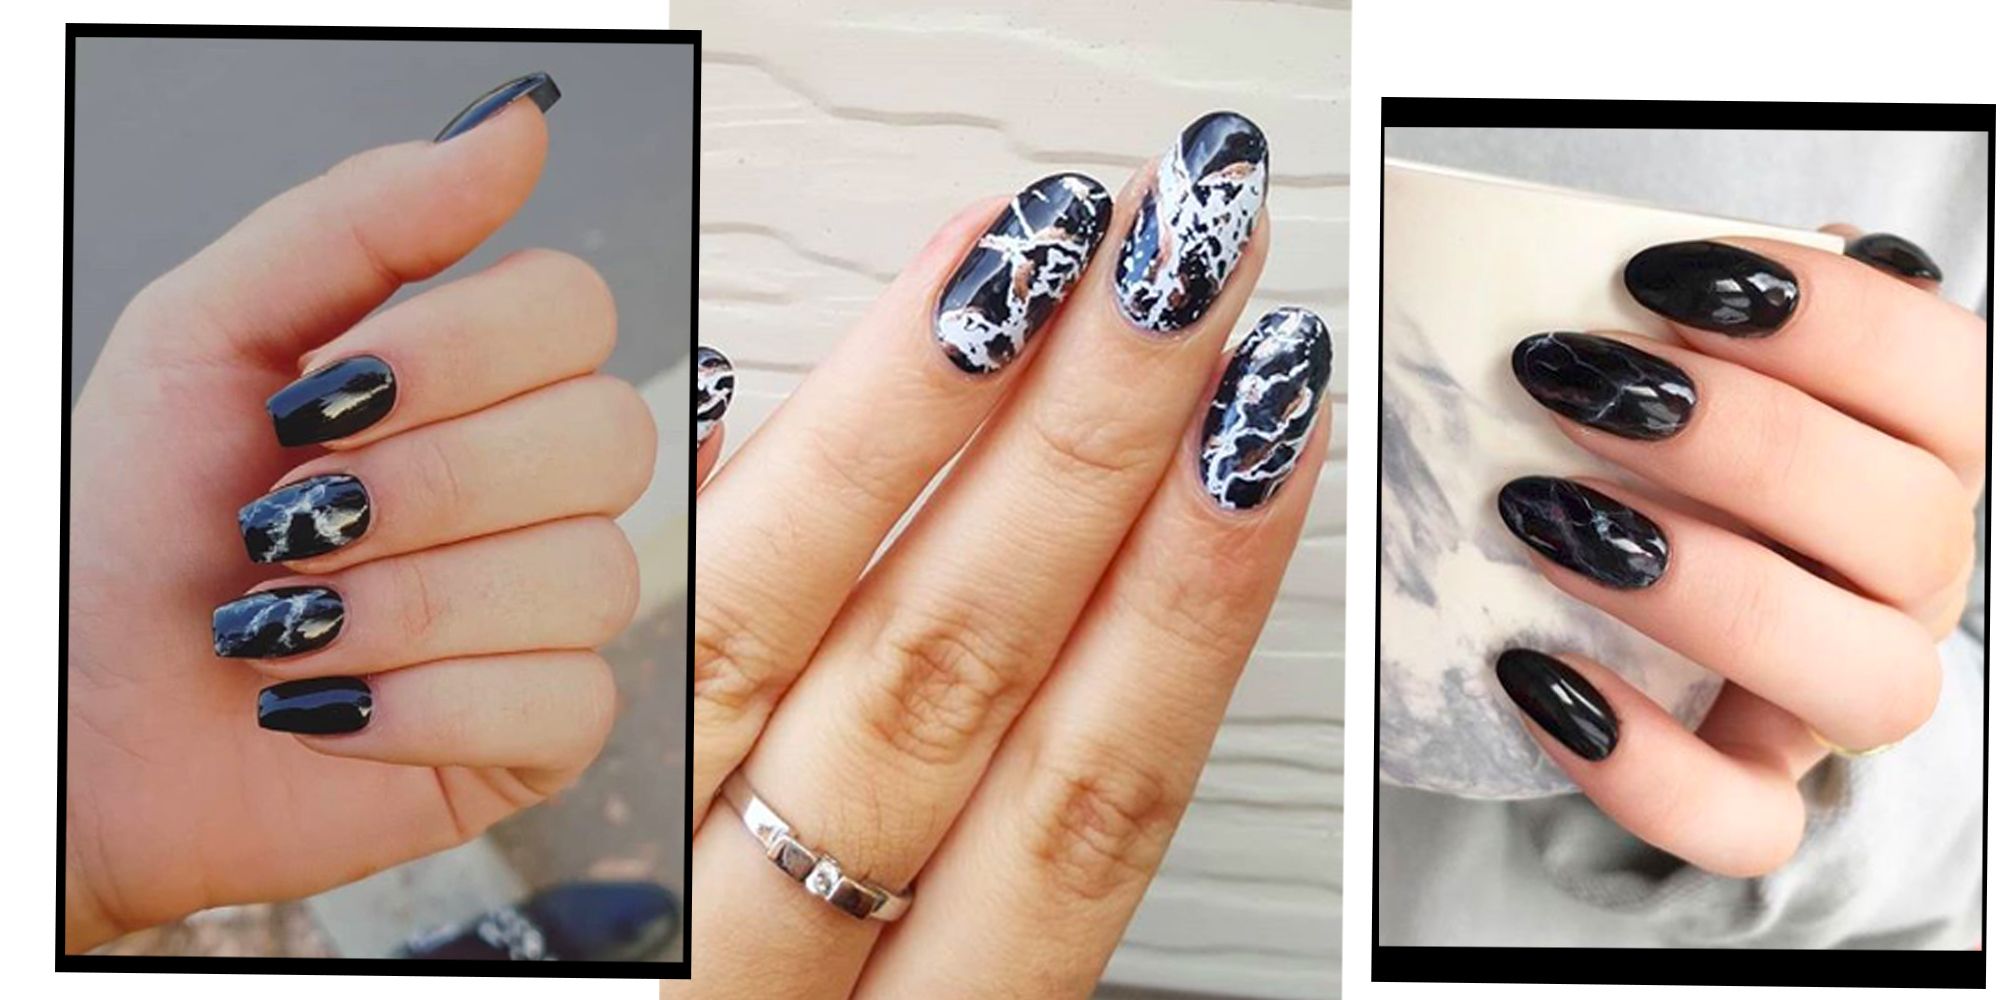
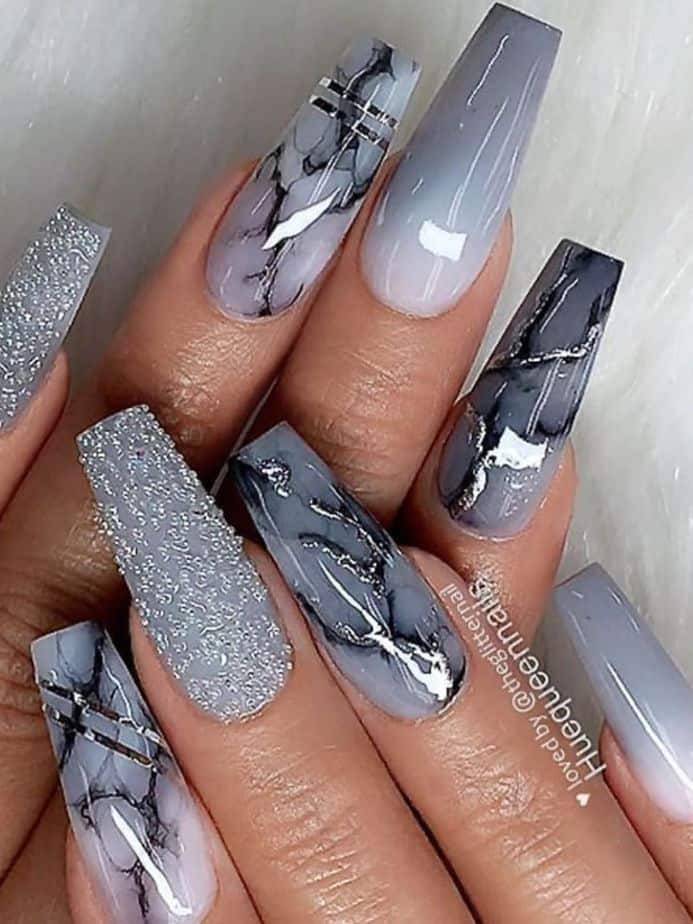
Creating a flawless marble nail art design can be tricky, but with these tips, you'll be a pro in no time. First, make sure to use a good quality base and top coat to ensure your design lasts. Secondly, don't be afraid to experiment with different colors and techniques. Thirdly, use a small brush or toothpick to clean up any excess polish around your nails. Fourthly, try using a matte top coat to give your marble design a more unique and sophisticated look. Lastly, don't forget to seal in your design with a top coat to prevent chipping.4. 5 Tips for Perfecting Marble Nail Art


4. 5 Tips for Perfecting Marble Nail Art
With the right techniques, you can achieve a professional-looking marble nail art design from the comfort of your own home. One hack is to use a thin striping brush to create thin lines of different colored polishes on your nail. You can then use a toothpick to swirl the lines together for a marbled effect. Another tip is to use a white base color to make the marbled design stand out more. And remember, practice makes perfect, so don't be afraid to try different techniques until you find one that works for you.5. Marble Nail Art Hacks for a Professional Look at Home


5. Marble Nail Art Hacks for a Professional Look at Home

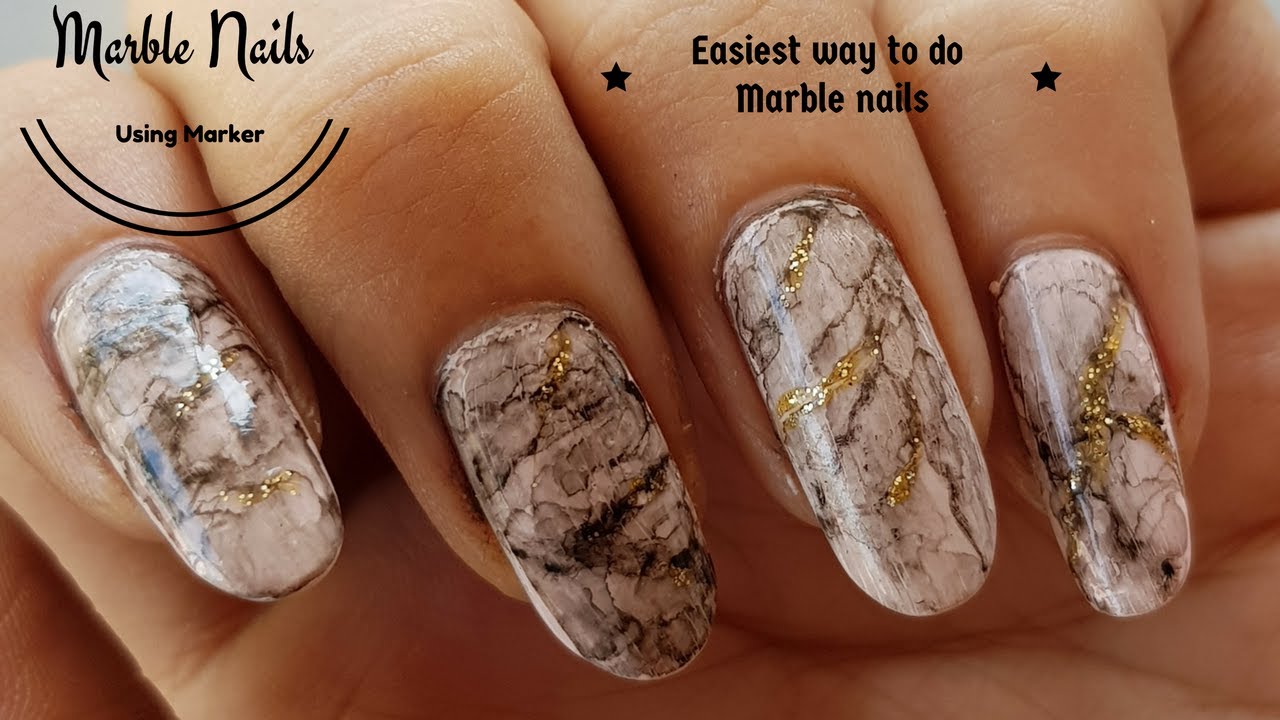
If you don't have any nail polish on hand, you can still create a beautiful marble design using Sharpie markers. Start by painting your nails with a white base color and let it dry completely. Then, use a black Sharpie to create abstract lines and swirls on your nails. Next, take a rubbing alcohol-soaked cotton swab and gently dab it onto your nails to blur the marker lines and create a marbled effect. Finish off with a top coat and you'll have a unique and colorful marble nail art design.6. Using Sharpie Markers for Marble Nail Art


6. Using Sharpie Markers for Marble Nail Art


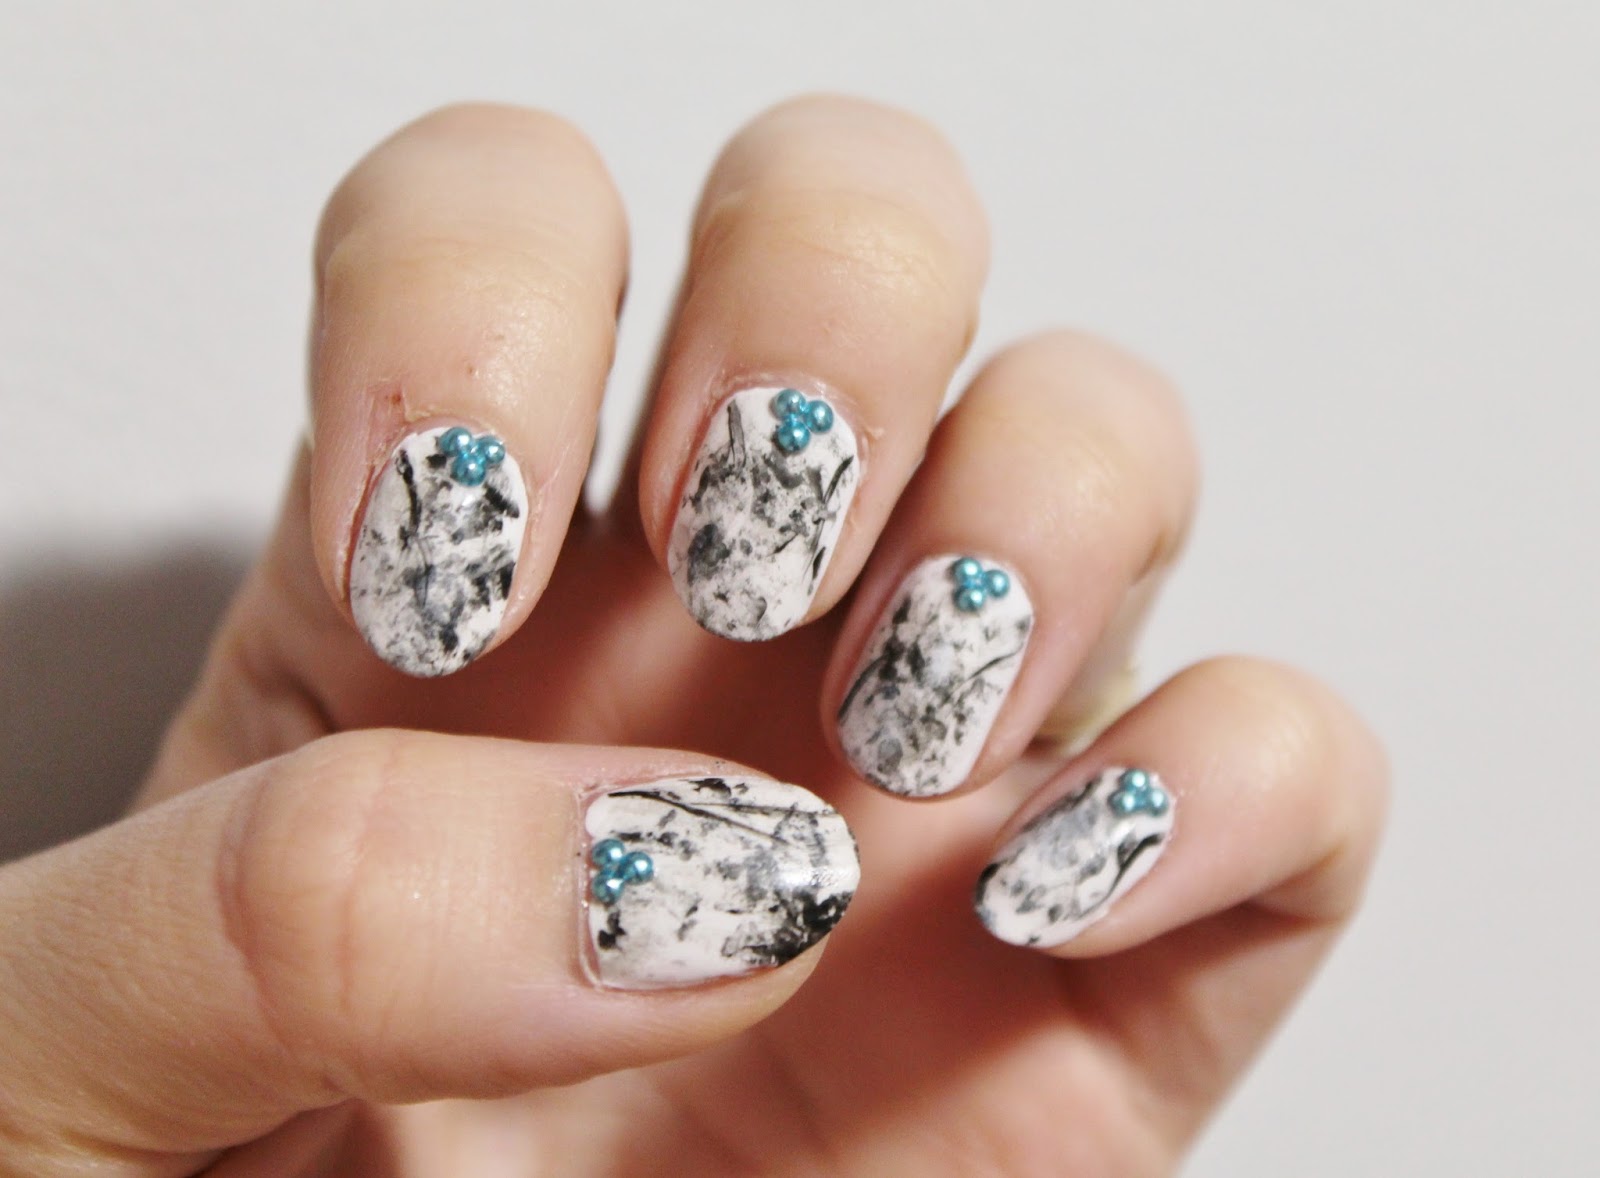
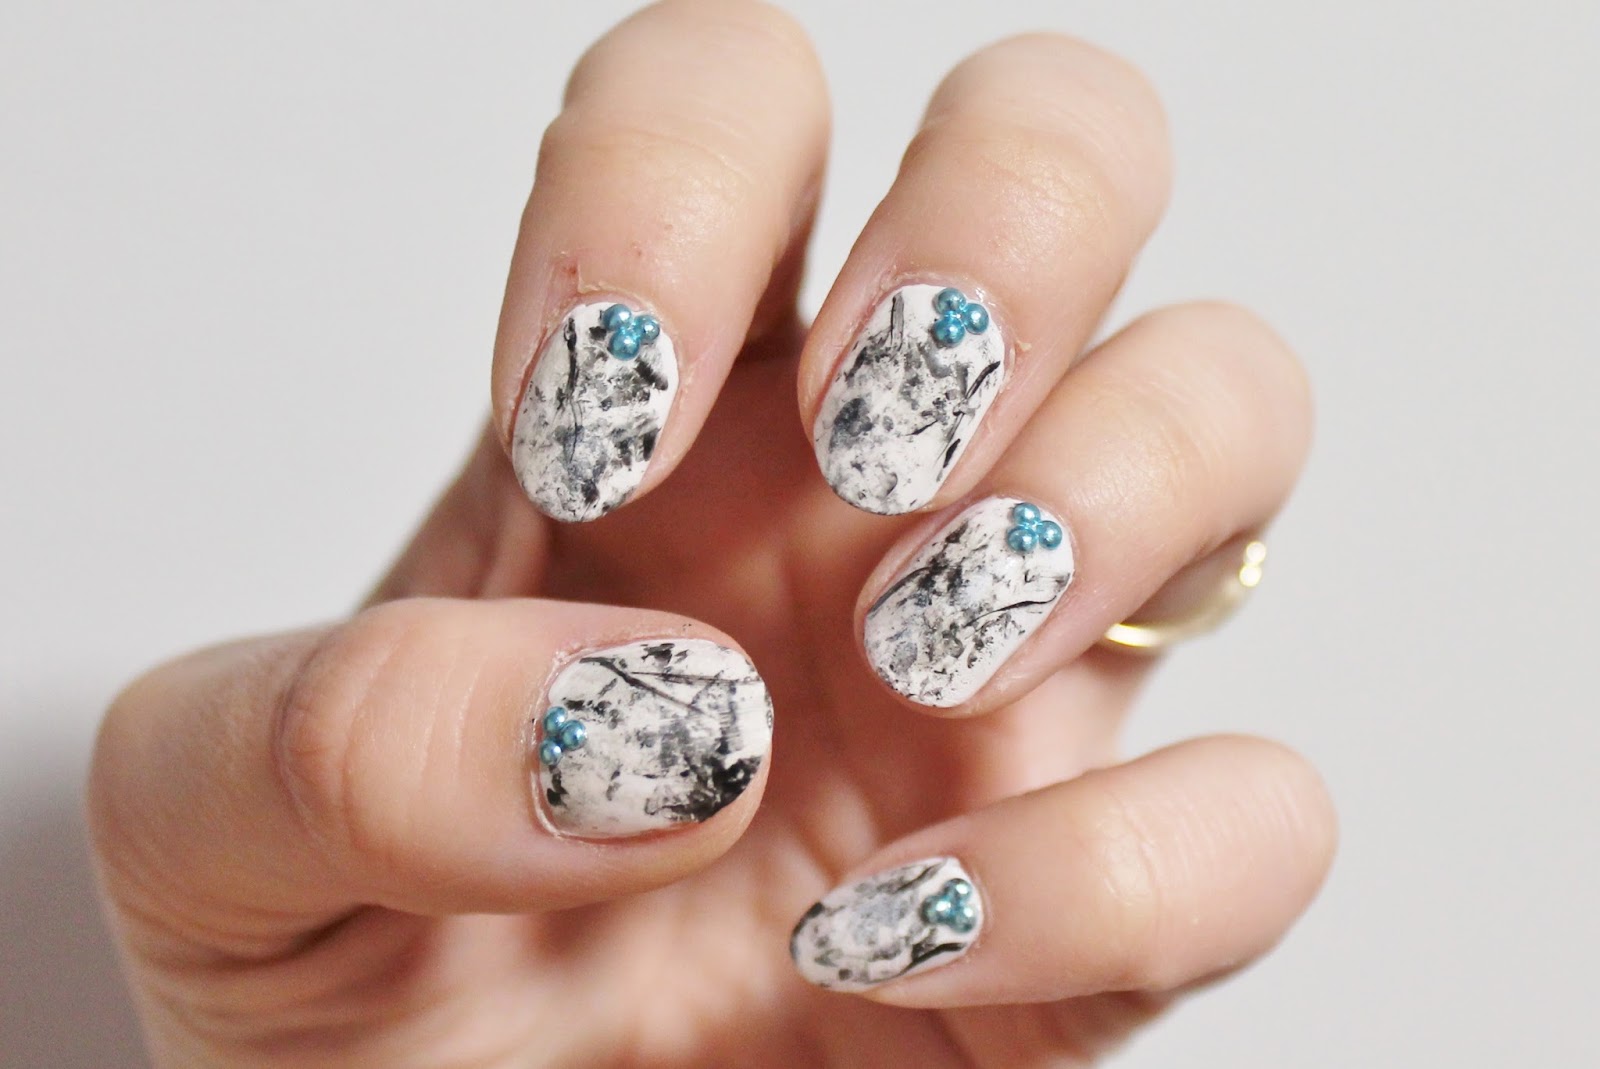
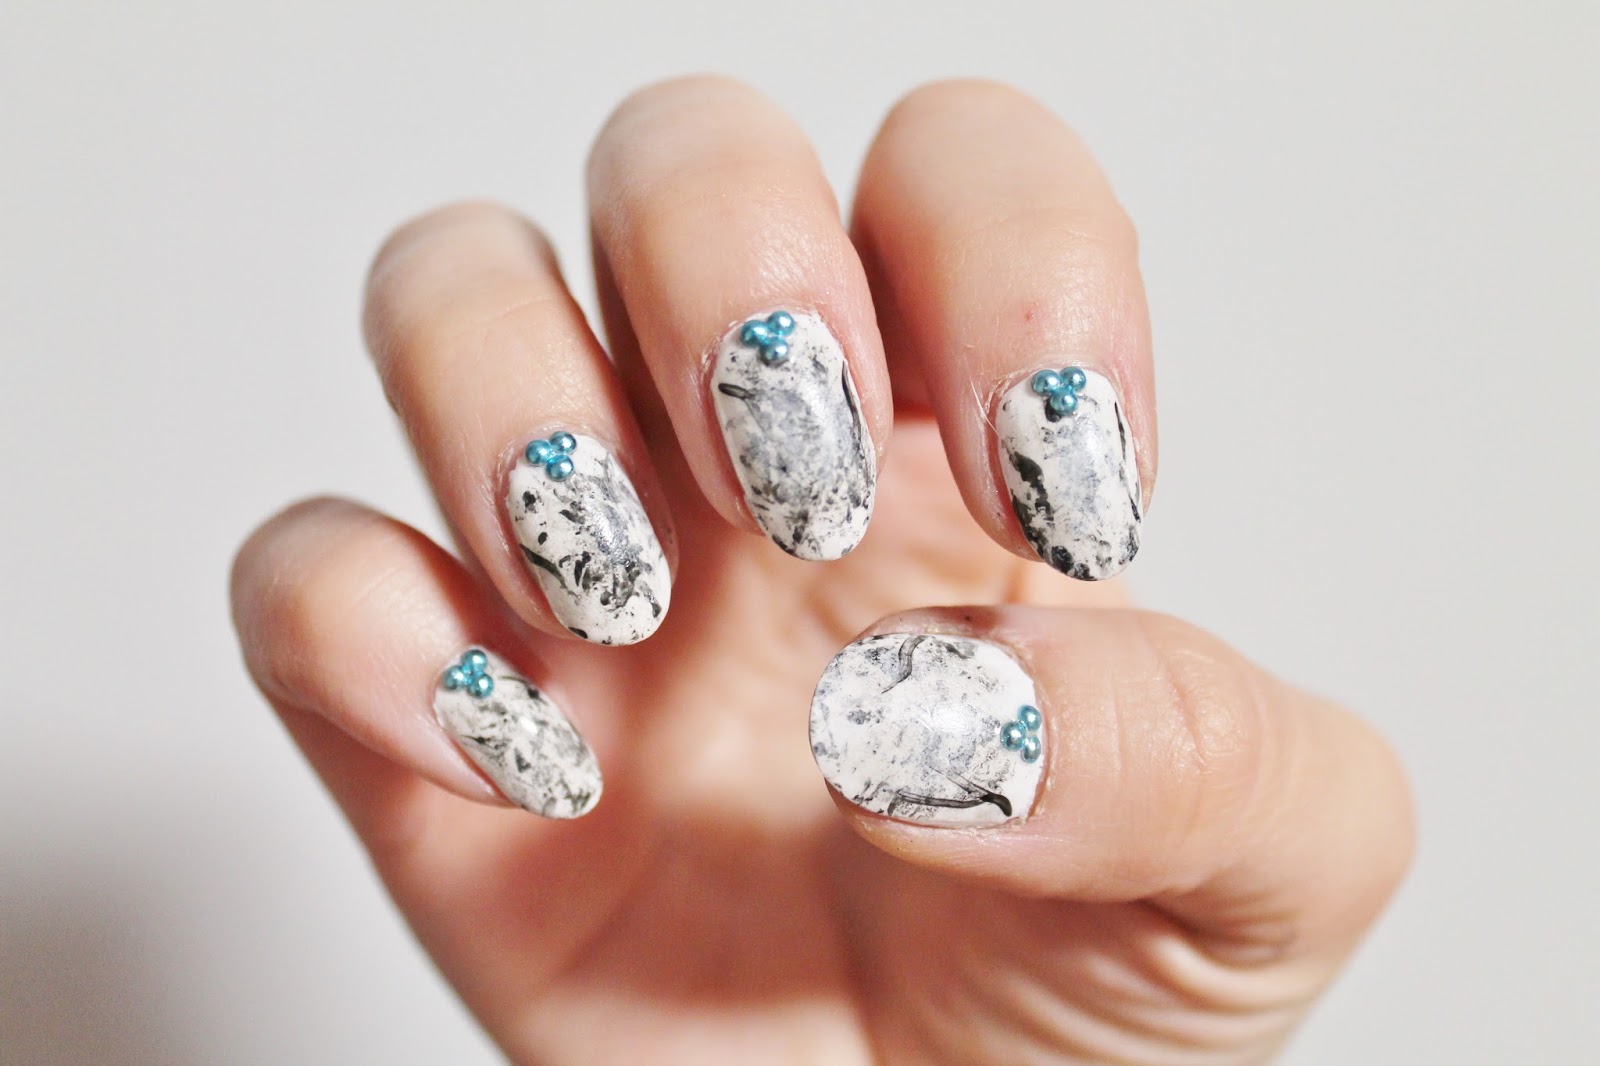
Take your marble nail art to the next level with this 3D tutorial. Start by painting your nails with a light base color and let it dry. Then, use a small brush to create abstract lines and shapes with different colored polishes. Next, sprinkle some small beads or rhinestones onto your wet nails and gently press them in. This will create a 3D effect that adds texture and dimension to your design. Finish off with a top coat to seal in the beads and you'll have a unique and eye-catching marble nail art look.7. 3D Marble Nail Art Tutorial


7. 3D Marble Nail Art Tutorial


If you have shorter nails, you may think that marble nail art is not an option for you. But fear not, there are still plenty of hacks that can work for shorter nails. One tip is to use a smaller brush or toothpick to create more delicate and intricate designs that will fit on smaller nails. You can also try using a lighter color as the base and a darker color for the marbled design to make your nails appear longer. And remember, you can always adjust the size and placement of your design to fit your nail length.8. Marble Nail Art Hacks for Short Nails
8. Marble Nail Art Hacks for Short Nails


We all make mistakes, especially when it comes to intricate nail art designs. But don't worry, there are ways to fix mistakes in your marble nail art. If you accidentally smudge your design, you can use a cotton swab dipped in nail polish remover to gently fix the mistake. If you make a bigger mistake, you can always cover it up with a rhinestone or bead. And if all else fails, you can always start over with a fresh layer of base color and try again.9. How to Fix Mistakes in Marble Nail Art

9. How to Fix Mistakes in Marble Nail Art
If you're short on time but still want a fabulous marble nail art look, there are hacks for that too. One option is to use nail wraps or stickers that have a marble design already printed on them. Simply apply them to your nails and you'll have a beautiful and effortless manicure. Another quick option is to use a nail stamping kit with a marble pattern. This will give you a professional-looking design in just a few minutes. And don't forget, practice makes perfect, so keep trying different techniques until you find one that works for you.10. Marble Nail Art Hacks for a Quick and Easy Manicure

10. Marble Nail Art Hacks for a Quick and Easy Manicure

The Beauty of Marble Nail Art: Tips and Tricks to Master the Trend

Creating a Stunning Look for Your Nails
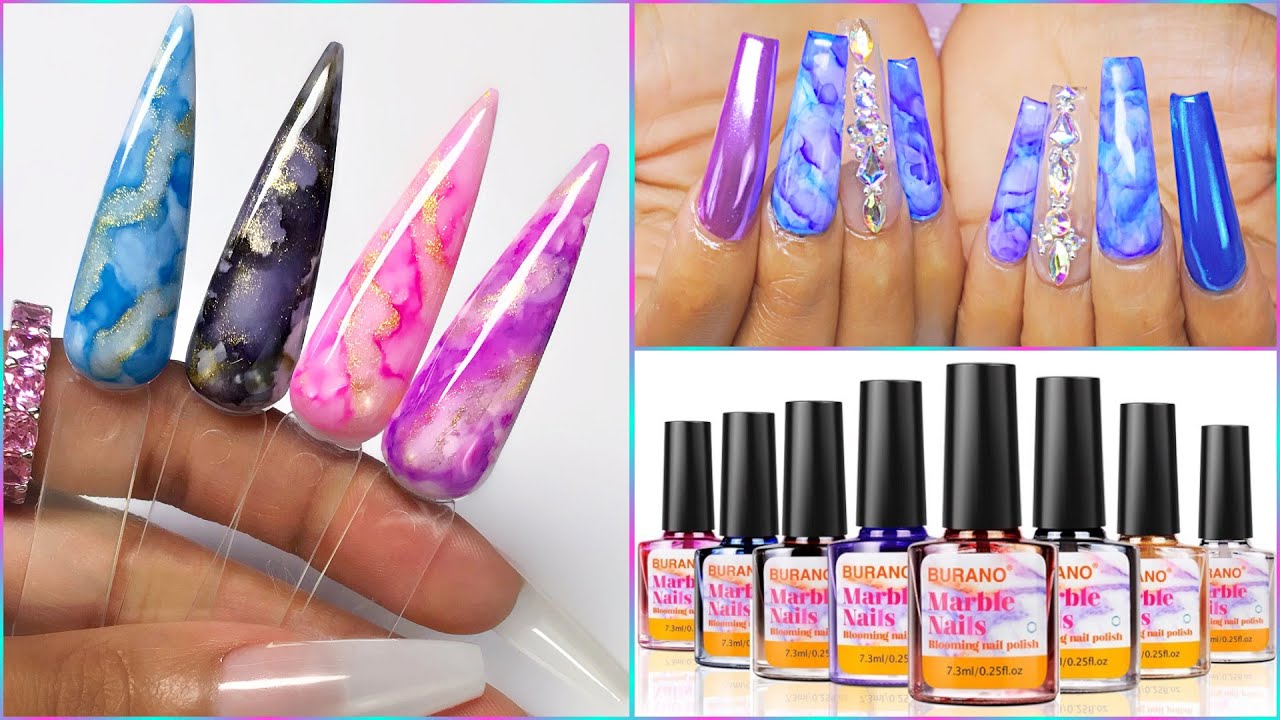
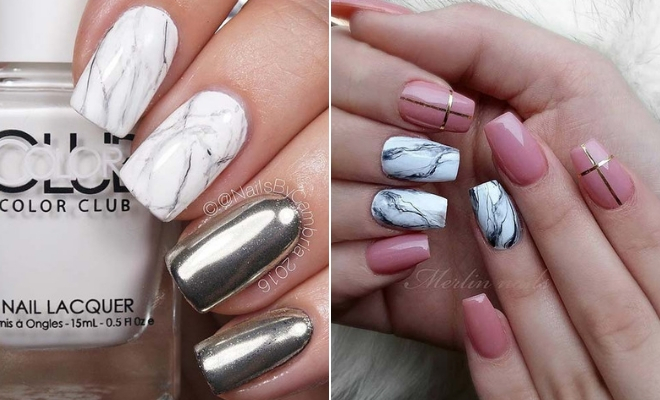
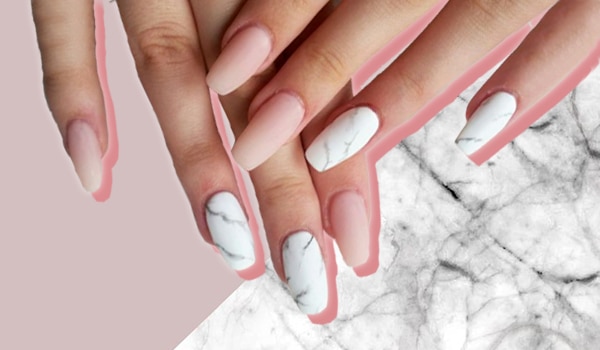
 When it comes to nail art, there are endless possibilities to express your style and personality. One trend that has taken the beauty world by storm is marble nail art. This unique and mesmerizing design is inspired by the luxurious look of natural marble stone, and it's a great way to add a touch of elegance to your nails. But creating this look can seem daunting, especially if you're not a professional nail artist. That's why we've compiled a list of marble nail art hacks to help you achieve the perfect manicure.
1. The Right Tools
Before you start creating your marble nail art, make sure you have all the necessary tools. This includes a base coat, top coat, white nail polish, and a variety of nail polish colors. You'll also need a thin brush or toothpick to create the marble design. Having all your tools ready will make the process smoother and more efficient.
When it comes to nail art, there are endless possibilities to express your style and personality. One trend that has taken the beauty world by storm is marble nail art. This unique and mesmerizing design is inspired by the luxurious look of natural marble stone, and it's a great way to add a touch of elegance to your nails. But creating this look can seem daunting, especially if you're not a professional nail artist. That's why we've compiled a list of marble nail art hacks to help you achieve the perfect manicure.
1. The Right Tools
Before you start creating your marble nail art, make sure you have all the necessary tools. This includes a base coat, top coat, white nail polish, and a variety of nail polish colors. You'll also need a thin brush or toothpick to create the marble design. Having all your tools ready will make the process smoother and more efficient.
2. The Base Coat
 To ensure your marble nail art stays put, start with a base coat. This will help your nail polish adhere to your nails and prevent chipping. Plus, it will create a smooth surface for the marble design to be applied on.
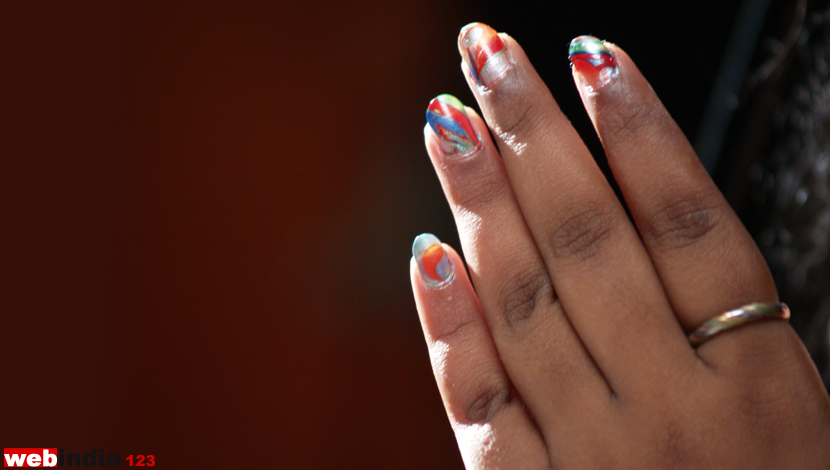
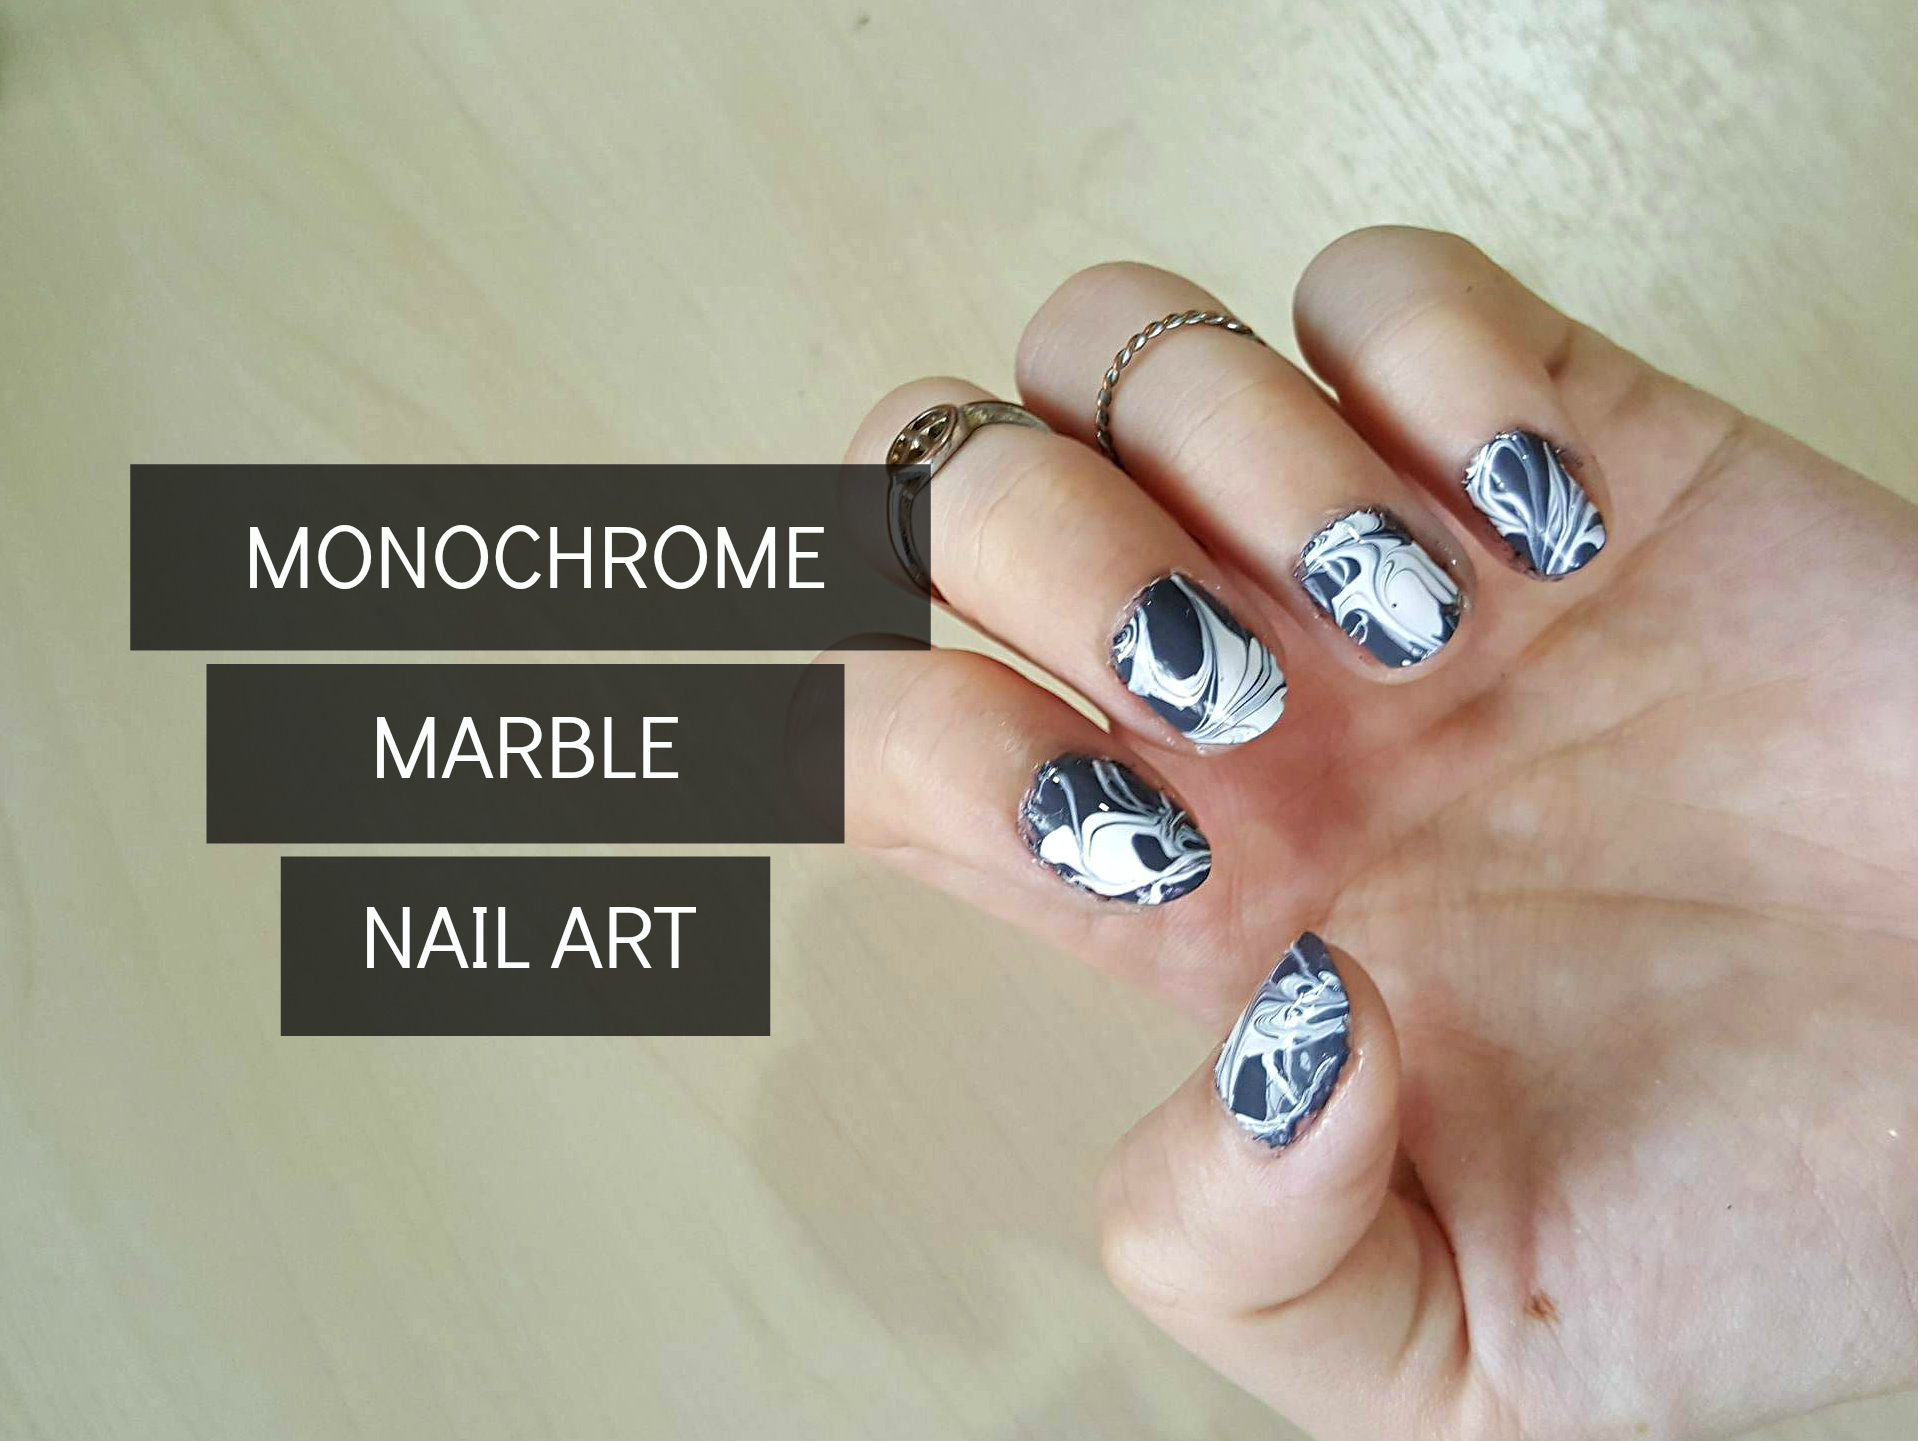
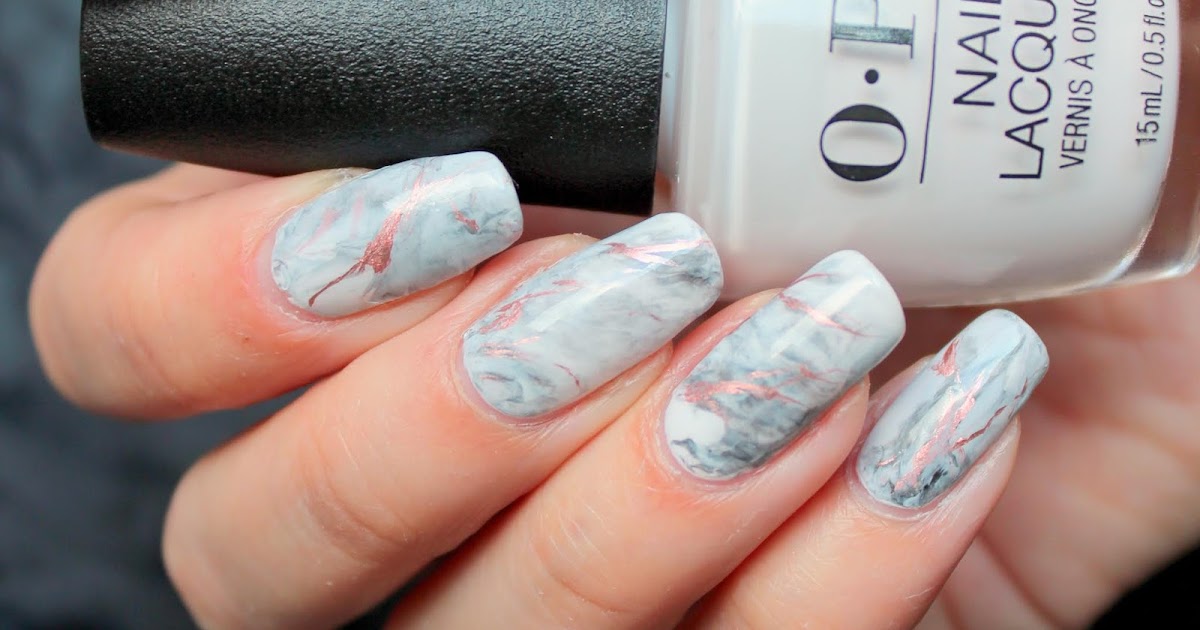
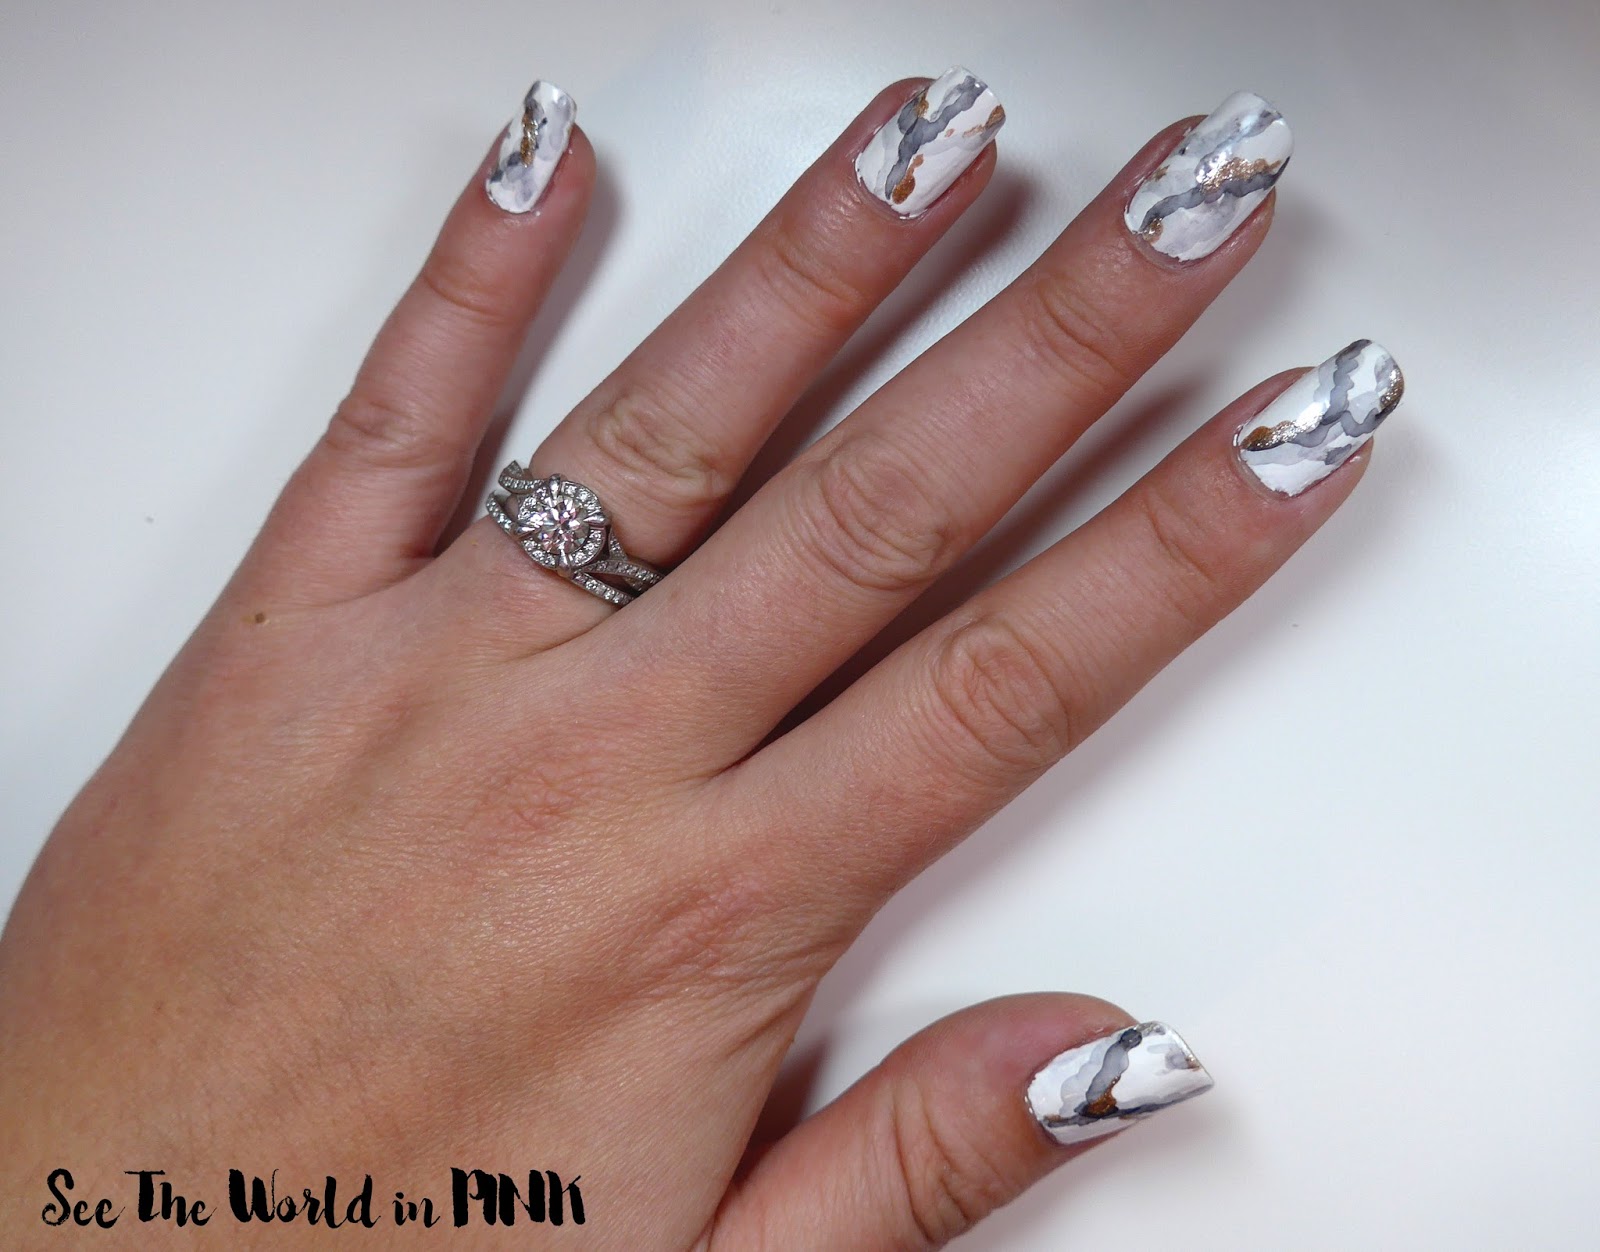
3. The Water Marble Technique
A popular technique for creating marble nail art is the water marble technique. Start by filling a small cup with room temperature water and drop a few drops of your desired nail polish colors onto the surface. You can use a toothpick to create a swirl pattern, mimicking the look of marble. Then, dip your nail into the water, making sure to submerge it completely. Remove any excess polish from the surface of the water with a toothpick and carefully remove your finger from the water. Repeat this process for each nail.
To ensure your marble nail art stays put, start with a base coat. This will help your nail polish adhere to your nails and prevent chipping. Plus, it will create a smooth surface for the marble design to be applied on.
3. The Water Marble Technique
A popular technique for creating marble nail art is the water marble technique. Start by filling a small cup with room temperature water and drop a few drops of your desired nail polish colors onto the surface. You can use a toothpick to create a swirl pattern, mimicking the look of marble. Then, dip your nail into the water, making sure to submerge it completely. Remove any excess polish from the surface of the water with a toothpick and carefully remove your finger from the water. Repeat this process for each nail.
4. The Sponge Technique
 If the water marble technique seems too intimidating, you can achieve a similar effect with a sponge. Start by painting your nails with a white base coat. Then, apply drops of your chosen nail polish colors onto a makeup sponge, and lightly dab it onto your nails. This will create a marbled effect, and you can adjust the intensity of the design by layering different colors.
5. The Finishing Touch
Once your marble design is dry, finish off with a top coat to seal in the design and add shine. This will also help your manicure last longer and prevent any smudging or chipping.
Now that you have these marble nail art hacks in your arsenal, you can create a stunning and unique look for your nails. Don't be afraid to experiment with different colors and techniques to find the perfect marble design for you. With a little practice, you'll be able to master this trend and have envy-worthy nails in no time.
So go ahead, unleash your creativity and give your nails the luxurious touch of marble with these easy and effective tips and tricks!
If the water marble technique seems too intimidating, you can achieve a similar effect with a sponge. Start by painting your nails with a white base coat. Then, apply drops of your chosen nail polish colors onto a makeup sponge, and lightly dab it onto your nails. This will create a marbled effect, and you can adjust the intensity of the design by layering different colors.
5. The Finishing Touch
Once your marble design is dry, finish off with a top coat to seal in the design and add shine. This will also help your manicure last longer and prevent any smudging or chipping.
Now that you have these marble nail art hacks in your arsenal, you can create a stunning and unique look for your nails. Don't be afraid to experiment with different colors and techniques to find the perfect marble design for you. With a little practice, you'll be able to master this trend and have envy-worthy nails in no time.
So go ahead, unleash your creativity and give your nails the luxurious touch of marble with these easy and effective tips and tricks!


