If you're looking for a fun and creative science project, why not try marble nail art? This unique project combines art and science to create beautiful and colorful designs. Not only is it a great way to express your creativity, but it also teaches you about the properties of water and oil. Here are 10 marble nail art science project ideas to get you started!Marble Nail Art Science Project Ideas


Marble Nail Art Science Project Ideas

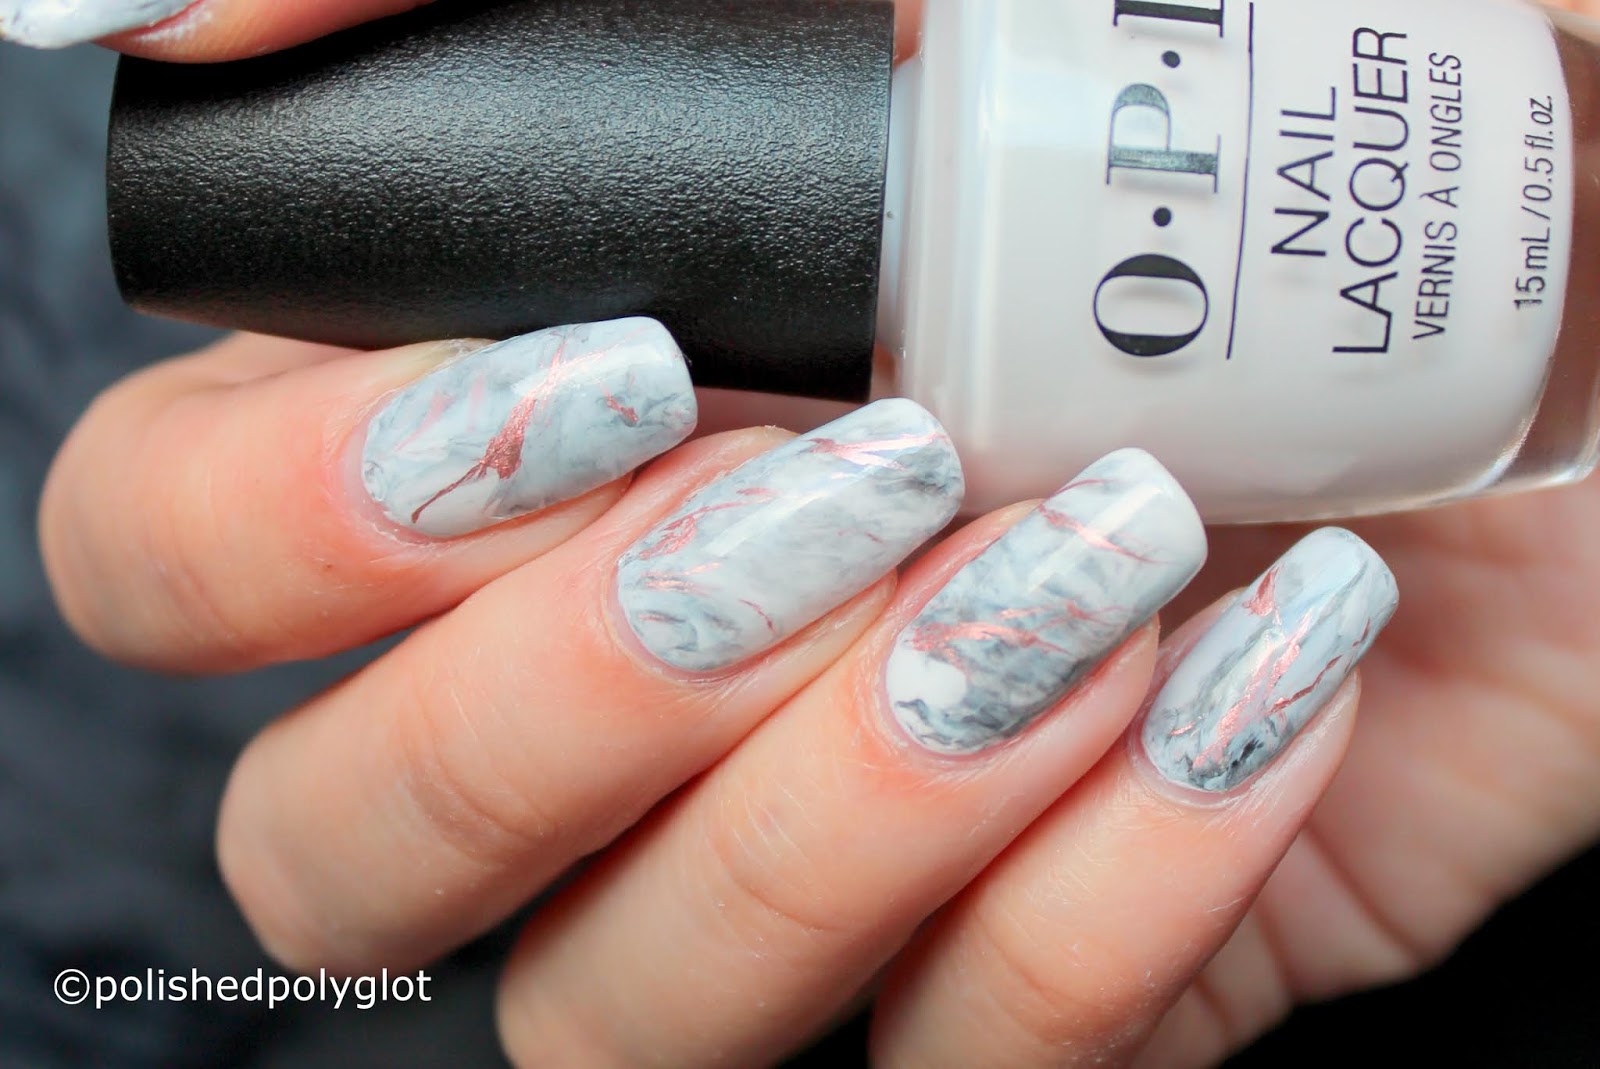


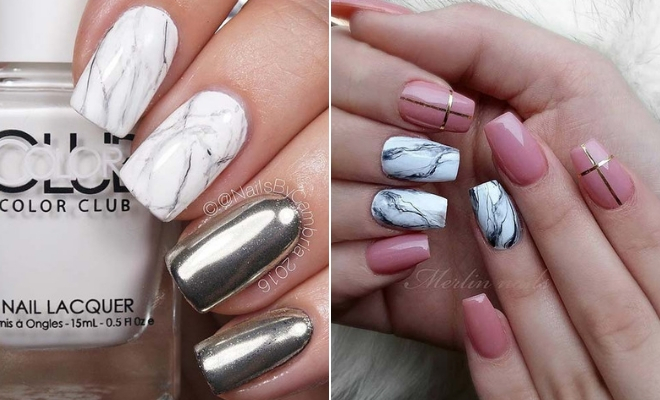
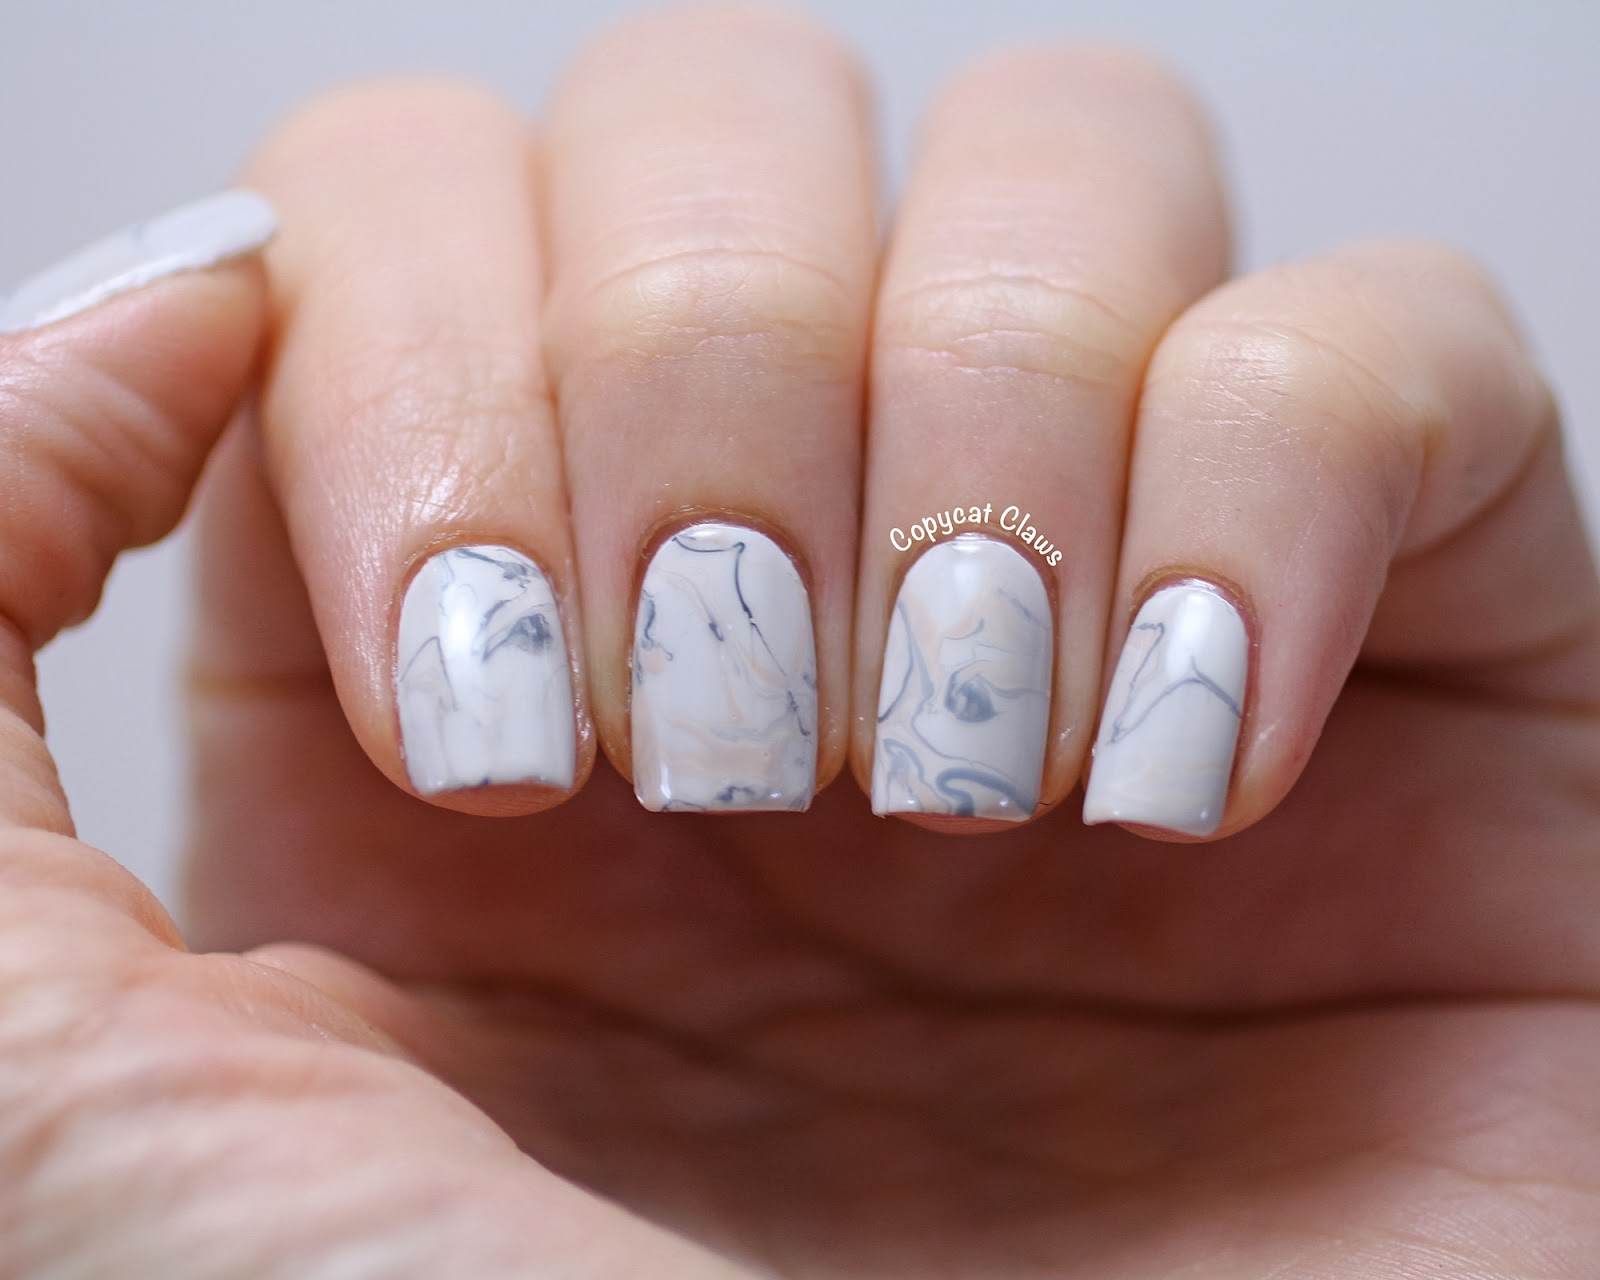
Marble nail art is a perfect science project for kids of all ages. It's easy to do and requires minimal materials, making it a great activity for a rainy day or a birthday party. Kids will love creating their own designs and learning about the science behind it. Plus, it's a mess-free project that parents will appreciate!Marble Nail Art Science Project for Kids

Marble Nail Art Science Project for Kids

:quality(85):upscale()/2023/09/05/968/n/1922153/deeab3bb64f7a856b38ef3.89488489_.jpg)

Before starting your marble nail art science project, you'll need to come up with a hypothesis. This is a statement that predicts the outcome of your experiment. For example, your hypothesis could be: "The design created by dropping nail polish into water will be different from the design created by swirling the nail polish in water."Marble Nail Art Science Project Hypothesis


Marble Nail Art Science Project Hypothesis

To create your marble nail art, you'll need a few key materials. These include nail polish in various colors, a cup of water, a toothpick or skewer, and nail polish remover. You may also want to have some paper towels or newspaper handy to protect your work surface.Marble Nail Art Science Project Materials

Marble Nail Art Science Project Materials

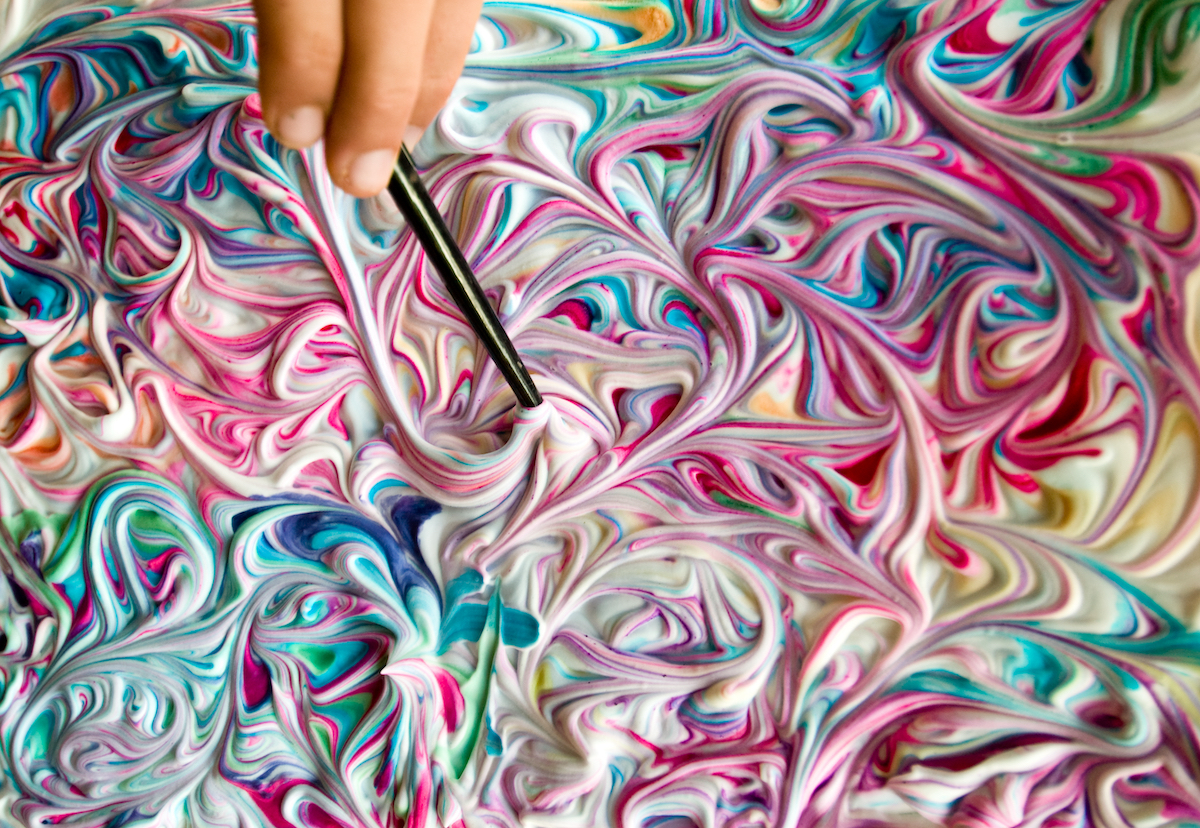
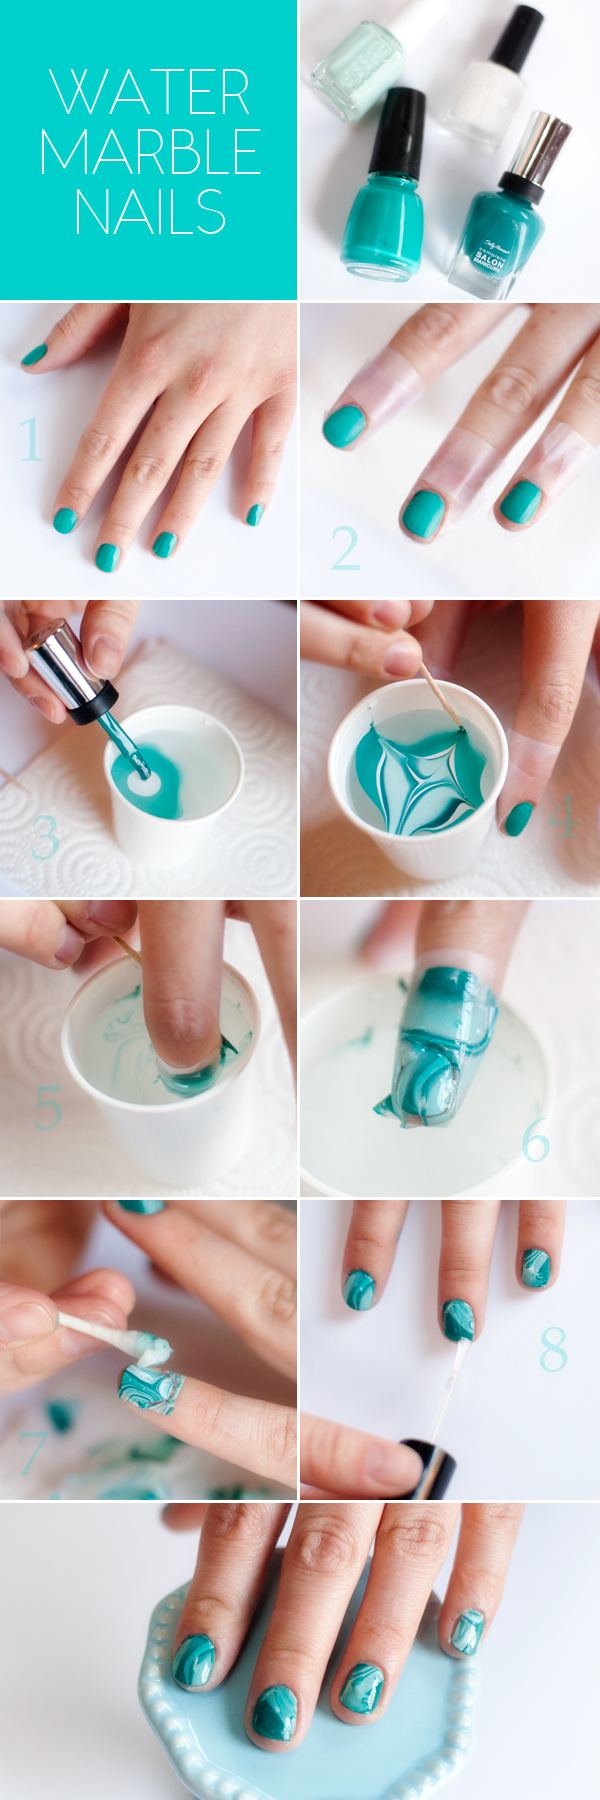
Now it's time to start your experiment! Begin by filling a cup with water and adding a few drops of different colored nail polish to the surface. Use a toothpick or skewer to swirl the colors together. Then, dip your fingernail into the water and hold it there for a few seconds. When you remove your finger, the nail polish will adhere to it in a unique marble pattern.Marble Nail Art Science Project Procedure
Marble Nail Art Science Project Procedure
After completing your experiment, it's important to draw a conclusion based on your results. Did your hypothesis hold true? What did you learn about the properties of water and oil? This is also a great time to reflect on your experience and share any challenges or successes you had during the project.Marble Nail Art Science Project Conclusion
Marble Nail Art Science Project Conclusion
As with any science project, it's important to identify and control your variables. In this case, the variables could include the type of nail polish used, the temperature of the water, or the speed at which you dip your finger. By keeping these variables consistent, you can ensure more accurate results.Marble Nail Art Science Project Variables
Marble Nail Art Science Project Variables
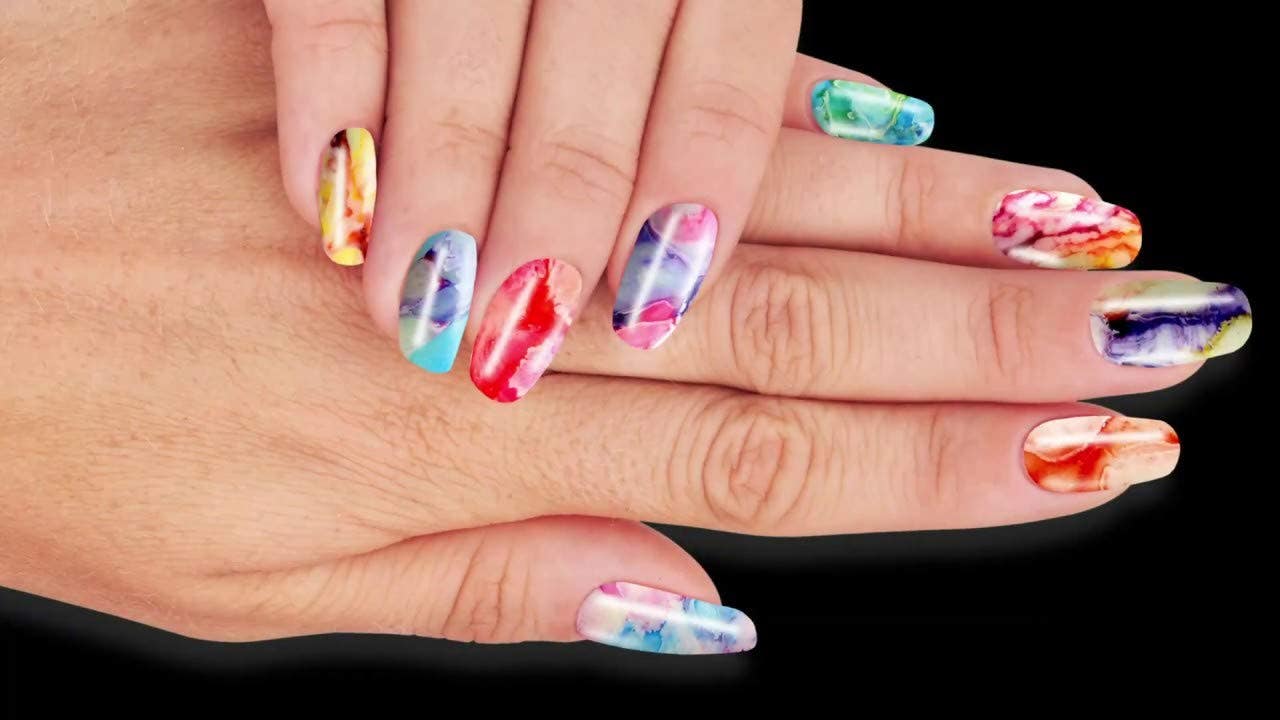
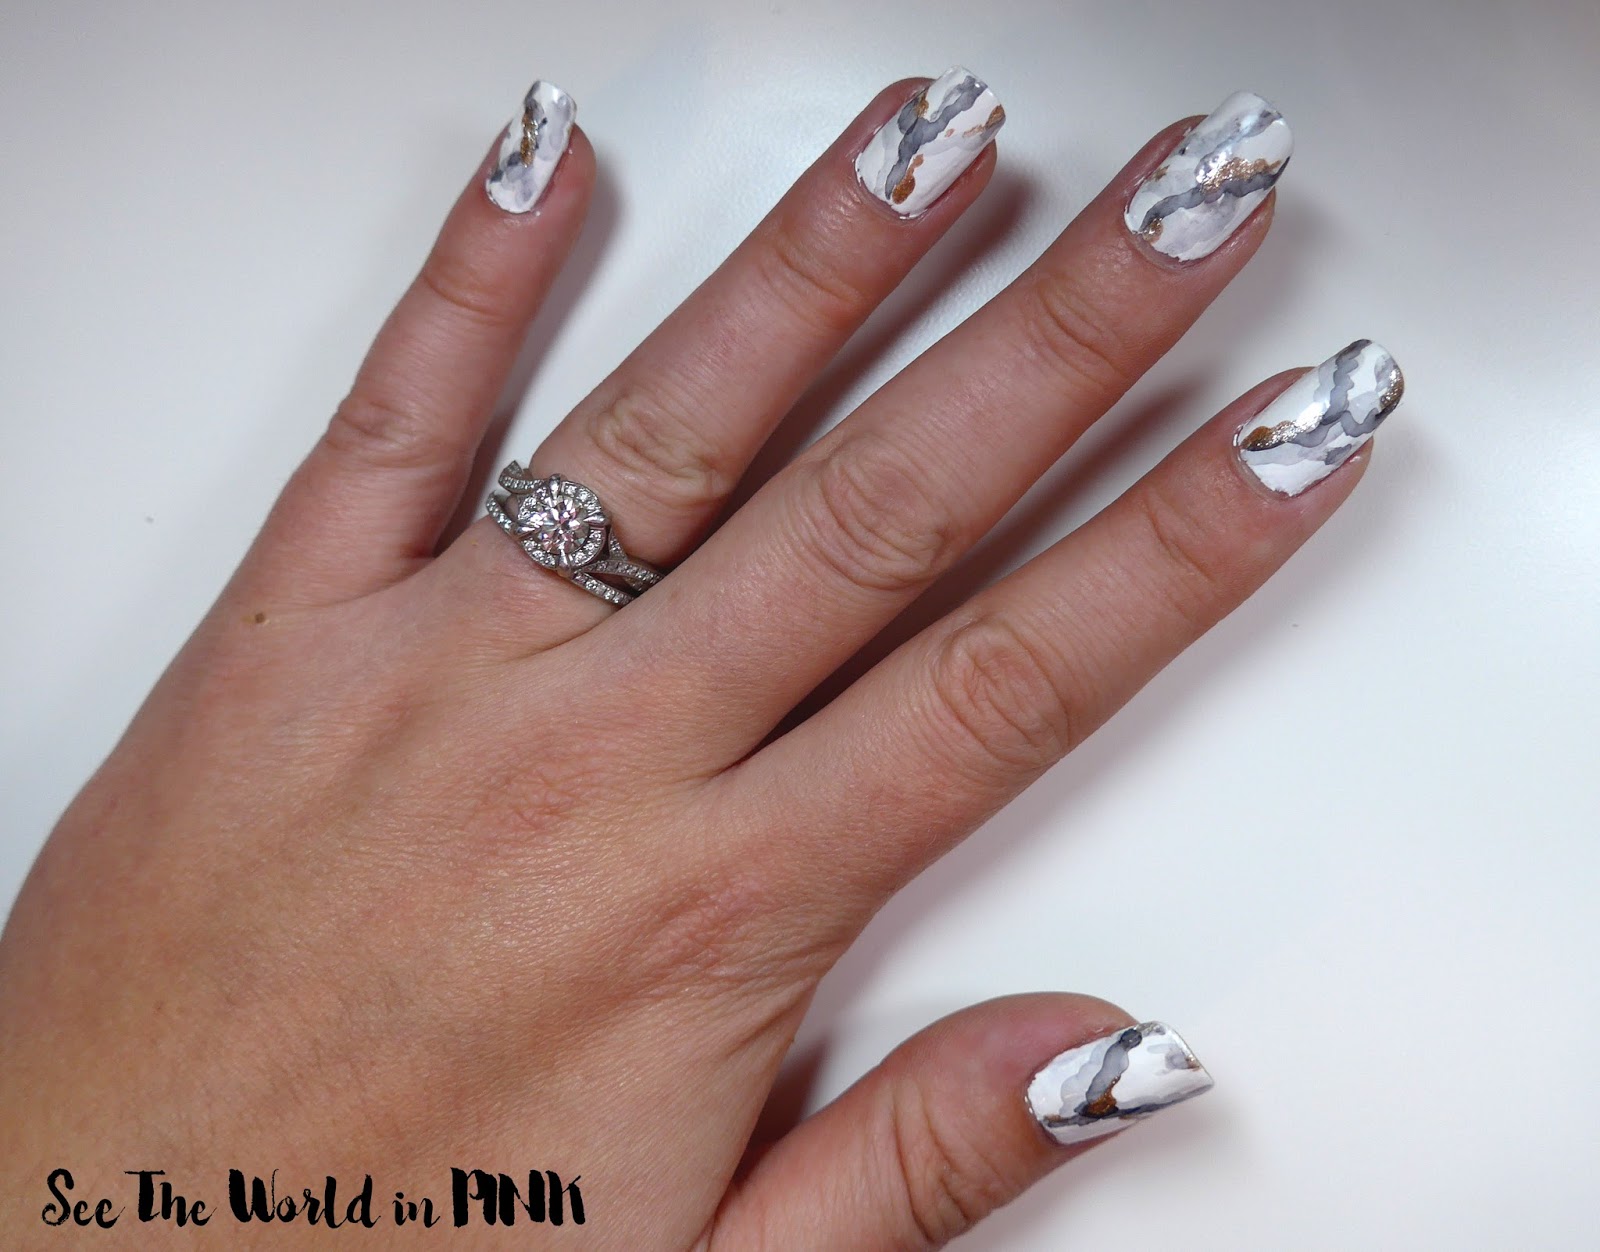
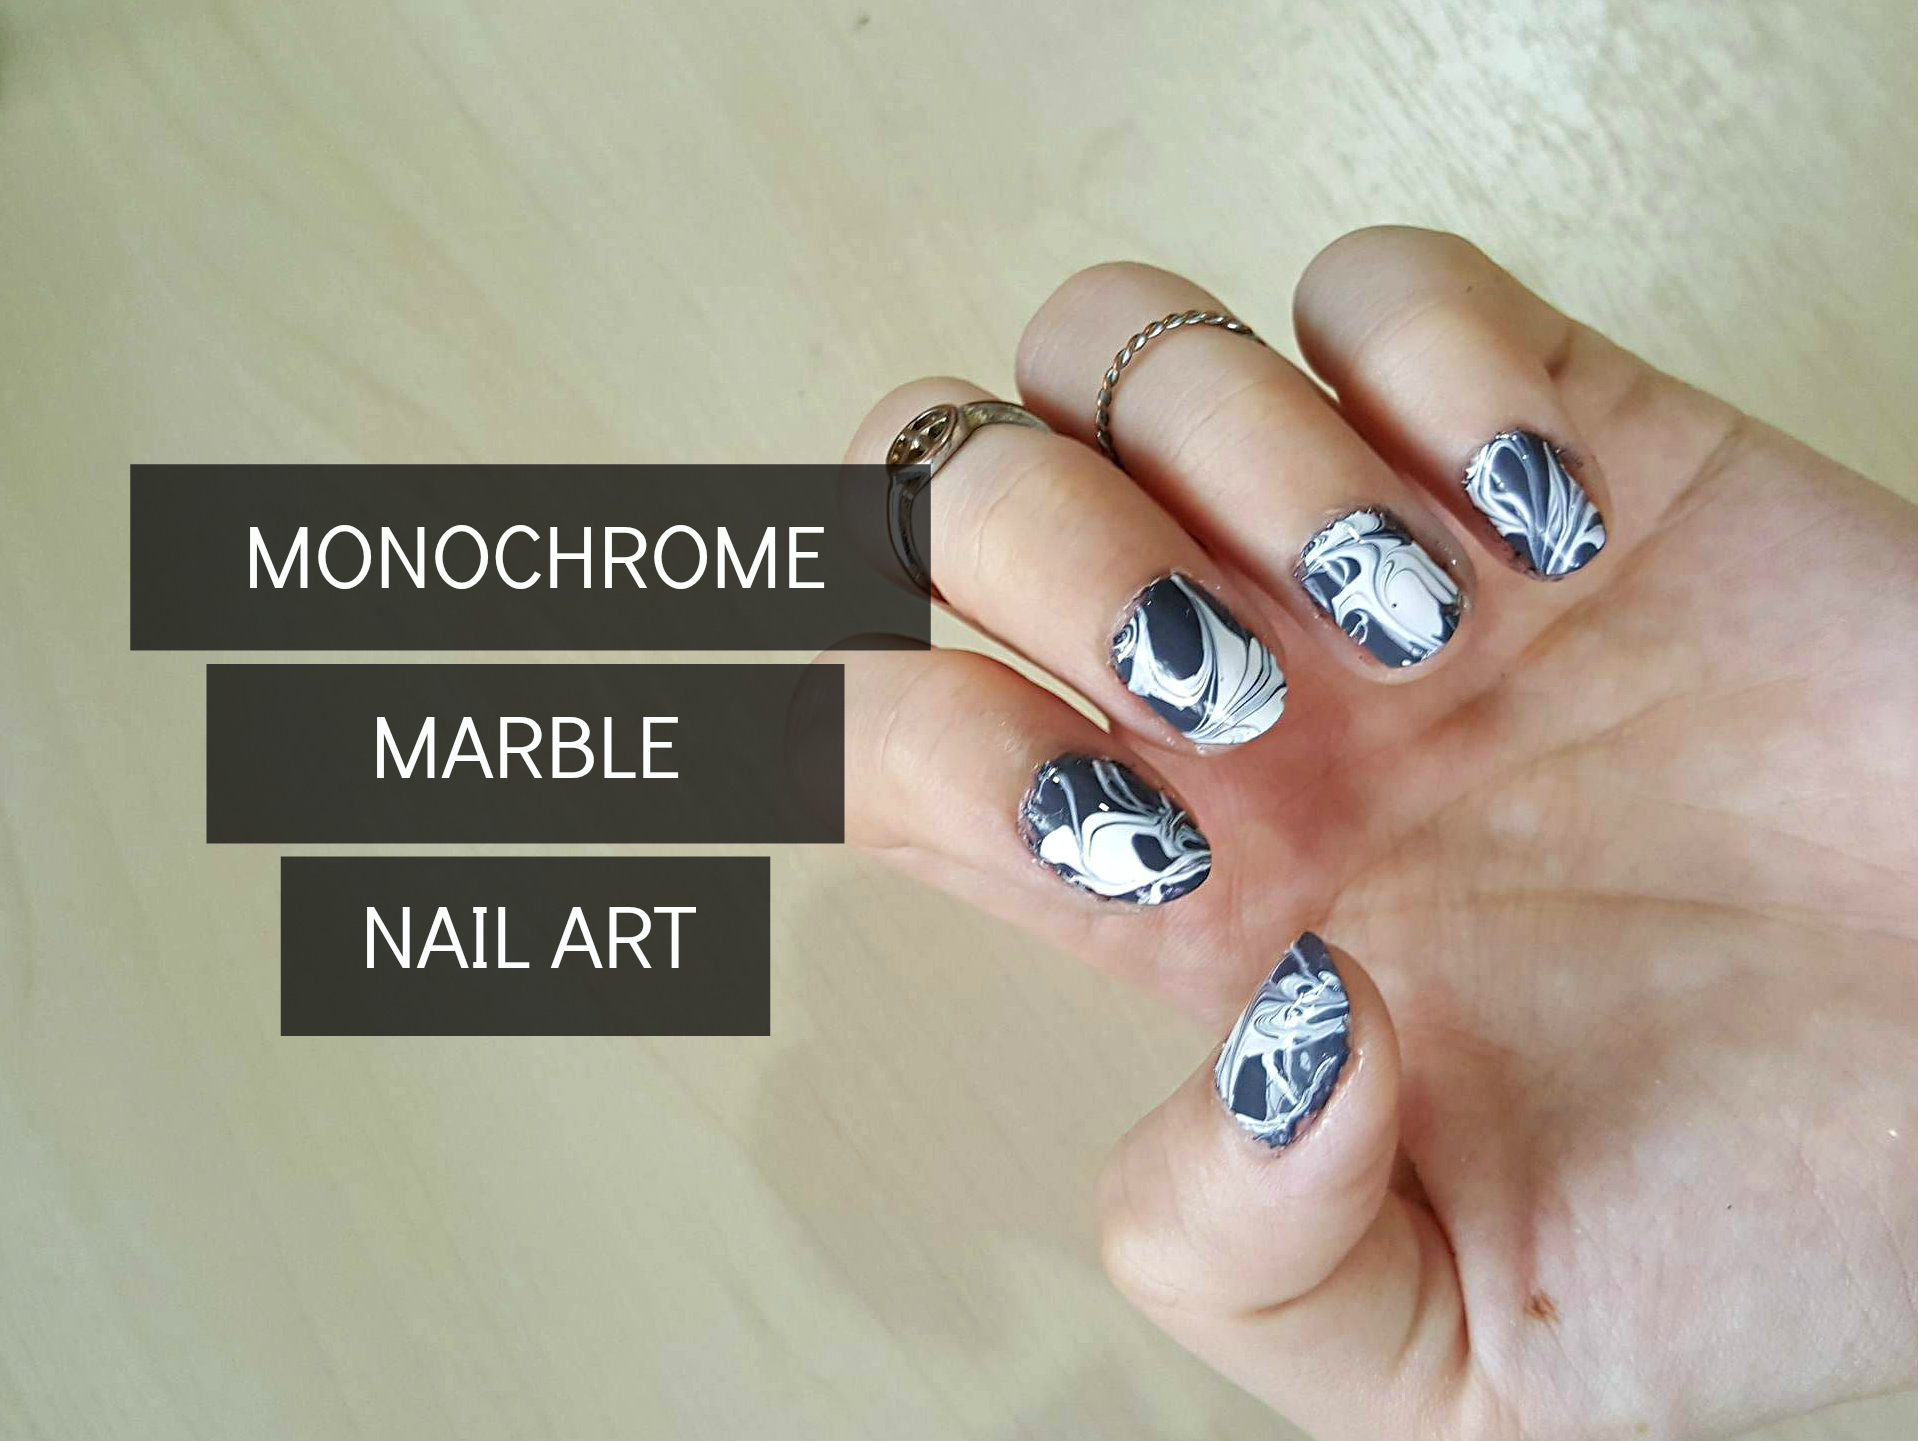
The experiment itself is the most exciting part of the marble nail art science project. You can get creative with different colors, designs, and techniques. Try using different types of nail polish, such as glitter or metallic, to see how they affect the outcome. You can also experiment with different dipping speeds or techniques to create unique designs.Marble Nail Art Science Project Experiment

Marble Nail Art Science Project Experiment
Once you've completed your experiment, it's time to analyze your results. Take a close look at the designs created by each method and note any differences or similarities. You can also make a chart or graph to visually represent your findings. This will help you draw a conclusion and explain your results.Marble Nail Art Science Project Results

Marble Nail Art Science Project Results
An abstract is a brief summary of your project, including your hypothesis, materials, procedure, and results. It's a great way to share your project with others and pique their interest in your findings. Be sure to mention any key takeaways and what you learned from the experiment.Marble Nail Art Science Project Abstract
Marble Nail Art Science Project Abstract
The Science Behind Marble Nail Art

The Role of Water and Oil in Marble Nail Art
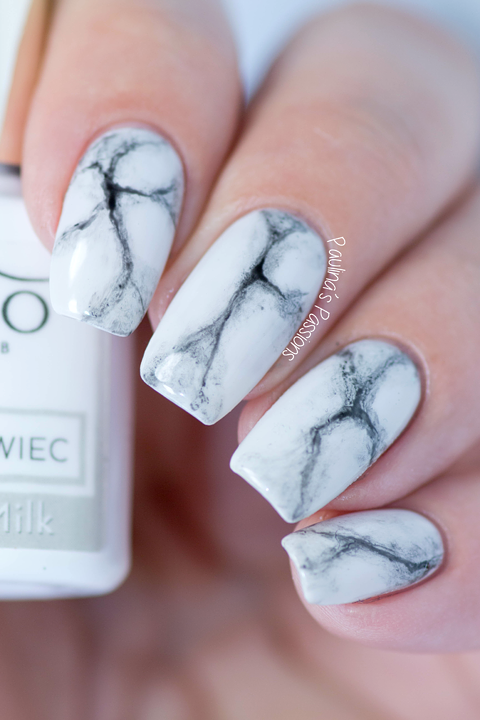
 One of the main components of marble nail art is water. When water is combined with nail polish, it creates a marbled effect that is unique and eye-catching. This happens because the nail polish is not completely soluble in water. Instead, it forms droplets on the surface of the water, creating a swirling pattern when the nail is dipped in. The oil in the nail polish also plays a role in this process. Oil is hydrophobic, meaning it repels water. When oil-based nail polish is dropped onto the water, it creates a barrier between the water and the nail polish, preventing it from mixing completely and allowing for the marbled effect to occur.
The Science of Surface Tension
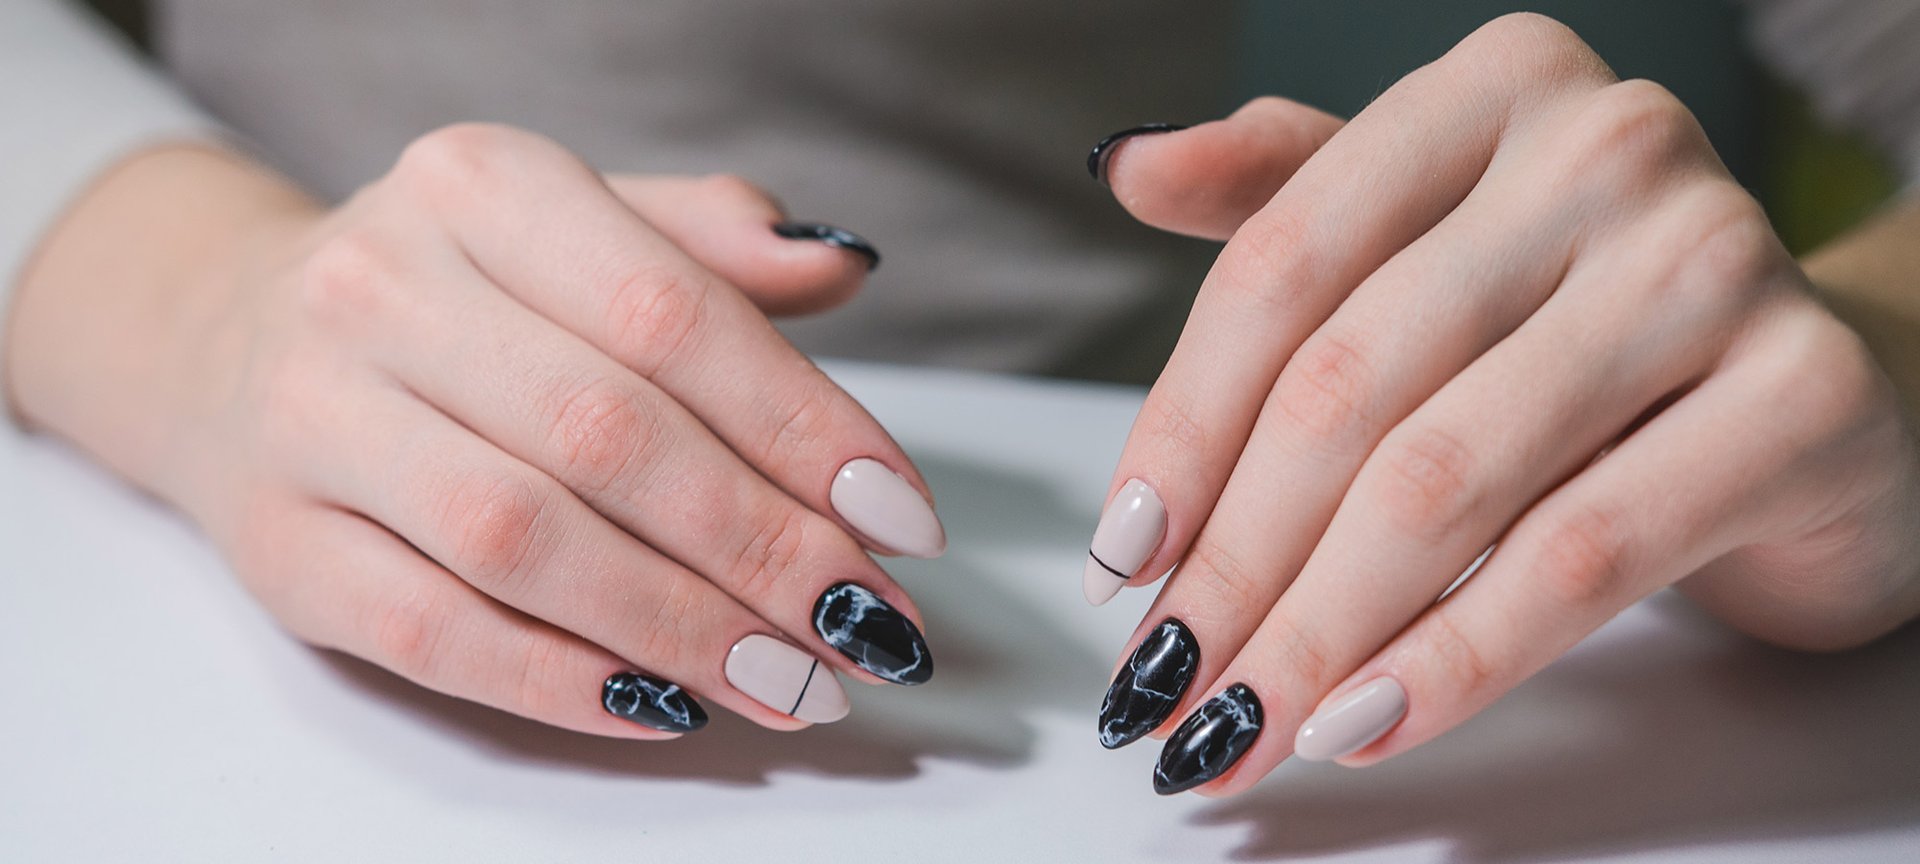
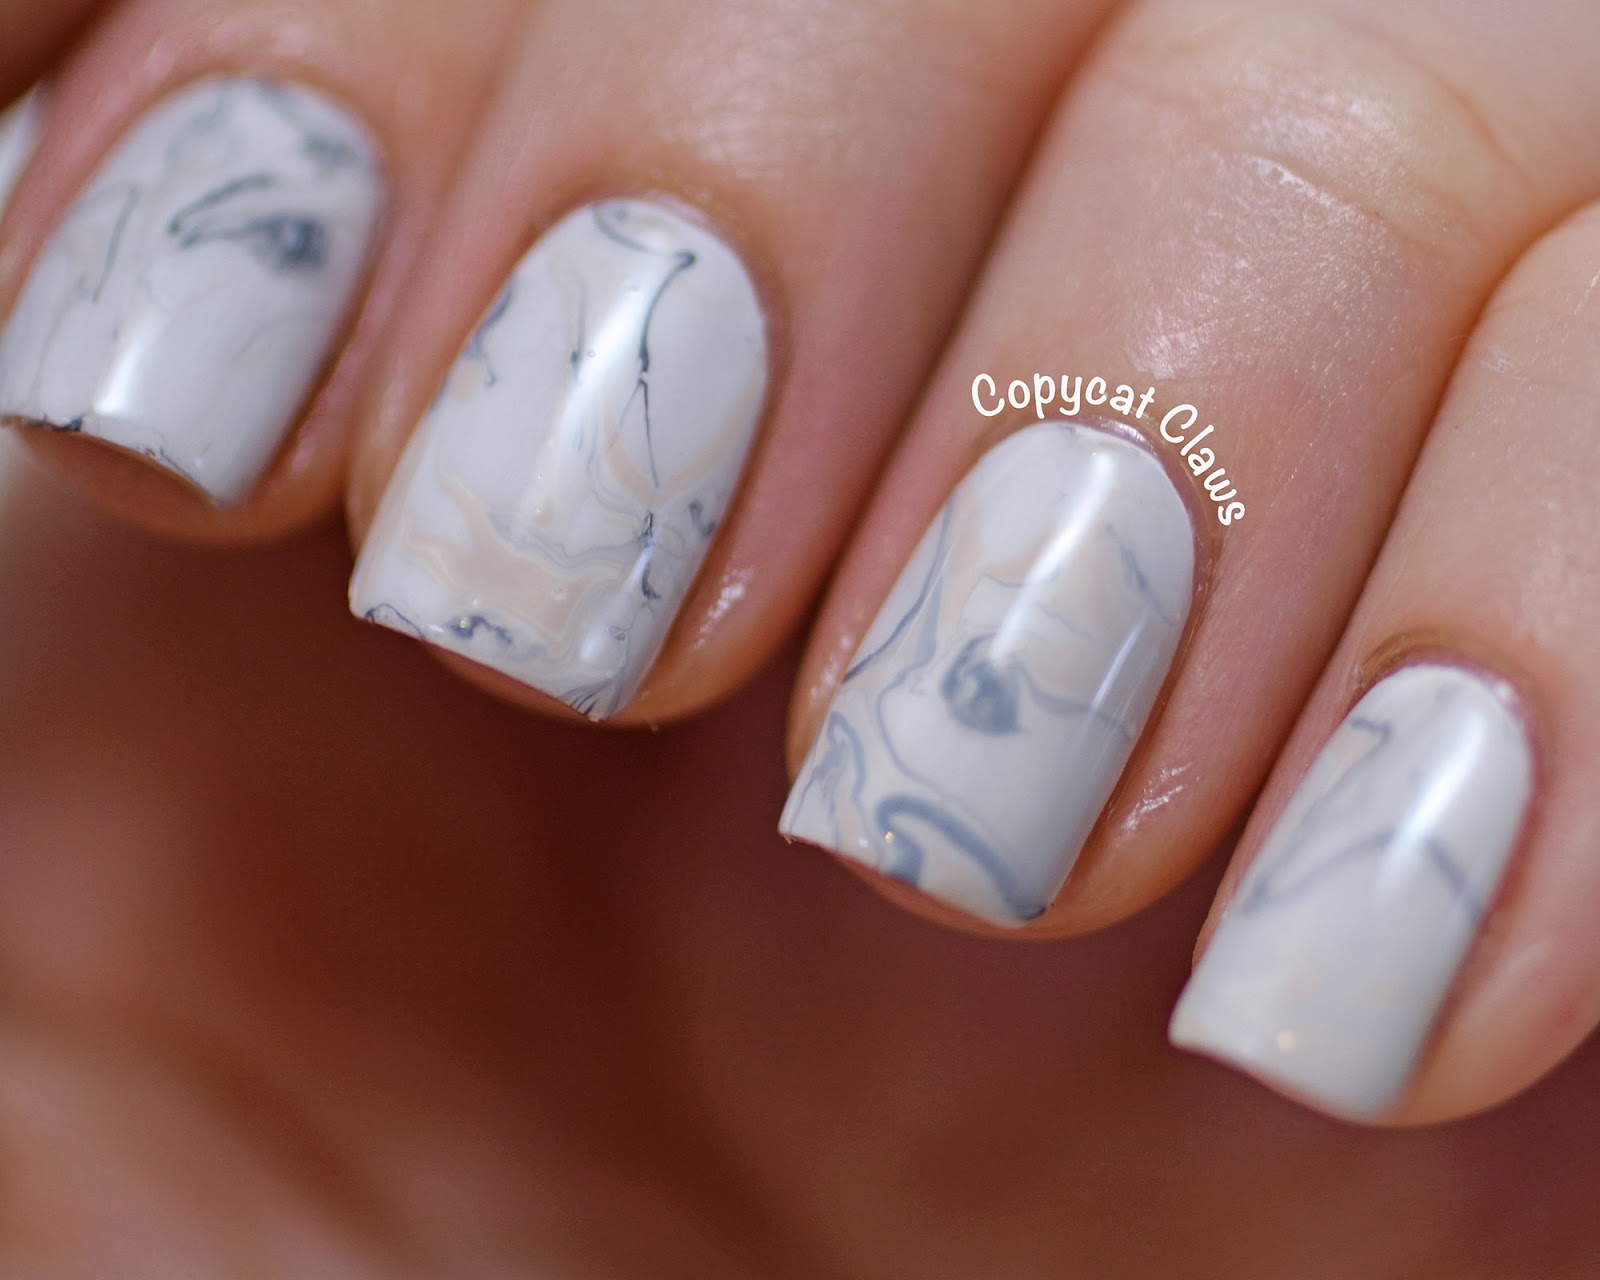
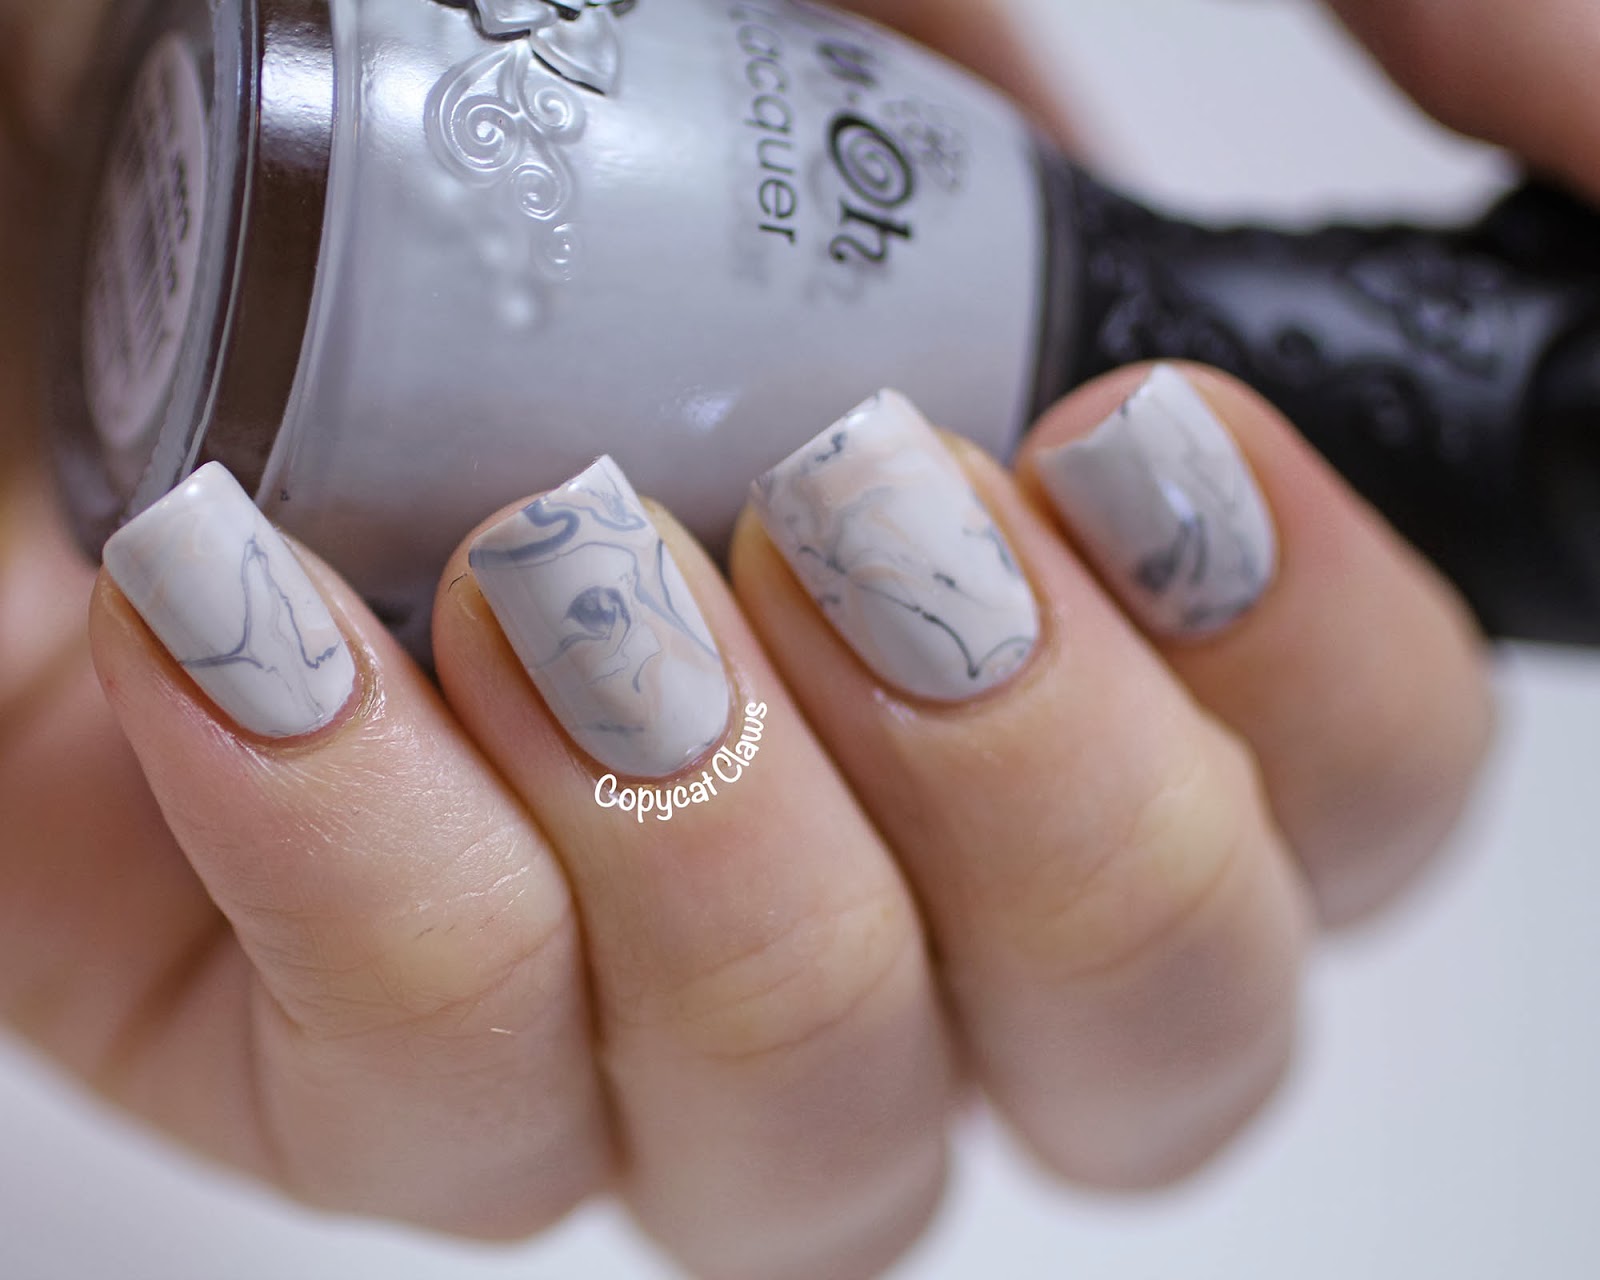
.JPG) Surface tension is another important factor in creating marble nail art. Water molecules have a strong attraction to each other, creating a cohesive force on the surface of the water. When nail polish is dropped onto the water, it disrupts this cohesive force, causing the water molecules to spread out and create a larger surface area. This allows for more intricate and detailed patterns to form when the nail is dipped into the water.
Surface tension is another important factor in creating marble nail art. Water molecules have a strong attraction to each other, creating a cohesive force on the surface of the water. When nail polish is dropped onto the water, it disrupts this cohesive force, causing the water molecules to spread out and create a larger surface area. This allows for more intricate and detailed patterns to form when the nail is dipped into the water.
The Role of Acetone
 Acetone is a common ingredient in nail polish remover, but it also plays a crucial role in marble nail art. When the nail is dipped into the water, the excess polish needs to be removed from the surface of the water. Acetone helps to break down the polish and allow it to be easily removed, leaving only the desired marbled pattern on the nail.
The Importance of Nail Polish Formula
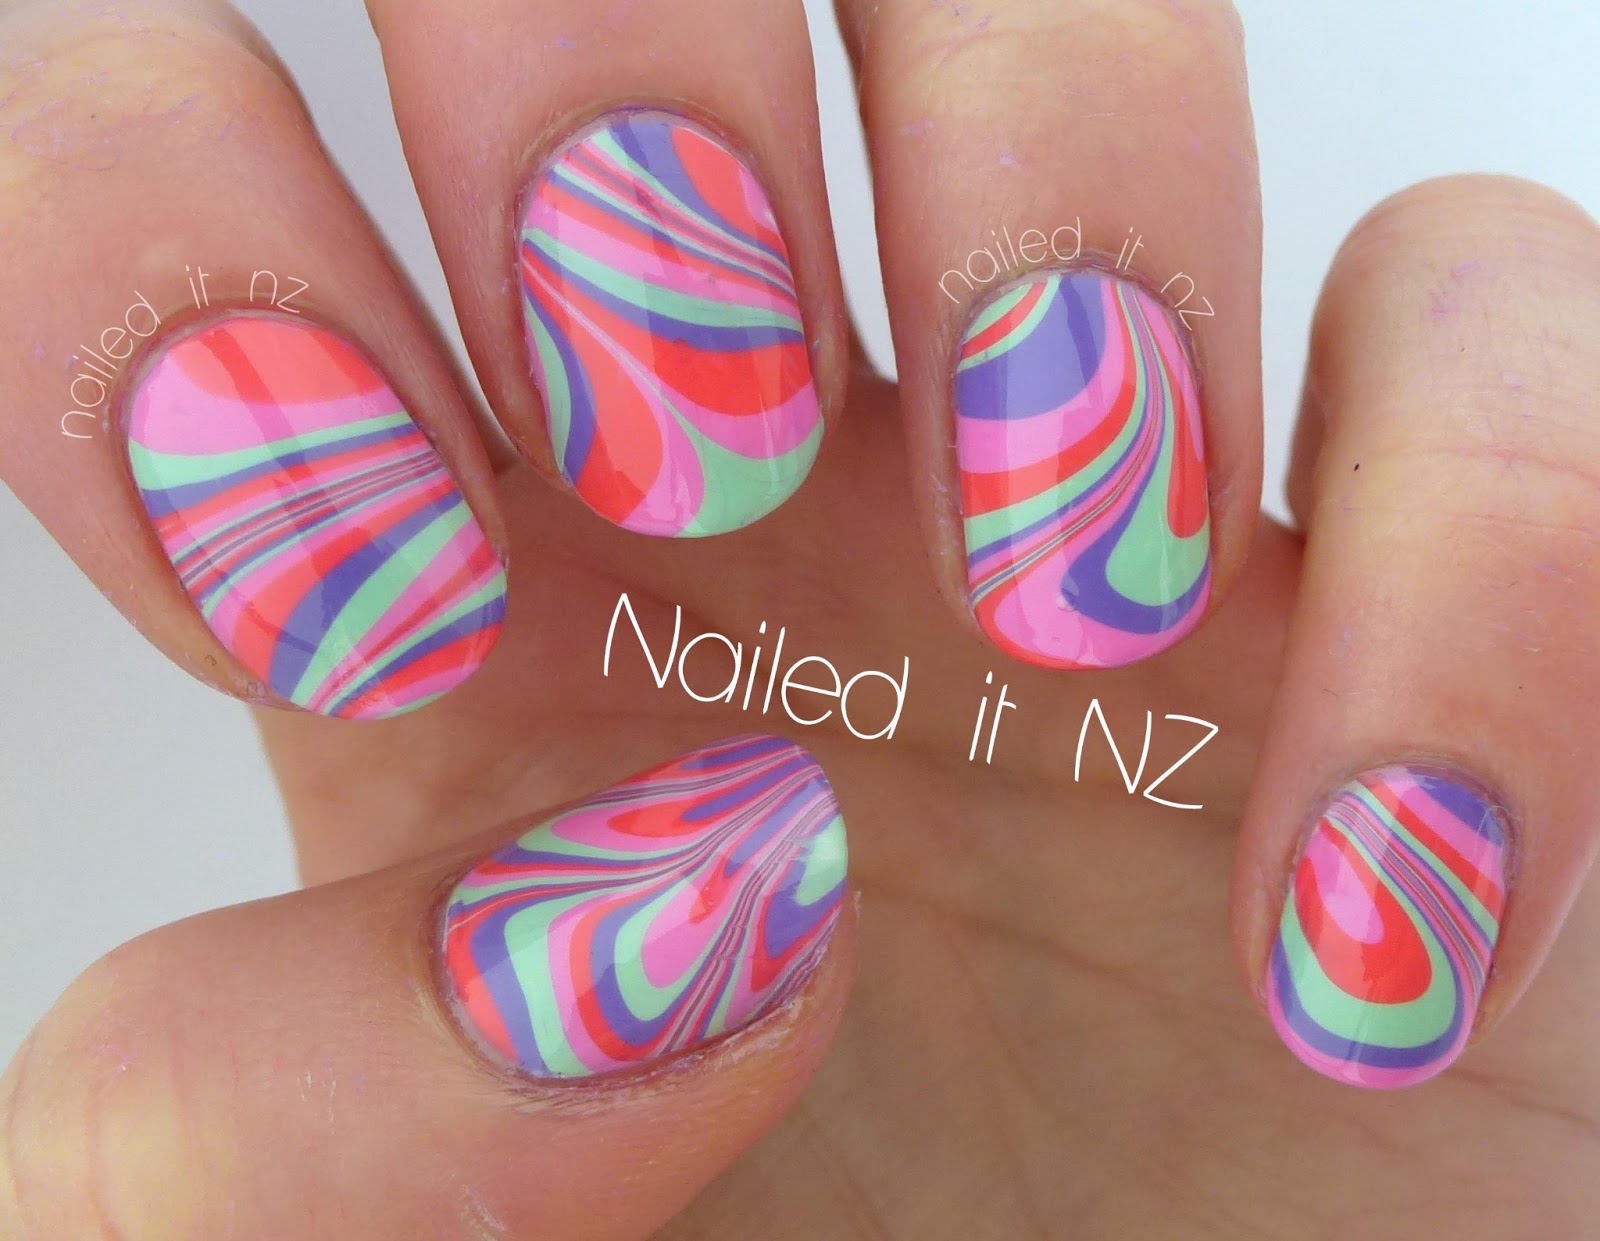
 Not all nail polishes are created equal when it comes to marble nail art. The formula of the polish can greatly affect the outcome of the design. Water-based polishes, for example, may not work as well because they are more soluble in water and do not create the same marbled effect. Pigment-rich polishes with a thicker consistency are better suited for this technique.
Conclusion
 Marble nail art is not just a fun and creative activity, but it also involves a bit of science. Understanding the role of water, oil, surface tension, and nail polish formula can help you achieve the perfect marbled look. So next time you try this trendy nail art technique, remember the science behind it and have fun experimenting with different colors and patterns.


