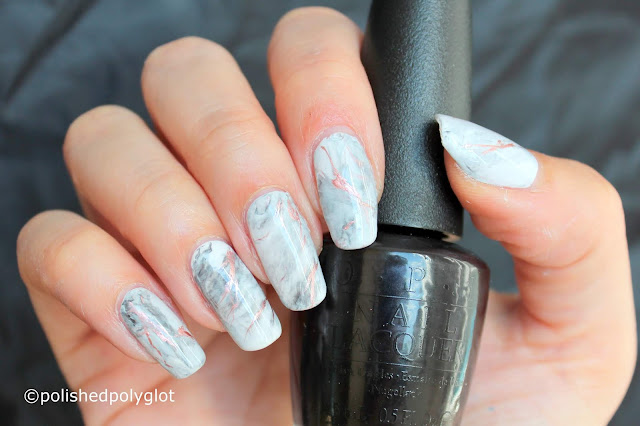
If you're a fan of unique and eye-catching nail designs, then marble nail art is the perfect style for you. This trend has been taking over social media and has become a favorite among many nail enthusiasts. But creating the perfect marble nails can be a bit tricky, so here are 10 tips and tricks to help you achieve the perfect marble nail art.1. Marble Nail Art Tips and Tricks


1. Marble Nail Art Tips and Tricks


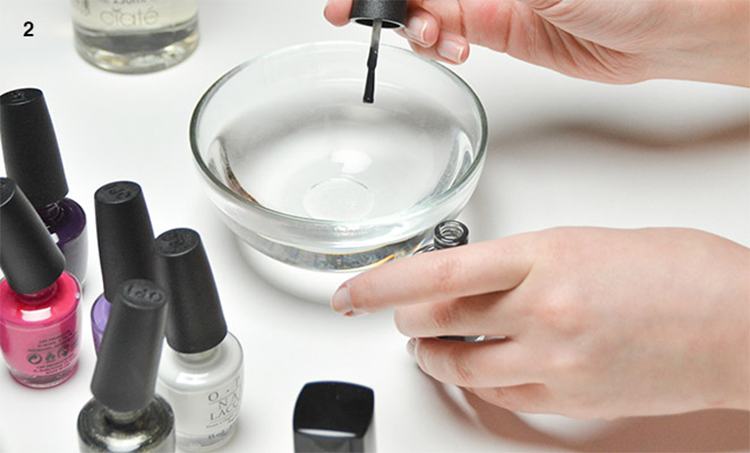
The first step to creating marble nail art is to gather all the necessary materials. You will need two or more nail polish colors of your choice, a base and top coat, a cup of room temperature water, and tools such as a toothpick or a thin brush. It's essential to have all your materials ready before starting to ensure a smooth process.2. How to Create Marble Nail Art


2. How to Create Marble Nail Art
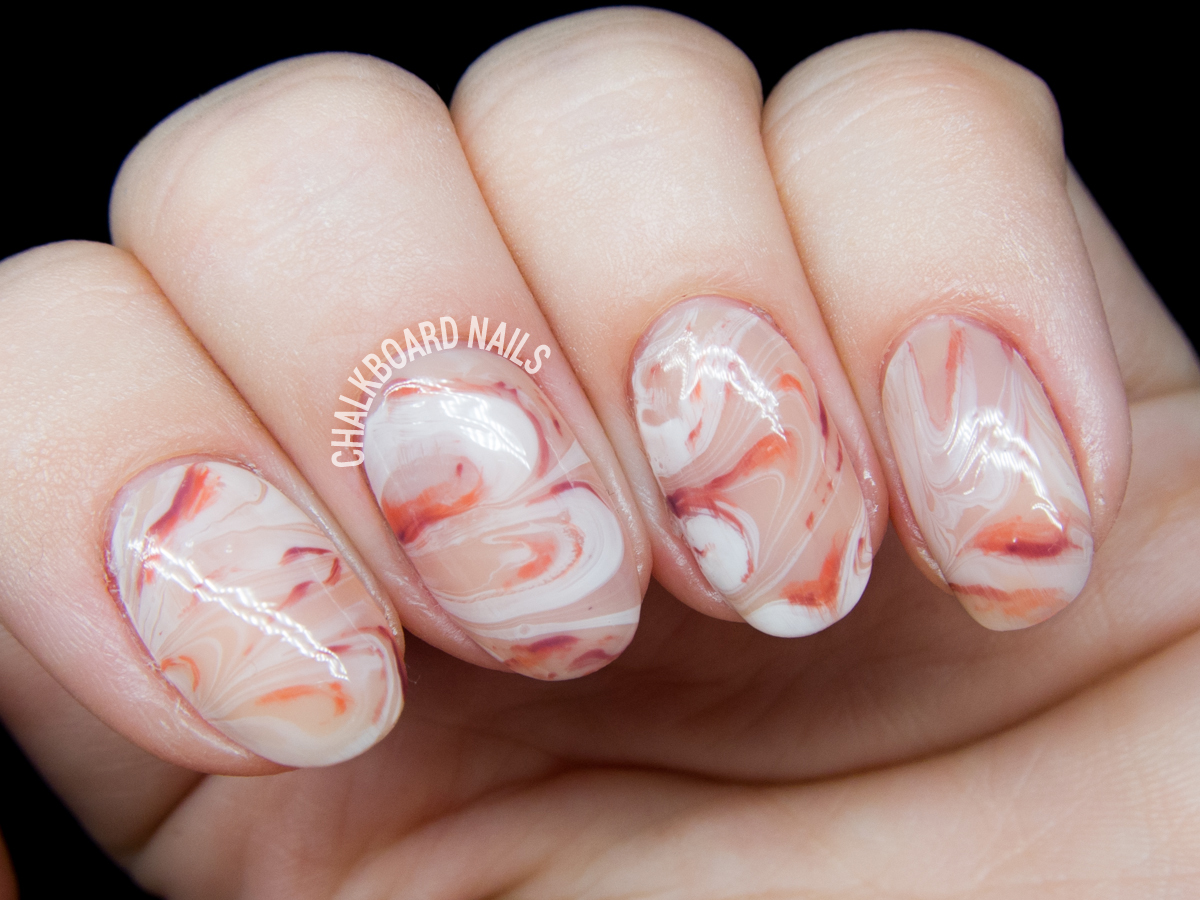
If you're new to the world of marble nail art, it can seem intimidating. But don't worry, this tutorial will guide you through the process step by step. Start by applying a base coat and your base color. Then, drop a few drops of your chosen nail polish colors into the cup of water, and use a toothpick to create a marble effect. Finally, dip your nails into the water and voila! You have a beautiful marble design.3. Marble Nail Art Tutorial for Beginners

3. Marble Nail Art Tutorial for Beginners


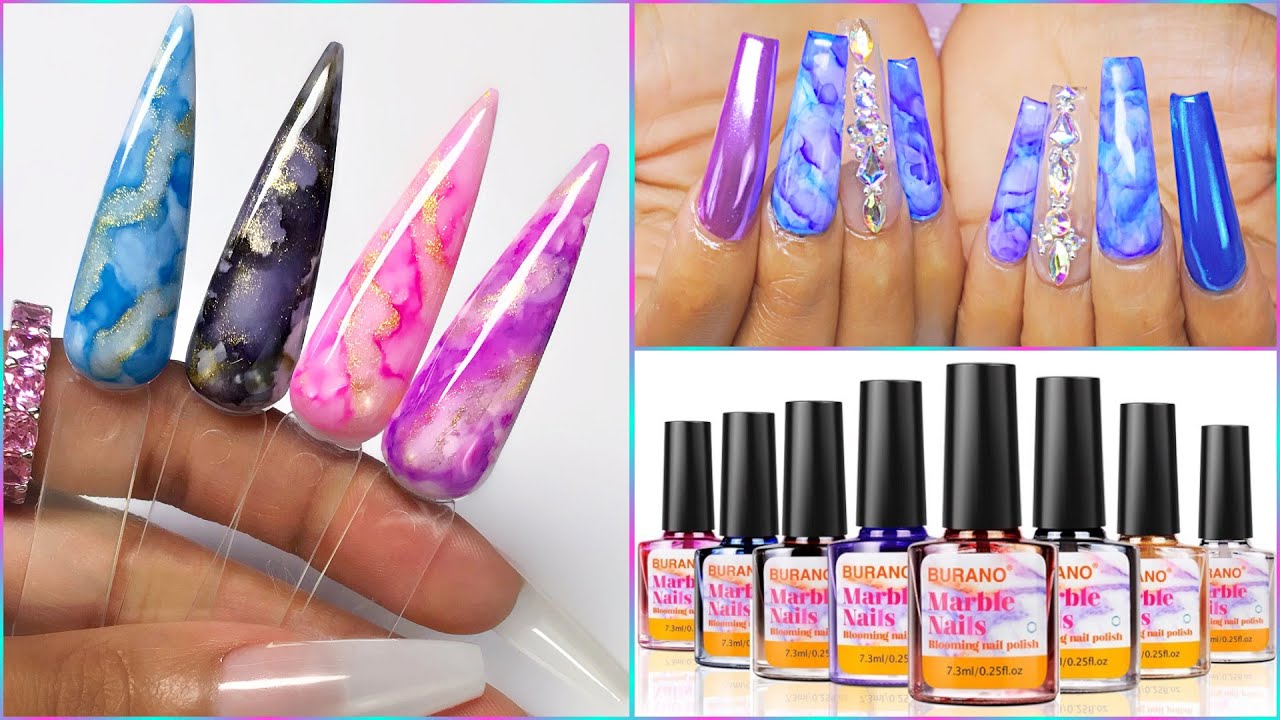
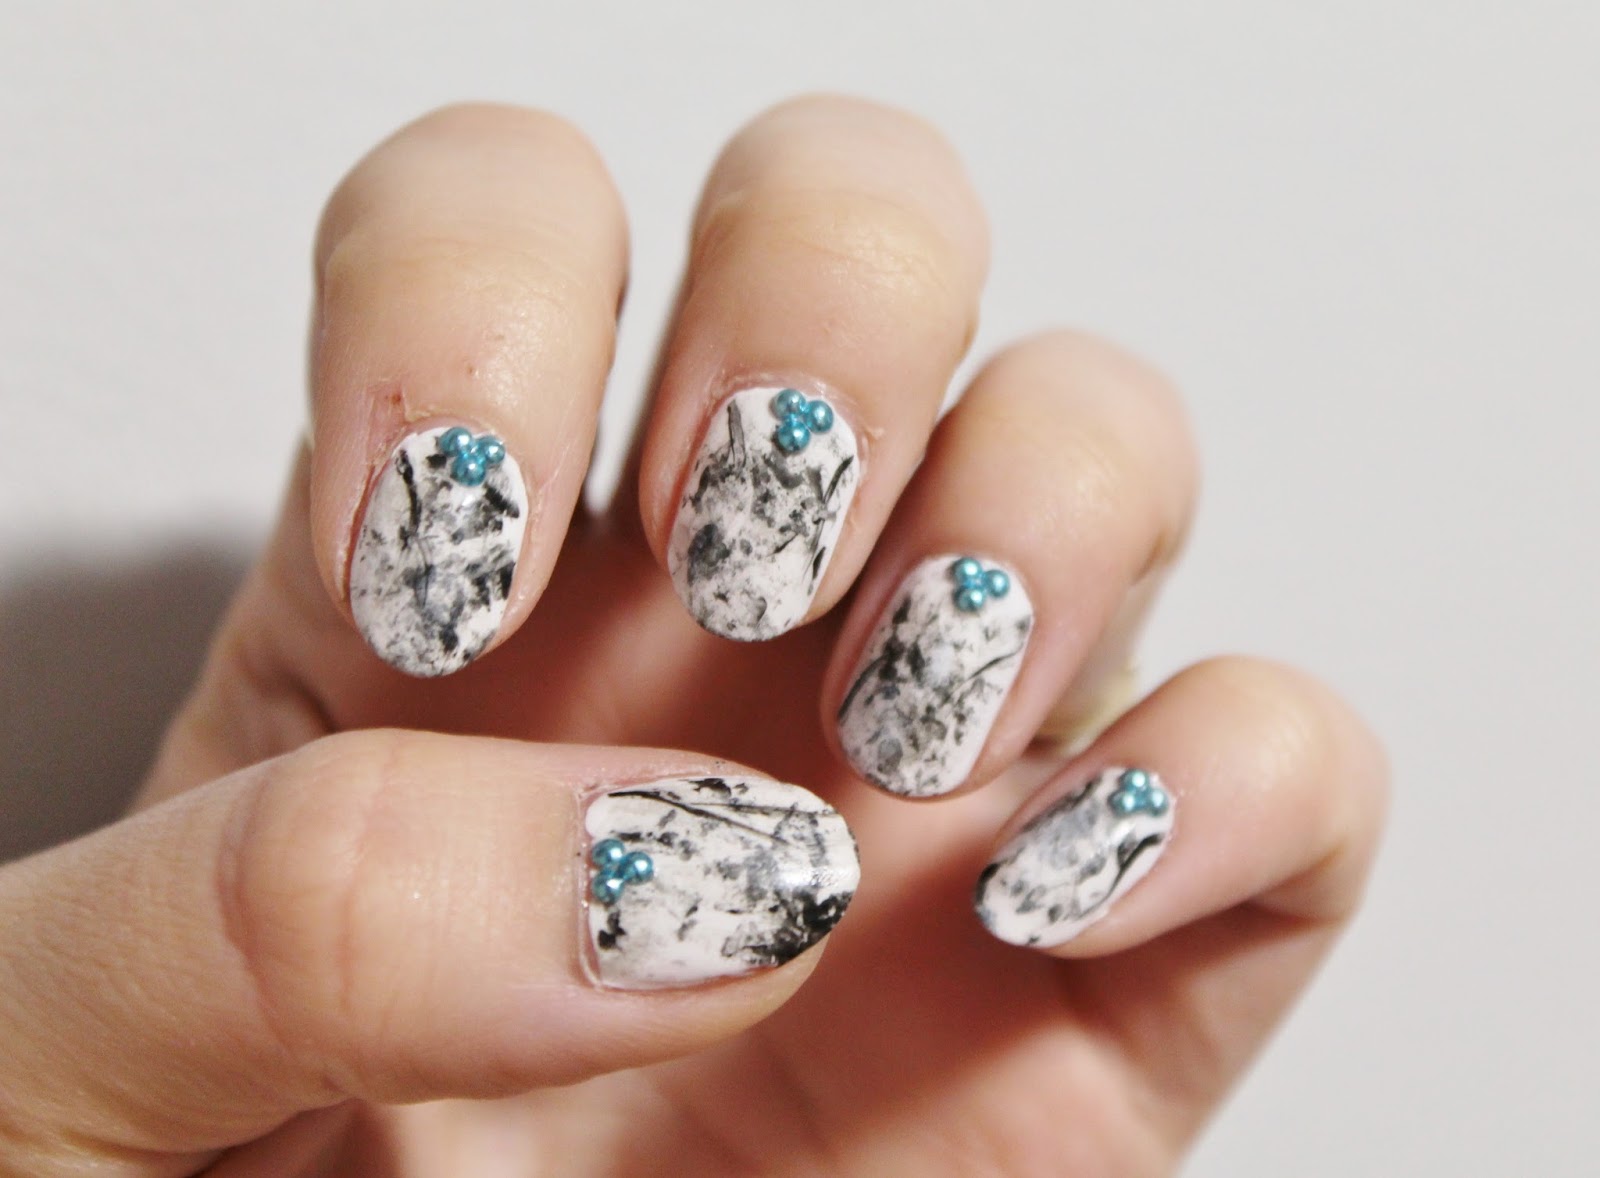
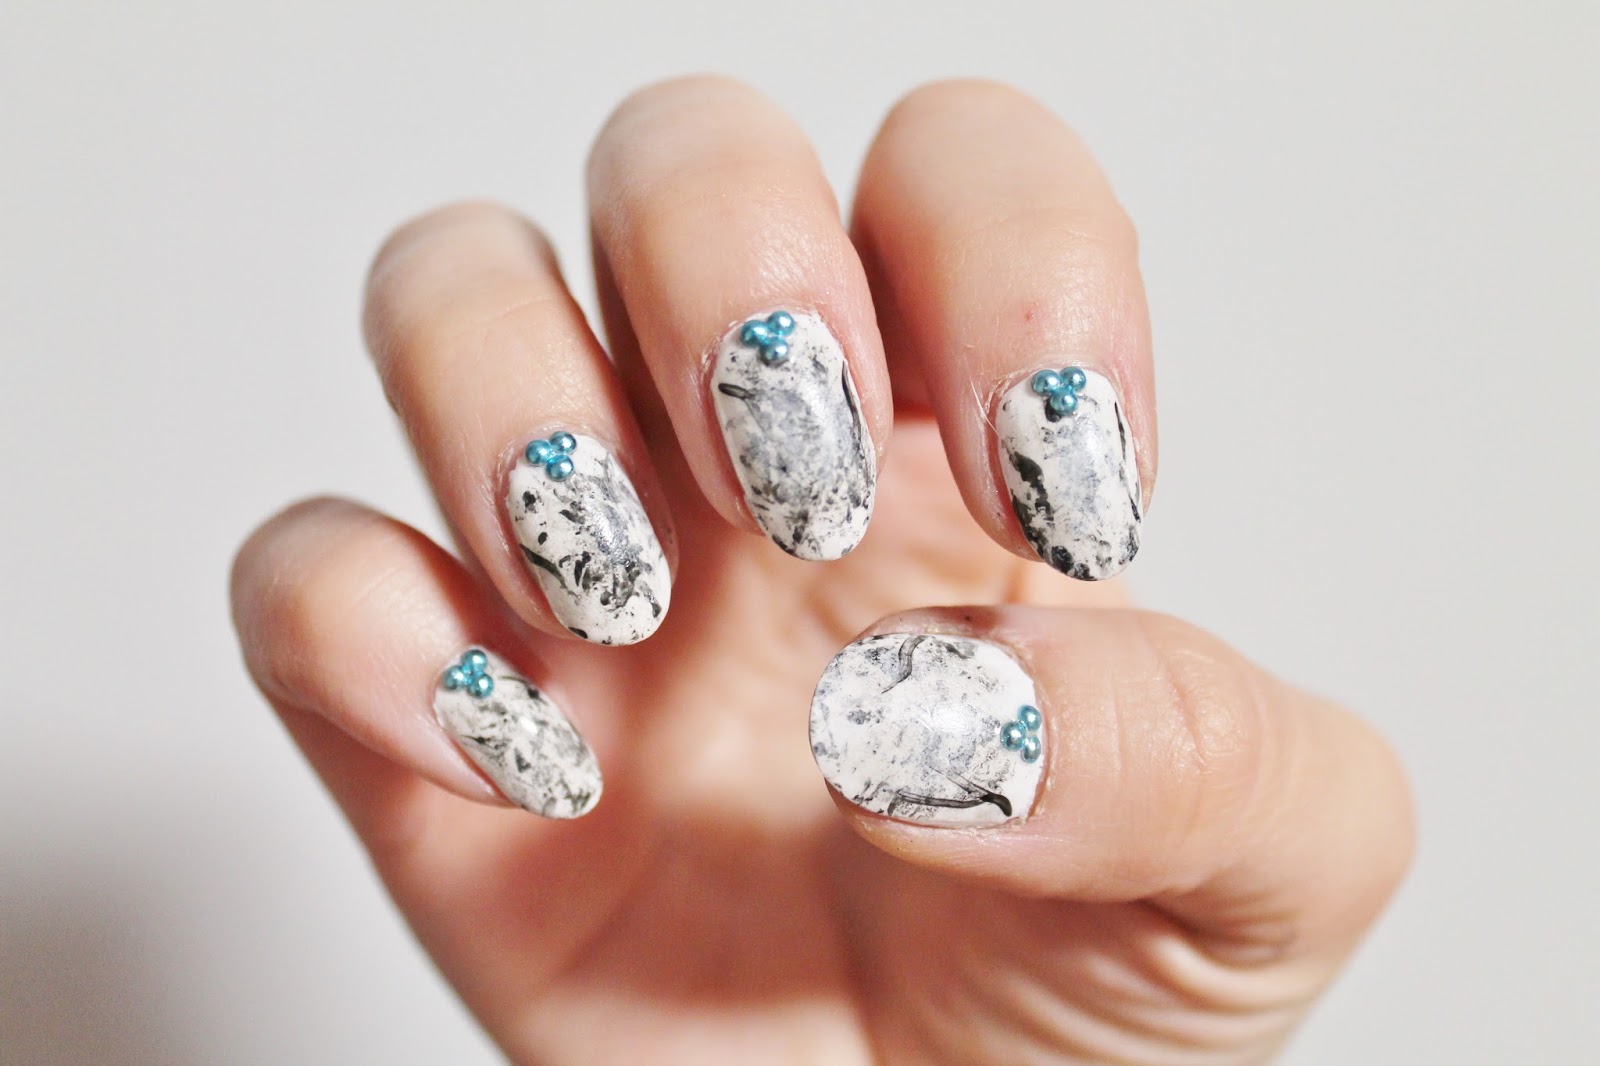
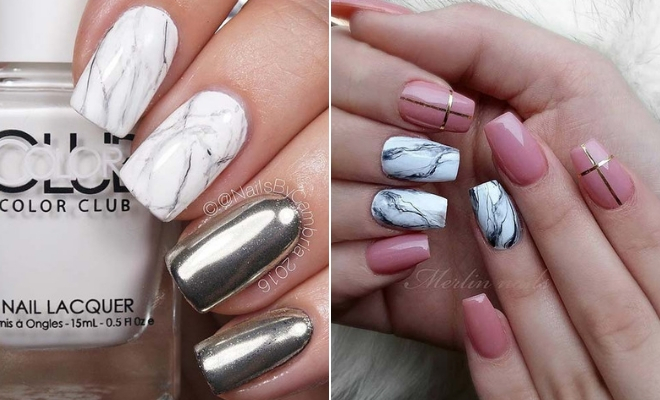
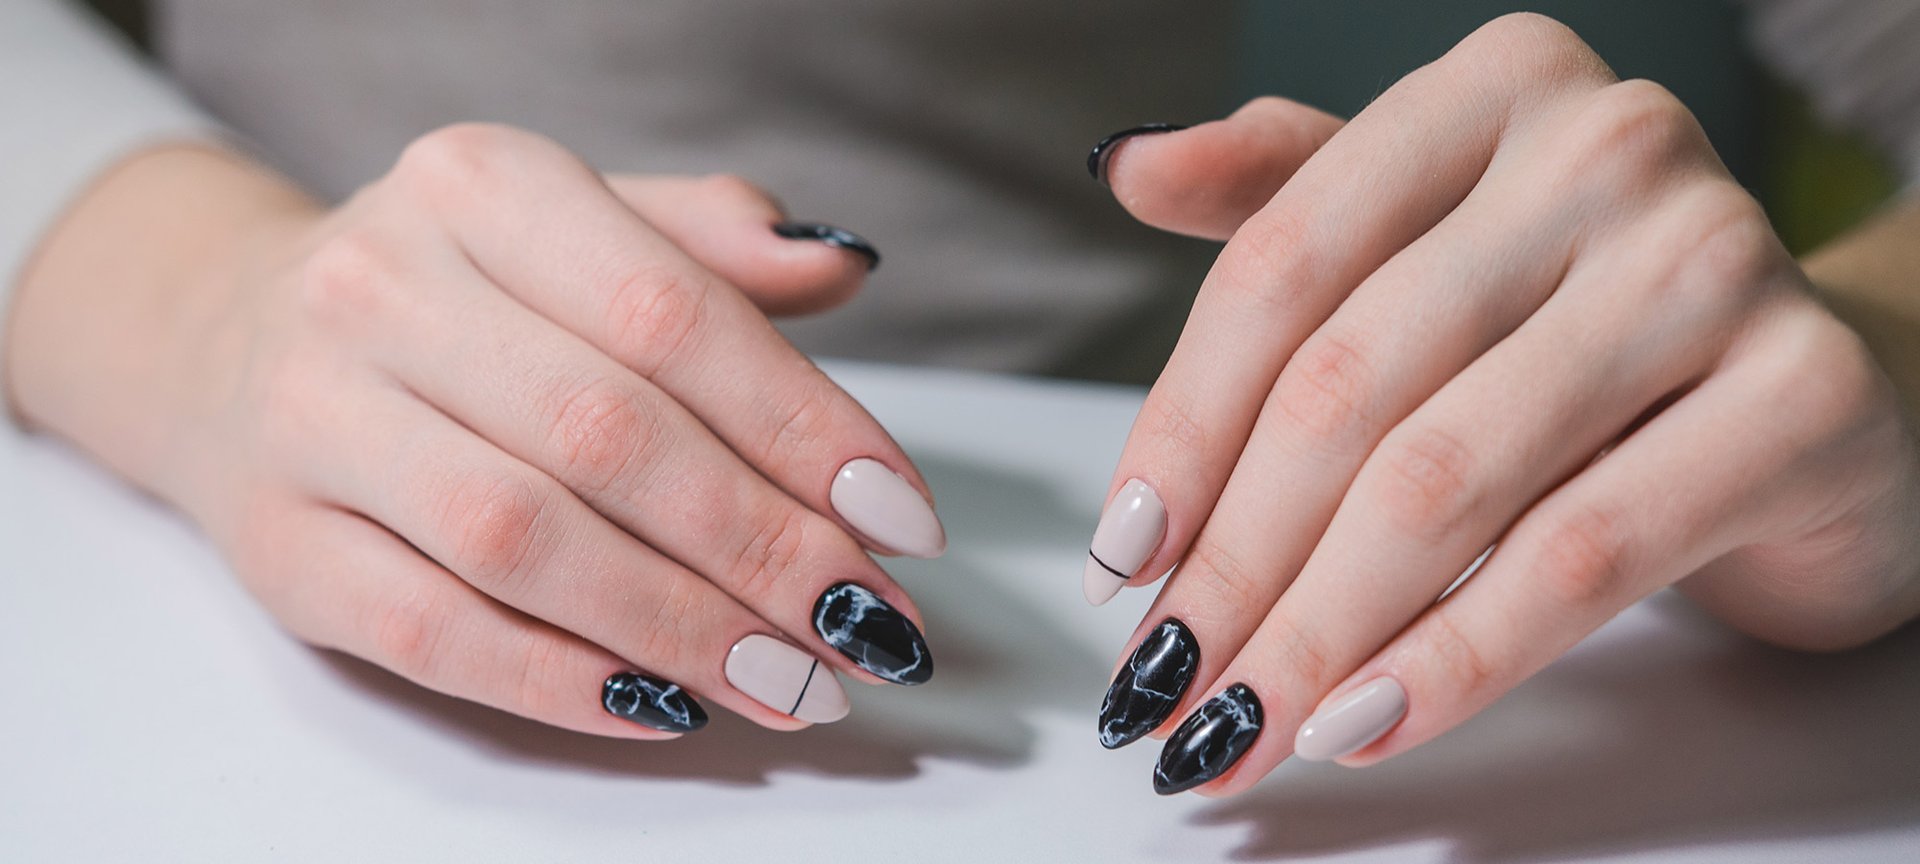
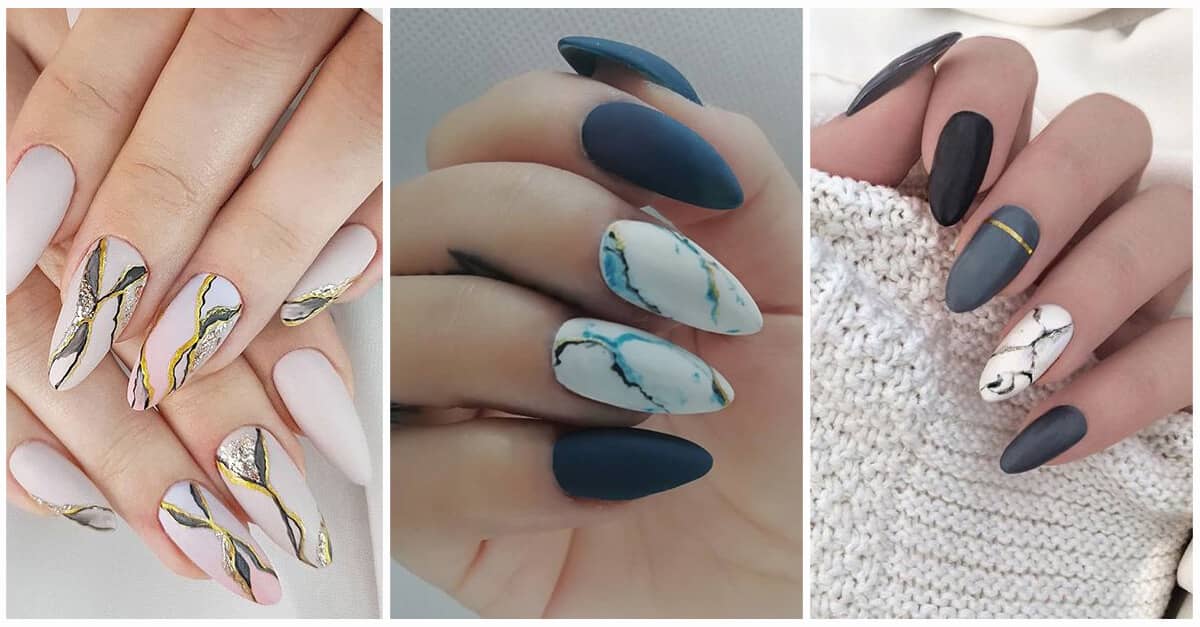
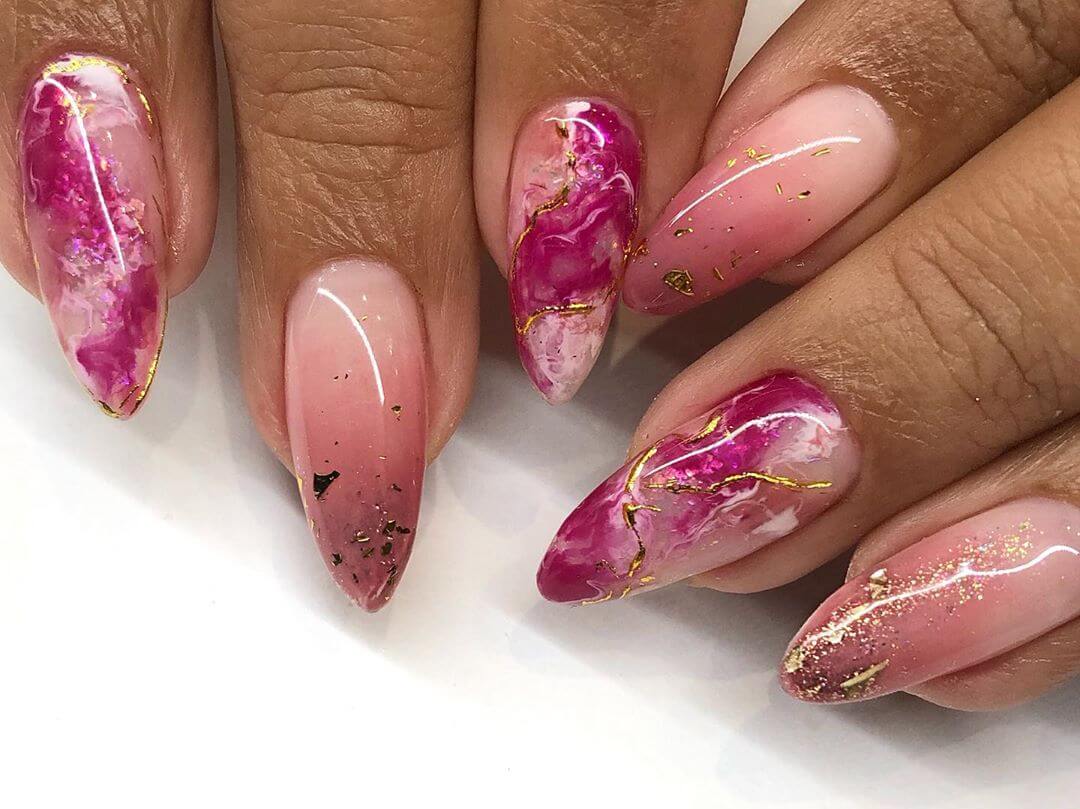
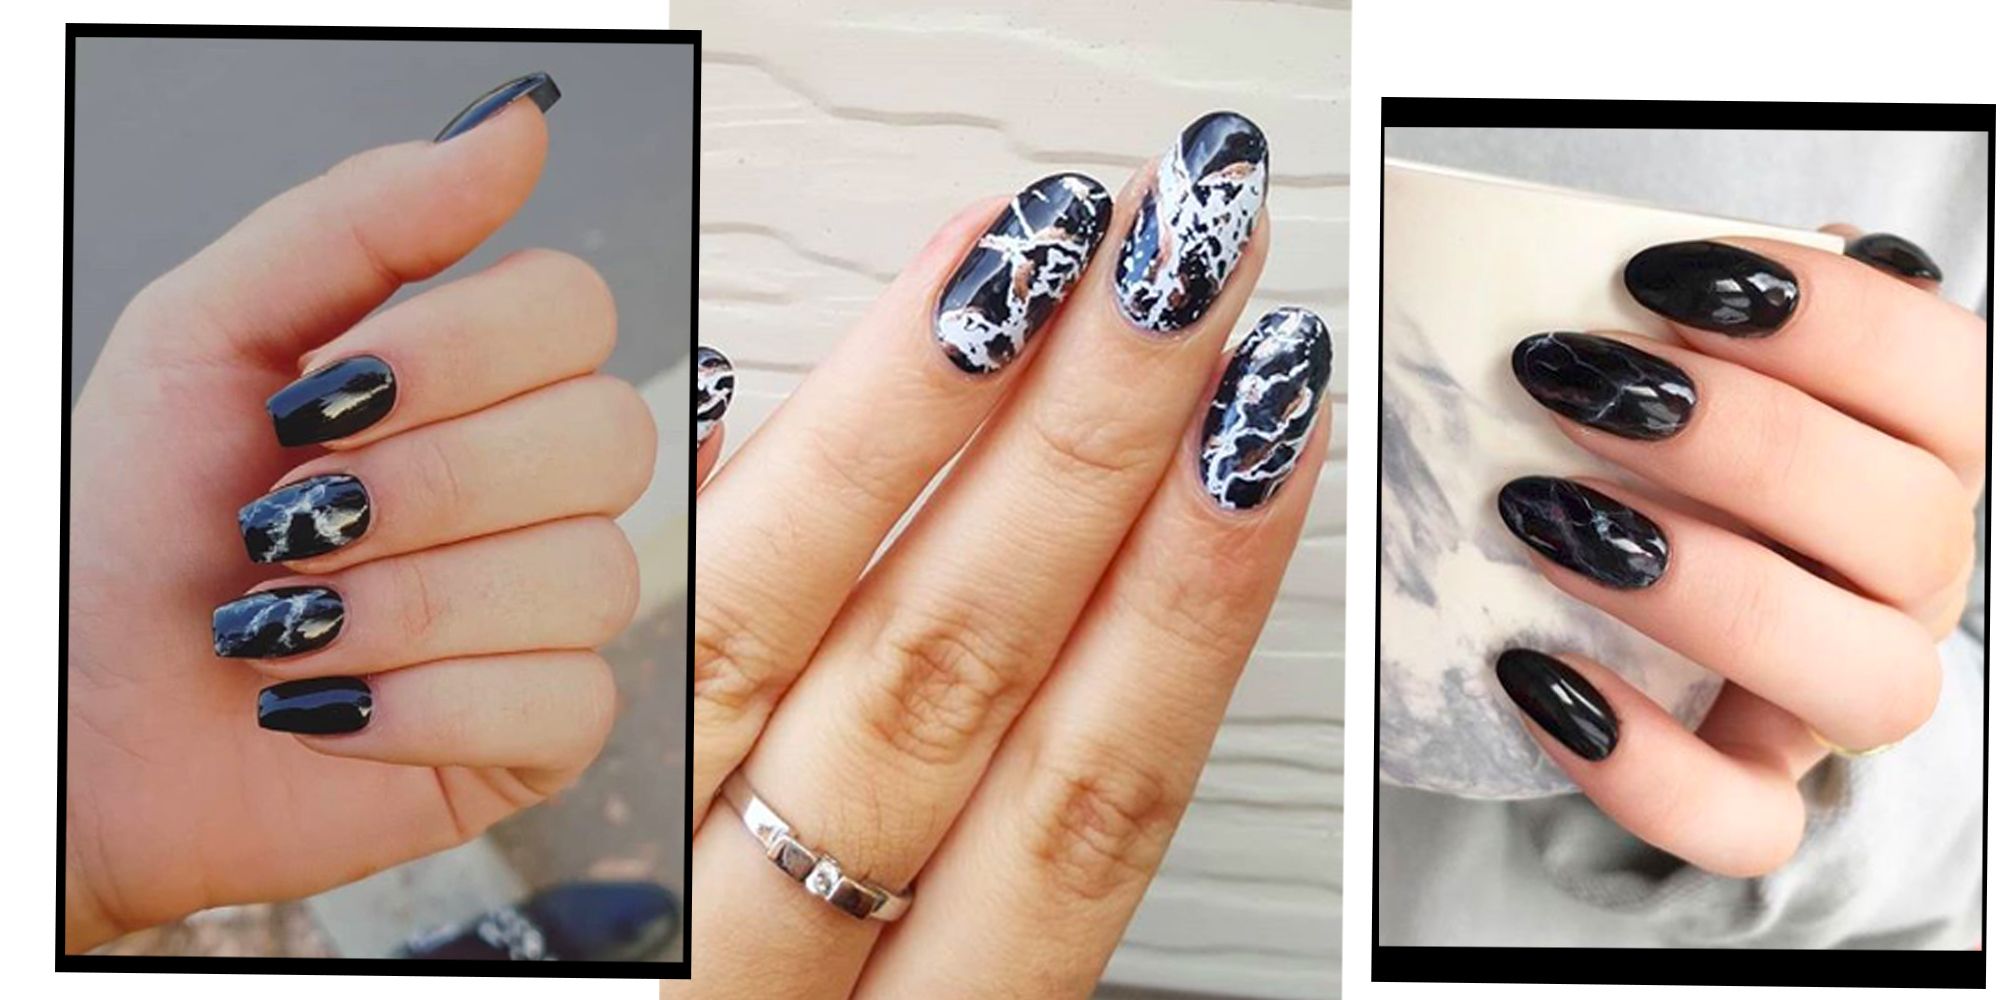
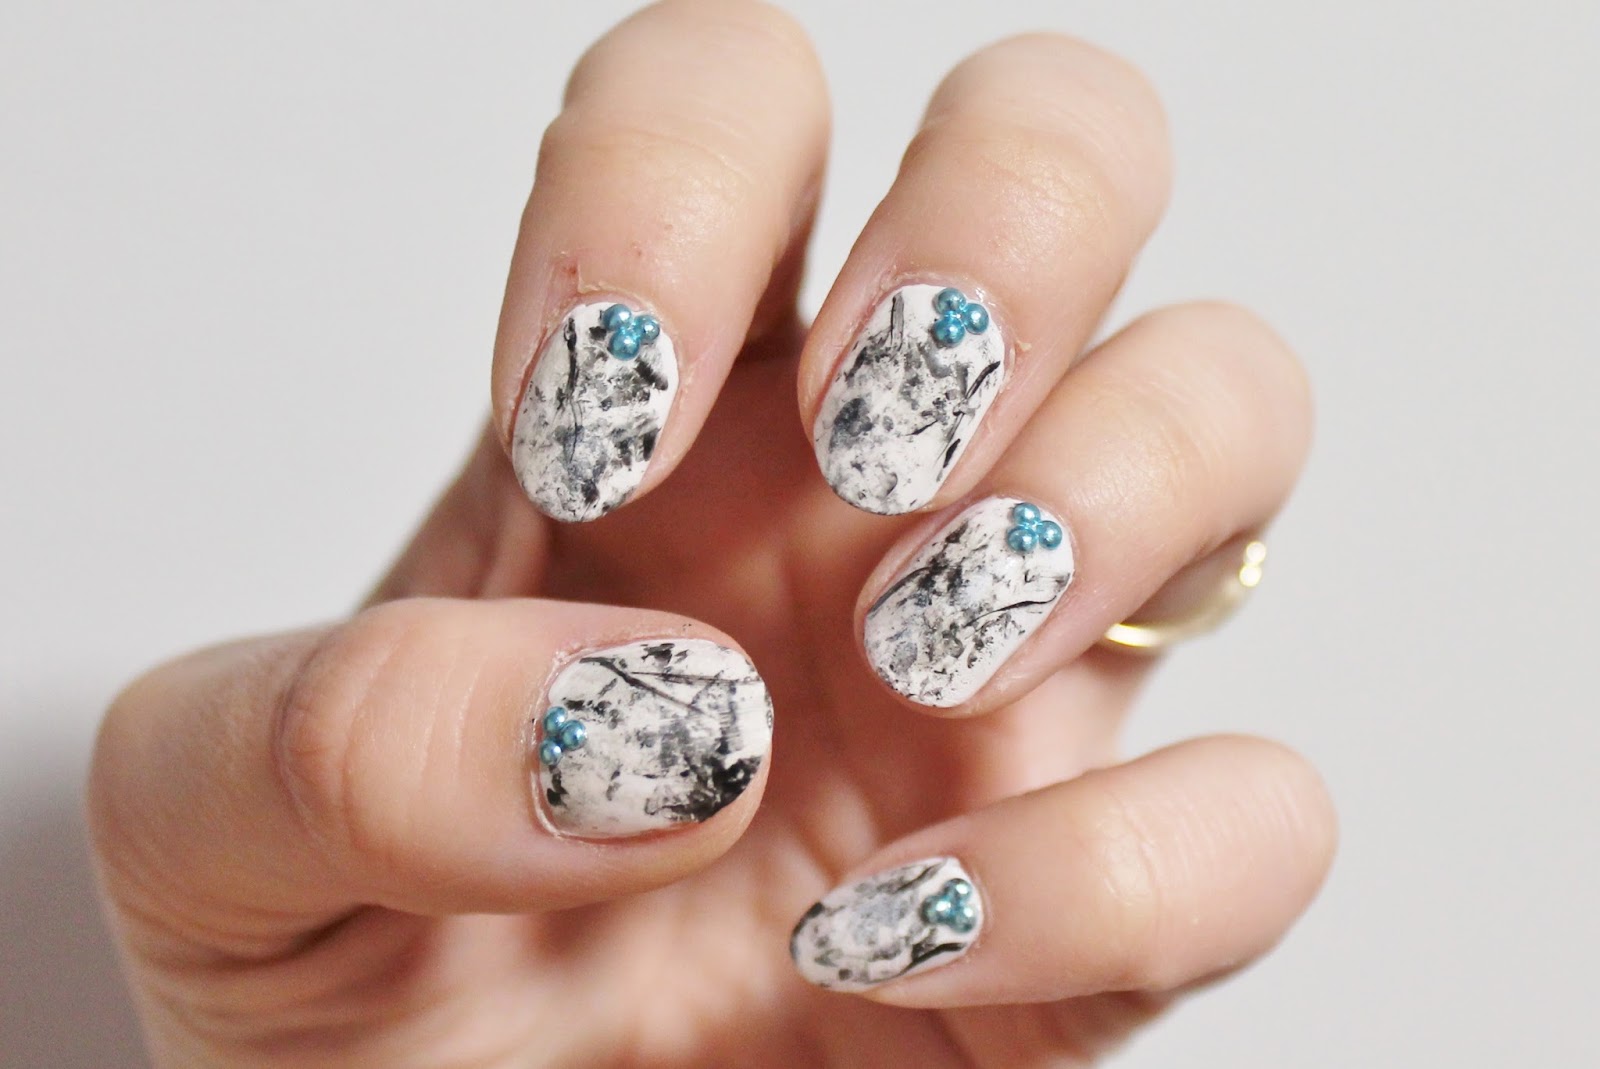
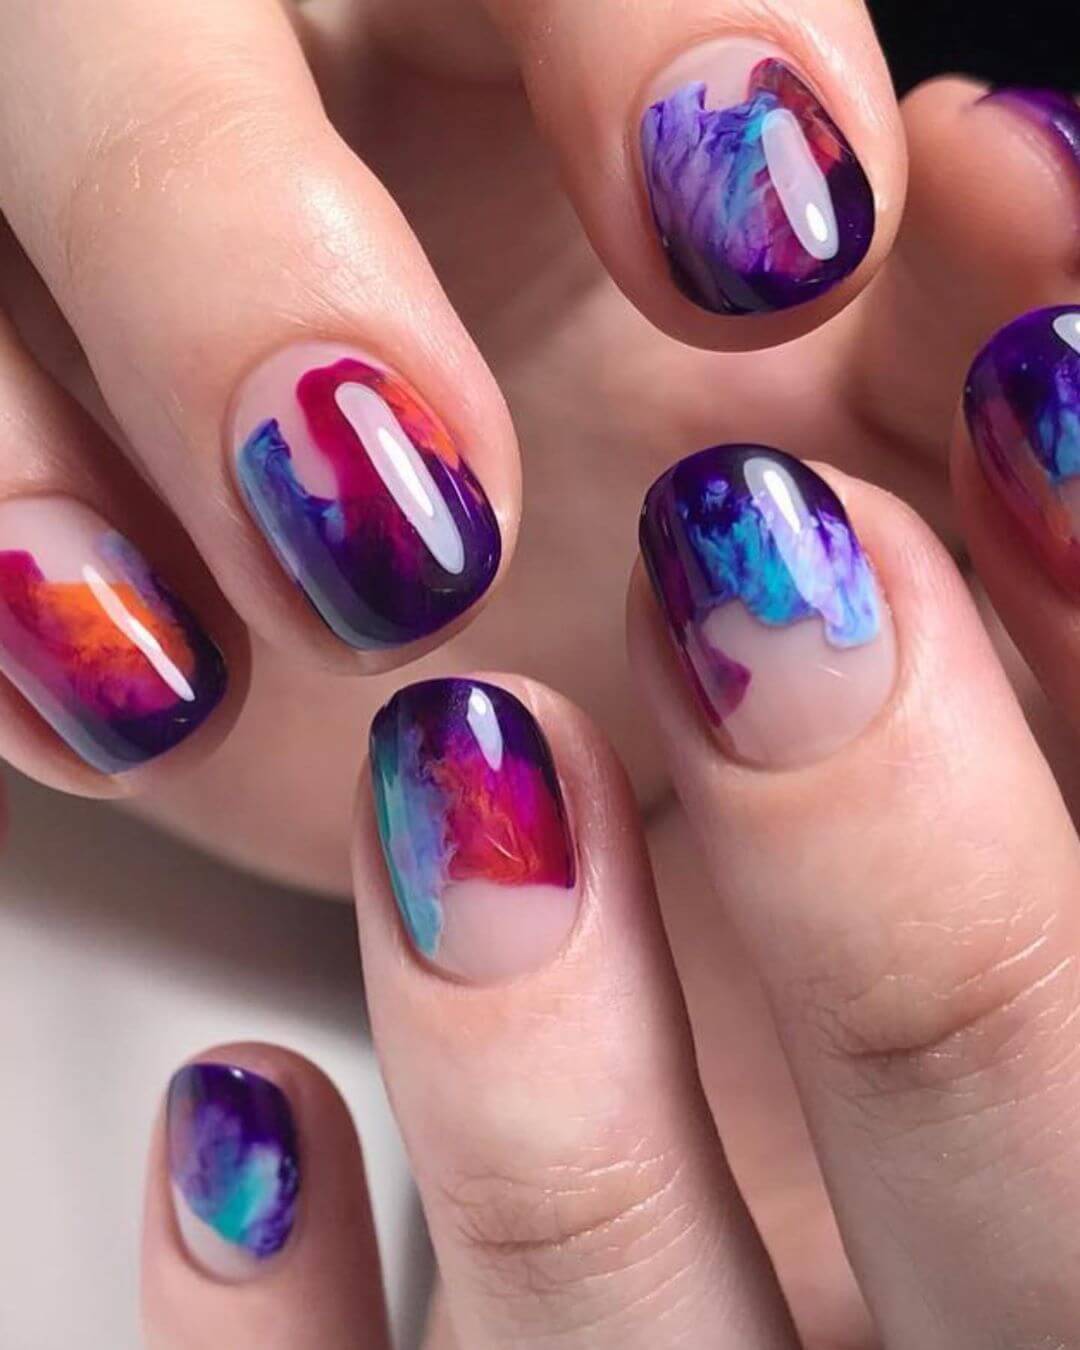
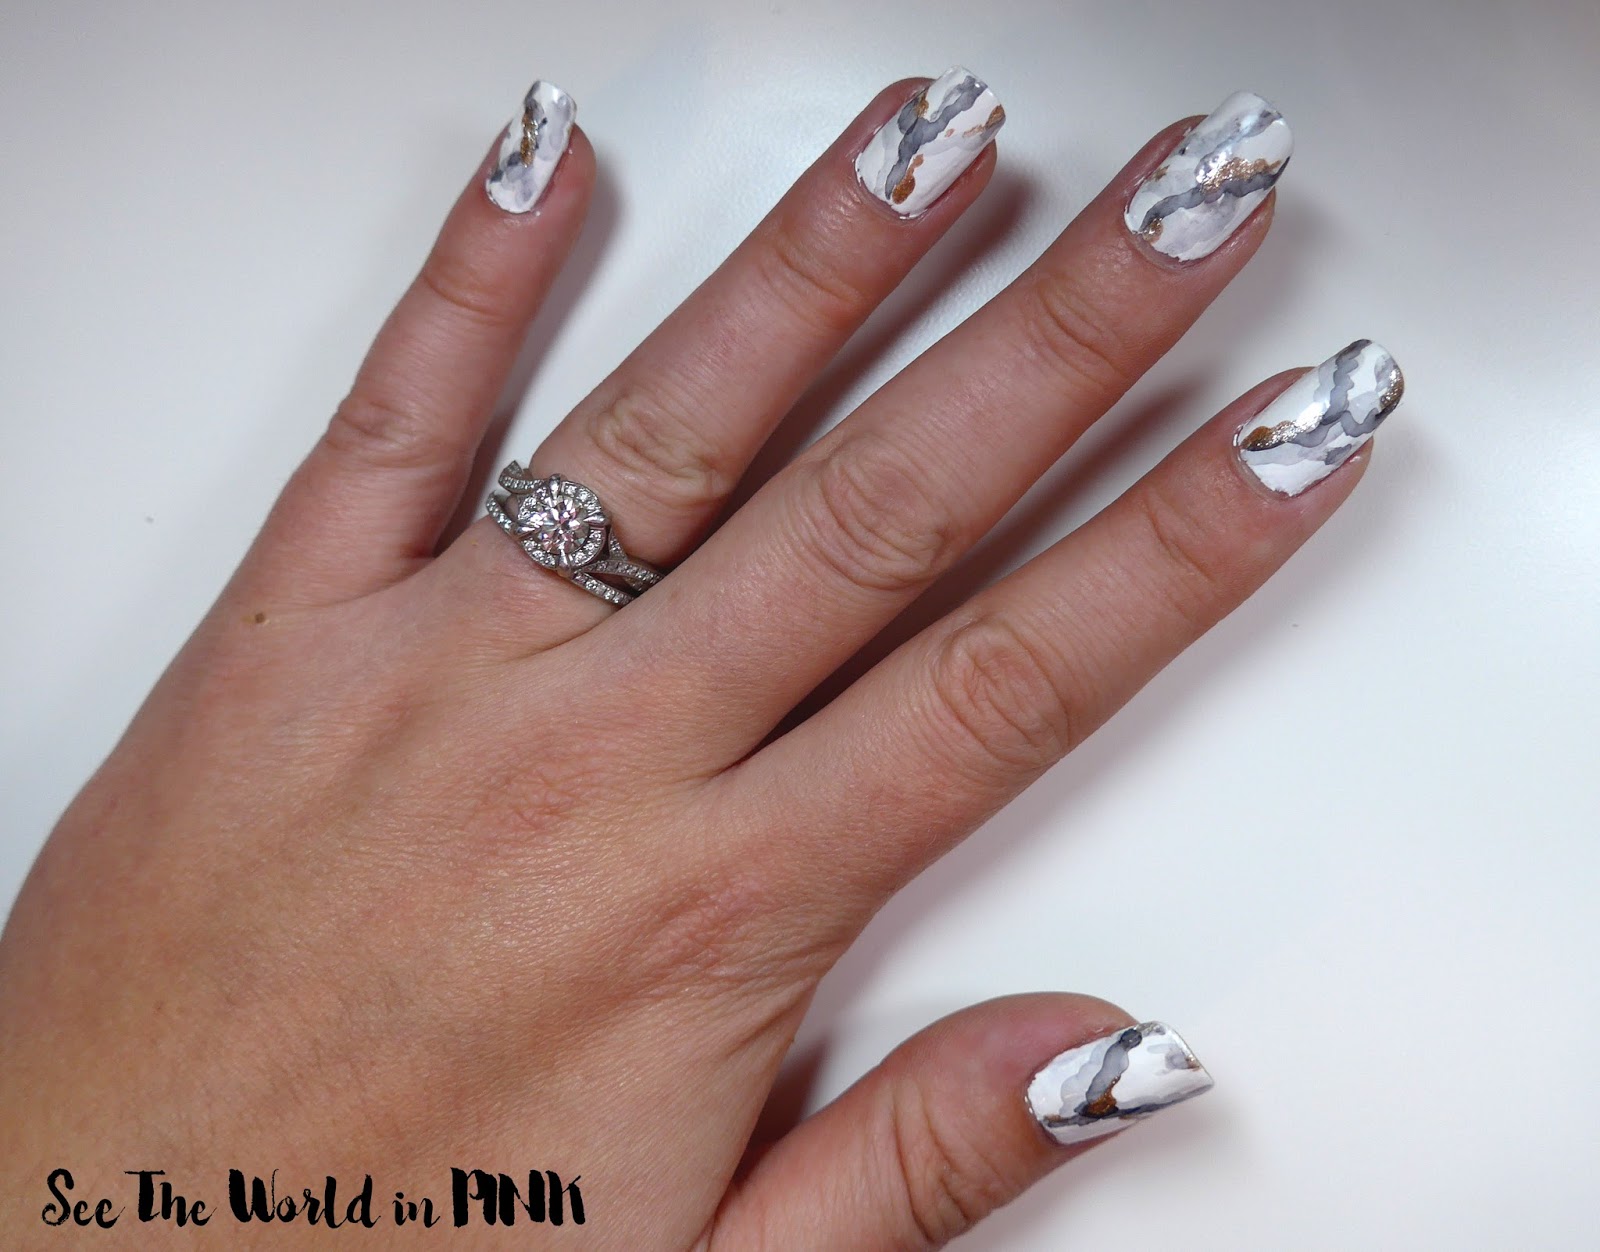
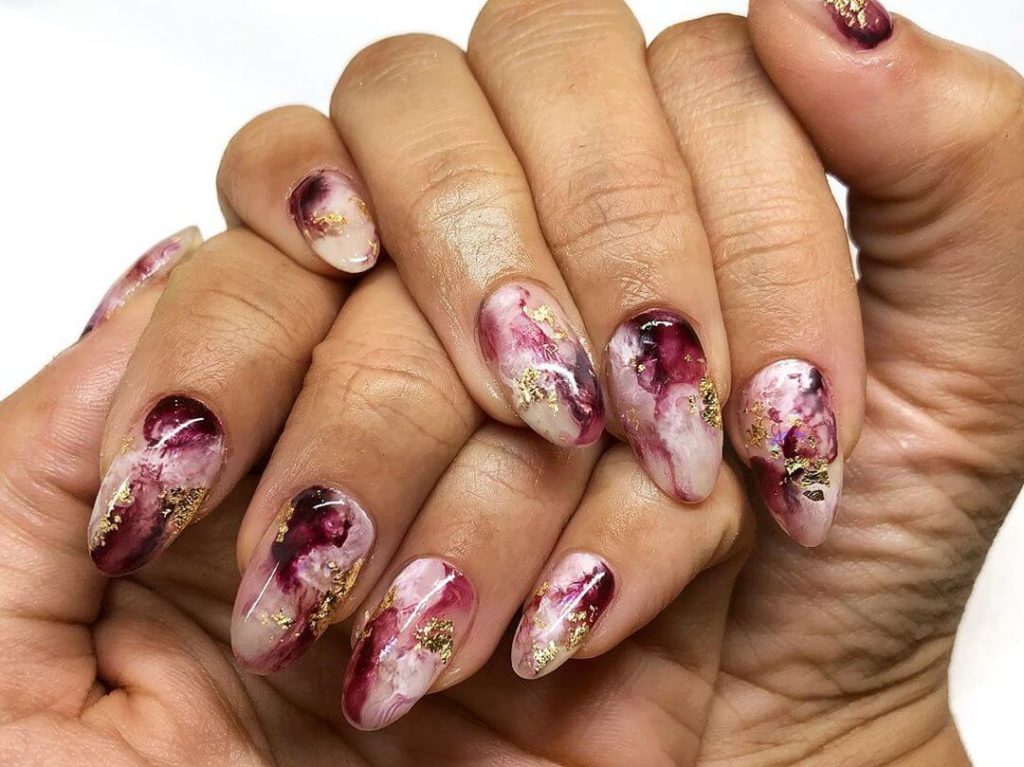
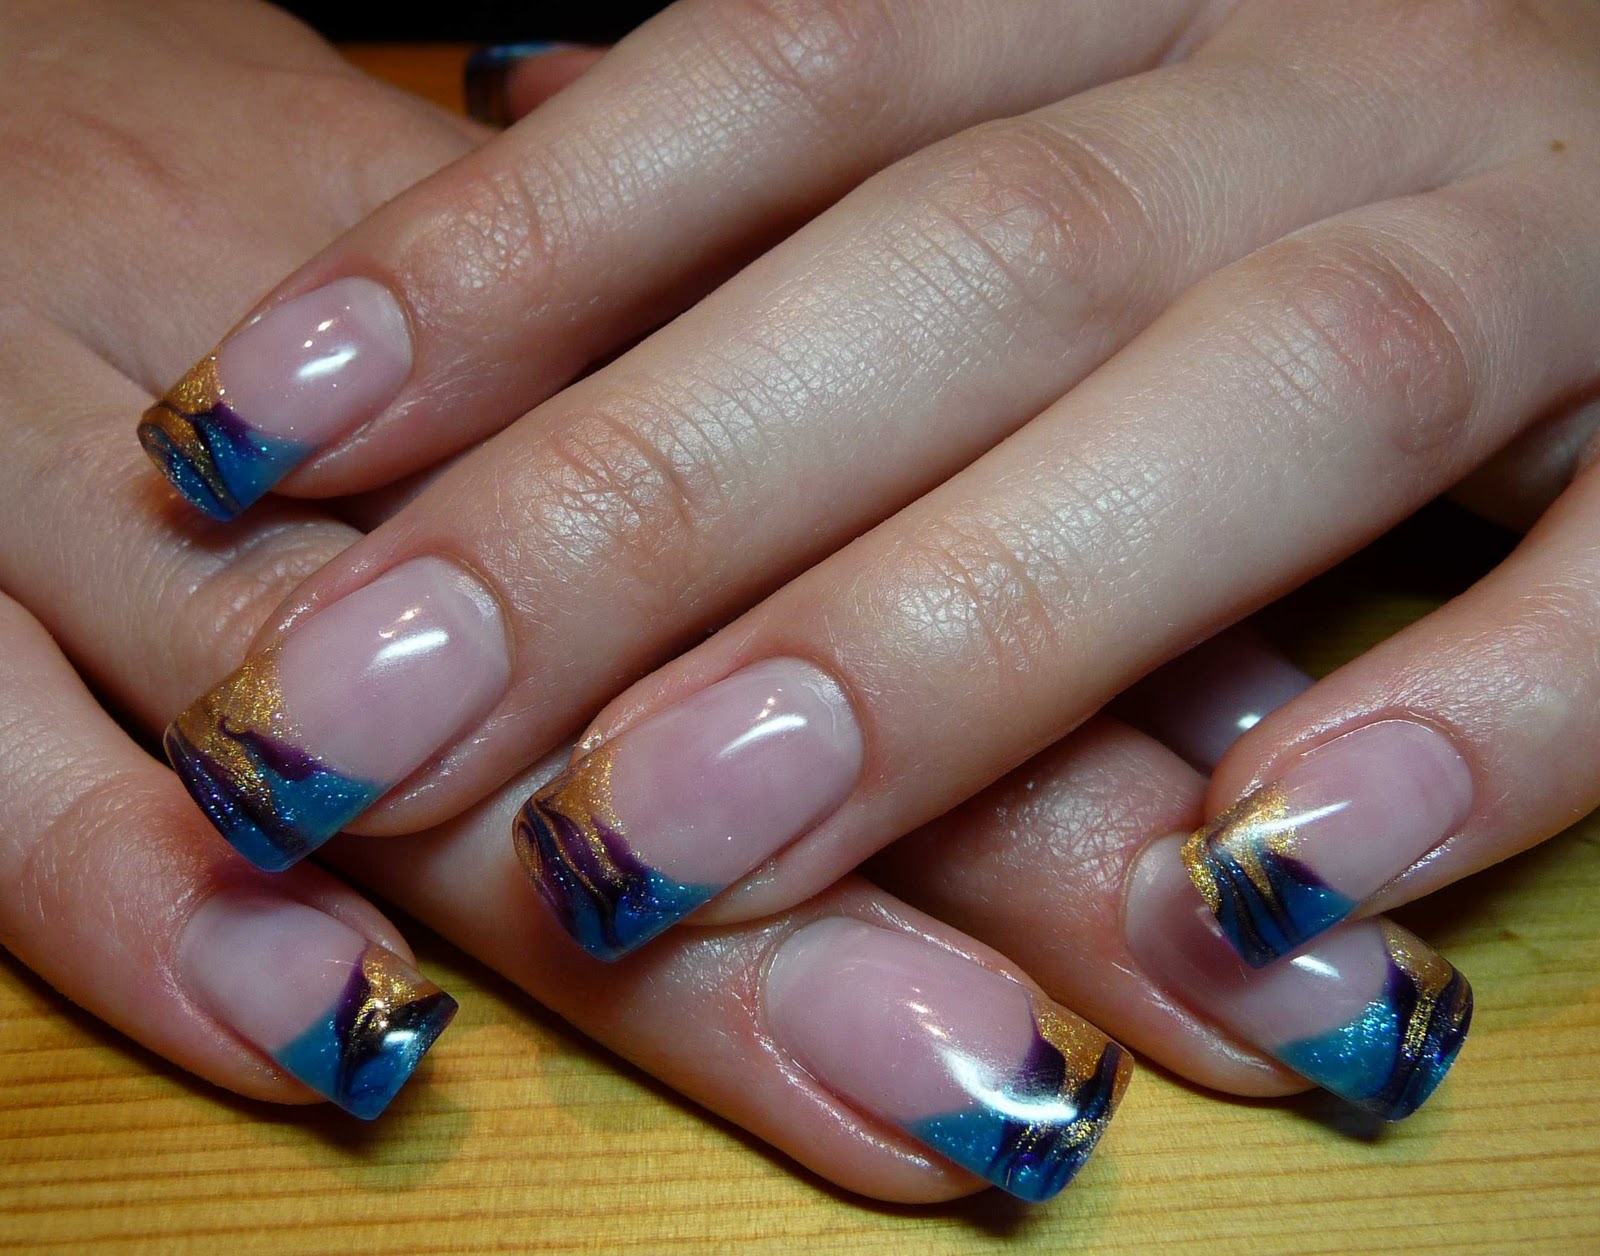
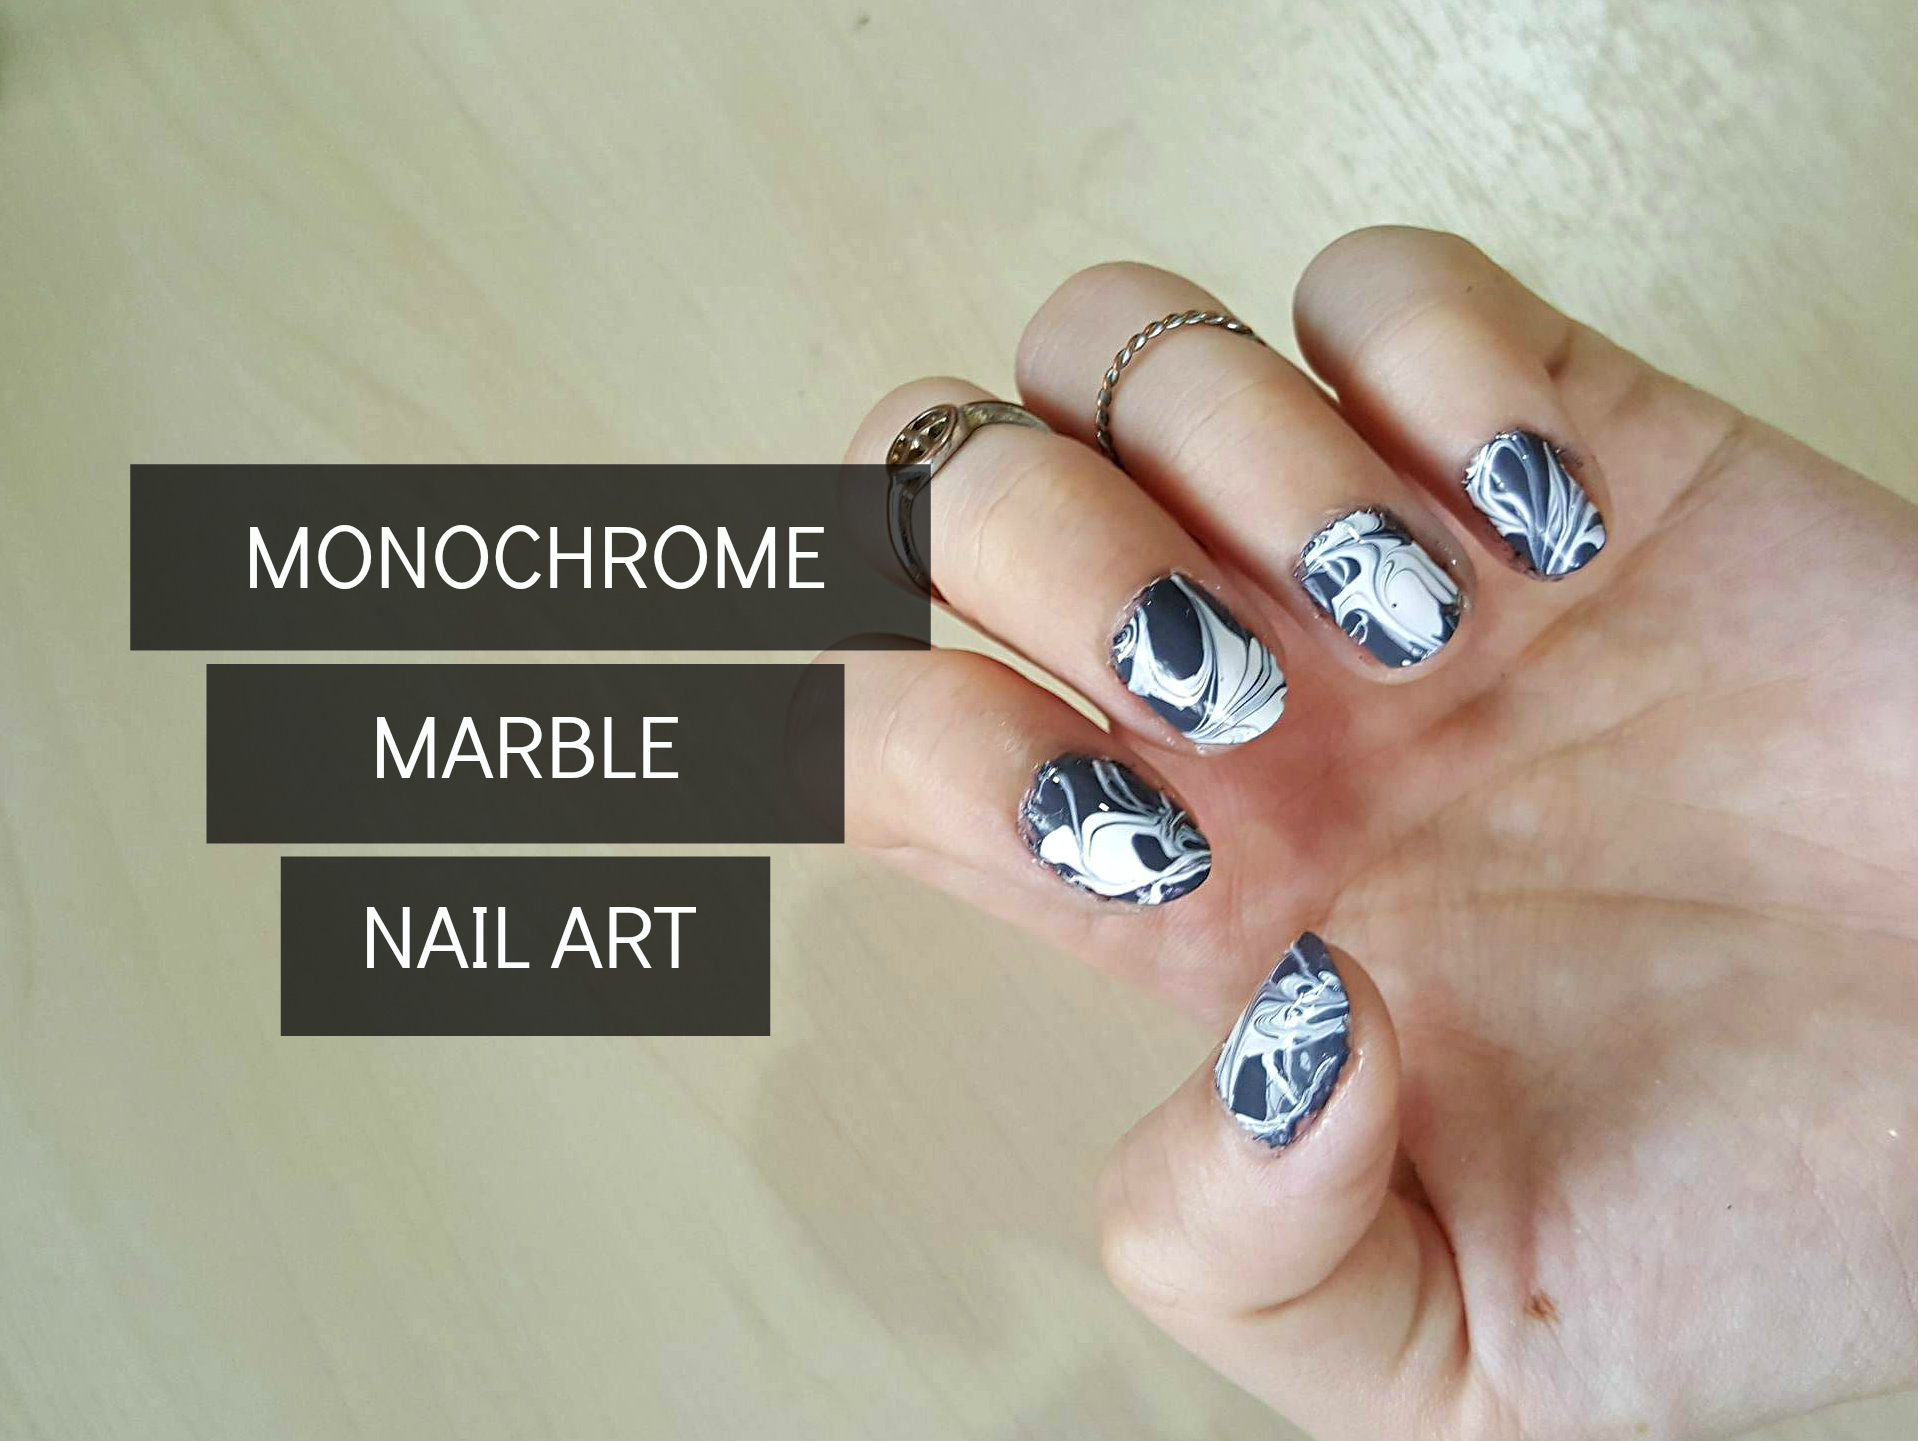
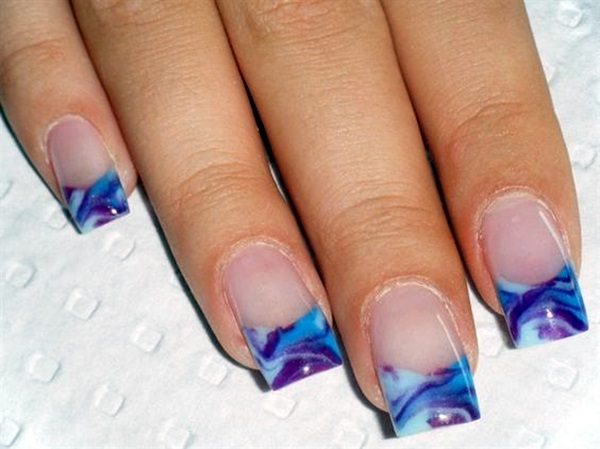
Marble nail art doesn't have to be complicated. There are plenty of easy designs that you can create at home. For a simple yet stunning look, try a white and gold marble design. Or, if you're feeling more adventurous, opt for a multicolored marble design using different shades of pastel colors.4. 10 Easy Marble Nail Art Designs


4. 10 Easy Marble Nail Art Designs
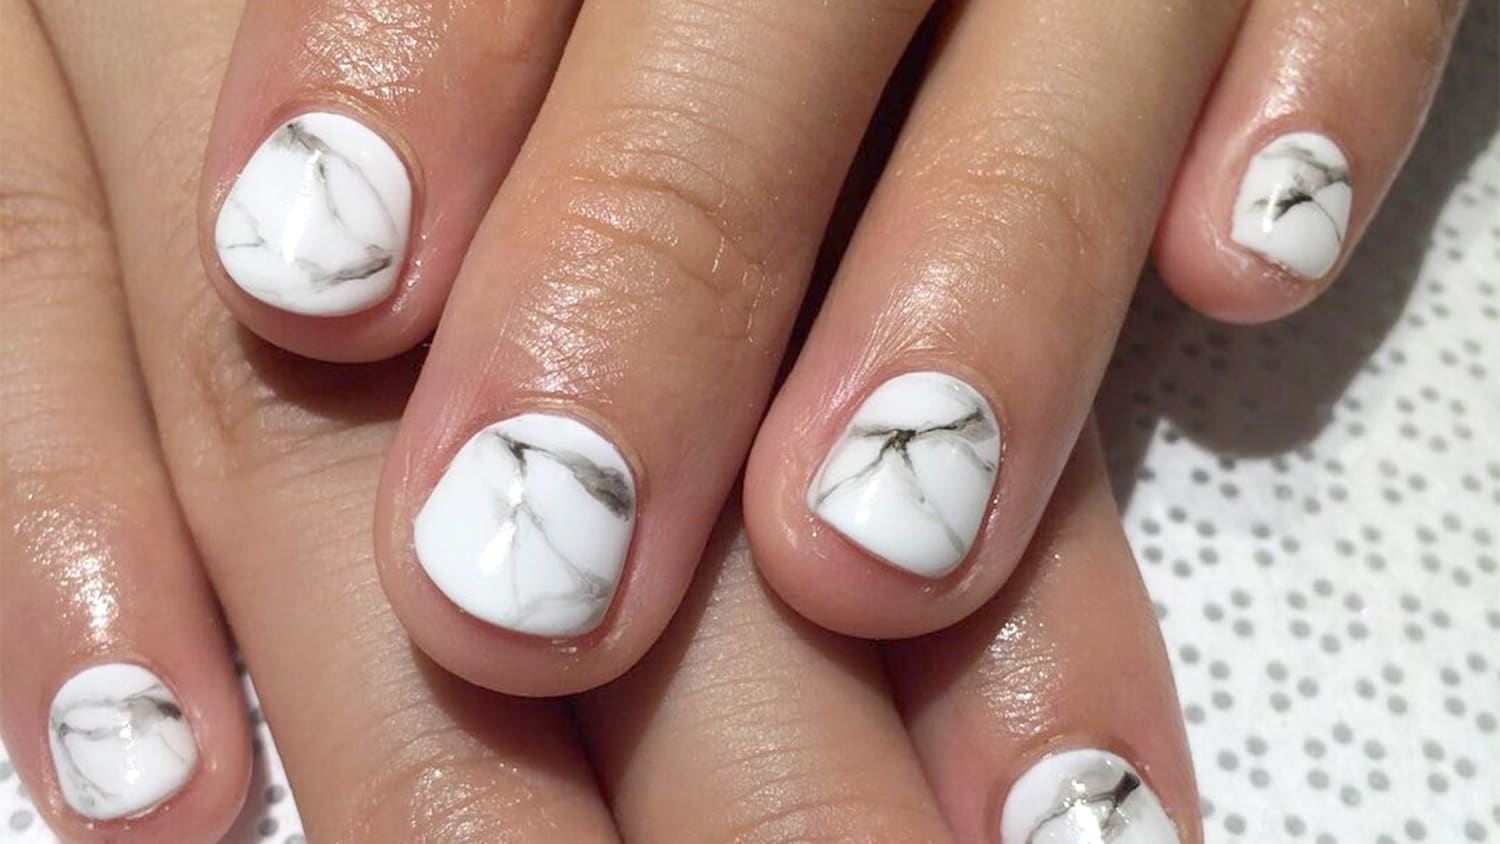
Short nails can also rock the marble nail trend. If you have short nails, try a diagonal marble design or a half-moon marble design. These designs are perfect for shorter nails and add a touch of elegance to your overall look.5. Marble Nail Art Ideas for Short Nails


5. Marble Nail Art Ideas for Short Nails


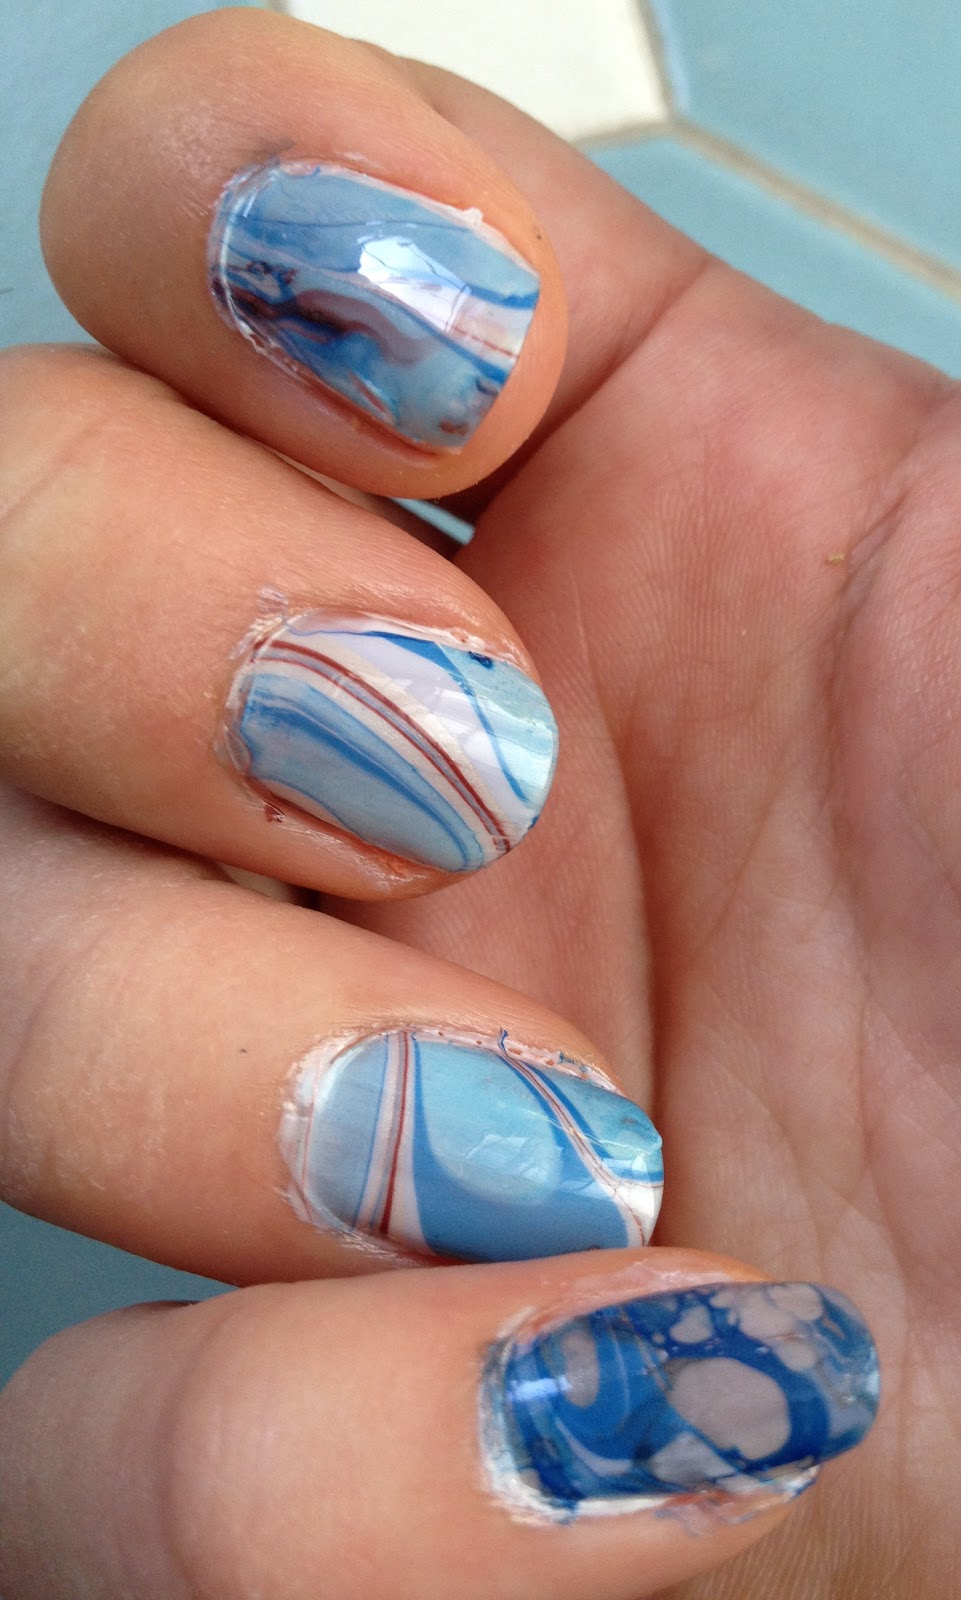
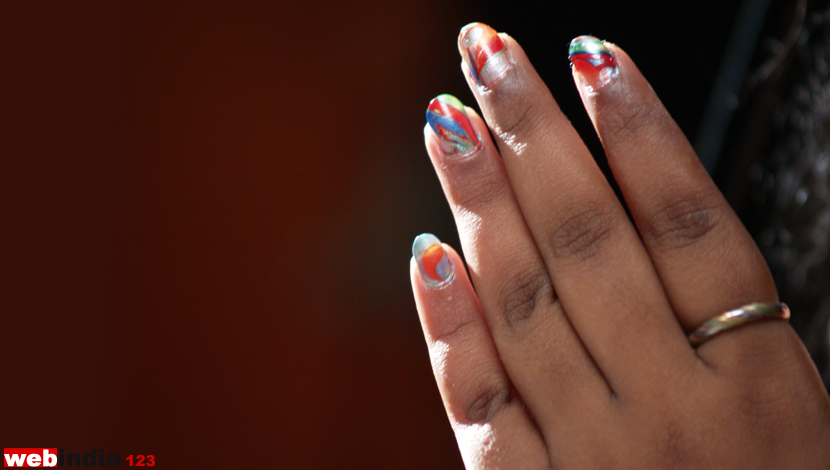
Creating marble nail art with water is the most popular and easiest method. The key is to use room temperature water to ensure the nail polish stays on the surface. You can also use a spray bottle to create a marble effect on the water's surface before dipping your nails.6. Marble Nail Art with Water


6. Marble Nail Art with Water


If you don't have a thin brush or a dotting tool, a toothpick can be a handy tool for creating marble nail art. Dip the toothpick into the nail polish and use it to create the marble effect on your nails. It may take some practice, but the result is worth it.7. Marble Nail Art with Toothpick
7. Marble Nail Art with Toothpick


For a more textured marble effect, try using plastic wrap. After applying your base color, dab some nail polish onto the plastic wrap and then press it onto your nails. This technique will create a unique and one-of-a-kind marble design.8. Marble Nail Art with Plastic Wrap
8. Marble Nail Art with Plastic Wrap


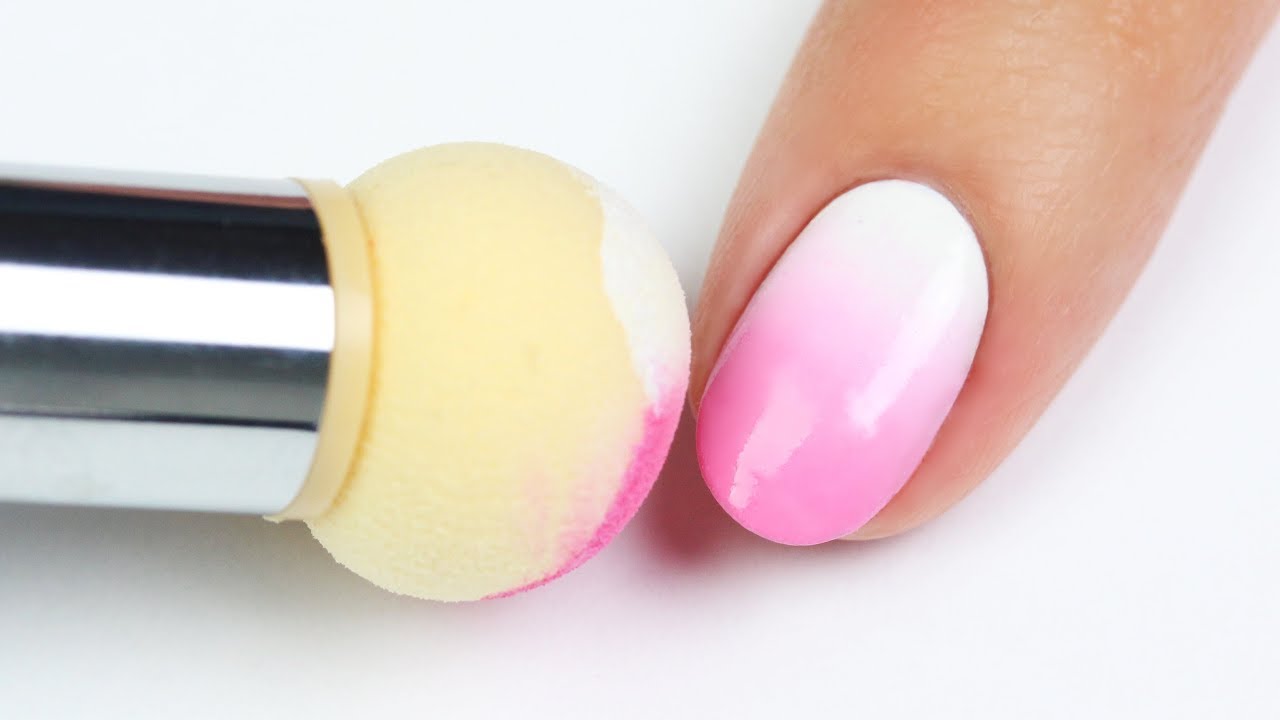
If you want a more subtle marble effect, try using a makeup sponge. After applying your base color, dab some nail polish onto the sponge and then gently press it onto your nails. This technique will give your nails a marbled look without being too overwhelming.9. Marble Nail Art with Sponge

9. Marble Nail Art with Sponge

If you're not confident in your nail art skills, you can still achieve a marble look by using nail polish strips. These pre-made strips come in various colors and designs, including marble, making it quick and easy to achieve the perfect marble nails.10. Marble Nail Art with Nail Polish Strips


10. Marble Nail Art with Nail Polish Strips

Creating Stunning Marble Nail Art: Tips and Tricks
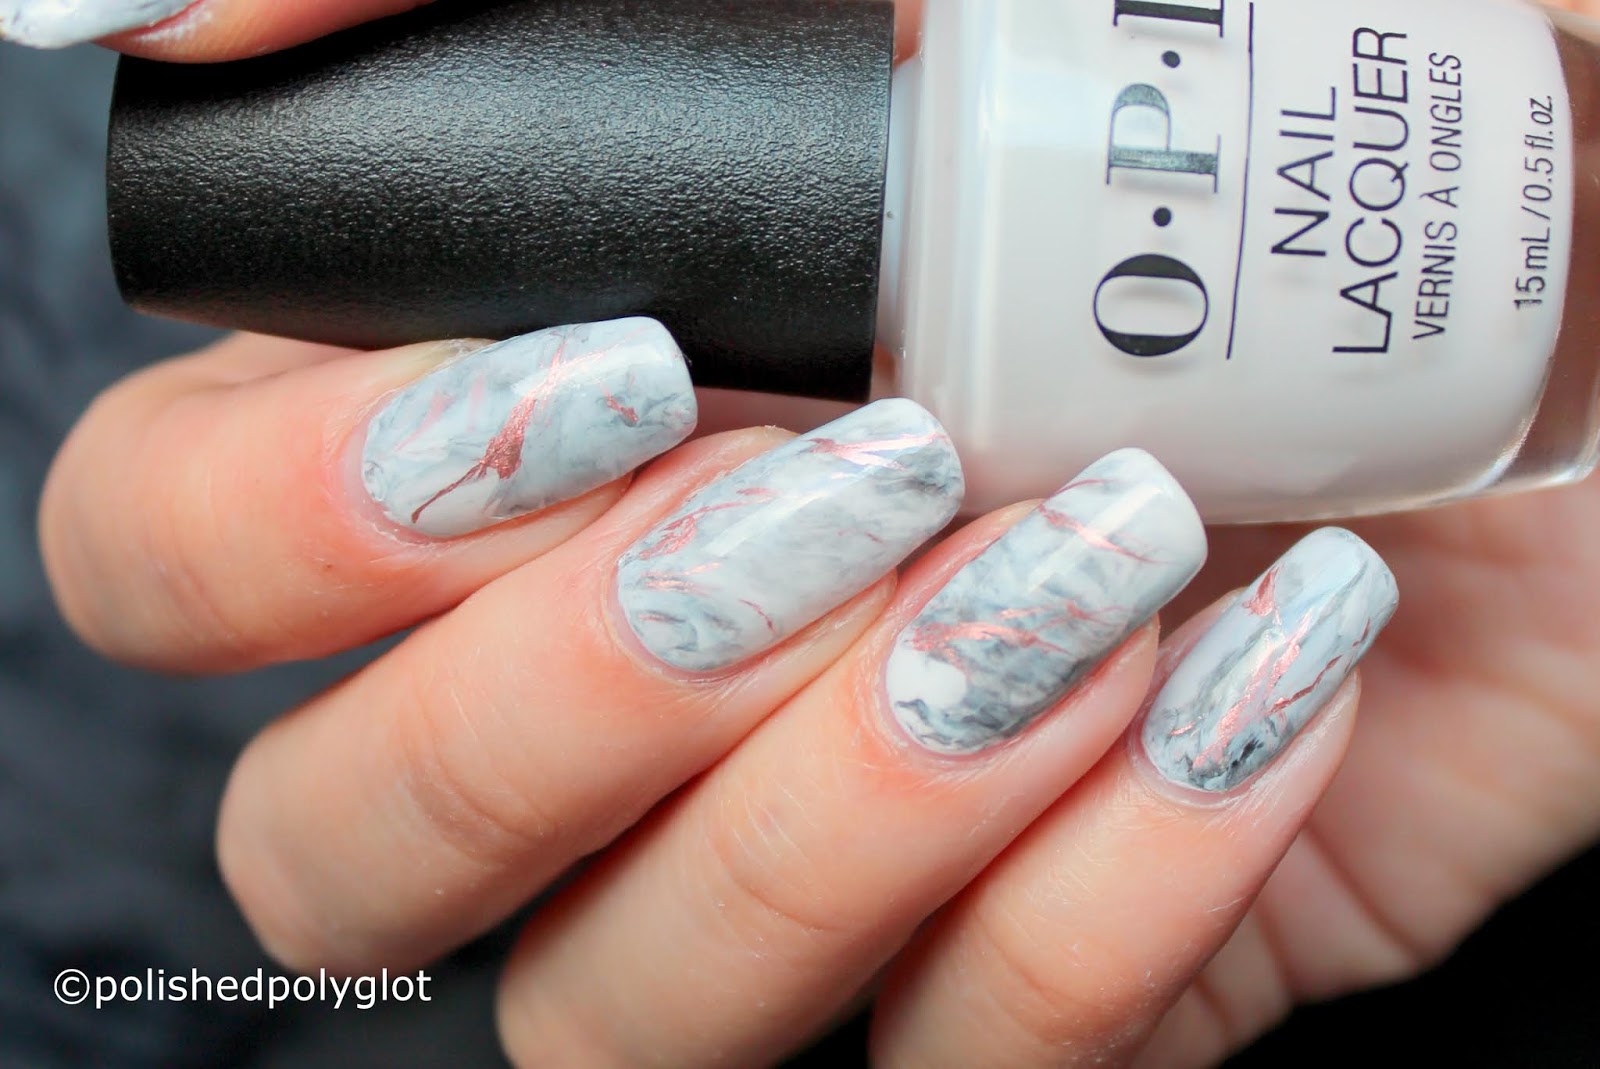
Choose Your Colors Wisely
 When it comes to marble nail art, it's important to select your colors carefully.
Neutral shades
such as white, gray, and black work best for a classic marble look. However, you can also get creative and use
bright and bold colors
for a more vibrant and unique design. Just remember to choose colors that complement each other and create a cohesive look.
When it comes to marble nail art, it's important to select your colors carefully.
Neutral shades
such as white, gray, and black work best for a classic marble look. However, you can also get creative and use
bright and bold colors
for a more vibrant and unique design. Just remember to choose colors that complement each other and create a cohesive look.
Prep Your Nails
 Before starting on your marble design, it's crucial to properly prep your nails. This includes
trimming and shaping
your nails, pushing back your cuticles, and buffing the surface of your nails to create a smooth canvas. You can also apply a clear base coat to help your design last longer.
Before starting on your marble design, it's crucial to properly prep your nails. This includes
trimming and shaping
your nails, pushing back your cuticles, and buffing the surface of your nails to create a smooth canvas. You can also apply a clear base coat to help your design last longer.
Use the Right Tools
 To achieve a flawless marble nail art, you'll need
marbling tools
such as a toothpick or a thin brush. These tools will help you create intricate designs and swirls on your nails. You can also use a small piece of plastic wrap to create a unique and textured effect on your nails.
To achieve a flawless marble nail art, you'll need
marbling tools
such as a toothpick or a thin brush. These tools will help you create intricate designs and swirls on your nails. You can also use a small piece of plastic wrap to create a unique and textured effect on your nails.
Master the Technique
 Creating a marble nail art may seem daunting at first, but with some practice, you can master the technique. Start by dropping
small amounts of nail polish
onto a piece of paper and then use your marbling tool to swirl the colors together. Once you're satisfied with the design, gently press your nail onto the paper to transfer the design onto your nail. Repeat this process on all your nails and voila, you have stunning marble nails!
Creating a marble nail art may seem daunting at first, but with some practice, you can master the technique. Start by dropping
small amounts of nail polish
onto a piece of paper and then use your marbling tool to swirl the colors together. Once you're satisfied with the design, gently press your nail onto the paper to transfer the design onto your nail. Repeat this process on all your nails and voila, you have stunning marble nails!
Experiment with Different Designs
 The best part about marble nail art is that you can mix and match different colors and designs to create a truly unique look. You can try creating
ombre
marble nails by using different shades of the same color, or you can add a touch of glitter for some extra sparkle. Don't be afraid to experiment and have fun with your designs!
In conclusion, marble nail art is a fun and creative way to add some personality to your nails. By following these tips and tricks, you can achieve stunning and professional-looking marble nails at home. So, gather your supplies and get ready to rock this trendy and stylish nail art!
The best part about marble nail art is that you can mix and match different colors and designs to create a truly unique look. You can try creating
ombre
marble nails by using different shades of the same color, or you can add a touch of glitter for some extra sparkle. Don't be afraid to experiment and have fun with your designs!
In conclusion, marble nail art is a fun and creative way to add some personality to your nails. By following these tips and tricks, you can achieve stunning and professional-looking marble nails at home. So, gather your supplies and get ready to rock this trendy and stylish nail art!


