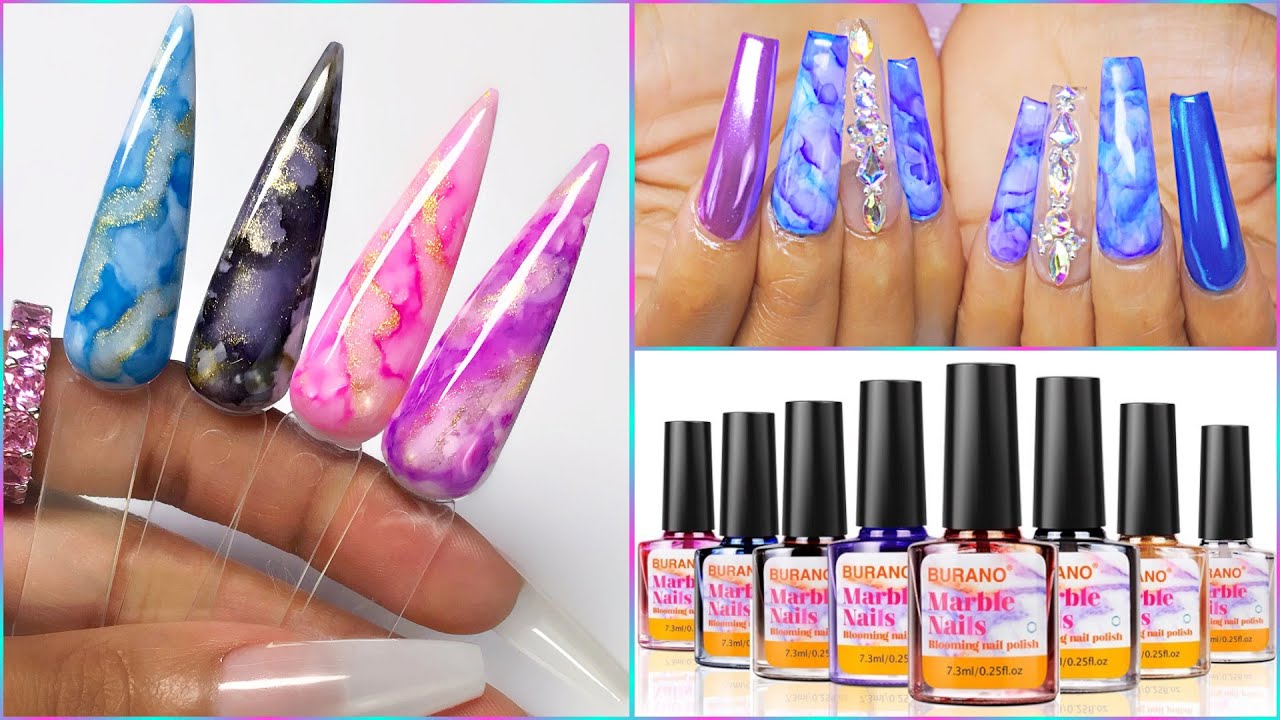
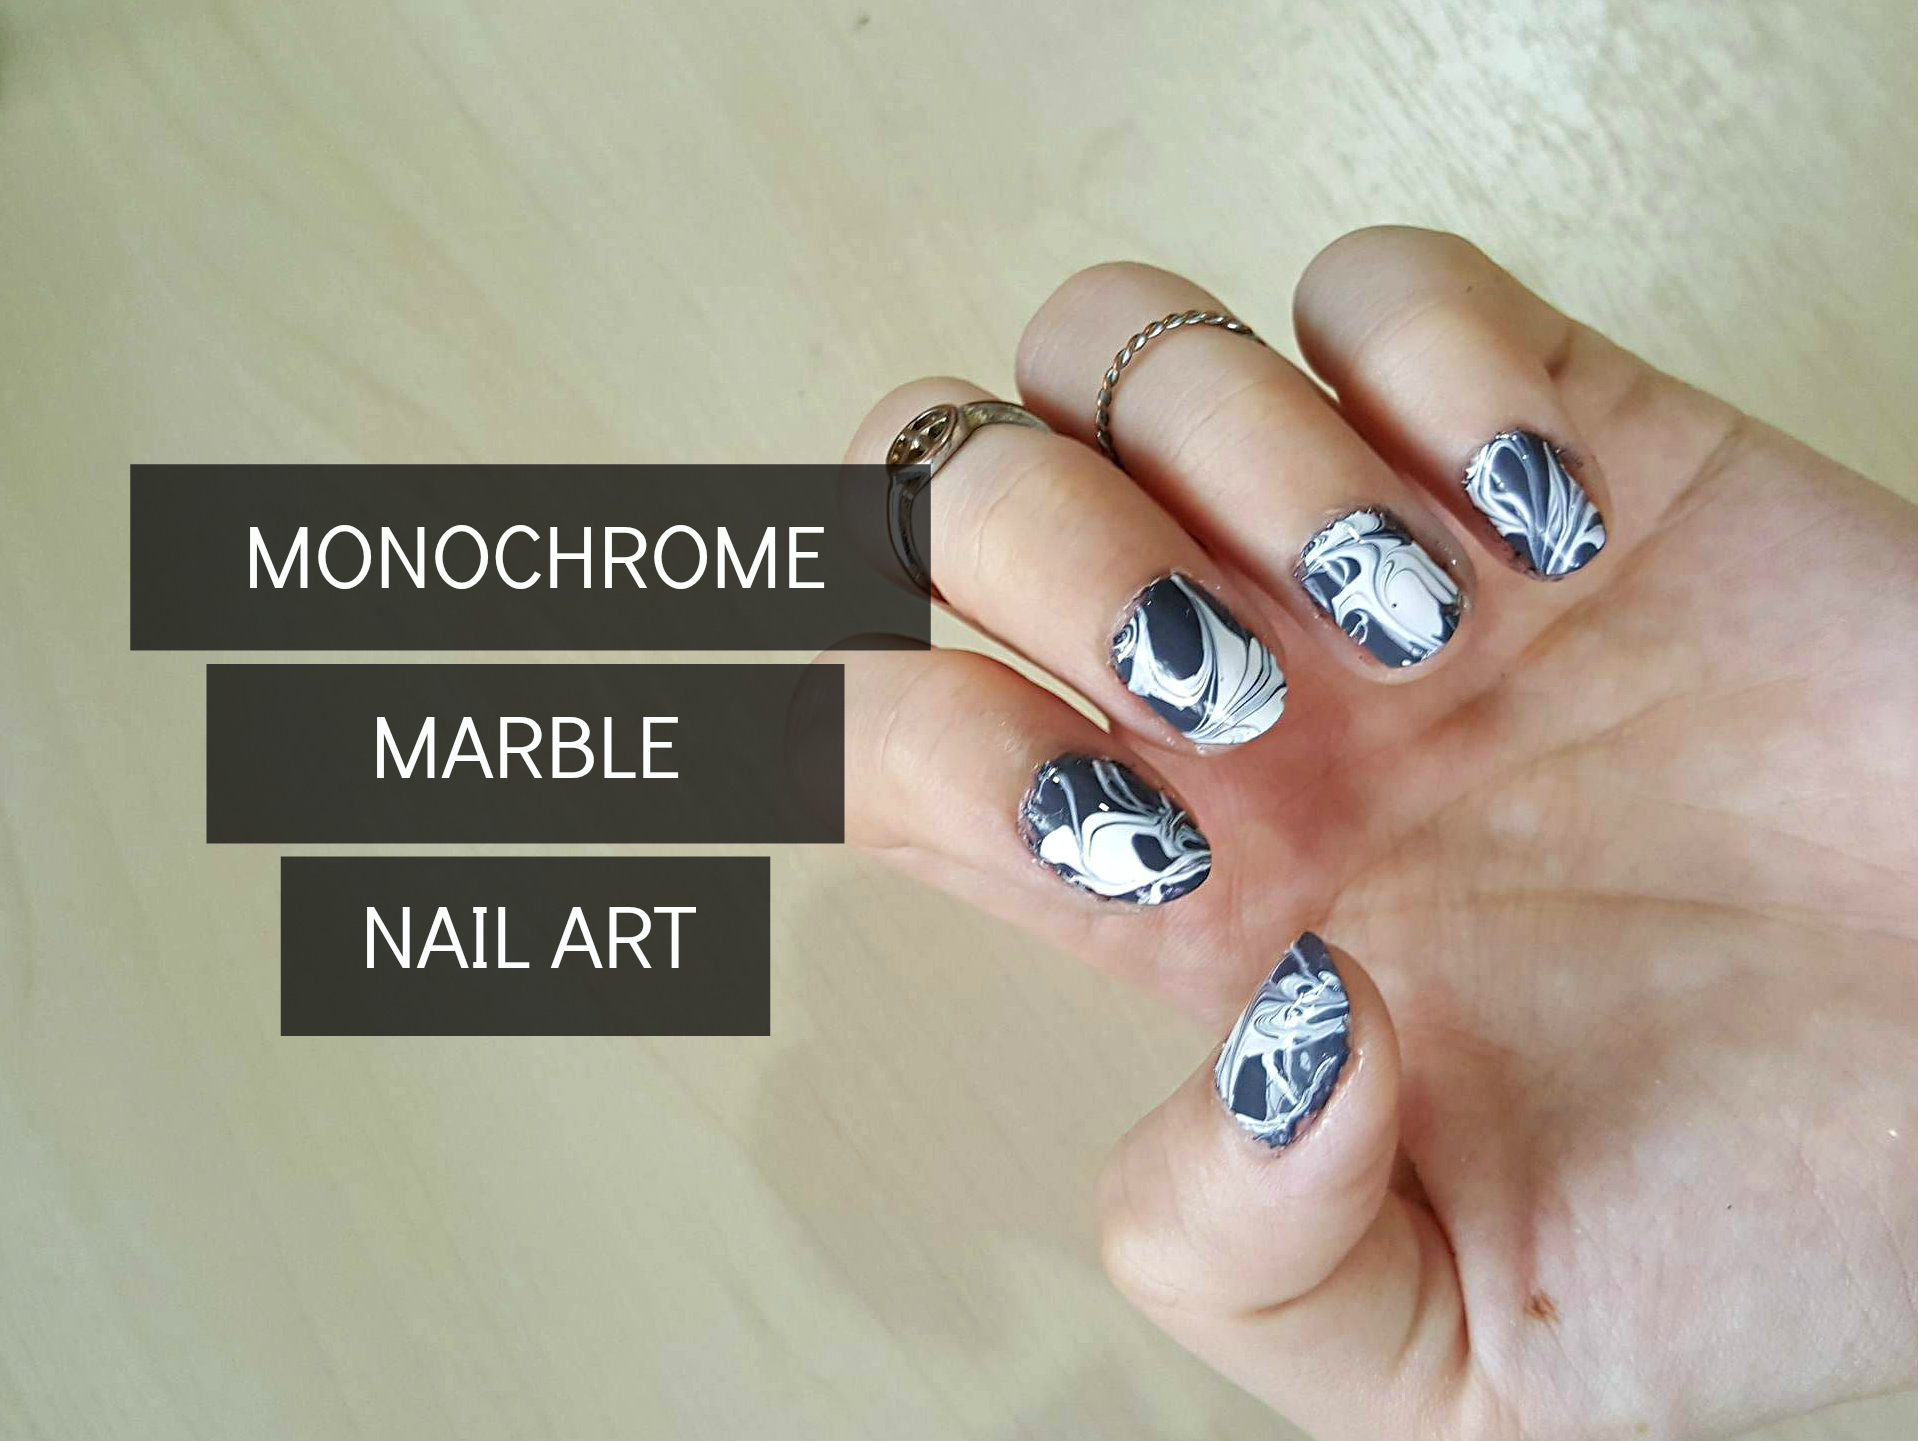
Marble nail art has become a popular trend among nail enthusiasts, and for good reason. It's a beautiful and unique way to add some personality to your nails. However, many people are intimidated by the intricate designs and assume it's a difficult process. Fear not, because this easy marble nail art tutorial will guide you through the steps and have you creating stunning designs in no time. The first step is to gather all the necessary materials. You will need a base coat, white nail polish, marble nail art kit, toothpick or dotting tool, and a top coat. Make sure your nails are clean and trimmed before beginning. Next, apply a base coat to protect your nails and allow it to dry completely. This will also help the polish adhere better and last longer. Now comes the fun part – creating the marble design. Take your white polish and apply a generous amount to the entire nail. You can use any color as a base, but white will give the best effect for the marble design. Once the white polish is applied, use the marble nail art kit to create a marbled effect on the nail. Simply drop a few drops of the desired colors onto your nail, then use a toothpick or dotting tool to swirl the colors together. Don't overdo it, as you want to maintain the marbled effect. After creating the desired design, let it dry for a minute or two. Then, take a clean toothpick or dotting tool and gently drag it through the polish in a straight line from one end of the nail to the other. This will create a vein-like effect, similar to real marble. Once you're satisfied with the design, let it dry completely before applying a top coat to seal in the design and add shine. And voila, you have a beautiful and easy marble nail art design!1. Easy Marble Nail Art Tutorial for Beginners


1. Easy Marble Nail Art Tutorial for Beginners


If you're looking for a more detailed and step-by-step approach to creating marble nail art, this tutorial is for you. It may seem overwhelming at first, but with practice, you'll be creating intricate and eye-catching designs in no time. First, gather all the necessary materials: base coat, white polish, marble nail art kit, toothpick or dotting tool, small cup of water, and a top coat. Begin by applying a base coat to protect your nails and allow it to dry completely. Then, apply a generous amount of white polish to the entire nail. Next, take your desired colors and drop a few drops onto the surface of the water. Use colors that are similar in shade to create a cohesive design. You can use as many colors as you'd like, but don't overdo it. Using a toothpick or dotting tool, gently swirl the colors together to create a marbled effect. Make sure not to over-mix, as you want to maintain the distinct colors. Now, take your nail and carefully dip it into the water, making sure to submerge the entire nail. Hold it there for a few seconds, then gently lift it out of the water. You will see the marble design transferred onto your nail. If there is any excess polish on your finger, you can use a cotton swab dipped in nail polish remover to clean it up before moving on to the next nail. Once all your nails are done, allow them to dry completely before applying a top coat to seal in the design and add shine. With a little practice, this step-by-step marble nail art tutorial will have you creating stunning designs like a pro.2. Step-by-Step Marble Nail Art Tutorial

2. Step-by-Step Marble Nail Art Tutorial

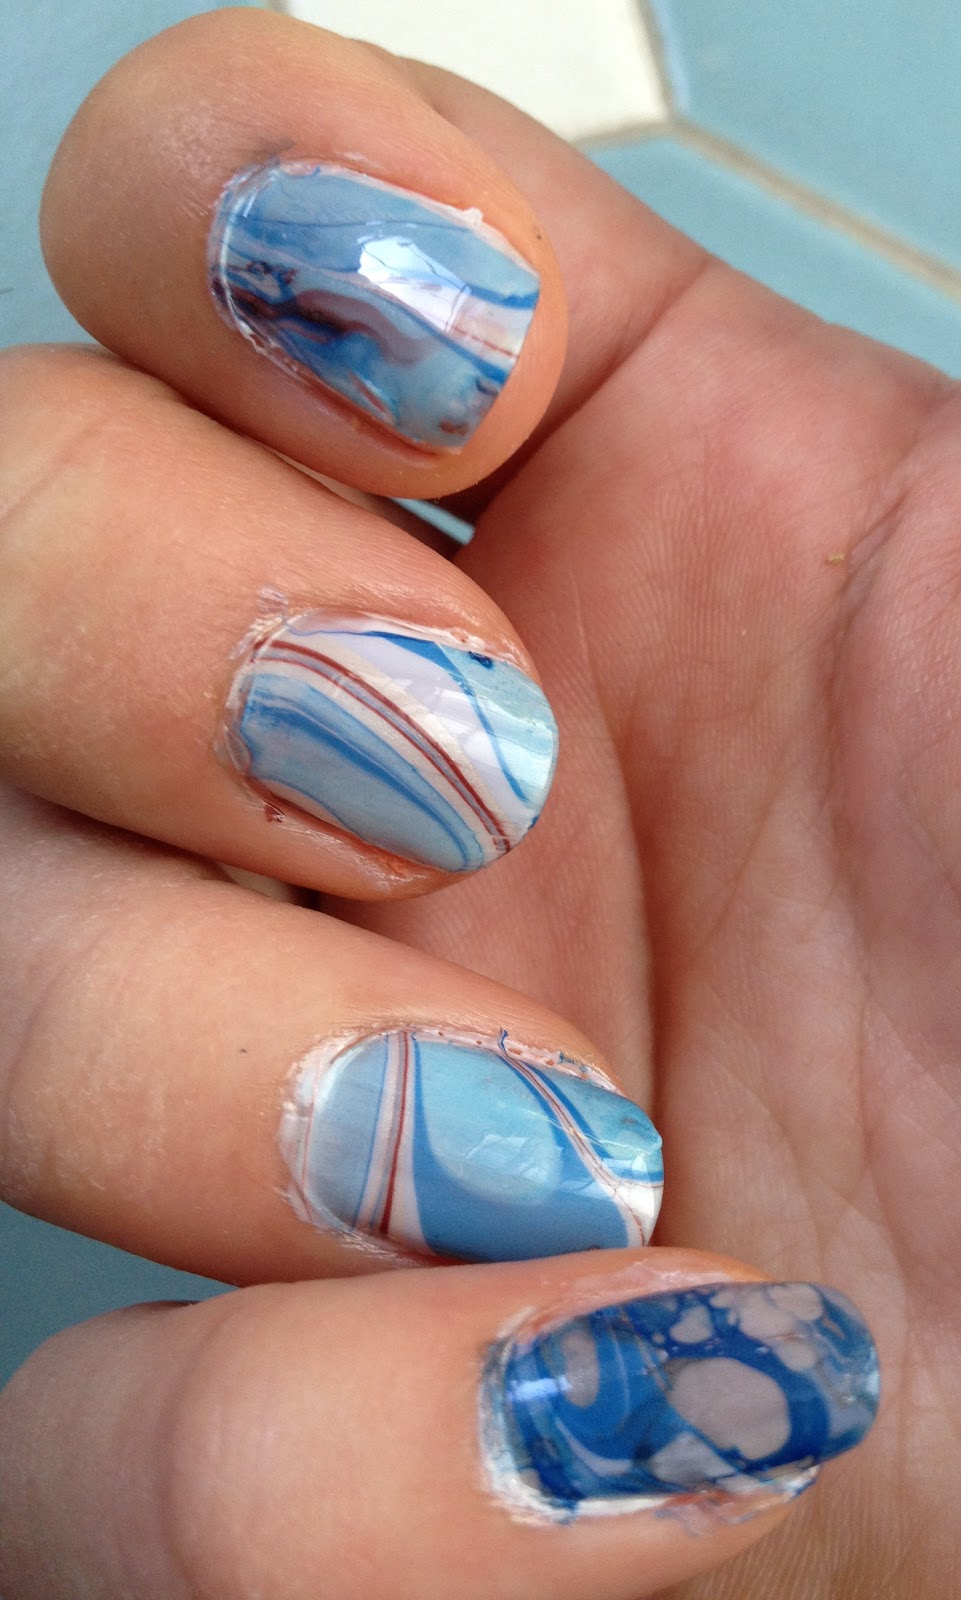
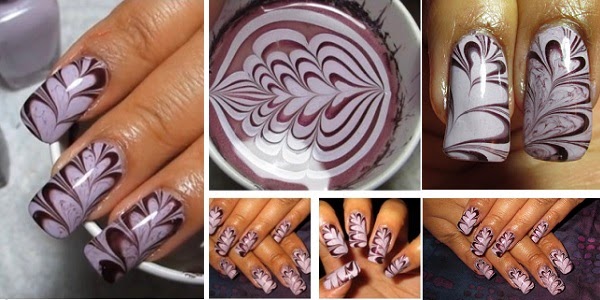
Did you know that you can create a marble nail art design using just water? It's a simple and fun DIY method that produces beautiful and unique results every time. Let's dive into this DIY marble nail art tutorial with water. Start by gathering all the necessary materials: base coat, white polish, nail polish in desired colors, toothpick or dotting tool, small cup of water, and a top coat. Begin by applying a base coat to protect your nails and allow it to dry completely. Then, apply a generous amount of white polish to the entire nail. Next, take your desired colors and drop a few drops onto the surface of the water. Again, less is more with this method, so be mindful not to overdo it. Using a toothpick or dotting tool, gently swirl the colors together to create a marbled effect. Now, take your nail and carefully dip it into the water, making sure to submerge the entire nail. Hold it there for a few seconds, then gently lift it out of the water. You will see the marble design transferred onto your nail. Using a cotton swab dipped in nail polish remover, clean up any excess polish on your finger before moving on to the next nail. Once all your nails are done, allow them to dry completely before applying a top coat to seal in the design and add shine. This DIY marble nail art tutorial with water is a fun and easy way to create stunning designs at home.3. DIY Marble Nail Art Tutorial with Water

3. DIY Marble Nail Art Tutorial with Water


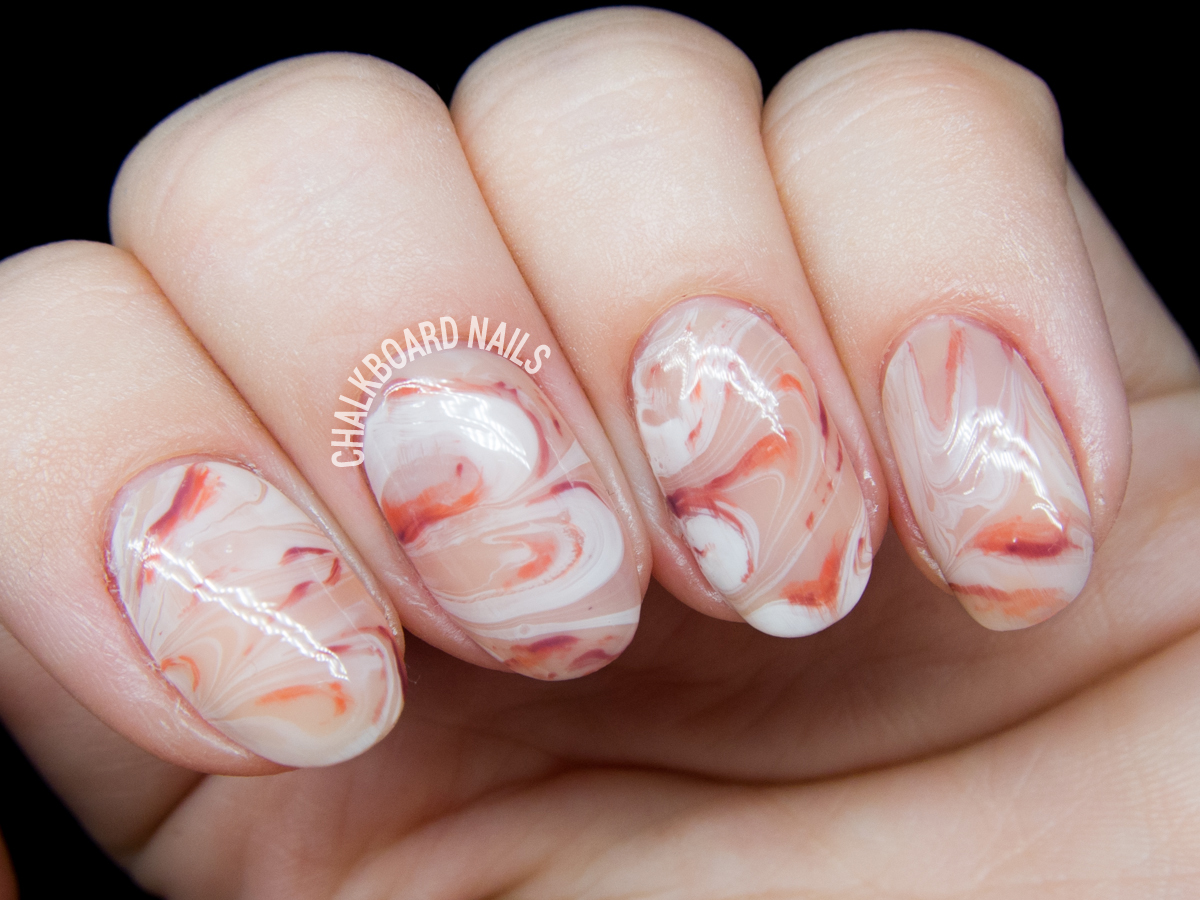
Creating a marble nail art design may seem daunting, but with the right tools and techniques, it can be a fun and easy process. Let's take a look at how to create a marble nail art design that will have everyone asking where you got your nails done. First, gather all the necessary materials: base coat, white polish, nail polish in desired colors, marble nail art kit, toothpick or dotting tool, and a top coat. Start by applying a base coat to protect your nails and allow it to dry completely. Then, apply a generous amount of white polish to the entire nail. Next, use the marble nail art kit to create a marbled effect on the nail. Drop a few drops of the desired colors onto your nail, then use a toothpick or dotting tool to swirl the colors together. Don't overdo it, as you want to maintain the marbled effect. After creating the desired design, let it dry for a minute or two. Then, take a clean toothpick or dotting tool and gently drag it through the polish in a straight line from one end of the nail to the other. This will create a vein-like effect, similar to real marble. Once you're satisfied with the design, let it dry completely before applying a top coat to seal in the design and add shine. This method is a great way to create a marble nail art design with more control and precision for those who may not feel confident with the water method.4. How to Create a Marble Nail Art Design


4. How to Create a Marble Nail Art Design
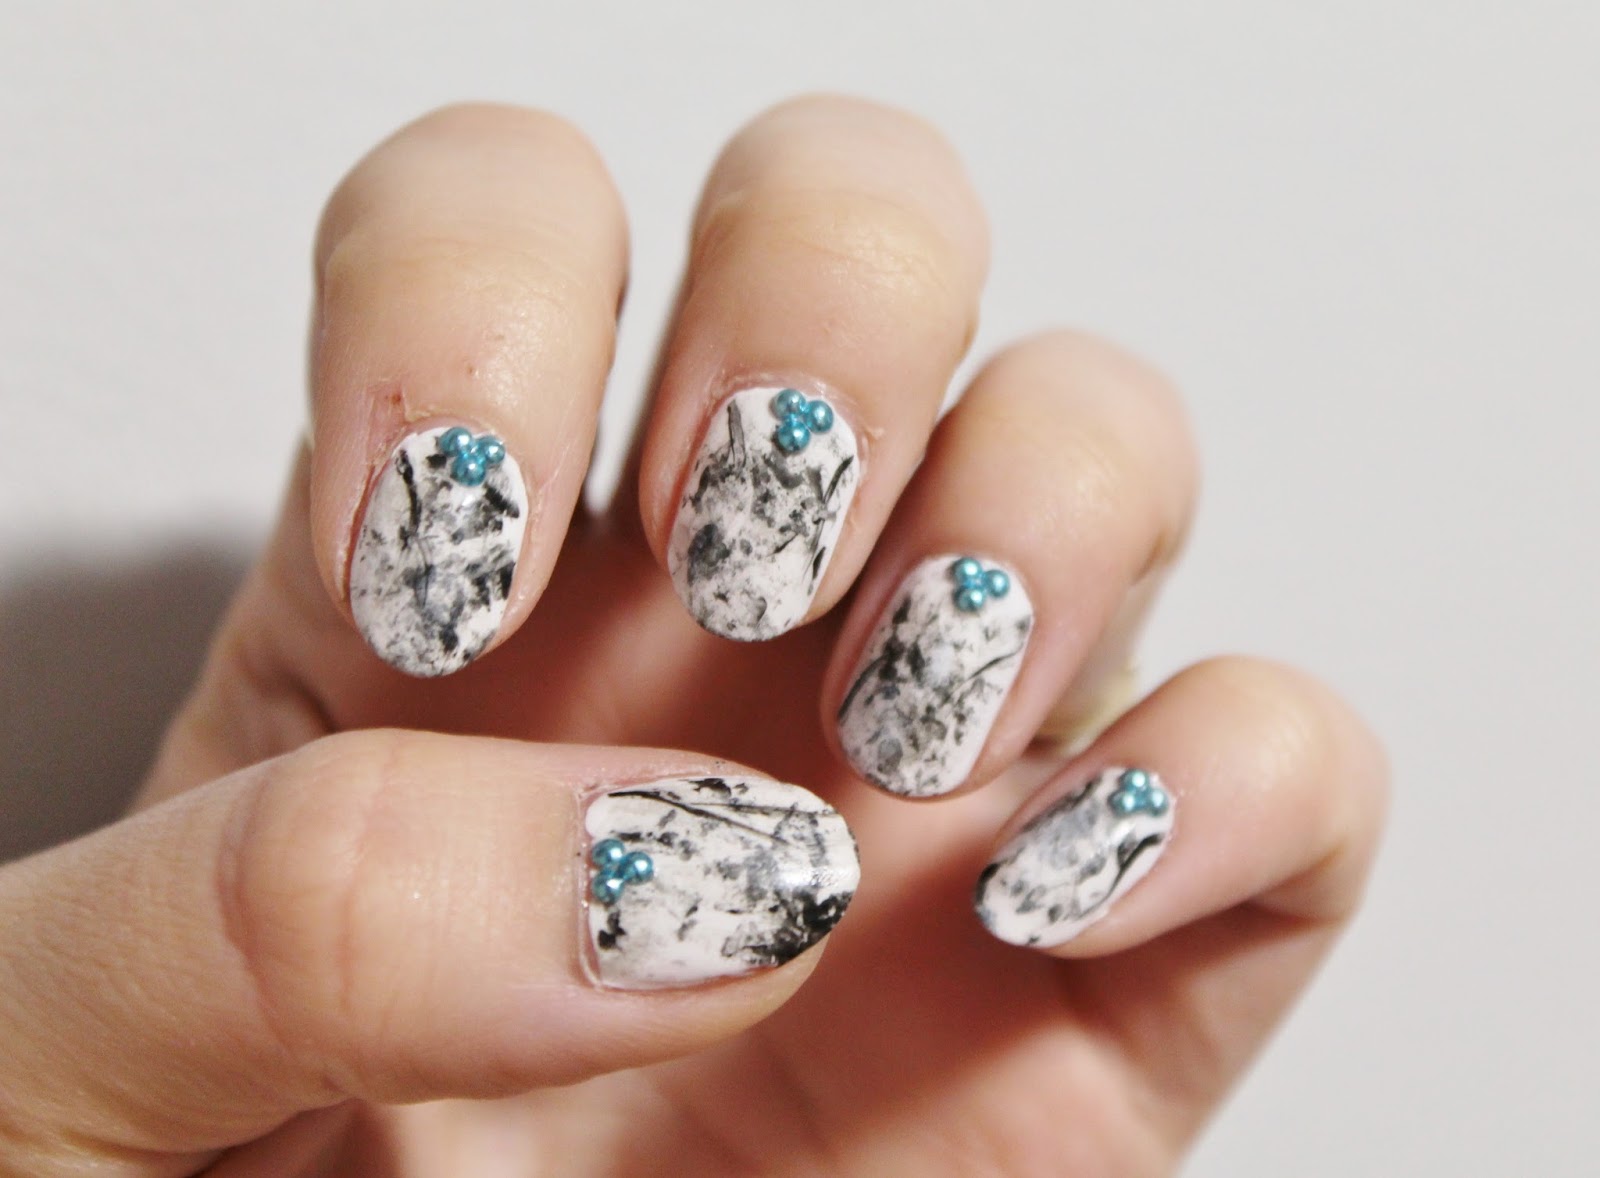
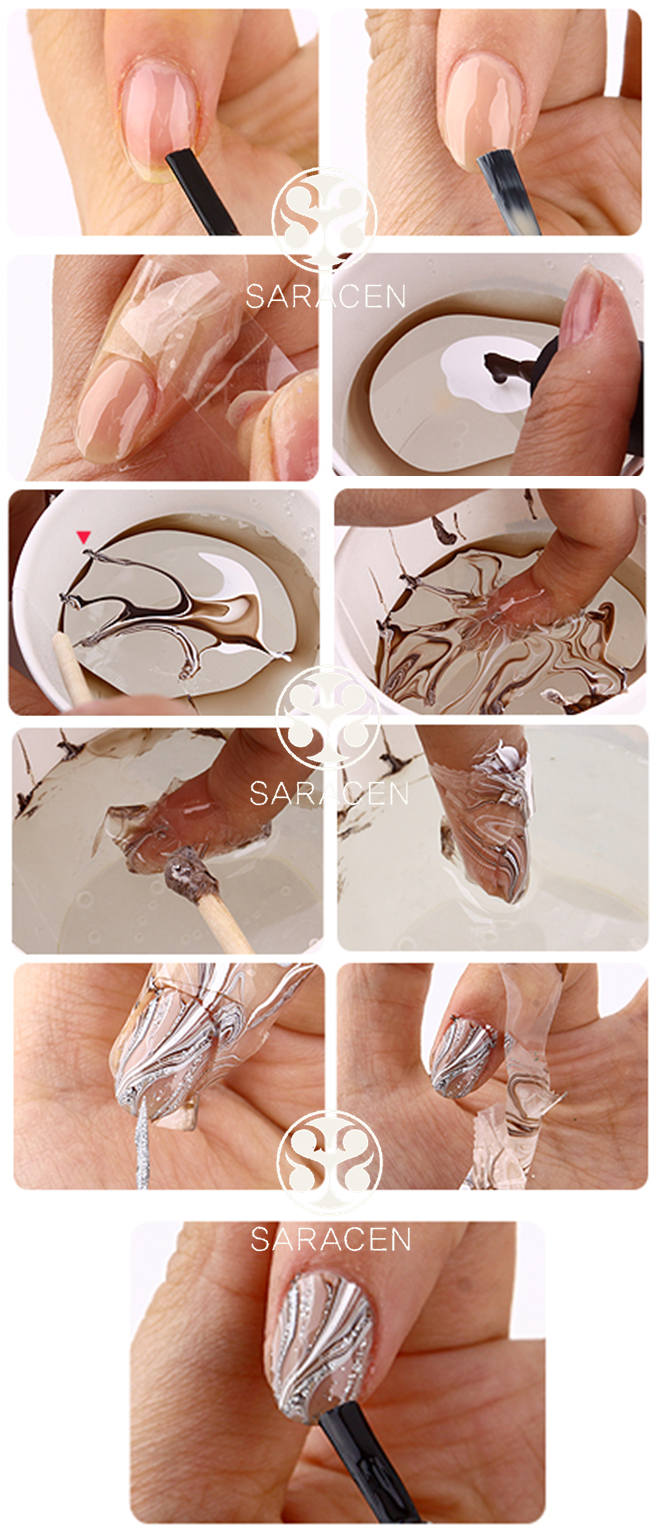
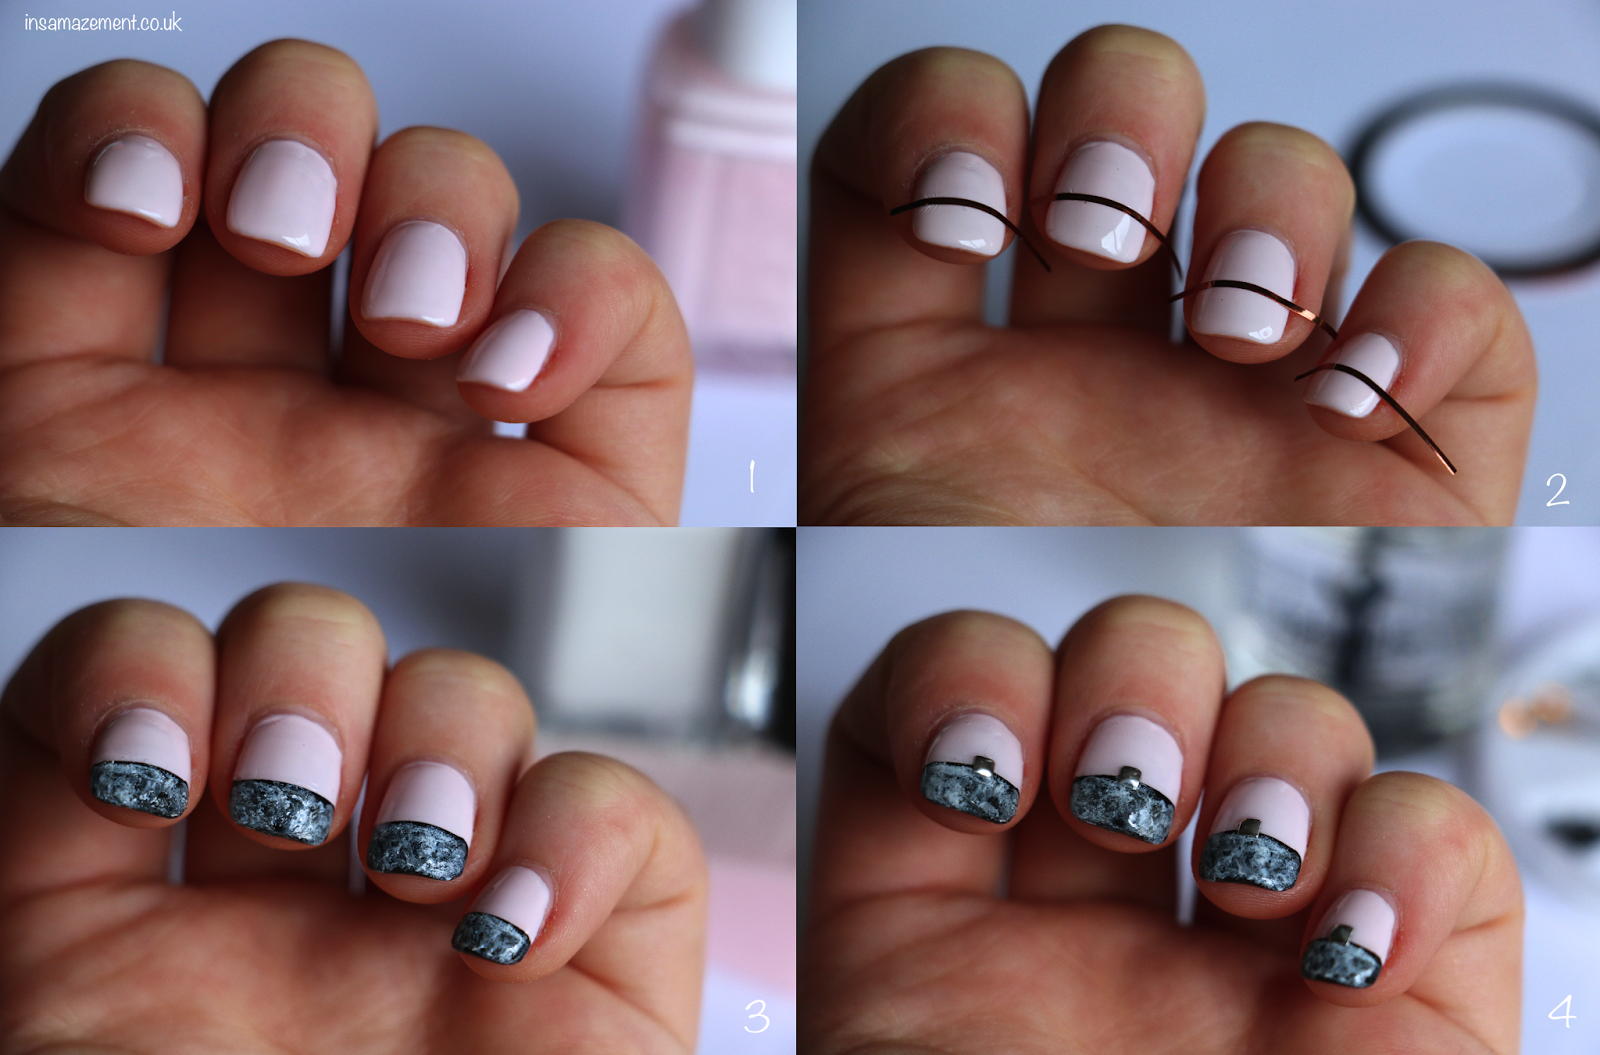
If you're looking for a unique and easy way to create a marble nail art design, look no further than using plastic wrap. This method creates a textured and multi-dimensional effect that will have your nails standing out from the rest. Start by gathering all the necessary materials: base coat, white polish, nail polish in desired colors, plastic wrap, toothpick or dotting tool, and a top coat. Begin by applying a base coat to protect your nails and allow it to dry completely. Then, apply a generous amount of white polish to the entire nail. Next, take your desired colors and apply a few drops directly onto your nail. Don't worry about making it perfect, as the plastic wrap will blend the colors together. Now, take a small piece of plastic wrap and gently press it onto the nail, making sure to cover it completely. Then, carefully peel it off to reveal the marbled effect. If there are any areas that need more color, you can use a toothpick or dotting tool to add more drops and repeat the process. Once you're satisfied with the design, let it dry completely before applying a top coat to seal in the design and add shine. This marble nail art tutorial using plastic wrap is a fun and easy way to create a unique and textured design.5. Marble Nail Art Tutorial Using Plastic Wrap


5. Marble Nail Art Tutorial Using Plastic Wrap

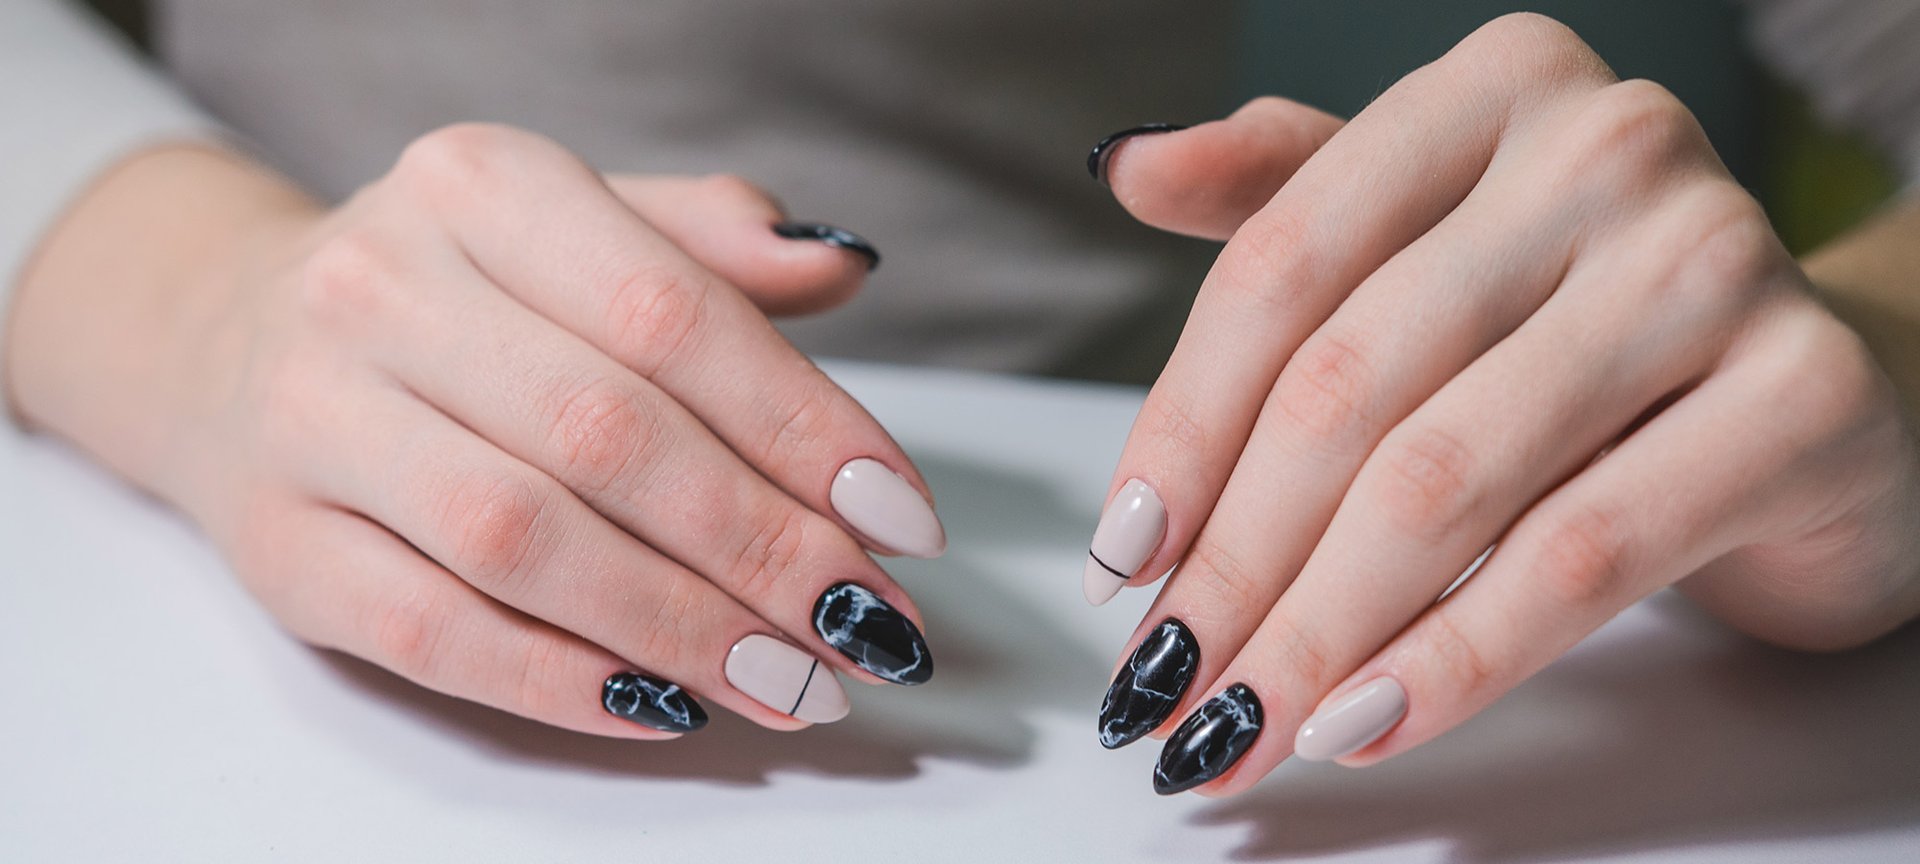
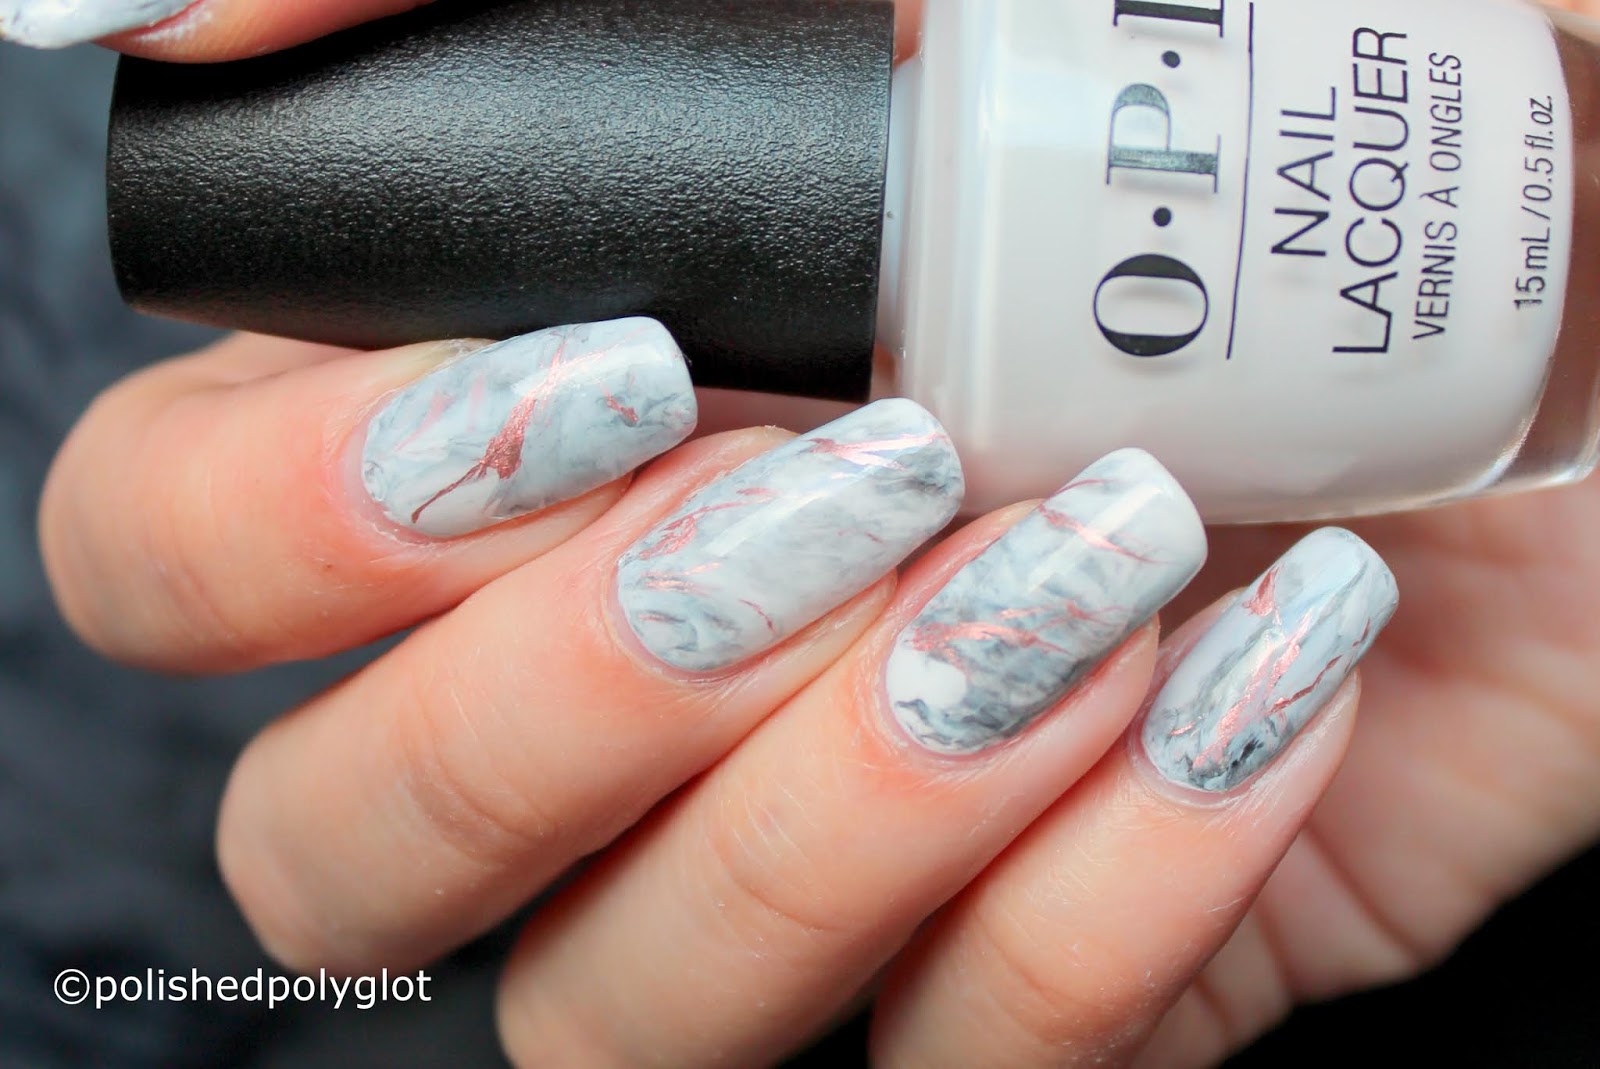
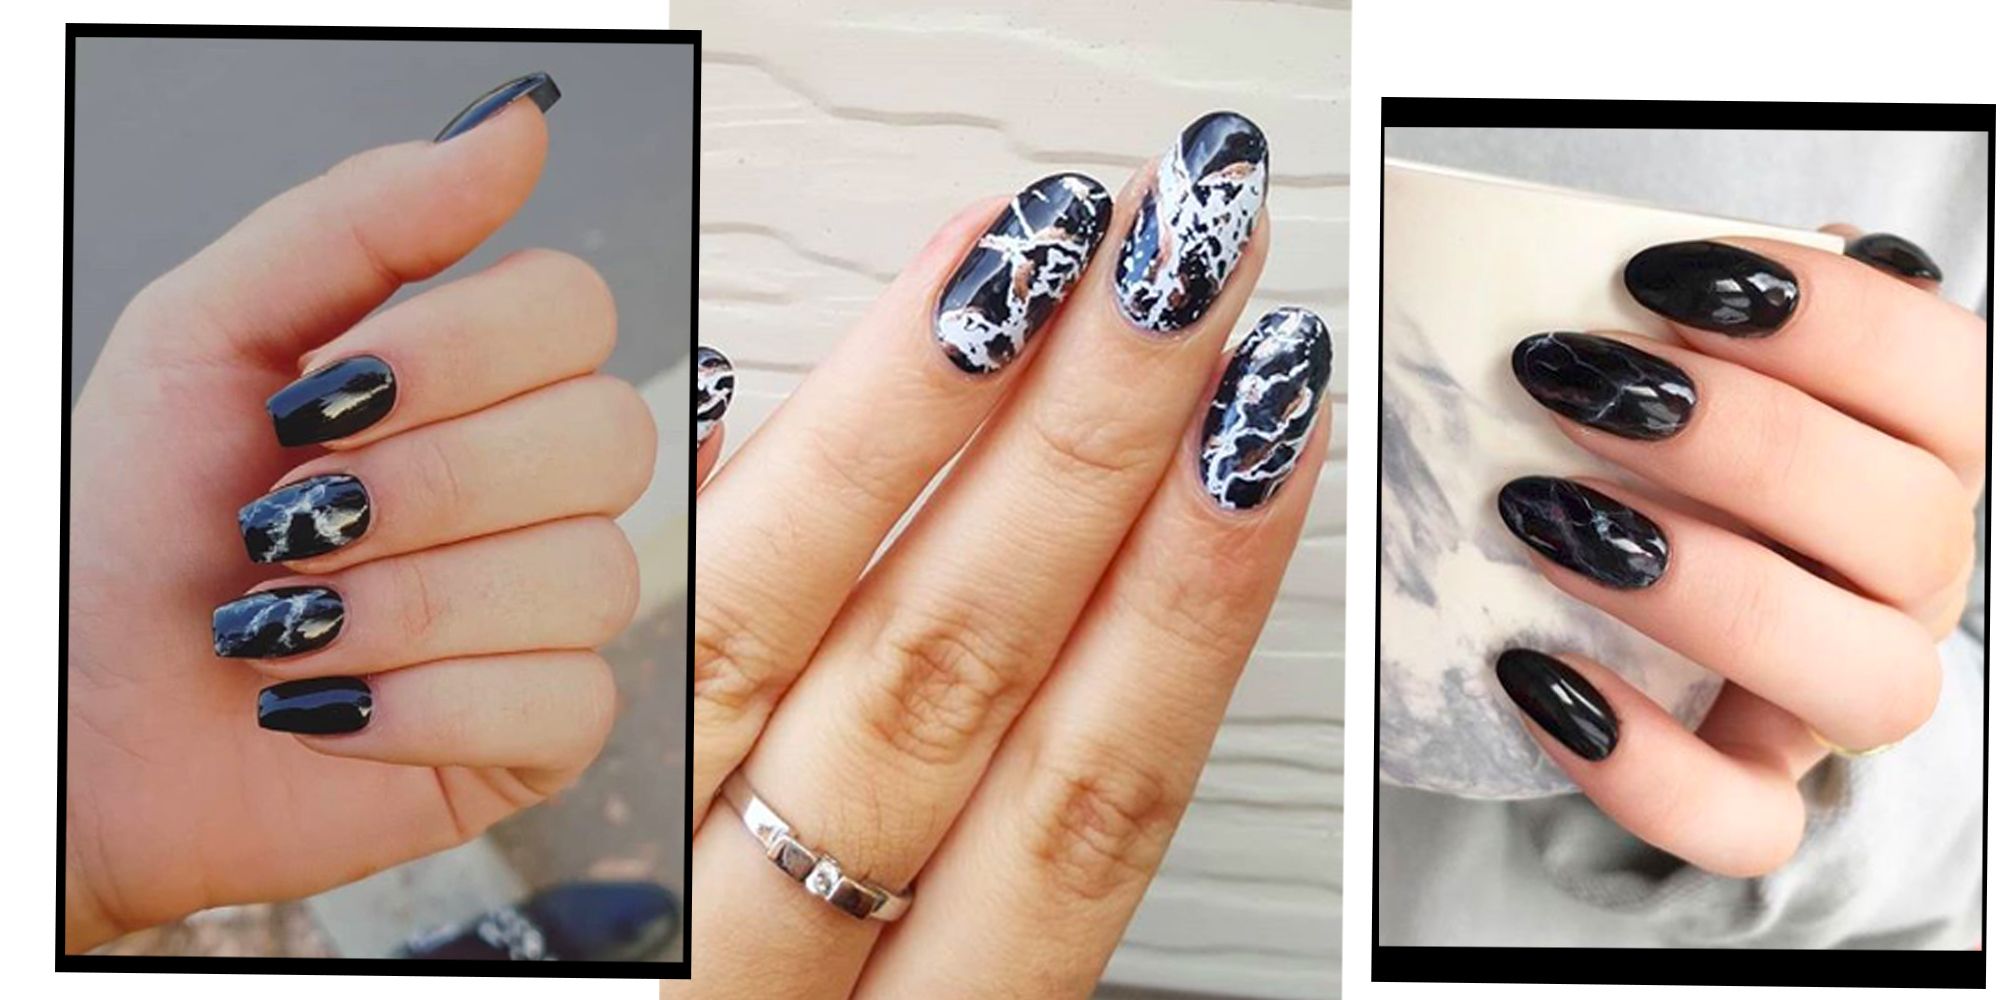
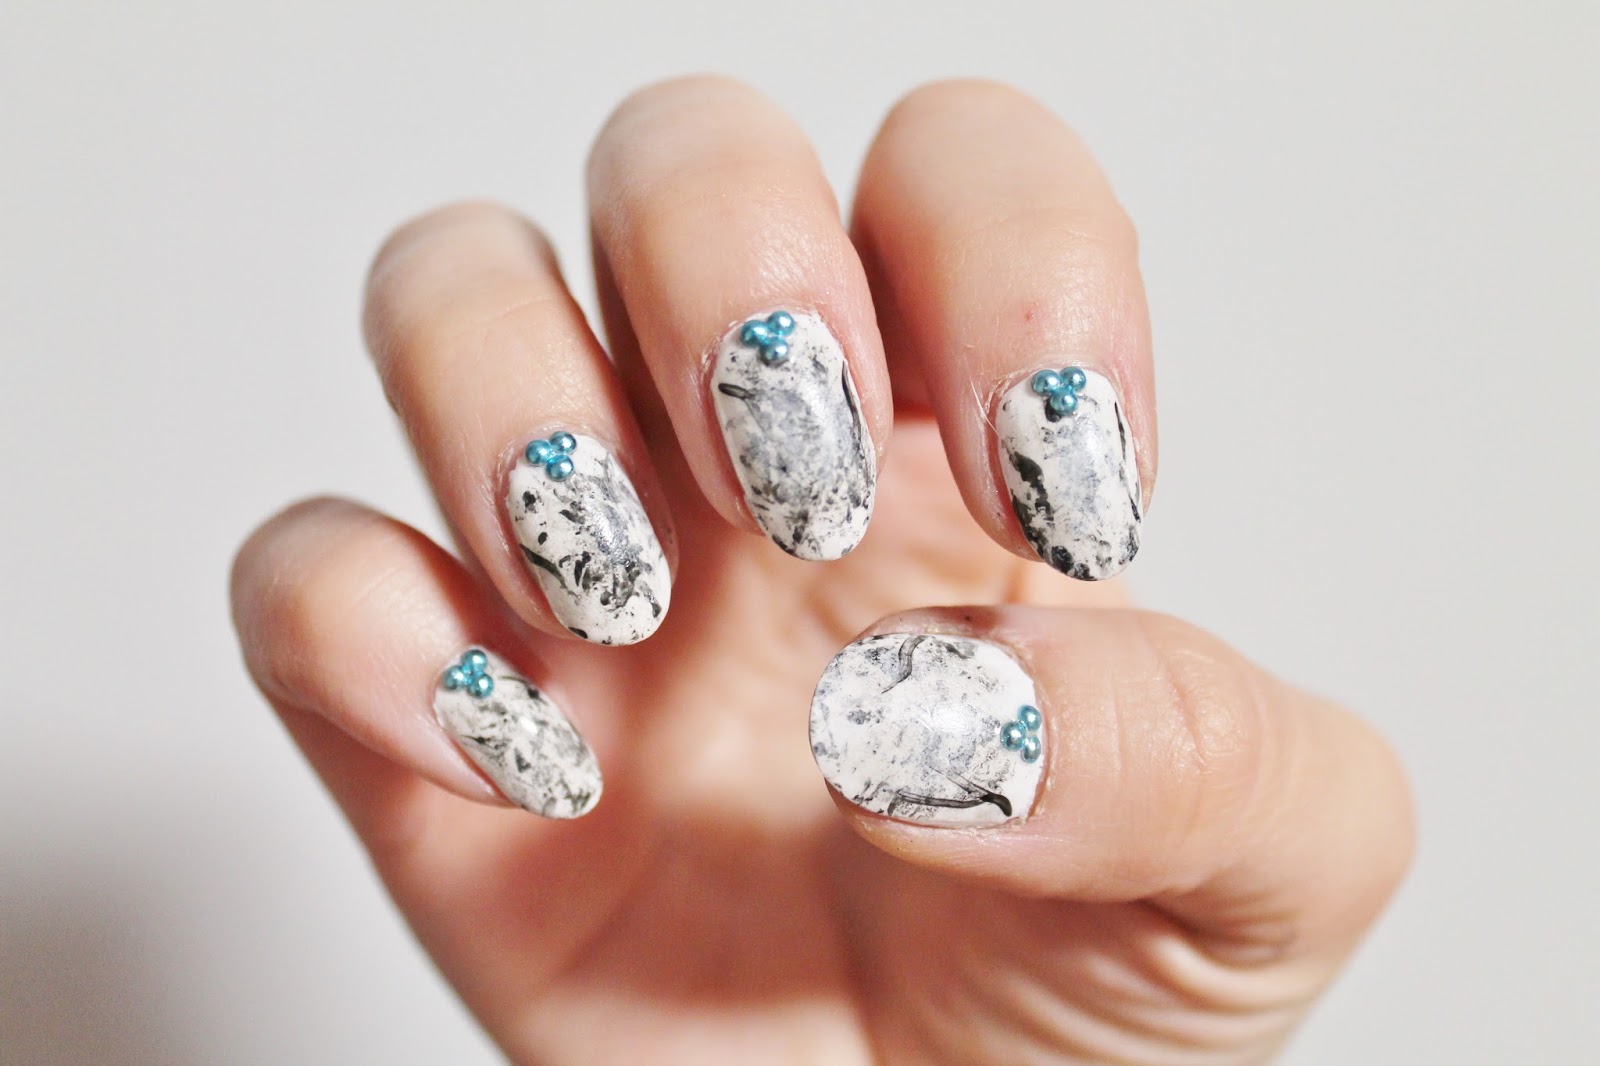
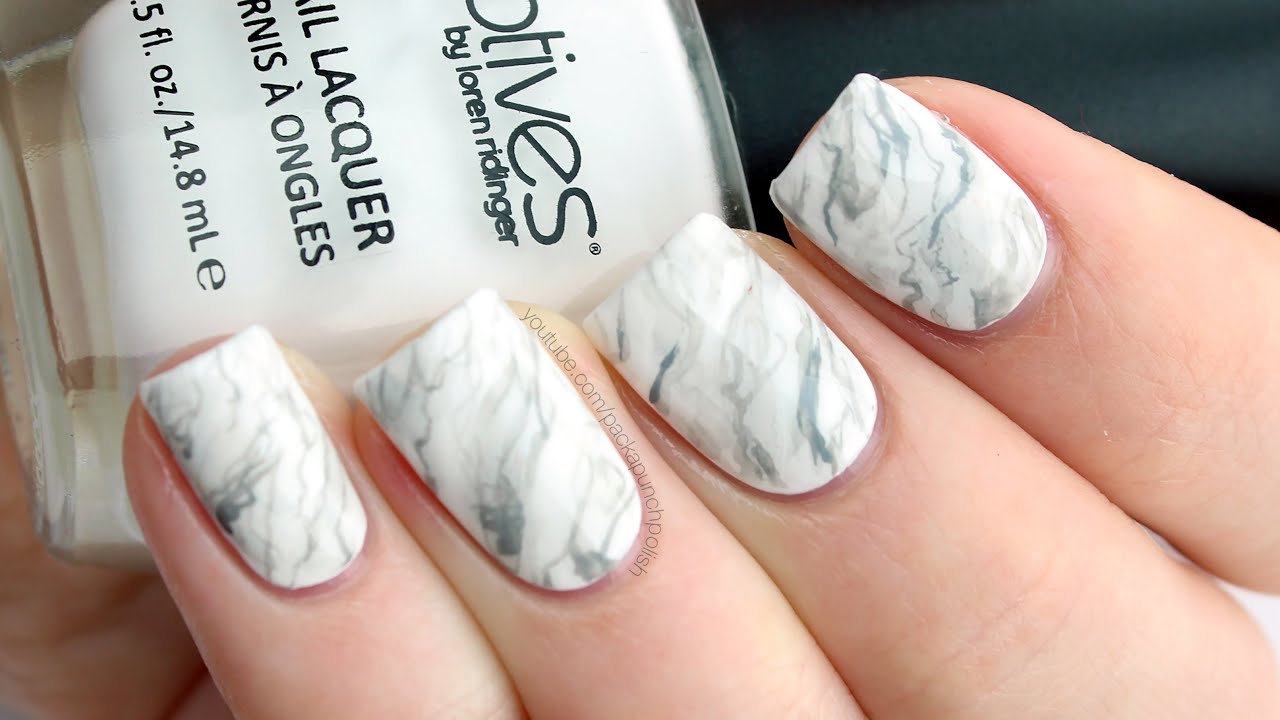
For a classic and chic look, try out this black and white marble nail art tutorial. The contrast between the two colors creates a stunning and sophisticated design that will elevate any outfit. First, gather all the necessary materials: base coat, black and white polish, marble nail art kit, toothpick or dotting tool, and a top coat. Start by applying a base coat to protect your nails and allow it to dry completely. Then, apply a generous amount of white polish to the entire nail. Next, use the marble nail art kit to create a marbled effect on the nail. Drop a few drops of black and white polish onto your nail, then use a toothpick or dotting tool to swirl the colors together. Don't overdo it, as you want to maintain the marbled effect. After creating the desired design, let it dry for a minute or two. Then, take a clean toothpick or dotting tool and gently drag it through the polish in a straight line from one end of the nail to the other. This will create a vein-like effect, similar to real marble. Once you're satisfied with the design, let it dry completely before applying a top coat to seal in the design and add shine. This black and white marble nail art tutorial is a timeless design that will never go out of style.6. Black and White Marble Nail Art Tutorial

6. Black and White Marble Nail Art Tutorial
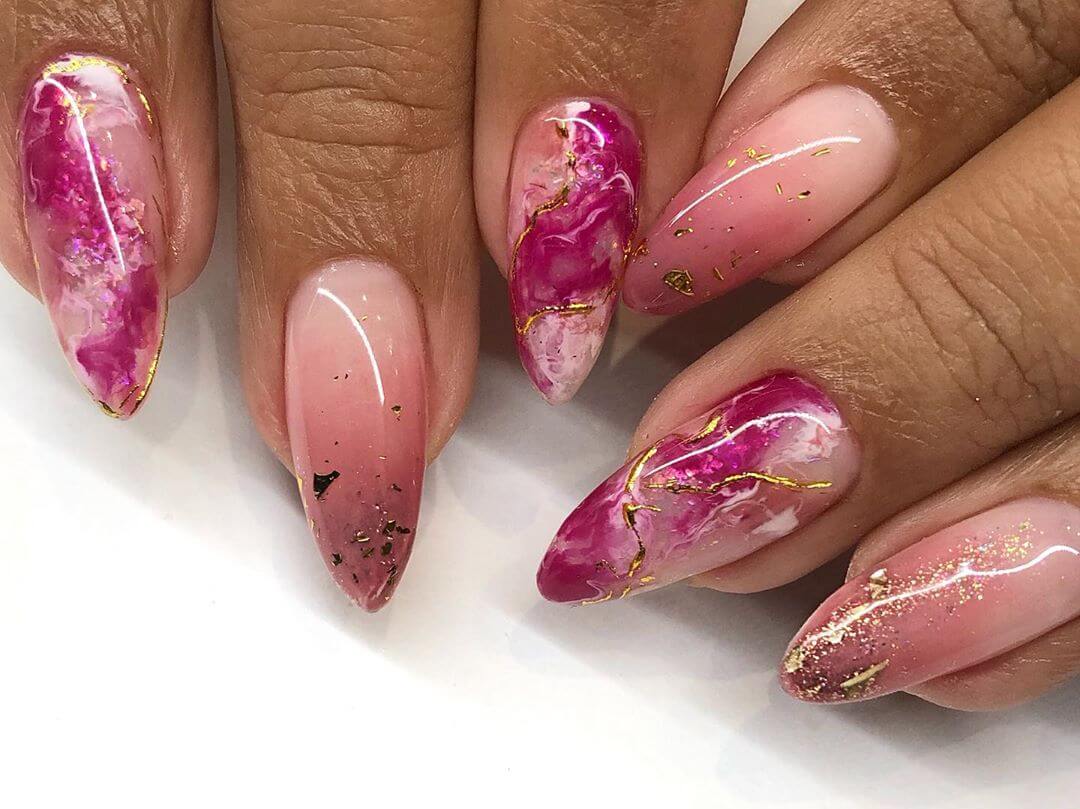
If you're a fan of gel polish, you can still achieve a beautiful marble nail art design. This tutorial will guide you through the steps and have you creating long-lasting and stunning designs with gel polish. Start by gathering all the necessary materials: base coat, white gel polish, nail polish in desired colors, marble nail art kit, toothpick or dotting tool, and a top coat. Begin by applying a base coat to protect your nails and allow it to dry completely. Then, apply a generous amount of white gel polish to the entire nail. Next, use the marble nail art kit to create a marbled effect on the nail. Drop a few drops of the desired colors onto your nail, then use a toothpick or dotting tool to swirl the colors together. Don't overdo it, as you want to maintain the marbled effect. After creating the desired design, cure the gel polish under a UV or LED lamp according to the instructions on the polish. Then, take a clean toothpick or dotting tool and gently drag it through the polish in a straight line from one end of the nail to the other. This will create a vein-like effect, similar to real marble. Once you're satisfied with the design, cure the polish again and apply a top coat to seal in the design and add shine. This marble nail art tutorial with gel polish is perfect for those looking for a long-lasting and durable design.7. Marble Nail Art Tutorial with Gel Polish


7. Marble Nail Art Tutorial with Gel Polish


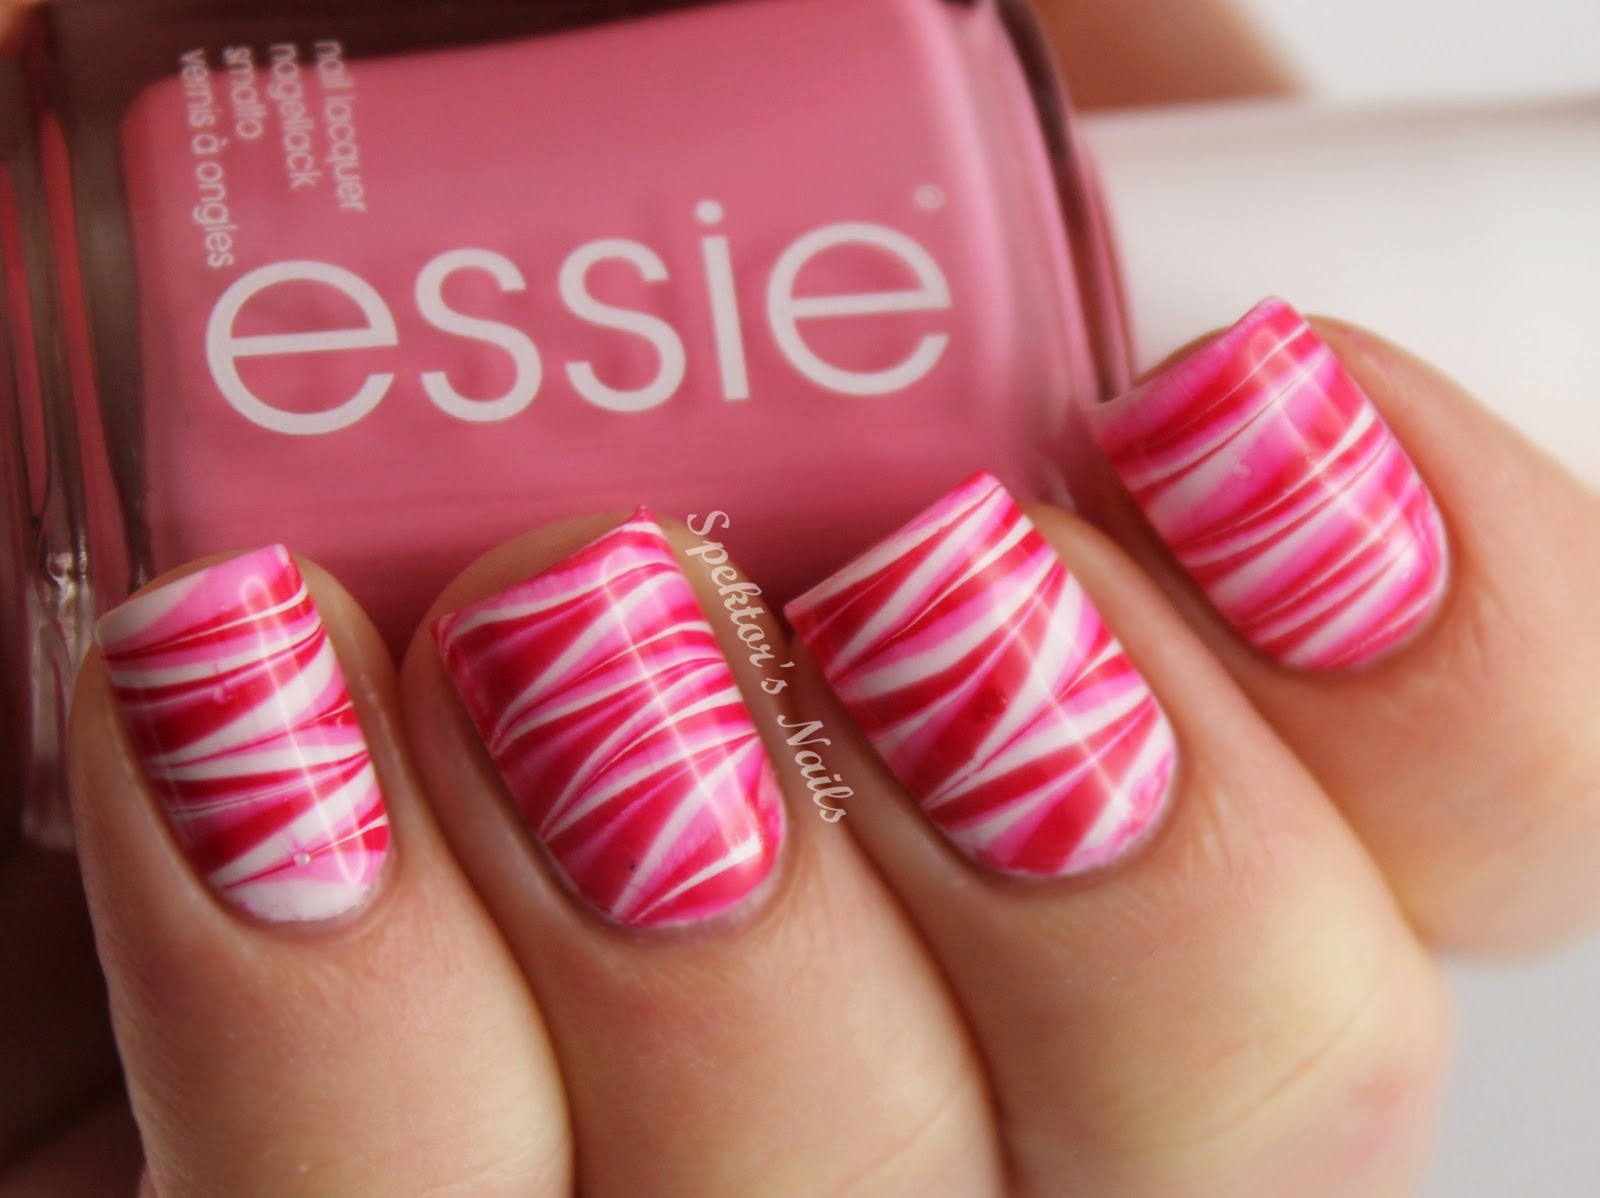
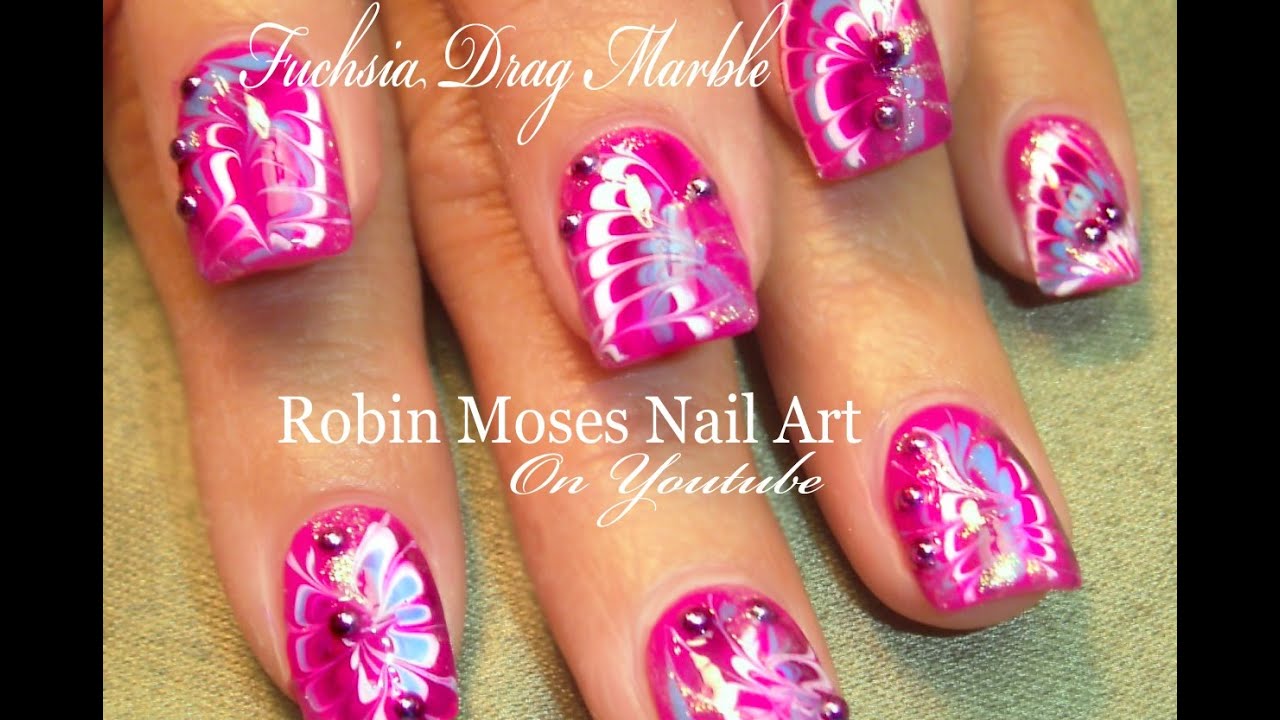
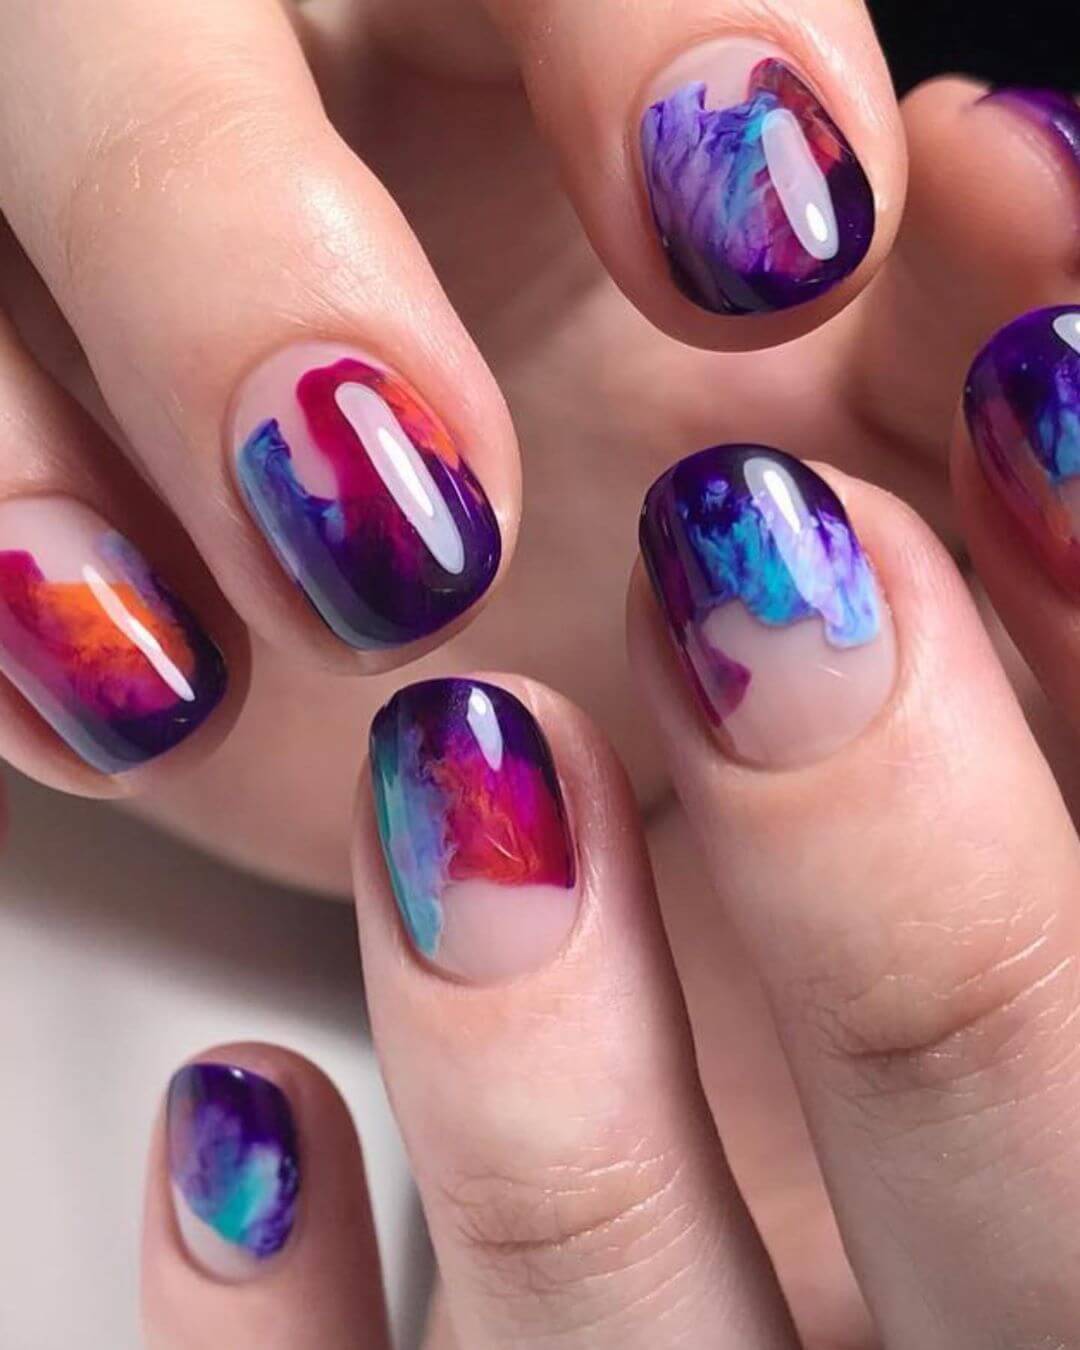
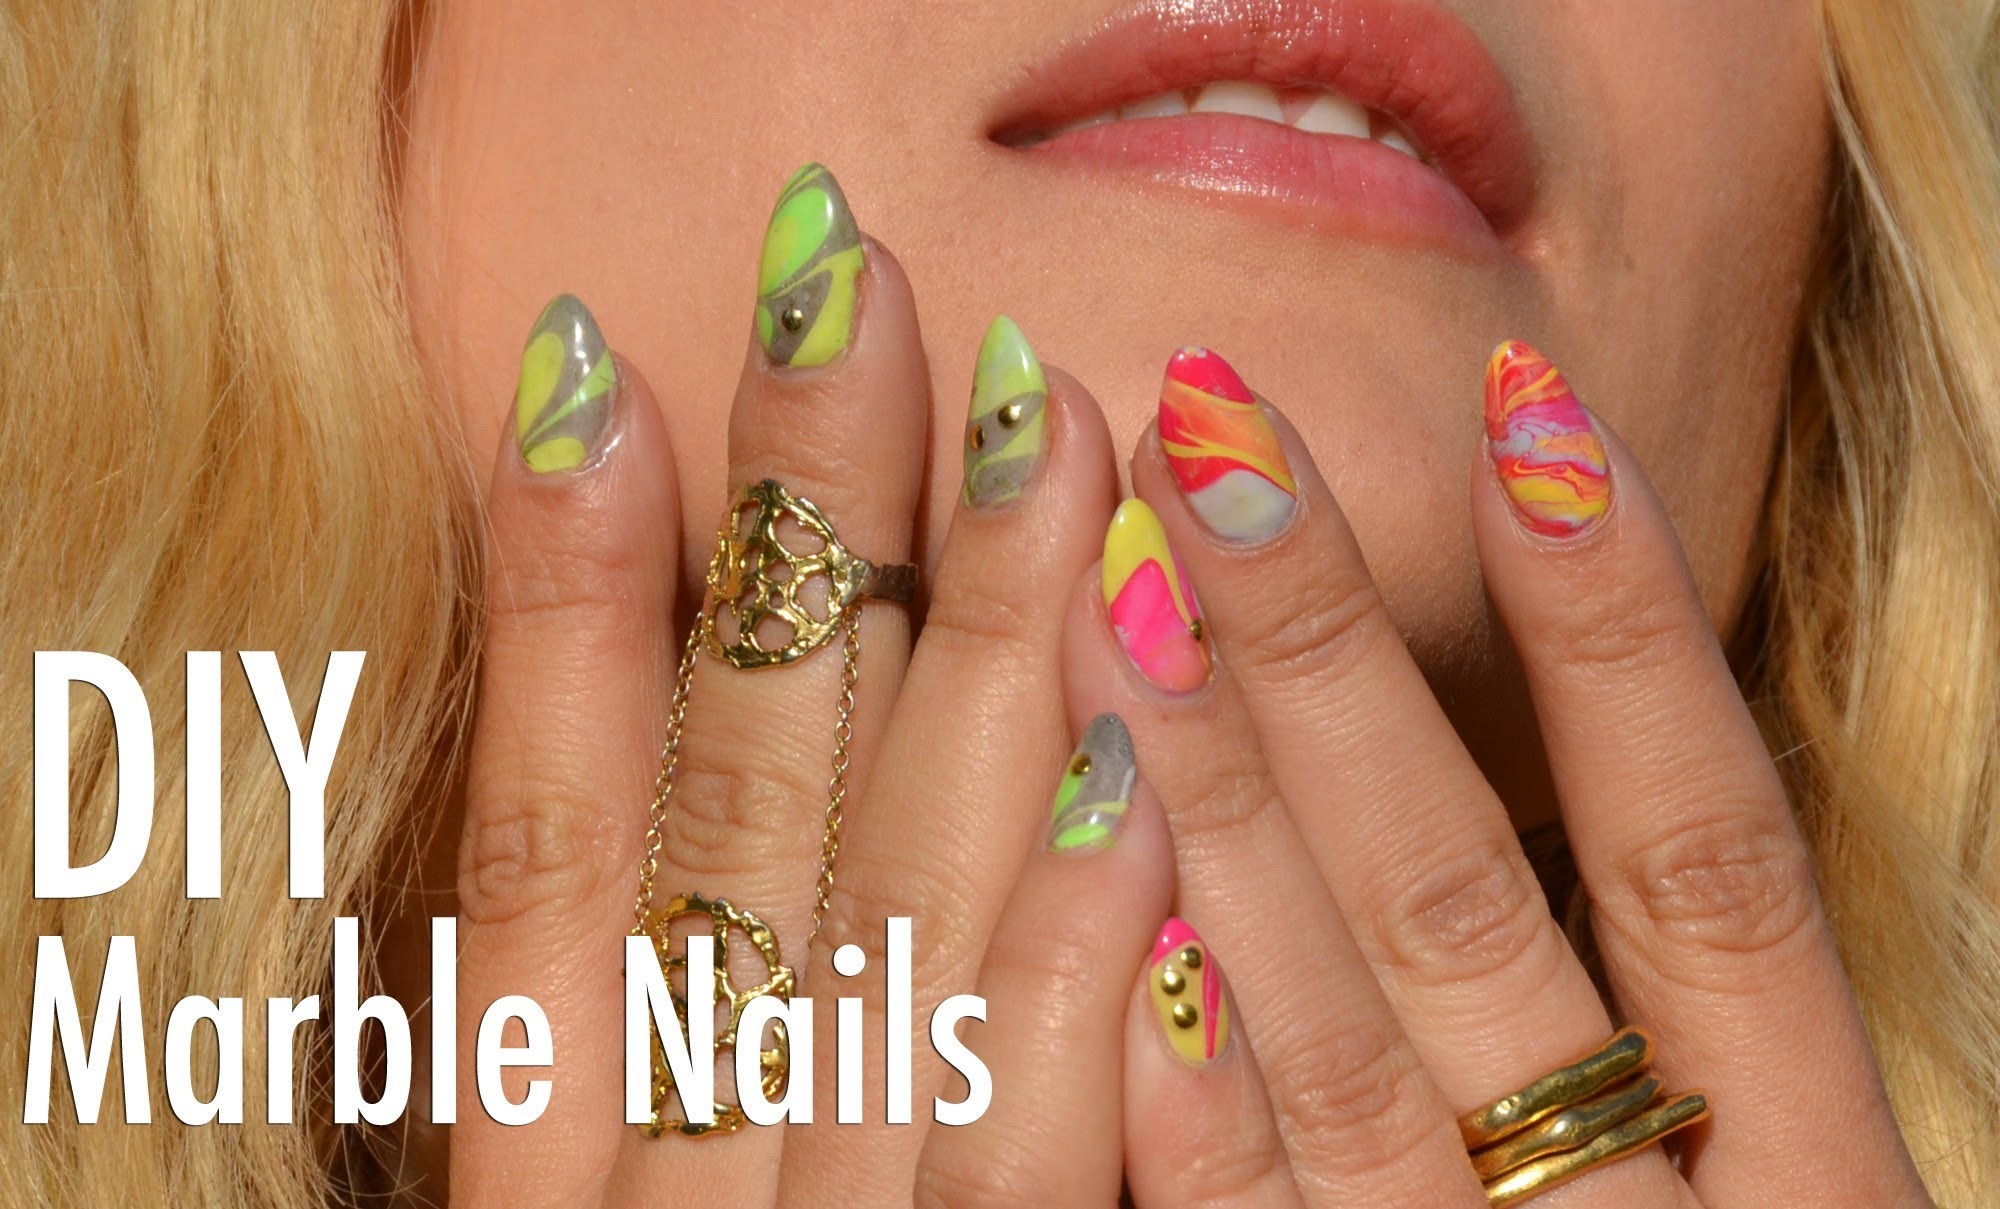
Why settle for one or two colors when you can have a rainbow on your nails? This rainbow marble nail art tutorial will have you feeling like a walking rainbow and brighten up any day. First, gather all the necessary materials: base coat, white polish, nail polish in rainbow colors, marble nail art kit, toothpick or dotting tool, and a top coat. Start by applying a base coat to protect your nails and allow it to dry completely. Then, apply a generous amount of white polish to the entire nail. Next, take your desired colors and drop a few drops onto the surface of the water. Use a rainbow of colors to create a fun and vibrant design. Using a toothpick or dotting tool, gently swirl the colors together to create a marbled effect. Now, take your nail and carefully dip it into the water, making sure to submerge the entire nail. Hold it there for a few seconds, then gently lift it out of the water. You will see the marble design transferred onto your nail. If there is any excess polish on your finger, you can use a cotton swab dipped in nail polish remover to clean it up before moving on to the next nail. Once all your nails are done, allow them to dry completely before applying a top coat to seal in the design and add shine. This rainbow marble nail art tutorial is a fun and colorful way to express your creativity.8. Rainbow Marble Nail Art Tutorial

8. Rainbow Marble Nail Art Tutorial
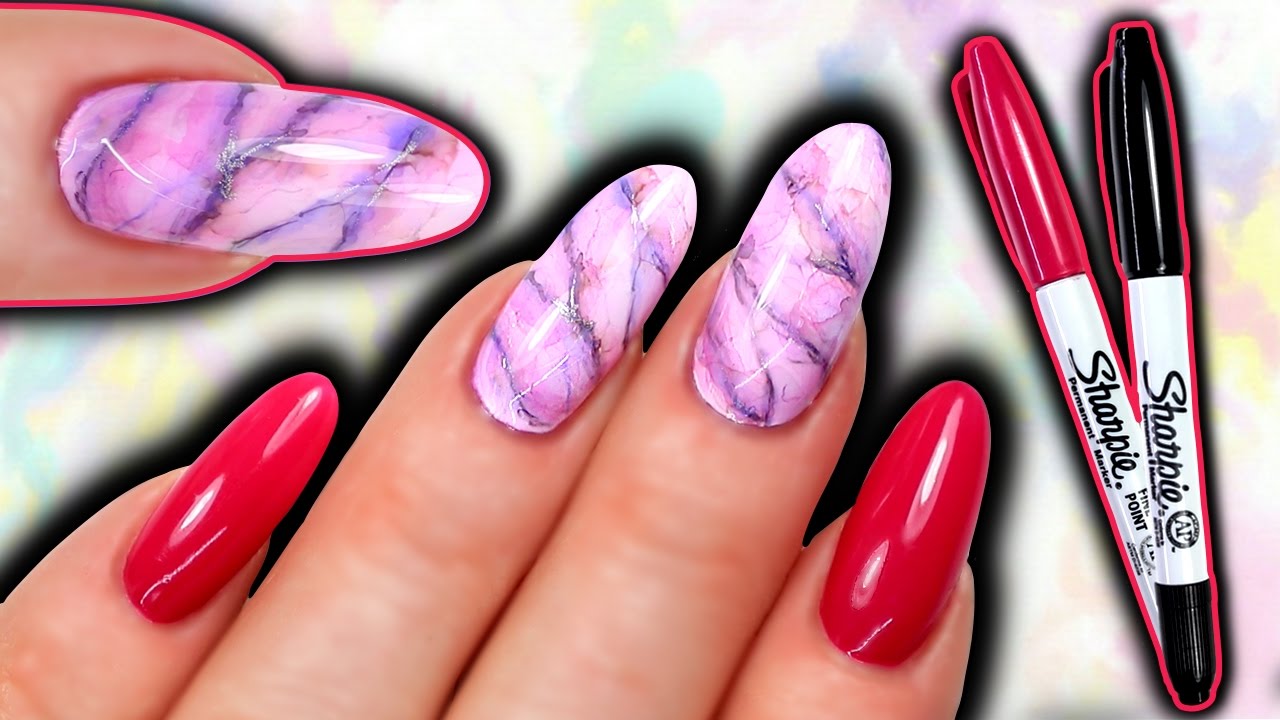
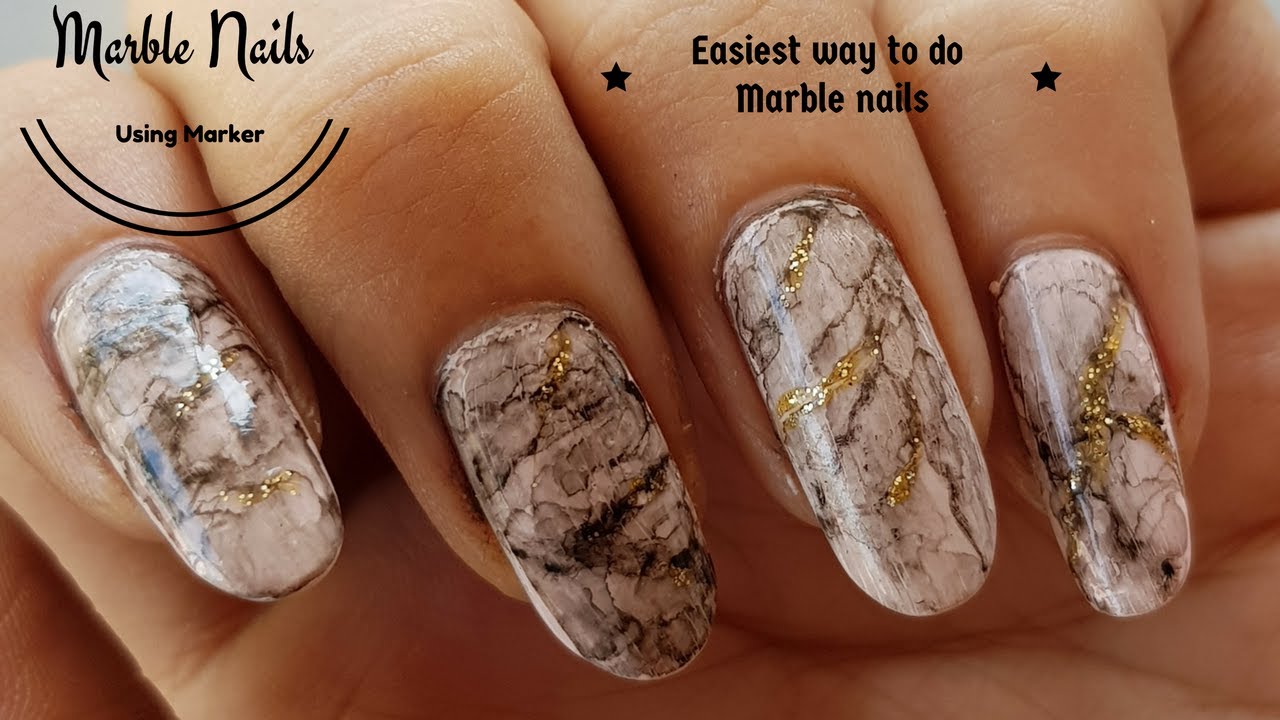
If you don't have the time or patience for traditional marble nail art techniques, using Sharpie markers is a quick and easy alternative. This tutorial will show you how to create a marble nail art design using Sharpie markers. Start by gathering all the necessary materials: base coat, white polish, Sharpie markers in desired colors, rubbing alcohol, toothpick or dotting tool, and a top coat. Begin by applying a base coat to protect your nails and allow it to dry completely. Then, apply a generous amount of white polish to the entire nail. Next, take your desired Sharpie markers and draw random lines and shapes on your nail. Don't worry about making it perfect, as the rubbing alcohol will blend the colors together.9. Marble Nail Art Tutorial with Sharpie Markers
9. Marble Nail Art Tutorial with Sharpie Markers
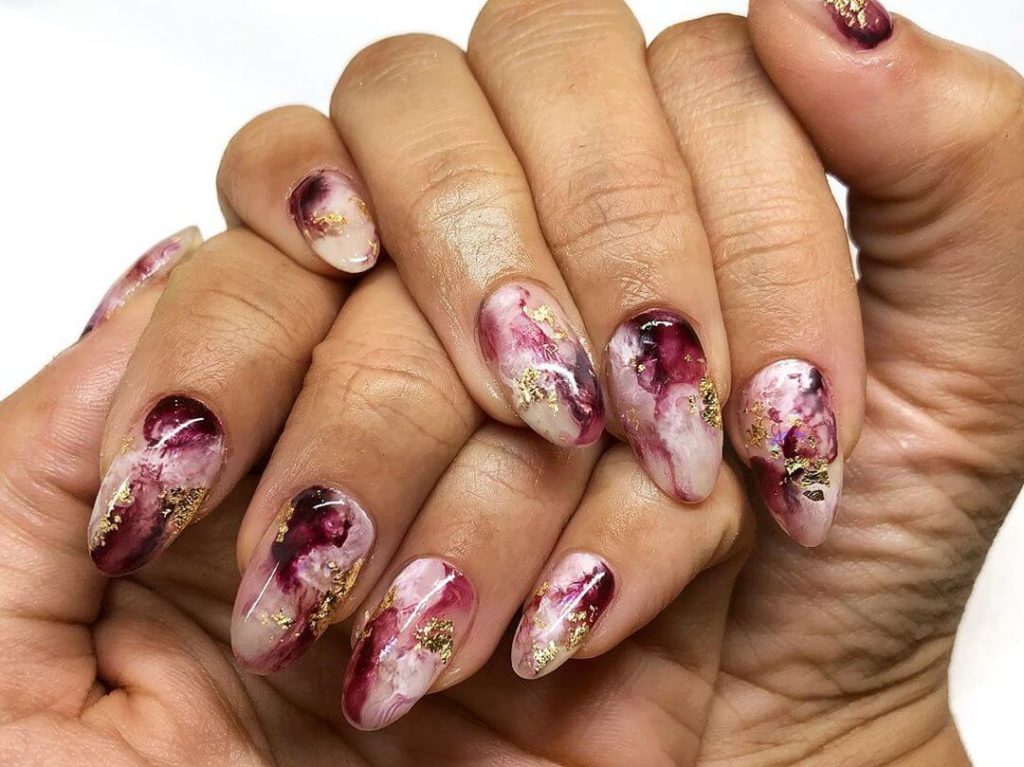
Create Stunning Designs with Marble Nail Art

Nail art has become a popular trend in recent years, with people using their nails as a canvas for self-expression. Among the various techniques and designs, one that stands out is marble nail art . This unique and eye-catching design mimics the look of marble on your nails, giving them a sophisticated and elegant touch. In this tutorial, we will guide you through the steps to achieve this marble nail art look at home.
Gather Your Supplies

Before we begin, let's gather all the necessary supplies for this marble nail art tutorial. You will need:
- A base coat
- A white nail polish
- Two or three different colored nail polishes
- A small bowl of room temperature water
- A toothpick or a thin brush
- A top coat
Prep Your Nails
Start by prepping your nails. Remove any old nail polish and push back your cuticles. Then, apply a base coat to protect your nails from any staining.
Create the Marbled Look
Now, we can start creating the marble nail art look. Apply a layer of white nail polish to all your nails and let it dry completely. Then, take a few drops of your chosen nail polish colors and drop them into the bowl of water. Use the toothpick or brush to swirl the colors together, creating a marbled effect on the surface of the water.
Once you are satisfied with the design, carefully dip your nail into the water at an angle, making sure to cover the entire nail. Hold it in the water for a few seconds, then slowly pull it out. You should see the marbled design transfer onto your nail. If you are not happy with the result, you can remove the polish from the water with a toothpick and try again.
Finishing Touches
Repeat the dipping process for all your nails and let them dry completely. Once dry, clean up any excess polish around your nails with a cotton swab dipped in nail polish remover. Finally, apply a top coat to seal in the design and give it a glossy finish.
Get Creative

Now that you know how to create a basic marble nail art look, feel free to get creative and experiment with different color combinations and designs. You can also try adding other elements like glitter or gems to make your design truly unique.
With this easy and fun tutorial, you can now create stunning marble nail art designs at home. So go ahead and give it a try, and watch as your nails become works of art!


