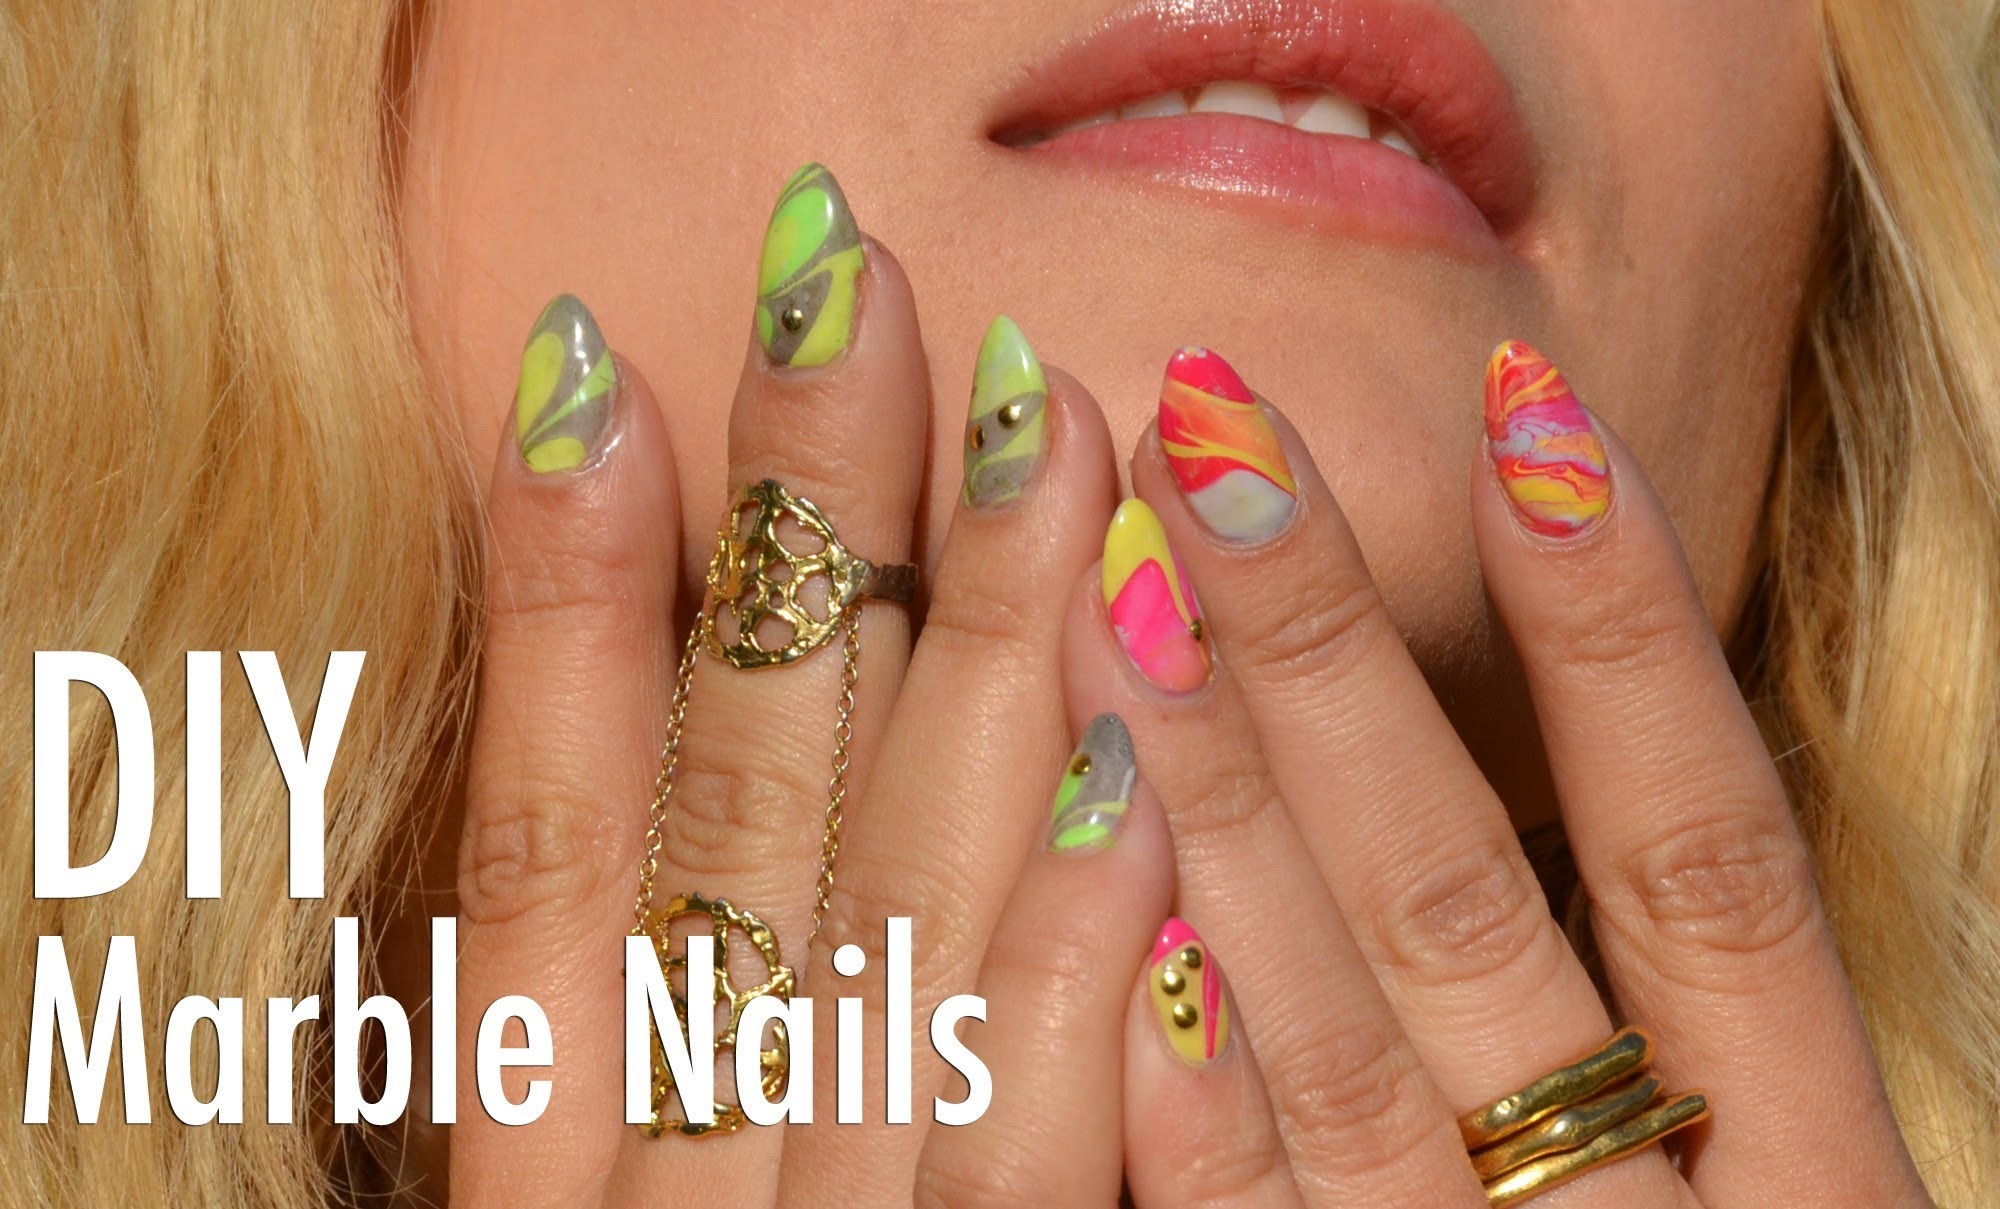
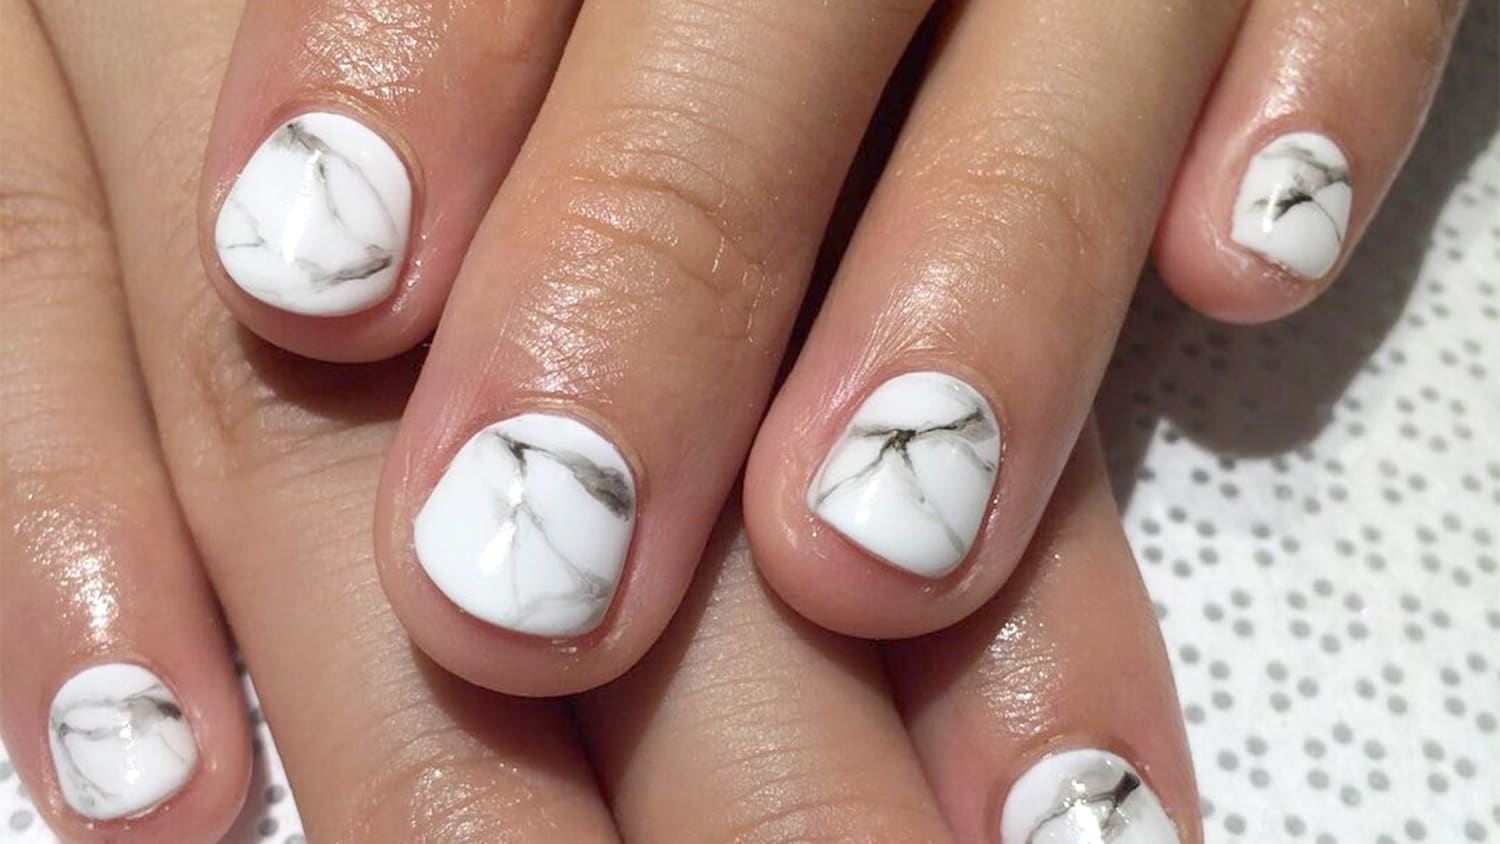
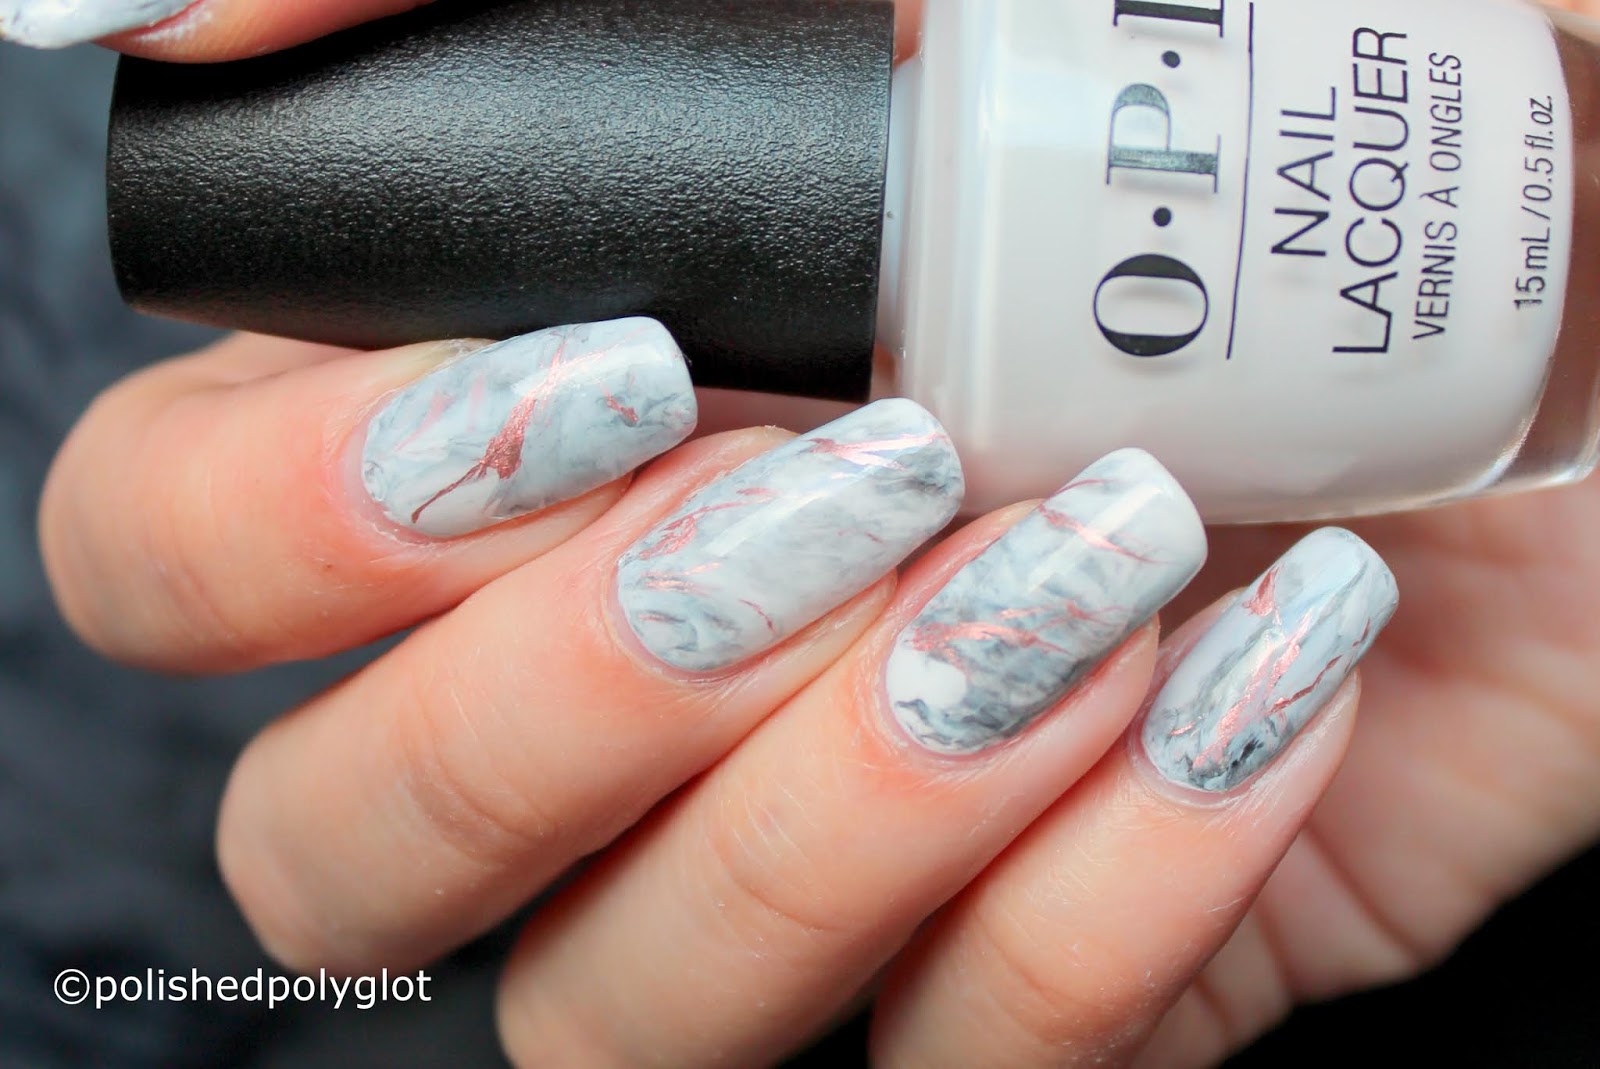
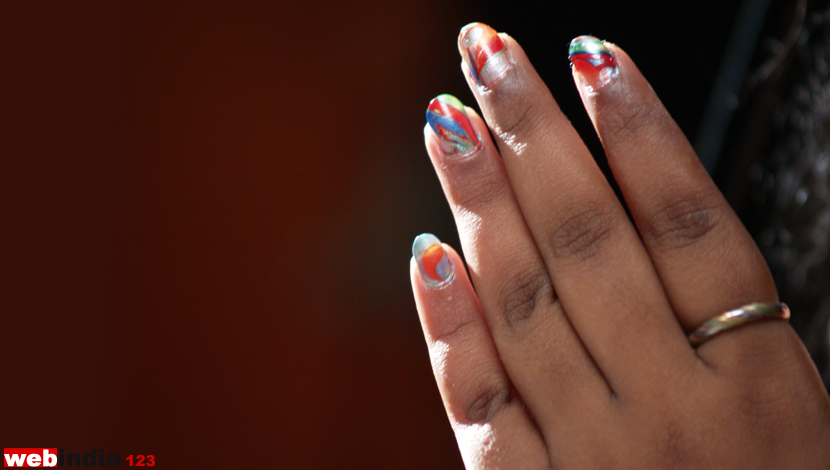
If you're tired of the same old solid colored nails, why not try something more unique and eye-catching? Marble nail art using water and temperature is a fun and creative way to add some personality to your nails. Not only is it easy to do, but it also allows for endless color combinations and designs. Let's dive into a step-by-step tutorial on how to achieve this trendy and mesmerizing look.1. Marble Nail Art Tutorial Using Water and Temperature


1. Marble Nail Art Tutorial Using Water and Temperature


The first step to creating a marble nail art design using water and temperature is to gather all the necessary materials. You will need a base coat, two or more nail polish colors, a plastic cup or bowl filled with room temperature water, and a toothpick or small brush. It's important to use room temperature water as extreme temperatures can affect the outcome of the design.2. How to Create a Marble Nail Art Design with Water and Temperature


2. How to Create a Marble Nail Art Design with Water and Temperature

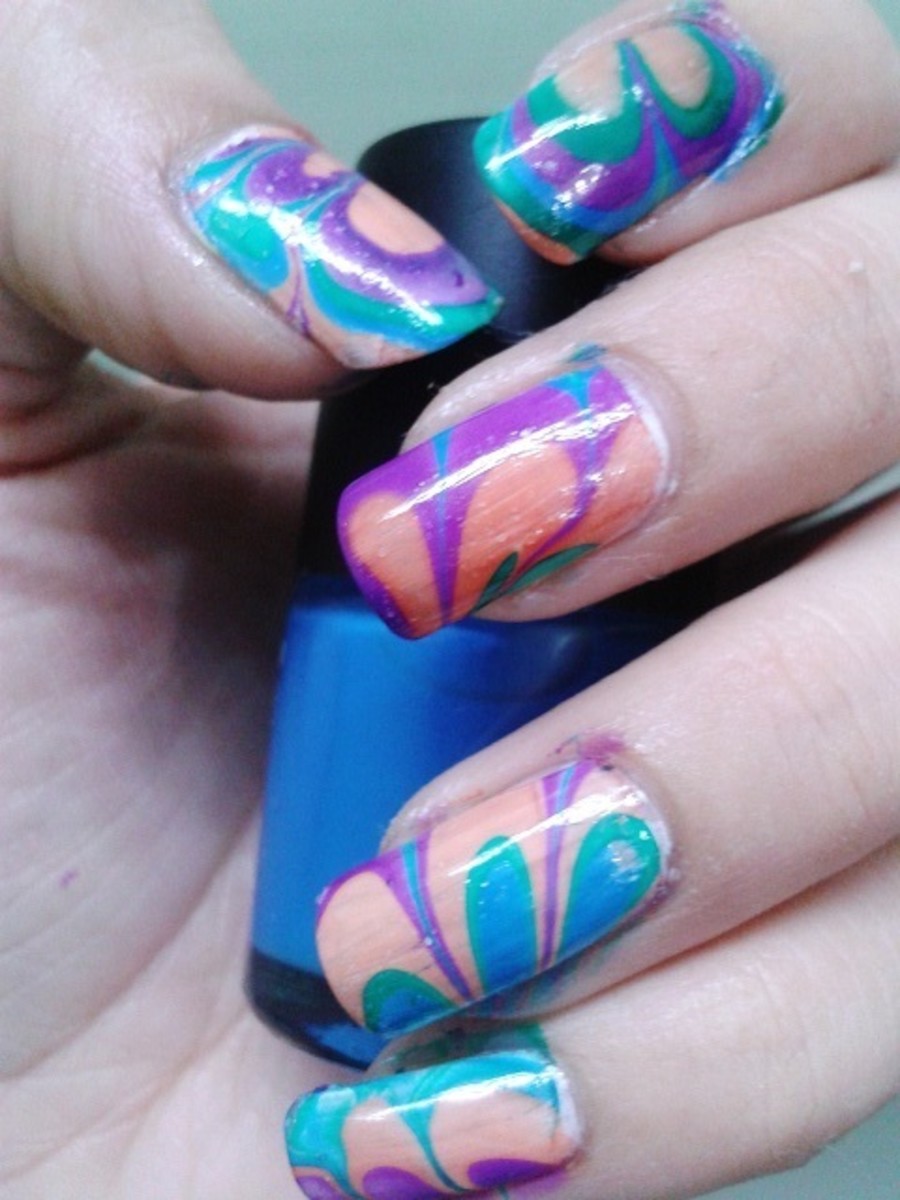
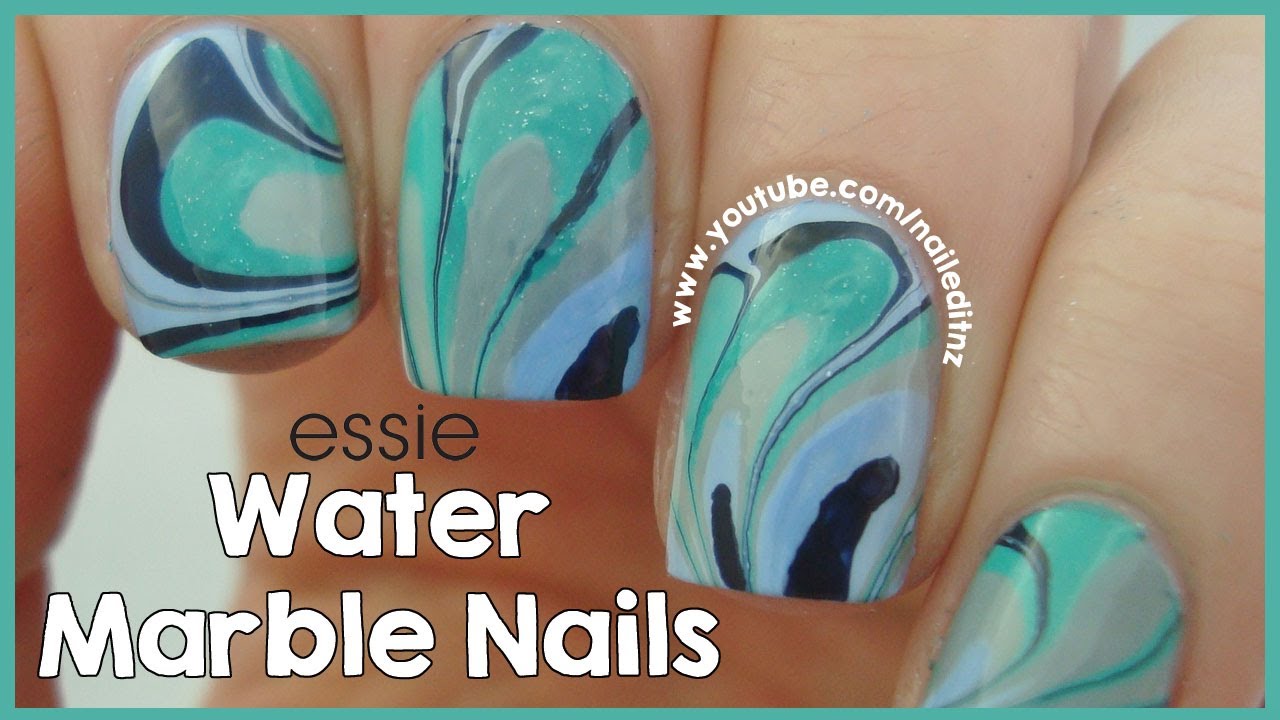
Start by applying a base coat to protect your nails and allow for a smooth application of the nail polish. Once the base coat is dry, apply a few drops of your chosen nail polish colors onto the surface of the water. Use the toothpick or brush to create a unique design by gently swirling the colors together. You can create different patterns by varying the direction and pressure of your strokes.3. Easy Marble Nail Art Using Water and Temperature


3. Easy Marble Nail Art Using Water and Temperature
Next, carefully dip your nail into the water, making sure to submerge the entire nail. Use the toothpick or brush to remove any excess polish from the surface of the water before pulling your nail out. Once your finger is out of the water, gently remove any remaining polish from the skin around your nail using a cotton swab dipped in nail polish remover.4. Step-by-Step Guide to Marble Nail Art with Water and Temperature


4. Step-by-Step Guide to Marble Nail Art with Water and Temperature
:quality(85):upscale()/2023/09/05/968/n/1922153/deeab3bb64f7a856b38ef3.89488489_.jpg)


For a more defined design, you can use tape to mask off the skin around your nail before dipping it into the water. This will prevent the polish from sticking to your skin and create a cleaner finish. You can also experiment with different color combinations and layering techniques to create a more intricate design.5. Tips and Tricks for Perfecting Marble Nail Art with Water and Temperature
5. Tips and Tricks for Perfecting Marble Nail Art with Water and Temperature


It's important to note that this technique can be a bit messy, so be sure to protect your work surface and use nail polish remover to clean up any spills or mistakes. Additionally, the longer you leave your nail in the water, the more the polish will spread and create a more blended look. If you prefer more defined swirls, be sure to remove your nail from the water within a few seconds.6. Marble Nail Art with Water and Temperature: What You Need to Know

6. Marble Nail Art with Water and Temperature: What You Need to Know
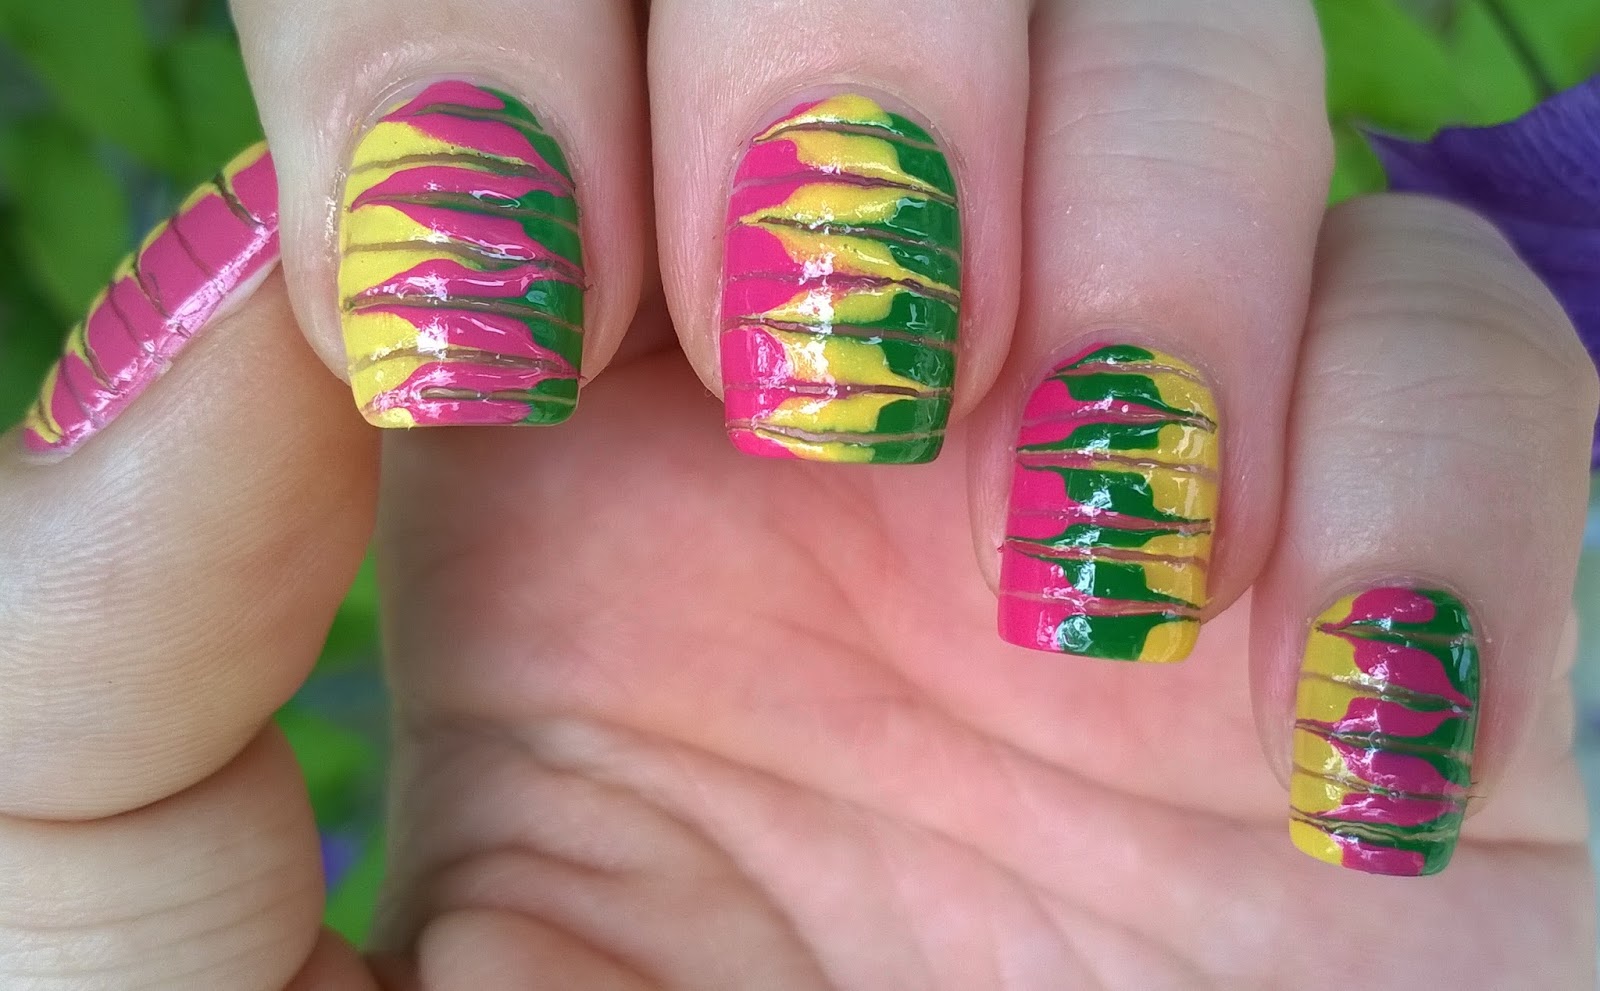
So, how does this technique actually work? The polish that you drop onto the water spreads due to the differences in surface tension between the polish and the water. This creates the marble effect as the colors swirl and blend together. The temperature of the water can also affect how the polish behaves, so be sure to use room temperature water for best results.7. The Science Behind Marble Nail Art with Water and Temperature

7. The Science Behind Marble Nail Art with Water and Temperature

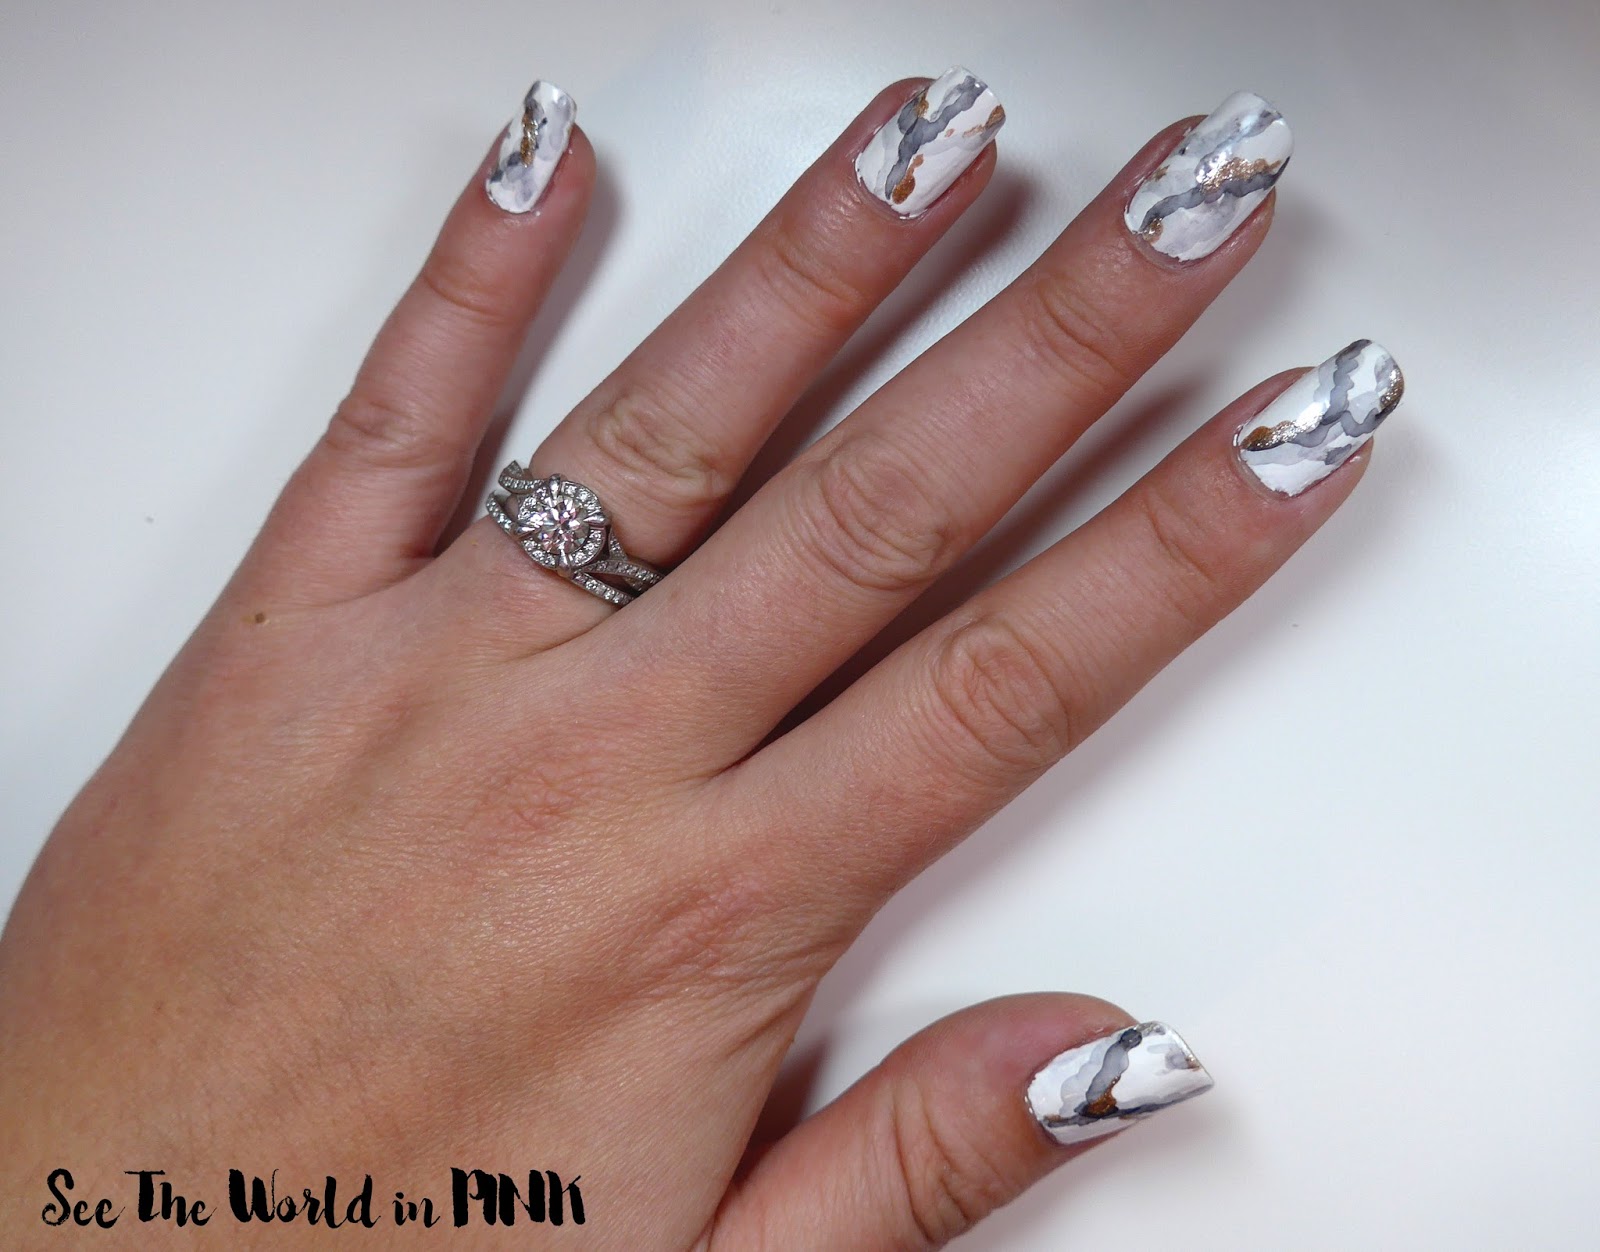
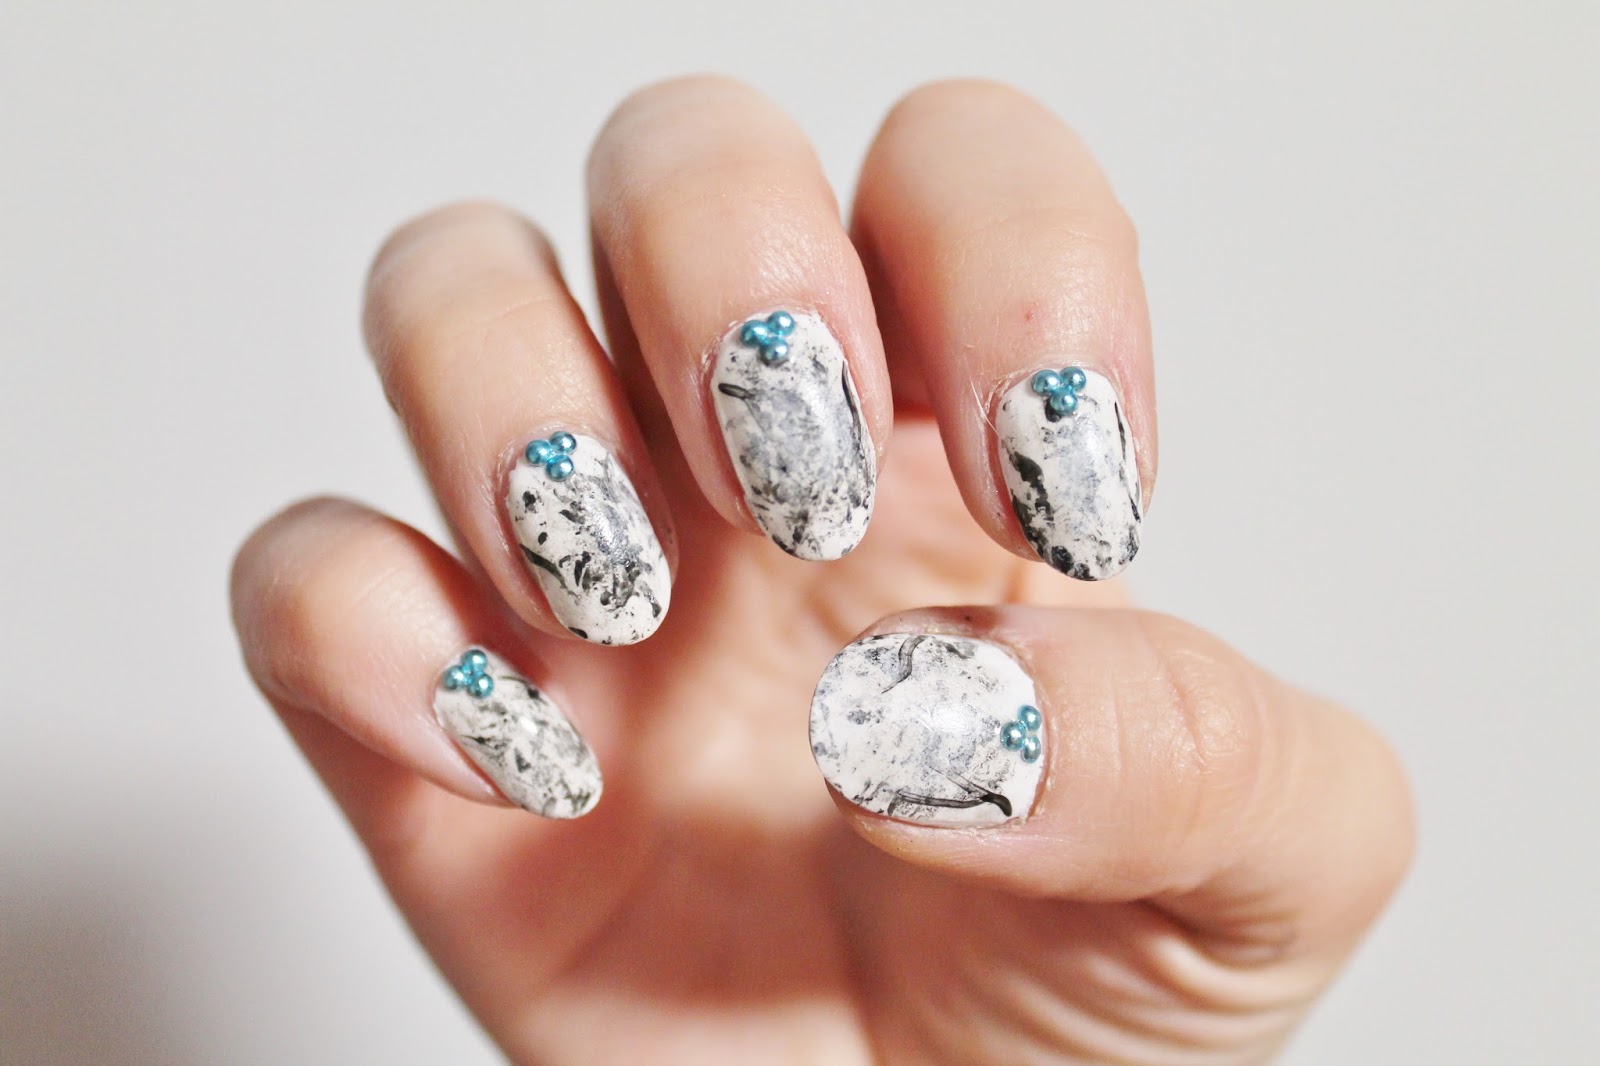
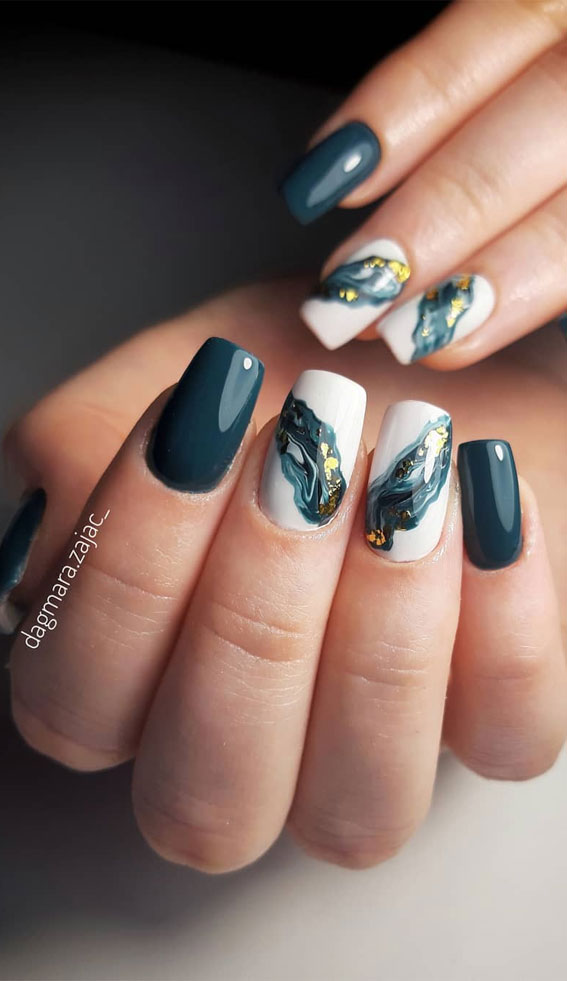
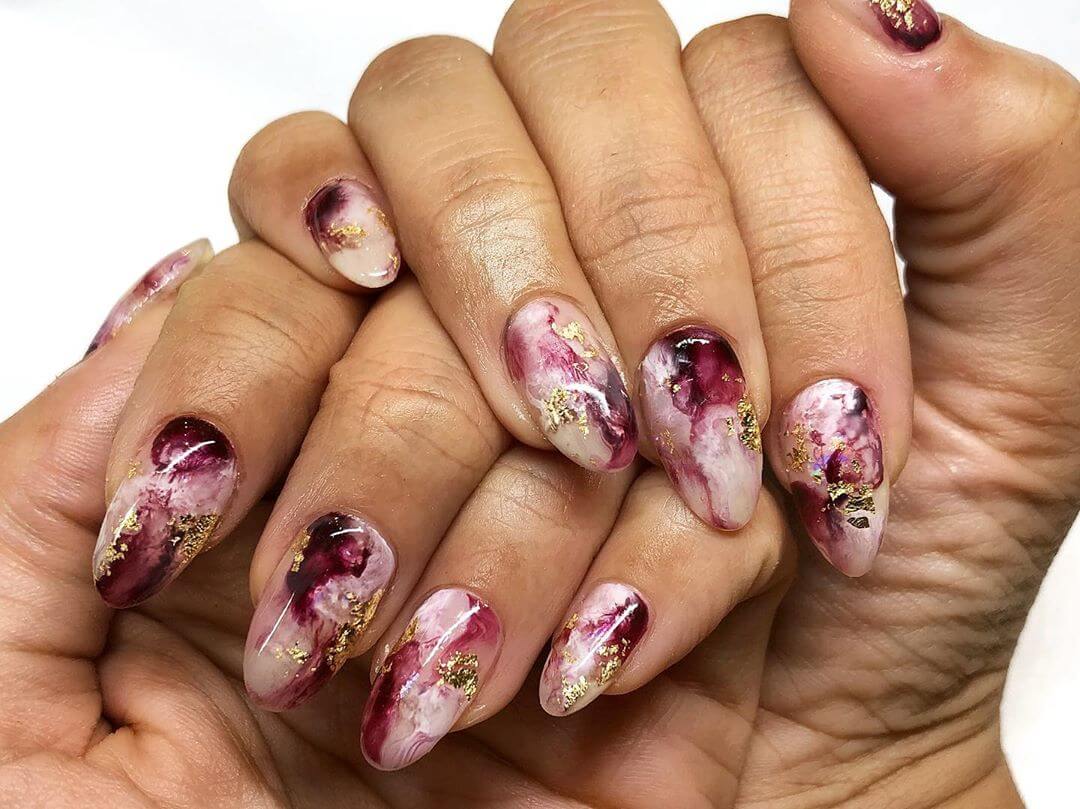
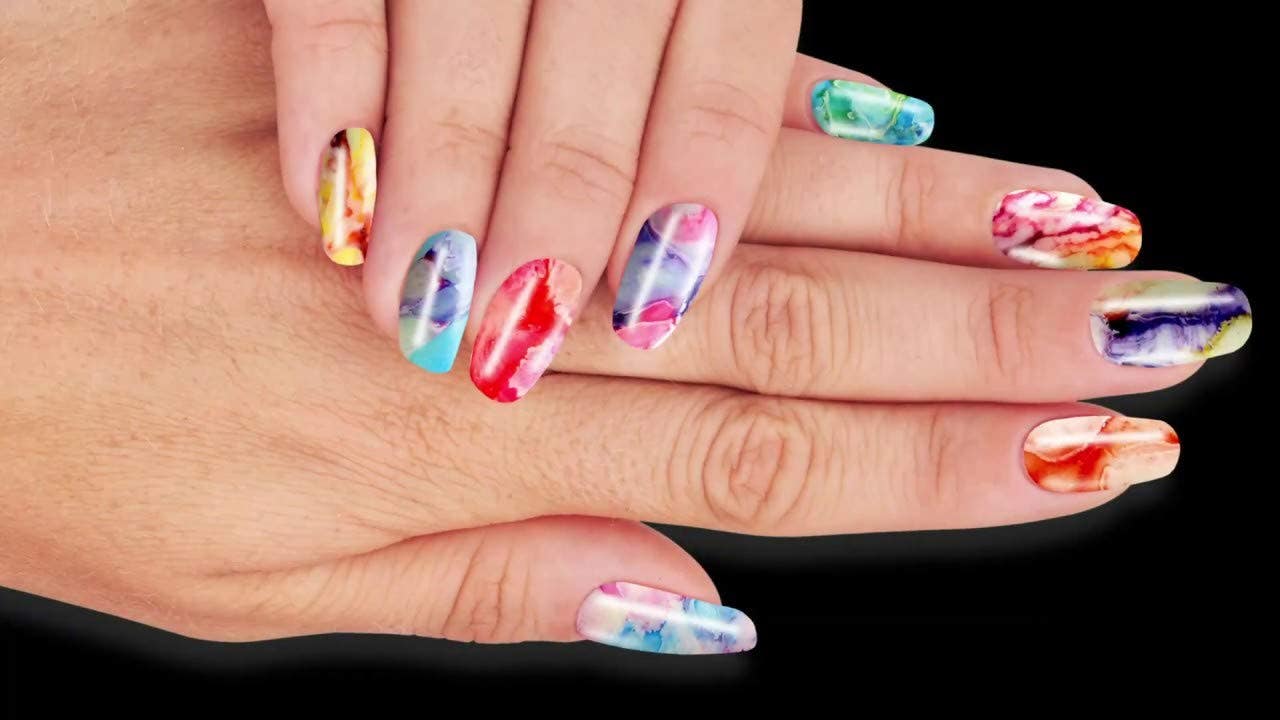
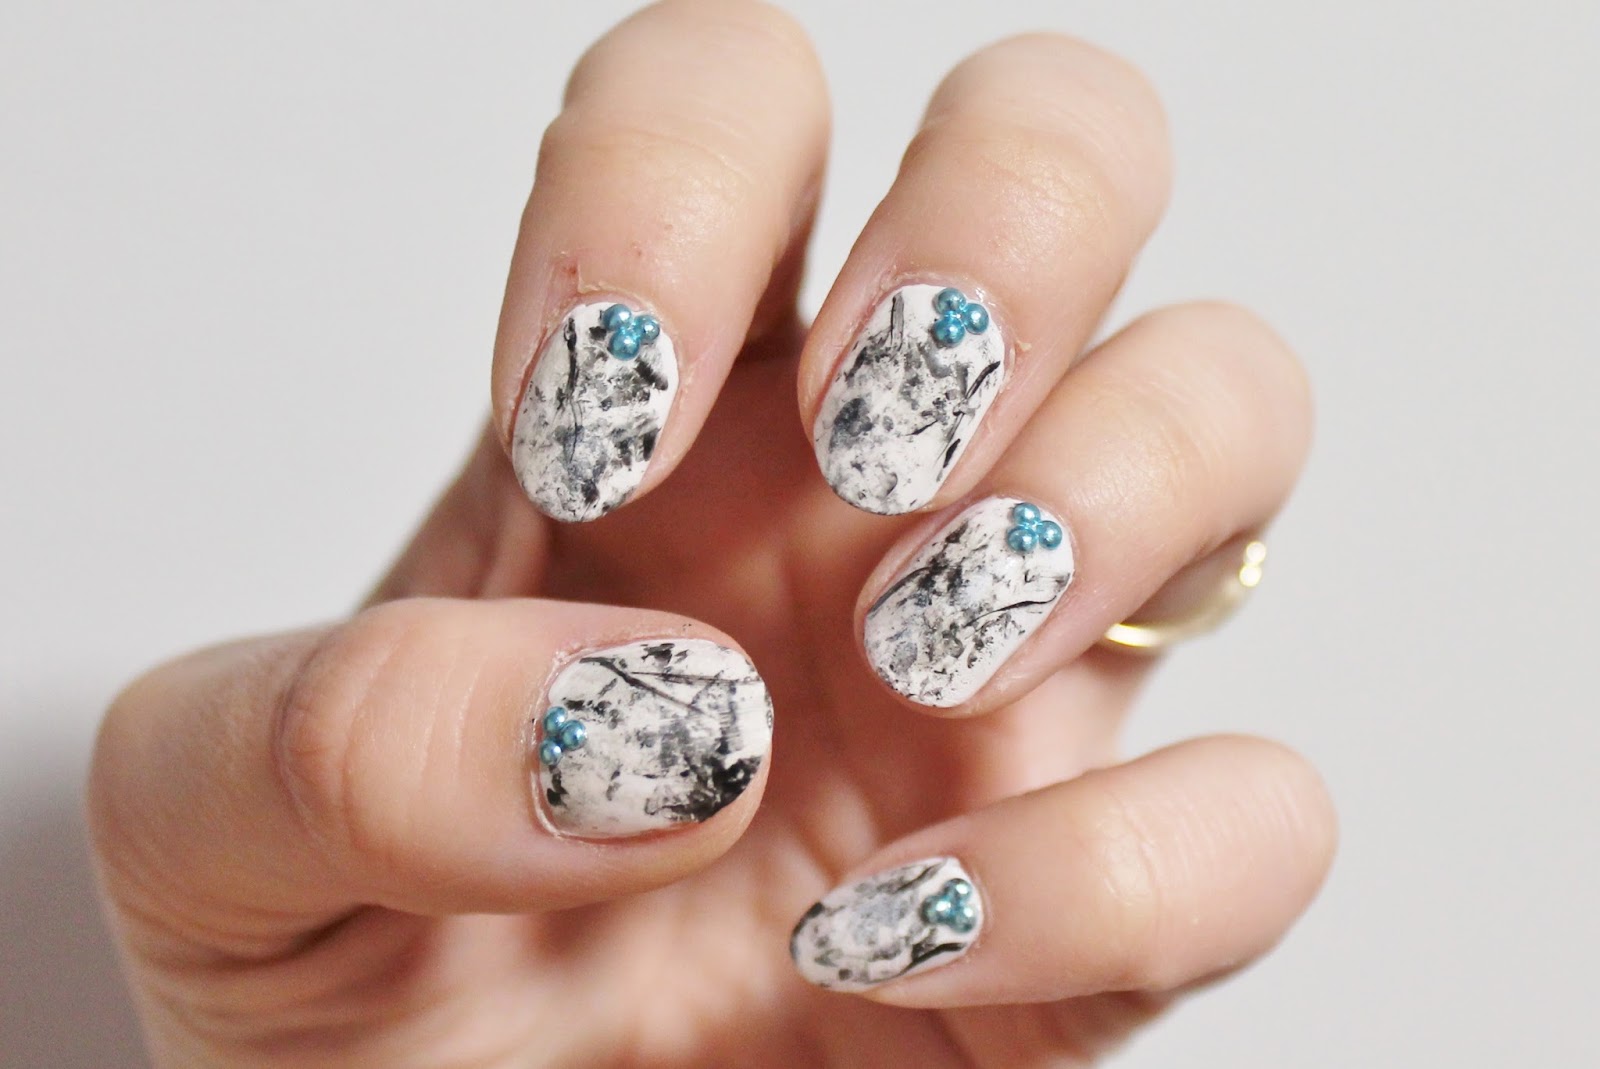
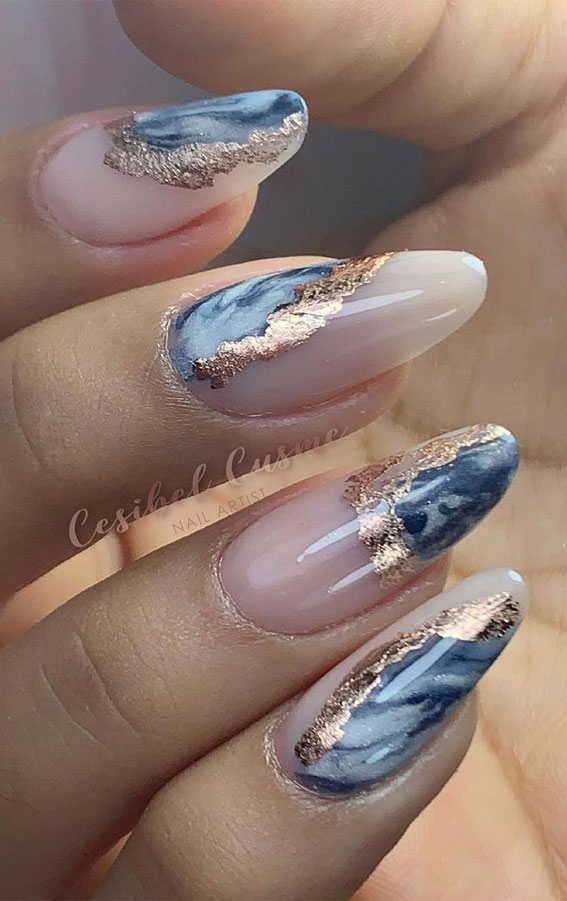
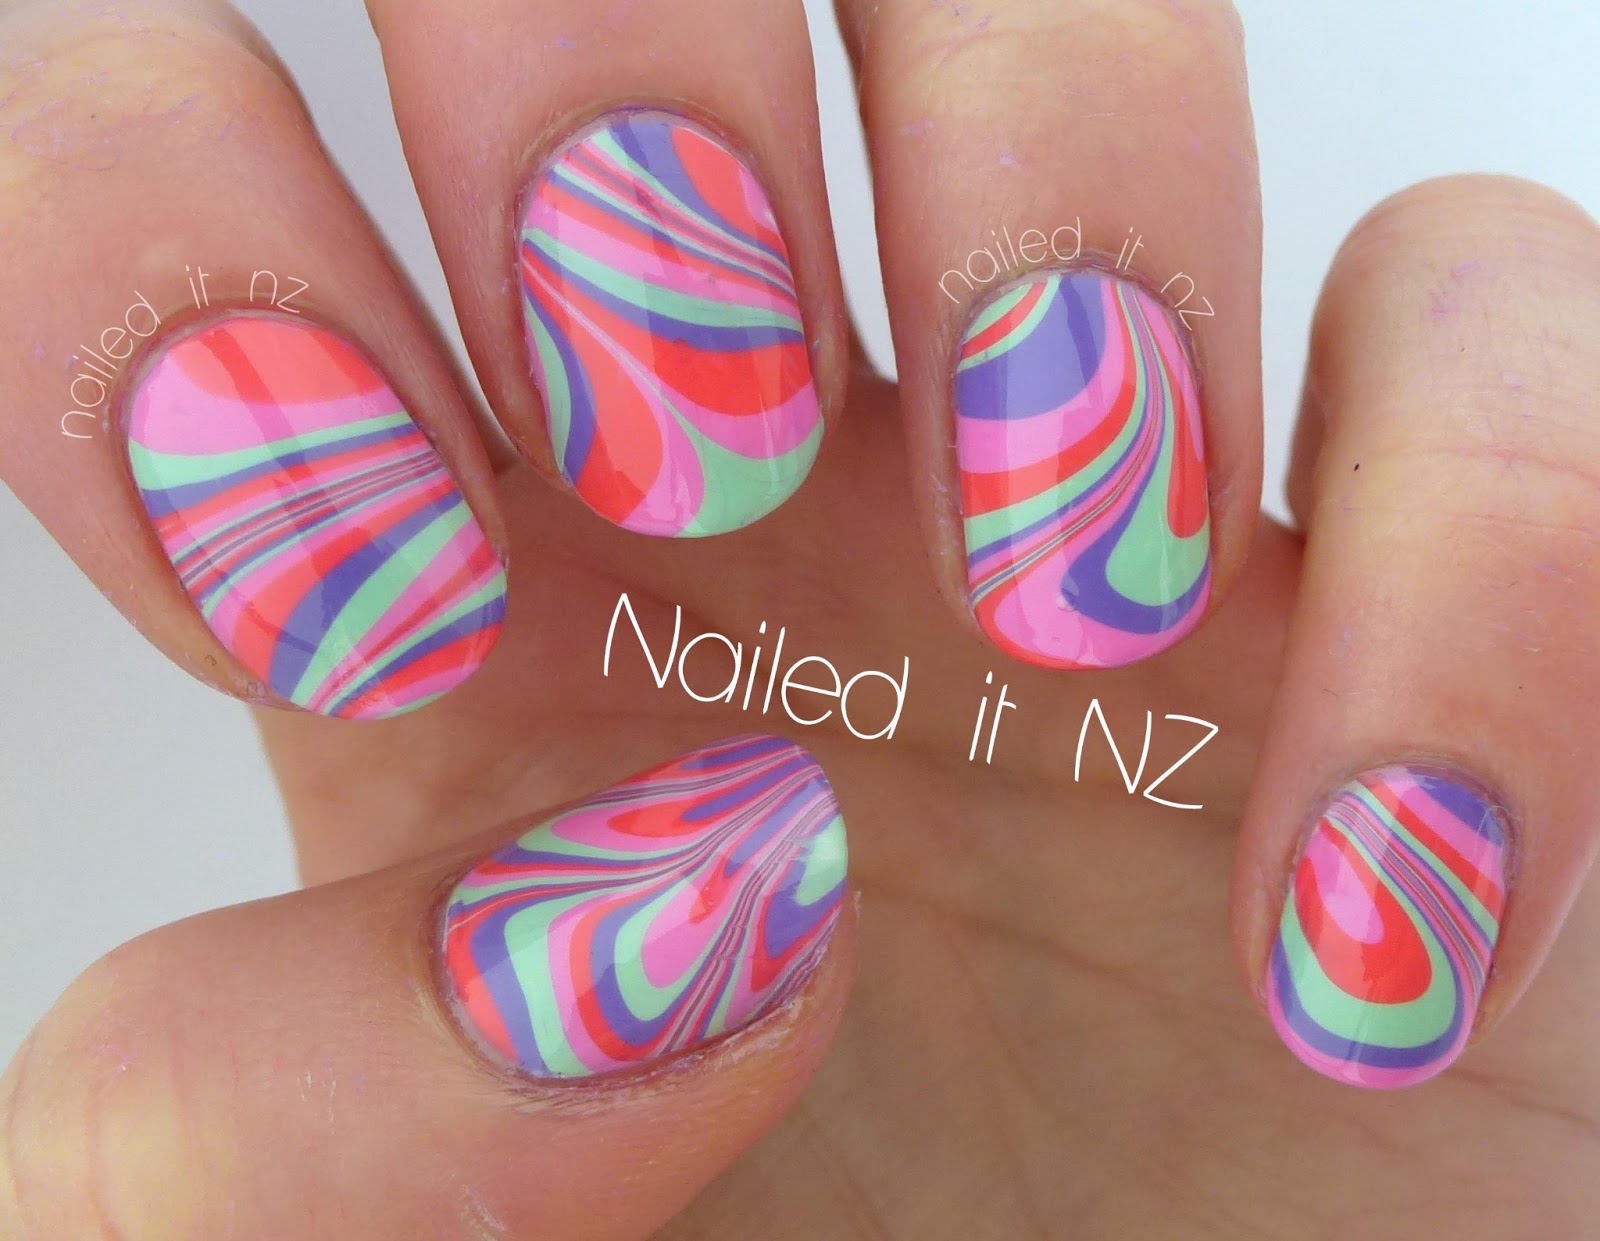
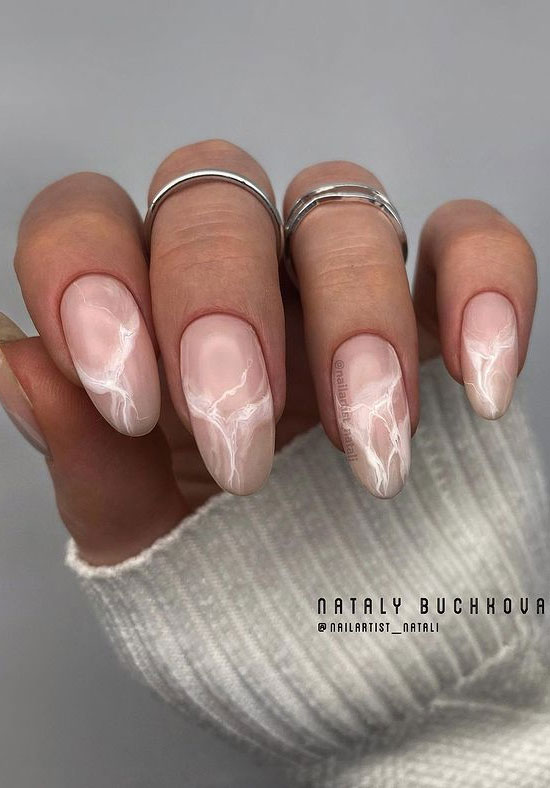
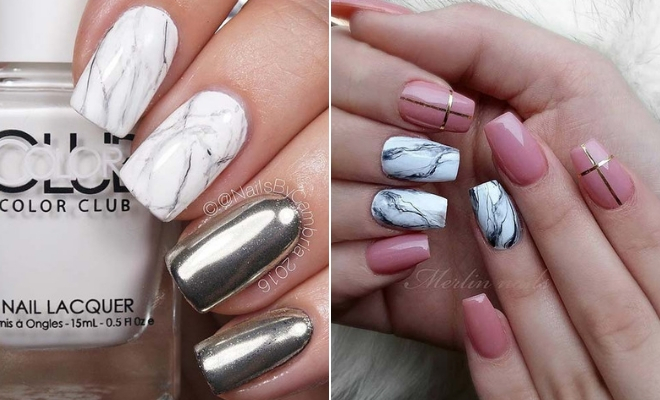
The possibilities are endless when it comes to marble nail art with water and temperature. You can create a classic black and white marble look, or play with pastel colors for a softer and more feminine design. You can even add glitter or metallic accents for a more glamorous touch. Don't be afraid to get creative and experiment with different color combinations and techniques to create your own unique marble nail art.8. Marble Nail Art with Water and Temperature: Inspiration and Ideas

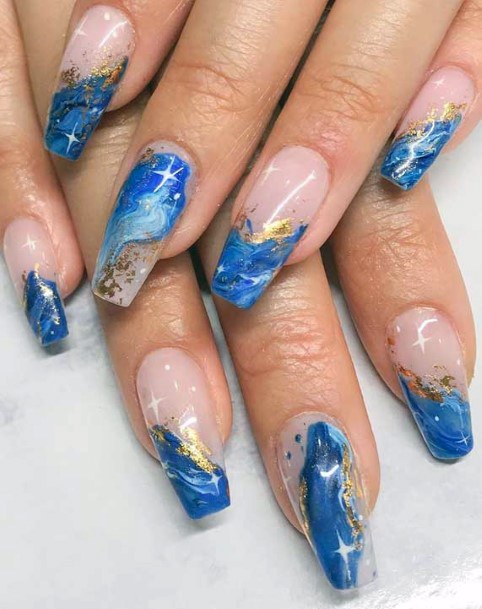
8. Marble Nail Art with Water and Temperature: Inspiration and Ideas

If you're having trouble getting the desired effect, there are a few things you can try. If the polish is sinking to the bottom of the cup, try using a different brand or type of polish. If the polish is not spreading or blending well, try using room temperature water or a toothpick to gently swirl the colors together. As with any nail art technique, practice makes perfect, so don't be discouraged if it doesn't turn out perfectly on your first try.9. Troubleshooting Common Issues with Marble Nail Art and Water Temperature

9. Troubleshooting Common Issues with Marble Nail Art and Water Temperature

Q: Can I use any type of nail polish for this technique?10. Marble Nail Art with Water and Temperature: Frequently Asked Questions
A: It's recommended to use regular nail polish rather than gel polish for this technique.
Q: How do I clean up any excess polish from my skin?
A: Dip a cotton swab in nail polish remover and gently swipe it around the edges of your nail to remove any excess polish.
Q: How long will this design last on my nails?
A: With a good top coat, this design can last up to a week on your nails.
10. Marble Nail Art with Water and Temperature: Frequently Asked Questions

Why Marble Nail Art is the Perfect Addition to Your Home Design

Elevate Your Home with Marble Nail Art Water Temp
 When it comes to home design, every detail matters. This includes not only the furniture and decor, but also the small details that tie everything together. One such detail that is gaining popularity in the design world is
marble nail art
. This unique and elegant technique involves creating a marble-like effect on surfaces using
water and nail polish
. While it may have originated as a nail art technique, it has now made its way into home design, specifically in the form of
marble nail art water temp
.
When it comes to home design, every detail matters. This includes not only the furniture and decor, but also the small details that tie everything together. One such detail that is gaining popularity in the design world is
marble nail art
. This unique and elegant technique involves creating a marble-like effect on surfaces using
water and nail polish
. While it may have originated as a nail art technique, it has now made its way into home design, specifically in the form of
marble nail art water temp
.
Unleash Your Creativity
 One of the main reasons why marble nail art water temp is so popular is because of its versatility. It allows for endless creativity and customization, making it the perfect addition to any home design. Whether you want a bold and dramatic statement or a subtle and understated touch, marble nail art water temp can be tailored to your personal style and preference. Plus, with a wide range of nail polish colors and techniques, the possibilities are endless.
Elegant and Timeless Design
 Marble has long been associated with luxury and sophistication, and incorporating it into your home design through nail art water temp is no exception. The swirling patterns and fluid lines created by this technique add a touch of elegance and timelessness to any space. It can be used on various surfaces such as walls, furniture, and even home accessories, instantly transforming them into works of art.
Affordable and Easy to DIY
 Another great aspect of marble nail art water temp is that it is a budget-friendly option for those looking to spruce up their home design. Compared to other expensive materials such as marble tiles, using nail polish and water to create the same effect is much more affordable. Plus, with a little bit of practice and patience, it is also easy to DIY, making it accessible to anyone who wants to add a touch of luxury to their home.
In conclusion, if you're looking to elevate your home design, consider incorporating marble nail art water temp into your space. With its versatility, elegance, and affordability, it is the perfect way to add a unique and personalized touch to your home. So go ahead, unleash your creativity and transform your home into a work of art with this stunning and timeless technique.
Another great aspect of marble nail art water temp is that it is a budget-friendly option for those looking to spruce up their home design. Compared to other expensive materials such as marble tiles, using nail polish and water to create the same effect is much more affordable. Plus, with a little bit of practice and patience, it is also easy to DIY, making it accessible to anyone who wants to add a touch of luxury to their home.
In conclusion, if you're looking to elevate your home design, consider incorporating marble nail art water temp into your space. With its versatility, elegance, and affordability, it is the perfect way to add a unique and personalized touch to your home. So go ahead, unleash your creativity and transform your home into a work of art with this stunning and timeless technique.


