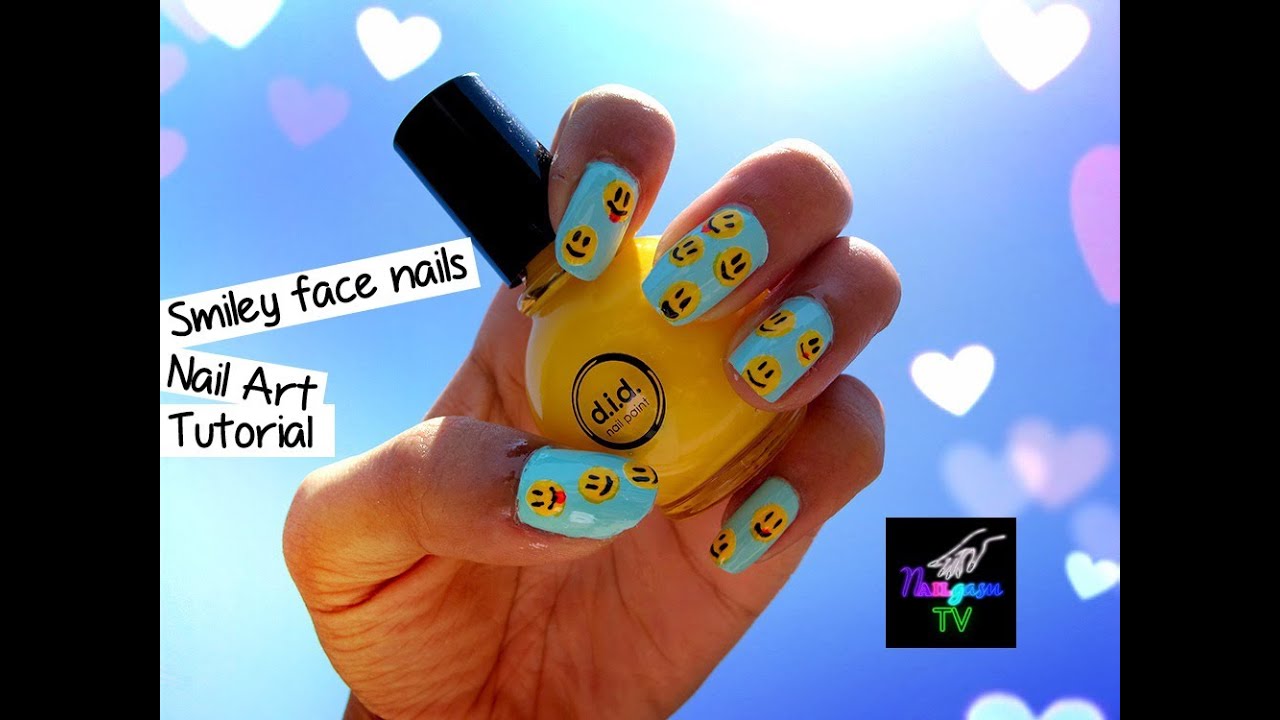
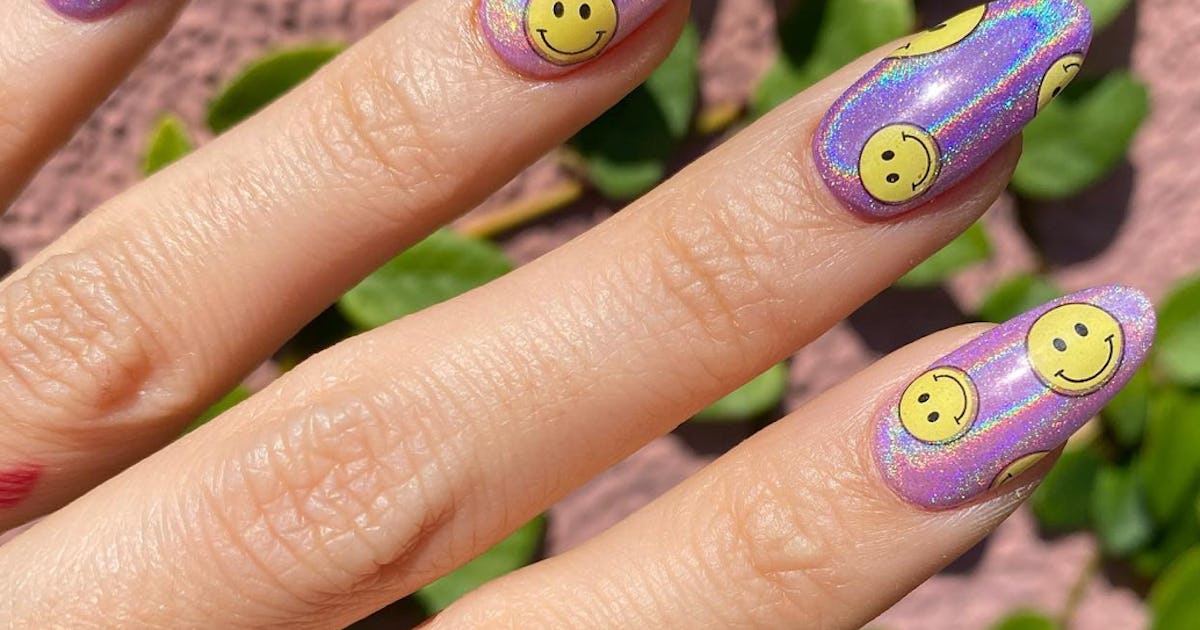
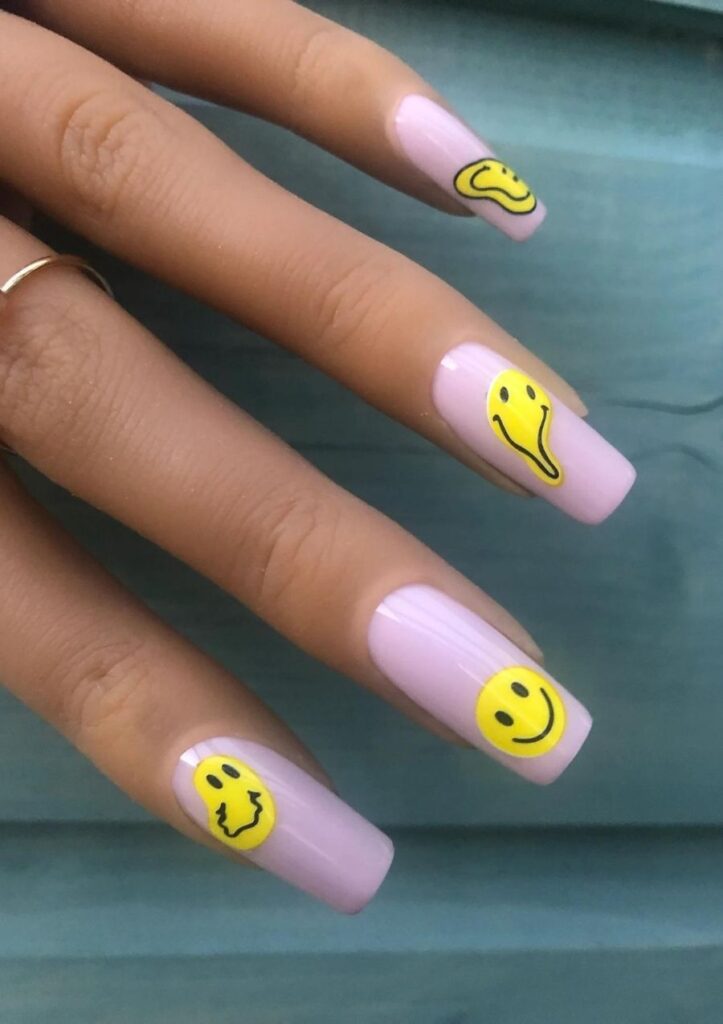
If you're looking for a fun and unique nail design, look no further than the melted smiley face nail art. This playful and eye-catching design is perfect for those who want to add a pop of personality to their manicure. Don't worry if you're new to nail art, we have a step-by-step tutorial to help you achieve this look. To start, you'll need a yellow, black, and white nail polish, a dotting tool or toothpick, and a clear top coat. Begin by painting your nails with the yellow nail polish as a base color. Let it dry completely before moving on to the next step. Next, take your black nail polish and use the dotting tool or toothpick to create two small dots for the eyes. Make sure to leave enough space between the dots for the nose and mouth. Then, using the same tool, create a curved line for the smile. This doesn't have to be perfect, as we are going for a melted effect. Once the black polish has dried, take your white nail polish and create two small dots on top of the black ones for the highlights of the eyes. You can also use a white nail art pen for more precision. Let everything dry completely before applying a clear top coat to seal in your design. And voila, you now have a cute and playful melted smiley face nail art!1. Melted Smiley Face Nail Art Tutorial


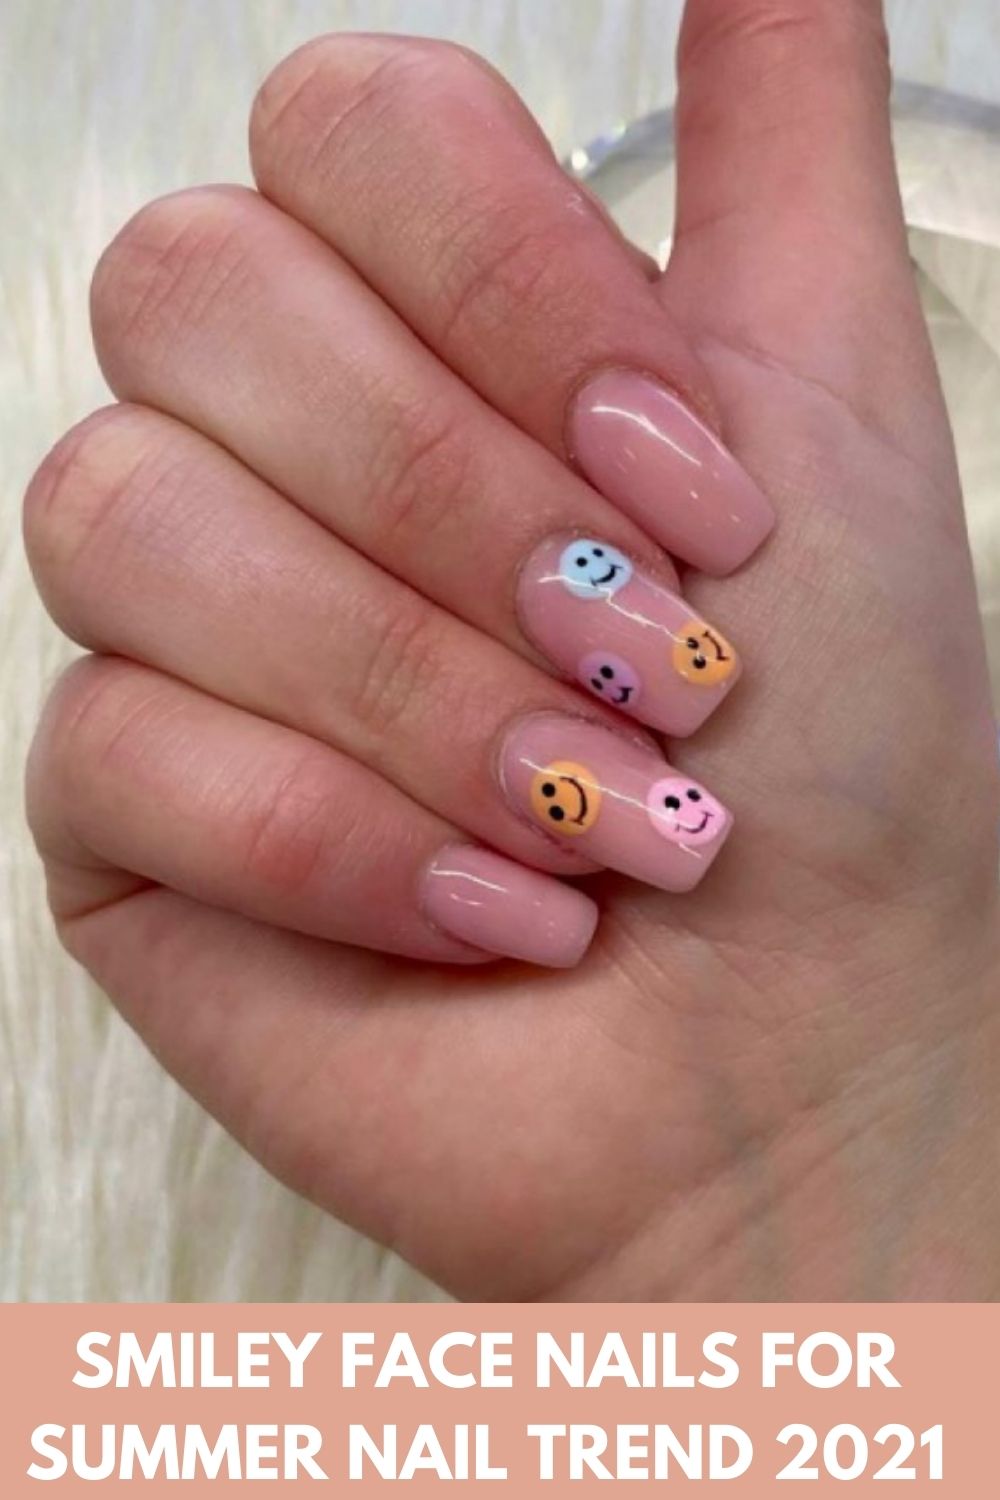
1. Melted Smiley Face Nail Art Tutorial
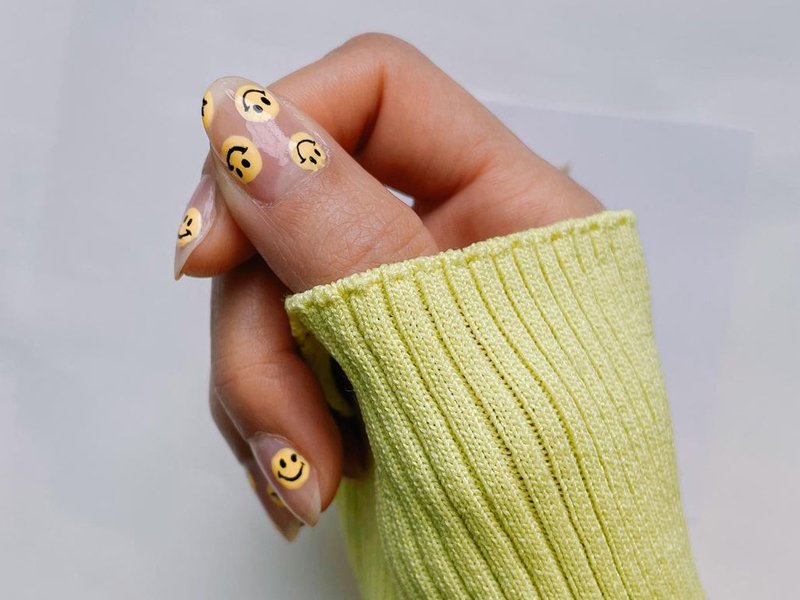


If you're short on time but still want to rock a fun and unique nail design, this easy melted smiley face nail art is perfect for you. All you need is a yellow, black, and white nail polish, and a striping brush or thin nail art brush. Start by painting your nails with the yellow polish as a base color and let it dry completely. Next, using the striping brush or thin nail art brush, create a curved line for the smile using the black nail polish. This doesn't have to be perfect, as we are going for a melted effect. Then, using the same brush, create two small dots for the eyes. Make sure to leave enough space between the dots for the nose and mouth. Finally, take the white nail polish and create two small dots on top of the black ones for the highlights of the eyes. You can also use a white nail art pen for more precision. Once everything has dried, seal in your design with a clear top coat. This easy melted smiley face nail design is perfect for those who are new to nail art or for those who want a quick and simple design.2. Easy Melted Smiley Face Nail Design


2. Easy Melted Smiley Face Nail Design


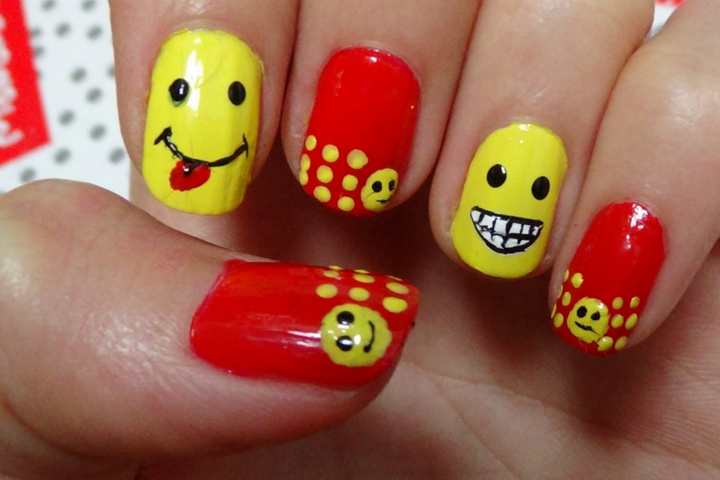
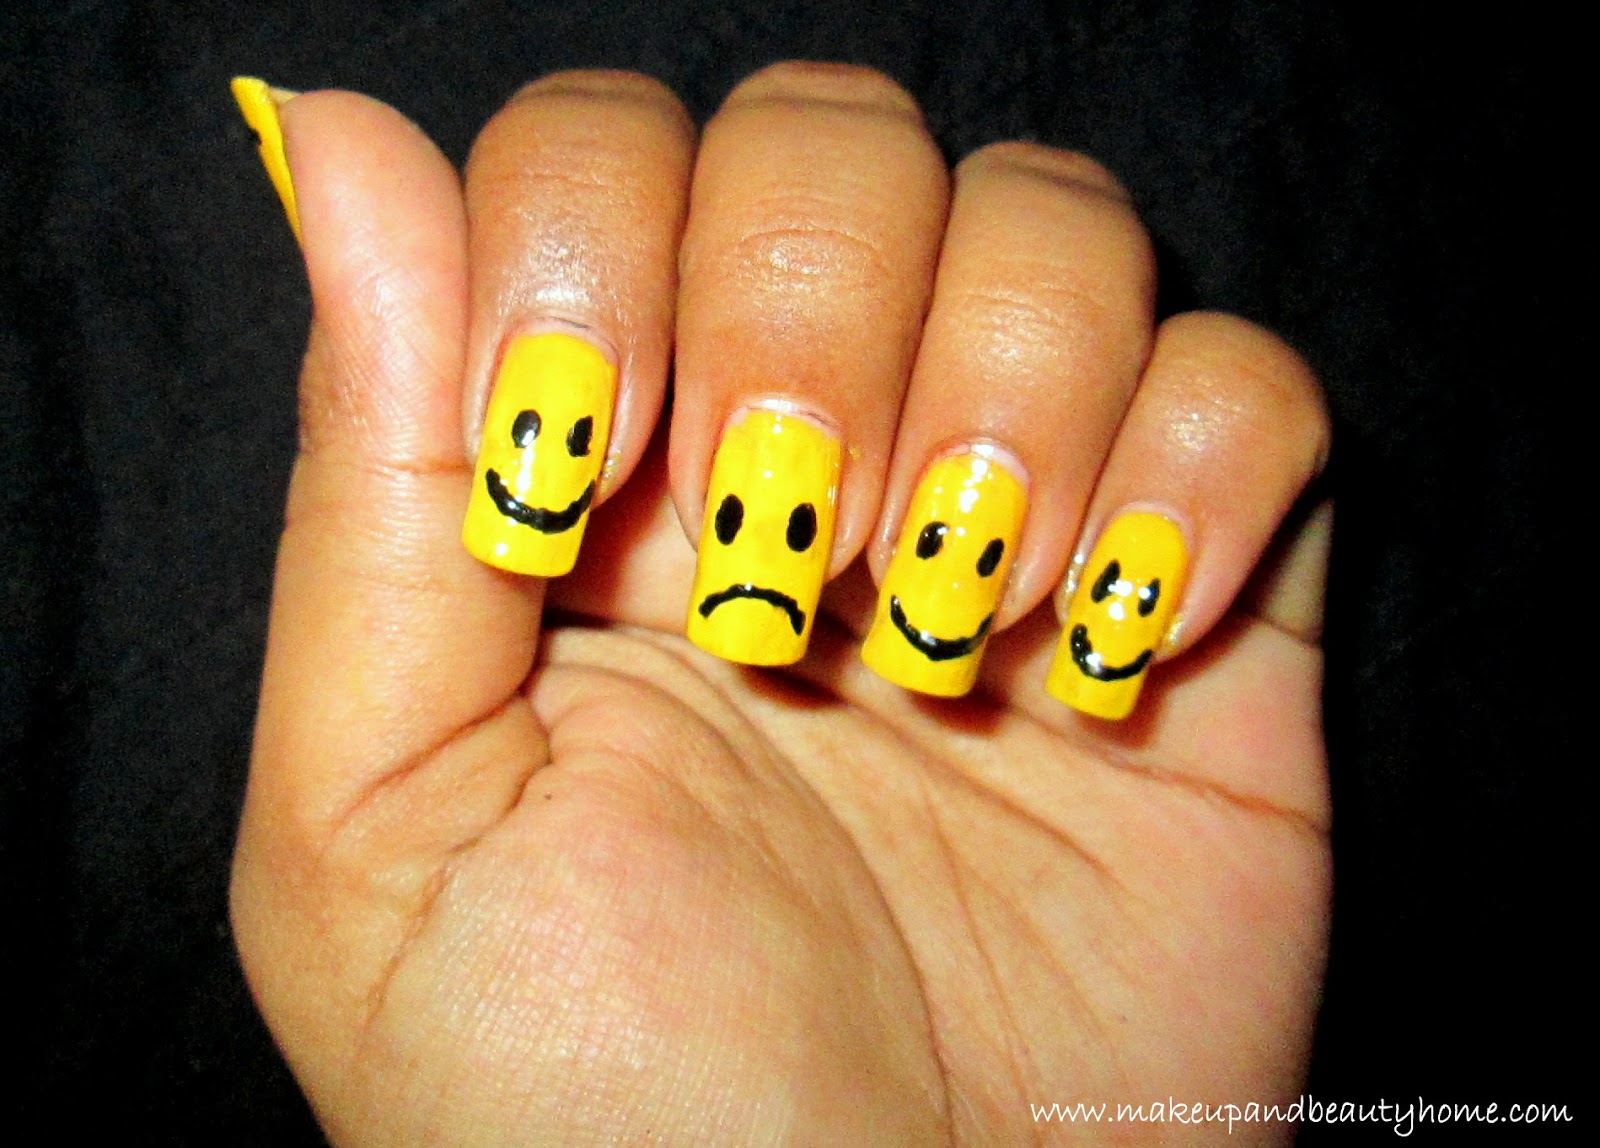
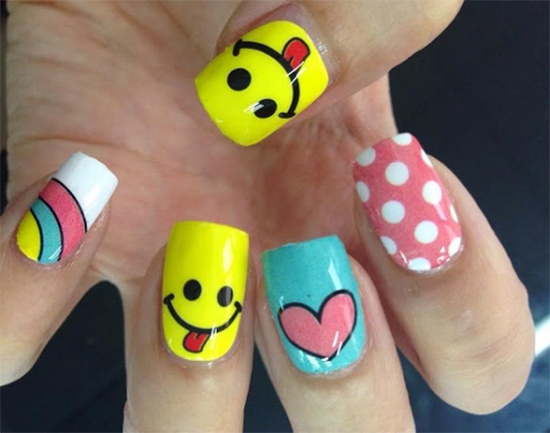
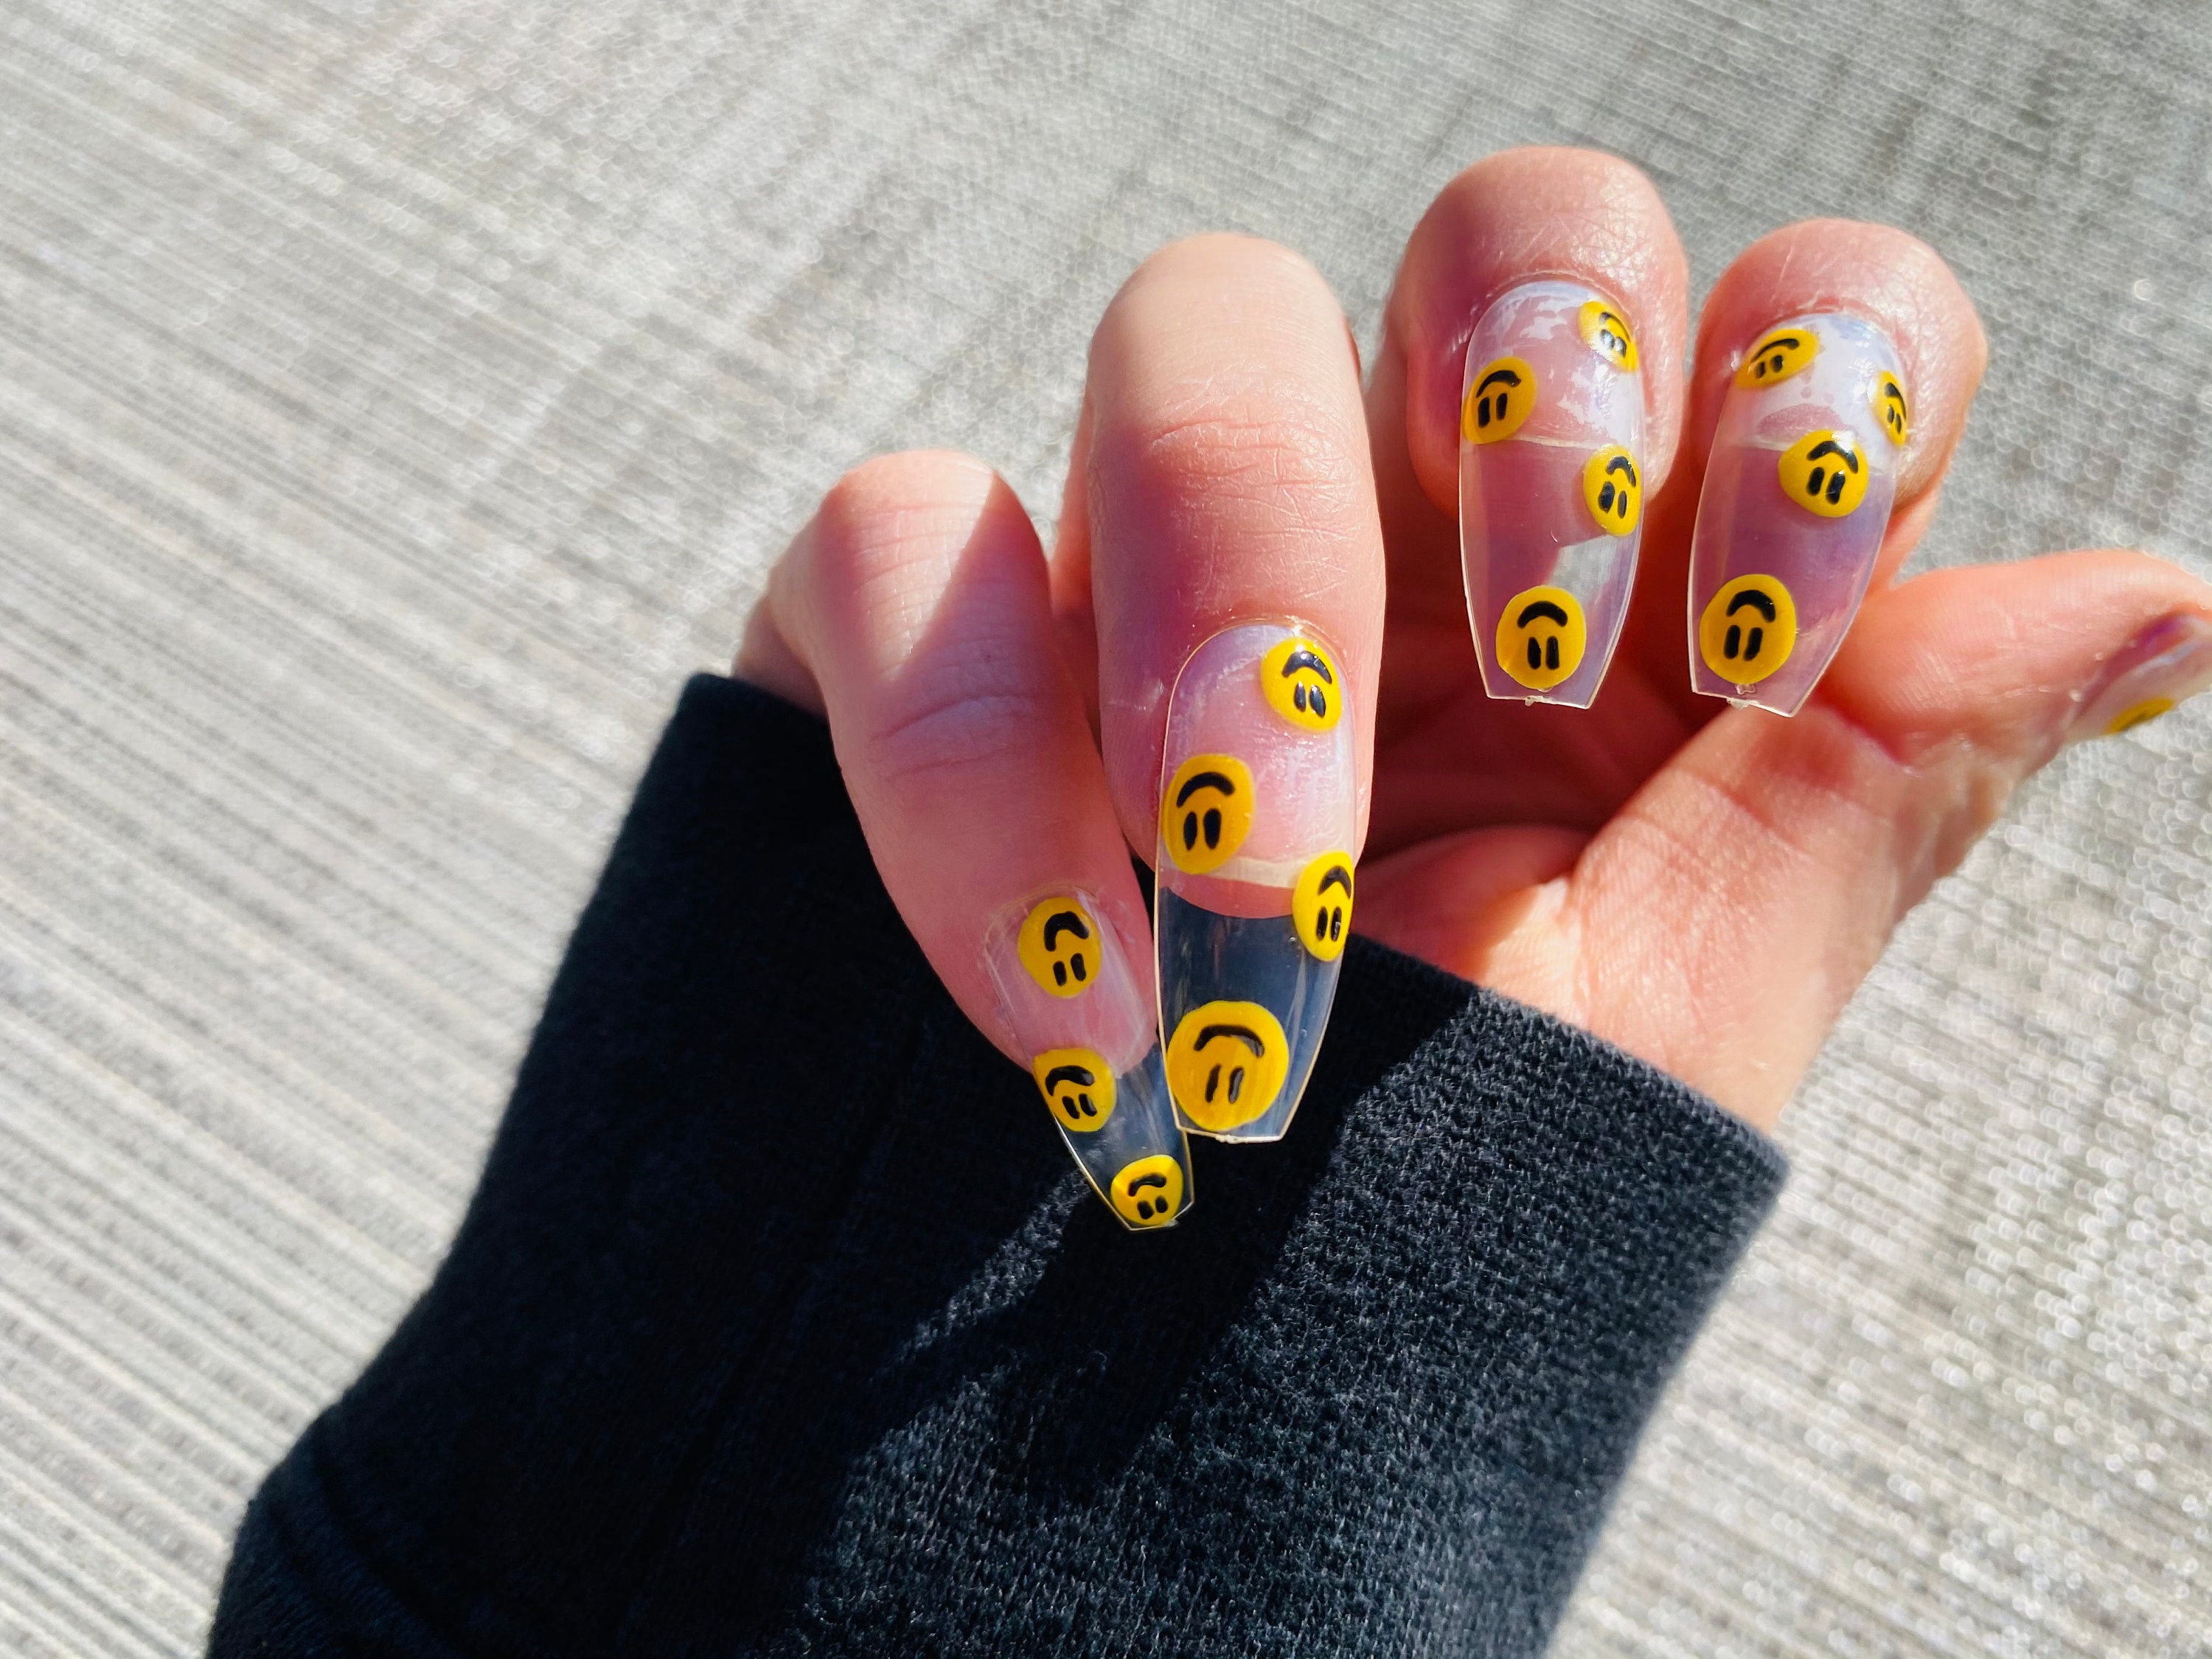
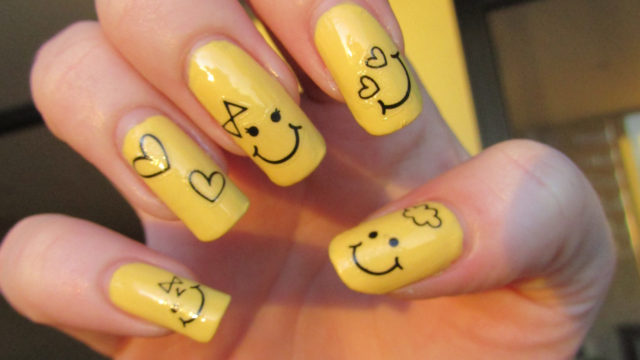
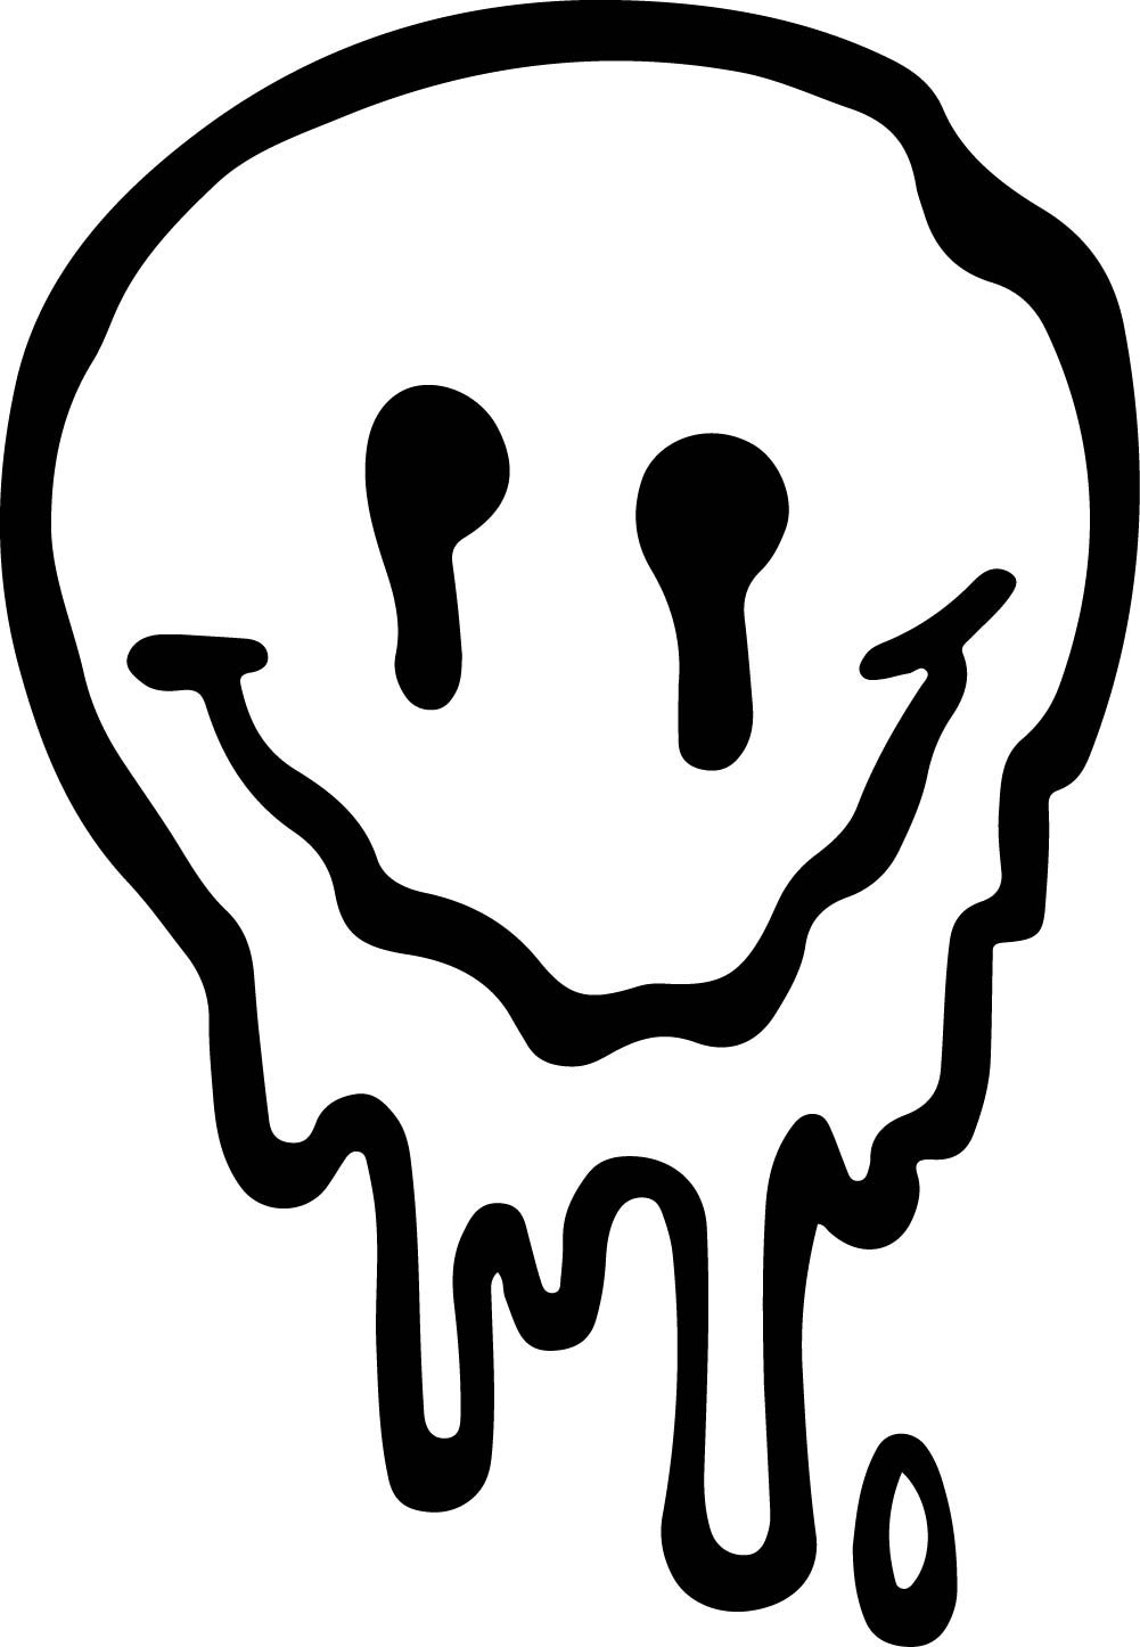
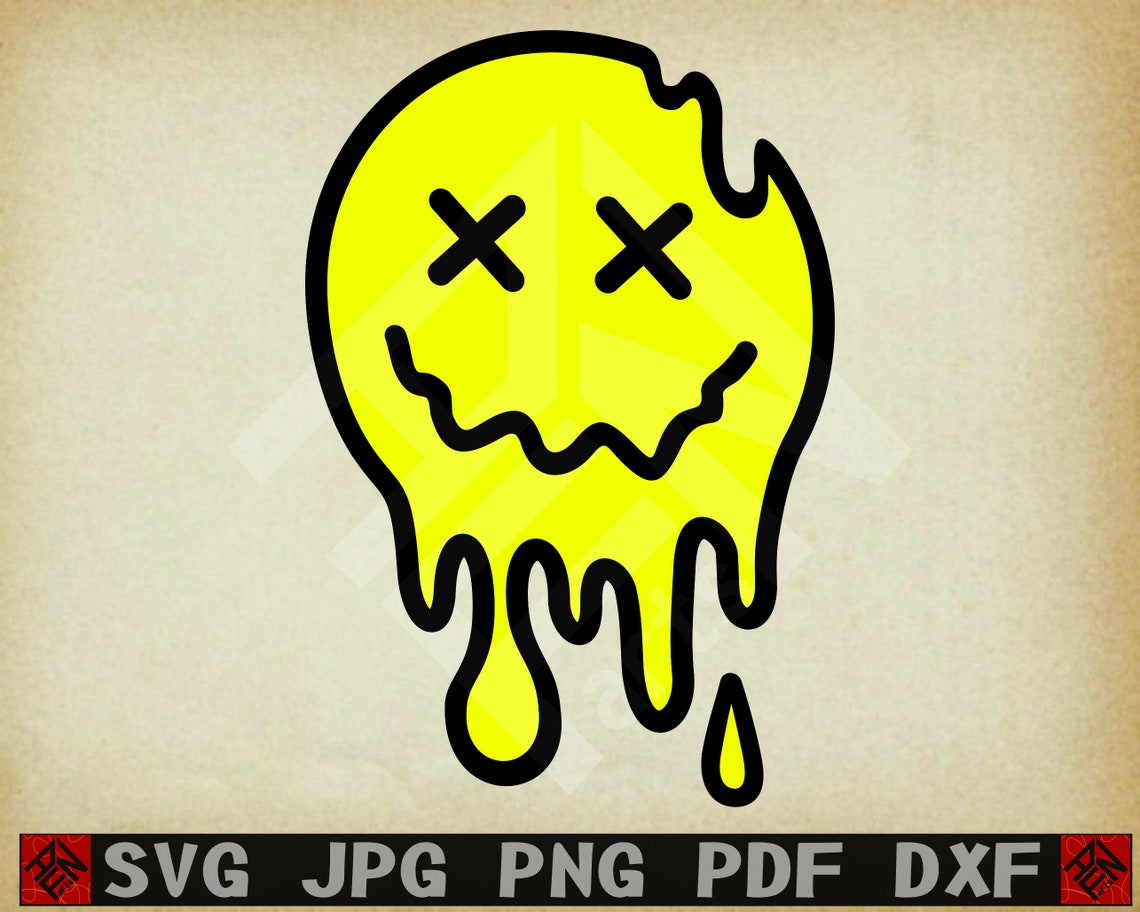
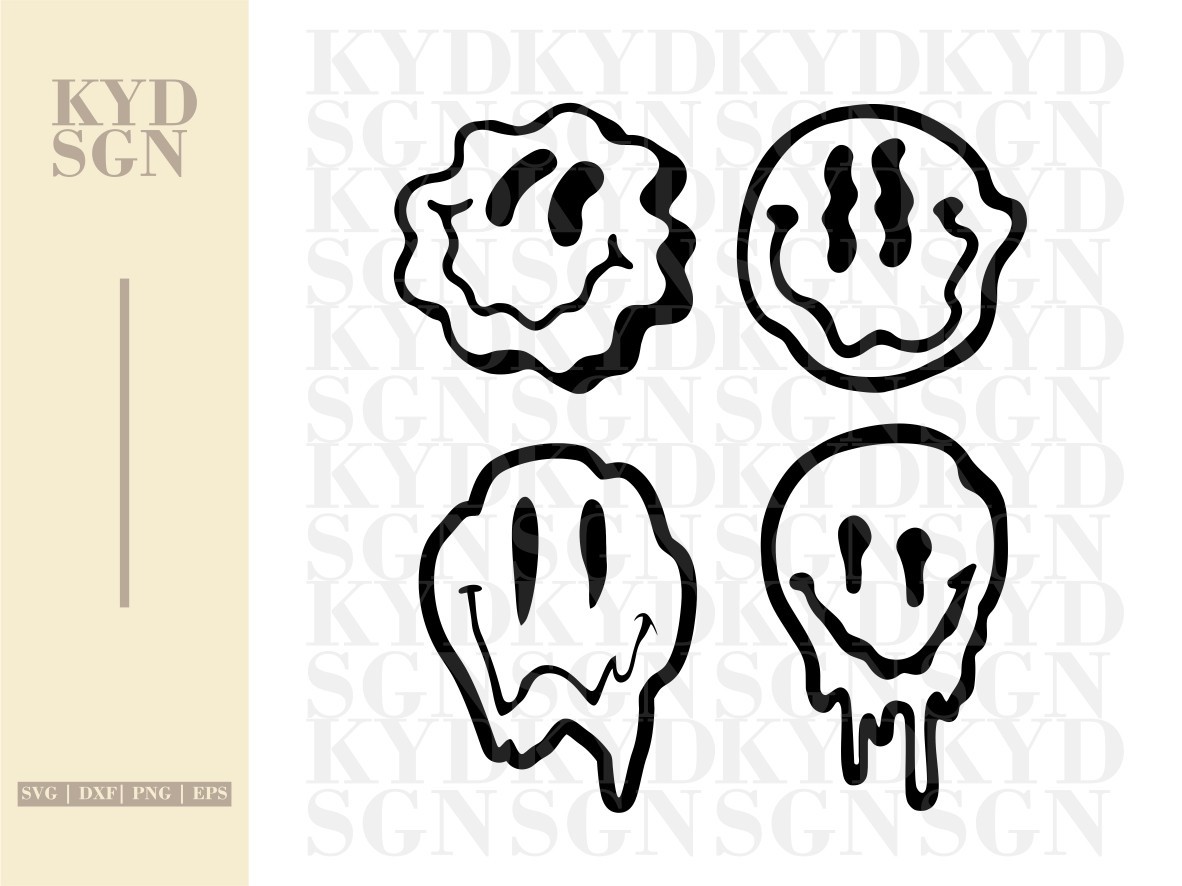
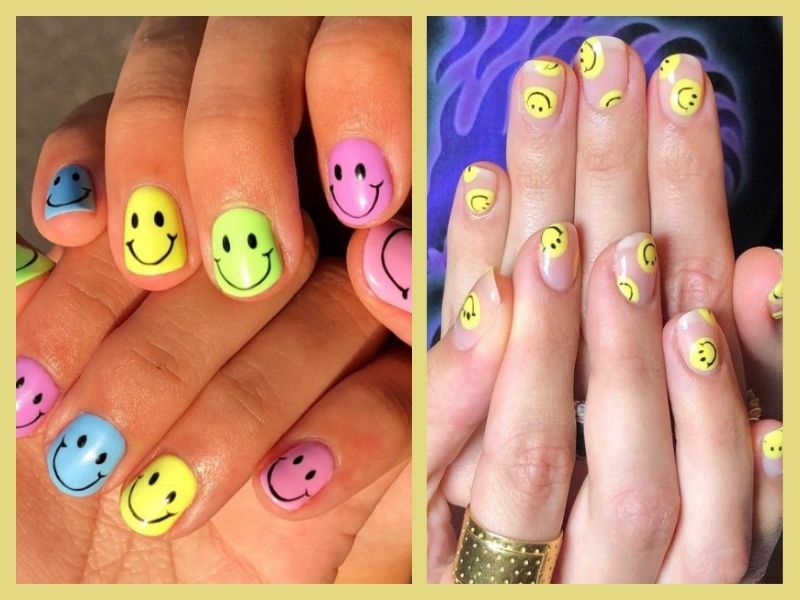
There are so many fun and creative ways to incorporate the melted smiley face nail art into your manicure. If you're feeling adventurous, you can try using different colors for the base and creating multiple smiley faces on each nail. You can also experiment with different expressions for the smiley faces, such as a winking face or a sad face. For a more subtle look, you can paint the smiley face on just one nail and leave the rest of your nails a solid color. You can also add glitter or rhinestones to your design for some extra sparkle. The possibilities are endless, so don't be afraid to get creative and make this design your own.3. Melted Smiley Face Nail Art Ideas


3. Melted Smiley Face Nail Art Ideas
If you're a visual learner, follow this step-by-step guide to achieve the melted smiley face nail art: Step 1: Paint your nails with a yellow base color and let it dry completely. Step 2: Using a dotting tool or toothpick, create two small dots for the eyes and a curved line for the smile using black nail polish. Step 3: Using the same tool, create two small dots on top of the black ones for the highlights of the eyes using white nail polish. Step 4: Once everything has dried, seal in your design with a clear top coat. And that's it! With these simple steps, you can achieve a fun and playful melted smiley face nail art.4. Melted Smiley Face Nail Art Step by Step


4. Melted Smiley Face Nail Art Step by Step


If you're new to nail art, don't be intimidated by the melted smiley face design. This design is perfect for beginners as it only requires basic tools and doesn't have to be perfect. You can also use a nail art stamping kit to create the smiley face instead of hand-painting it. Another tip for beginners is to use a light-colored nail polish as a base color, such as white or light pink, to make the smiley face stand out more. And don't worry if your lines aren't perfectly straight, the melted effect adds to the charm of this design.5. Melted Smiley Face Nail Art for Beginners

5. Melted Smiley Face Nail Art for Beginners


If you're a fan of gel manicures, you can still rock the melted smiley face nail art. Start by painting your nails with a yellow gel polish and curing it under a UV or LED lamp. Then, use a black gel polish and a dotting tool or toothpick to create the eyes and smile. Cure the black gel polish under the lamp and then use a white gel polish to create the highlights of the eyes. Once everything has cured, seal in your design with a clear gel top coat for a long-lasting and glossy finish.6. Melted Smiley Face Nail Art with Gel Polish


6. Melted Smiley Face Nail Art with Gel Polish


For those who prefer to use acrylic paint for their nail art, you can easily achieve the melted smiley face design using this medium. Start by painting your nails with a yellow base color and let it dry completely. Then, using a thin nail art brush, create the smile, eyes, and highlights with black and white acrylic paint. Once everything has dried, seal in your design with a clear top coat.7. Melted Smiley Face Nail Art with Acrylic Paint


7. Melted Smiley Face Nail Art with Acrylic Paint
If you're a fan of nail stamping, you can use this technique to create a perfect and precise melted smiley face nail art. Start by painting your nails with a light-colored base polish and let it dry completely. Then, using a nail stamping plate with a smiley face design, stamp the image onto your nails using black or white nail polish. Finish off with a clear top coat to seal in your design.8. Melted Smiley Face Nail Art with Stamping

8. Melted Smiley Face Nail Art with Stamping
For a more glamorous version of the melted smiley face nail art, you can add rhinestones to your design. After creating the smiley face using black and white nail polish, use a dotting tool or toothpick to apply a small amount of clear nail polish onto the eyes and mouth. Then, carefully place rhinestones on top of the wet polish and let it dry. Finish off with a clear top coat to secure the rhinestones in place.9. Melted Smiley Face Nail Art with Rhinestones


9. Melted Smiley Face Nail Art with Rhinestones
If you want to take your melted smiley face nail art to the next level, you can incorporate an ombre effect into your design. Start by painting your nails with a light-colored base polish and let it dry completely. Then, using a makeup sponge, apply a darker shade of the same color to the tips of your nails. Finally, create the melted smiley face design on top of the ombre effect using black and white nail polish. Finish off with a clear top coat for a stunning and unique look.10. Melted Smiley Face Nail Art with Ombre Effect

10. Melted Smiley Face Nail Art with Ombre Effect

The Trendy and Fun Melted Smiley Face Nail Art
Express Yourself through Your Nails
 Nail art has become a popular form of self-expression and creativity in recent years. From simple designs to intricate patterns, there are endless possibilities to adorn your nails and make a statement. One of the latest trends that have taken the nail art world by storm is the melted smiley face design. This playful and whimsical design is sure to bring a smile to your face every time you look at your nails.
The Process of Creating Melted Smiley Face Nails
 To achieve the perfect melted smiley face nails, you will need some basic nail art tools such as a dotting tool, a thin nail brush, and some vibrant nail polish colors. Start by painting your nails with a base color of your choice. Then, using the dotting tool, create a semi-circle at the tip of your nails using a contrasting color. This will be the base of your smiley face. Next, use the thin nail brush to draw a curved line across the semi-circle to create the mouth. Finally, use the dotting tool to add two dots above the mouth for the eyes. Voila! Your melted smiley face nails are ready to make a fun and bold statement.
The Versatility of Melted Smiley Face Nails
 One of the best things about the melted smiley face nail art is its versatility. You can customize the design according to your preference and style. You can use different colors to create a rainbow effect or add glitter for some extra sparkle. You can also play around with different shapes and sizes of the smiley face to make it uniquely yours. The possibilities are endless with this playful and creative nail art.
Perfect for Any Occasion
 Melted smiley face nails are the perfect design for any occasion. Whether you're heading to a music festival, a night out with friends, or simply looking to add a pop of fun to your everyday look, this design is sure to turn heads and bring a smile to everyone's face. It is also a great way to add a touch of playfulness to your formal attire.
Express Your Playful Side with Melted Smiley Face Nails
 In conclusion, melted smiley face nail art is a trendy and fun way to express yourself through your nails. It is a versatile design that can be customized to suit any occasion and style. So why not add a touch of playfulness and creativity to your nail game with this whimsical design? Give it a try and watch your nails melt hearts and bring smiles wherever you go.


