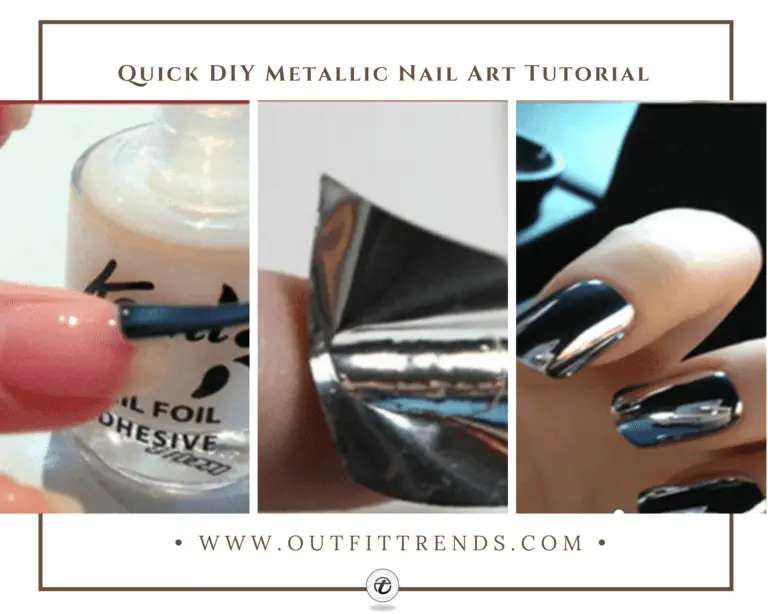
If you're new to the world of nail art, metallic designs can seem intimidating. But fear not, this easy tutorial is perfect for beginners and will have you rocking a stunning metallic manicure in no time. First, start with a base coat to protect your nails and help the polish adhere better. Once dry, choose a metallic shade of your choice and apply 2 coats for full coverage. Bold tip: Opt for a silver or gold shade for a classic metallic look, or try something more daring like a rose gold or bronze. Next, using a thin brush or toothpick, create small dots or lines with a different metallic shade on top of your base color. This will add dimension and interest to your manicure. Bold tip: You can also use a metallic nail art pen for easier application. Finally, seal in your design with a top coat for a glossy finish. And there you have it, a simple yet stunning metallic nail art look that's perfect for beginners.1. "Easy Metallic Nail Art Tutorial for Beginners"

1. "Easy Metallic Nail Art Tutorial for Beginners"


If you're someone who likes a more detailed and step-by-step approach, this tutorial is for you. Follow these simple steps to achieve a beautiful metallic manicure. Step 1: Start with a base coat to protect your nails and create a smooth surface for the polish to adhere to. Step 2: Apply 2 coats of your chosen metallic shade for full coverage. Bold tip: If you're using a chrome or mirror effect polish, make sure to follow the specific instructions for best results. Step 3: Once dry, use a striping brush or toothpick to create thin lines or shapes with a different metallic shade. Bold tip: You can also use tape or stickers to create clean, straight lines. Step 4: Add a few dots or small details with a third metallic shade to add dimension to your design. Step 5: Seal in your design with a top coat for a glossy finish and long-lasting wear. Bold tip: Use a quick-drying top coat for a faster finish. Step 6: Clean up any excess polish around your nails with a small brush or cotton swab dipped in nail polish remover. Step 7: Admire your beautiful metallic manicure and show it off to the world!2. "Step-by-Step Metallic Nail Art Tutorial"


2. "Step-by-Step Metallic Nail Art Tutorial"
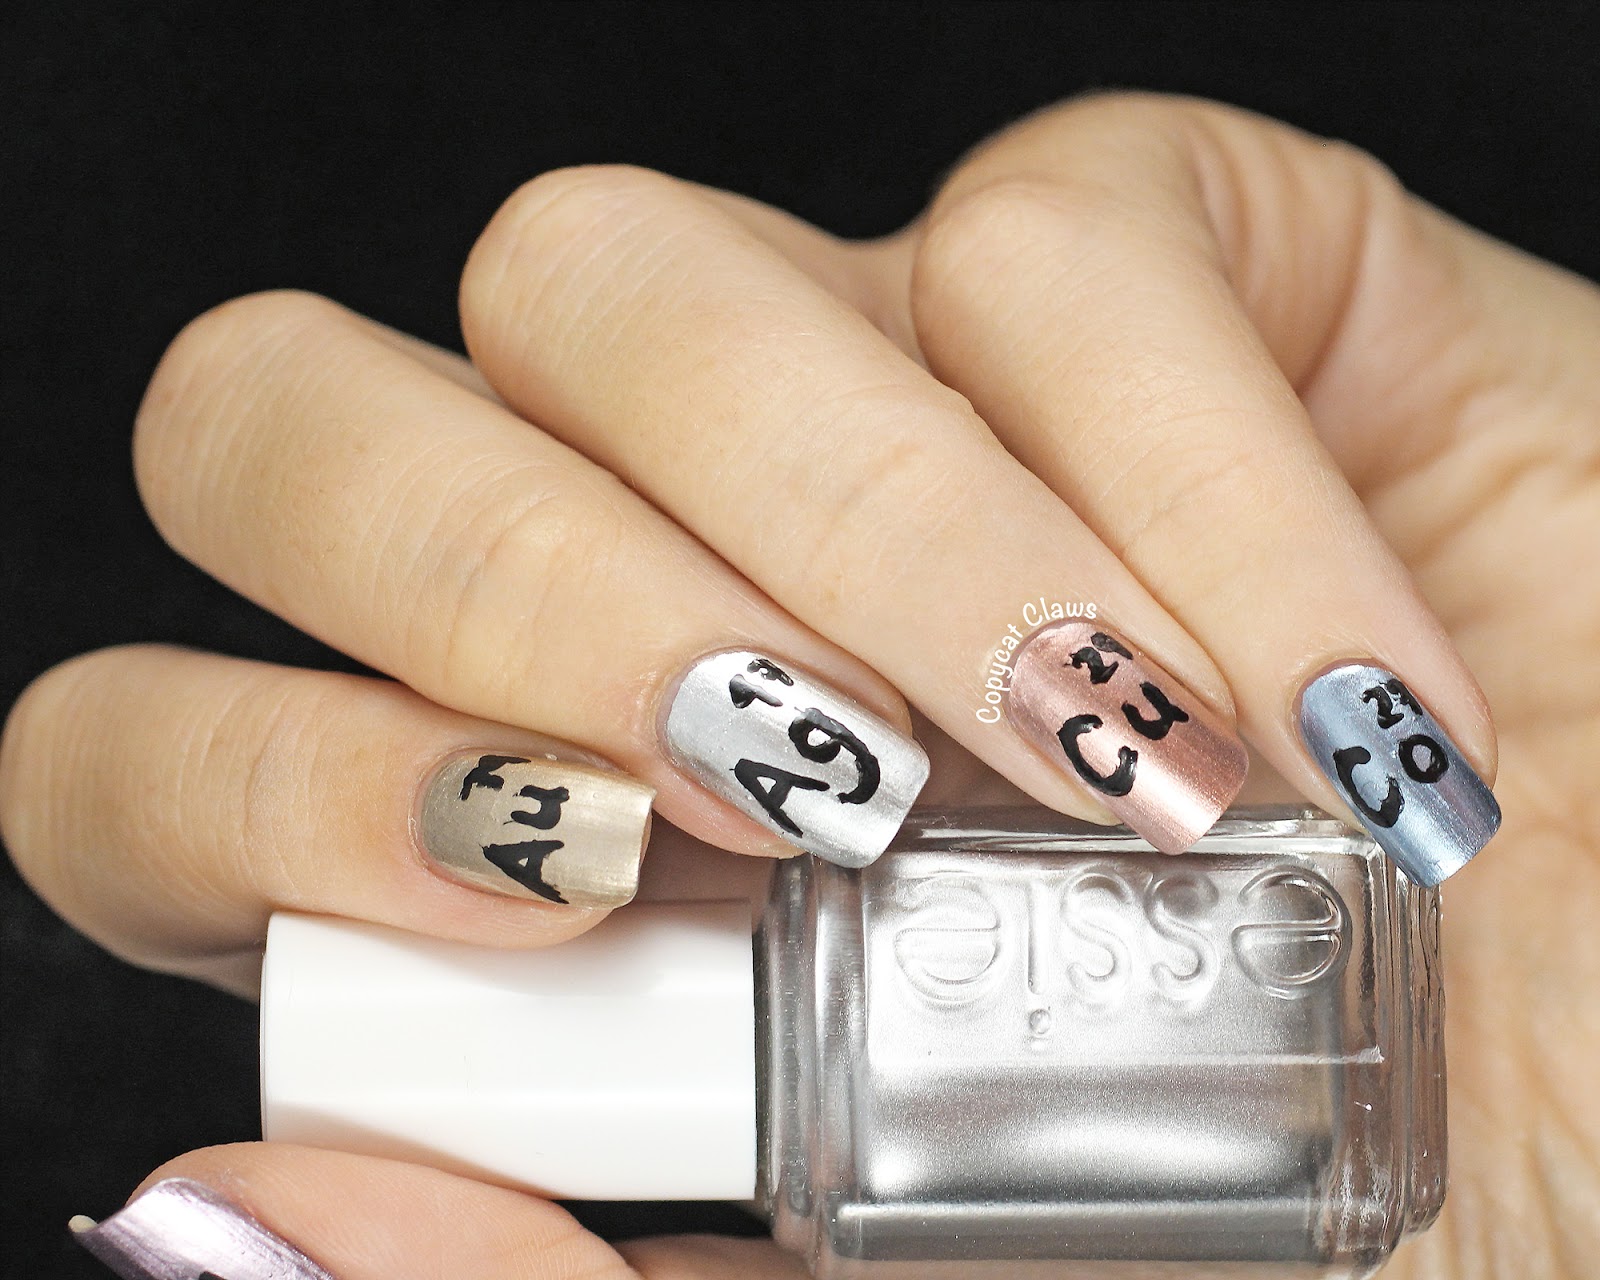


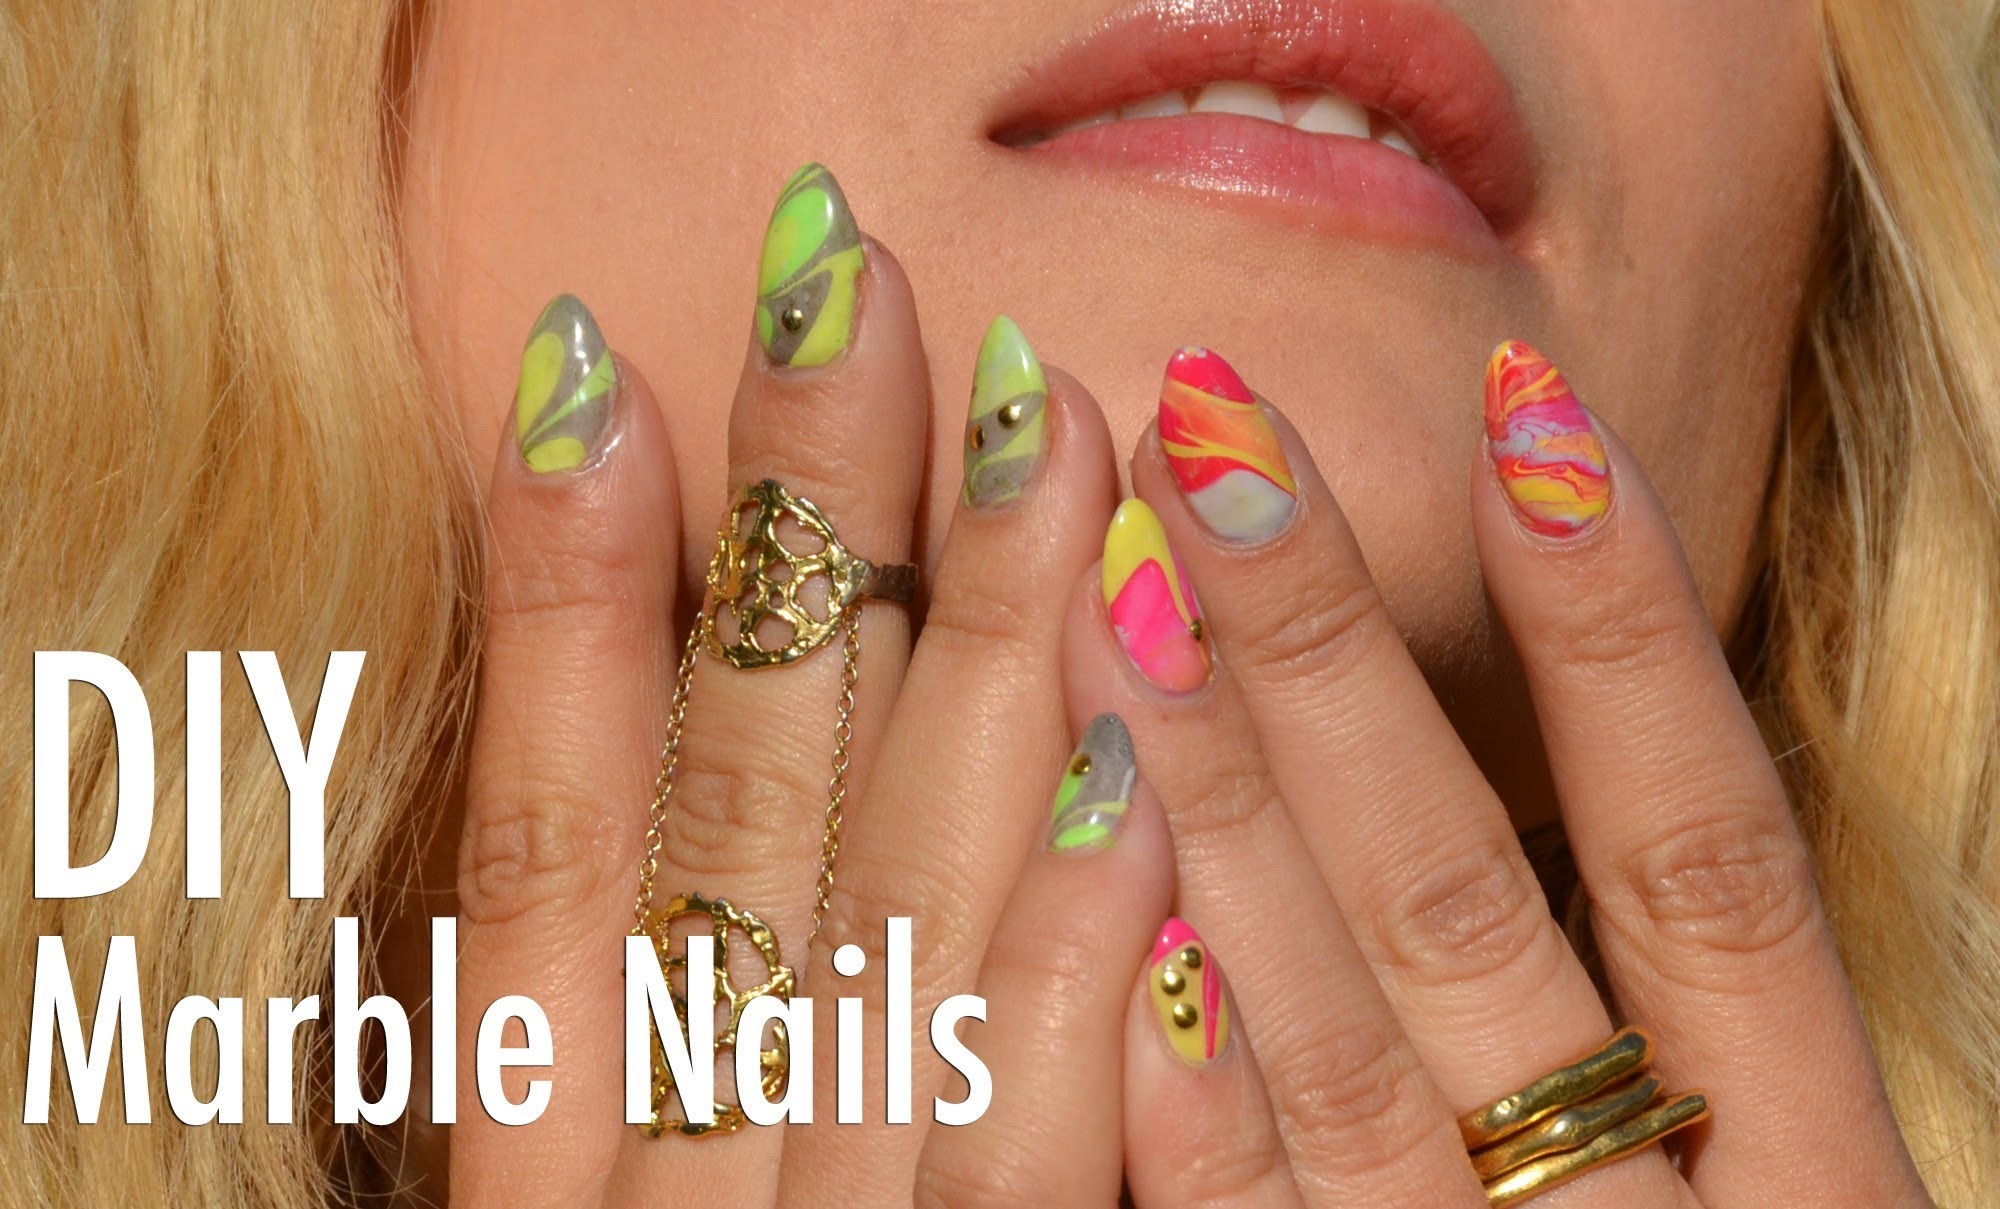
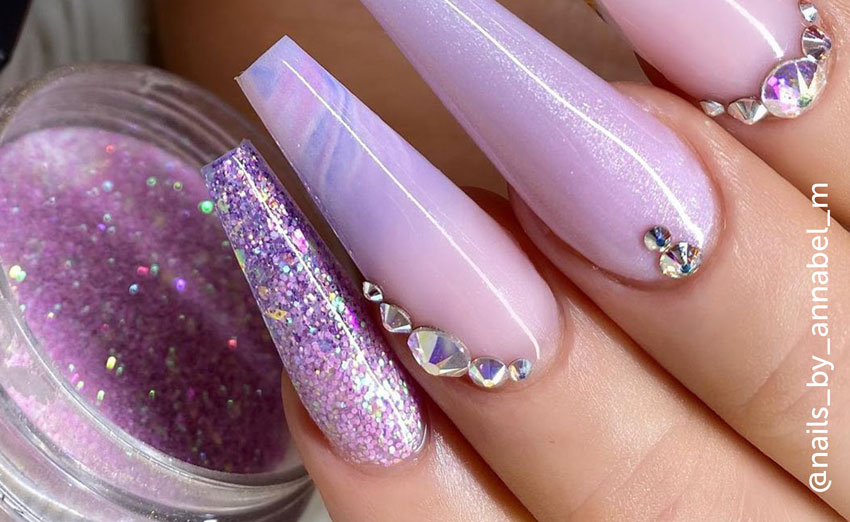
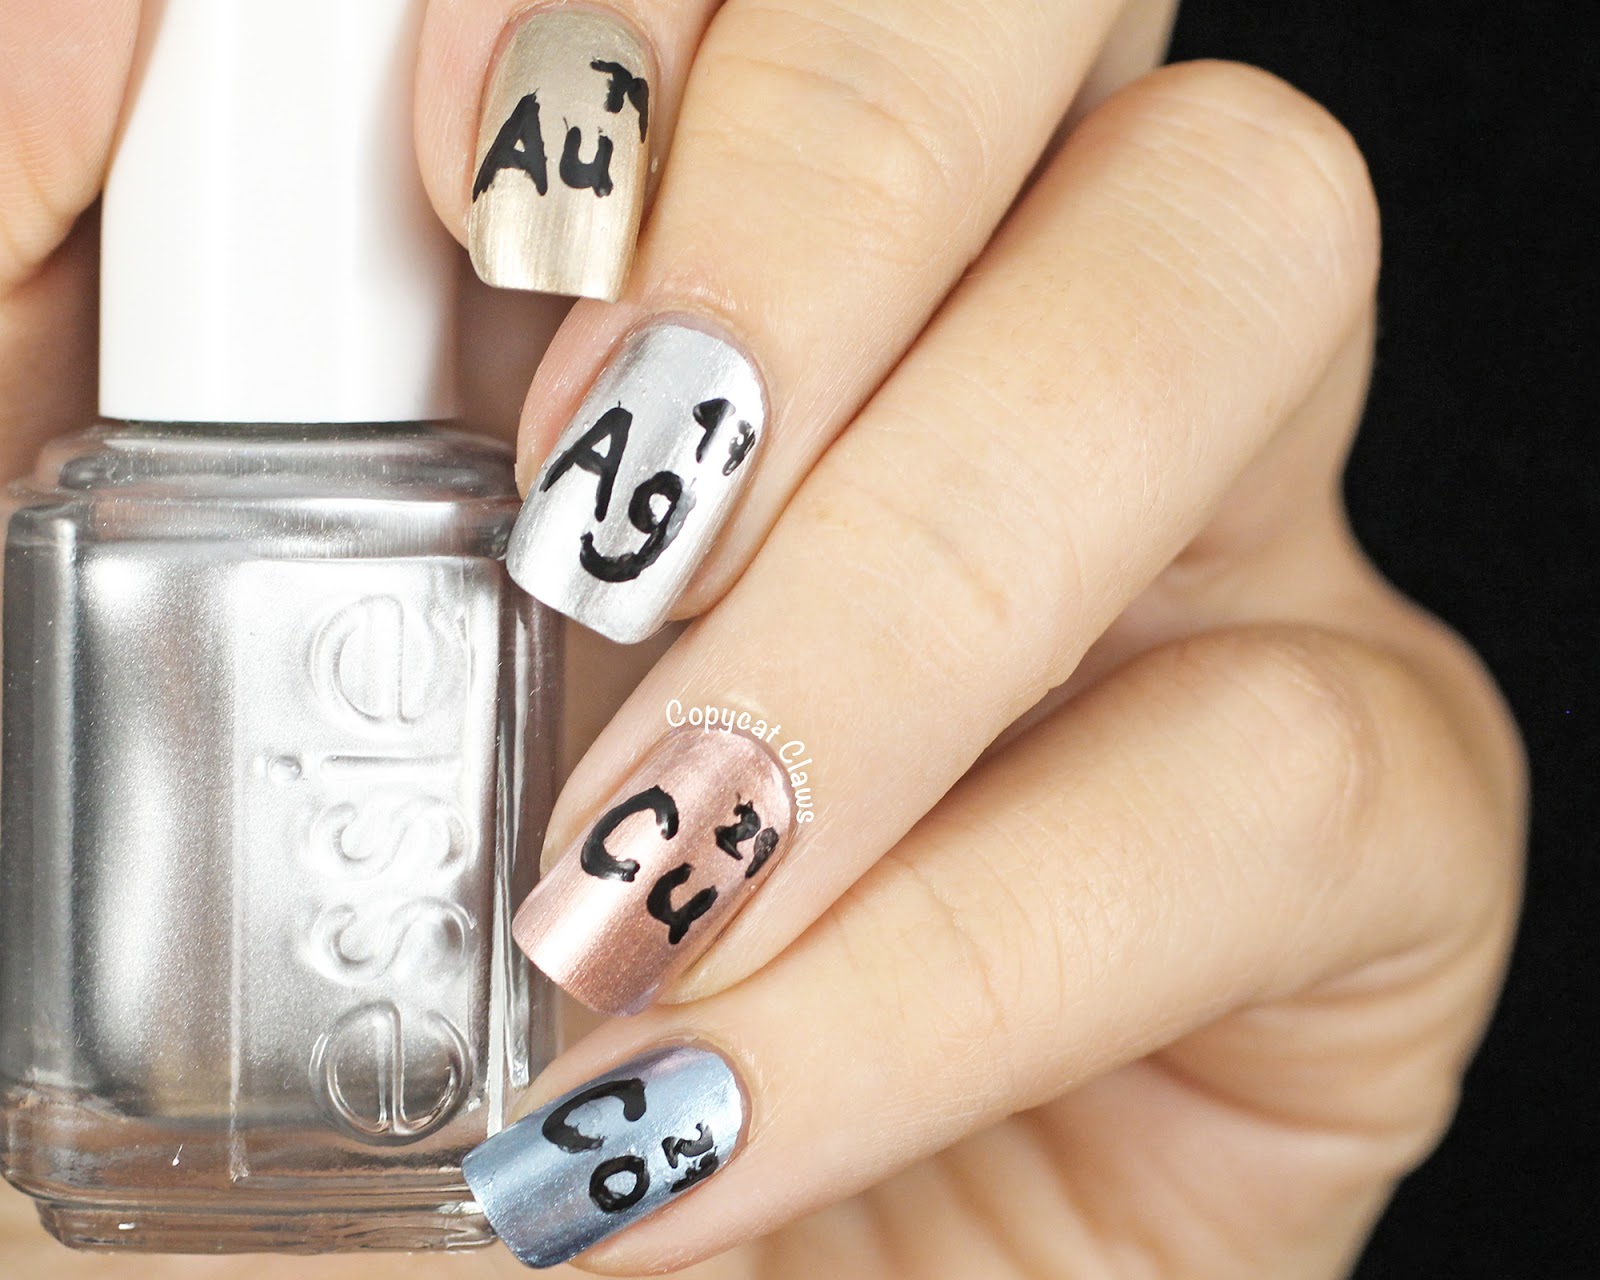
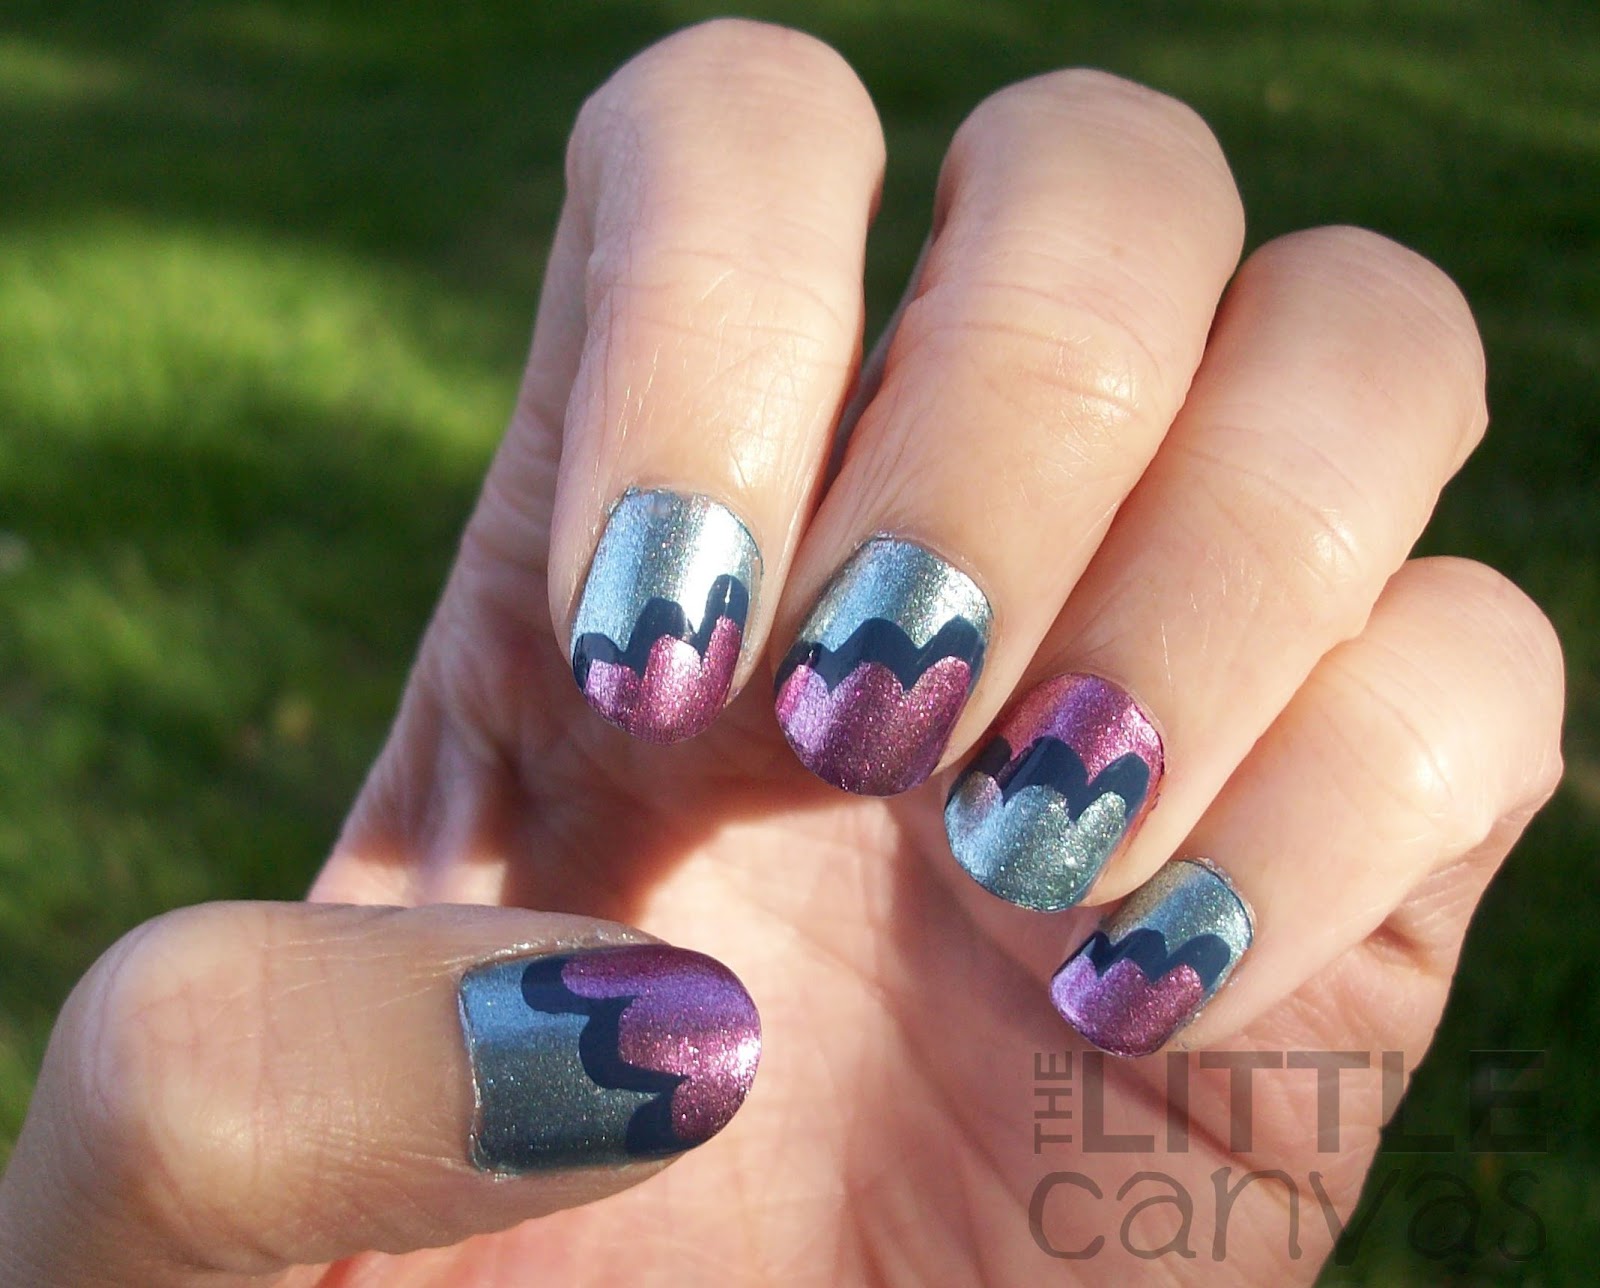
If you're looking for some inspiration for your next metallic manicure, look no further. Here are 10 stunning designs to try. 1. Metallic French Tips: Add a twist to the classic French manicure by using metallic shades for the tips. 2. Half Moon Metallic: Create a half moon design with metallic shades for a modern and edgy look. 3. Metallic Marble: Use a sponge to create a marbled effect with different metallic shades. 4. Metallic Stripes: Create thin stripes with metallic shades for a chic and minimalist design. 5. Metallic Foil: Use foil transfer sheets to create a bold and eye-catching metallic design. 6. Metallic Polka Dots: Add a touch of fun to your metallic manicure with polka dot accents. 7. Metallic Floral: Use a thin brush to create delicate floral designs with metallic shades. 8. Geometric Metallic: Create bold geometric shapes with metallic shades for a modern and trendy look. 9. Metallic Ombre: Blend different metallic shades together for a beautiful ombre effect. 10. Glittery Metallic: Add some sparkle to your metallic mani by layering glitter polish on top.3. "10 Stunning Metallic Nail Art Designs to Try"


3. "10 Stunning Metallic Nail Art Designs to Try"


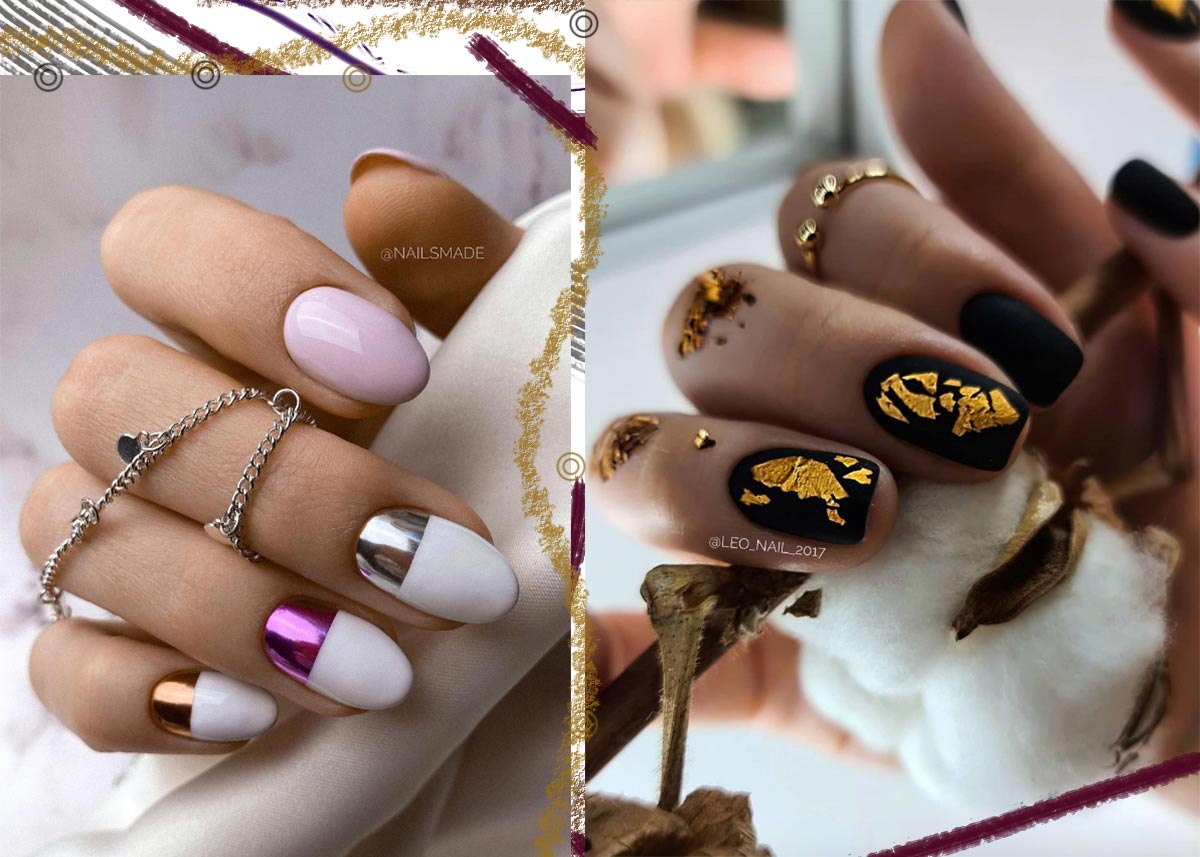
You don't need fancy nail art tools to create a stunning metallic manicure. Here's a tutorial using items you can find around your house. First, start with a base coat to protect your nails and create a smooth surface. Once dry, choose a metallic shade and apply 2 coats for full coverage. Next, take a small piece of aluminum foil and crumple it up. Dip the crumpled foil into a different metallic shade and lightly dab it onto your nails for a textured effect. You can also use a toothpick or bobby pin to create small dots or lines with the foil. Repeat with different shades until you achieve your desired design. Finish off with a top coat to seal in your design and add shine. And there you have it, a unique and budget-friendly metallic manicure using household items.4. "DIY Metallic Nail Art Tutorial Using Household Items"


4. "DIY Metallic Nail Art Tutorial Using Household Items"

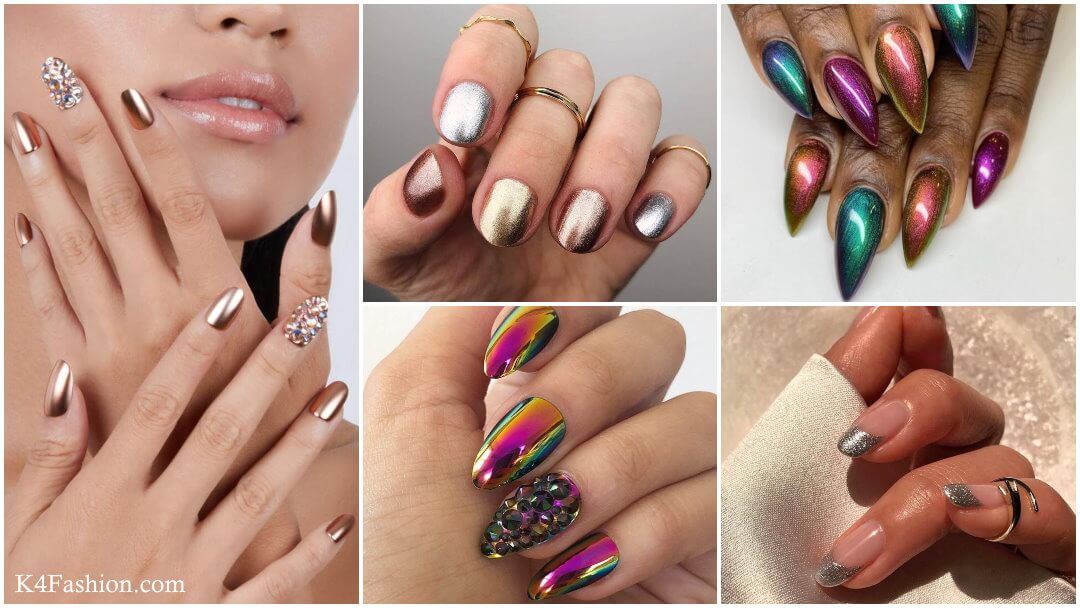
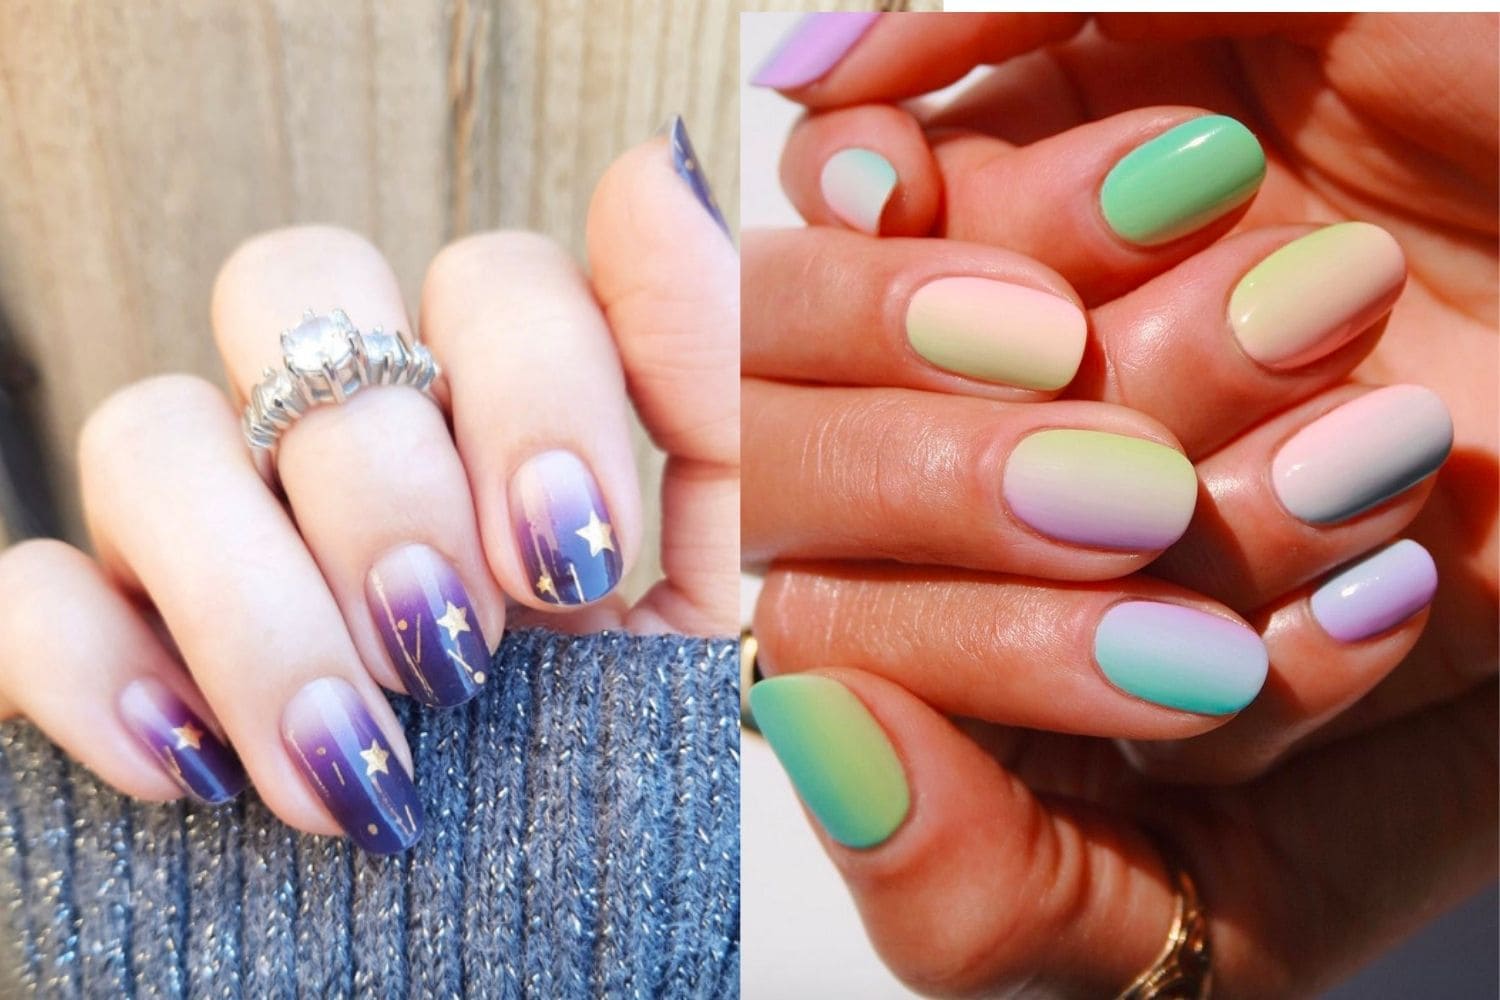
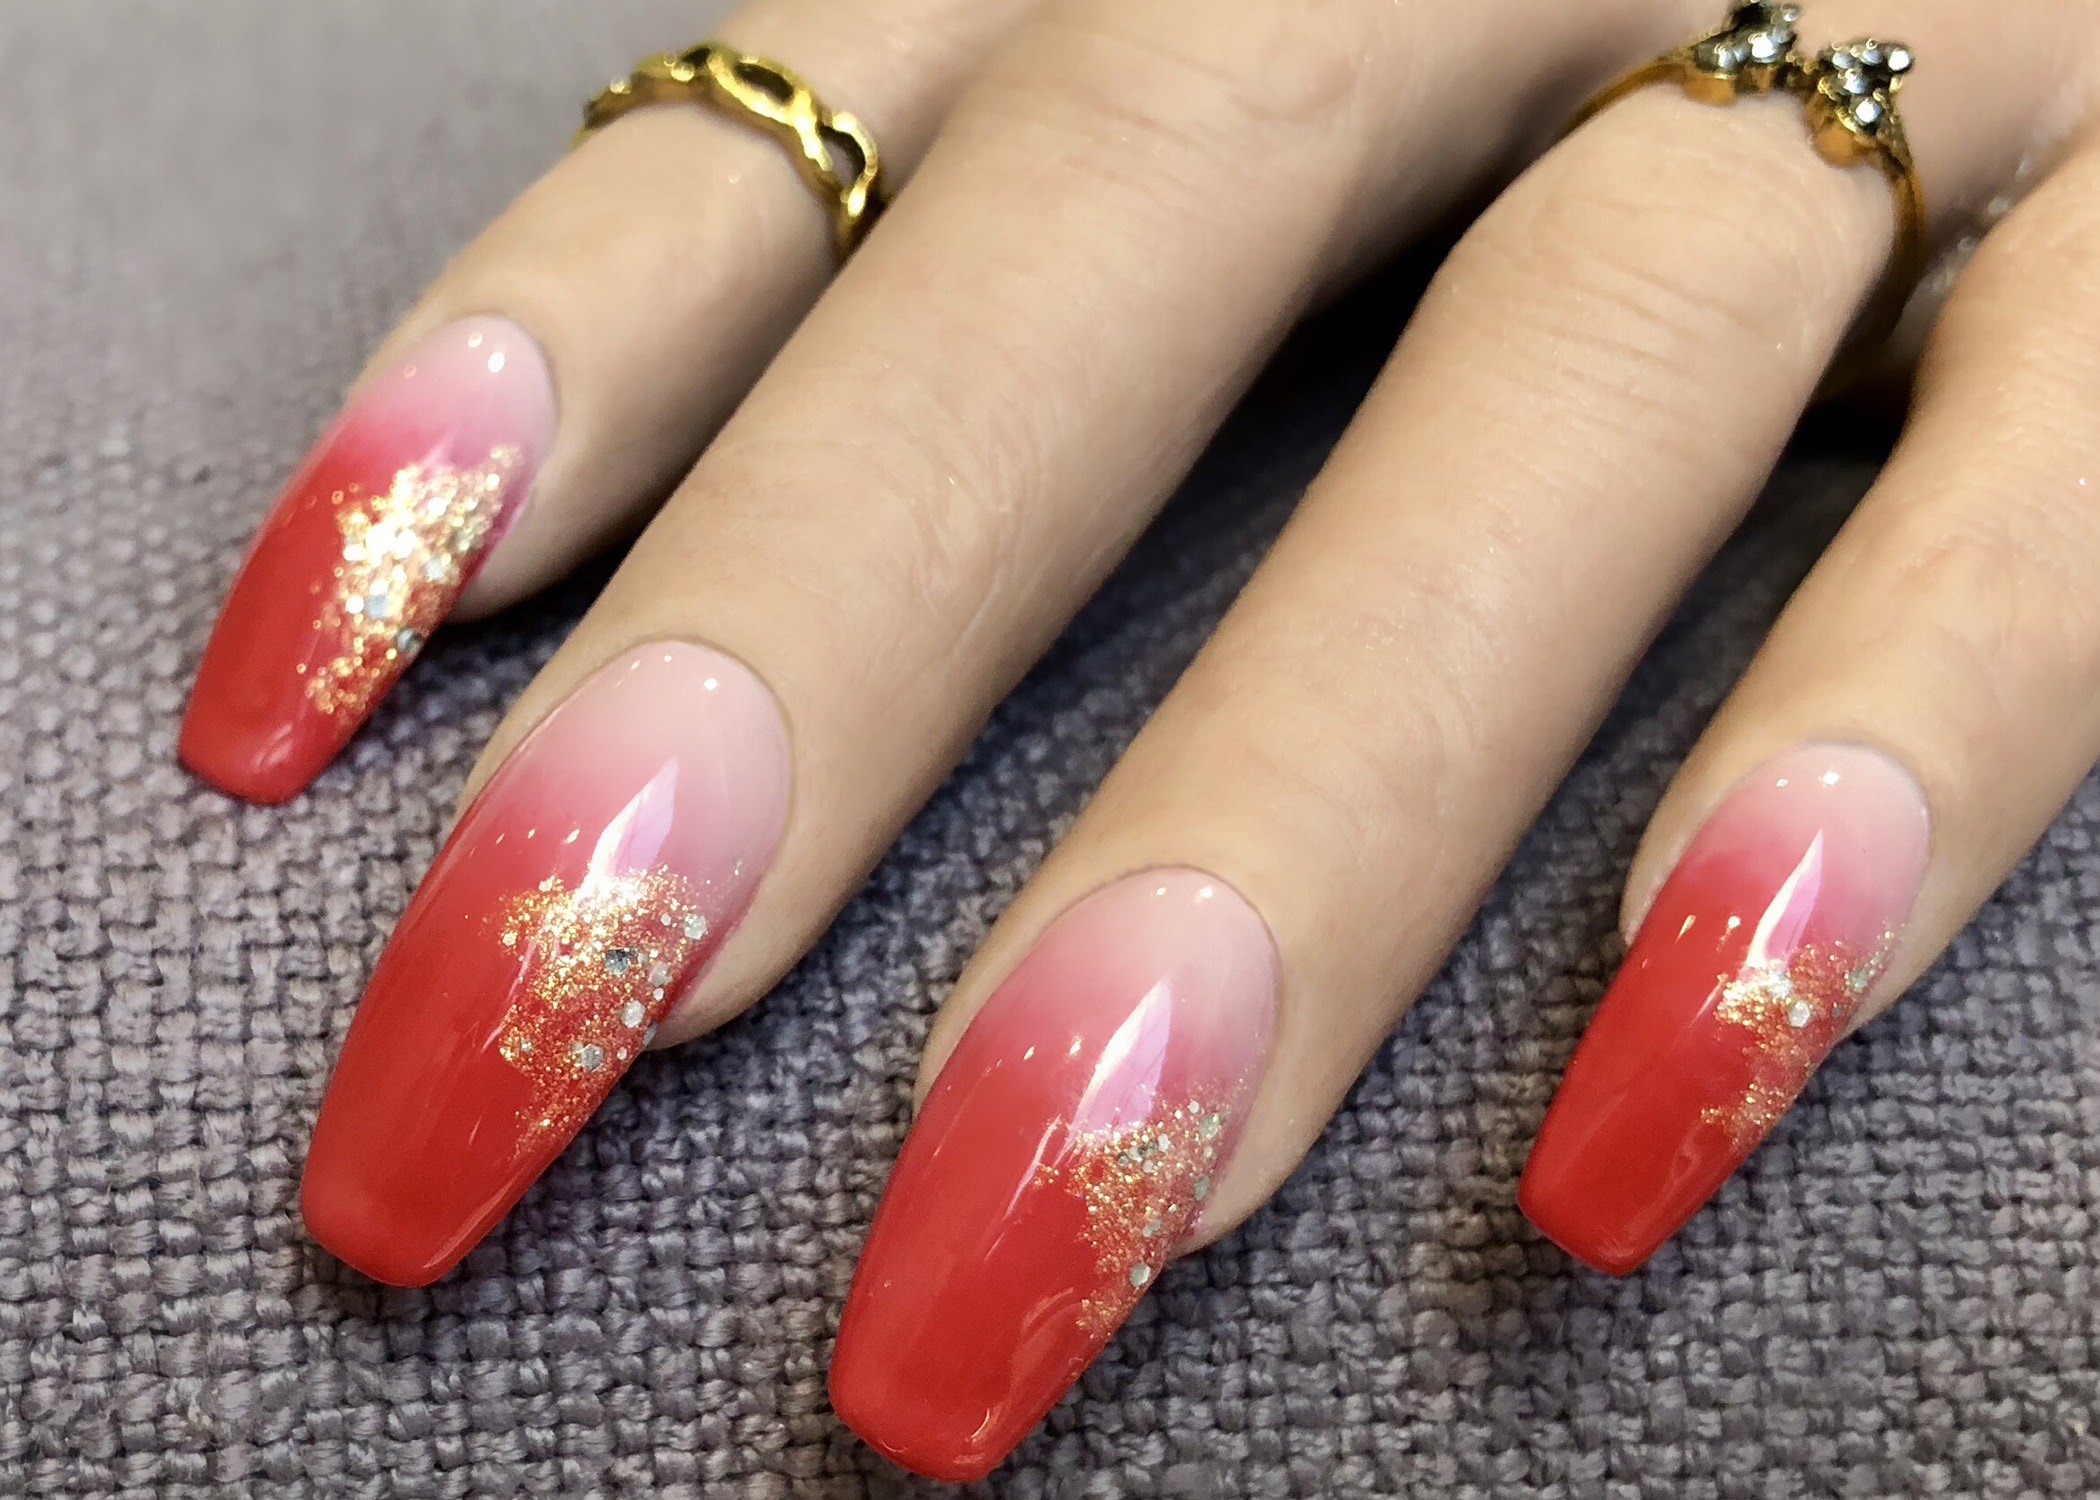
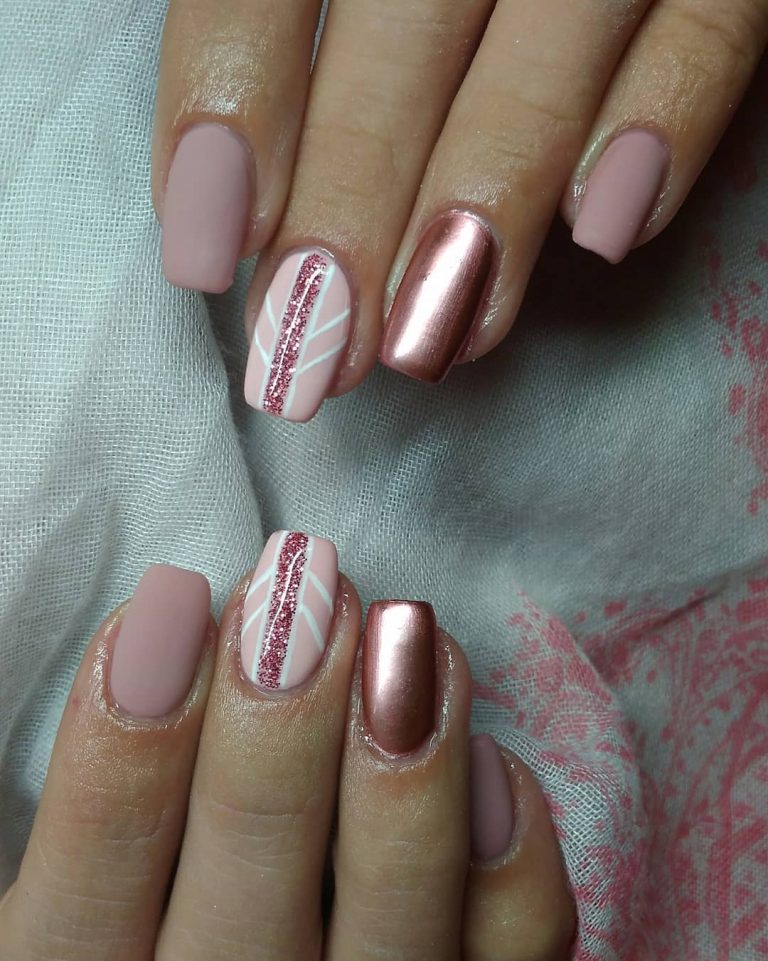
The ombre trend is still going strong, and metallic shades make for a stunning ombre manicure. Here's how to achieve it. Start with a base coat to protect your nails and create a smooth surface. Then, choose 3 metallic shades in the same color family (e.g. silver, gunmetal, and black). Apply the lightest shade as your base color and let it dry completely. Bold tip: You can also use a white polish as your base to make the metallic shades pop even more. Next, use a makeup sponge and paint the 3 metallic shades in a horizontal line next to each other. Dab the sponge onto your nail, starting at the tip and working your way down to create an ombre effect. Repeat on all nails and build up the colors until you achieve your desired look. Finish with a top coat for a smooth and glossy finish.5. "How to Create a Metallic Ombre Nail Art Look"


5. "How to Create a Metallic Ombre Nail Art Look"


Short nails don't have to miss out on the metallic nail art trend. Here's a tutorial specifically for those with shorter nails. Start with a base coat to protect your nails and create a smooth surface. Then, choose a metallic shade and apply 2 coats for full coverage. Next, use a thin brush or toothpick to create small dots or lines with a different metallic shade on top of your base color. Bold tip: For shorter nails, it's best to keep the design simple and not too busy. Alternatively, you can also opt for a metallic accent nail by using a different metallic shade on one nail and keeping the rest a solid color. Finish off with a top coat for shine and long-lasting wear. Short nails can still make a statement with metallic nail art!6. "Metallic Nail Art Tutorial for Short Nails"


6. "Metallic Nail Art Tutorial for Short Nails"


If you're someone who likes to change up your nail look often, here are 5 easy ways to incorporate metallic nail art into your everyday style. 1. Metallic Accent Nail: As mentioned before, you can create a simple yet eye-catching look by using a different metallic shade on one nail as an accent. 2. Metallic Tips: Instead of a French manicure, try using metallic shades for the tips of your nails for a modern twist. 3. Metallic Half Moon: Give your classic half moon design a metallic upgrade by using metallic shades instead of regular polish. 4. Metallic Stripes: Create thin stripes with metallic shades for a subtle yet chic look. 5. Metallic Nail Art Stickers: For a quick and easy way to add metallic accents to your nails, try using nail art stickers or decals.7. "5 Easy Ways to Incorporate Metallic Nail Art into Your Look"


7. "5 Easy Ways to Incorporate Metallic Nail Art into Your Look"


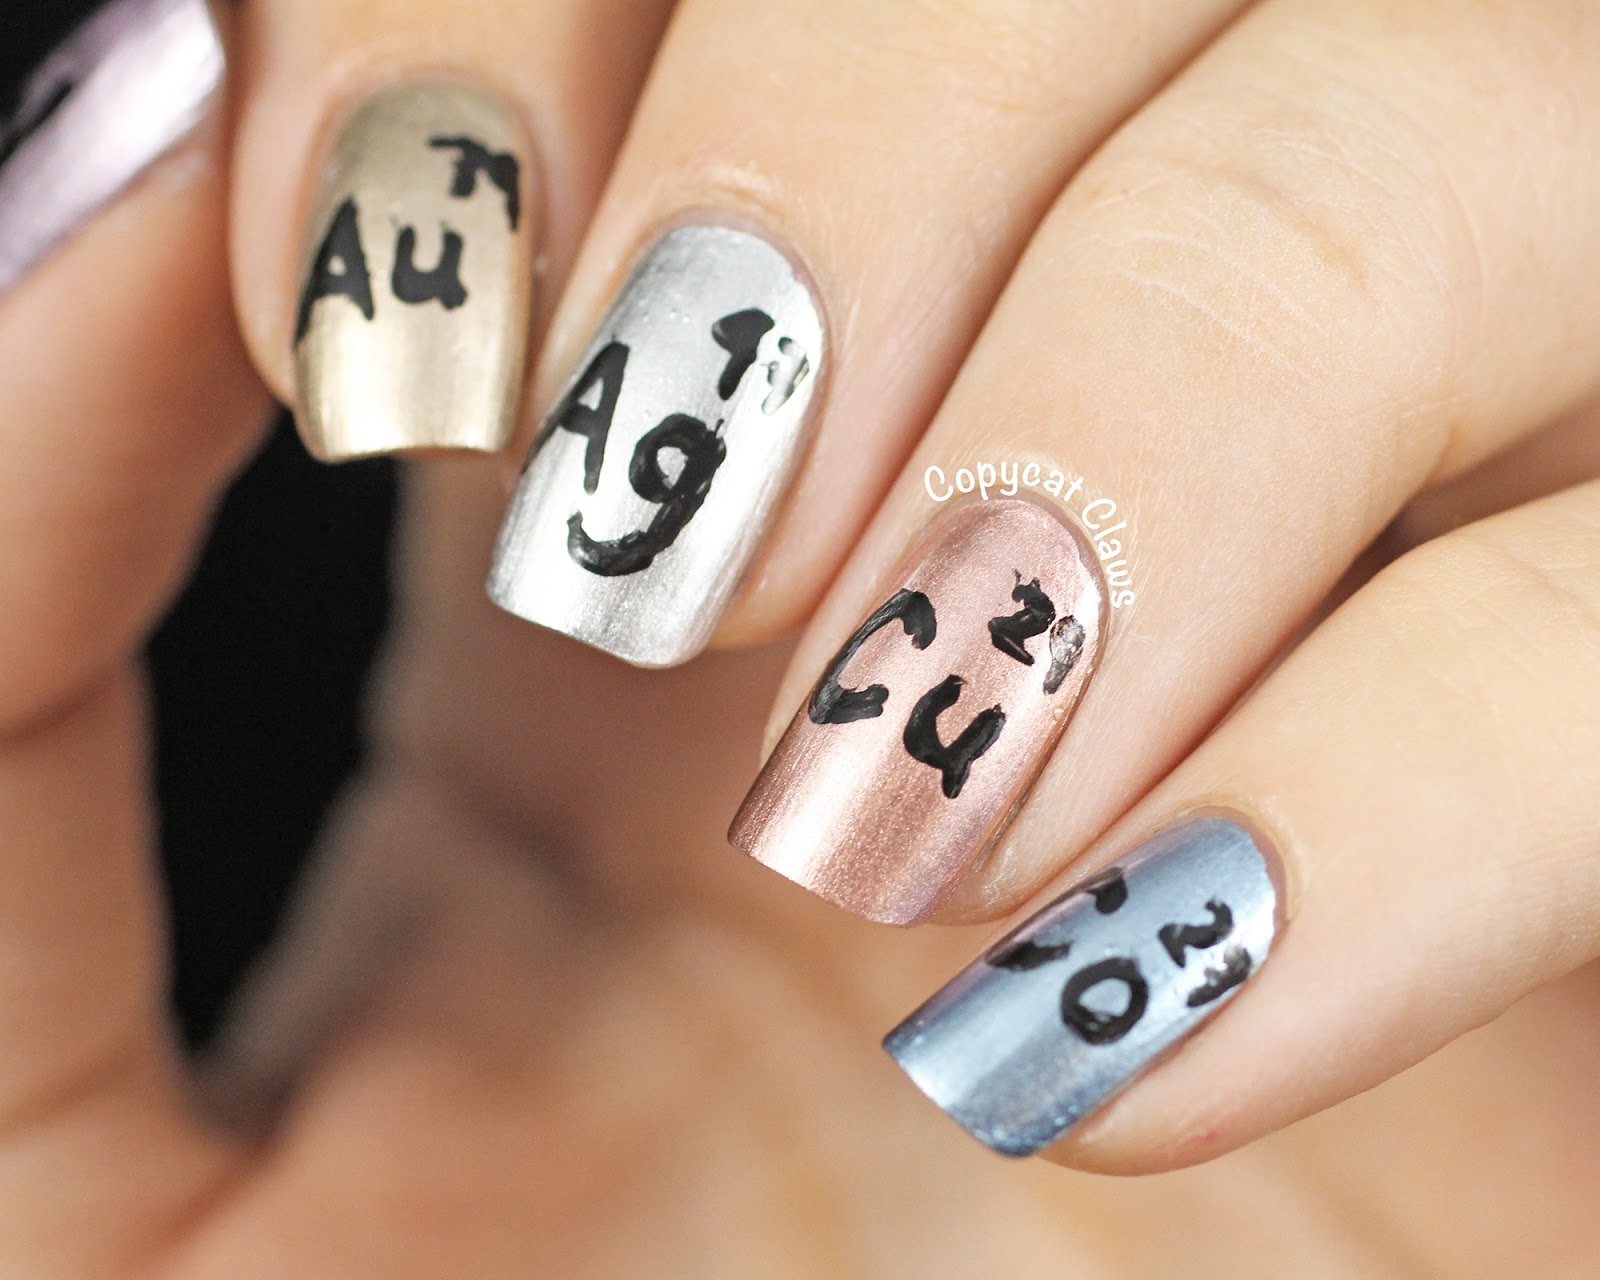
Rose gold is a popular color for not only jewelry but also nails. Here's a tutorial on how to create a beautiful rose gold metallic manicure. Start with a base coat to protect your nails and create a smooth surface. Then, choose a rose gold metallic shade and apply 2 coats for full coverage. Next, use a thin brush or toothpick to create small dots or lines with a different metallic shade on top of your base color. For a true rose gold effect, opt for a copper or bronze metallic shade. Finally, seal in your design with a top coat for a glossy finish. You'll have a stunning rose gold manicure that's perfect for any occasion.8. "Rose Gold Metallic Nail Art Tutorial"
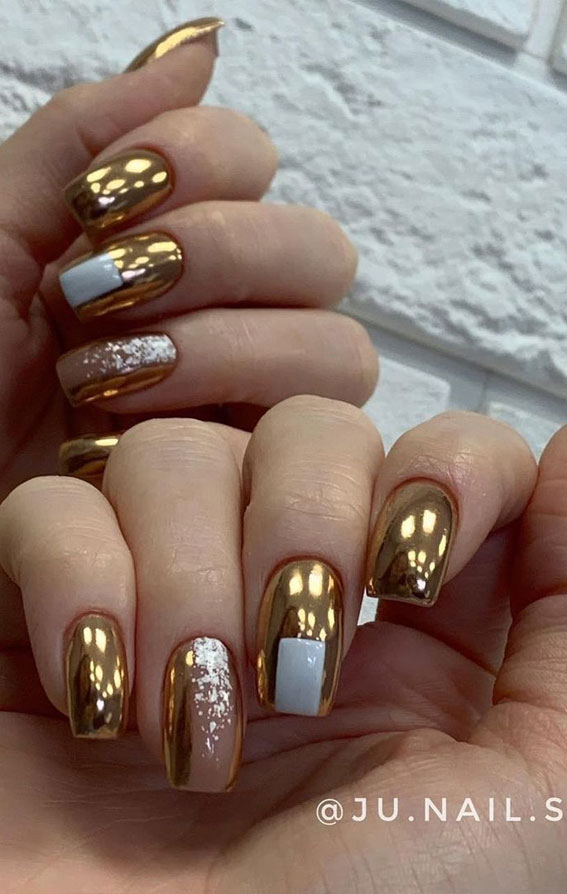

8. "Rose Gold Metallic Nail Art Tutorial"

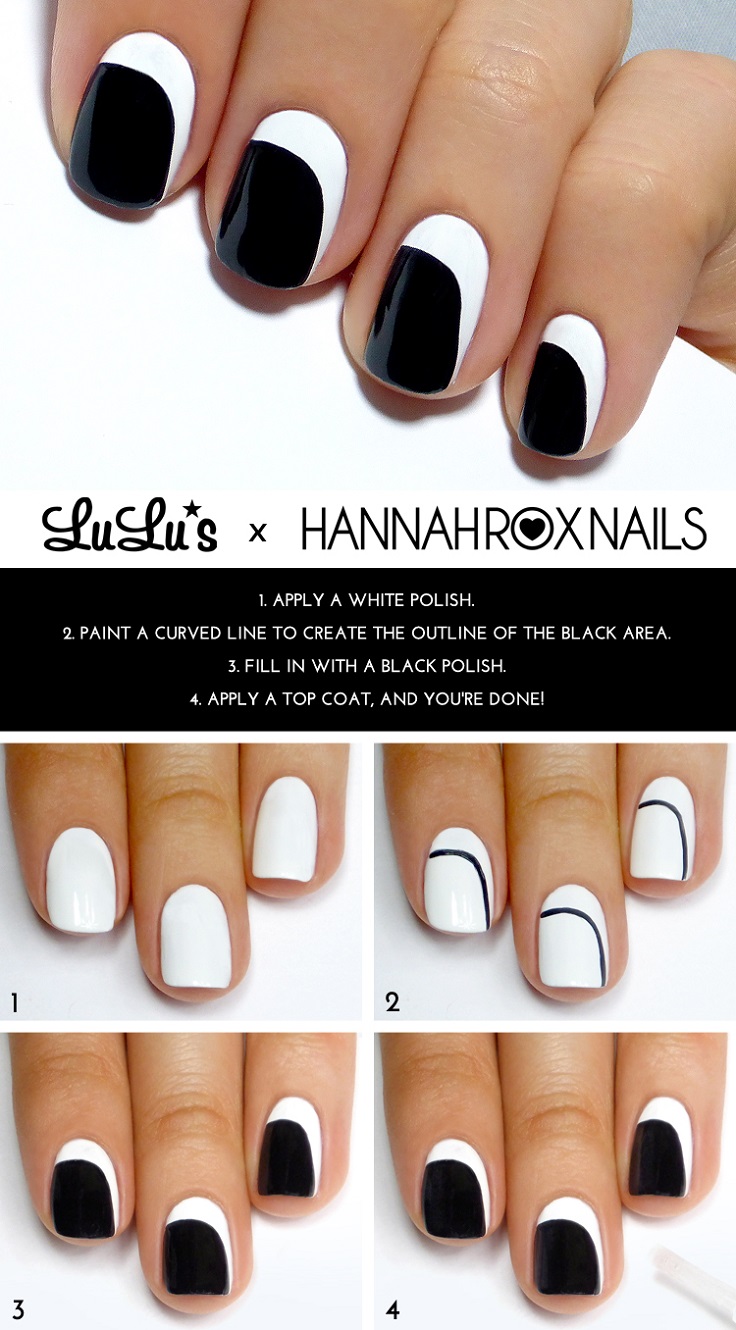
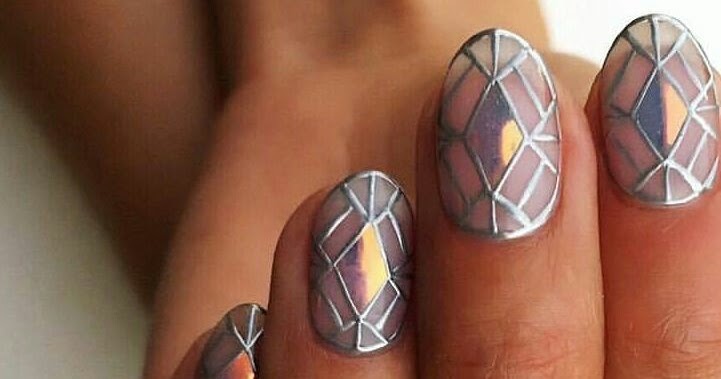
If you're a fan of bold and graphic designs, this geometric metallic nail art tutorial is for you. Start with a base coat to protect your nails and create a smooth surface. Then, choose 2-3 metallic shades in different colors. Using a striping brush or tape, create geometric shapes and lines on your nails with the metallic shades. You can alternate between colors or keep it monochromatic with just one shade. Once you've created your design, seal it in with a top coat for a glossy finish. This edgy and modern metallic look is sure to turn heads.9. "Geometric Metallic Nail Art Tutorial"


9. "Geometric Metallic Nail Art Tutorial"
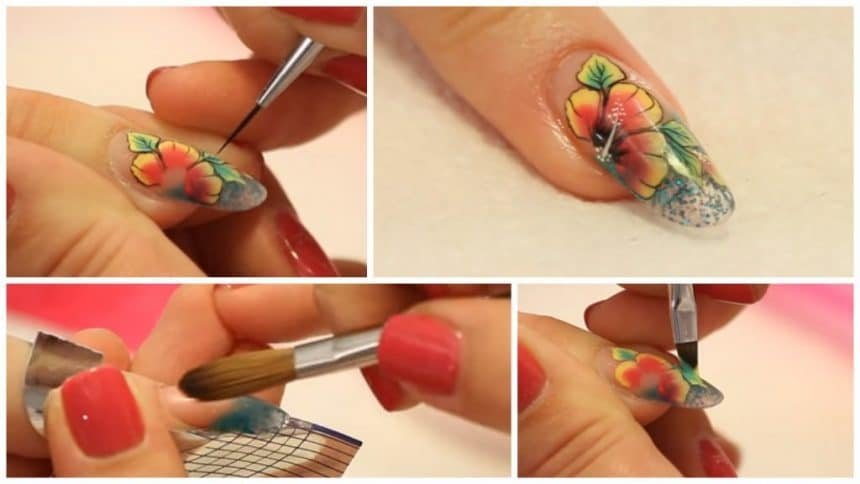
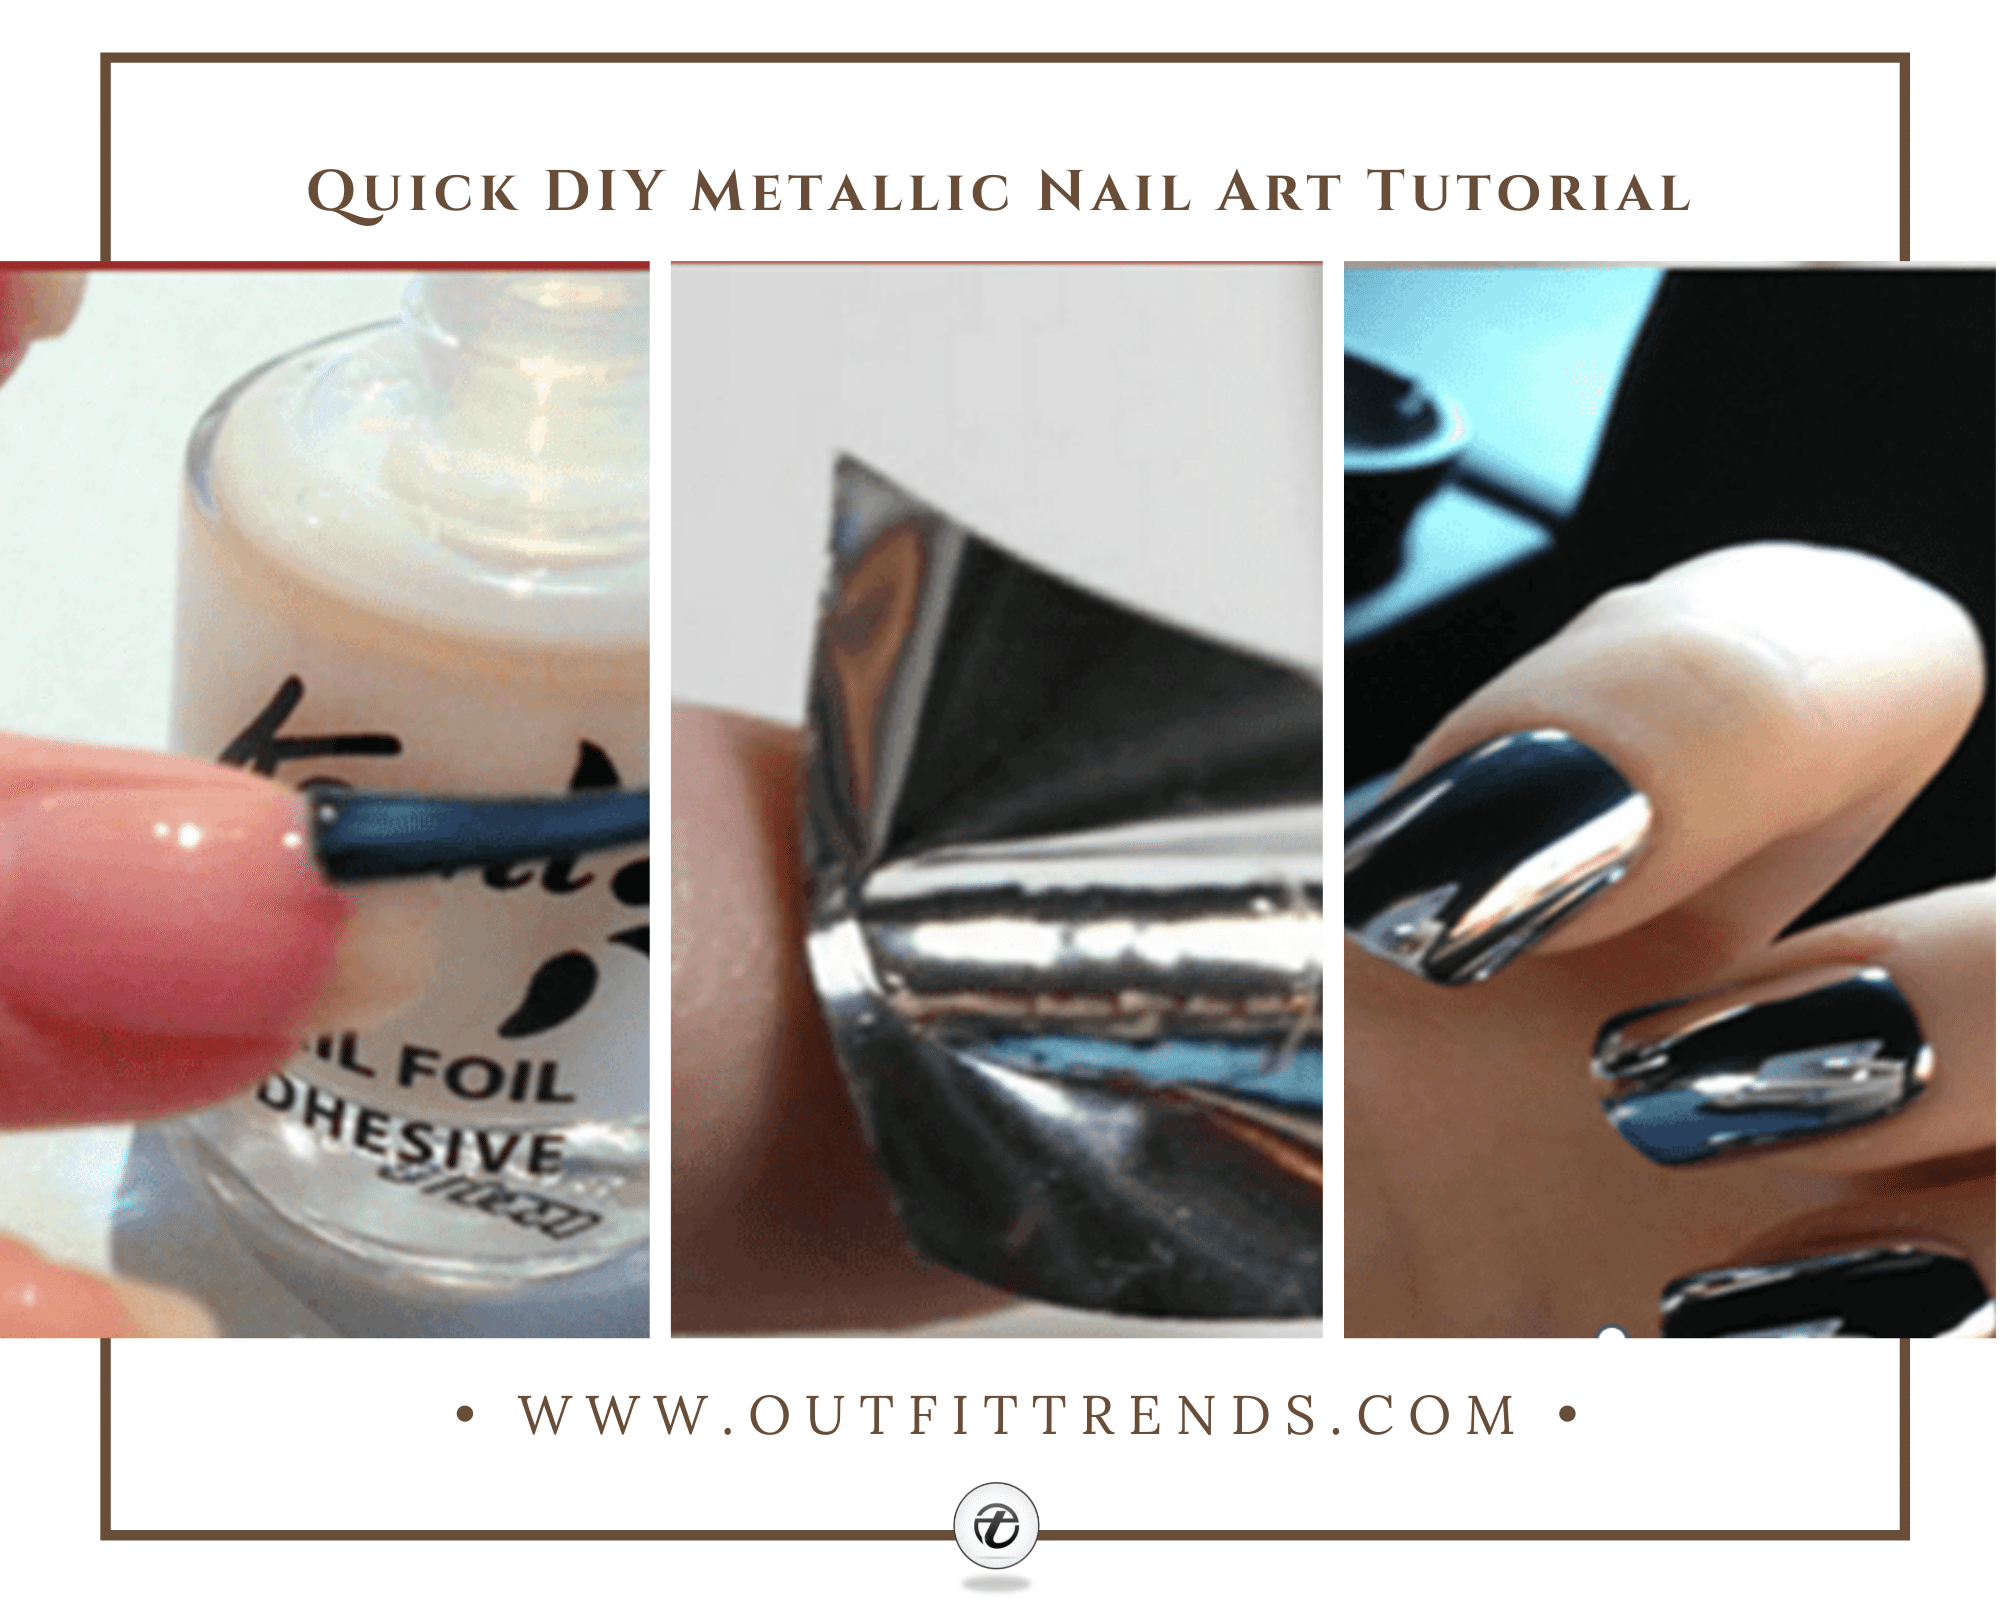
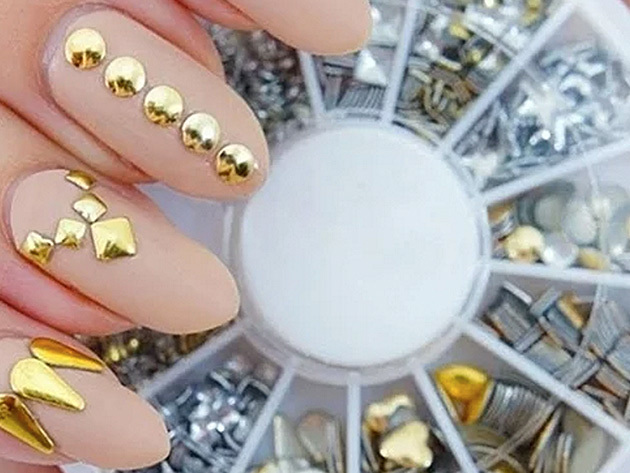
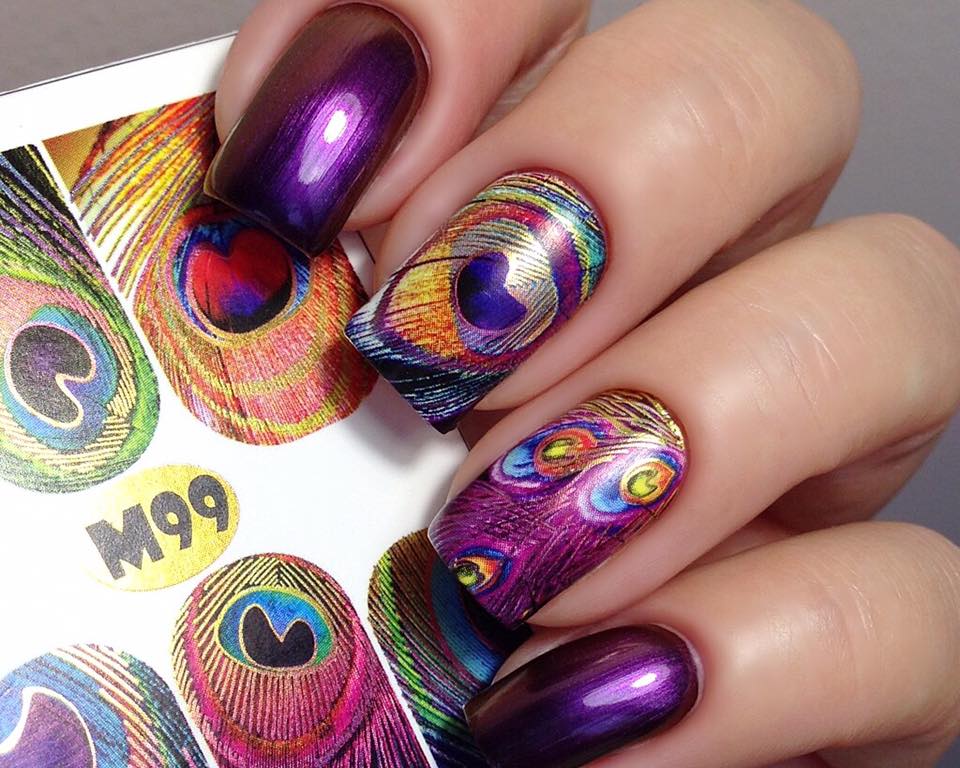
Foil transfer is a fun and easy way to create metallic nail art. Here's a tutorial on how to achieve this look. Start with a base coat to protect your nails and create a smooth surface. Then, choose a metallic shade and apply 2 coats for full coverage. Next, cut small pieces of foil transfer sheets and place them onto your nails, gently pressing down. Bold tip: You can also use tweezers to make this process easier. Once you've covered your nails with foil, seal it in with a top coat for a glossy finish. You'll have a unique and eye-catching metallic manicure that's sure to impress.10. "Foil Transfer Metallic Nail Art Tutorial"


10. "Foil Transfer Metallic Nail Art Tutorial"

The Rise of Metallic Nail Art: A Creative Addition to Your House Design

What is Metallic Nail Art?
 Metallic nail art
is a popular trend in the world of
nail design
that involves the use of metallic elements such as foil, glitter, and chrome powder to create unique and eye-catching designs on the nails. This trend has gained immense popularity in recent years, with many people incorporating it into their
house design
to add a touch of sparkle and sophistication.
Metallic nail art
is a popular trend in the world of
nail design
that involves the use of metallic elements such as foil, glitter, and chrome powder to create unique and eye-catching designs on the nails. This trend has gained immense popularity in recent years, with many people incorporating it into their
house design
to add a touch of sparkle and sophistication.
How to Achieve Metallic Nail Art
 Creating
metallic nail art
may seem intimidating at first, but with the right tutorials and tools, anyone can achieve stunning results. The first step is to choose a base color for your nails, which could be a solid color or a gradient of two or more colors. Then, using a special adhesive or top coat, apply the metallic element of your choice onto the nails. This could be a thin layer of foil, a sprinkle of glitter, or a dusting of chrome powder. The possibilities are endless, and you can mix and match different elements to create unique designs.
Creating
metallic nail art
may seem intimidating at first, but with the right tutorials and tools, anyone can achieve stunning results. The first step is to choose a base color for your nails, which could be a solid color or a gradient of two or more colors. Then, using a special adhesive or top coat, apply the metallic element of your choice onto the nails. This could be a thin layer of foil, a sprinkle of glitter, or a dusting of chrome powder. The possibilities are endless, and you can mix and match different elements to create unique designs.
Why Metallic Nail Art is the Perfect Addition to Your House Design
 Incorporating
metallic nail art
into your
house design
is a creative way to add a touch of glamour and personality to your living space. Whether you choose to display your metallic nails as wall art or use them as coasters or decorative pieces, they are sure to make a statement and add a unique touch to your home. You can also coordinate the colors and designs of your metallic nails with your existing decor to create a cohesive look.
Incorporating
metallic nail art
into your
house design
is a creative way to add a touch of glamour and personality to your living space. Whether you choose to display your metallic nails as wall art or use them as coasters or decorative pieces, they are sure to make a statement and add a unique touch to your home. You can also coordinate the colors and designs of your metallic nails with your existing decor to create a cohesive look.
Final Thoughts
 In conclusion,
metallic nail art
is a fun and creative addition to your
house design
. With a wide range of tutorials and techniques available, anyone can achieve stunning metallic nails and incorporate them into their home decor. So why not try out this trend and add a touch of sparkle and personality to your living space?
In conclusion,
metallic nail art
is a fun and creative addition to your
house design
. With a wide range of tutorials and techniques available, anyone can achieve stunning metallic nails and incorporate them into their home decor. So why not try out this trend and add a touch of sparkle and personality to your living space?


