Are you a Disney fan and looking for a fun and creative way to show your love for Mickey Mouse? Look no further than Disney Mickey Mouse Ears Nail Art! This trend has taken the nail art world by storm, with endless designs and variations to choose from. Whether you're heading to the theme parks or just want to add a touch of Disney magic to your everyday look, these nail art designs are perfect for any Disney lover.Disney Mickey Mouse Ears Nail Art


Disney Mickey Mouse Ears Nail Art


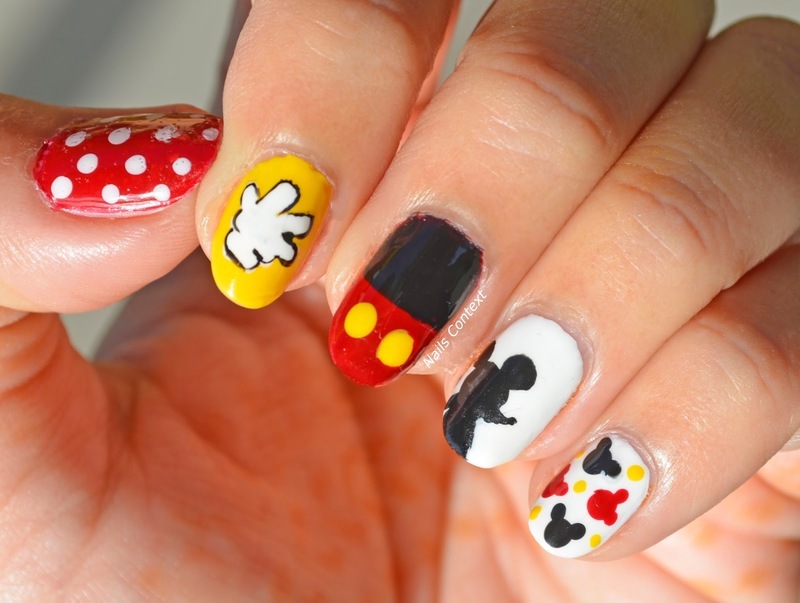
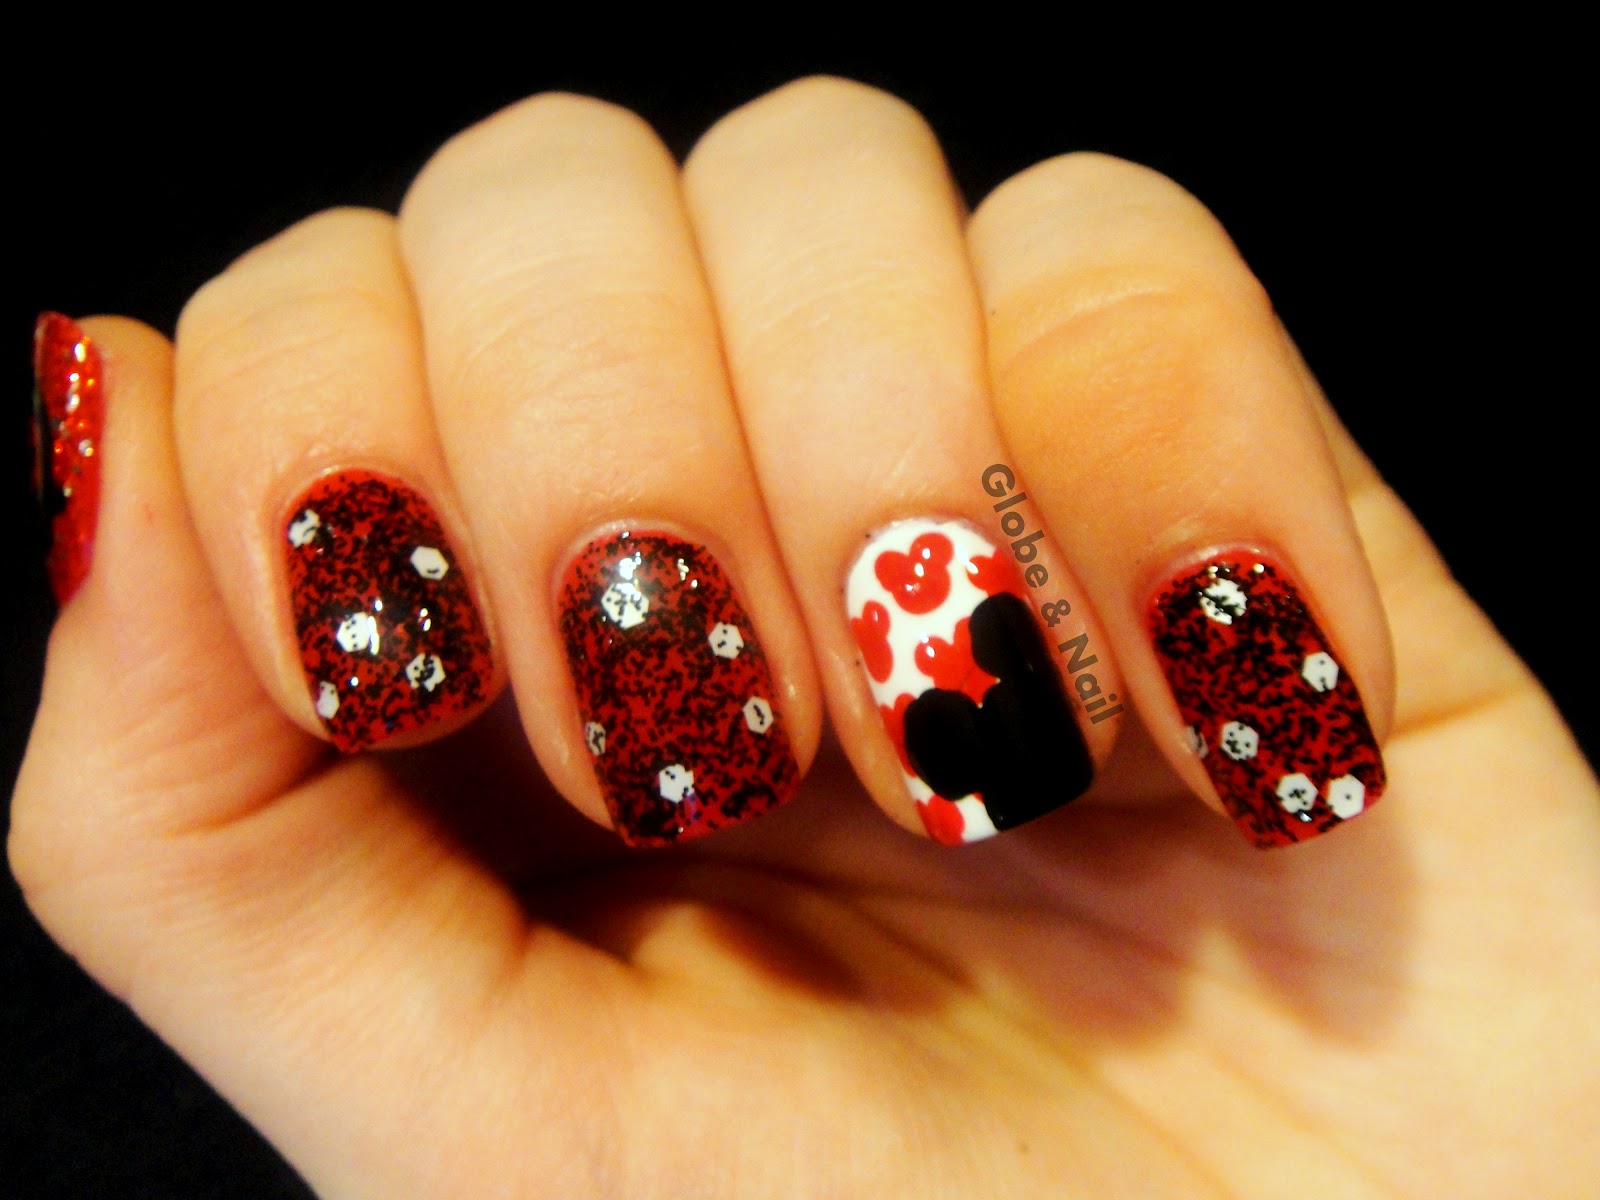
The options for Mickey Mouse nail art designs are endless. From simple and subtle to bold and colorful, there is a design for every Disney fan out there. One popular design is the classic Mickey head silhouette, either in black and white or with a pop of color. Another option is to incorporate other iconic Disney characters or elements, such as Minnie Mouse, Donald Duck, or the iconic castle.Mickey Mouse Nail Art Designs


Mickey Mouse Nail Art Designs


If you're new to nail art or just need some guidance, there are plenty of tutorials available online to help you create the perfect Mickey Mouse nails. Many tutorials include step-by-step instructions and visuals, making it easy for anyone to achieve the look. Some tutorials even include tips and tricks for creating the design with ease.Mickey Mouse Nail Art Tutorial


Mickey Mouse Nail Art Tutorial


For those who don't have the time or skills to create their own Mickey Mouse nail art, there are plenty of nail stickers available to help you achieve the look. These stickers come in a variety of designs and colors, making it easy to find the perfect one for your style. Simply apply the sticker to your nail and seal it with a top coat for long-lasting results.Mickey Mouse Nail Art Stickers


Mickey Mouse Nail Art Stickers

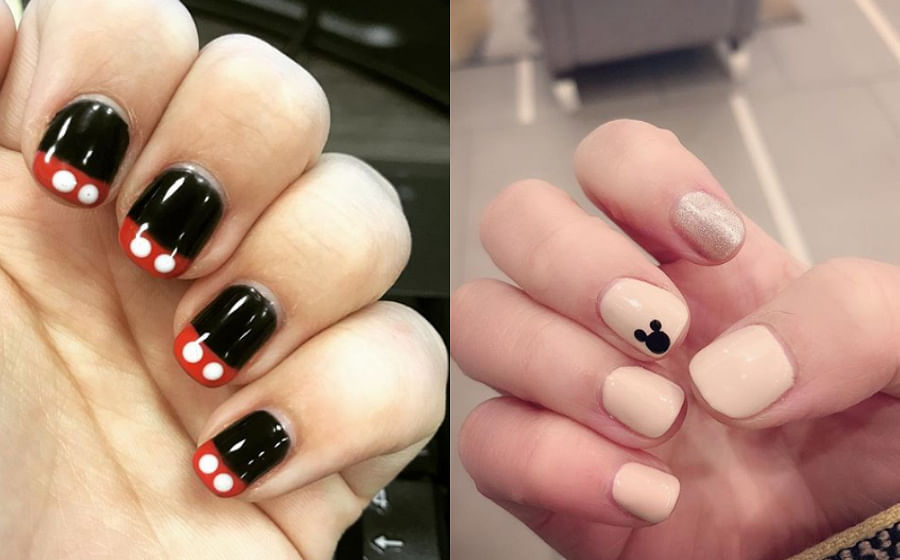
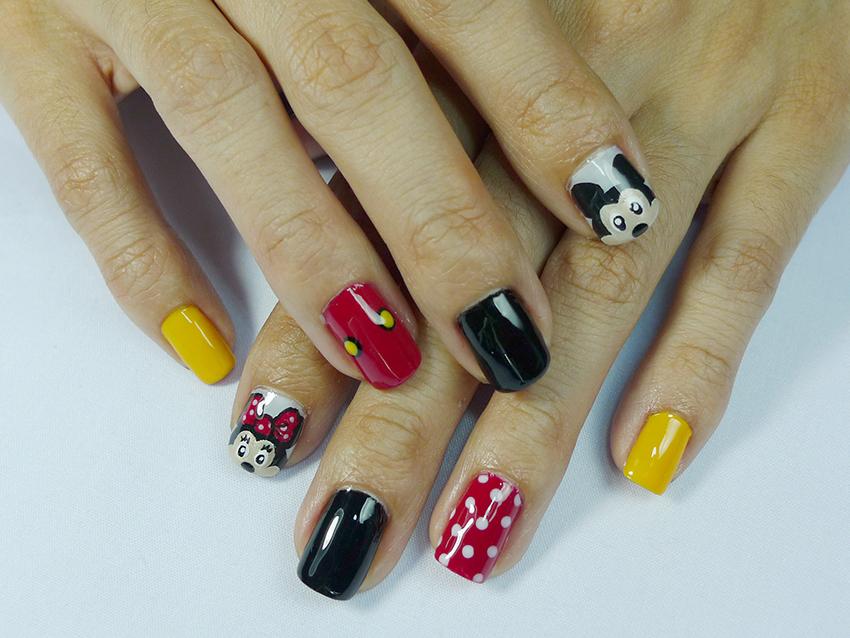
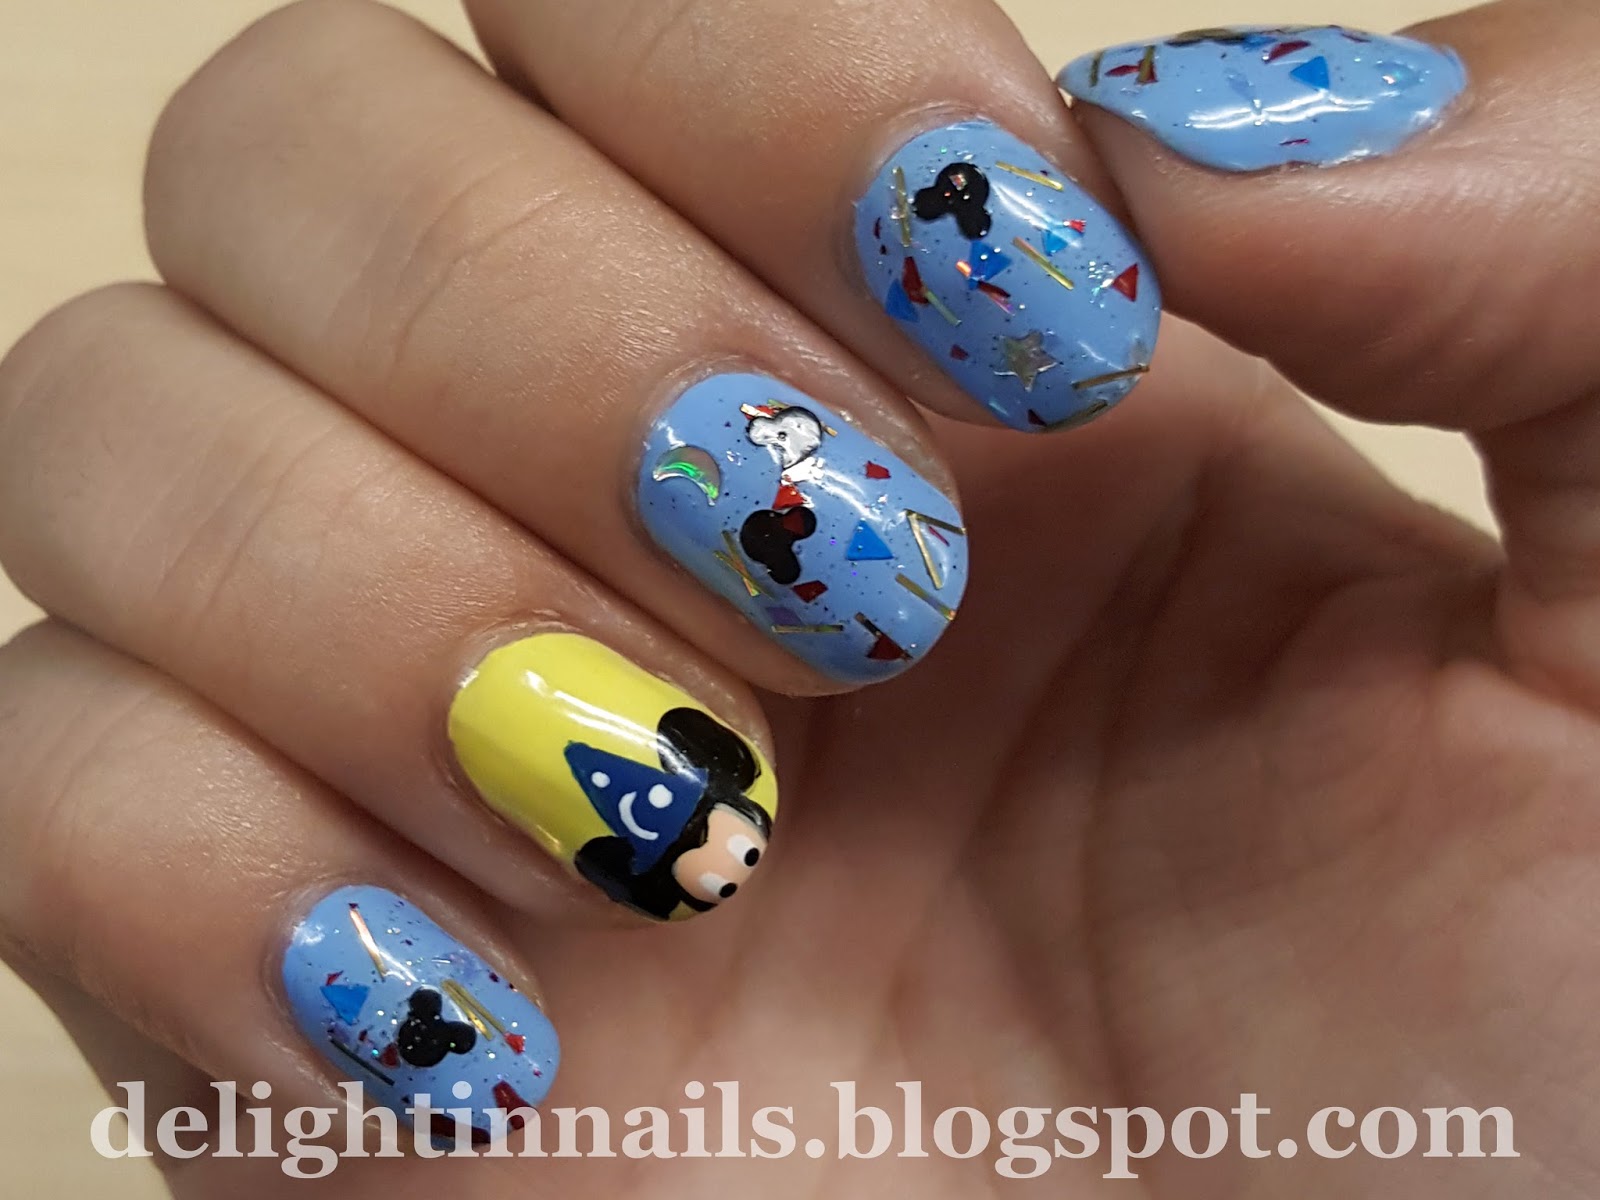
Aside from the classic Mickey head design, there are countless other ideas for Mickey Mouse nail art. You can play around with different colors, patterns, and themes to create a unique and personalized look. For example, you can create a design inspired by a specific Disney movie or character, or even incorporate glitter or rhinestones for some extra sparkle.Mickey Mouse Nail Art Ideas


Mickey Mouse Nail Art Ideas

Similar to stickers, nail art decals are another easy way to achieve the perfect Mickey Mouse nails. These decals come in a variety of designs and can be applied with water or heat. They are also easy to remove, making it easy to switch up your nail art whenever you want.Mickey Mouse Nail Art Decals
Mickey Mouse Nail Art Decals

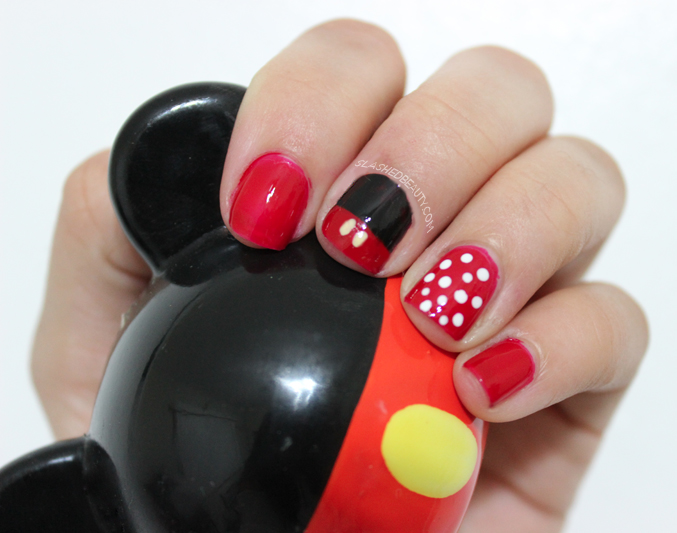
If you're feeling adventurous and want to create your own Mickey Mouse nail art, here is a step-by-step guide to help you out: Step 1: Start by applying a base coat to protect your nails and help the nail polish last longer. Step 2: Once the base coat is dry, apply a coat of white nail polish to all of your nails. Step 3: Using a black nail polish and a thin brush, carefully draw a semi-circle on the tip of your nail to create the Mickey head silhouette. Step 4: Next, draw two small circles on either side of the semi-circle to create Mickey's ears. Step 5: Let the design dry for a few minutes, then apply a top coat to seal in your design.Mickey Mouse Nail Art Step by Step

Mickey Mouse Nail Art Step by Step
If you're in need of some inspiration, a quick search on Google or Pinterest will bring up countless images of Mickey Mouse nail art. You can also check out social media platforms like Instagram, where users often share their own nail art designs and tutorials.Mickey Mouse Nail Art Images

Mickey Mouse Nail Art Images
Pinterest is a great resource for finding and saving Mickey Mouse nail art ideas. You can create a board specifically for Disney nail art and save your favorite designs for future reference. You can also follow nail artists and bloggers who share their own Disney-inspired nail art.Mickey Mouse Nail Art Pinterest

Mickey Mouse Nail Art Pinterest
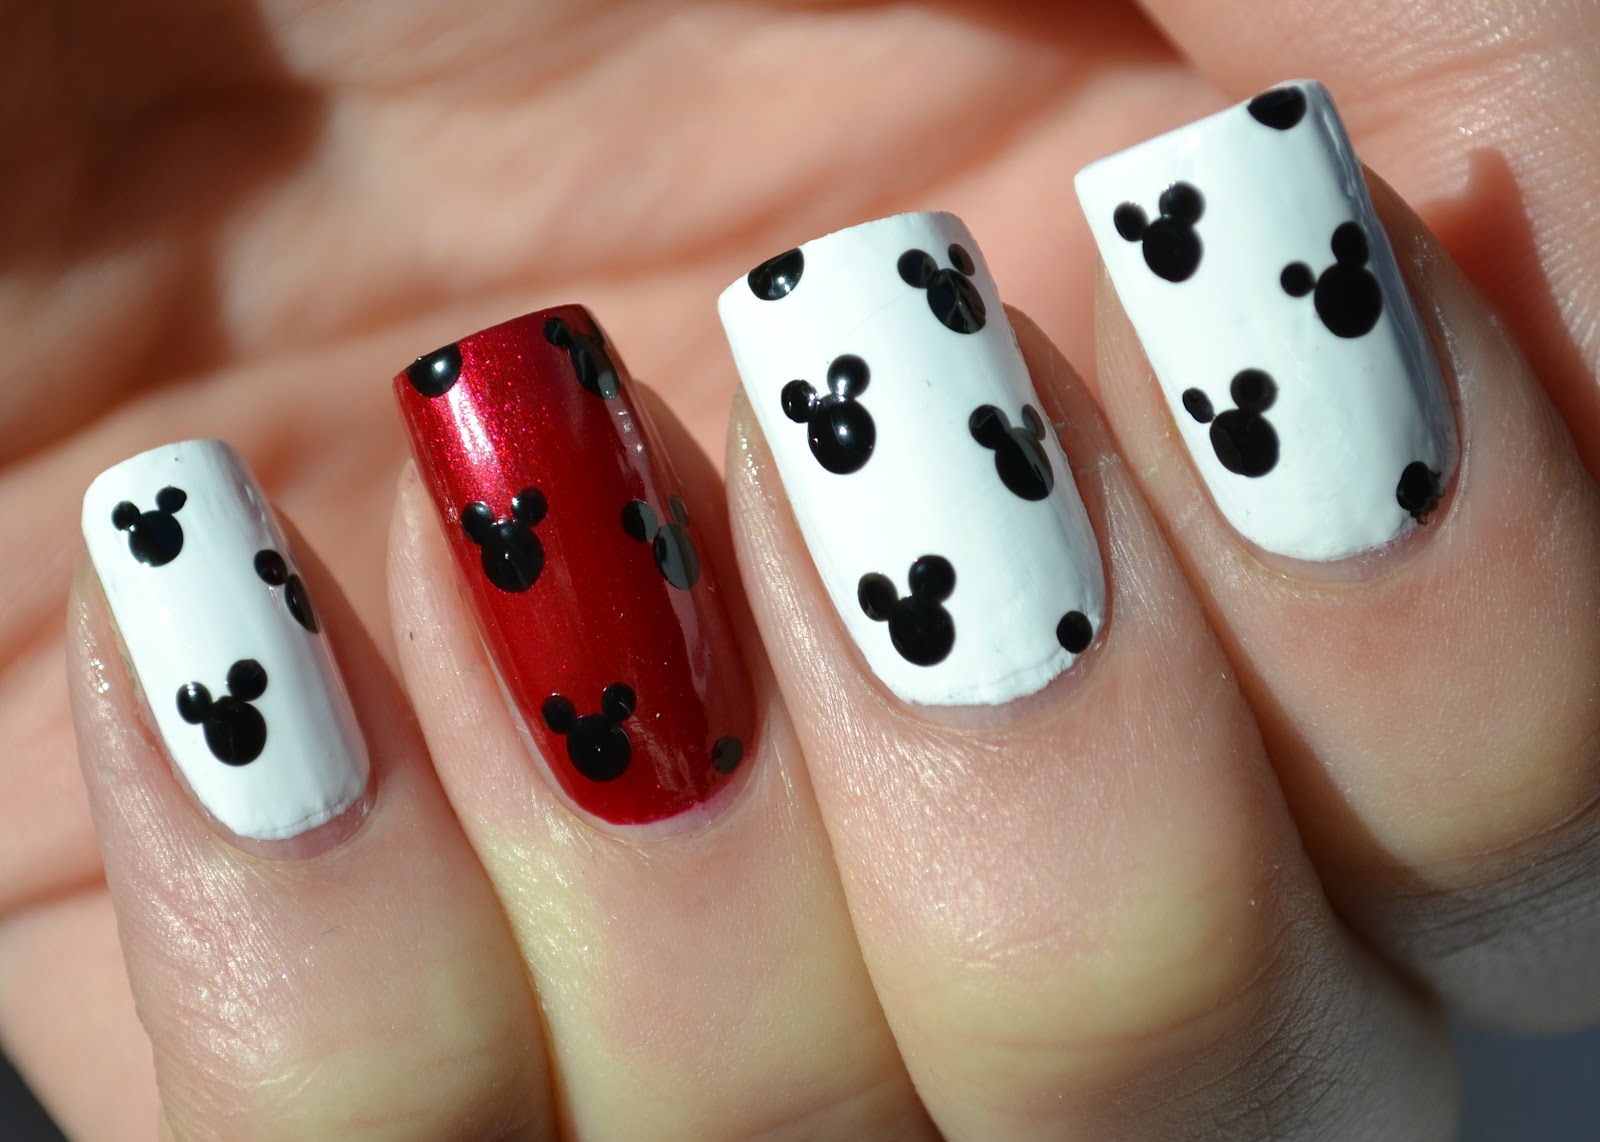
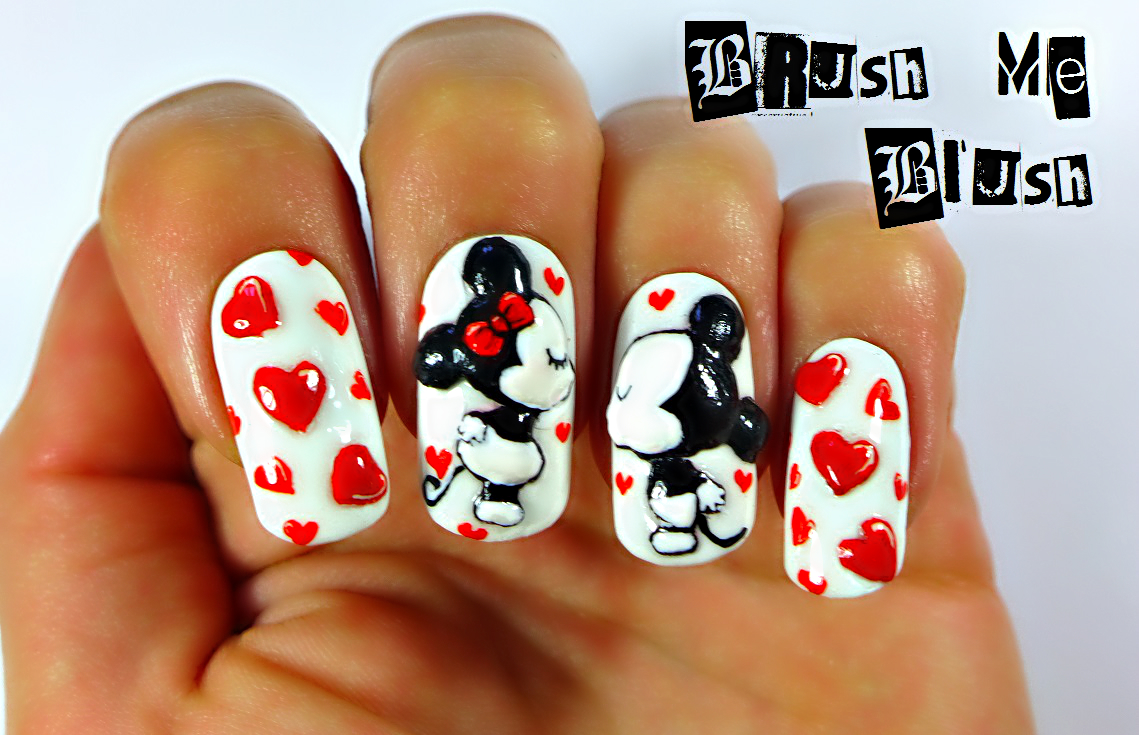
For a more subtle and classic look, try incorporating the classic Mickey head silhouette in black and white. This simple design is perfect for any occasion and can easily be dressed up or down. You can also add a pop of color by adding a red bow on one of the Mickey heads, or by painting your other nails in a vibrant color. With endless options and variations, Disney Mickey Mouse Ears Nail Art is a fun and creative way to show your love for all things Disney. So why not try it out and add a touch of magic to your next manicure?Mickey Mouse Nail Art Black and White


Mickey Mouse Nail Art Black and White
Add a Touch of Magic to Your Nails with Mickey Ears Nail Art

Experience the Magic of Disney Right on Your Fingertips
 If you're a Disney fan, then you know that the iconic Mickey ears are a symbol of the magic and wonder that the beloved theme park brings. And now, you can bring that same magic to your nails with Mickey ears nail art. This trendy and fun design is a must-try for any Disney lover and will add a touch of whimsy to your everyday look.
How to Create the Perfect Mickey Ears Nail Art
 Before we dive into the steps, it's important to gather all the necessary tools for this design. You will need a base coat, top coat, white nail polish, black nail polish, and a thin nail art brush. Once you have all your tools, follow these simple steps to create the perfect Mickey ears nail art.
Step 1:
Start by painting your nails with a base coat to protect them and ensure your design lasts longer.
Step 2:
Once the base coat is dry, apply two coats of white nail polish to all your nails. This will serve as the base for your design.
Step 3:
Using a thin nail art brush, carefully create two black circles on the top corners of your nails. These will serve as the ears.
Step 4:
Next, using the same brush, draw a small line connecting the two circles at the top, creating the classic Mickey ears shape.
Step 5:
To add a touch of sparkle, you can use a glitter or metallic nail polish to fill in the ears.
Step 6:
Once your design is complete, let it dry for a few minutes before applying a top coat to seal the design and add shine.
Before we dive into the steps, it's important to gather all the necessary tools for this design. You will need a base coat, top coat, white nail polish, black nail polish, and a thin nail art brush. Once you have all your tools, follow these simple steps to create the perfect Mickey ears nail art.
Step 1:
Start by painting your nails with a base coat to protect them and ensure your design lasts longer.
Step 2:
Once the base coat is dry, apply two coats of white nail polish to all your nails. This will serve as the base for your design.
Step 3:
Using a thin nail art brush, carefully create two black circles on the top corners of your nails. These will serve as the ears.
Step 4:
Next, using the same brush, draw a small line connecting the two circles at the top, creating the classic Mickey ears shape.
Step 5:
To add a touch of sparkle, you can use a glitter or metallic nail polish to fill in the ears.
Step 6:
Once your design is complete, let it dry for a few minutes before applying a top coat to seal the design and add shine.
Take Your Mickey Ears Nail Art to the Next Level
 Now that you know the basics of creating Mickey ears nail art, you can let your creativity run wild and add your own personal touch. You can experiment with different colors, designs, and even add some Disney-themed stickers or gems to really make your nails stand out. The possibilities are endless!
Keywords:
Mickey ears nail art, Disney fan, iconic, magic, theme park, trendy, fun design, whimsy, everyday look, tools, base coat, top coat, white nail polish, black nail polish, thin nail art brush, steps, glitter, metallic nail polish, personal touch, Disney-themed stickers, gems.
HTML Code:
Now that you know the basics of creating Mickey ears nail art, you can let your creativity run wild and add your own personal touch. You can experiment with different colors, designs, and even add some Disney-themed stickers or gems to really make your nails stand out. The possibilities are endless!
Keywords:
Mickey ears nail art, Disney fan, iconic, magic, theme park, trendy, fun design, whimsy, everyday look, tools, base coat, top coat, white nail polish, black nail polish, thin nail art brush, steps, glitter, metallic nail polish, personal touch, Disney-themed stickers, gems.
HTML Code:
Add a Touch of Magic to Your Nails with Mickey Ears Nail Art
Experience the Magic of Disney Right on Your Fingertips

If you're a Disney fan, then you know that the iconic Mickey ears are a symbol of the magic and wonder that the beloved theme park brings. And now, you can bring that same magic to your nails with Mickey ears nail art. This trendy and fun design is a must-try for any Disney lover and will add a touch of whimsy to your everyday look.
How to Create the Perfect Mickey Ears Nail Art

Before we dive into the steps, it's important to gather all the necessary tools for this design. You will need a base coat, top coat, white nail polish, black nail polish, and a thin nail art brush. Once you have all your tools, follow these simple steps to create the perfect Mickey ears nail art.
- Step 1: Start by painting your nails with a base coat to protect them and ensure your design lasts longer.
- Step 2: Once the base coat is dry, apply two coats of white nail polish to all your nails. This will serve as the base for your design.
- Step 3: Using a thin nail art brush, carefully create two black circles on the top corners of your nails. These will serve as the ears.
- Step 4: Next, using the same brush, draw a small line connecting the two circles at the top, creating the classic Mickey ears shape.
- Step 5: To add a touch of sparkle, you can use a glitter or metallic nail polish to fill in the ears.
- Step 6: Once your design is complete, let it dry for a few minutes before applying a top coat to seal the design and add shine.
Take Your Mickey Ears Nail Art to the Next Level


