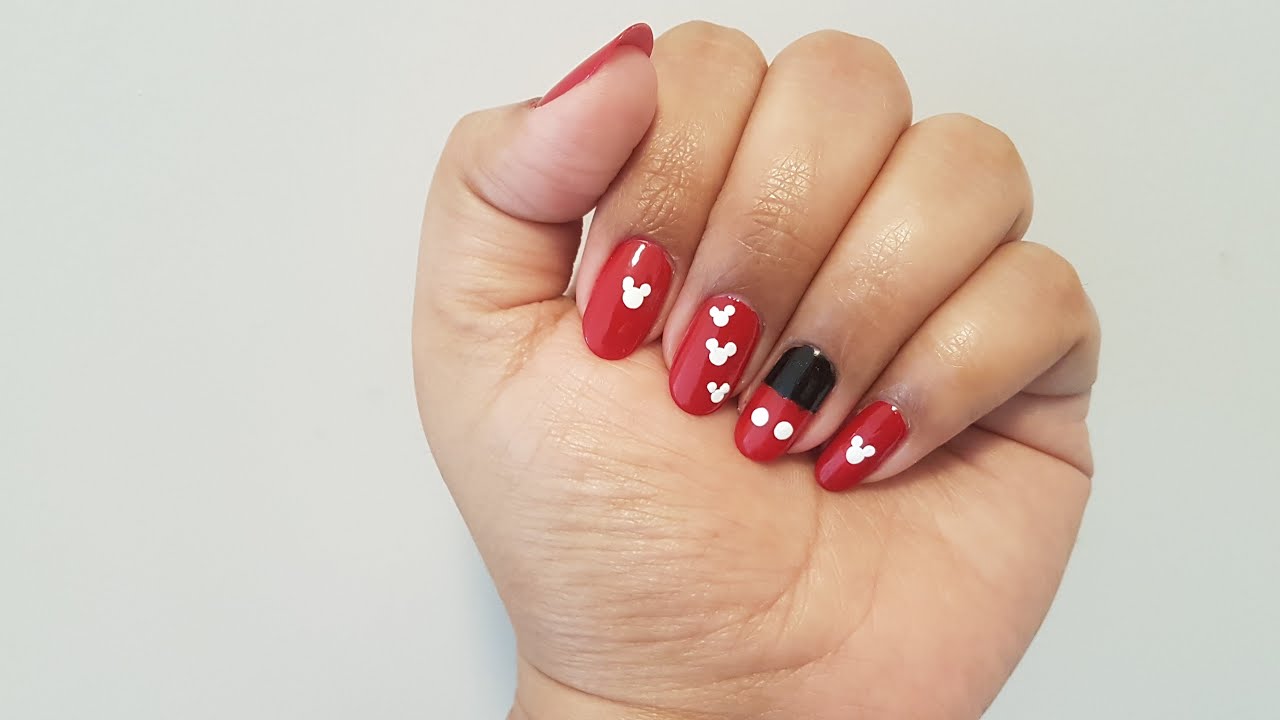
If you're a fan of Disney's most iconic character, Micky Mouse, then why not show your love through your nail art? With these easy-to-follow steps, you can create your own Micky Mouse inspired nails that will surely make you smile every time you look at them. Start by painting your nails with a light colored base coat. This will make the colors pop and give a clean canvas for your nail art. Once the base coat is dry, use a thin brush or a dotting tool to create two large circles on each of your nails, using black nail polish. These will be Micky's ears. Next, using a red nail polish, create a small circle in the middle of your nail, in between the two black circles. This will be Micky's face. You can use a white nail polish to add small dots on the black circles, to give the appearance of Micky's buttons. To complete the look, use a black nail polish to create two small half circles on either side of Micky's face, for his smile. You can also use a yellow nail polish to create small half circles on the black circles, to give the appearance of Micky's gloves.1. Micky Mouse Nail Art Tutorial


1. Micky Mouse Nail Art Tutorial


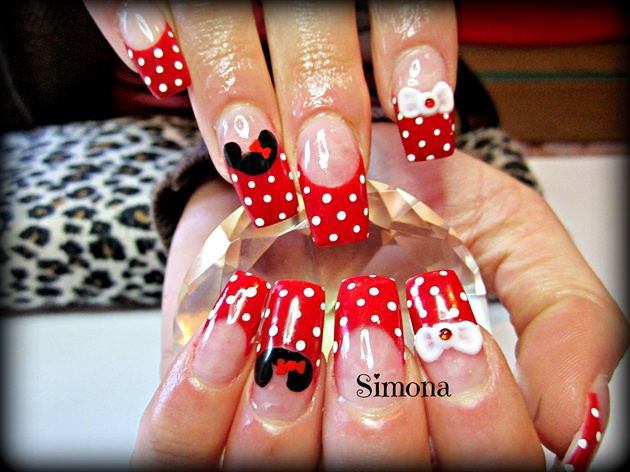


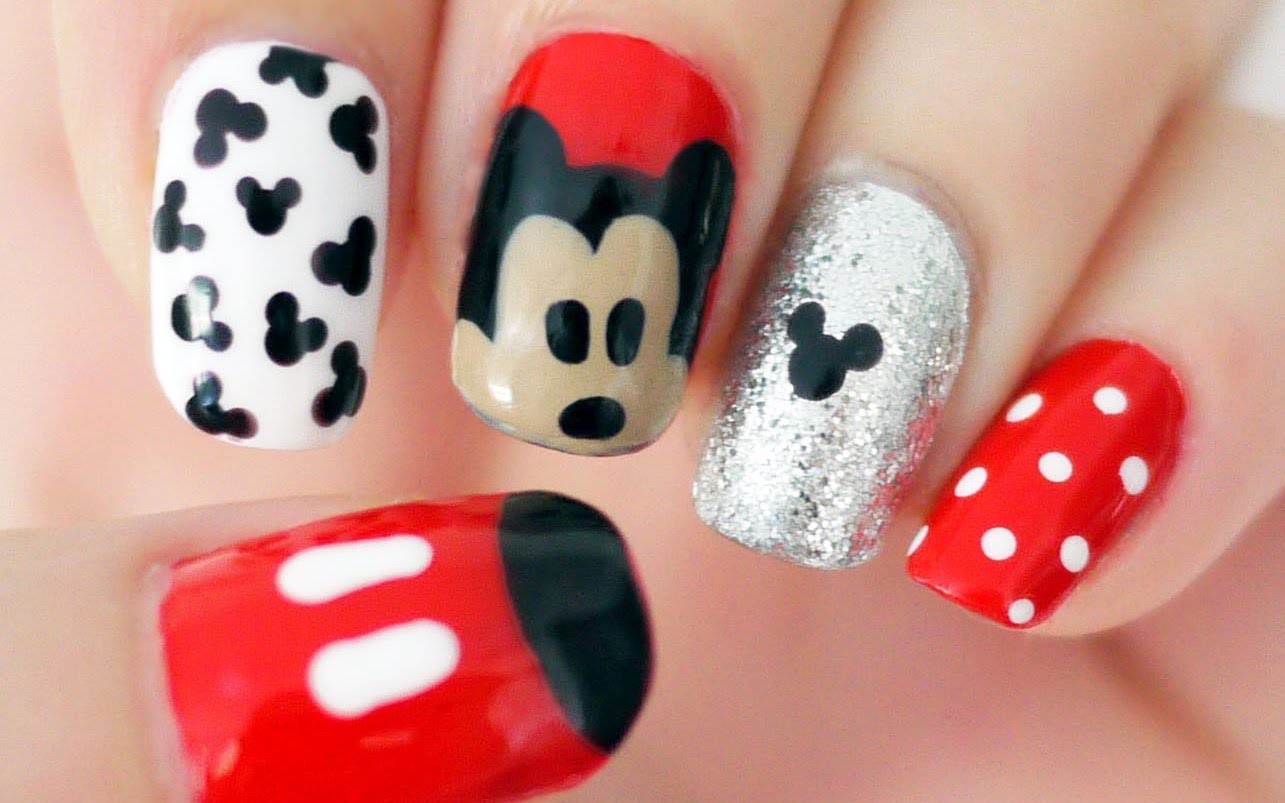
If you're feeling more adventurous with your Micky Mouse nail art, there are plenty of designs and variations to choose from. You can opt for a more abstract look, using different shades of primary colors to create Micky's face and ears. Or you can add a pop of glitter to your nails for a more glamorous touch. You can also experiment with different nail shapes, such as oval or almond, to add a unique twist to your Micky Mouse nail art. Don't be afraid to mix and match colors and designs to make it your own.2. Micky Mouse Inspired Nail Designs


2. Micky Mouse Inspired Nail Designs


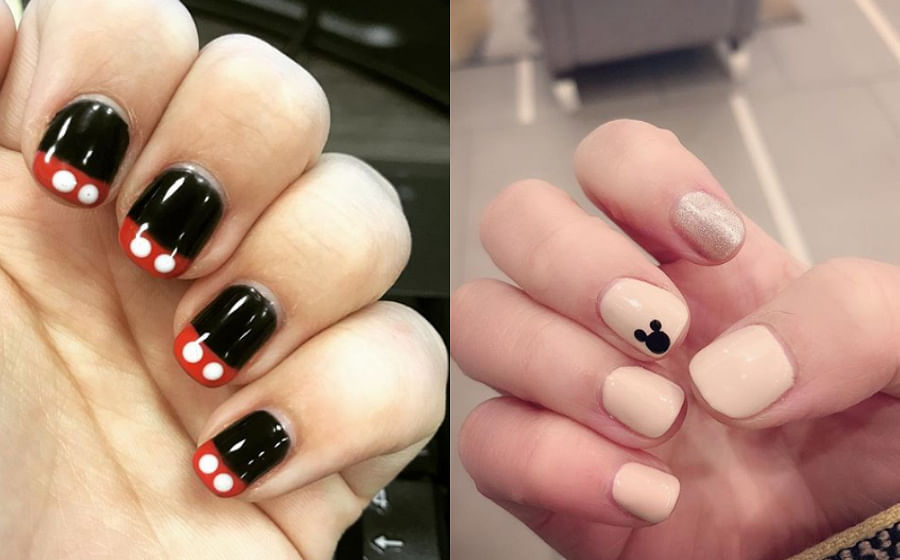
If you're looking for more inspiration, there are plenty of Micky Mouse nail art ideas online to choose from. You can incorporate other Disney characters into your design, such as Minnie Mouse or Donald Duck. You can also add other elements, like polka dots or stripes, to give your nails a fun and playful look. Another idea is to create a scene on your nails, with Micky Mouse and his friends in their iconic poses. This will definitely make your nails stand out and show off your love for Disney.3. Micky Mouse Nail Art Ideas

3. Micky Mouse Nail Art Ideas

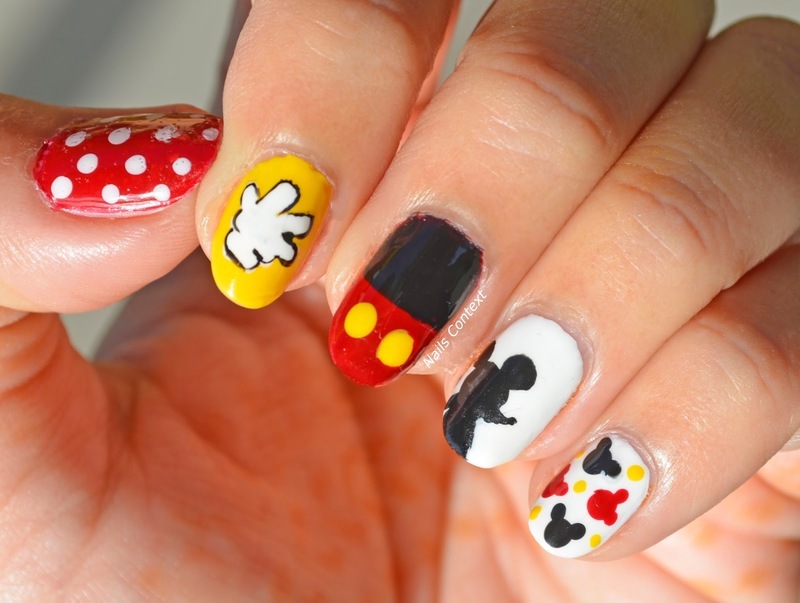


If you're new to nail art, don't worry! Creating Micky Mouse nails is easier than you think. Follow these simple steps for a flawless Micky Mouse manicure: Step 1: Start with a clean and dry base. Apply a base coat to protect your nails. Step 2: Use a thin brush or dotting tool to create two large circles on each nail, using black nail polish. These will be Micky's ears. Step 3: Using a red nail polish, create a small circle in the middle of each nail, in between the two black circles. This will be Micky's face. Step 4: Use a white nail polish to add small dots on the black circles for Micky's buttons. Step 5: With a black nail polish, create two small half circles on either side of Micky's face for his smile. Step 6: Use a yellow nail polish to create small half circles on the black circles for Micky's gloves. Step 7: Finish off with a top coat to seal in your design and add shine.4. Micky Mouse Nail Art Step by Step


4. Micky Mouse Nail Art Step by Step


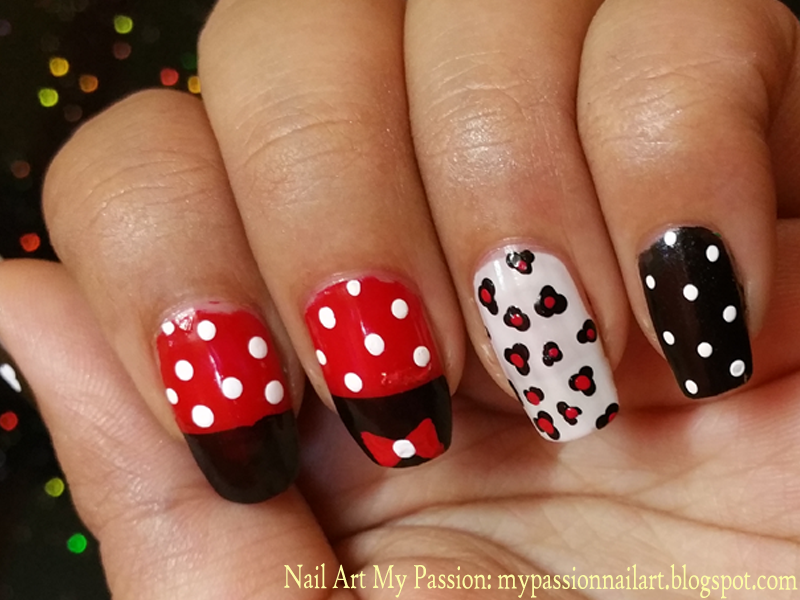
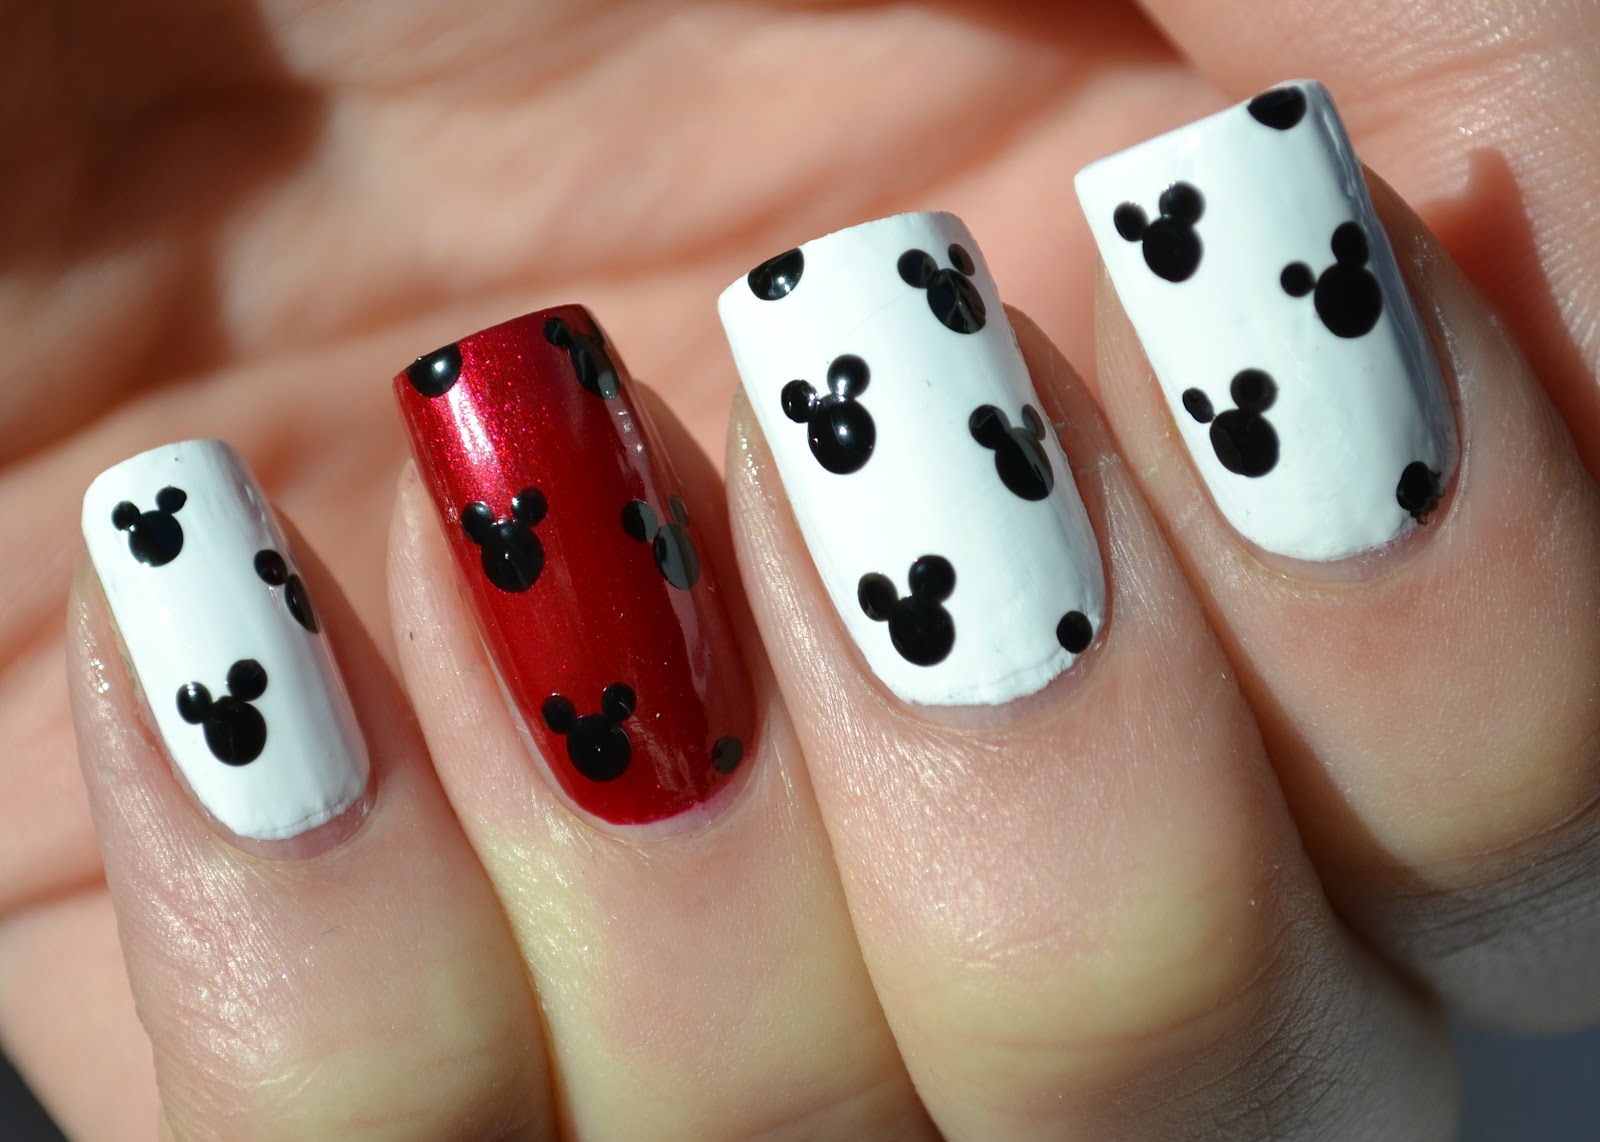
If you're just starting out with nail art, it's best to keep it simple. You can still achieve a cute and fun Micky Mouse design with just a few steps. Use a red nail polish as the base color and create two black circles on each nail, using a dotting tool or toothpick. Then, use a white nail polish to add small dots on the black circles for the buttons. That's it! A quick and easy Micky Mouse nail art for beginners.5. Micky Mouse Nail Art for Beginners


5. Micky Mouse Nail Art for Beginners
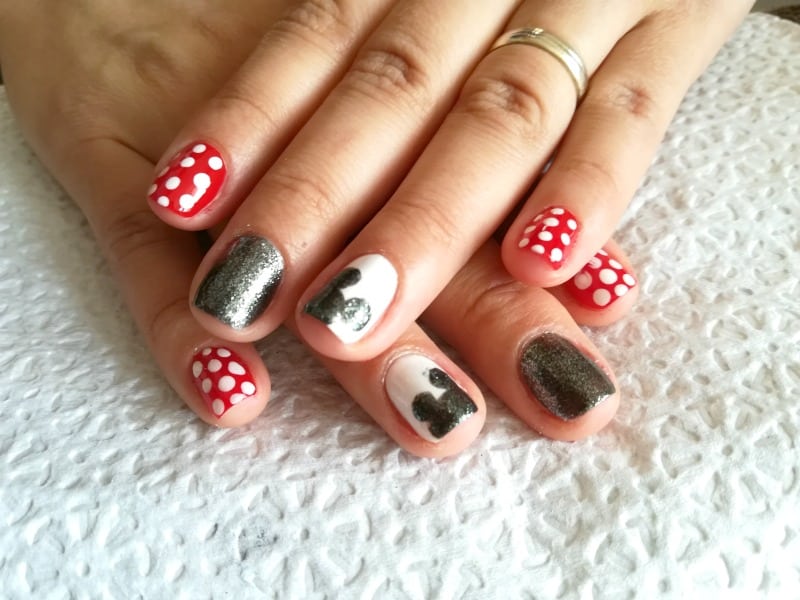
Who says you need long nails to have beautiful nail art? You can still rock Micky Mouse inspired nails even with short nails. Simply adjust the size of the circles and use a thinner brush to create the design. You can also opt for a simpler design, such as just Micky's face and ears, for a more subtle look on short nails.6. Micky Mouse Nail Art Designs for Short Nails


6. Micky Mouse Nail Art Designs for Short Nails


Add some bling to your Micky Mouse nails by incorporating rhinestones. You can use them to outline Micky's ears or add them as accents on his buttons. This will give your nails a touch of glamour and make them stand out.7. Micky Mouse Nail Art with Rhinestones

7. Micky Mouse Nail Art with Rhinestones
For a more playful and eye-catching design, add some glitter to your Micky Mouse nails. You can use a glitter nail polish or add loose glitter on top of the design. This will give your nails a fun and sparkly look that is perfect for special occasions or just for a fun day out.8. Micky Mouse Nail Art with Glitter


8. Micky Mouse Nail Art with Glitter

If you're not confident in your freehand skills, you can still achieve a perfect Micky Mouse design by using stamping plates. There are plenty of Micky Mouse themed stamping plates available, making it easy to create a flawless design. Simply apply the stamping polish on the plate and transfer the design onto your nails for a professional-looking finish.9. Micky Mouse Nail Art with Stamping
9. Micky Mouse Nail Art with Stamping

Take your Micky Mouse nail art to the next level by adding 3D accents. You can use small 3D charms, such as mini Micky Mouse heads or bows, to add a unique touch to your design. You can also use small beads or studs to create a 3D effect on Micky's buttons or gloves. With these top 10 Micky Mouse nail art ideas, you can show off your love for the iconic Disney character and have fun with your nails at the same time. So grab your favorite nail polish and get creative! 10. Micky Mouse Nail Art with 3D Accents

10. Micky Mouse Nail Art with 3D Accents

The Magical World of Micky Mouse Nail Art

Bringing Disney Magic to Your Nails
 When it comes to nail art, there are endless options to choose from. From classic French tips to intricate floral designs, there is something for everyone. But for those who want to add a touch of whimsy and nostalgia to their nail game, look no further than
Micky Mouse nail art
. This popular trend combines the beloved Disney character with creative and colorful nail designs, making your nails a work of art that will surely make you smile.
When it comes to nail art, there are endless options to choose from. From classic French tips to intricate floral designs, there is something for everyone. But for those who want to add a touch of whimsy and nostalgia to their nail game, look no further than
Micky Mouse nail art
. This popular trend combines the beloved Disney character with creative and colorful nail designs, making your nails a work of art that will surely make you smile.
The History of Micky Mouse Nail Art
 Micky Mouse has been a beloved character since his debut in 1928, and his popularity has only grown over the years. So it's no surprise that his iconic image has made its way into the world of nail art. The trend started in the early 2010s, with the rise of social media platforms like Instagram and Pinterest. Nail artists and enthusiasts began sharing their creative Micky Mouse designs, and it quickly became a hit among Disney fans and nail enthusiasts alike.
How to Achieve the Look
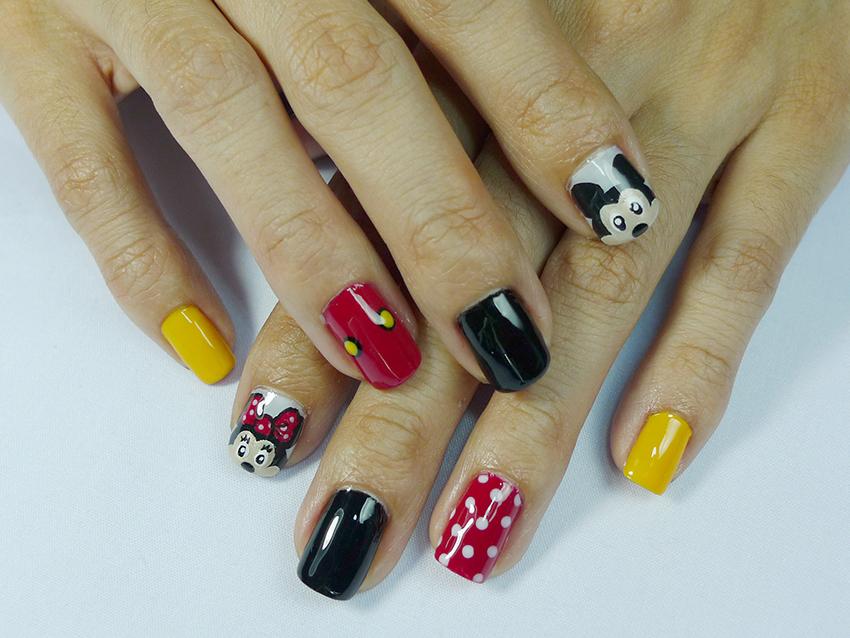
 Creating Micky Mouse nail art may seem daunting, but with a little practice and patience, anyone can achieve this fun and playful design. The key is to start with a clean and well-manicured base. Then, using a fine-tipped brush or a dotting tool, create the iconic Micky Mouse head shape on your nails using
black nail polish
. You can also add his signature red shorts and yellow shoes for a more detailed design.
Creating Micky Mouse nail art may seem daunting, but with a little practice and patience, anyone can achieve this fun and playful design. The key is to start with a clean and well-manicured base. Then, using a fine-tipped brush or a dotting tool, create the iconic Micky Mouse head shape on your nails using
black nail polish
. You can also add his signature red shorts and yellow shoes for a more detailed design.
Getting Creative with Micky Mouse Nail Art
 While the classic Micky Mouse design is a fan favorite, there are countless ways to get creative with this trend. You can incorporate other Disney characters like Minnie Mouse or Donald Duck, or add a touch of sparkle with glitter or rhinestones. You can even experiment with different colors and patterns for a unique and personalized Micky Mouse nail art look.
Perfect for Any Occasion
 One of the best things about Micky Mouse nail art is its versatility. It can be dressed up or down, making it perfect for any occasion. Whether you're headed to a Disney-themed party or just want to add a pop of fun to your everyday look, Micky Mouse nail art is the perfect choice.
In conclusion,
Micky Mouse nail art
is a fun and creative way to add a touch of Disney magic to your nail game. With its endless design possibilities and versatility, it's no wonder this trend has become a fan favorite. So gather your nail polish and get ready to bring a little bit of the happiest place on earth to your fingertips.
One of the best things about Micky Mouse nail art is its versatility. It can be dressed up or down, making it perfect for any occasion. Whether you're headed to a Disney-themed party or just want to add a pop of fun to your everyday look, Micky Mouse nail art is the perfect choice.
In conclusion,
Micky Mouse nail art
is a fun and creative way to add a touch of Disney magic to your nail game. With its endless design possibilities and versatility, it's no wonder this trend has become a fan favorite. So gather your nail polish and get ready to bring a little bit of the happiest place on earth to your fingertips.


