If you've ever looked up at the night sky and been mesmerized by the beauty of the Milky Way, then you'll love this nail art tutorial. Bring the wonders of the galaxy to your fingertips with these easy and stunning Milky Way nail art designs. Featured keywords: galaxy nail art, Milky Way nails, nail art for beginners Creating a galaxy-inspired nail art may seem daunting at first, but with the right tools and techniques, you'll have a stunning manicure that will make you feel out of this world. Related main keywords: nail art tutorial, easy Milky Way nail art, step by step guideGalaxy Nail Art Tutorial | Milky Way Nails | Nail Art For Beginners


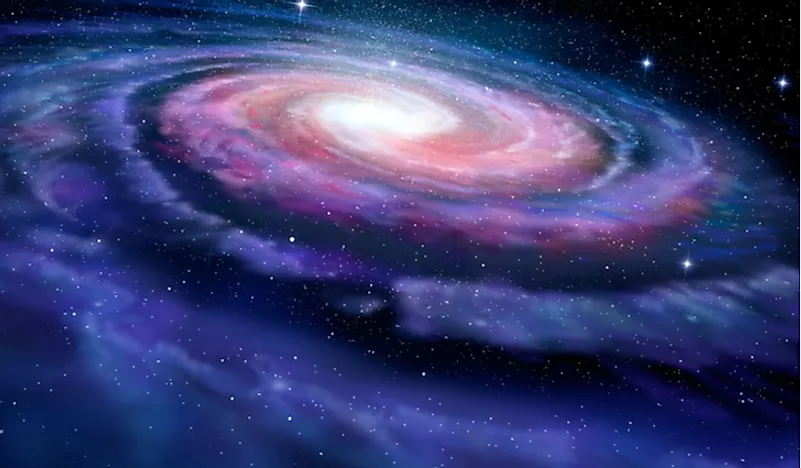
Galaxy Nail Art Tutorial


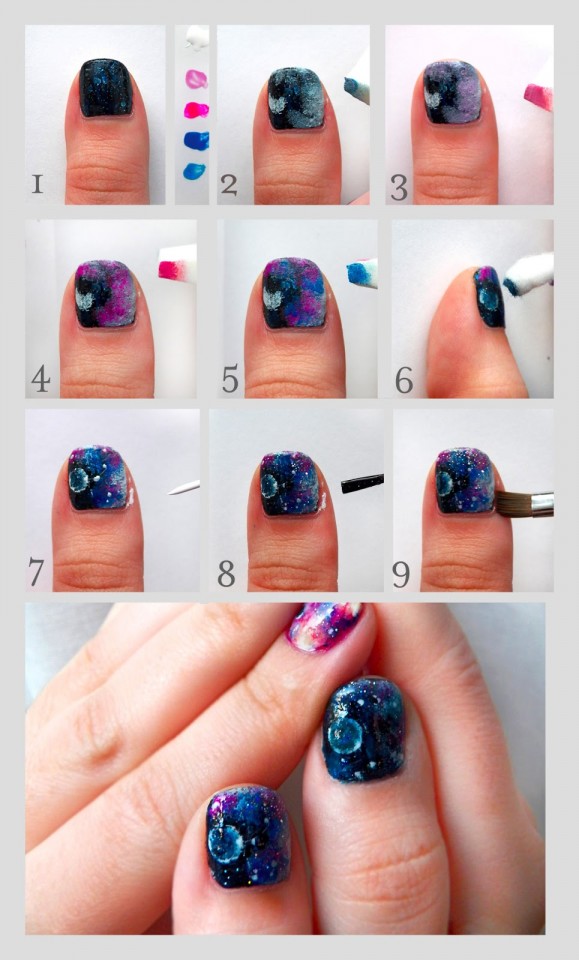
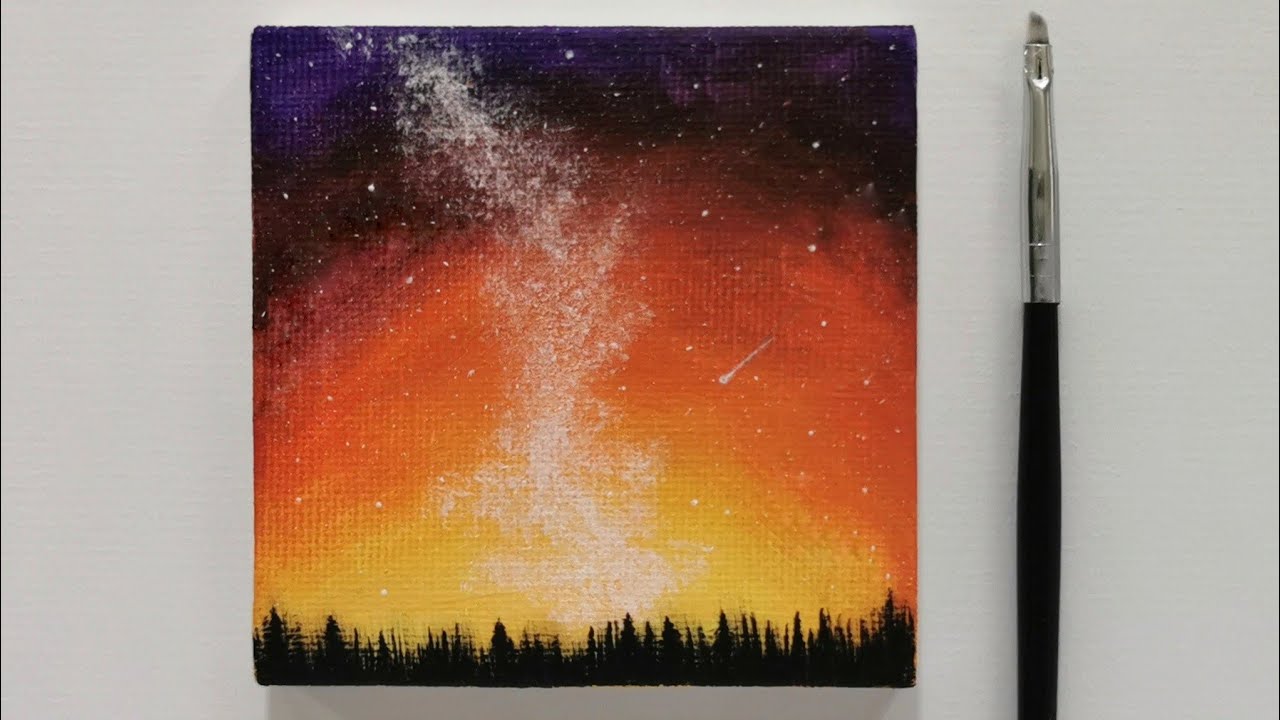
Ready to embark on your journey to the stars? Here's a step-by-step guide on how to create a Milky Way nail art design that will leave everyone in awe. Featured keywords: Milky Way nail art design, nail art tutorial Step 1: Gather your supplies Before you start painting, make sure you have all the necessary supplies. You'll need a base coat, a dark blue or black nail polish, a white nail polish, and different shades of blue and purple nail polish. You'll also need a makeup sponge, a toothpick, and a top coat. Step 2: Apply a base coat Start by applying a base coat to protect your nails and create a smooth surface for your nail polish. Let it dry completely before moving on to the next step. Step 3: Paint your base color For the base color, choose a dark blue or black nail polish to represent the night sky. Apply two coats and let it dry completely. Step 4: Create the Milky Way Take your white nail polish and dab it onto a makeup sponge. Then, lightly dab the sponge onto your nails to create a cloudy effect. You can overlap the white with the dark base color to create depth. Step 5: Add some color Now it's time to add some color to your Milky Way. Choose different shades of blue and purple nail polish and dab them onto the sponge. Then, lightly dab the sponge onto your nails, focusing on the areas with the white polish. This will create a beautiful gradient effect. Step 6: Create the stars Using a toothpick, create small dots with white nail polish to represent stars in the galaxy. You can also use a glitter nail polish for some added sparkle. Step 7: Seal the design Once everything is dry, apply a top coat to seal and protect your beautiful Milky Way nail art.How to Create a Milky Way Nail Art Design | Nail Art Tutorial


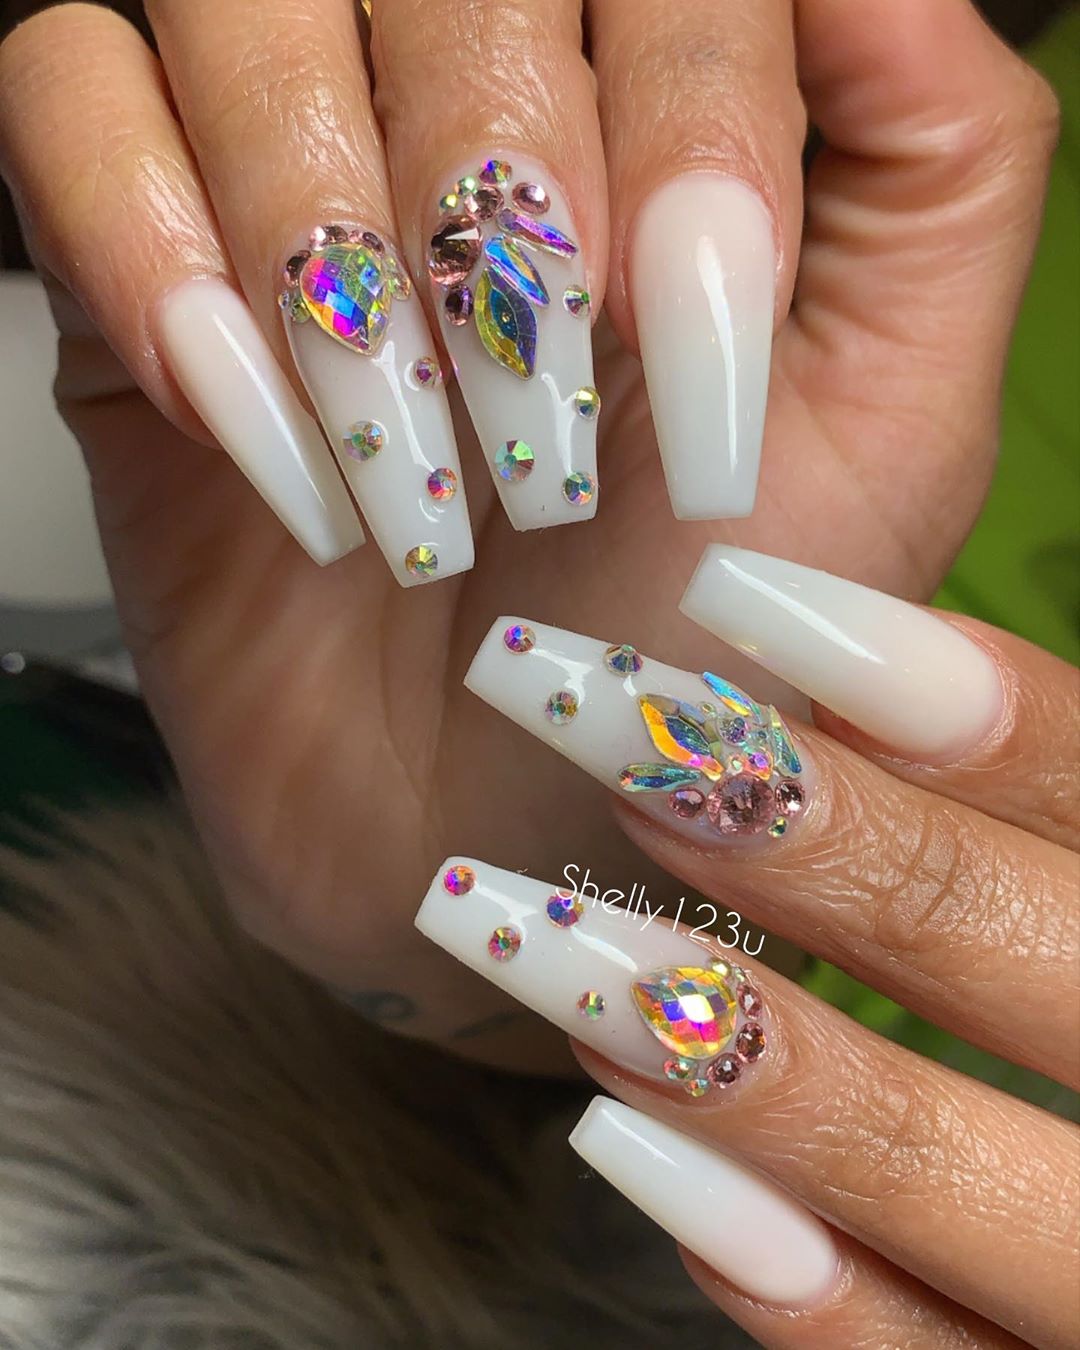
Milky Way Nails


:max_bytes(150000):strip_icc()/MilkyMani-d9c43ad4472e488e84816c50a50af176.jpg)


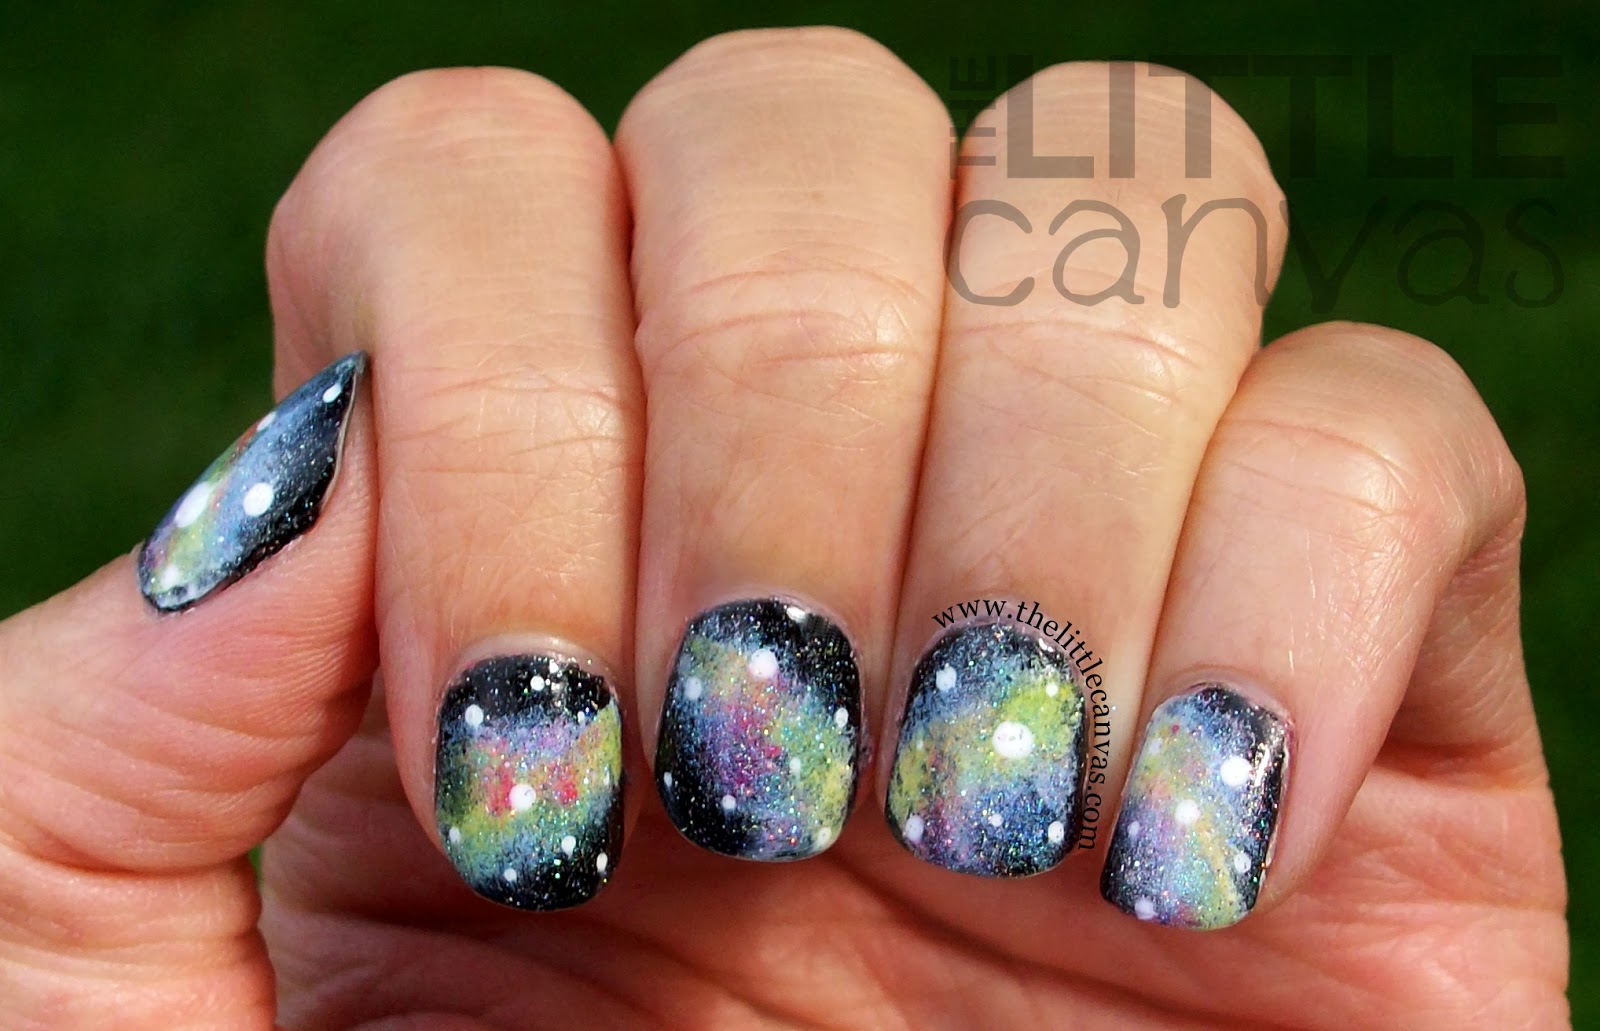
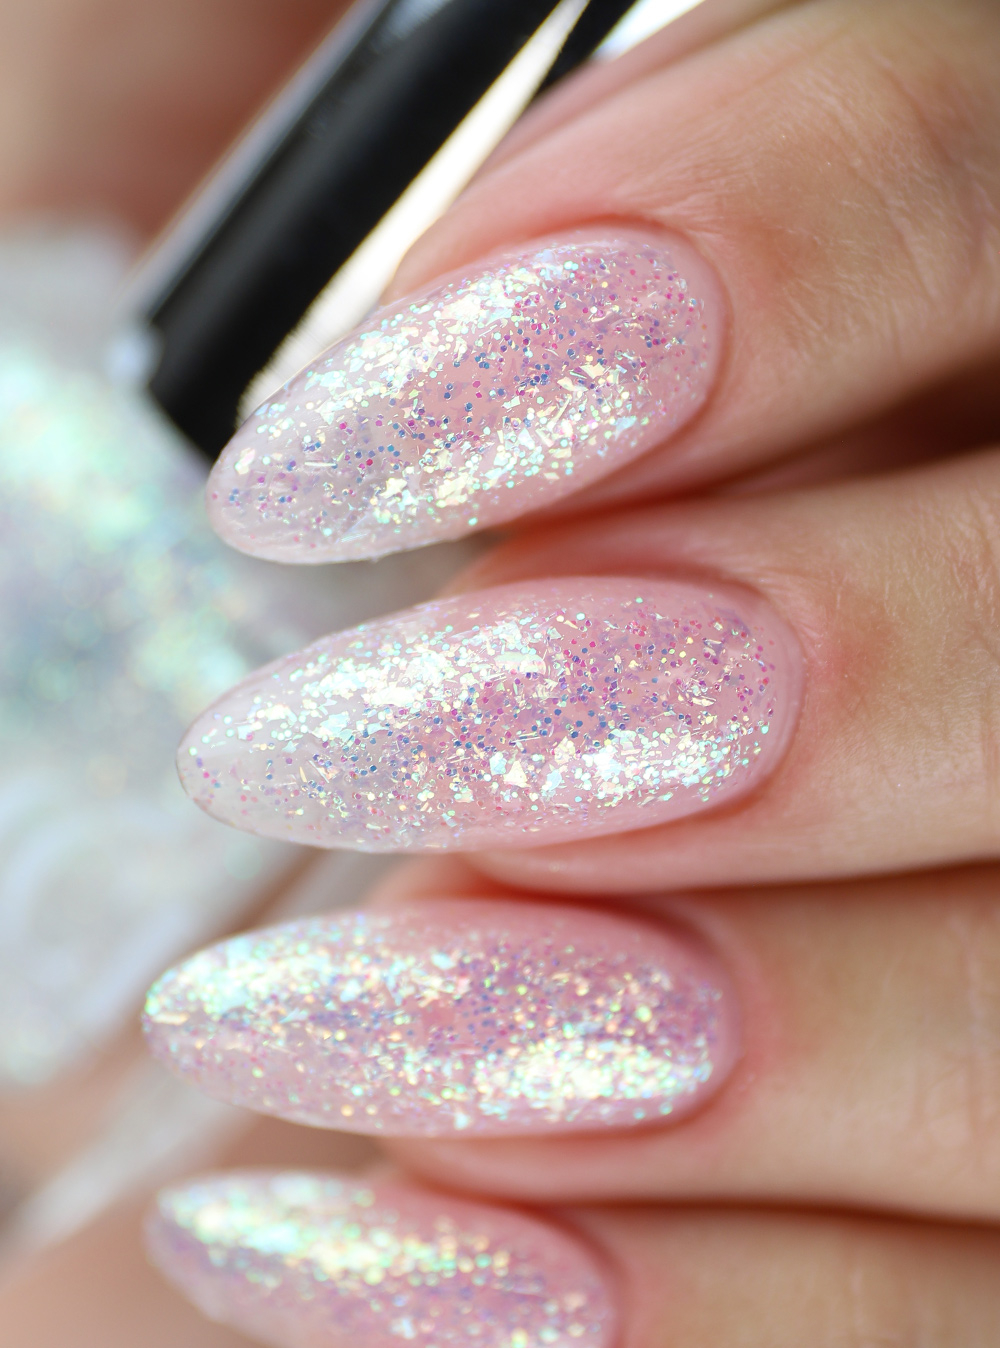
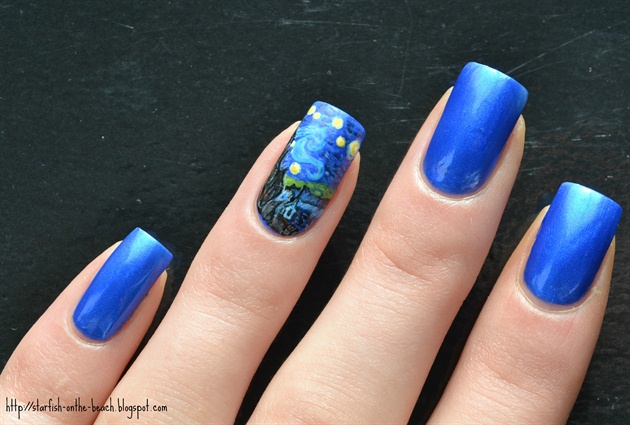
If you're feeling brave and want to take your Milky Way nail art to the next level, here are some ideas to inspire you. Featured keywords: Milky Way nail art designs, best nail art ideas Galaxy accent nail For a simpler look, paint all your nails with a dark blue or black base color and add a galaxy accent nail on one finger. This can be achieved by using the same techniques mentioned earlier, but on a smaller scale. Constellation nails Take your Milky Way nail art to a celestial level by adding some constellations to your design. Use a nail art pen or a toothpick to create star patterns on your nails. You can even add your zodiac sign for a more personal touch. Galaxy ombre nails If you're a fan of ombre nails, why not incorporate the galaxy theme into it? Use different shades of blue and purple to create a gradient effect on your nails, and then add some galaxy details on top. Starry night nails You can also take inspiration from the famous painting "The Starry Night" by Vincent Van Gogh and create a nail art that resembles the night sky in his masterpiece. Use a combination of black, blue, and yellow for a beautiful and unique galaxy design.Milky Way Nail Art Designs | Best Nail Art Ideas


Nail Art For Beginners


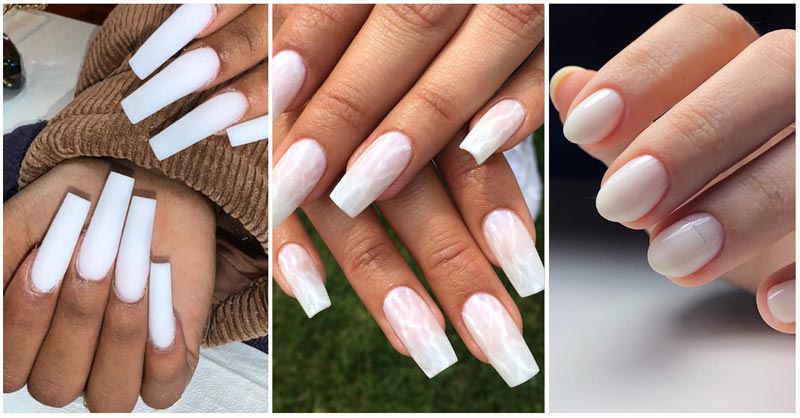
If you're a beginner in the world of nail art, don't worry, we've got you covered. This easy Milky Way nail art tutorial will guide you through the process and help you achieve a stunning result. Featured keywords: easy Milky Way nail art, step by step guide Step 1: Start with a white base For this easy nail art, we'll start with a white base instead of a dark color. This will make the galaxy colors stand out more. Apply two coats of white nail polish and let it dry completely. Step 2: Create the Milky Way Using a makeup sponge, dab different shades of blue and purple nail polish onto your nails. You can also use a light hand to create a subtle effect. Step 3: Add some glitter To make your Milky Way nails even more eye-catching, add a layer of glitter nail polish on top. This will give your design a beautiful and sparkly finish. Step 4: Create the stars Using a toothpick, create small white dots to represent stars in the galaxy. You can also add bigger dots to represent planets for a more realistic effect. Step 5: Seal the design Once everything is dry, apply a top coat to seal and protect your Milky Way nail art.Easy Milky Way Nail Art Tutorial | Step by Step Guide

How to Create a Milky Way Nail Art Design


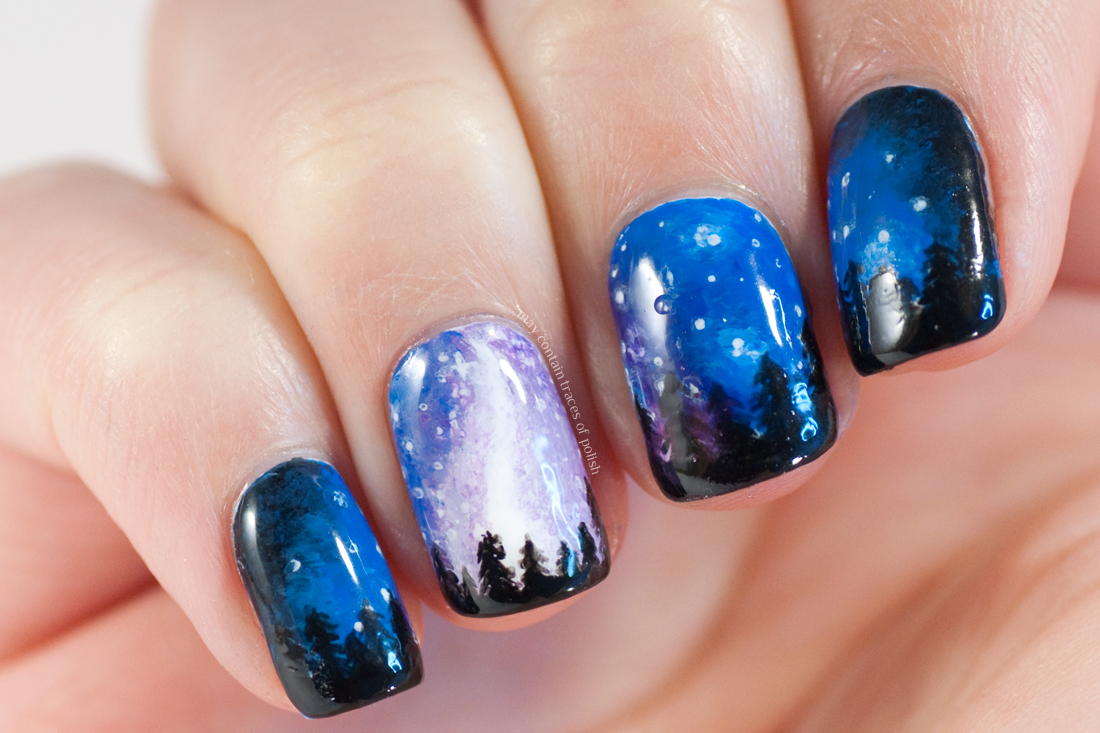
If you're a fan of Van Gogh's "The Starry Night," then this nail art tutorial is for you. Combining the beauty of the Milky Way with the iconic painting, these nails will surely make a statement. Featured keywords: starry night nail art, Milky Way nails, nail art tutorial Step 1: Paint a dark base Start by painting your nails with a dark blue or black base color. Let it dry completely. Step 2: Create the swirls Using a toothpick or a nail art brush, create swirls with white nail polish on your nails. You can follow the swirl pattern of "The Starry Night" painting or create your own unique design. Step 3: Add some stars Using a toothpick, create small white dots to represent stars in the sky. You can also add some bigger dots to represent planets. Step 4: Add some color For a pop of color, use different shades of blue and yellow to create a gradient effect on your nails. You can also add some glitter for some added sparkle. Step 5: Seal the design Once everything is dry, apply a top coat to seal and protect your beautiful starry night and Milky Way nail art.Starry Night Nail Art | Milky Way Nails | Nail Art Tutorial


Nail Art Tutorial

Take your Milky Way nail art to a whole new dimension with this space-themed design. These nails will make you feel like you're floating among the stars. Featured keywords: Milky Way nail art, space nails, nail art tutorial Step 1: Paint a galaxy background Start by painting your nails with a galaxy background using the techniques mentioned earlier. Use different shades of blue and purple to create a beautiful and colorful sky. Step 2: Add some space elements Using a toothpick or a nail art brush, add some space elements such as planets, stars, and even a rocket ship on your nails. You can also use small stickers for a more precise design. Step 3: Create a 3D effect To make your space nails stand out, use a matte top coat on some of your nails and a glossy top coat on others. This will create a 3D effect that will make your design more interesting. Step 4: Seal the design Once everything is dry, apply a top coat to seal and protect your space-inspired Milky Way nail art.Milky Way Nail Art | Space Nails | Nail Art Tutorial


Milky Way Nail Art Designs
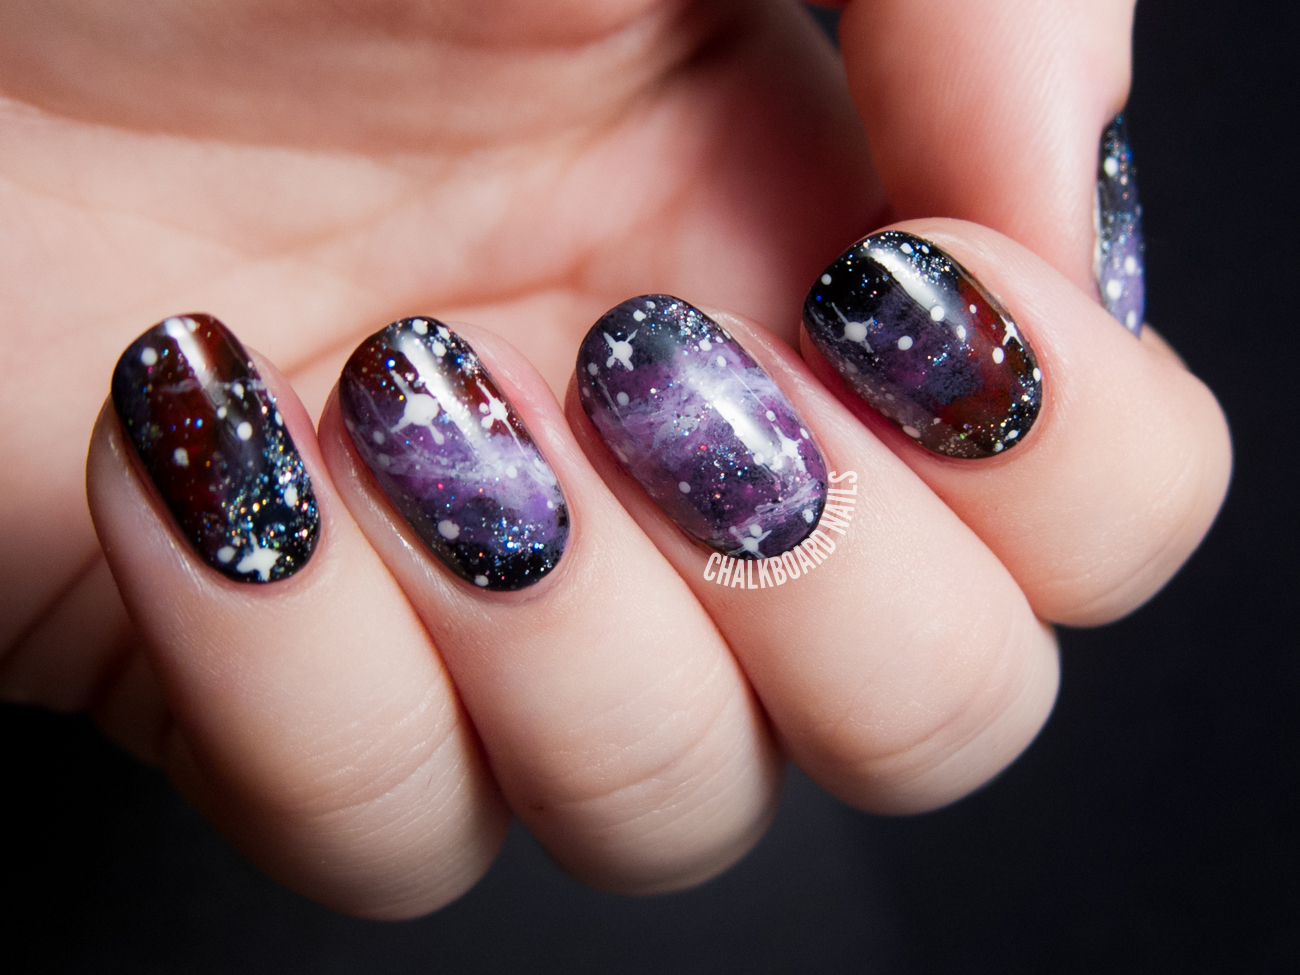
For a more abstract take on the galaxy theme, try out these galaxy nails. With a mix of different colors and techniques, this nail art will surely make a statement. Featured keywords: galaxy nails, Milky Way nail art, nail art tutorial Step 1: Paint a colorful base Start by painting your nails with a colorful base using different shades of blue, purple, and pink. Let it dry completely. Step 2: Create a marble effect Using a plastic bag or a piece of plastic wrap, dab it onto your nails to create a marble effect with the different colors. This will give your nails a beautiful and unique texture. Step 3: Add some glitter For some added sparkle, add a layer of glitter nail polish on top of your marble design. Step 4: Create the Milky Way Using a toothpick or a nail art brush, create the Milky Way by drawing swirls with white nail polish on your nails. You can also add some stars for a more realistic effect. Step 5: Seal the design Once everything is dry, apply a top coat to seal and protect your stunning galaxy nails.Galaxy Nails | Milky Way Nail Art | Nail Art Tutorial

Best Nail Art Ideas


If you're looking for a quick and easy way to achieve a Milky Way nail art, then this DIY tutorial is for you. With just a few tools and nail polish, you'll have a beautiful and unique manicure in no time. Featured keywords: DIY Milky Way nail art, easy nail art tutorial Step 1: Start with a dark base Start by painting your nails with a dark blue or black base color. Let it dry completely. Step 2: Create the Milky Way Using a toothpick or a nail art brush, create the Milky Way on your nails by drawing swirls with white nail polish. You can also add some stars for a more realistic effect. Step 3: Add some glitter For some added sparkle, add a layer of glitter nail polish on top of your Milky Way design. Step 4: Seal the design Once everything is dry, apply a top coat to seal and protect your DIY Milky Way nail art.DIY Milky Way Nail Art | Easy Nail Art Tutorial


Easy Milky Way Nail Art Tutorial


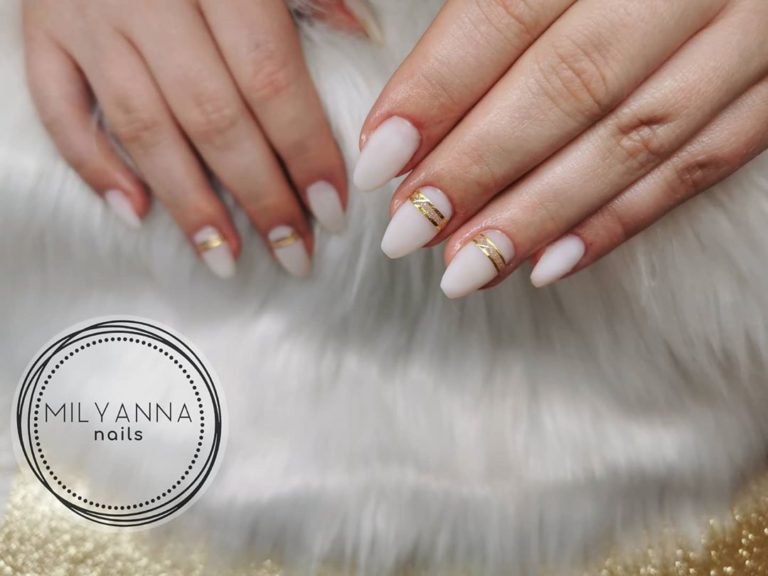
For a more celestial and mystical look, try out these Milky Way and celestial nail art designs. With a mix of different colors and elements, these nails will surely make a statement. Featured keywords: Milky Way nail art, celestial nails, nail art tutorial Step 1: Paint a colorful base Start by painting your nails with a colorful base using different shades of blue, purple, and pink. Let it dry completely. Step 2: Create the Milky Way Using a toothpick or a nail art brush, create the Milky Way on your nails by drawing swirls with white, gold, and silver nail polish. You can also add some stars and planets for a more celestial effect. Step 3: Add some celestial elements Using a toothpick or a nail art brush, add some celestial elements such as moons and stars on your nails. You can also use small stickers for a more precise design. Step 4: Seal the design Once everything is dry, apply a top coat to seal and protect your stunning celestial and Milky Way nail art.Milky Way Nail Art | Celestial Nails | Nail Art Tutorial


Step by Step Guide
If you're new to the nail art world and want to try out a galaxy-inspired design, these nails are perfect for you. With a simple and easy technique, you'll have a beautiful Milky Way manicure in no time. Featured keywords: galaxy nails, Milky Way nail art, nail art for beginners Step 1: Start with a dark base Start by painting your nails with a dark blue or black base color. Let it dry completely. Step 2: Create the Milky Way Using a toothpick or a nail art brush, create the Milky Way on your nails by drawing swirls with white nail polish. You can also add some stars for a more realistic effect. Step 3: Add some glitter For some added sparkle, add a layer of glitter nail polish on top of your Milky Way design. Step 4: Seal the design Once everything is dry, apply a top coat to seal and protect your stunning galaxy nails.Galaxy Nails | Milky Way Nail Art | Nail Art For Beginners


Starry Night Nail Art


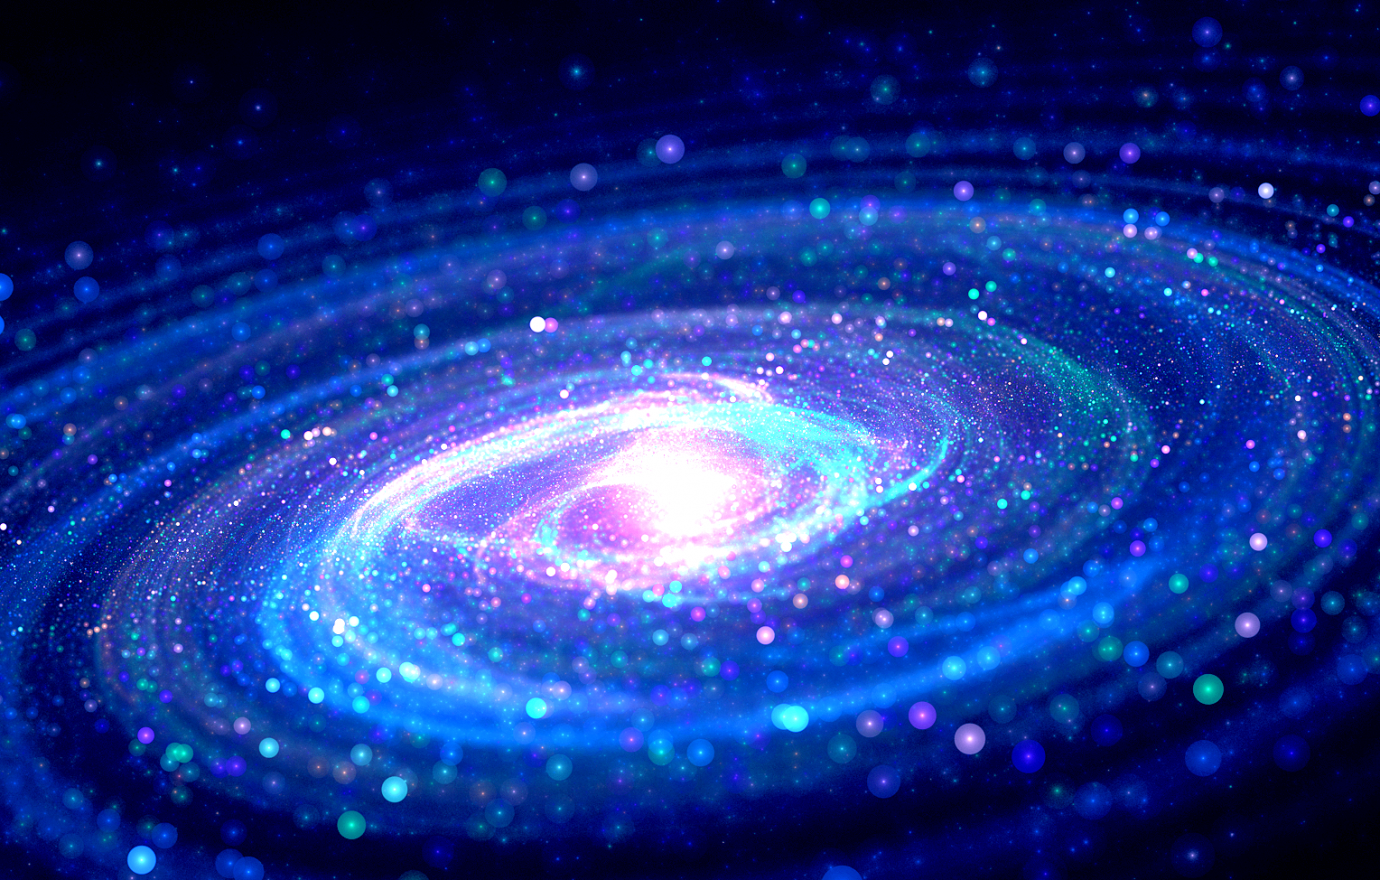
Transform Your Nails with Cosmic Inspiration: The Milky Way Nail Art Trend

Unleashing Your Inner Cosmic Goddess
 The latest trend in nail art has taken inspiration from the vast expanse of the universe. Milky Way nail art has become a popular choice for those looking to add a touch of cosmic beauty to their fingertips. This trend combines the mesmerizing colors and patterns of the Milky Way galaxy with intricate nail designs, resulting in a stunning and out-of-this-world manicure.
Milky Way nail art
is a perfect way to show off your love for the cosmos and unleash your inner cosmic goddess. The design typically features a dark blue or black base with swirls of
shimmery silver, gold, and purple
to mimic the stars and galaxies in the Milky Way. Some designs also incorporate glitter, holographic accents, and 3D elements like tiny stars and moons to add depth and dimension to the nails.
The latest trend in nail art has taken inspiration from the vast expanse of the universe. Milky Way nail art has become a popular choice for those looking to add a touch of cosmic beauty to their fingertips. This trend combines the mesmerizing colors and patterns of the Milky Way galaxy with intricate nail designs, resulting in a stunning and out-of-this-world manicure.
Milky Way nail art
is a perfect way to show off your love for the cosmos and unleash your inner cosmic goddess. The design typically features a dark blue or black base with swirls of
shimmery silver, gold, and purple
to mimic the stars and galaxies in the Milky Way. Some designs also incorporate glitter, holographic accents, and 3D elements like tiny stars and moons to add depth and dimension to the nails.
Bringing the Universe to Your Fingertips
 Milky Way nail art is not only visually appealing but also allows for endless creativity and customization. You can choose to have the design on all of your nails or just one accent nail, and you can play around with different color combinations and patterns to make it your own. The best part? You don't have to be a professional nail artist to achieve this look. There are plenty of tutorials and step-by-step guides available online to help you recreate this celestial design at home.
Milky Way nail art
is also a great way to add a touch of whimsy and glamour to your everyday look or to elevate your outfit for a special occasion. Whether you're heading to a music festival, a night out with friends, or simply want to add a little sparkle to your workday, this trend is sure to make a statement and turn heads.
Milky Way nail art is not only visually appealing but also allows for endless creativity and customization. You can choose to have the design on all of your nails or just one accent nail, and you can play around with different color combinations and patterns to make it your own. The best part? You don't have to be a professional nail artist to achieve this look. There are plenty of tutorials and step-by-step guides available online to help you recreate this celestial design at home.
Milky Way nail art
is also a great way to add a touch of whimsy and glamour to your everyday look or to elevate your outfit for a special occasion. Whether you're heading to a music festival, a night out with friends, or simply want to add a little sparkle to your workday, this trend is sure to make a statement and turn heads.
The Perfect Blend of Science and Art
 Aside from its stunning aesthetic appeal, Milky Way nail art also serves as a reminder of the vastness and beauty of our universe. It's a perfect blend of science and art, showcasing the creativity and talent of nail artists while also sparking curiosity and wonder about our place in the cosmos.
So why settle for plain and simple nails when you can have a galactic masterpiece on your fingertips? Embrace the Milky Way nail art trend and let your nails be a reflection of the beauty and mystery of the universe.
Aside from its stunning aesthetic appeal, Milky Way nail art also serves as a reminder of the vastness and beauty of our universe. It's a perfect blend of science and art, showcasing the creativity and talent of nail artists while also sparking curiosity and wonder about our place in the cosmos.
So why settle for plain and simple nails when you can have a galactic masterpiece on your fingertips? Embrace the Milky Way nail art trend and let your nails be a reflection of the beauty and mystery of the universe.


