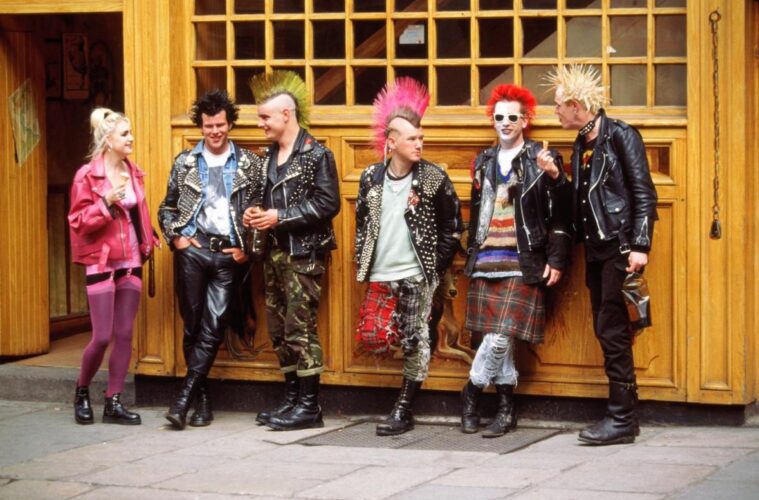
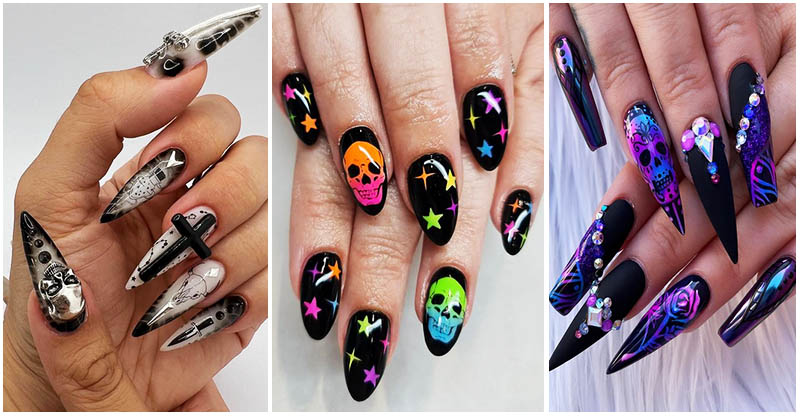
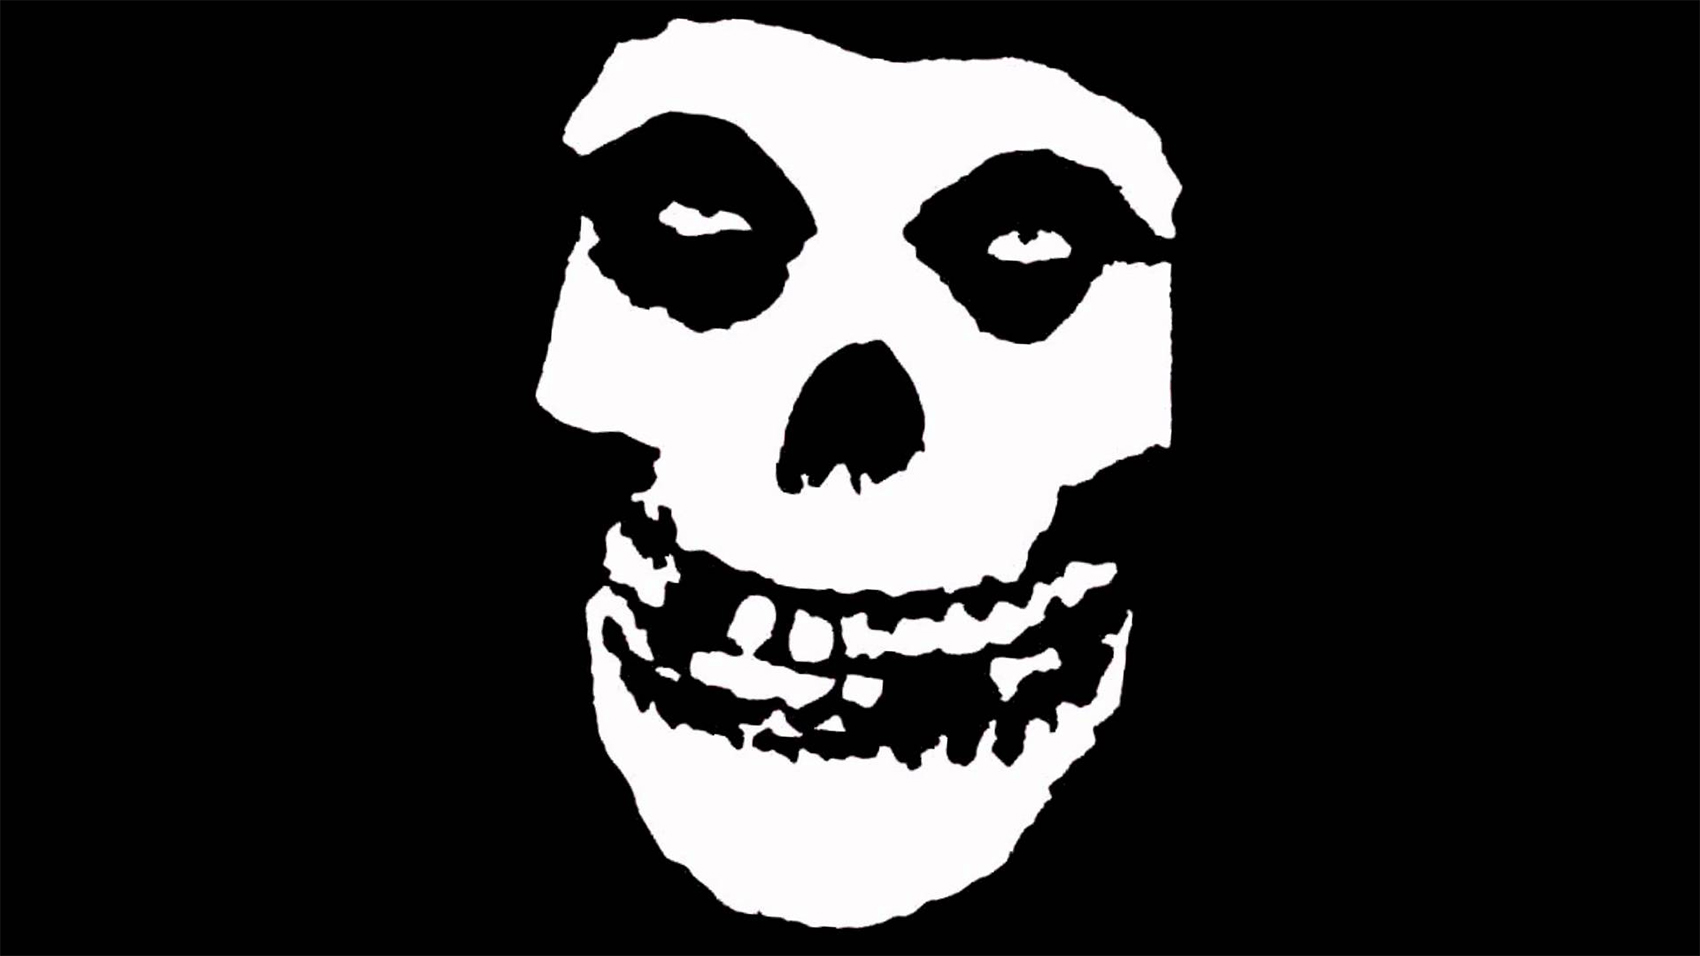
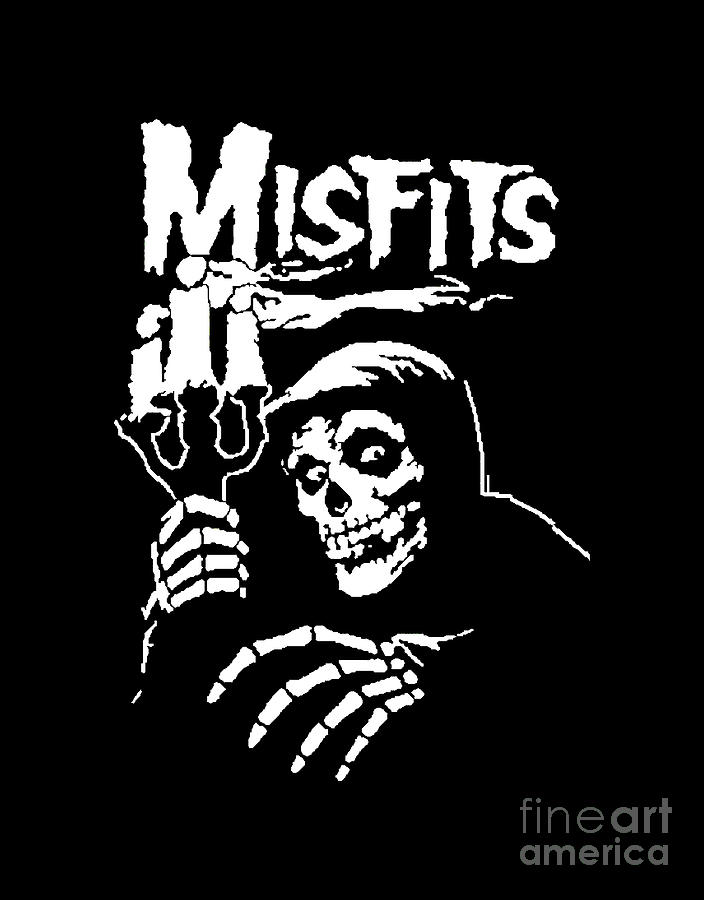
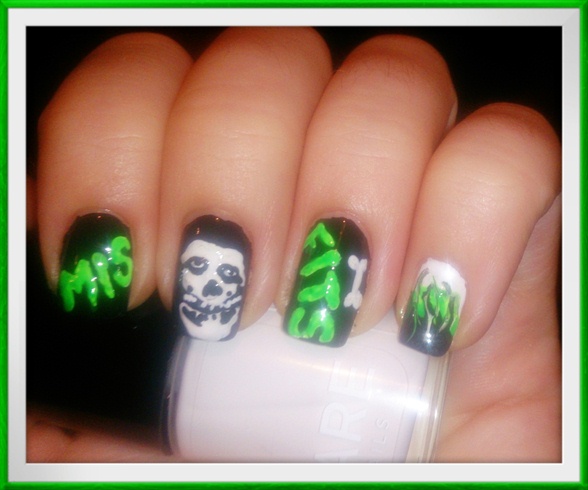
Are you a fan of punk rock music and want to express your love for it through your nails? Look no further than this Misfits nail art tutorial. With its iconic skull logo and bold colors, this look will definitely make a statement. Follow these simple steps to create your own punk rock inspired nails. To start, gather all the necessary materials. You will need a base coat, black, white, and red nail polish, a toothpick or small brush, and a top coat. Make sure your nails are clean and dry before starting. Apply a base coat to protect your nails and allow it to dry. Then, using the black nail polish, paint all your nails except for your ring finger. This will be the accent nail for the Misfits logo. Next, take the white nail polish and carefully create a skull shape on your ring finger. You can use a toothpick or small brush to help with the details. Allow the white polish to dry completely. Once the white polish is dry, use the black polish to fill in the eye sockets and nose of the skull. Then, add the iconic Misfits "fiend" logo by creating two small lines at the top of the skull and connecting them with a curved line. This may take some practice, so don't worry if it's not perfect on the first try. Now it's time to add some color. Take the red nail polish and create a drip effect on your other nails. Simply use the brush to create small lines at the top of your nails and then drag the polish down towards the tip, creating a dripping effect. You can add as many or as few drips as you'd like. Finally, seal your look with a top coat to protect your design and give it a shiny finish. And there you have it, your very own Misfits inspired punk rock nails.1. Misfits Nail Art Tutorial: How to Create a Punk Rock Look


1. Misfits Nail Art Tutorial: How to Create a Punk Rock Look


Creating your own Misfits nail art doesn't have to be complicated. Follow these step-by-step instructions for a simple and easy DIY option. Start by painting all your nails with a black base coat. Once it's completely dry, use a white nail polish to create a small skull shape on your accent nail. Next, use a toothpick or small brush to add the Misfits "fiend" logo on top of the skull. This may take some practice, so don't worry if it's not perfect. Now it's time to add some color. Take a red nail polish and create drips on your other nails. You can use the brush to create small lines at the top of your nails and then drag the polish down towards the tip, creating a dripping effect. Don't worry about being too precise, the messier the better for a punk rock look. Once everything is dry, seal your design with a top coat for a shiny finish. And there you have it, a DIY Misfits nail art look that is perfect for any punk rock fan.2. DIY Misfits Nail Art Tutorial: Step-by-Step Instructions


2. DIY Misfits Nail Art Tutorial: Step-by-Step Instructions

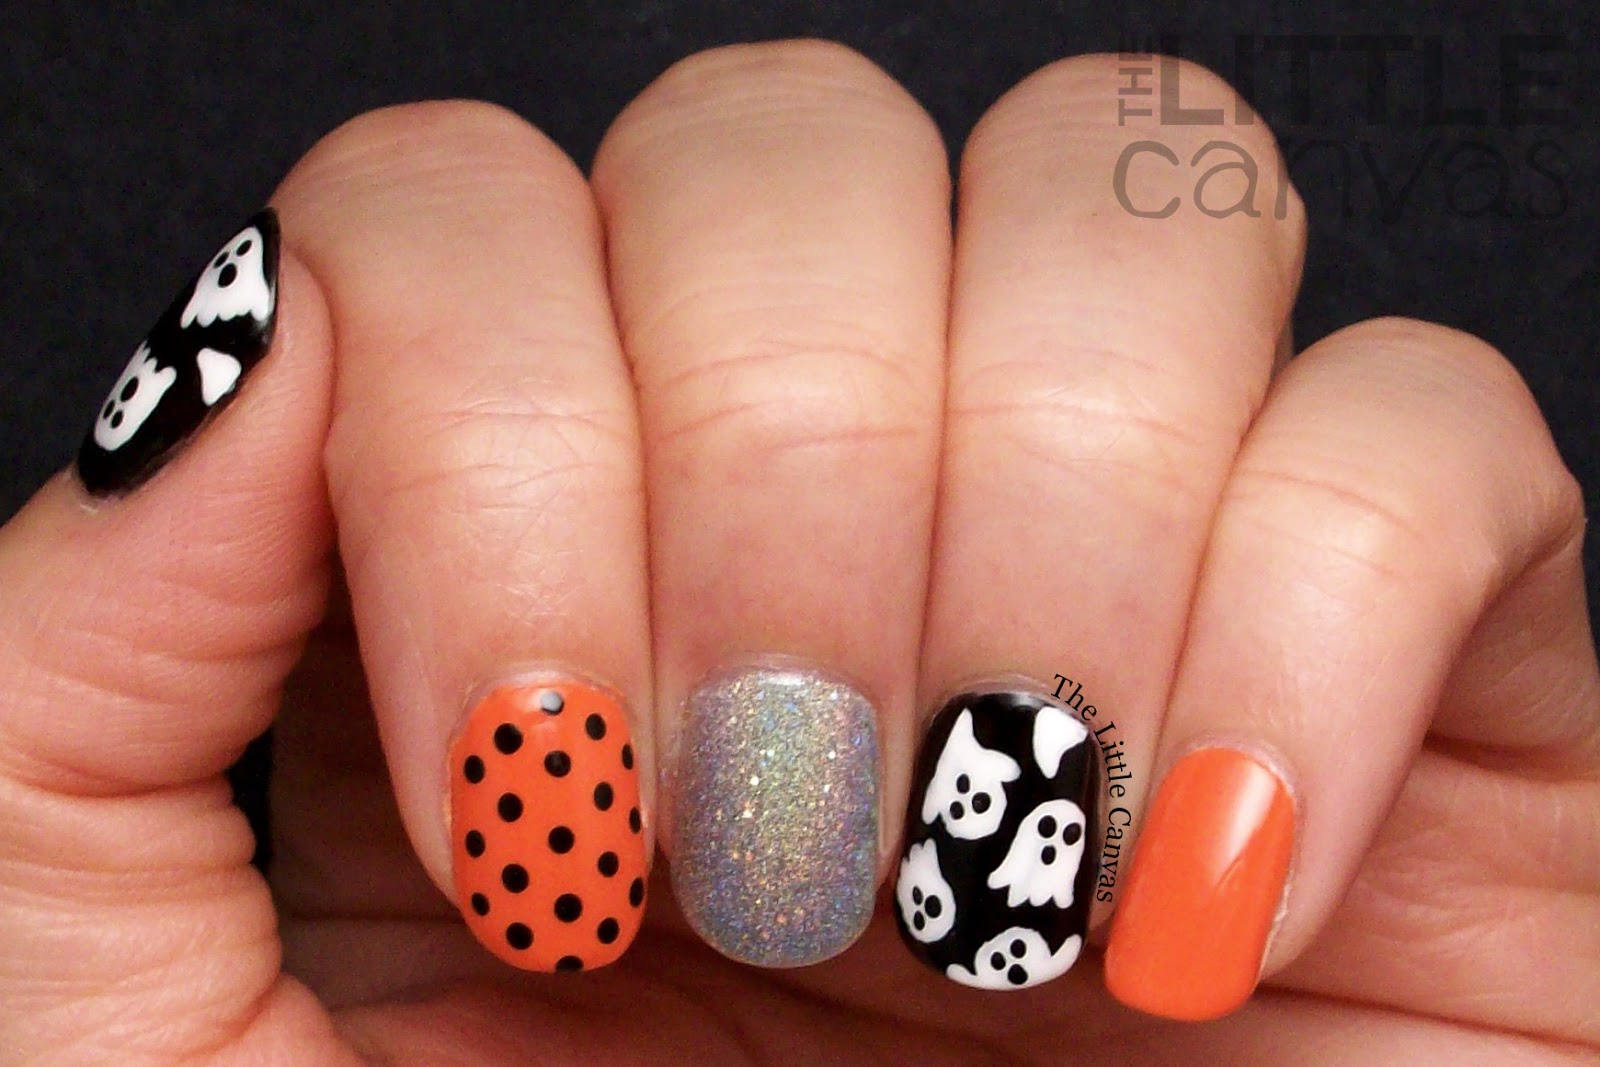
Halloween is the perfect time to show off your love for the Misfits with this easy and spooky nail art tutorial. Start by painting all your nails with a black base coat. Once it's completely dry, use a white nail polish to create a small skull shape on your accent nail. Next, add the Misfits "fiend" logo on top of the skull using a toothpick or small brush. Then, use a red nail polish to create a drip effect on your other nails. You can make the drips longer and messier for a more Halloween-inspired look. To add an extra spooky touch, use a white nail polish to create small dots around the skull on your accent nail. This will give the illusion of a ghostly aura around the skull. Finish off with a top coat to seal your design and give it a shiny finish. Now you're ready to rock Halloween with your Misfits inspired nails.3. Misfits Inspired Nail Art Tutorial for Halloween


3. Misfits Inspired Nail Art Tutorial for Halloween


If you're new to nail art and want to try out a Misfits inspired look, this easy tutorial is perfect for you. Start by painting all your nails with a black base coat. Once it's completely dry, use a white nail polish to create a small skull shape on your accent nail. Next, add the Misfits "fiend" logo on top of the skull using a toothpick or small brush. For an easier option, you can use nail stickers or decals instead. To add a pop of color, use a red nail polish to create a small heart on one of your other nails. This can be done using a toothpick or small brush. You can also use a heart-shaped nail sticker or decal. Finish off with a top coat to seal your design and give it a shiny finish. And there you have it, an easy Misfits nail art look that is perfect for beginners.4. Easy Misfits Nail Art Tutorial for Beginners


4. Easy Misfits Nail Art Tutorial for Beginners


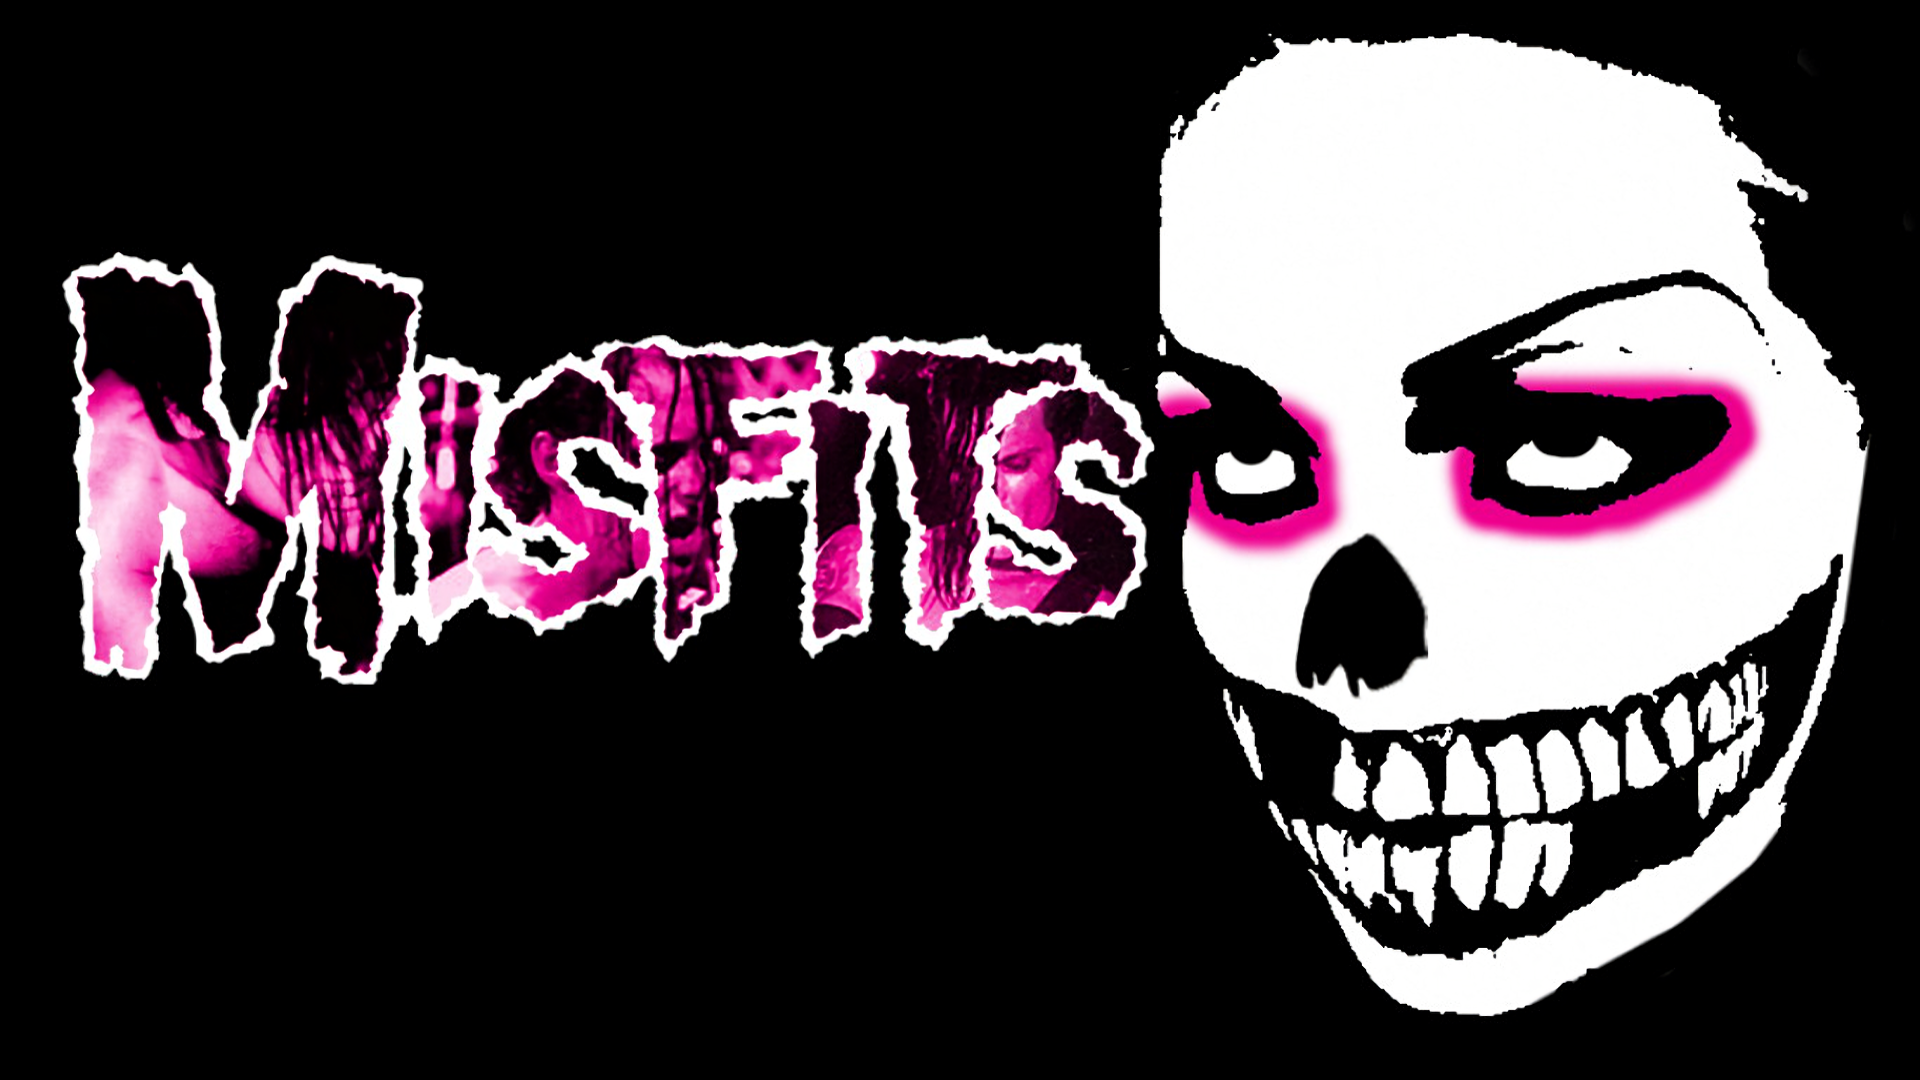
The Misfits skull logo is iconic and makes for the perfect nail art design. Follow these steps to create a bold and edgy look. Start by painting all your nails with a black base coat. Once it's completely dry, use a white nail polish to create a small skull shape on your accent nail. Next, add the Misfits "fiend" logo on top of the skull using a toothpick or small brush. You can also use a skull-shaped nail sticker or decal for an easier option. To add some color, take a red nail polish and create a small heart on one of your other nails. You can use a toothpick or small brush to create the heart shape. Another option is to use a heart-shaped nail sticker or decal. Seal your design with a top coat for a shiny finish. This Misfits skull nail art is perfect for any punk rock lover.5. Misfits Skull Nail Art Tutorial


5. Misfits Skull Nail Art Tutorial


The Misfits Fiend Club is the official fan club for the band, and this nail art tutorial pays homage to it. Start by painting all your nails with a black base coat. Once it's completely dry, use a white nail polish to create a small skull shape on your accent nail. Next, add the Misfits "fiend" logo on top of the skull using a toothpick or small brush. You can also use a skull-shaped nail sticker or decal for an easier option. For the other nails, take a red nail polish and create a small cross on each one. You can use a toothpick or small brush to create the design. Another option is to use cross-shaped nail stickers or decals. Finish off with a top coat to seal your design and give it a shiny finish. Show off your love for the Misfits Fiend Club with this nail art look.6. Misfits Fiend Club Nail Art Tutorial


6. Misfits Fiend Club Nail Art Tutorial


The Misfits band logo is instantly recognizable and makes for a bold and unique nail art design. Start by painting all your nails with a black base coat. Once it's completely dry, use a white nail polish to create a small skull shape on your accent nail. Next, use a toothpick or small brush to add the Misfits band logo on top of the skull. This may take some practice, so don't worry if it's not perfect. To add some color, take a red nail polish and create a small heart on one of your other nails. You can use a toothpick or small brush to create the heart shape. Another option is to use a heart-shaped nail sticker or decal. Seal your design with a top coat for a shiny finish. This Misfits band logo nail art is perfect for any fan of the band.7. Misfits Band Logo Nail Art Tutorial

7. Misfits Band Logo Nail Art Tutorial


The Misfits are known for their dark and edgy aesthetic, so why not create a coffin nail art design inspired by the band? Start by painting your nails with a black base coat. Once it's completely dry, use a white nail polish to create a small skull shape on your accent nail. Next, use a toothpick or small brush to add the Misfits "fiend" logo on top of the skull. You can also use a skull-shaped nail sticker or decal for an easier option. For the other nails, take a red nail polish and create a small cross at the top of each one. Then, use a toothpick or small brush to create a dripping effect down towards the tip of the nail. This will give the illusion of blood dripping from the cross. Finish off with a top coat for a shiny finish. This Misfits coffin nail art is perfect for Halloween or any time you want to add a touch of darkness to your look.8. Misfits Coffin Nail Art Tutorial
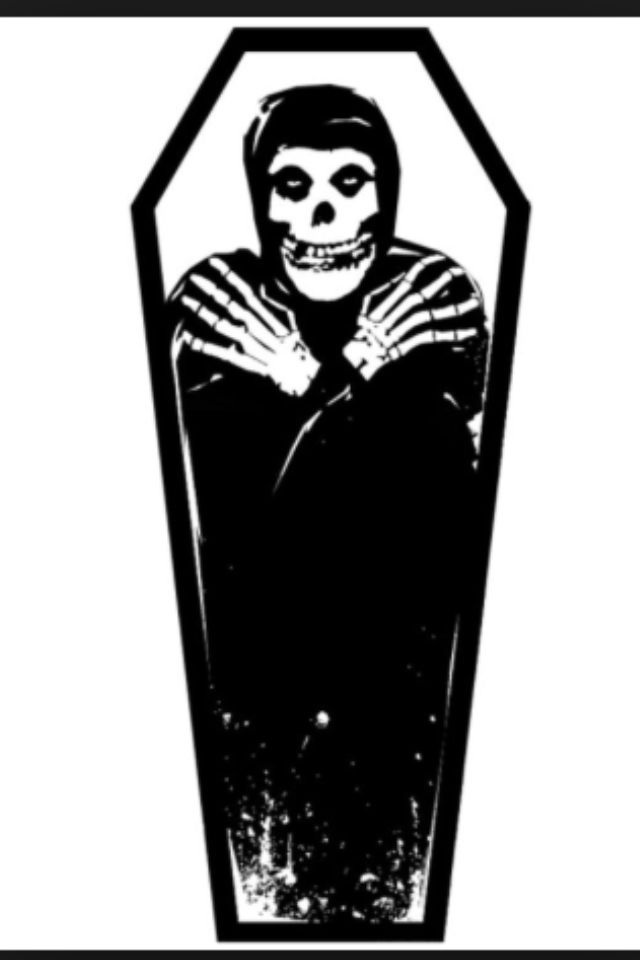
8. Misfits Coffin Nail Art Tutorial


This Misfits handprint nail art tutorial is perfect for those who want to show off their love for the band in a unique and creative way. Start by painting all your nails with a black base coat. Once it's completely dry, use a white nail polish to create a small skull shape on your accent nail. Next, use a toothpick or small brush to add a handprint design on top of the skull. You can also use a hand-shaped nail sticker or decal for an easier option. For the other nails, take a red nail polish and create a small cross at the top of each one. Then, use a toothpick or small brush to create a dripping effect down towards the tip of the nail. This will give the illusion of blood dripping from the cross. Seal your design with a top coat for a shiny finish. This Misfits handprint nail art is perfect for any fan of the band.9. Misfits Handprint Nail Art Tutorial


9. Misfits Handprint Nail Art Tutorial
The iconic Crimson Ghost is synonymous with the Misfits and makes for a bold and eye-catching nail art design. Start by painting all your nails with a black base coat. Once it's completely dry, use a white nail polish to create a small skull shape on your accent nail. Next, use a toothpick or small brush to create the Crimson Ghost's face on top of the skull. This may take some practice, so don't worry if it's not perfect. To add some color, take a red nail polish and create a small heart on one of your other nails. You can use a toothpick or small brush to create the heart shape. Another option is to use a heart-shaped nail sticker or decal. Finish off with a top coat for a shiny finish. Show off your love for the Misfits and their iconic Crimson Ghost with this nail art look.10. Misfits Crimson Ghost Nail Art Tutorial


10. Misfits Crimson Ghost Nail Art Tutorial


How to Create the Perfect Nail Art for Misfits Fans
Adding a Personal Touch to Your Misfits Nail Art
 Creating unique and eye-catching nail art is a fun and creative way to express your personality and interests. For fans of the punk rock band Misfits, incorporating their bold and iconic imagery into your nail design is a must. With this step-by-step tutorial, you can learn how to create the perfect Misfits nail art that will make a statement and show off your love for the band.
Gathering Your Supplies
 Before diving into the nail art tutorial, make sure you have all the necessary supplies. You will need a base coat, top coat, black and red nail polish, a thin nail art brush, a dotting tool, and some nail art gems or studs. Make sure to have a clean workspace and all your supplies within reach to make the process smoother.
Step 1: Painting the Base
 Start by applying a base coat to your nails to protect them and extend the life of your nail art. Once the base coat is dry, use the black nail polish to paint all of your nails. You can also use a dark red or burgundy shade for a unique twist on the traditional Misfits color palette.
Step 2: Adding the Misfits Logo
 Using the thin nail art brush and the red nail polish, carefully draw the iconic Misfits logo on one of your nails. This can be a bit tricky, so take your time and use a reference image if needed. If you're feeling confident, you can also freehand the logo for a more personal touch.
Step 3: Creating the Skull Design
 On another nail, use the dotting tool and the black nail polish to create a small skull design. Start by making two small dots for the eyes and then use the dotting tool to draw a small triangle for the nose and a larger triangle for the mouth. You can also add crossbones or other punk rock elements to the design if you'd like.
Step 4: Adding the Finishing Touches
 Once the nail art is dry, apply a top coat to seal in your design and add shine. While the top coat is still wet, use a toothpick or the dotting tool to carefully place some nail art gems or studs on your nails. This will add an extra pop of punk to your Misfits nail art.
Expressing Your Love for Misfits Through Nail Art
 Nail art is a fun and creative way to showcase your interests and personality. By following this tutorial, you can create a unique and eye-catching Misfits nail art design that will make a statement and show off your love for the band. So grab your supplies and get ready to rock out with your new Misfits-inspired nails.


