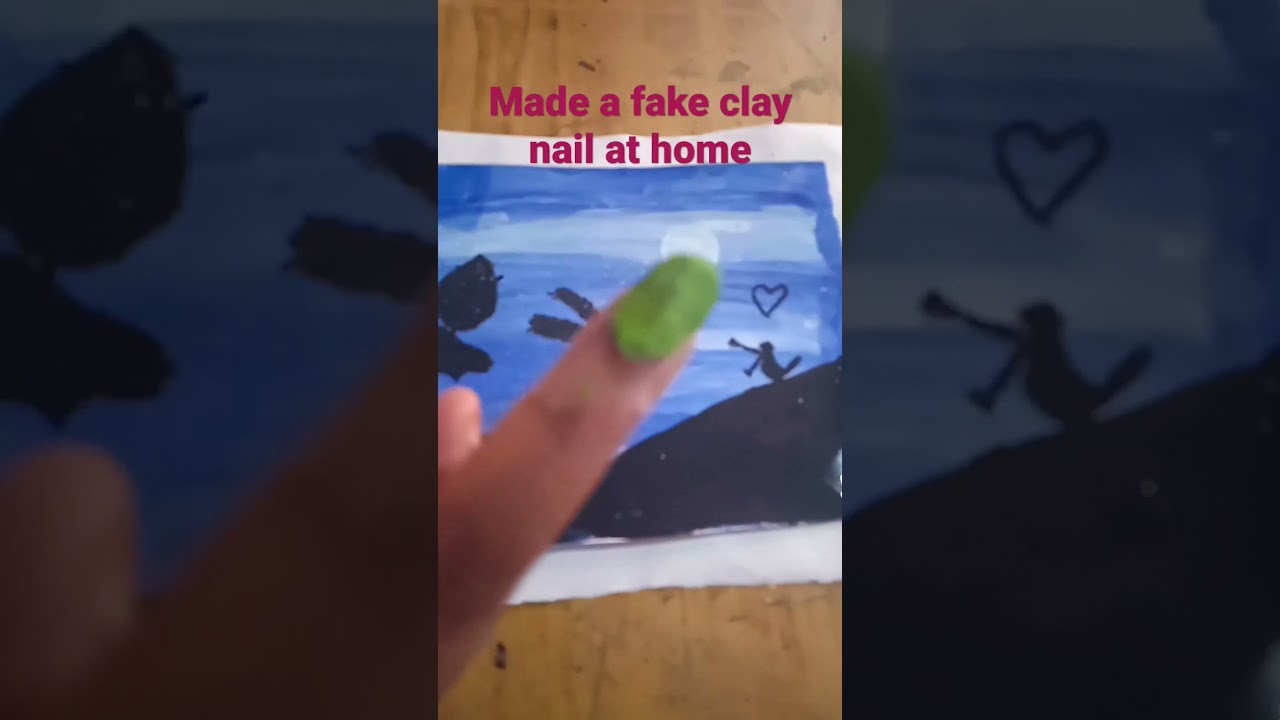
Are you tired of the same old nail art designs? Looking for a new and creative way to decorate your nails? Look no further than modeling clay nail art! With just a few simple steps, you can create stunning designs that will have everyone asking where you got your nails done. In this tutorial, we will show you how to make your own modeling clay nail art at home. Featured Keywords: Modeling clay nail art, create, stunning designs, tutorial, home.1. DIY Modeling Clay Nail Art Tutorial


1. DIY Modeling Clay Nail Art Tutorial


Modeling clay is a versatile material that can be molded into any shape or design. Using it for nail art is a fun and unique way to express your creativity. The best part? You don't need any special skills or tools to create show-stopping designs. All you need is some modeling clay, nail polish, and a few basic supplies. Let's dive into the steps for making your own stunning modeling clay nail art. Featured Keywords: Nail art, modeling clay, create, unique, creativity.2. How to Create Stunning Nail Art with Modeling Clay


2. How to Create Stunning Nail Art with Modeling Clay


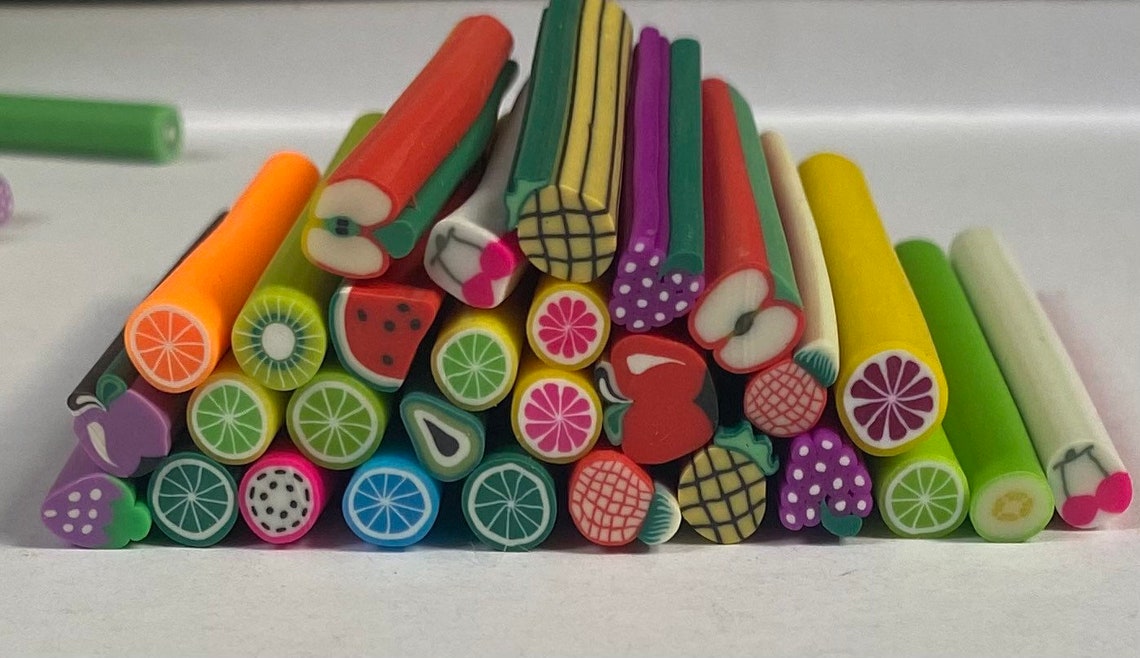
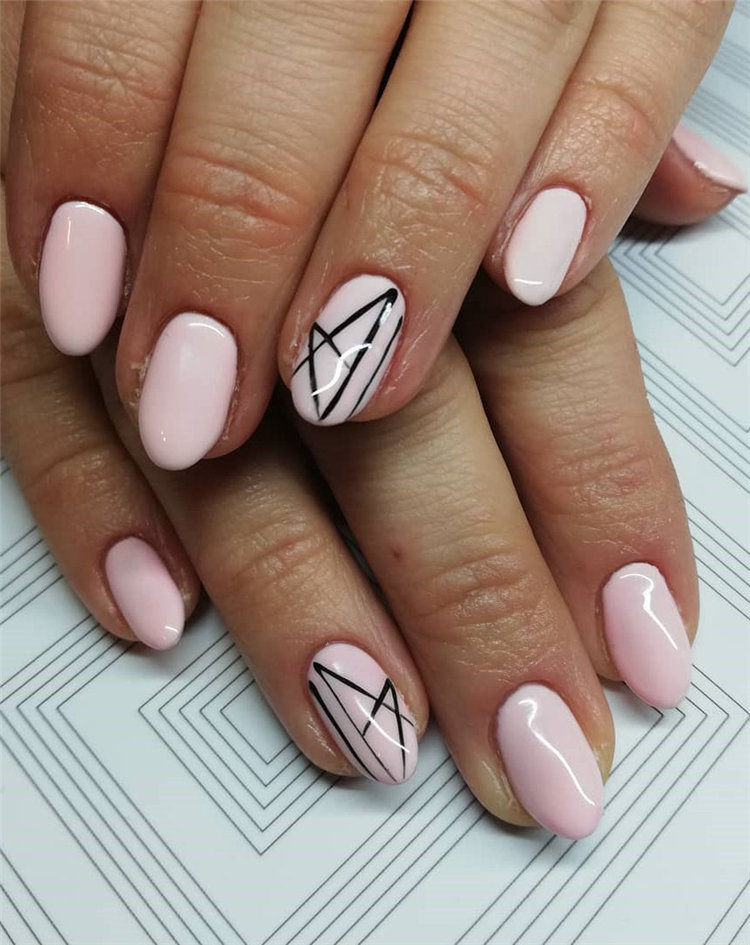
If you're new to modeling clay nail art, the thought of creating your own designs may seem daunting. But don't worry, we've got you covered! Here are some easy and beginner-friendly ideas to get you started: Marbled Nails: Roll out two different colors of modeling clay and twist them together to create a marbled effect. Cut thin slices and apply them to your nails for a colorful and unique look. Flower Nails: Use small pieces of modeling clay to create 3D flowers on your nails. You can mix and match different colors to create a bouquet on your fingertips. Fruit Nails: Cut out small fruit shapes from modeling clay and stick them on your nails for a fun and playful look. Pineapples, watermelons, and strawberries are some popular choices. Featured Keywords: Modeling clay nail art, ideas, beginners, easy, marbled nails, flower nails, fruit nails.3. Modeling Clay Nail Art Ideas for Beginners


3. Modeling Clay Nail Art Ideas for Beginners


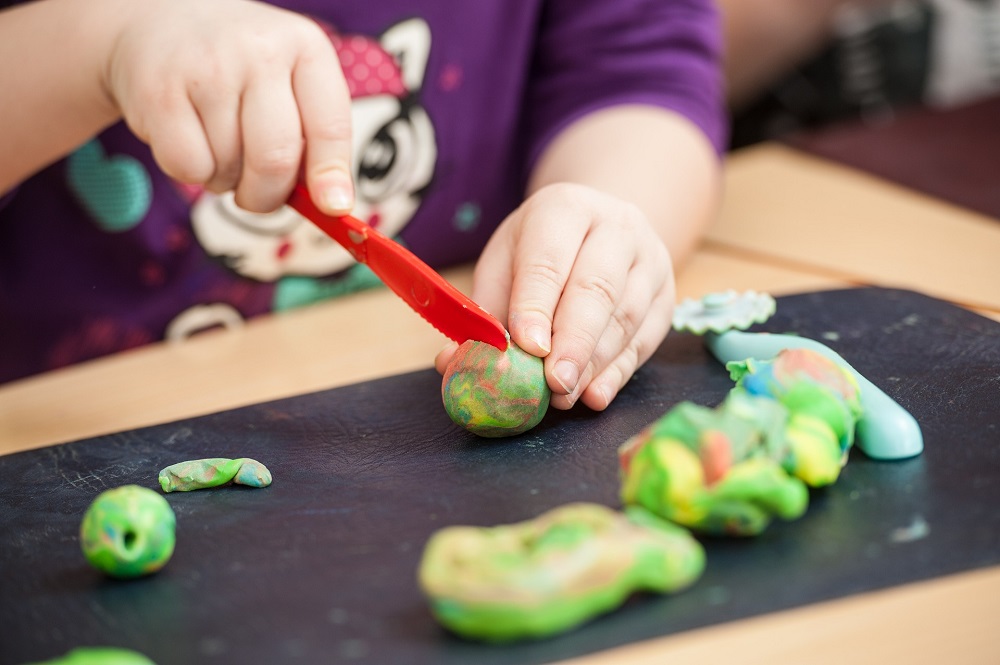
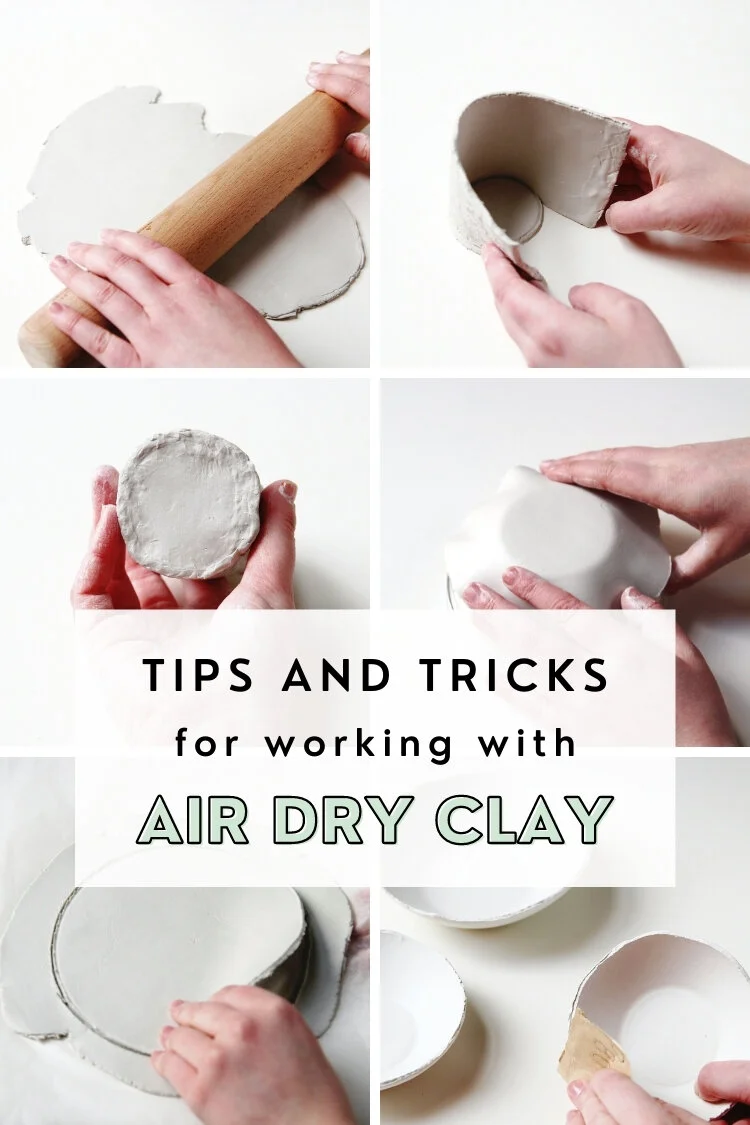
Now that you have some ideas, let's dive into the step-by-step process of creating your own modeling clay nail art: Step 1: Prep Your Nails: Start by cleaning and shaping your nails. Apply a base coat of clear nail polish to protect your nails and help the modeling clay stick. Step 2: Choose Your Colors: Choose the colors of modeling clay you want to use for your design. You can mix and match different colors or use just one. Step 3: Roll Out the Clay: Roll out the clay on a clean surface until it is about 1/8 inch thick. Use a rolling pin or a clean, smooth bottle to get an even thickness. Step 4: Cut Out Shapes: Use small cookie cutters or a knife to cut out different shapes from the clay. You can also use your fingers to mold the clay directly on your nails. Step 5: Apply to Nails: Carefully place the clay shapes onto your nails, pressing gently to make sure they stick. You can also use a small amount of clear nail polish as glue. Step 6: Seal with Top Coat: Once your design is complete, apply a top coat of clear nail polish to seal the modeling clay and protect your design. Featured Keywords: Step-by-step guide, modeling clay, nail art, prep, roll out, cut out shapes, apply, seal.4. Step-by-Step Guide to Making Modeling Clay Nail Art


4. Step-by-Step Guide to Making Modeling Clay Nail Art

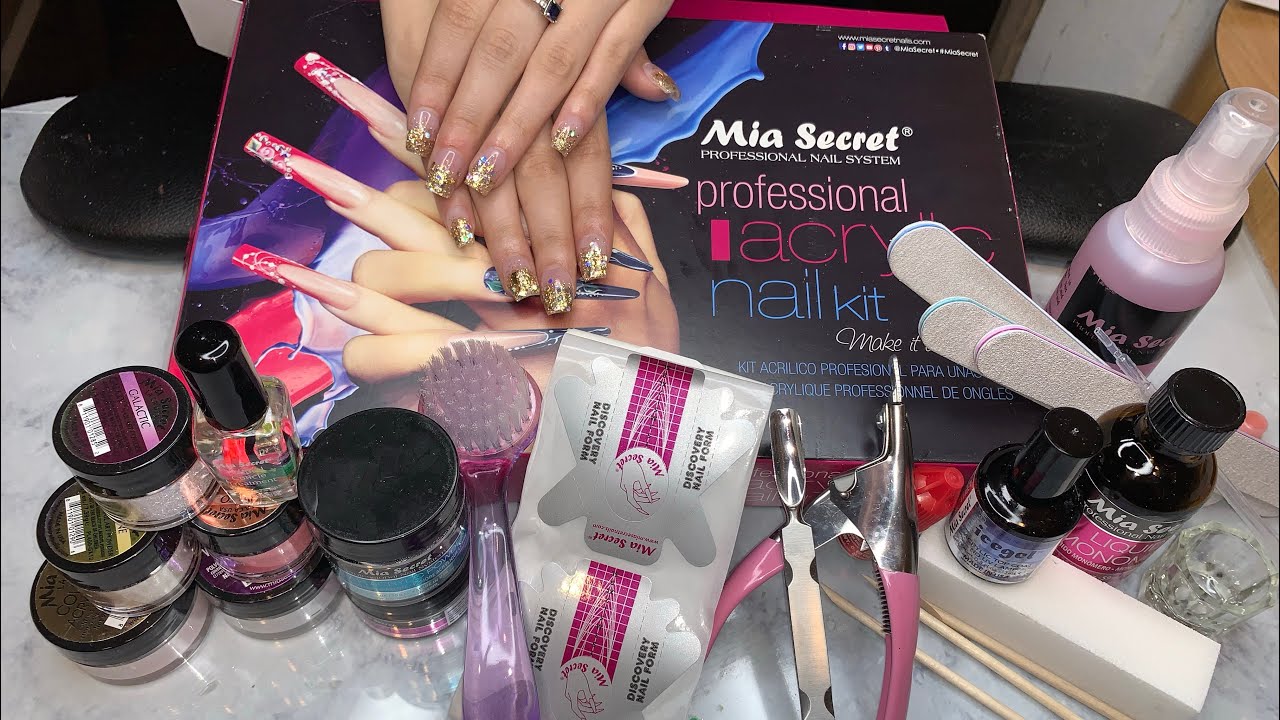
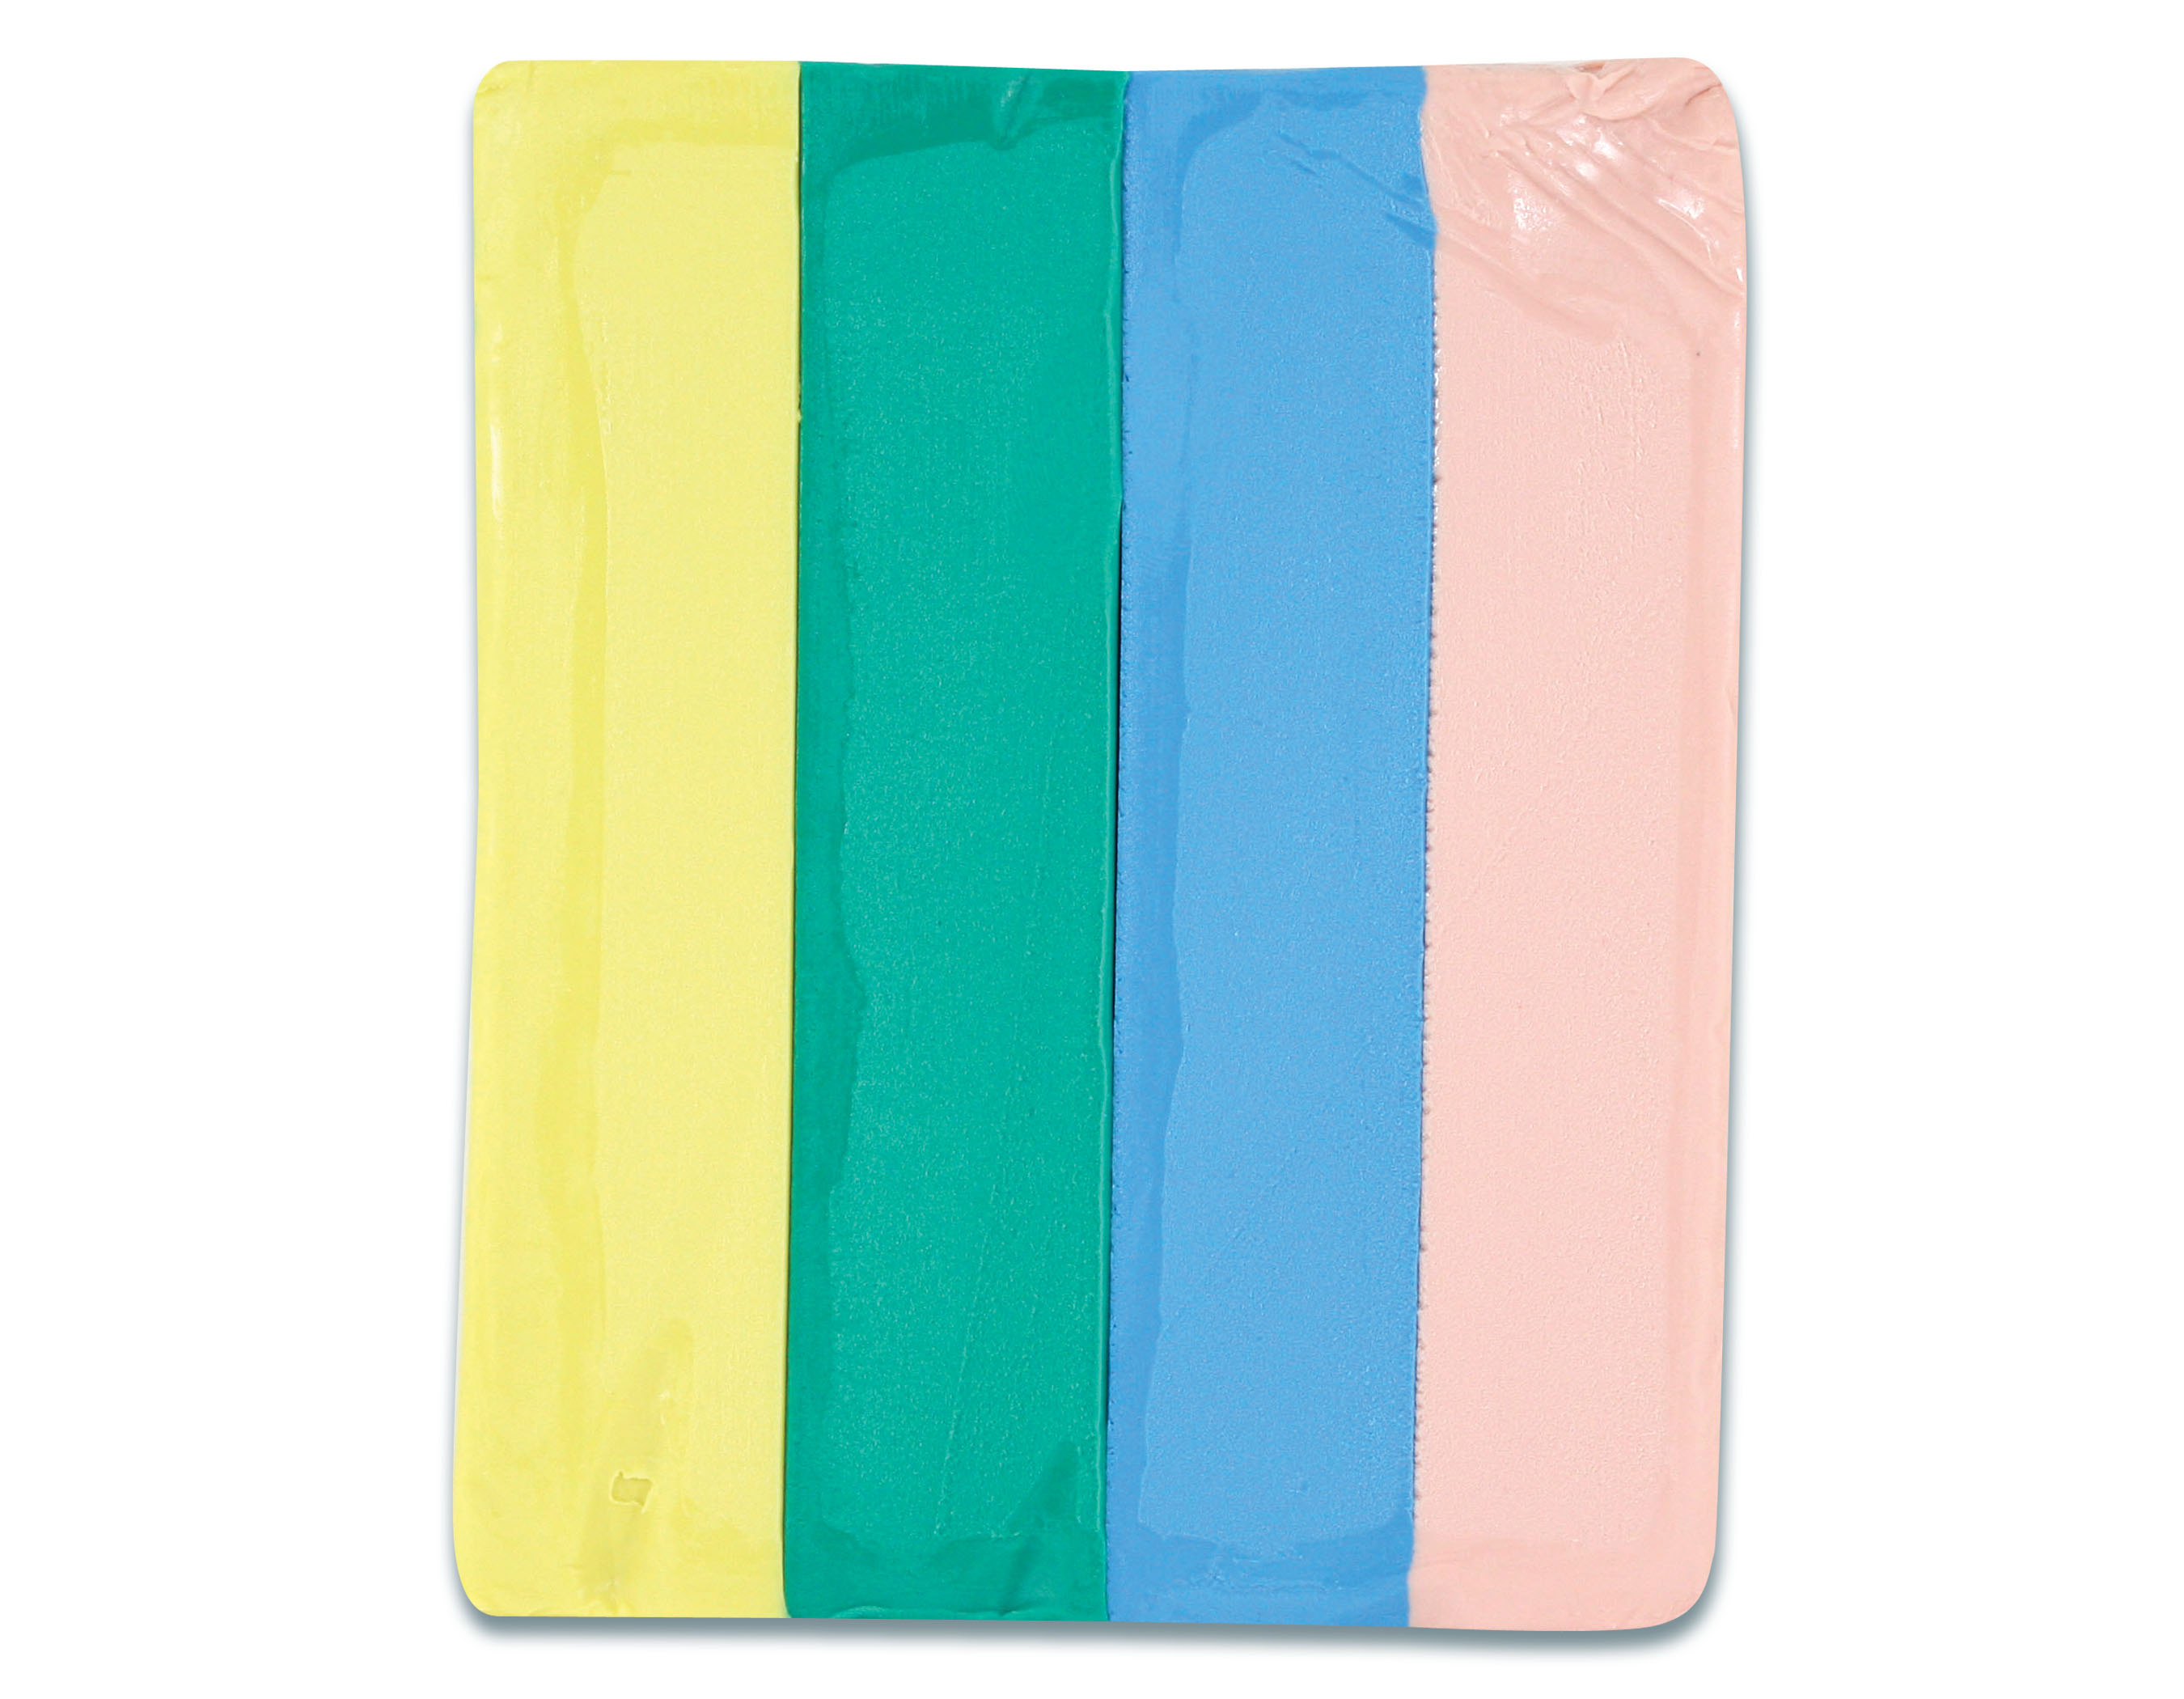
Now that you know the process, let's talk about the supplies you will need to create your own modeling clay nail art: Modeling Clay: You can find modeling clay in a variety of colors and brands at your local craft store or online. Nail Polish: Choose a clear base coat and a top coat, as well as the colors you want to use for your design. Cutting Tools: You can use small cookie cutters, a knife, or even a toothpick to cut out shapes from the modeling clay. Rolling Pin: A rolling pin or a clean bottle will help you roll out the clay evenly. Small Paintbrush: A small paintbrush can help you apply a top coat and seal your design. Featured Keywords: Modeling clay nail art, supplies, clear base coat, top coat, cutting tools, rolling pin, small paintbrush.5. Modeling Clay Nail Art Supplies You Need to Get Started


5. Modeling Clay Nail Art Supplies You Need to Get Started


Modeling clay is not limited to just creating shapes and designs on your nails. Here are some creative ways to use modeling clay for nail art: 3D Designs: Use small pieces of modeling clay to create 3D designs on your nails, such as flowers, animals, or geometric shapes. Texture: You can create texture on your nails by rolling small pieces of modeling clay into balls and pressing them onto your nails. Marbling: As mentioned earlier, you can create a marbled effect by twisting different colors of clay together. Lettering: Roll out thin strips of clay and use them to spell out words or create letter designs on your nails. Featured Keywords: Modeling clay, nail art, creative ways, 3D designs, texture, marbling, lettering.6. Creative Ways to Use Modeling Clay for Nail Art


6. Creative Ways to Use Modeling Clay for Nail Art


One of the best things about modeling clay nail art is that the possibilities are endless. You can create designs for every occasion, whether it's a casual day out or a special event. Here are some ideas to get you started: Valentine's Day: Create heart-shaped designs or use pink and red clay to create a romantic look. Halloween: Use black and orange clay to create spooky designs like bats, pumpkins, or ghosts. Christmas: Get into the holiday spirit with clay designs of snowflakes, trees, or presents. Weddings: Create elegant designs with white and gold clay for a bride-to-be or her bridal party. Featured Keywords: Modeling clay nail art, designs, occasions, Valentine's Day, Halloween, Christmas, weddings.7. Modeling Clay Nail Art Designs for Every Occasion
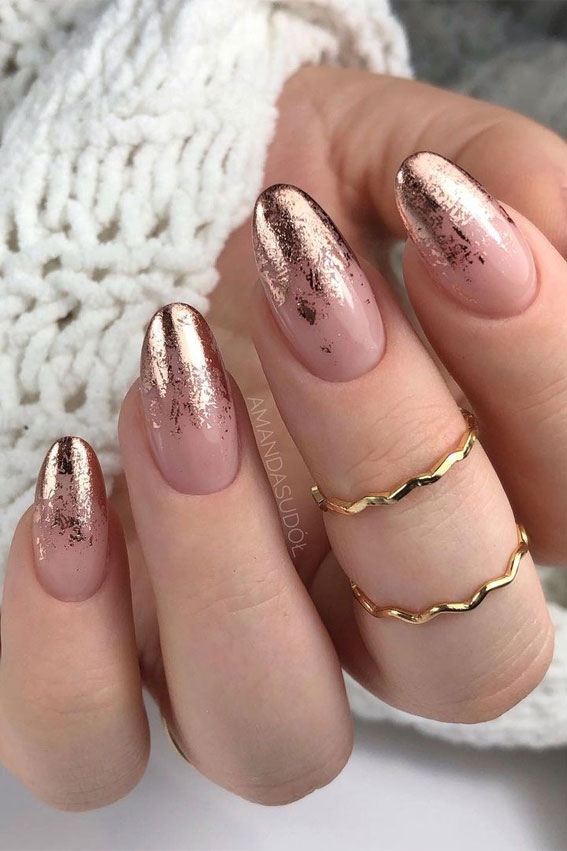

7. Modeling Clay Nail Art Designs for Every Occasion


Creating modeling clay nail art takes practice, but with these tips and tricks, you'll be a pro in no time: Use a Light Touch: When applying the clay to your nails, use a light touch to avoid squishing or misshaping the designs. Experiment with Different Techniques: Don't be afraid to try different techniques, such as marbling, texture, or 3D designs, to find what works best for you. Seal with a Top Coat: Applying a top coat will not only seal your design but also help the clay stick better to your nails. Have Fun and Be Creative: The most important tip is to have fun and let your creativity flow. Don't worry about making mistakes, as they can often turn into happy accidents. Featured Keywords: Modeling clay, nail art, tips and tricks, light touch, experiment, seal, have fun, creative.8. Tips and Tricks for Perfecting Your Modeling Clay Nail Art


8. Tips and Tricks for Perfecting Your Modeling Clay Nail Art


If you're still looking for inspiration, head over to Instagram and search for #modelingclaynailart. You'll find countless creative designs and ideas from nail artists all over the world. Don't be afraid to give them a try and put your own spin on them! Featured Keywords: Modeling clay nail art, inspiration, Instagram, creative designs, nail artists.9. Modeling Clay Nail Art Inspiration from Instagram


9. Modeling Clay Nail Art Inspiration from Instagram

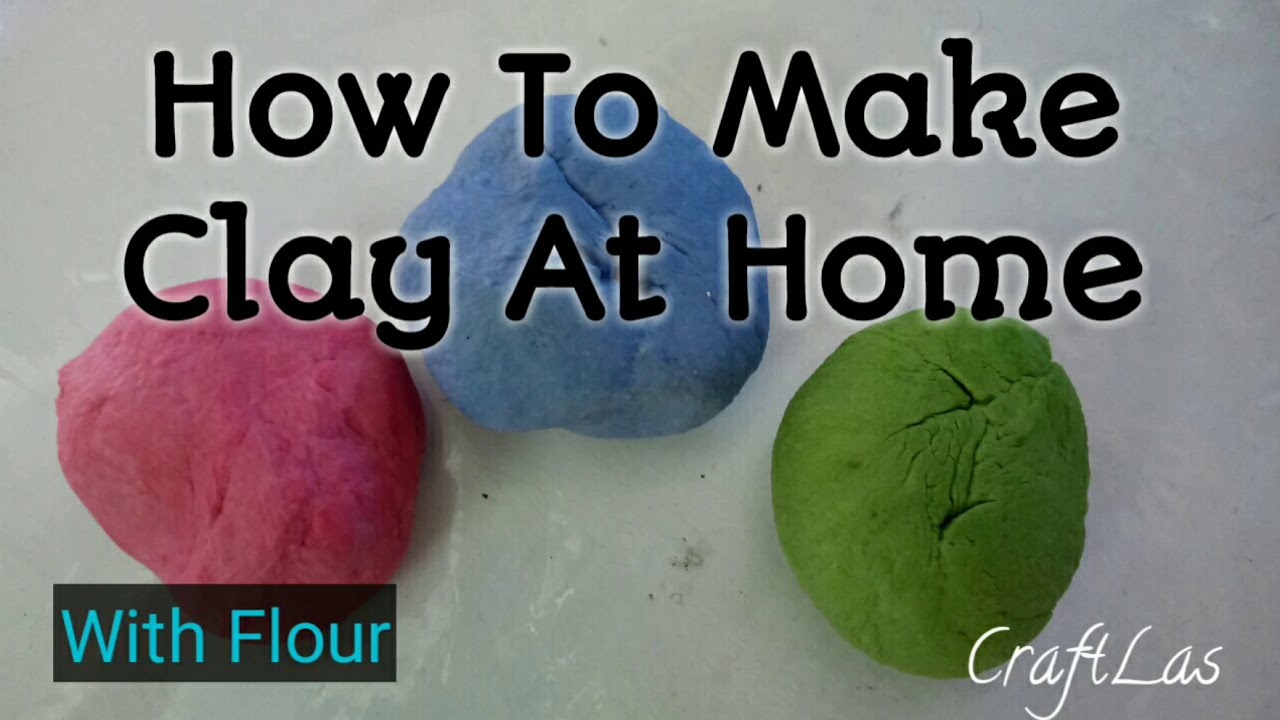
If you can't find modeling clay in your area or just want to save some money, you can make your own at home. Here's a simple recipe: Ingredients: - 1 cup baking soda - 1/2 cup cornstarch - 3/4 cup water Instructions: 1. In a saucepan, mix the baking soda and cornstarch. 2. Slowly add in the water while stirring constantly. 3. Heat the mixture over medium heat, stirring until it thickens to a clay-like consistency. 4. Let the mixture cool before using it for your nail art. Featured Keywords: Modeling clay, nail art, make your own, baking soda, cornstarch, water, recipe.10. How to Make Your Own Modeling Clay for Nail Art

10. How to Make Your Own Modeling Clay for Nail Art


Creating Unique Nail Designs with Modeling Clay

Unleashing Your Creativity
 If you're tired of the same old nail designs and want to take your nail game to the next level, then you should consider
modeling clay nail art
. This innovative and
versatile
technique allows you to
create endless designs
with ease. Whether you want to add a pop of color, texture, or intricate details, modeling clay is the perfect medium to bring your nail art ideas to life. Let's explore the world of modeling clay nail art and how you can use it to take your nail designs to a whole new level.
If you're tired of the same old nail designs and want to take your nail game to the next level, then you should consider
modeling clay nail art
. This innovative and
versatile
technique allows you to
create endless designs
with ease. Whether you want to add a pop of color, texture, or intricate details, modeling clay is the perfect medium to bring your nail art ideas to life. Let's explore the world of modeling clay nail art and how you can use it to take your nail designs to a whole new level.
What is Modeling Clay Nail Art?
 Modeling clay nail art involves using
soft and pliable
clay to create unique designs on your nails. This technique is different from traditional nail art, where designs are painted on the nails using polish. With modeling clay, you can
mold, shape, and sculpt
the clay however you want, and then attach it to your nails. The clay is then
baked or air-dried
to create a hardened and durable design that will last for weeks.
Modeling clay nail art involves using
soft and pliable
clay to create unique designs on your nails. This technique is different from traditional nail art, where designs are painted on the nails using polish. With modeling clay, you can
mold, shape, and sculpt
the clay however you want, and then attach it to your nails. The clay is then
baked or air-dried
to create a hardened and durable design that will last for weeks.
Unlimited Design Possibilities
 One of the
biggest advantages
of modeling clay nail art is the unlimited design possibilities it offers. You can
mix and blend
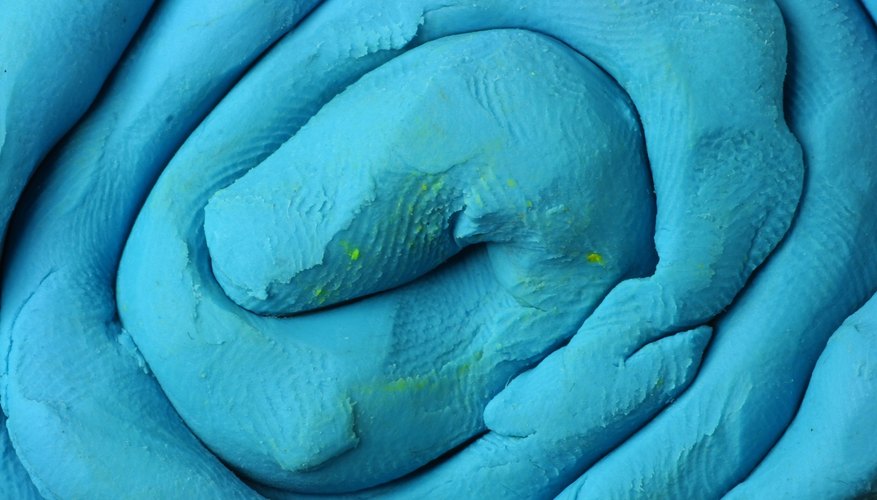
different colors of clay to create unique shades and effects. You can also
add texture
to your designs by using tools to create patterns or by pressing objects onto the clay, such as lace or sequins. The
3D effect
of modeling clay adds a whole new dimension to your nail designs, making them stand out from the crowd.
One of the
biggest advantages
of modeling clay nail art is the unlimited design possibilities it offers. You can
mix and blend
different colors of clay to create unique shades and effects. You can also
add texture
to your designs by using tools to create patterns or by pressing objects onto the clay, such as lace or sequins. The
3D effect
of modeling clay adds a whole new dimension to your nail designs, making them stand out from the crowd.
Easy and Long-Lasting
 Not only is modeling clay nail art
fun and creative
, but it's also
easy to do
and
long-lasting
. Unlike traditional nail art, where designs can easily chip or smudge, modeling clay designs are
resilient and durable
. You can also
reapply
the clay if needed and touch up any imperfections, making it a
convenient
and
cost-effective
option for long-term nail art.
Not only is modeling clay nail art
fun and creative
, but it's also
easy to do
and
long-lasting
. Unlike traditional nail art, where designs can easily chip or smudge, modeling clay designs are
resilient and durable
. You can also
reapply
the clay if needed and touch up any imperfections, making it a
convenient
and
cost-effective
option for long-term nail art.
Get Started with Modeling Clay Nail Art
 Now that you know the basics of modeling clay nail art, it's time to
unleash your creativity
and try it out for yourself. The best part about this technique is that
anyone
can do it, regardless of their skill level. So, gather your modeling clay, tools, and some inspiration, and start creating unique and eye-catching nail designs that will make a statement.
Get ready to show off your one-of-a-kind nails
with modeling clay nail art.
Now that you know the basics of modeling clay nail art, it's time to
unleash your creativity
and try it out for yourself. The best part about this technique is that
anyone
can do it, regardless of their skill level. So, gather your modeling clay, tools, and some inspiration, and start creating unique and eye-catching nail designs that will make a statement.
Get ready to show off your one-of-a-kind nails
with modeling clay nail art.


