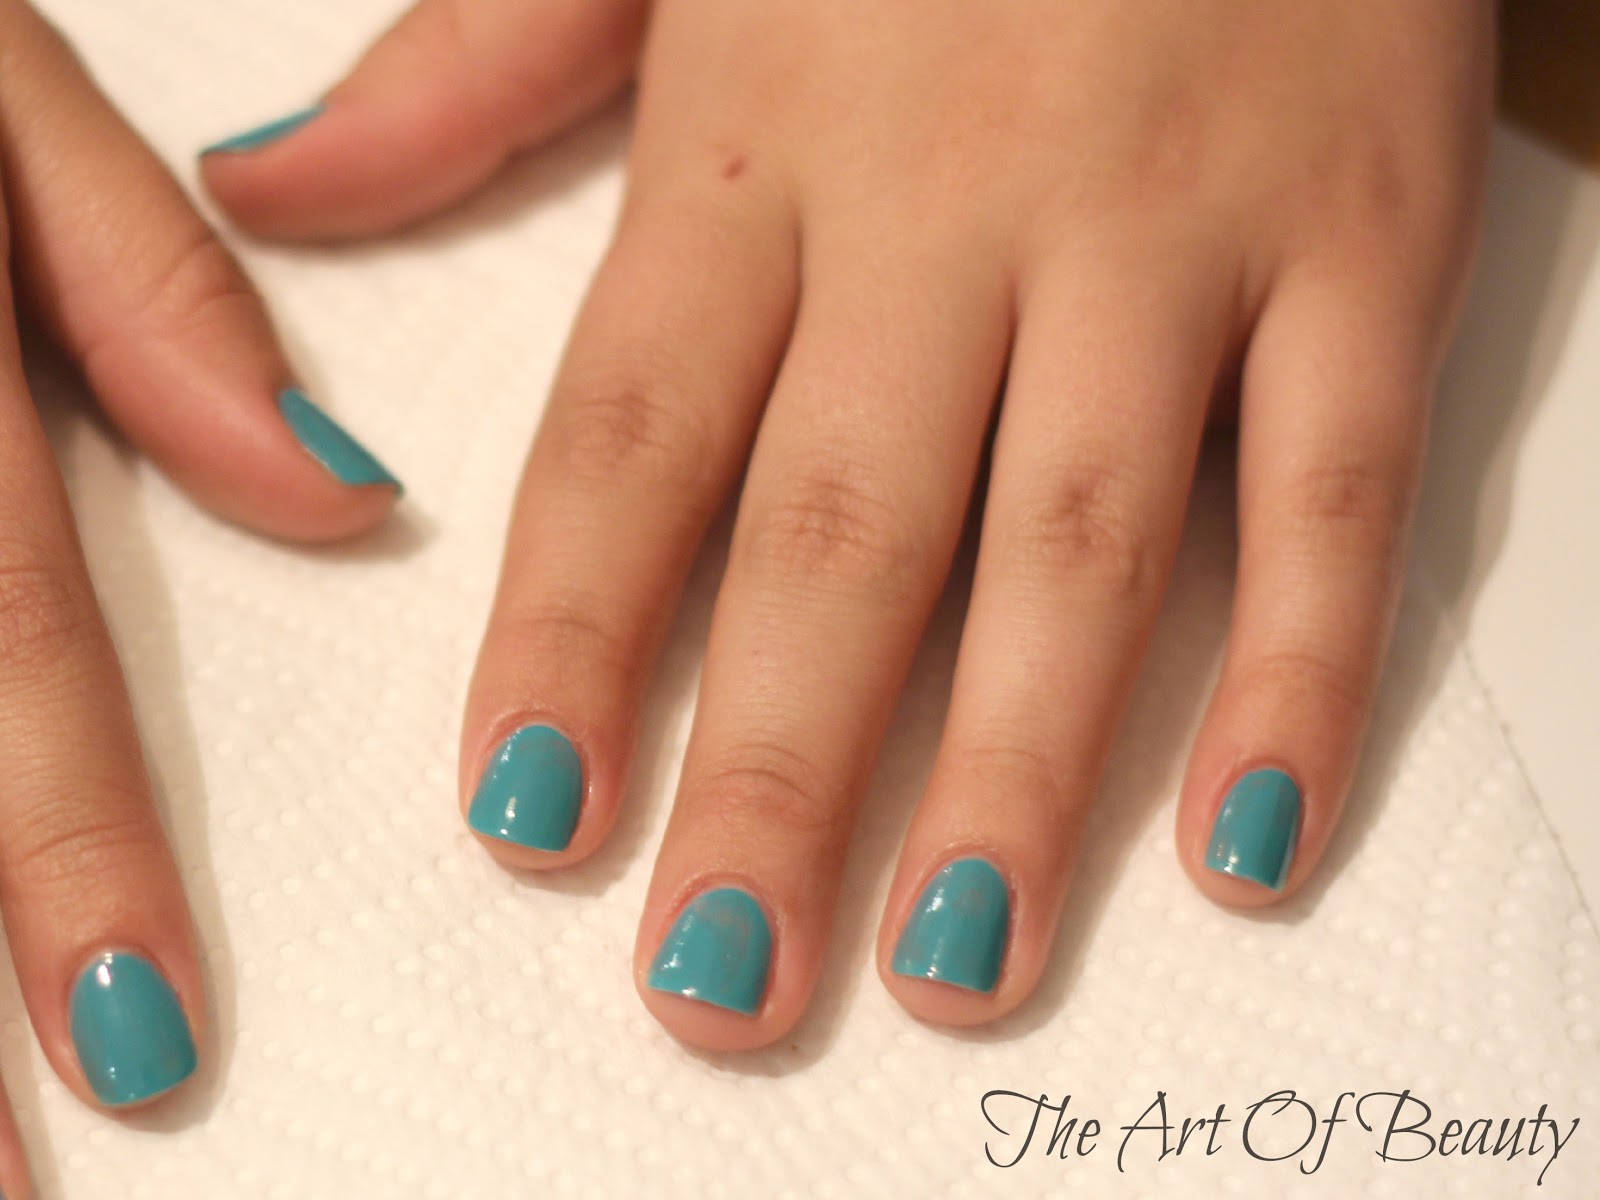
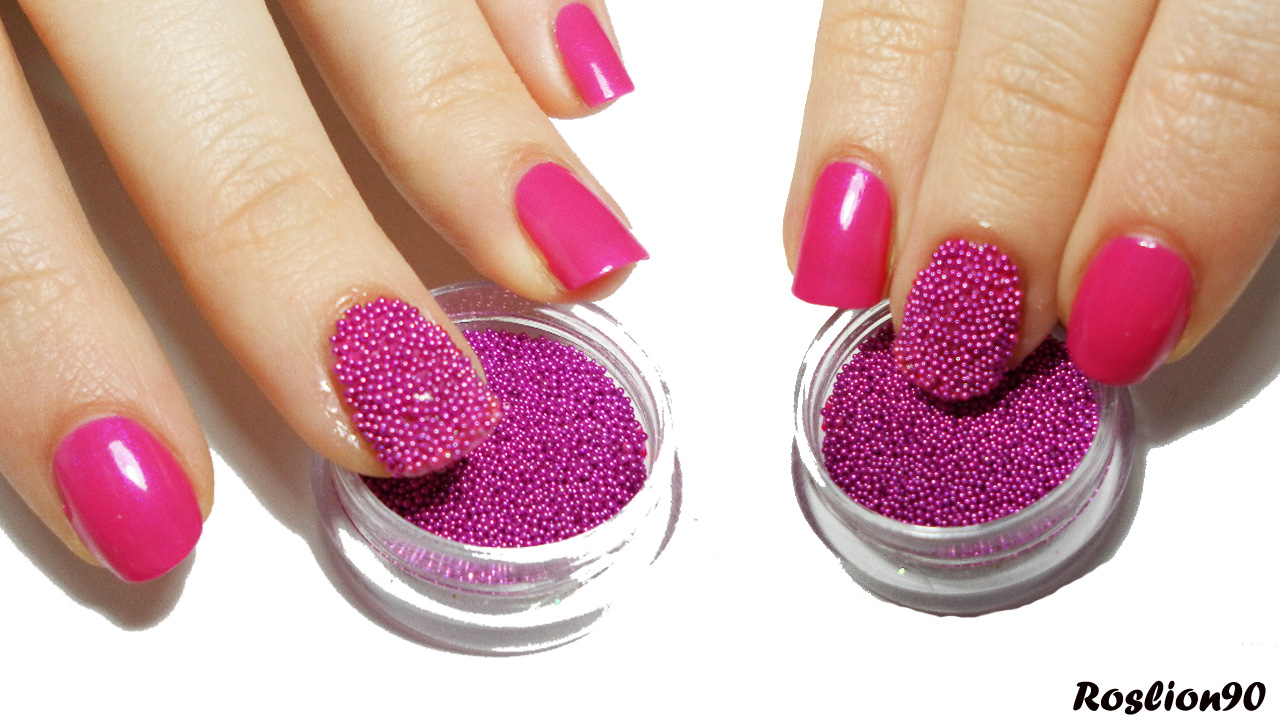
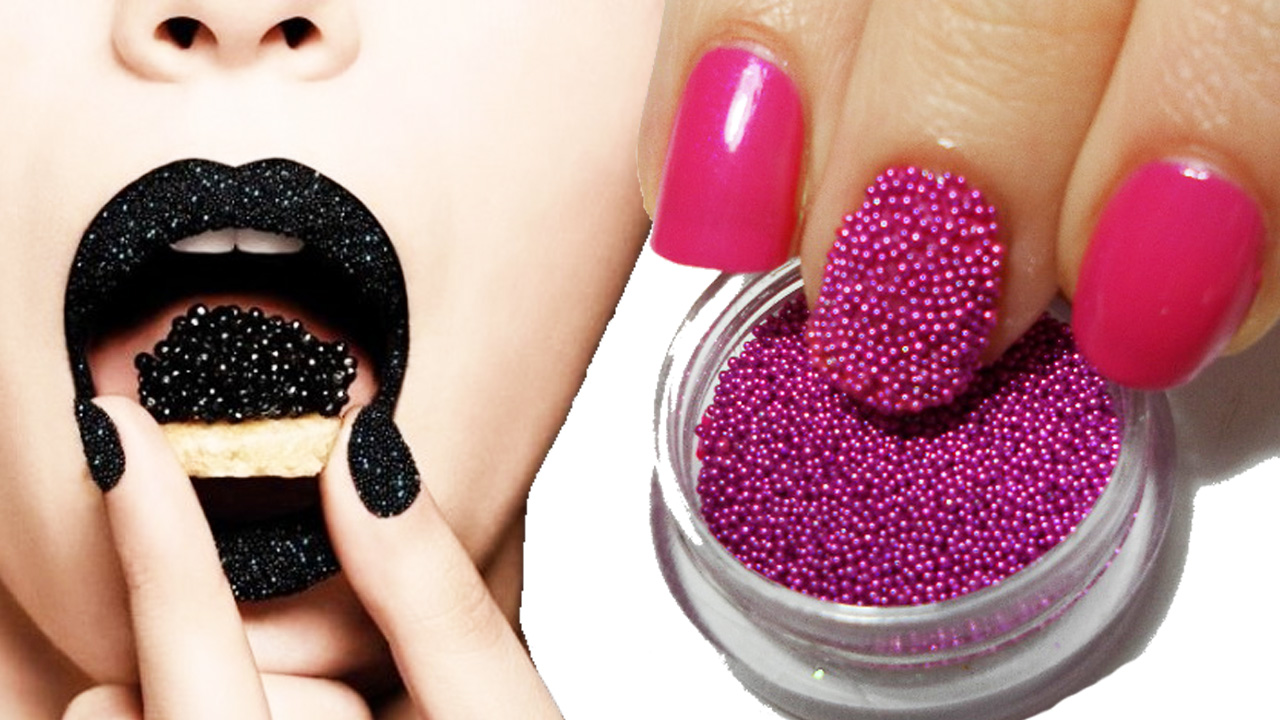
Are you looking for a unique and eye-catching nail art design? Look no further than caviar manicures! This trendy nail art style uses tiny beads to create a 3D effect on your nails. While it may seem intimidating at first, creating a caviar nail art design is actually quite simple. Follow this step-by-step tutorial to learn how to achieve this stunning look. Start by applying a base coat to your nails to protect them from the colored beads. Once the base coat has dried, apply two coats of your chosen nail polish color. For best results, choose a color that will complement the caviar beads you will be using. Next, take your caviar beads and pour them onto a flat surface, such as a piece of paper or a small tray. Gently press your painted nail into the beads, making sure they cover the entire nail. Use a clean brush or your finger to press the beads down firmly. Once your nail is fully covered in beads, gently press them down again to make sure they are secure. Shake off any excess beads and use a clean brush to sweep away any beads that are not stuck to the nail. Repeat the process on all of your nails and wait for them to dry completely. Once dry, use a top coat to seal in the beads and give your manicure a glossy finish. And voila! You now have a stunning caviar nail art design.1. Caviar Nail Art Tutorial

.JPG)

1. Caviar Nail Art Tutorial


Love the look of caviar nails but don't want to spend a fortune at the salon? You can easily create a DIY caviar manicure at home with just a few simple materials. Start by following the same steps as the caviar nail art tutorial mentioned above. Apply a base coat, two coats of nail polish, and then press the beads onto your nails. Once your nails are dry, instead of using a top coat, take a clear nail polish and apply it over the beads, making sure to cover the entire nail. This will act as a sealant for the beads and prevent them from falling off. Another option for a DIY caviar manicure is to use microbeads instead of traditional caviar beads. These beads are smaller and more affordable, making them a great alternative for at-home nail art. Simply follow the same steps as above, but use the microbeads instead of caviar beads. With these DIY options, you can achieve a stunning caviar manicure without breaking the bank.2. DIY Caviar Manicure


2. DIY Caviar Manicure


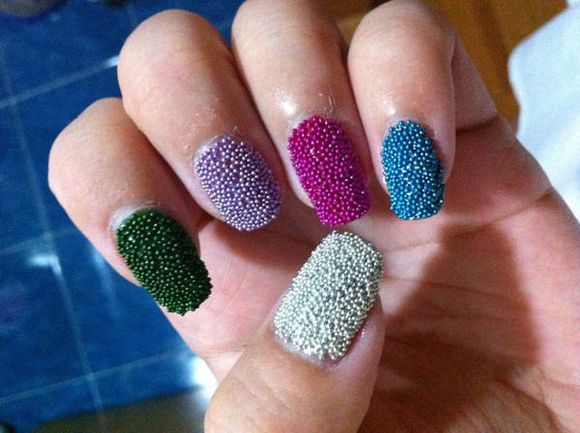
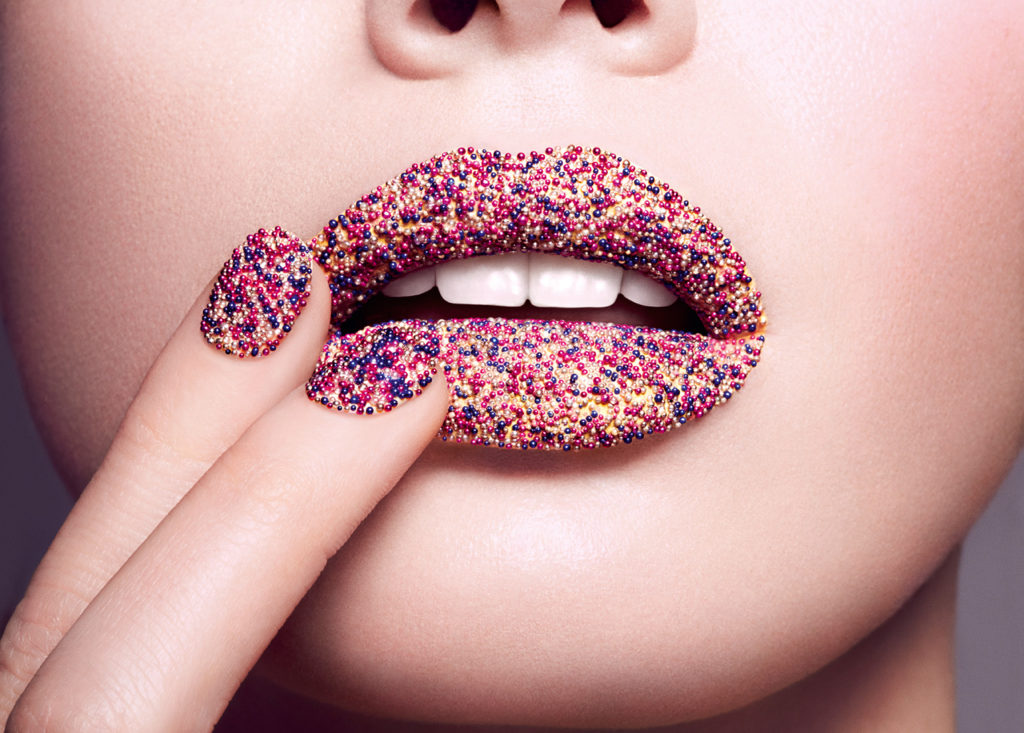
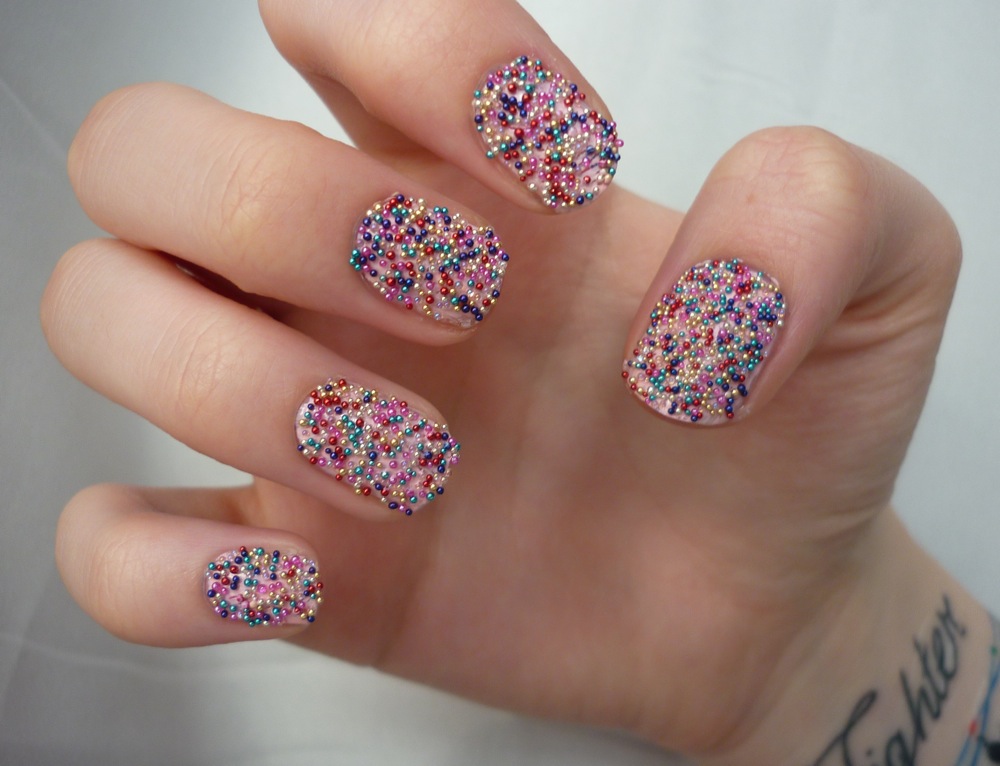
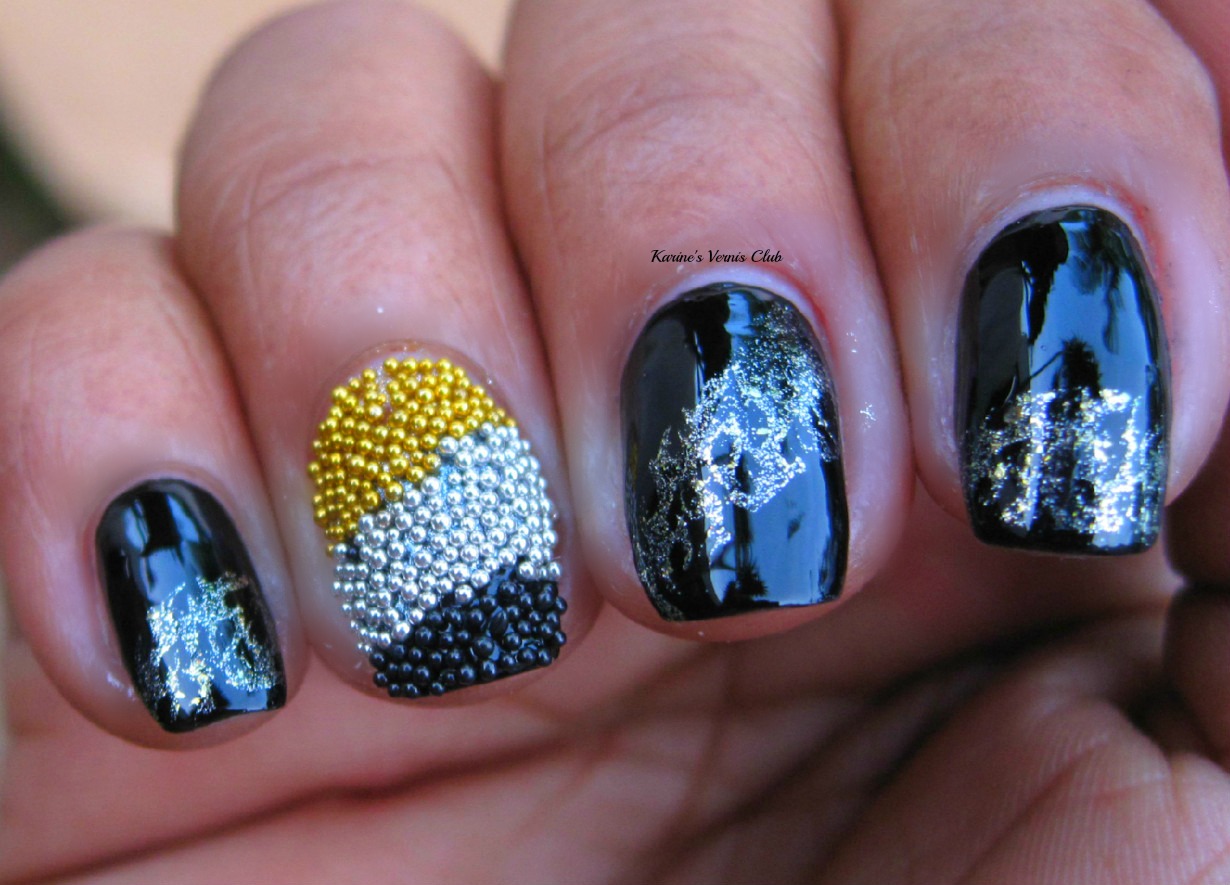
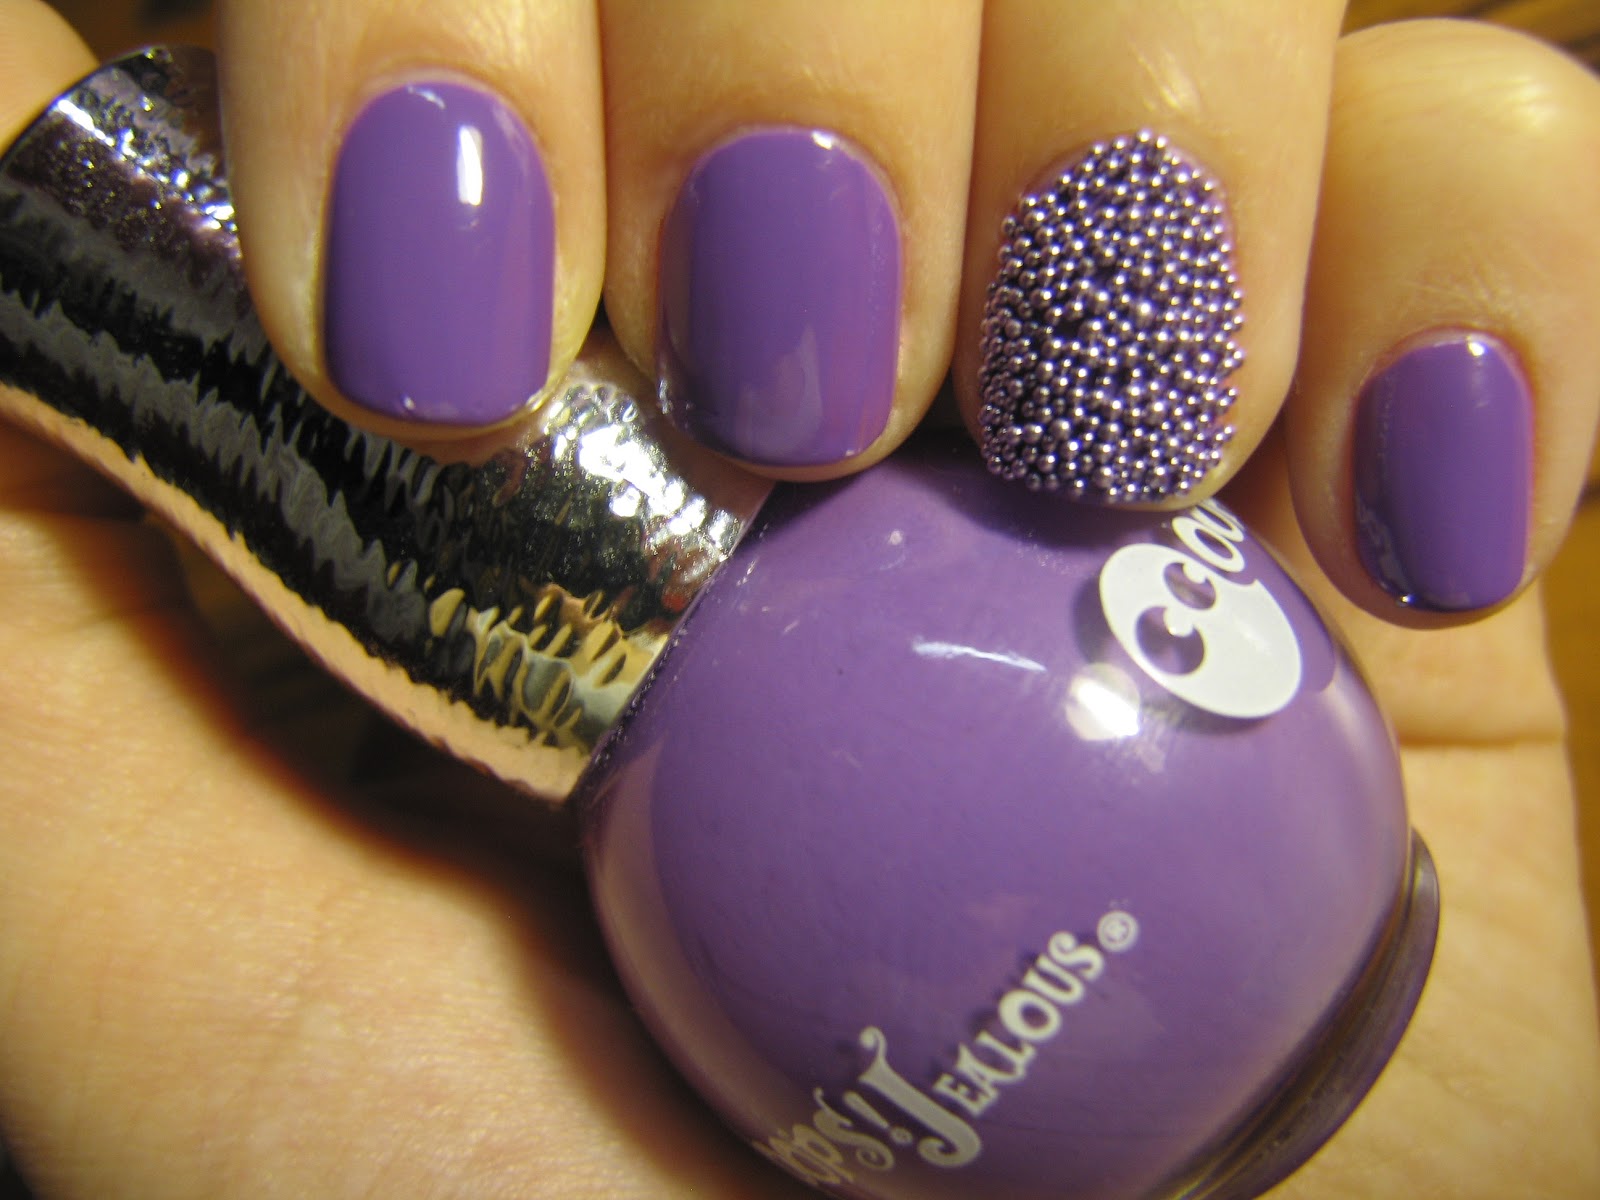
One of the great things about caviar nail art is the endless design possibilities. You can mix and match colors, create patterns and even add other embellishments to your caviar nails. For a classic and elegant look, try a black and gold caviar manicure. Apply a black base coat and use gold caviar beads to create a luxurious look. You can also add a touch of sparkle by using metallic gold or silver beads. If you're feeling bold, try a rainbow caviar manicure. Apply a white base coat and use multi-colored caviar beads to create a fun and vibrant look. You can also use different shades of the same color for a more subtle rainbow effect. For a more unique design, try mixing caviar beads with other nail art techniques. You can create a half-moon design and fill in the empty space with caviar beads. Or, use caviar beads to create a French tip manicure. The possibilities are endless with caviar nail art.3. Caviar Nail Art Designs


3. Caviar Nail Art Designs


Creating a caviar manicure is a simple process that anyone can do. However, there are a few tips and tricks to keep in mind to ensure your caviar nails turn out perfectly. First and foremost, be sure to use a base coat and top coat for your caviar manicure. This will help the beads stick to your nails and prevent them from falling off. It will also give your manicure a longer lifespan. When applying the caviar beads, be sure to press them firmly onto your nails. This will help them stick and prevent any beads from falling off. You can also use a small brush or your finger to press the beads down and shape them into the desired design. After your caviar manicure is complete, be sure to wait for it to dry completely before doing any activities that may cause the beads to fall off. It's also best to avoid using water for the first 24 hours to ensure the beads stay in place.4. How to Create a Caviar Manicure

4. How to Create a Caviar Manicure


To help you achieve the perfect caviar nails, here is a step-by-step guide to follow: Step 1: Prep your nails by applying a base coat. Step 2: Apply two coats of your chosen nail polish color and let it dry completely. Step 3: Pour your caviar beads onto a flat surface. Step 4: Gently press your painted nail into the beads, making sure they cover the entire nail. Step 5: Use a clean brush or your finger to press the beads down firmly. Step 6: Gently press the beads down again to ensure they are secure. Step 7: Shake off any excess beads and use a clean brush to sweep away any beads that are not stuck to the nail. Step 8: Repeat the process on all of your nails. Step 9: Wait for your nails to dry completely. Step 10: Apply a top coat to seal in the beads and give your manicure a glossy finish.5. Caviar Nails Step by Step


5. Caviar Nails Step by Step
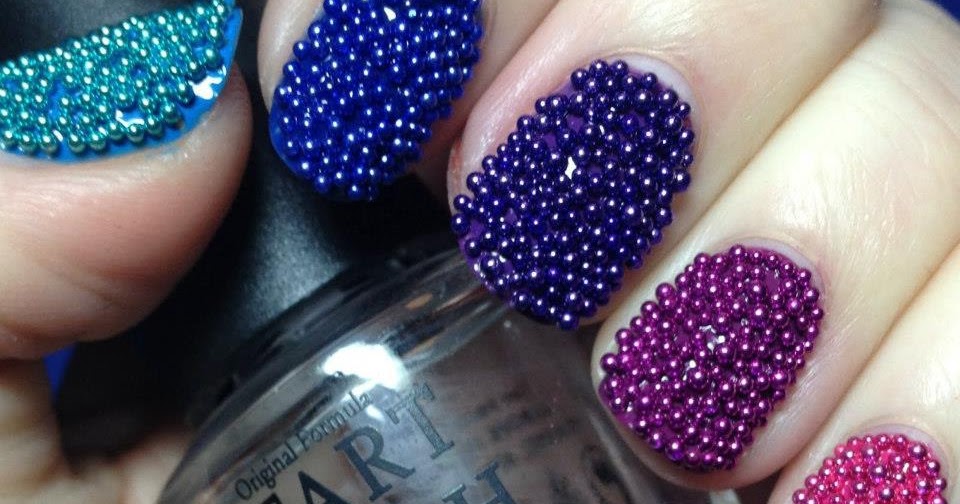

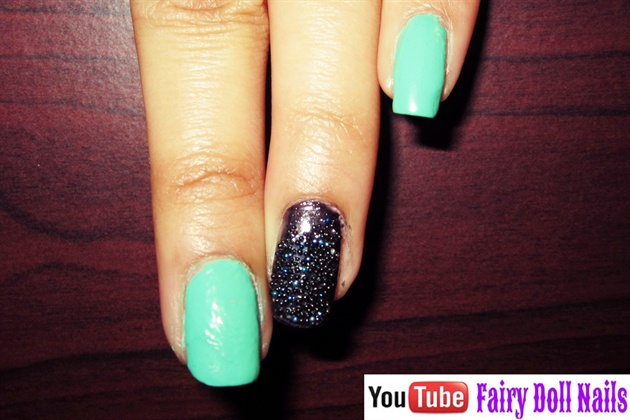
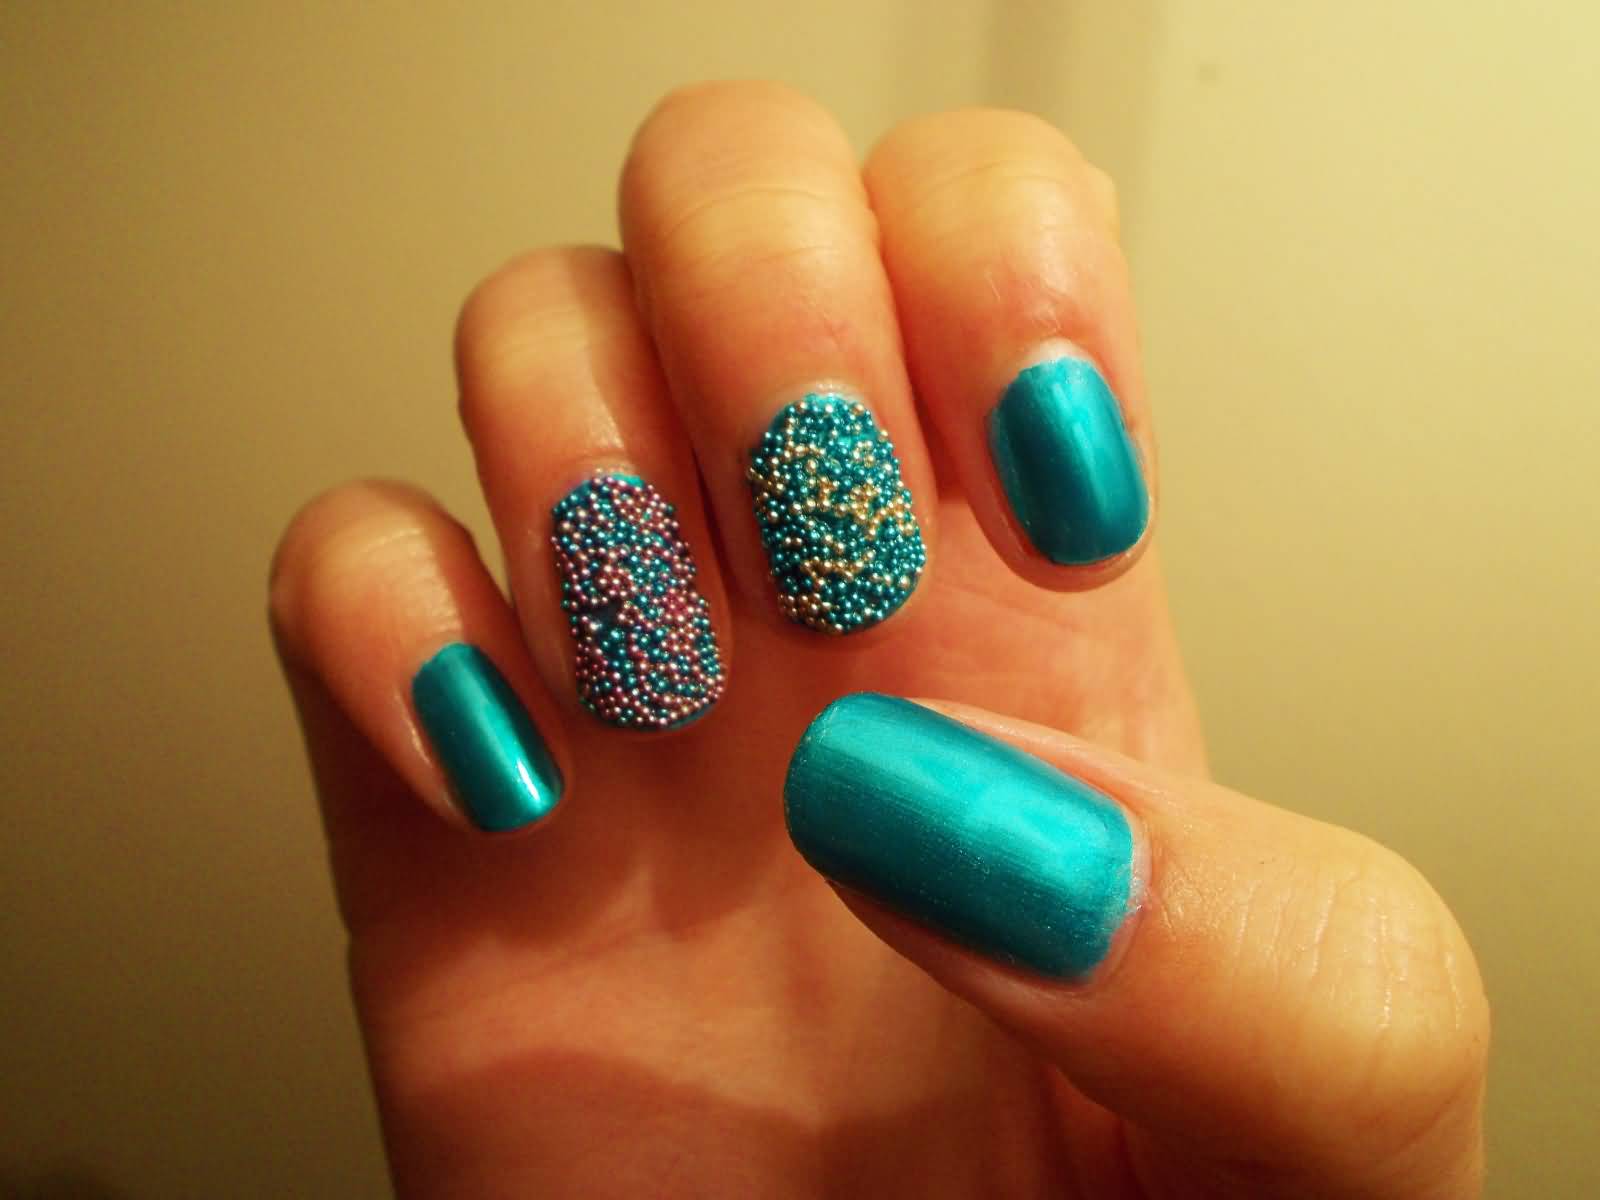
If you're in need of some inspiration for your next caviar nail art design, here are a few ideas to get you started: - Use pastel-colored caviar beads for a soft and feminine look. - Create a ombre effect by using different shades of the same color for your caviar beads. - Add a pop of glitter by using metallic caviar beads. - Create a beachy look by using blue caviar beads and adding a shell or starfish embellishment. - Use black caviar beads on a white base for a chic and sophisticated look.6. Caviar Nail Art Ideas
6. Caviar Nail Art Ideas
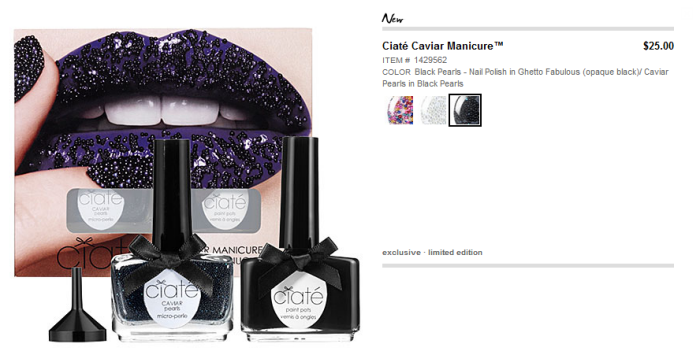
While caviar manicures are often associated with professional salons, they can easily be done at home with a little practice and the right supplies. To achieve a caviar manicure at home, you will need caviar beads, a base coat, top coat, and your chosen nail polish colors. You can also purchase a caviar manicure kit, which will include all the necessary supplies and instructions. With a little patience and practice, you can achieve a stunning caviar manicure right in the comfort of your own home.7. Caviar Manicure at Home


7. Caviar Manicure at Home


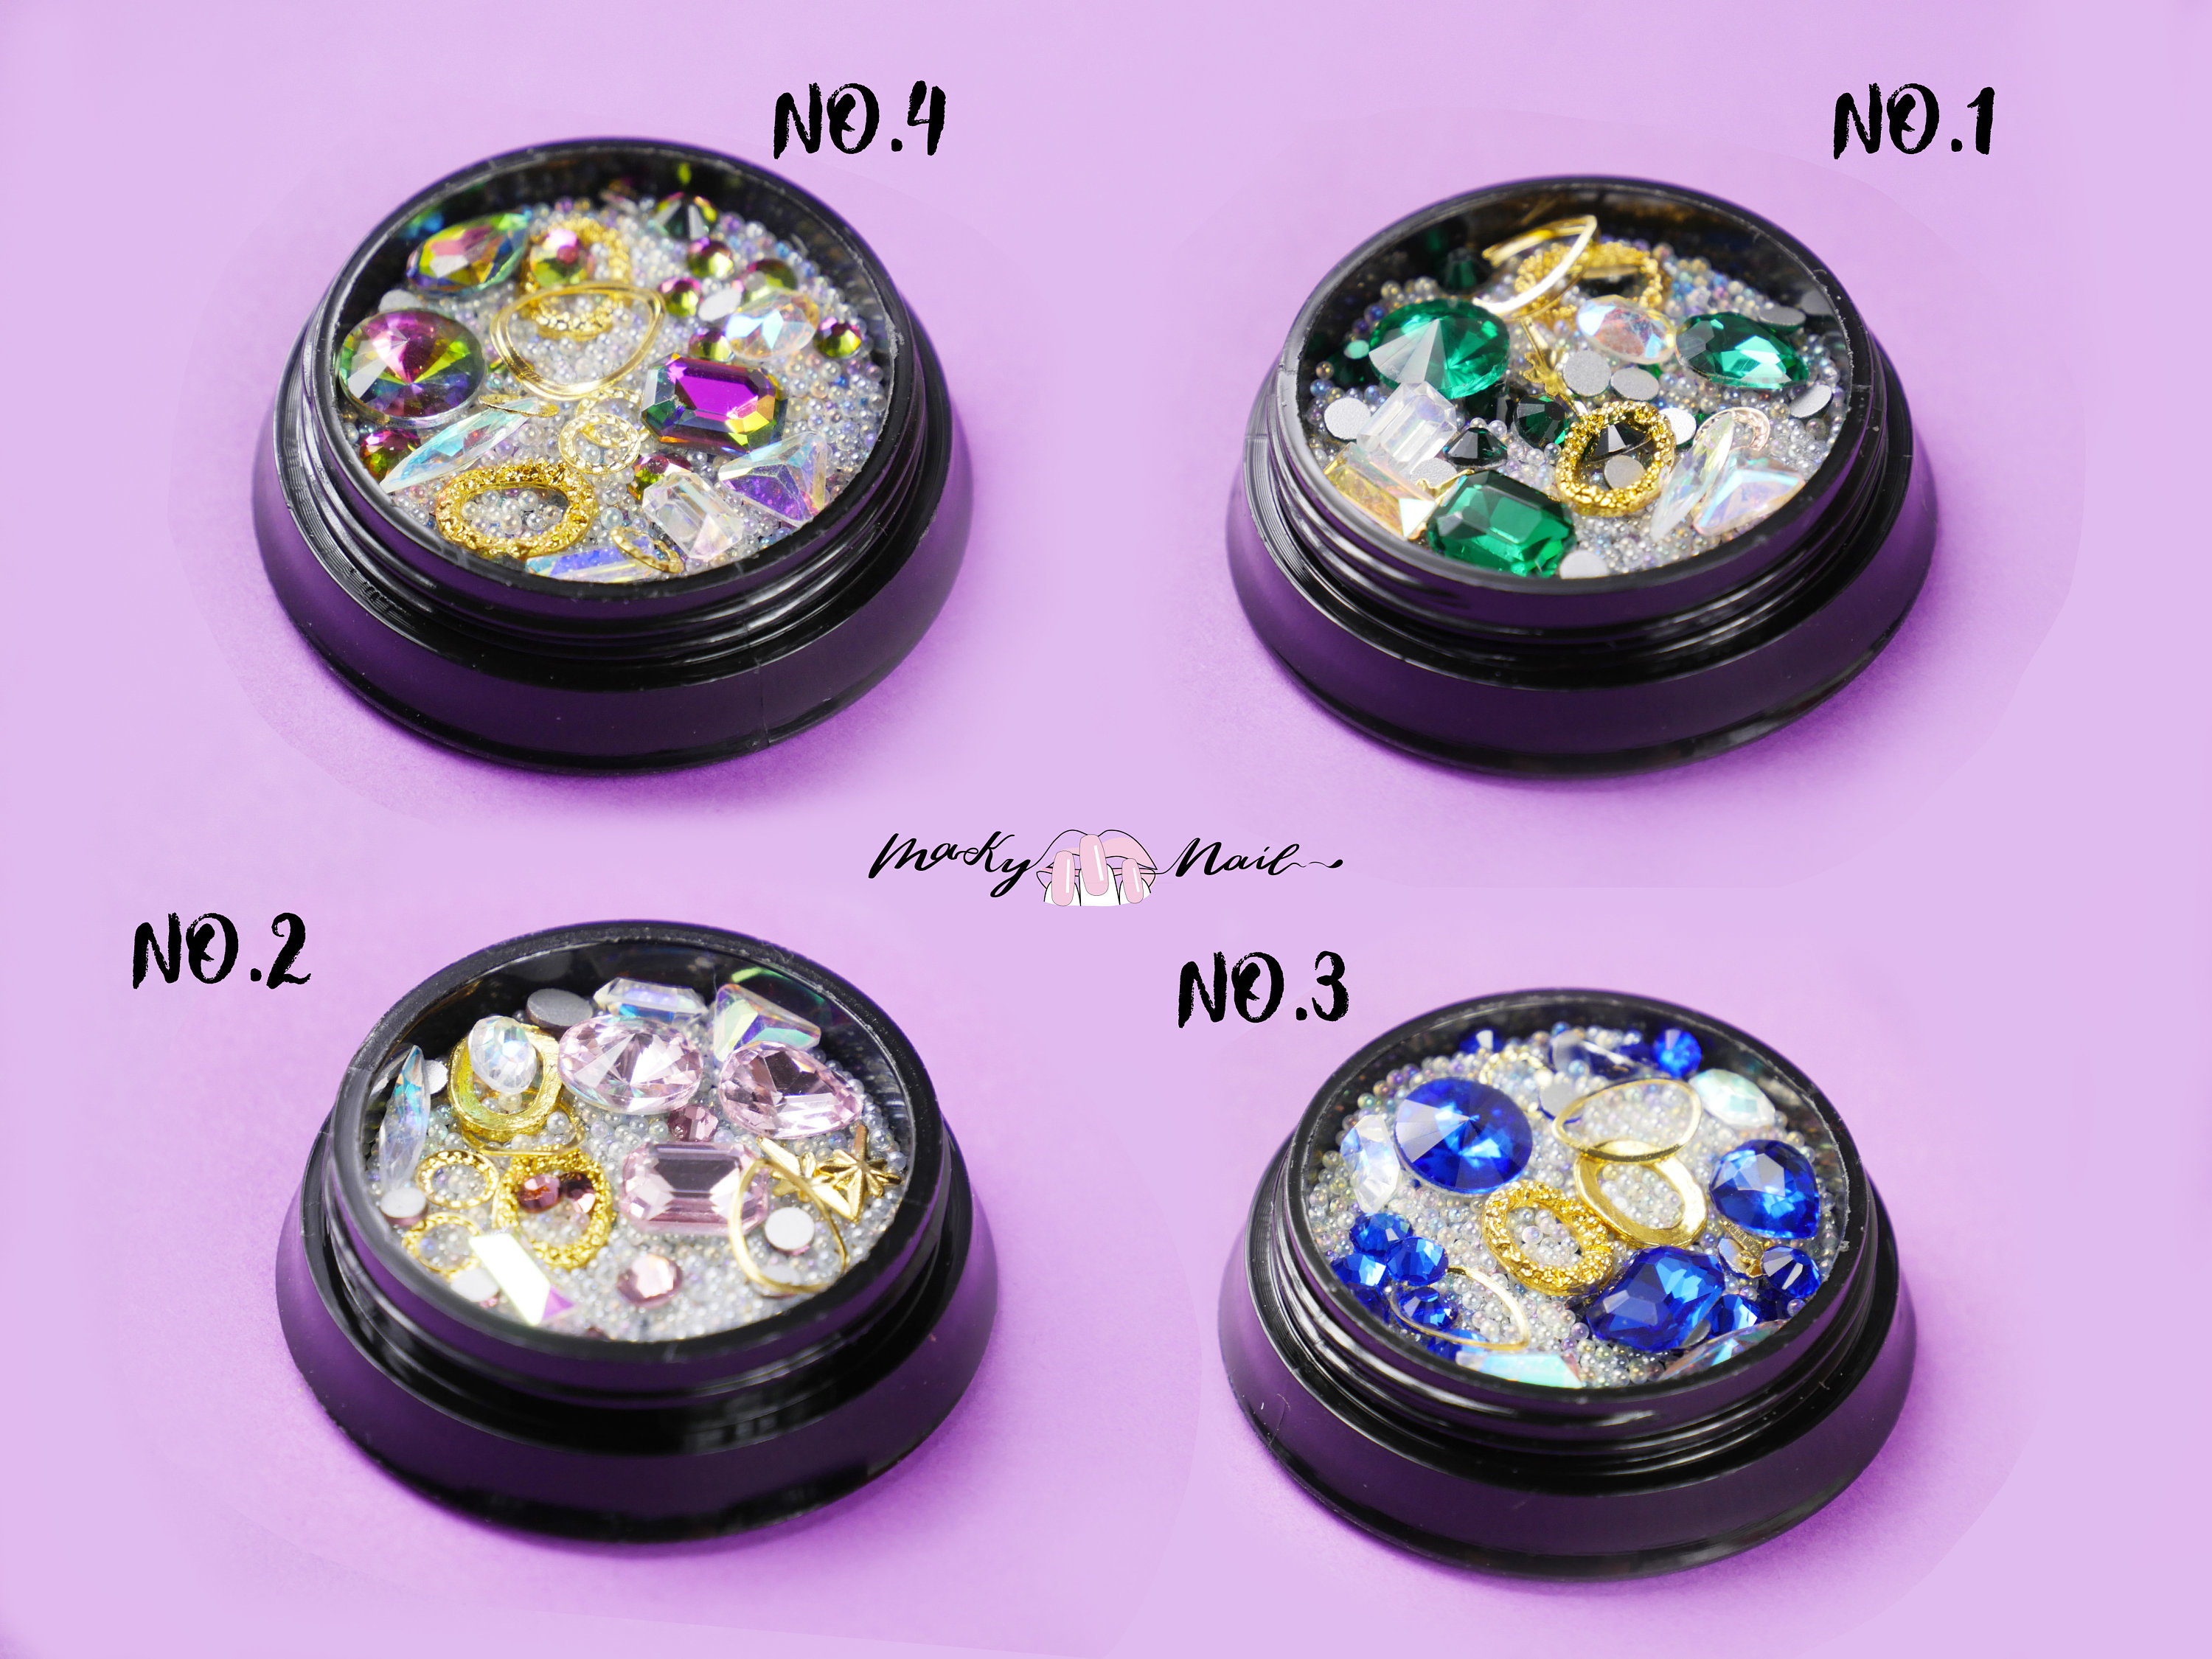
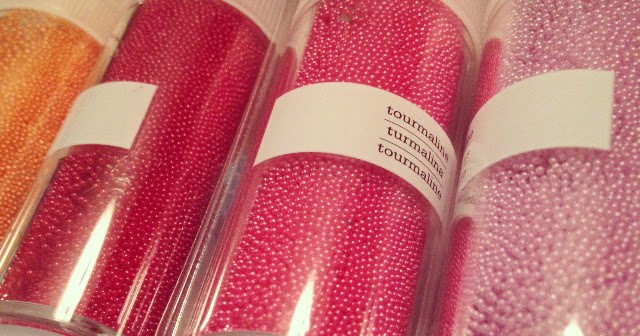
To create a caviar manicure, you will need a few key supplies: - Caviar beads: These can be purchased in a variety of colors and sizes. - Base coat and top coat: These will help the beads stick to your nails and give your manicure a longer lifespan. - Nail polish: Choose your favorite colors to create a unique caviar nail art design. - Small brush or finger: These can be used to press the beads onto your nails and shape them into the desired design.8. Caviar Nail Art Supplies

8. Caviar Nail Art Supplies
Here are a few tips and tricks to keep in mind when creating a caviar manicure: - Use a base coat and top coat for best results. - Press the beads firmly onto your nails to ensure they stick. - Wait for your nails to dry completely before doing any activities that may cause the beads to fall off. - Avoid using water for the first 24 hours to ensure the beads stay in place. - Experiment with different colors, patterns, and designs to find your perfect caviar nail art look.9. Caviar Manicure Tips and Tricks


9. Caviar Manicure Tips and Tricks
If you're still unsure about trying a caviar manicure, here are some beautiful and creative designs to inspire you: - Use black caviar beads on a metallic silver base for a sleek and stylish look. - Create a galaxy-inspired design by using dark blue and purple caviar beads on a black base. - For a chic and elegant look, use gold caviar beads on a nude base with a single gold accent nail. - Add a touch of glamour by using diamond-shaped caviar beads on a black base. - For a fun and playful look, use multi-colored caviar beads on a white base and add a cartoon character or fun design with nail art pens. In conclusion, caviar nail art is a unique and stunning way to elevate your manicure game. With these tips and ideas, you can easily achieve this trendy look at home. So go ahead, try out a caviar manicure and watch your nails transform into a work of art!10. Caviar Nail Art Inspiration


10. Caviar Nail Art Inspiration

Enhance Your Nail Game with a Unique Caviar Manicure

What is a Caviar Manicure?
 If you're someone who loves experimenting with different nail designs, then you've probably heard of the latest trend in the world of nail art – the caviar manicure. This unique manicure involves applying tiny microbeads onto wet nail polish, resulting in a textured, 3D effect on the nails. The beads used are often referred to as "caviar pearls" due to their resemblance to the expensive delicacy. This manicure has taken the beauty world by storm, and for good reason – it's a fun and creative way to elevate your nail game.
How Does It Work?
 The process of creating a caviar manicure is relatively simple. First, a base coat is applied to the nails, followed by a layer of colored nail polish. While the polish is still wet, the caviar pearls are sprinkled onto the nails, and gently pressed down to ensure they stick. Once the pearls are set, a top coat is applied to seal in the design and provide a glossy finish. The result is a stunning manicure that looks like it was done at a professional salon.
Why Choose a Caviar Manicure?
 One of the main reasons why the caviar manicure has become so popular is because of its versatility. With a wide range of colors and bead sizes to choose from, you can create endless combinations and designs on your nails. Plus, the textured effect adds a unique and eye-catching element to your overall look. This type of manicure is also perfect for special occasions or events, as it is sure to make a statement and garner compliments.
How to Maintain Your Caviar Manicure
 While caviar manicures may seem delicate, they can actually last for up to two weeks with proper care. To maintain your manicure, it's essential to avoid exposing your nails to harsh chemicals, such as household cleaners, and to wear gloves when doing chores. It's also best to avoid picking at the beads, as this can cause them to come off prematurely. And when it's time to remove the manicure, simply soak your nails in nail polish remover for a few minutes, and the beads will easily come off.
In conclusion, the caviar manicure is a fun and unique way to add some personality to your nails. With its endless design possibilities and long-lasting results, it's no wonder why it has become a popular choice for nail art enthusiasts. So, why not give your nails a little extra love and try out this trendy manicure for your next at-home spa day? Your fingertips will thank you.
While caviar manicures may seem delicate, they can actually last for up to two weeks with proper care. To maintain your manicure, it's essential to avoid exposing your nails to harsh chemicals, such as household cleaners, and to wear gloves when doing chores. It's also best to avoid picking at the beads, as this can cause them to come off prematurely. And when it's time to remove the manicure, simply soak your nails in nail polish remover for a few minutes, and the beads will easily come off.
In conclusion, the caviar manicure is a fun and unique way to add some personality to your nails. With its endless design possibilities and long-lasting results, it's no wonder why it has become a popular choice for nail art enthusiasts. So, why not give your nails a little extra love and try out this trendy manicure for your next at-home spa day? Your fingertips will thank you.


