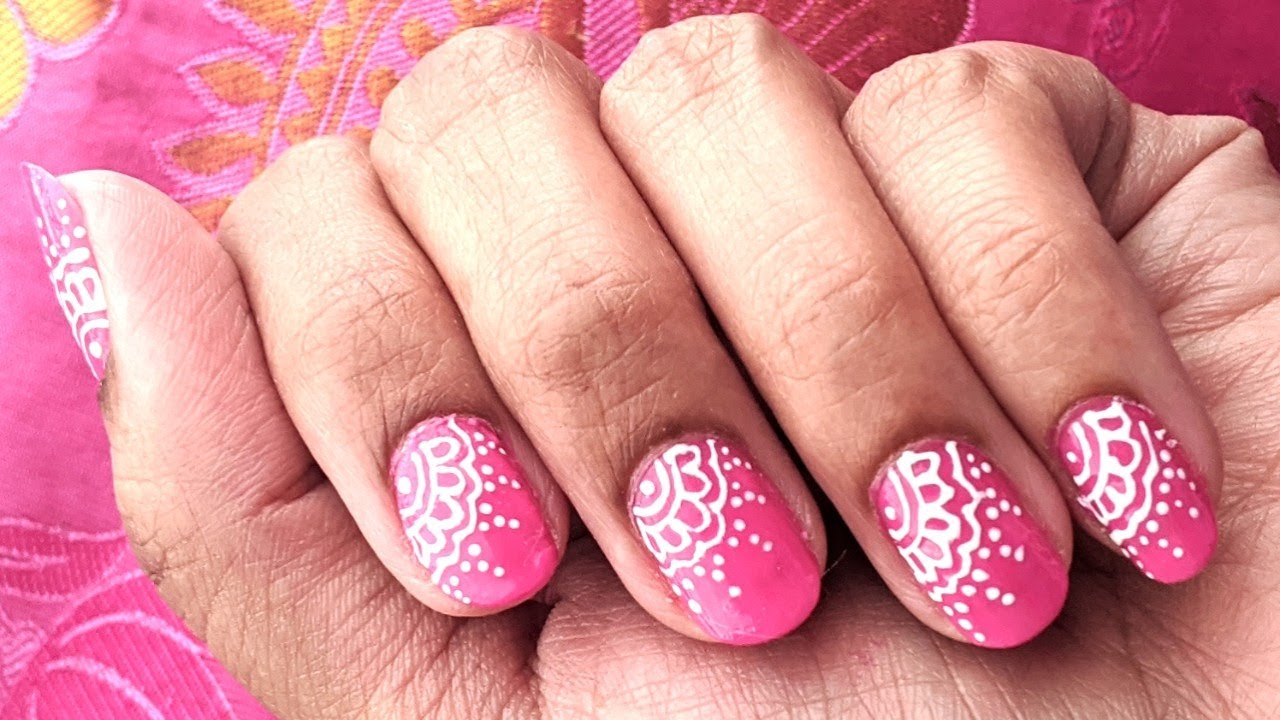
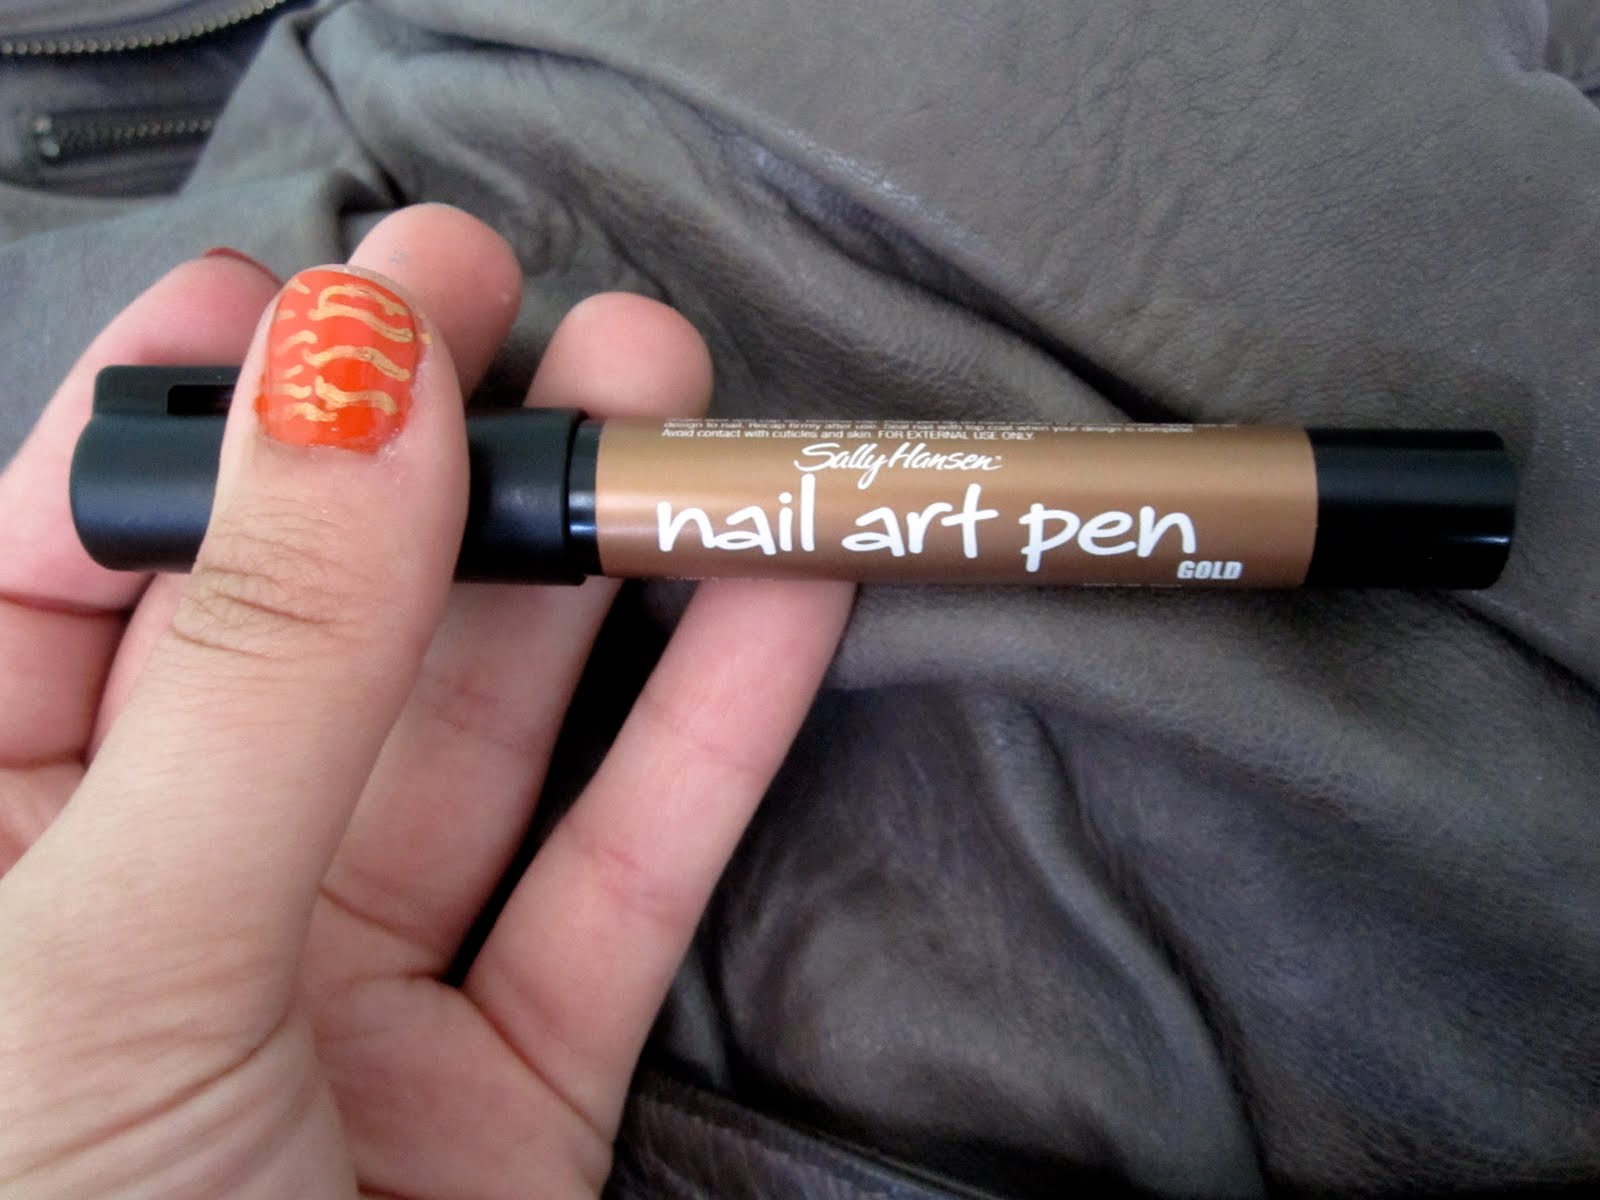
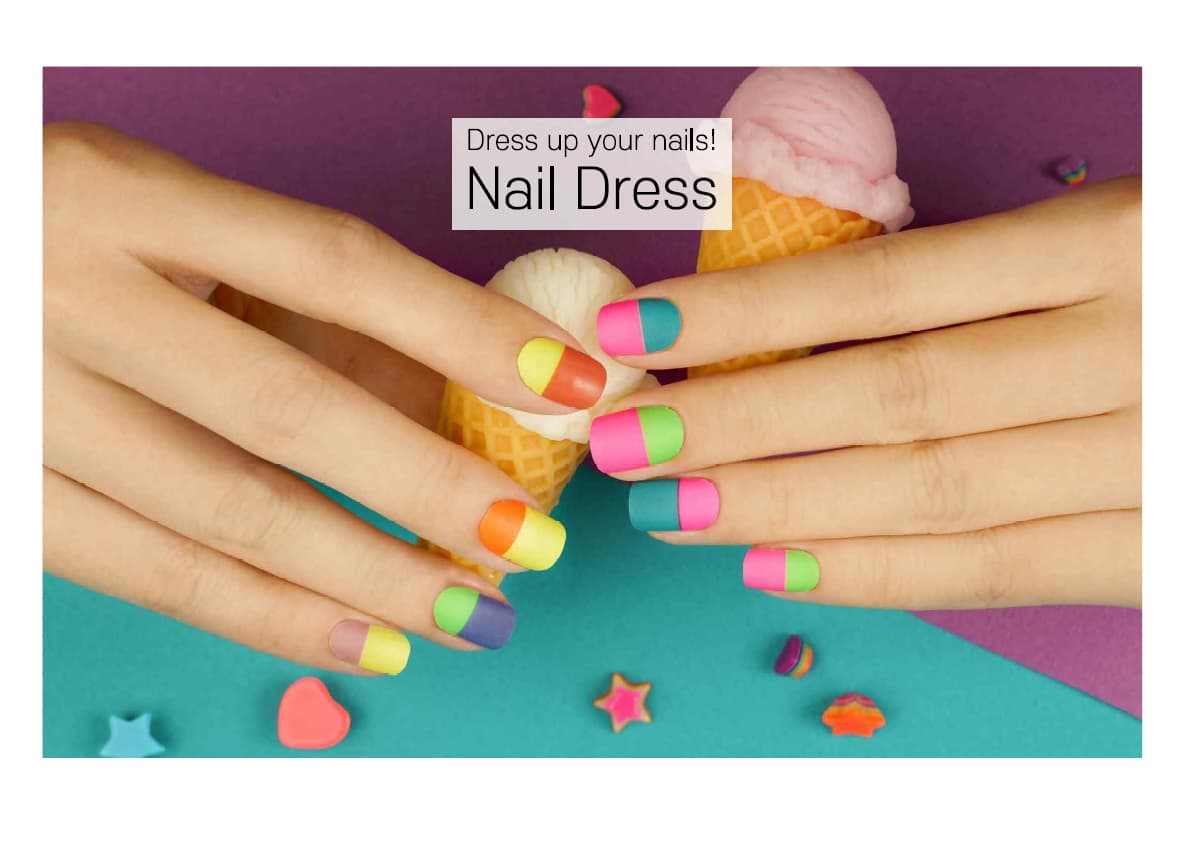
Using a pen for nail art may seem unconventional, but it's actually a fun and creative way to decorate your nails. You don't have to be an artist to achieve stunning nail art with pen designs. With a little practice and some simple techniques, you can create unique and eye-catching designs that will make your nails stand out. Start by gathering your materials - a pen with a fine tip, some nail polish, and a top coat. You can use any pen, but gel pens tend to work best as they glide easily over the nail polish and dry quickly. Make sure to use a pen with ink that won't smudge or bleed onto your nails. Once you have your materials ready, it's time to get creative! You can create nail art with pen and paper by drawing your designs on a blank sheet of paper and then transferring them onto your nails. Or, you can draw directly onto your nails for a more freehand approach.1. Nail Art with Pen | Nail Art with Pen Designs | Nail Art with Pen Tutorial


1. Nail Art with Pen


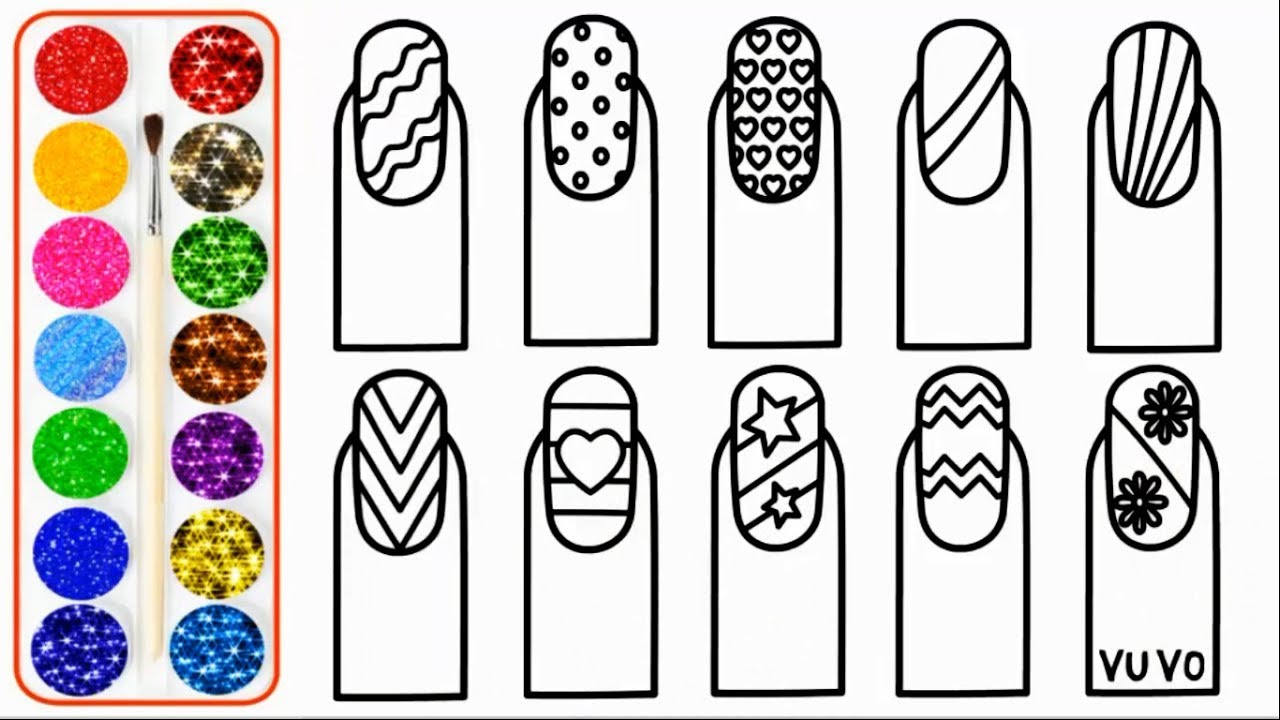
For those who prefer a more structured approach, nail art with pen and paper is the way to go. Start by cutting out small pieces of paper in the shape of your nails and use them as templates to guide your designs. This will ensure that your designs are uniform and symmetrical. Next, use your pen to draw your desired design onto the paper. This could be anything from simple lines and dots to more intricate patterns like flowers or geometric shapes. Once you're happy with your design, carefully place the paper onto your nail and press down gently. Peel off the paper to reveal your design, and then seal it in with a top coat. With this technique, you can create nail art with pen and paper tutorial designs with ease and precision. Plus, you can experiment with different paper shapes and designs to create endless possibilities for your nails.2. Nail Art with Pen and Paper | Nail Art with Pen and Paper Tutorial | Nail Art with Pen and Paper Designs


Nail Art with Pen Designs


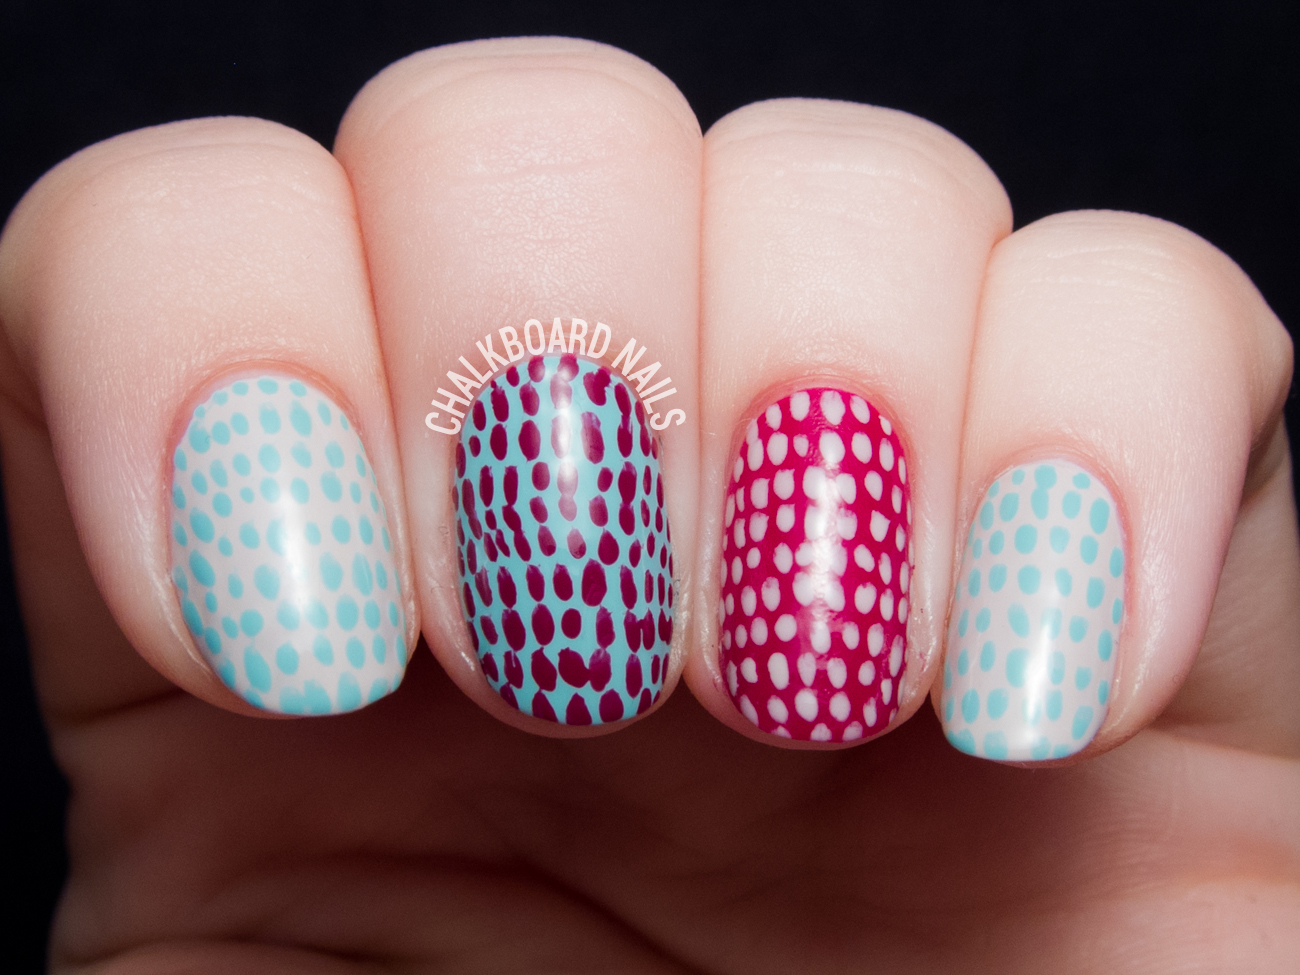
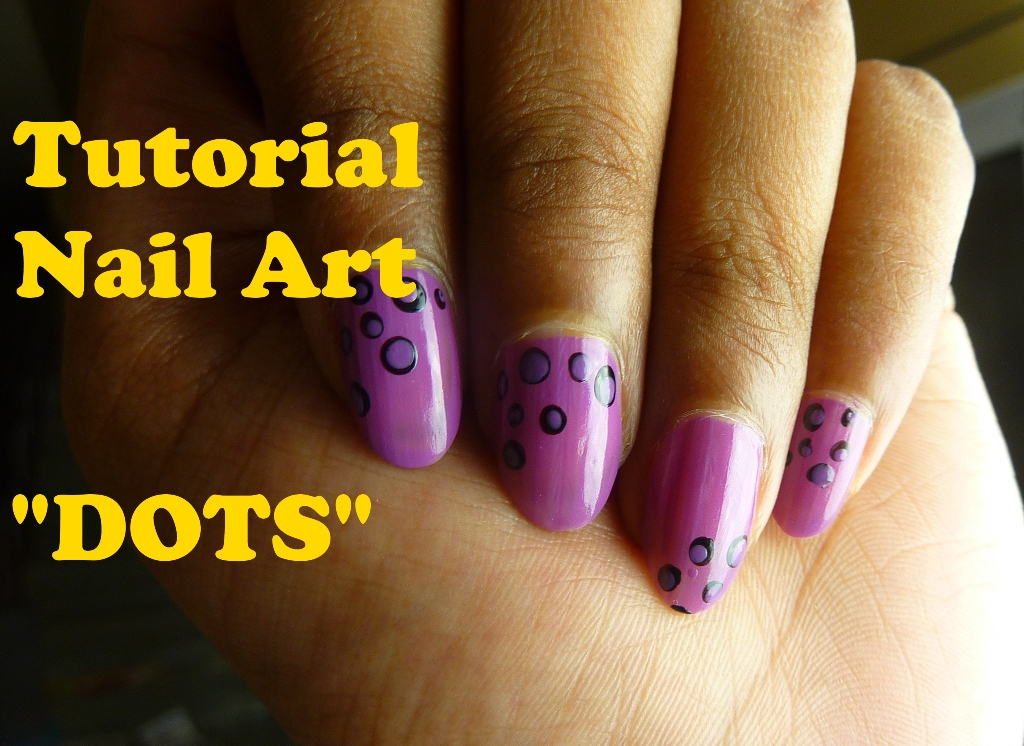
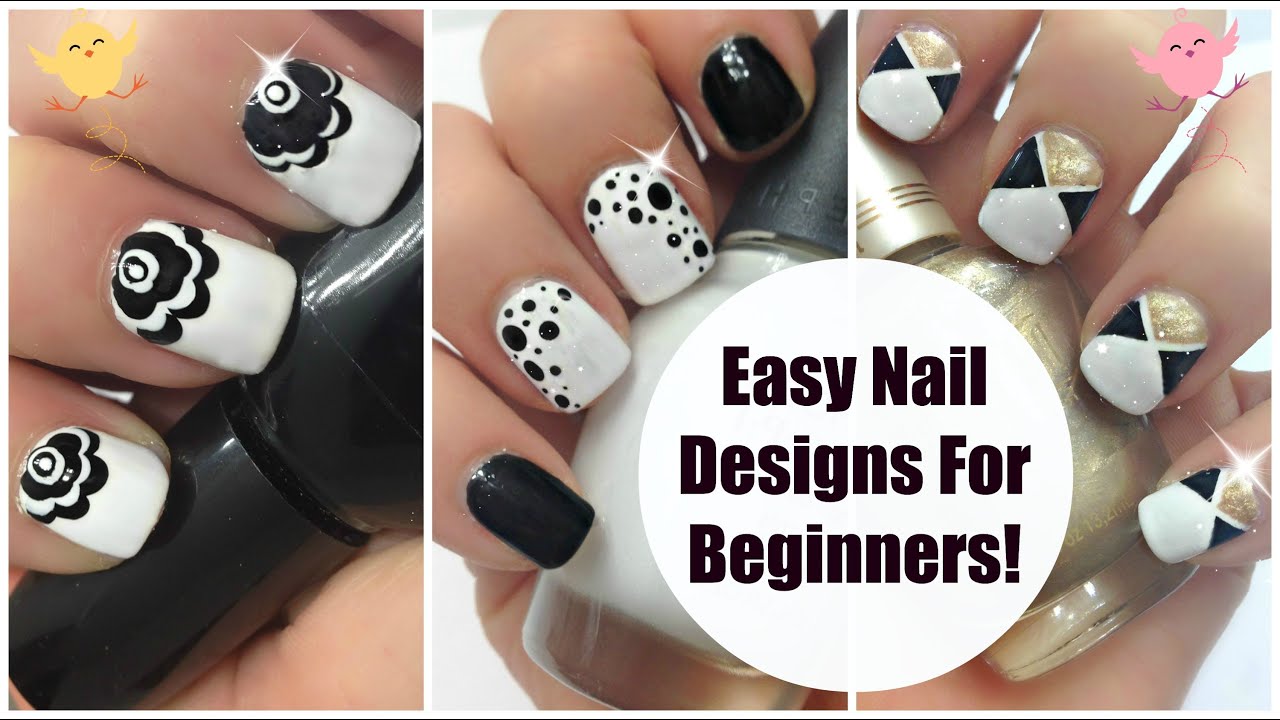
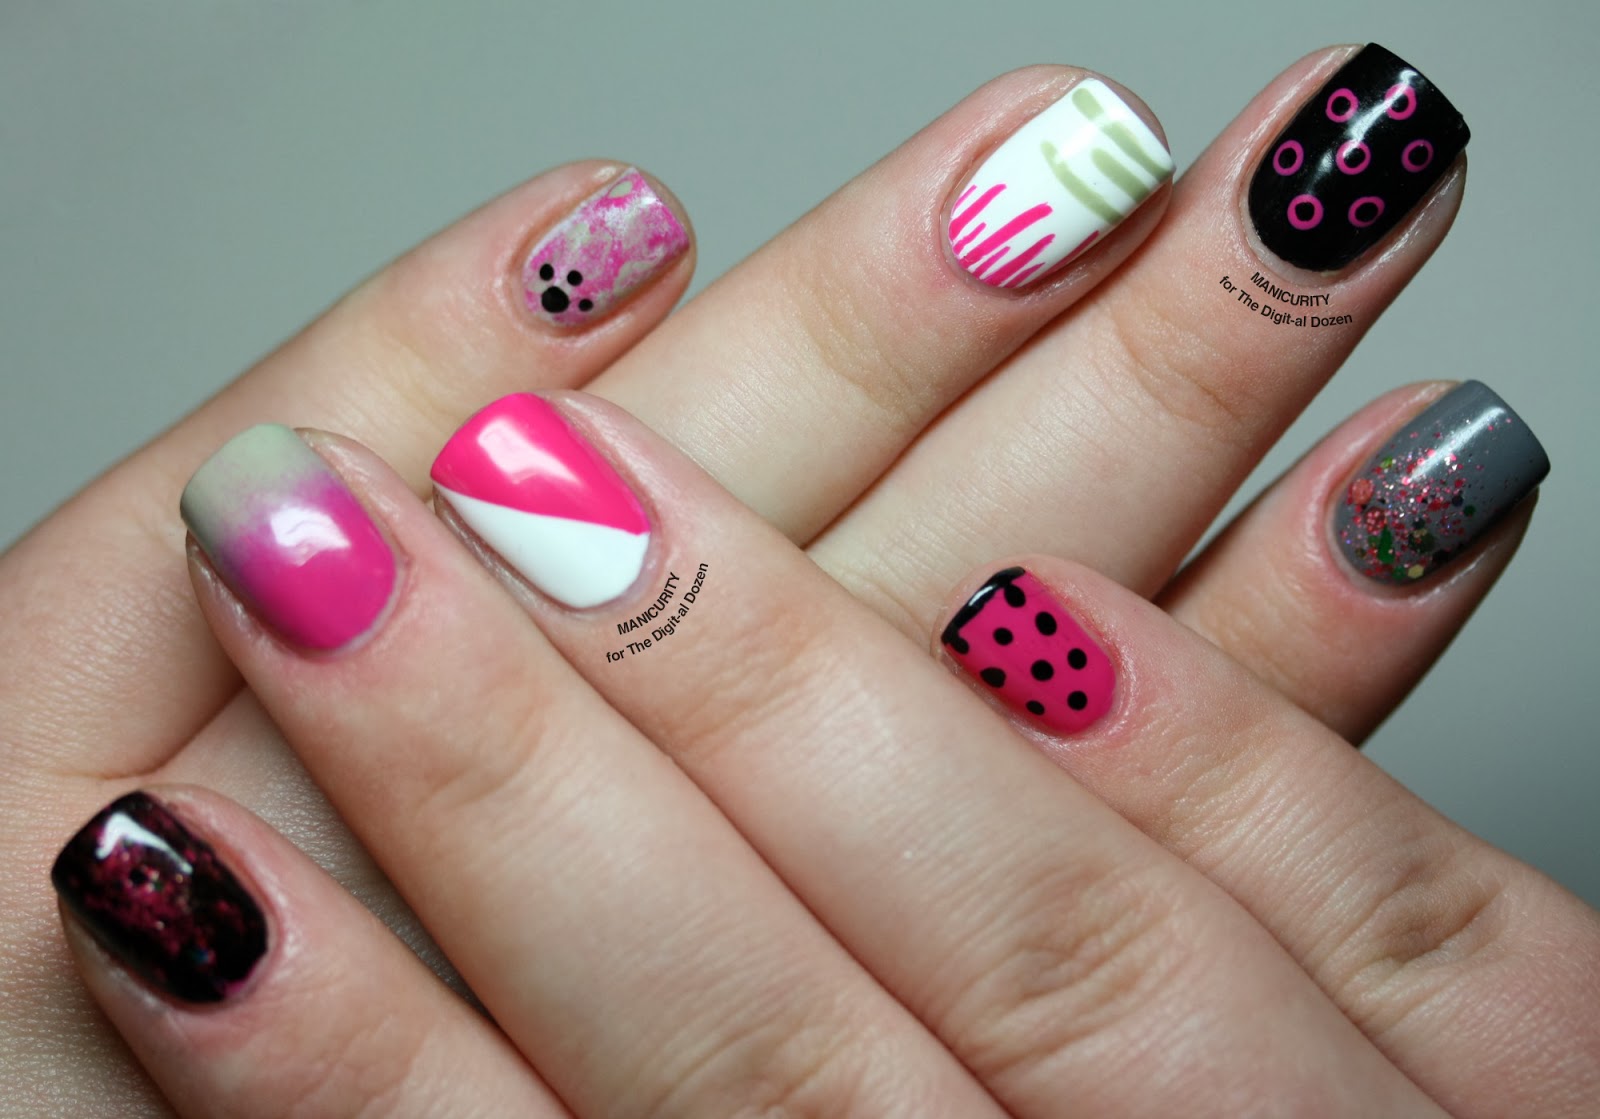
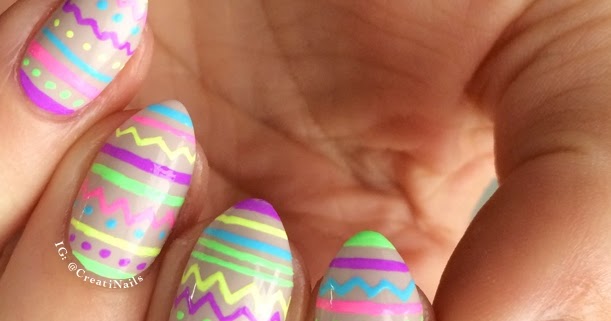
If you're new to nail art or just looking for a quick and easy way to decorate your nails, easy nail art with pen is the perfect solution. With this technique, you can create simple yet stylish designs that are perfect for any occasion. Start by painting your nails with a base color of your choice. Once they're dry, use your pen to draw simple designs like polka dots, stripes, or hearts. You can also use your pen to add details to a plain manicure, like outlining the edges or adding small accents. Finish off with a top coat for a polished look. This easy nail art with pen tutorial is great for beginners or those looking to add a little extra flair to their nails without spending hours on intricate designs. Plus, with so many pen colors and styles available, the possibilities are endless!3. Easy Nail Art with Pen | Easy Nail Art with Pen Tutorial | Easy Nail Art with Pen Designs


Nail Art with Pen Tutorial


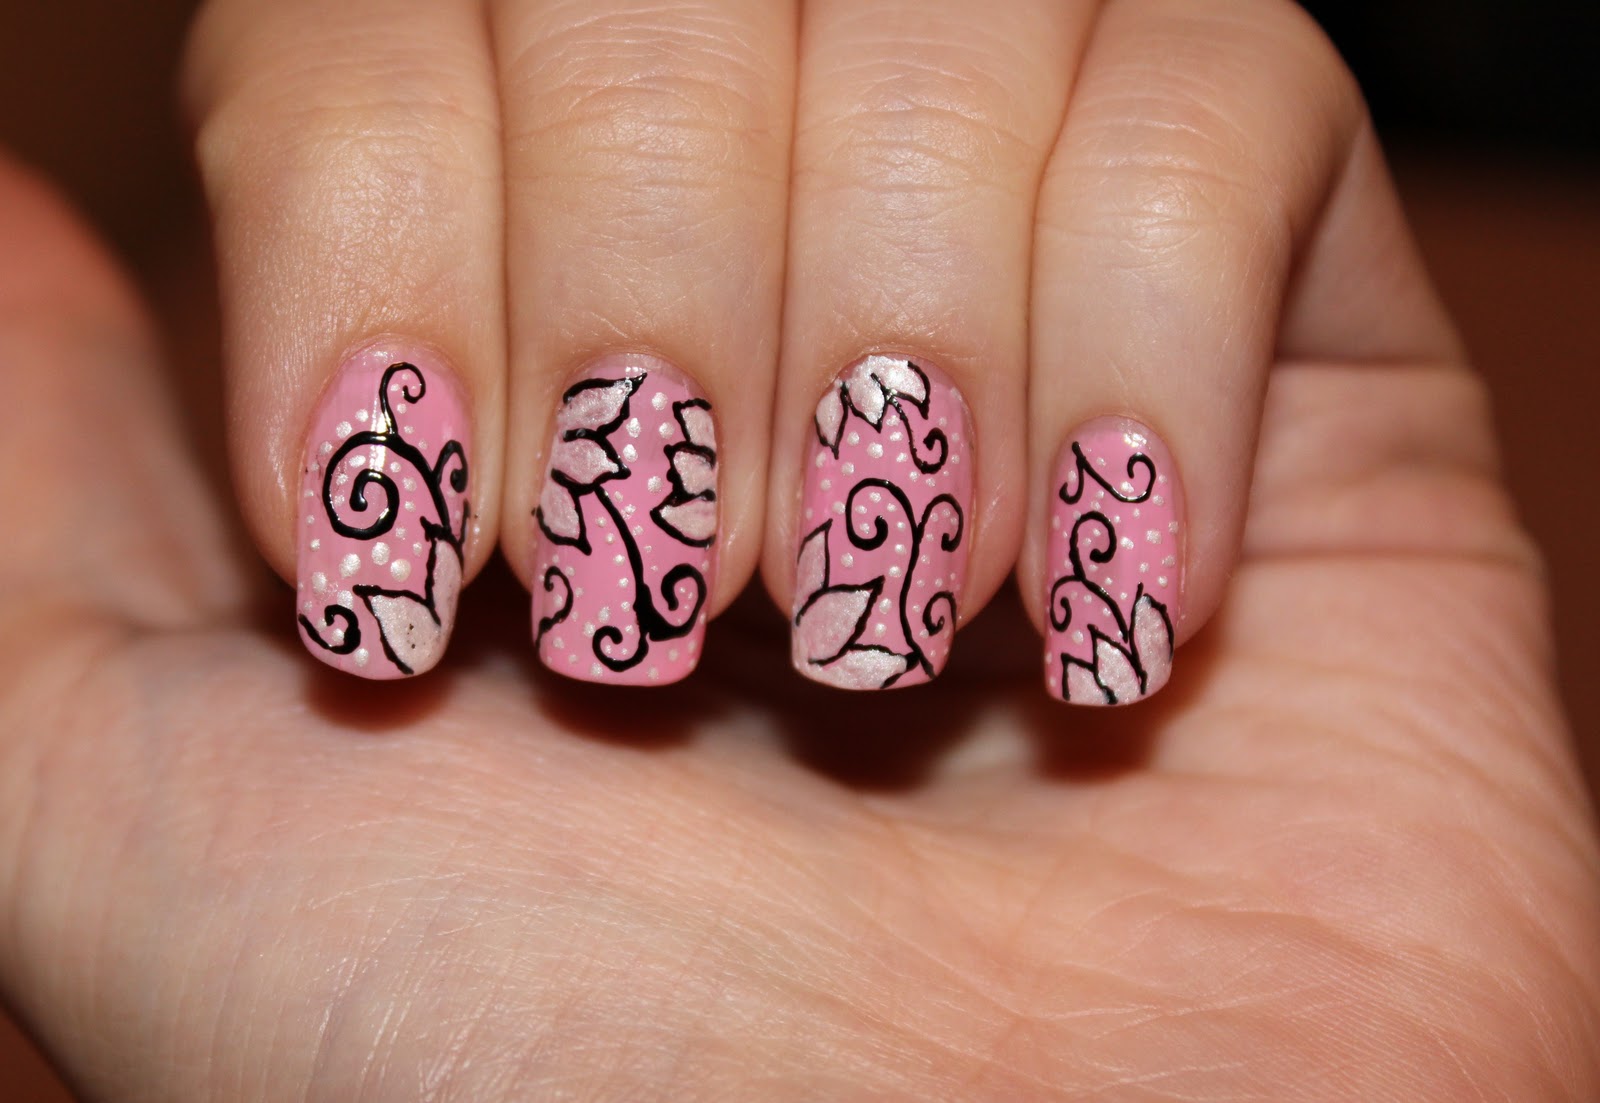
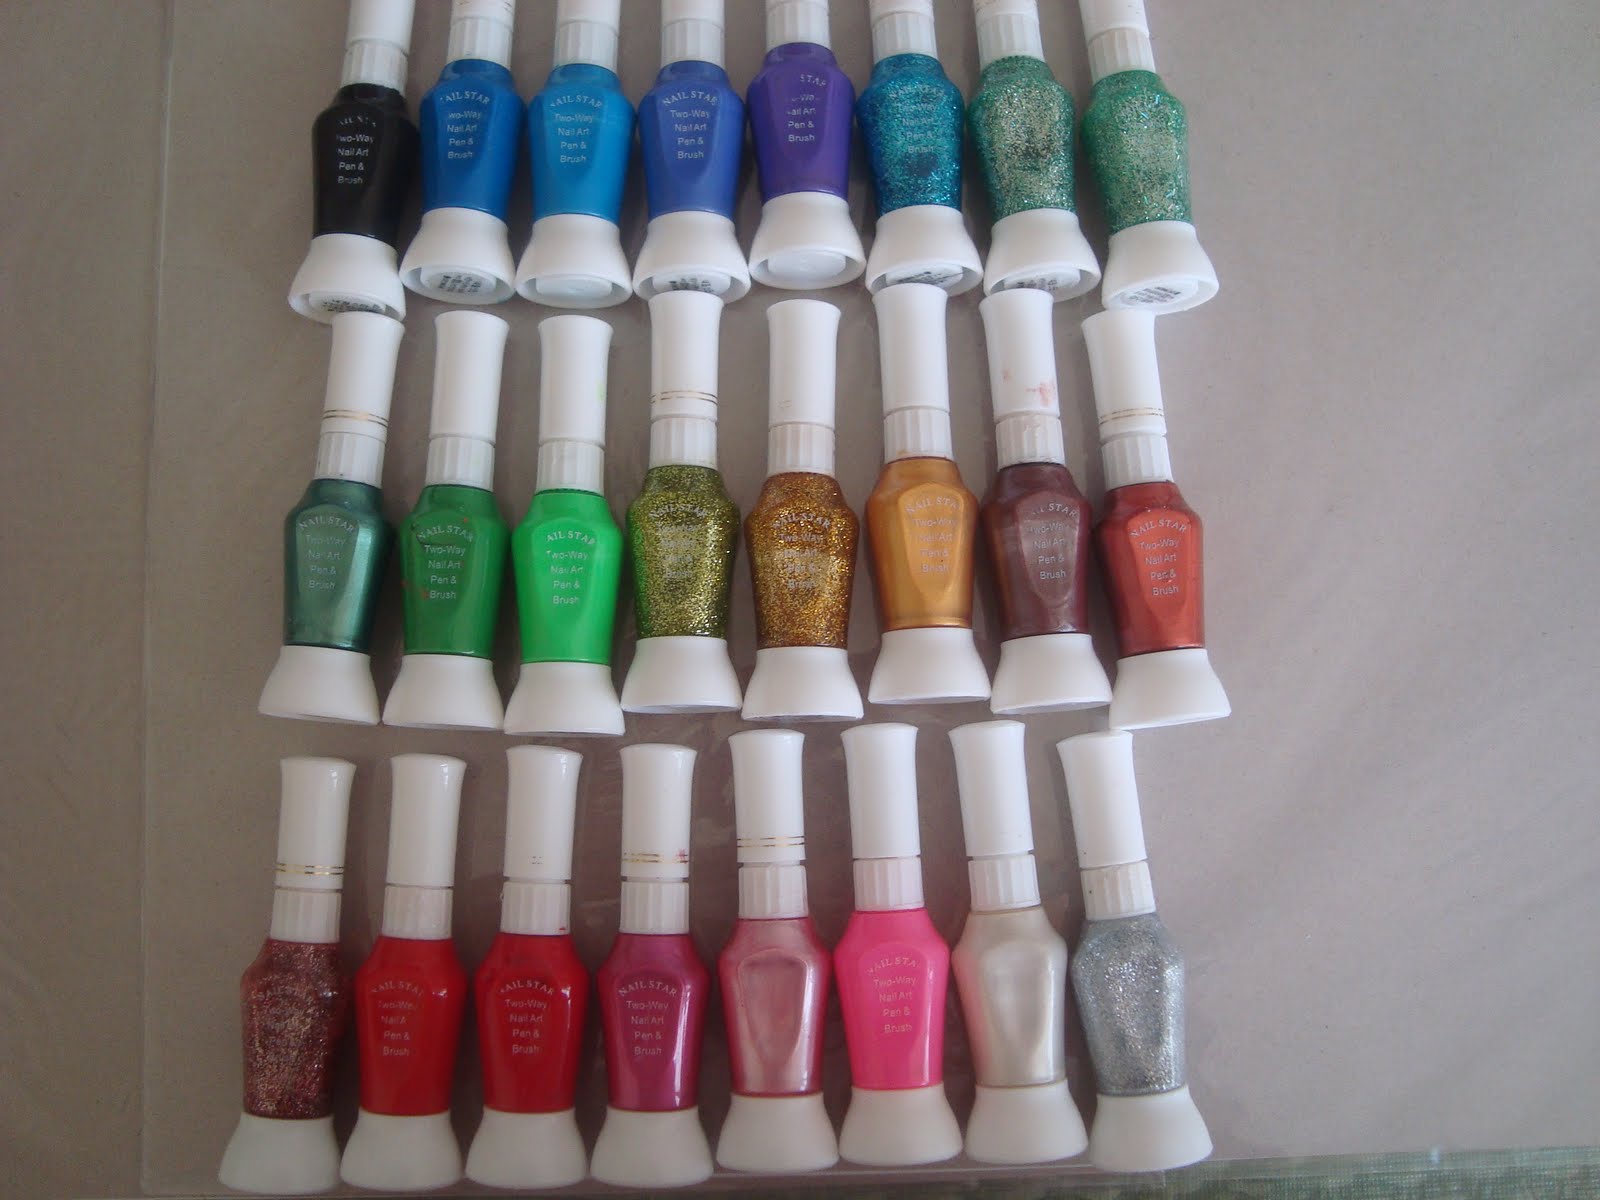
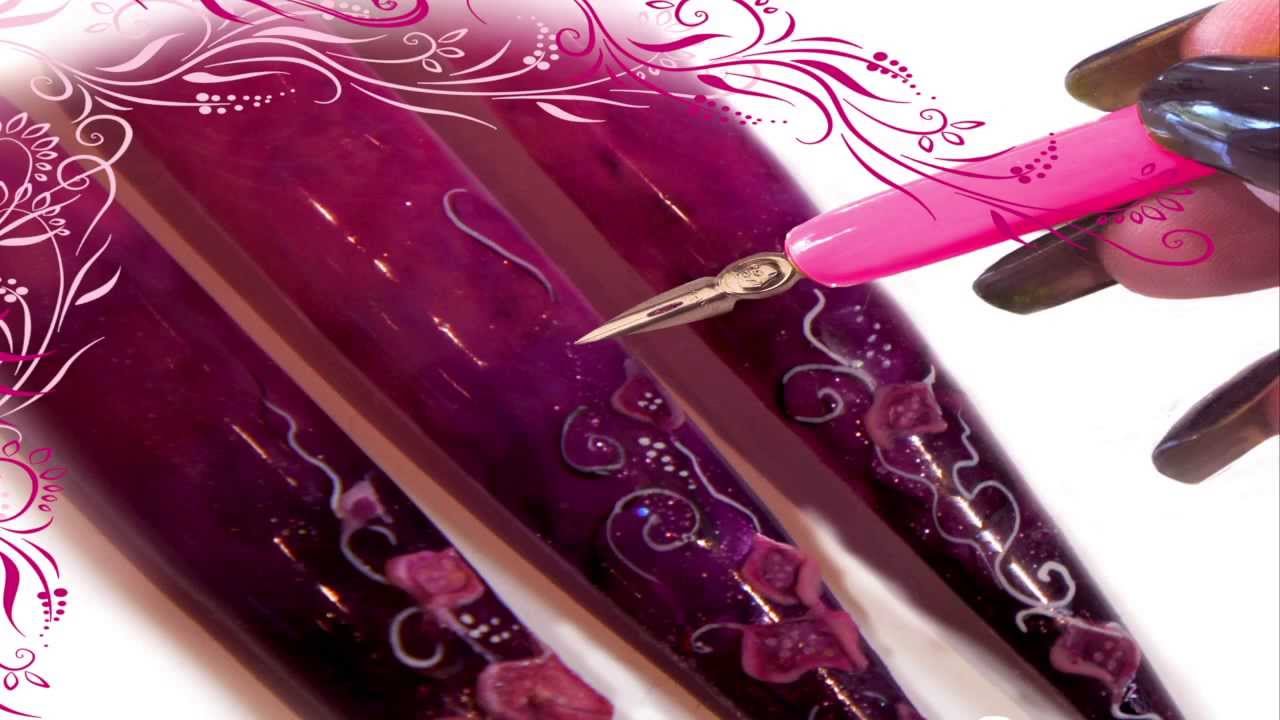
For a more professional and precise look, nail art with gel pen is the way to go. Gel pens are perfect for creating intricate designs with clean lines and sharp details. Plus, they come in a variety of colors and finishes, making them a versatile tool for any nail art enthusiast. Start by painting your nails with a base color and letting it dry completely. Then, use your gel pen to create your desired design. The gel ink will glide smoothly over the nail polish, making it easier to achieve precise lines and intricate details. You can also use multiple gel pen colors to create a layered or ombre effect. With nail art with gel pen tutorial, you can create stunning designs that look like they were done by a professional nail artist. Plus, the gel ink is long-lasting and won't chip or smudge easily, ensuring your nail art with gel pen designs stay intact for days.4. Nail Art with Gel Pen | Nail Art with Gel Pen Tutorial | Nail Art with Gel Pen Designs


2. Nail Art with Pen and Paper


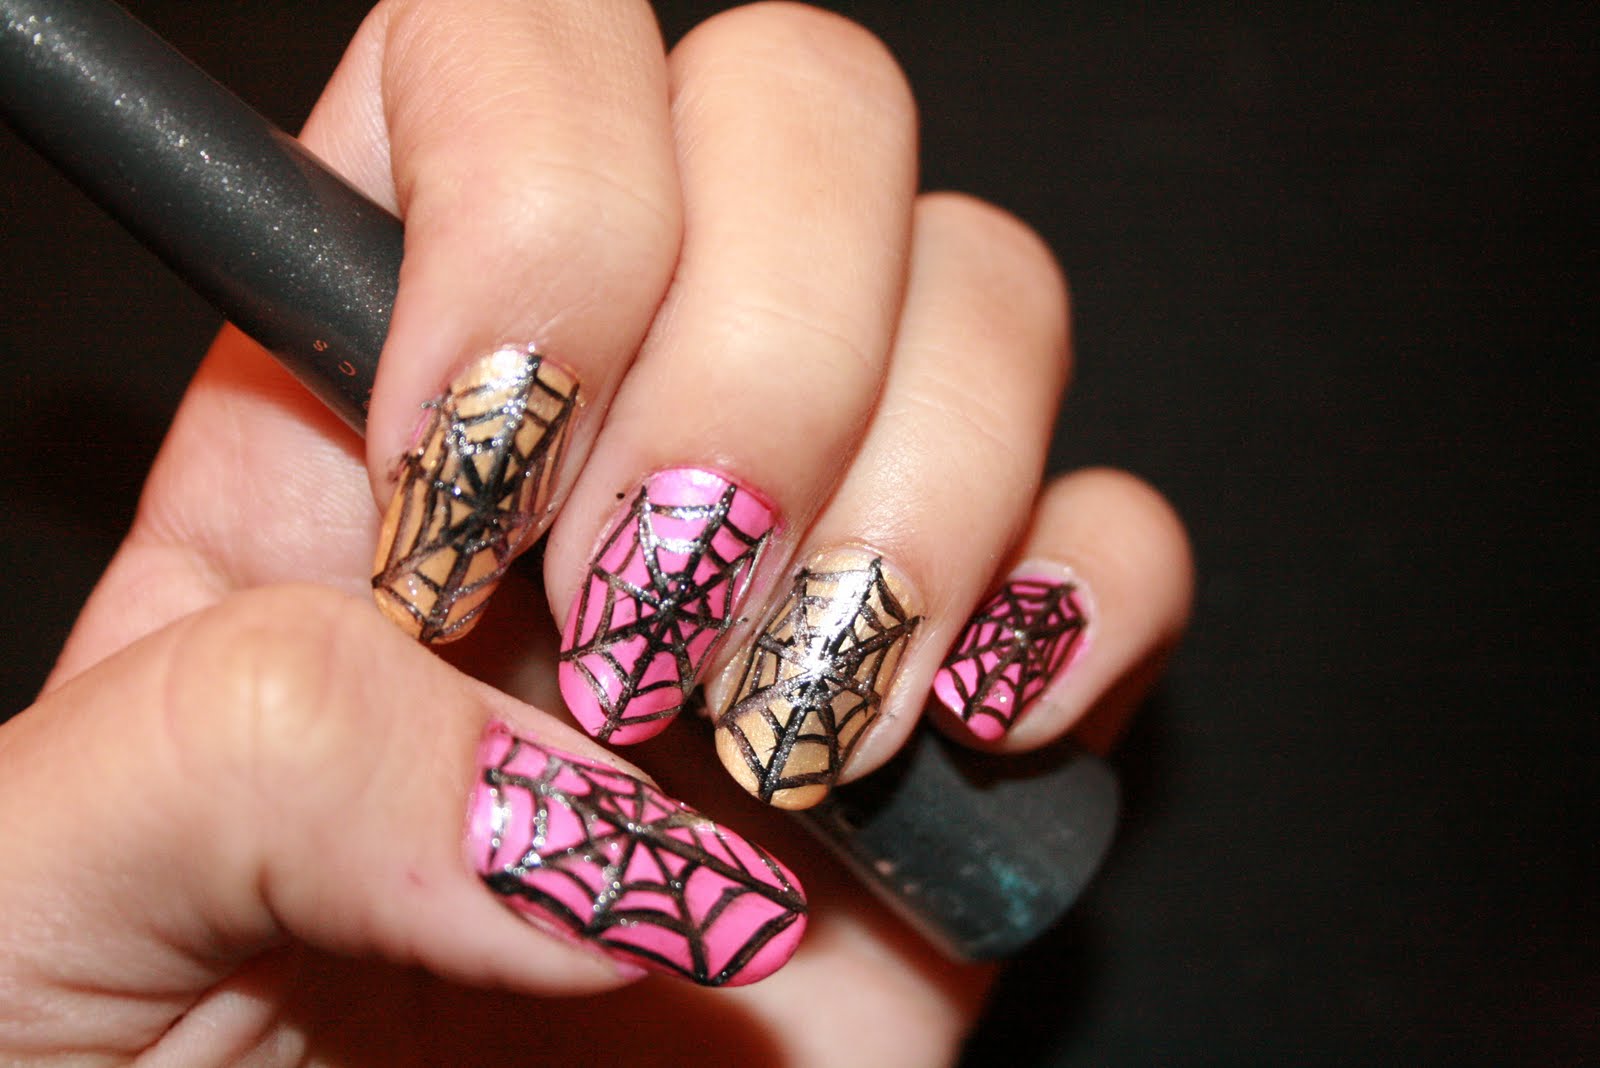
Sharpie pens aren't just for writing on paper - they can also be used for nail art! These permanent markers come in a variety of colors and have a fine tip, making them perfect for creating detailed designs on your nails. Start by painting your nails with a base color and letting it dry. Then, use your Sharpie pen to draw your desired design. You can create intricate patterns or simple designs like stripes or dots. Once you're happy with your design, seal it in with a top coat to prevent the ink from smudging. This nail art with Sharpie pen technique is perfect for those who want to experiment with bold and vibrant designs on their nails. Plus, the permanent ink ensures that your designs will last for days without fading.5. Nail Art with Sharpie Pen | Nail Art with Sharpie Pen Tutorial | Nail Art with Sharpie Pen Designs

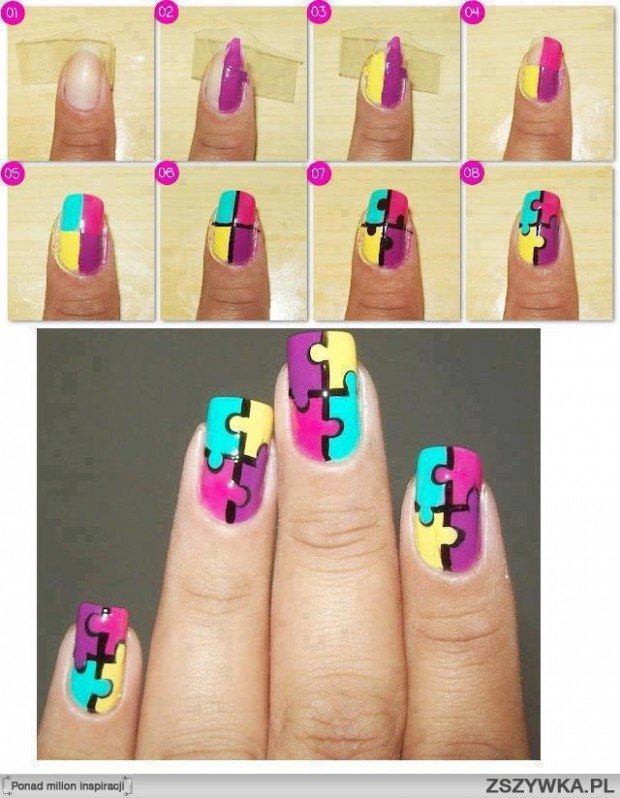
Nail Art with Pen and Paper Tutorial
If you're feeling extra creative, you can try nail art with acrylic paint pen for a unique and artistic look. Unlike regular nail polish, acrylic paint is thicker and more pigmented, allowing you to create bolder and more vibrant designs on your nails. Start by painting your nails with a base color and letting it dry. Then, use your acrylic paint pen to draw your desired design. You can create abstract designs, floral patterns, or even paint intricate scenes on your nails. Once your design is complete, seal it in with a top coat to protect the paint and add shine. This nail art with acrylic paint pen tutorial is perfect for those who want to take their nail art to the next level. With a little practice, you can create stunning and unique designs that will be sure to turn heads.6. Nail Art with Acrylic Paint Pen | Nail Art with Acrylic Paint Pen Tutorial | Nail Art with Acrylic Paint Pen Designs


Nail Art with Pen and Paper Designs

For those who prefer a more delicate and precise approach to nail art, a fine tip pen is the perfect tool. With a fine tip, you can create intricate and detailed designs on your nails with ease. Start by painting your nails with a base color and letting it dry. Then, use your fine tip pen to draw your desired design. You can create tiny dots, thin lines, or even write words on your nails. Once you're happy with your design, seal it in with a top coat for a flawless finish. This nail art with fine tip pen technique is perfect for creating intricate and delicate designs on your nails. Plus, with the plethora of fine tip pens available, you can experiment with different colors and styles to create unique and personalized designs.7. Nail Art with Fine Tip Pen | Nail Art with Fine Tip Pen Tutorial | Nail Art with Fine Tip Pen Designs


3. Easy Nail Art with Pen


:max_bytes(150000):strip_icc()/072922-beauty-nail-art-lead-2000-21de3481261e48a995c855269f9846ad.jpg)

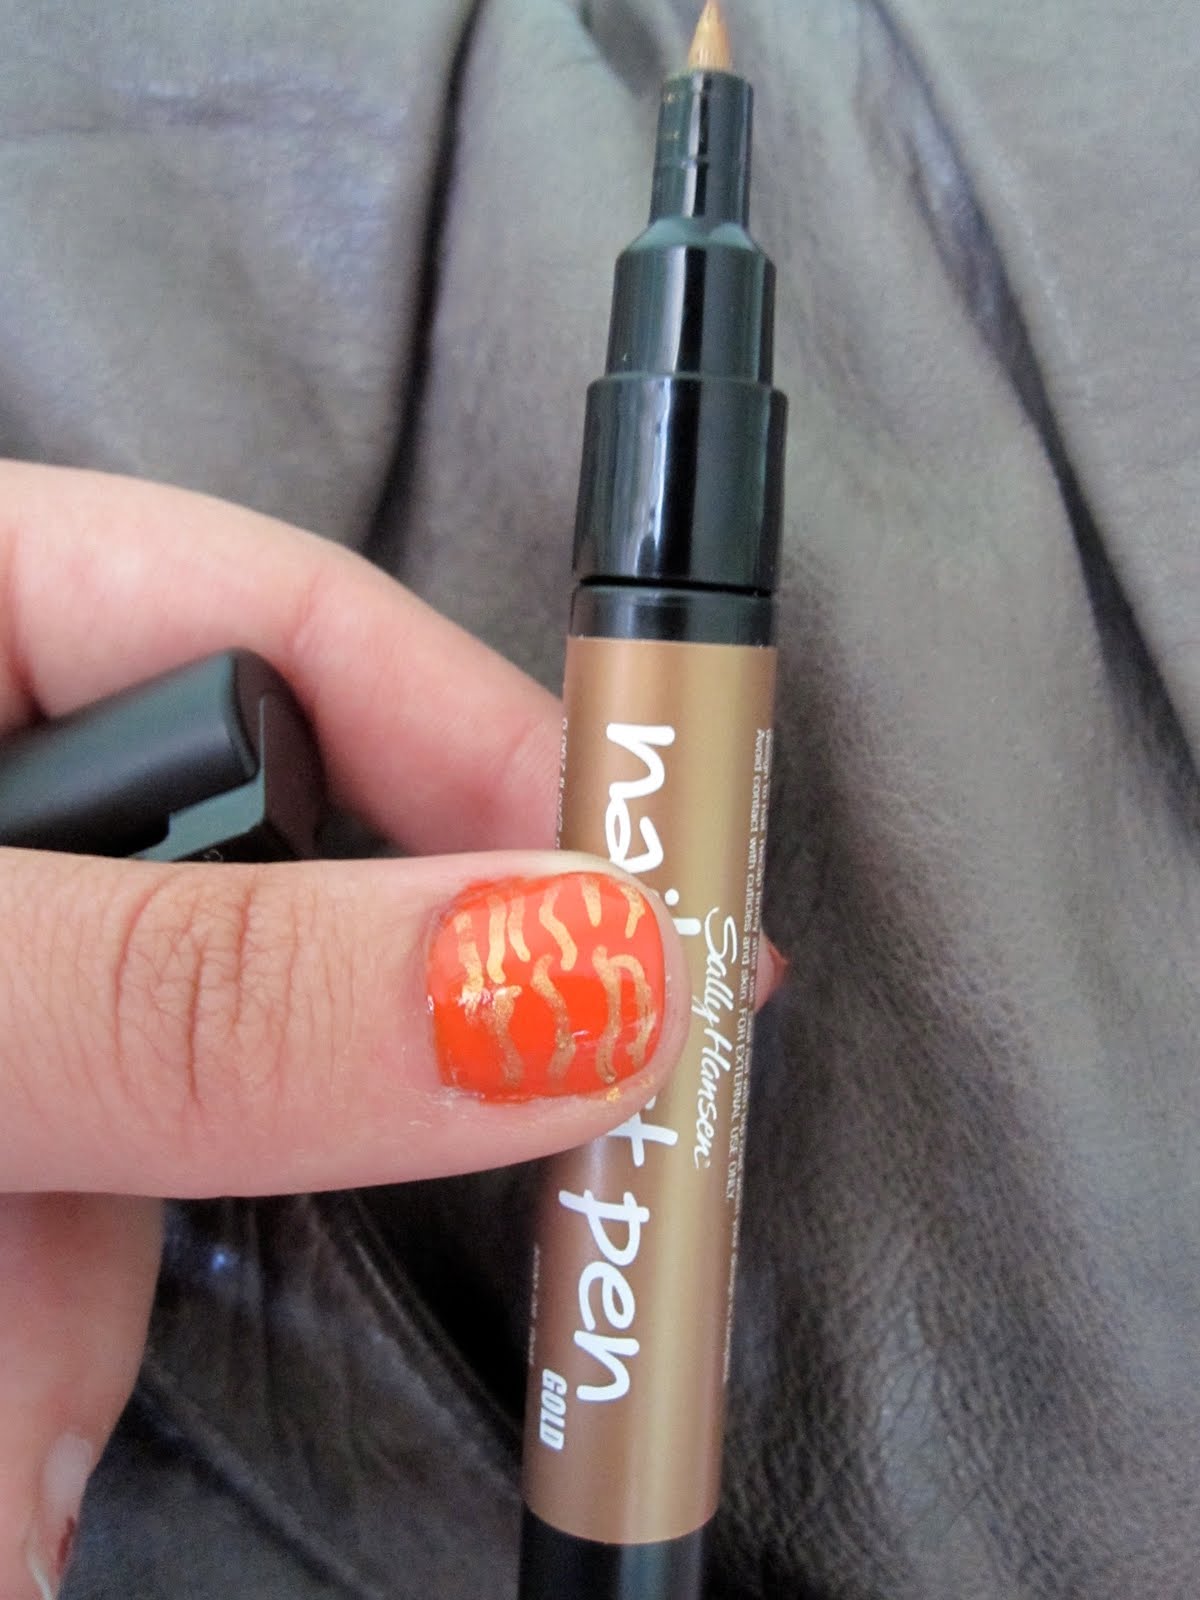
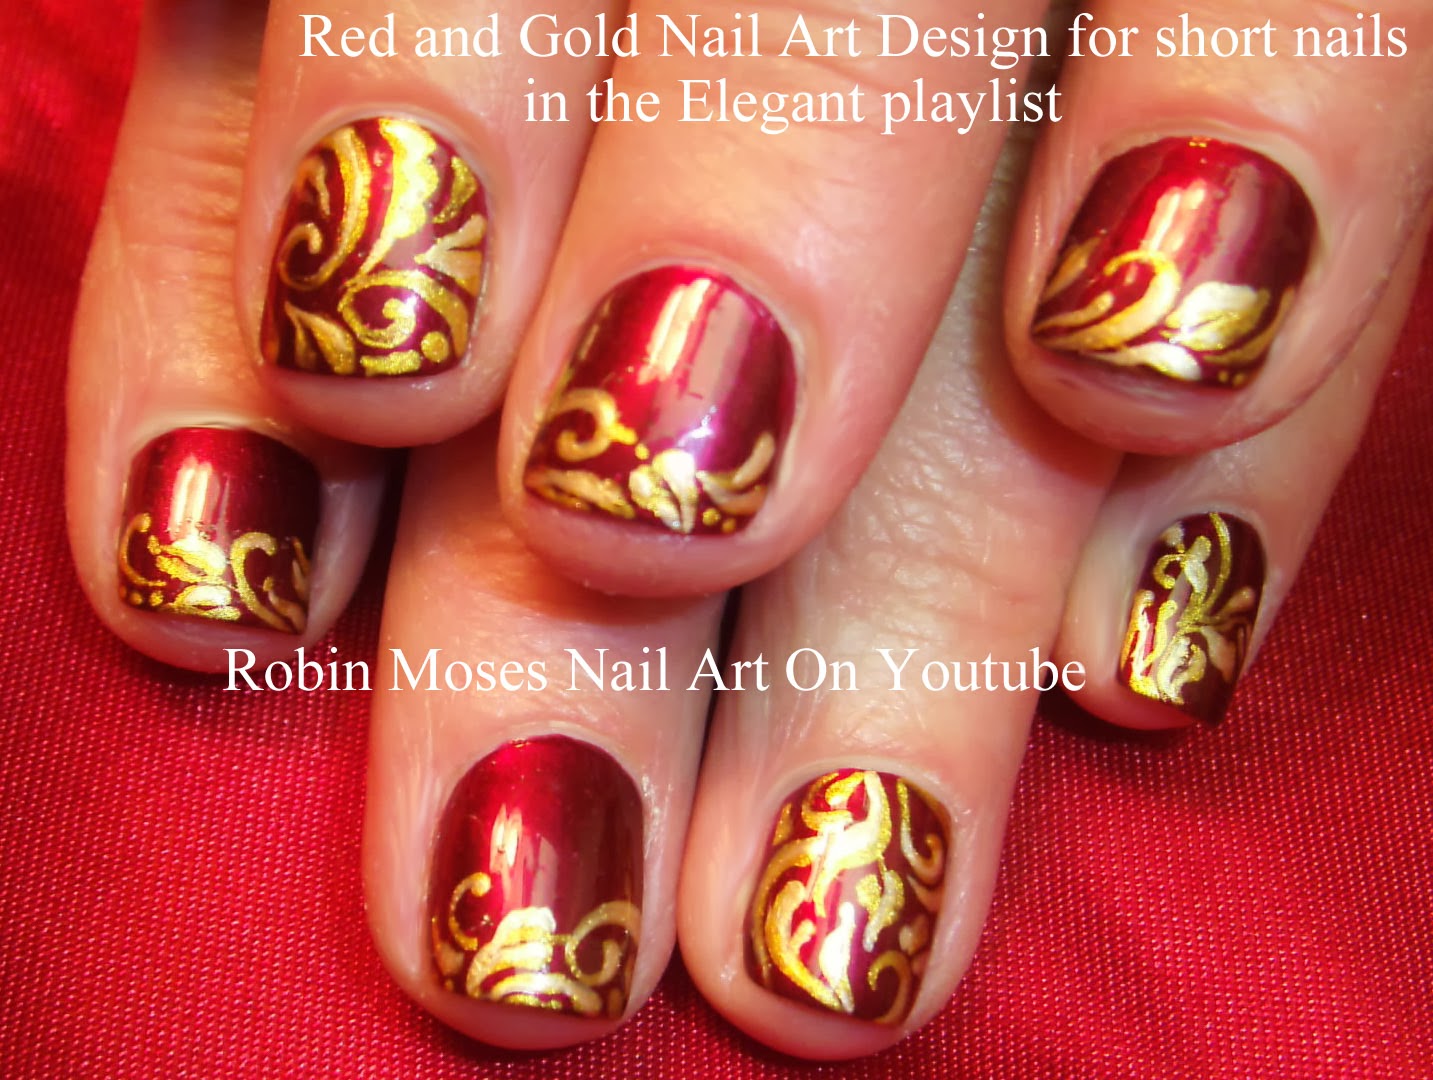
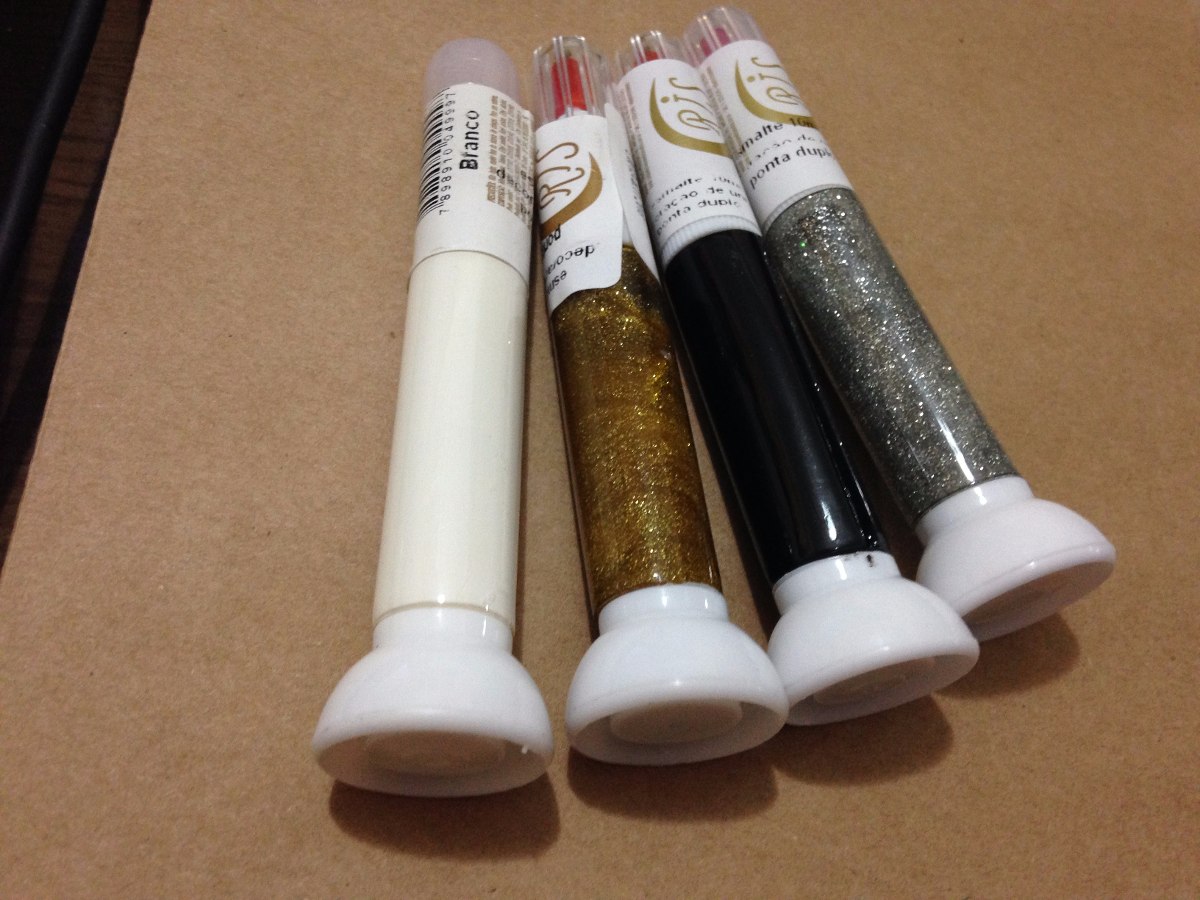
For a touch of glamour and shine, nail art with metallic pen is the way to go. Metallic pens come in a variety of colors and finishes, from gold and silver to holographic and glitter, making them perfect for creating bold and eye-catching designs on your nails. Start by painting your nails with a base color and letting it dry. Then, use your metallic pen to draw your desired design. You can create metallic accents, intricate patterns, or even write words on your nails. Once your design is complete, seal it in with a top coat to protect the metallic finish. This nail art with metallic pen tutorial is perfect for those who want to add a touch of glamour to their nails without the hassle of using glitter or foil. With metallic pens, you can achieve a metallic look without the mess and effort.8. Nail Art with Metallic Pen | Nail Art with Metallic Pen Tutorial | Nail Art with Metallic Pen Designs

Easy Nail Art with Pen Tutorial


If you love all things sparkly and glittery, then nail art with glitter pen is the perfect option for you. Glitter pens come in a variety of colors and sizes, making them perfect for adding a touch of glitter to your nails. Start by painting your nails with a base color and letting it dry. Then, use your glitter pen to create your desired design. You can add glitter accents, create glitter ombre effects, or even draw intricate patterns with glitter. Finish off with a top coat to seal in the glitter and add shine to your design. This nail art with glitter pen tutorial is perfect for those who want to add a little extra sparkle to their nails. Plus, with glitter pens, you can achieve a precise and controlled glitter application without the mess of loose glitter.9. Nail Art with Glitter Pen | Nail Art with Glitter Pen Tutorial | Nail Art with Glitter Pen Designs

Easy Nail Art with Pen Designs


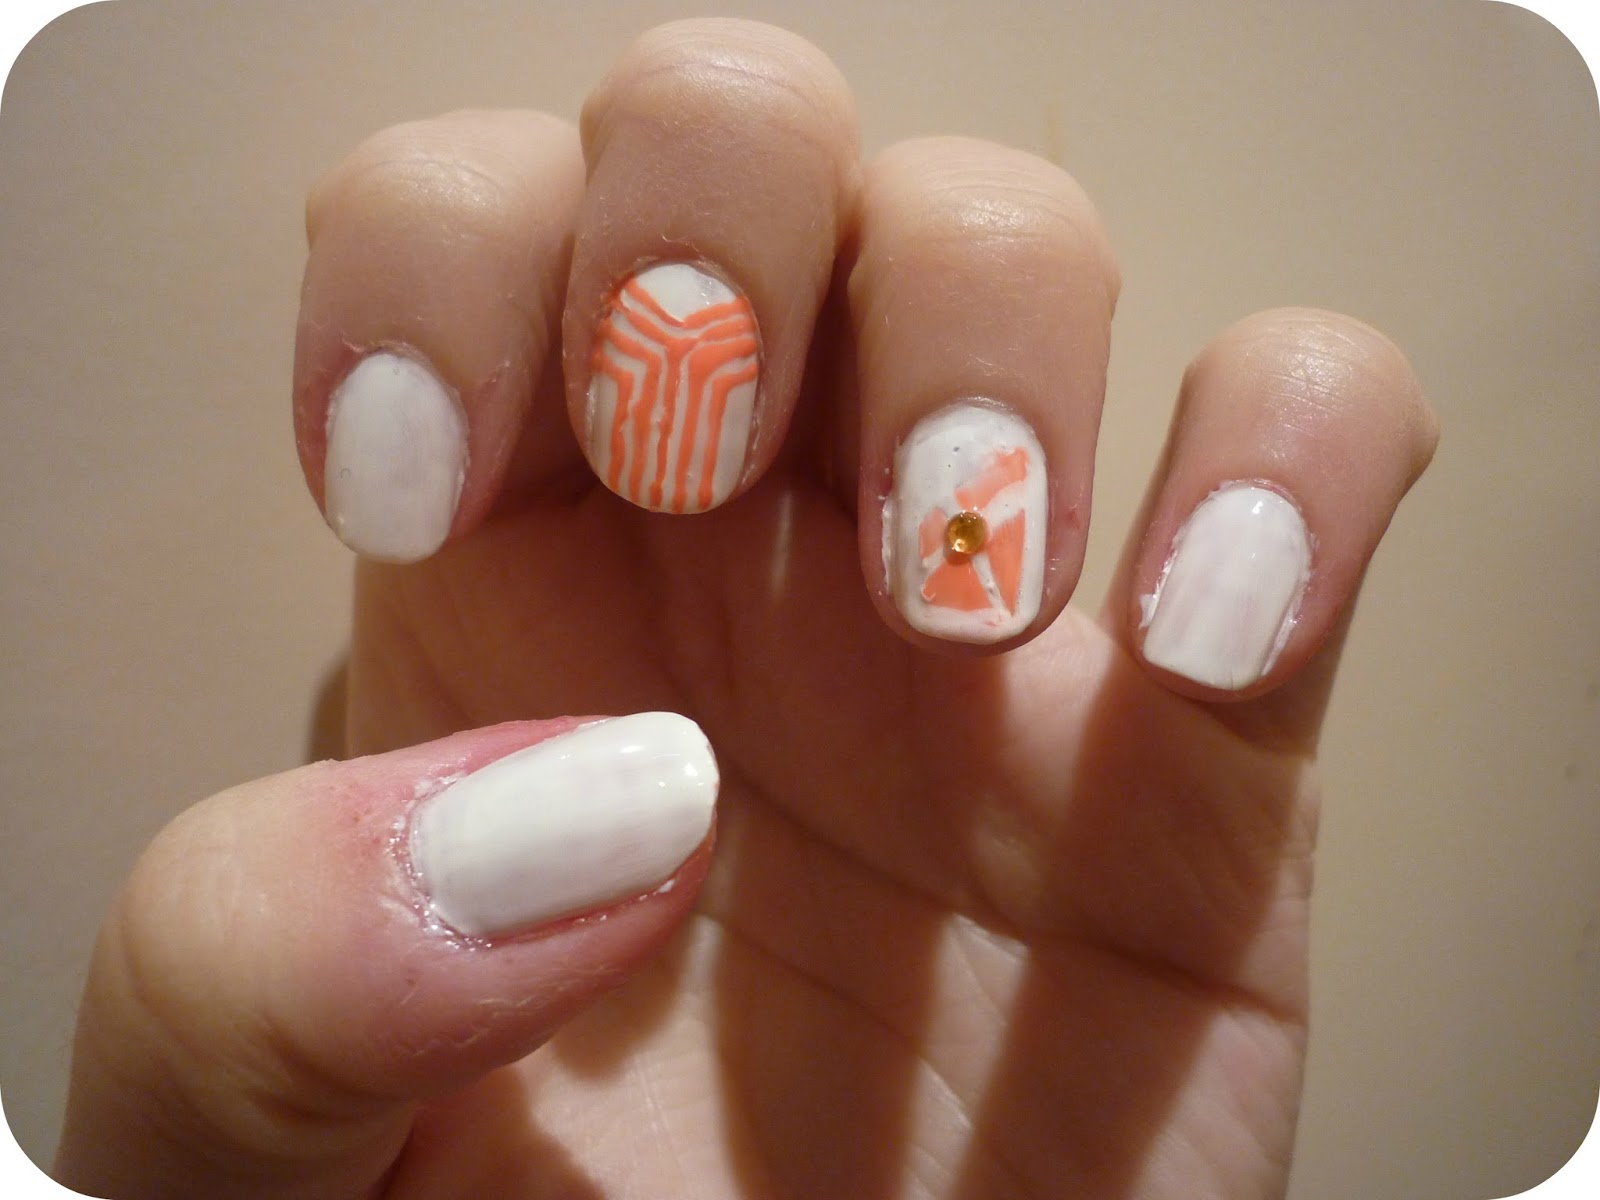
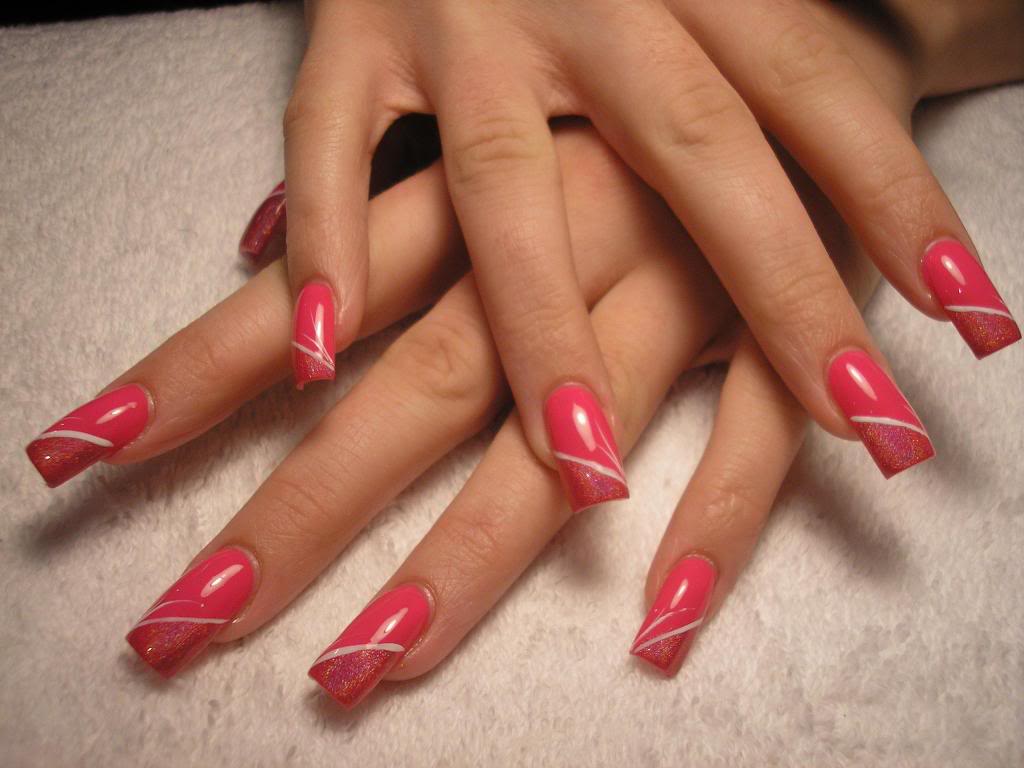
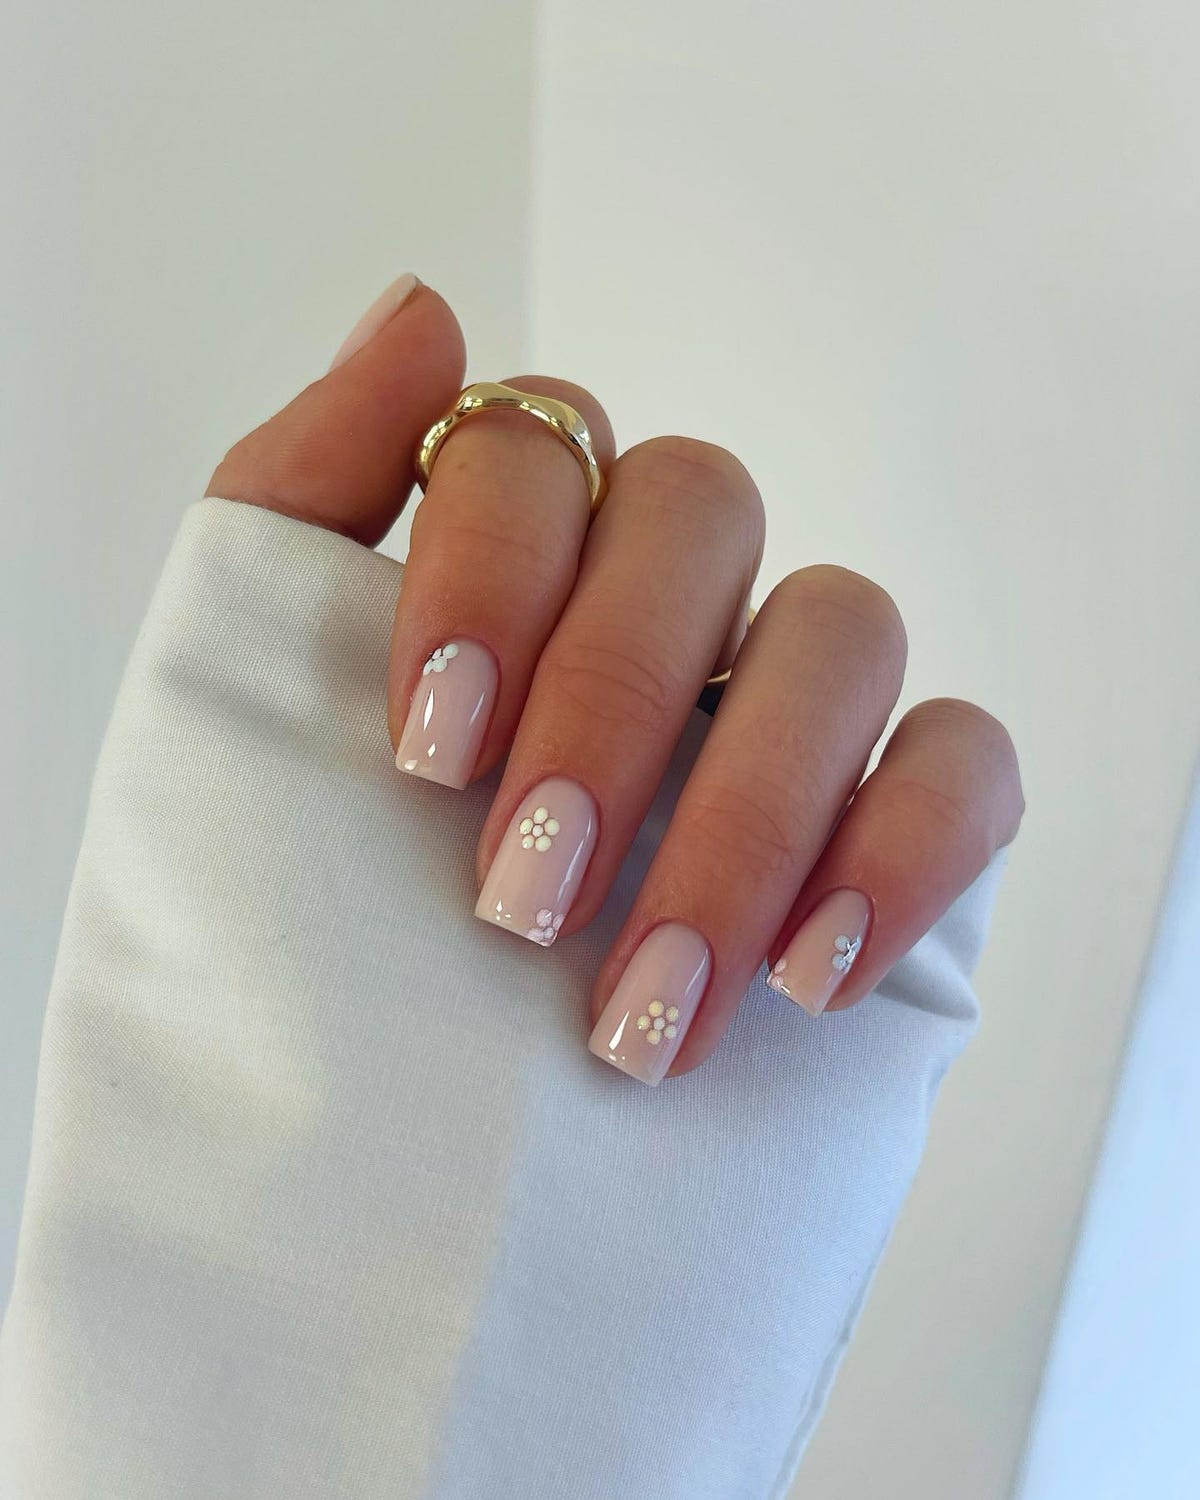
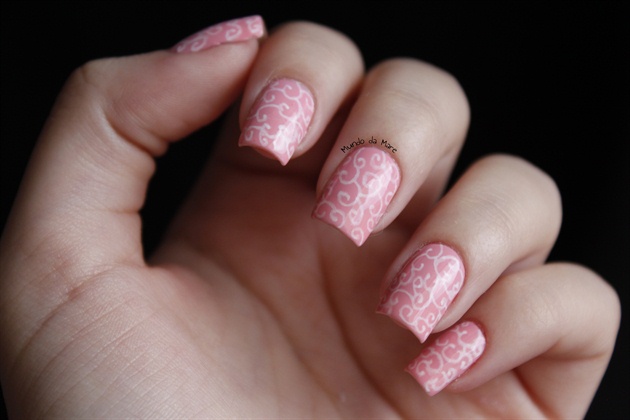
For a clean and minimalist look, nail art with white pen is the way to go. White pens are perfect for creating negative space designs, where the natural nail is left exposed to create patterns and shapes. Start by painting your nails with a base color and letting it dry. Then, use your white pen to draw your desired design. You can create geometric shapes, polka dots, or even write words using the negative space technique. Seal in your design with a top coat for a clean and modern look. This nail art with white pen tutorial is perfect for those who prefer a more subtle and understated look for their nails. With a white pen, you can achieve a sophisticated and chic design that is perfect for any occasion.10. Nail Art with White Pen | Nail Art with White Pen Tutorial | Nail Art with White Pen Designs


4. Nail Art with Gel Pen


The Art of Nail Design: Transforming Your Nails with a Simple Pen

Introduction
 Are you tired of the same old nail designs and looking for a new and creative way to express yourself? Look no further than
nail art com caneta
, also known as
nail art with a pen
. This trend has taken the world of nail design by storm, allowing for endless possibilities and unique designs. With just a simple pen, you can create intricate and eye-catching designs on your nails, making them stand out and reflect your personal style.
Are you tired of the same old nail designs and looking for a new and creative way to express yourself? Look no further than
nail art com caneta
, also known as
nail art with a pen
. This trend has taken the world of nail design by storm, allowing for endless possibilities and unique designs. With just a simple pen, you can create intricate and eye-catching designs on your nails, making them stand out and reflect your personal style.
What is Nail Art with a Pen?
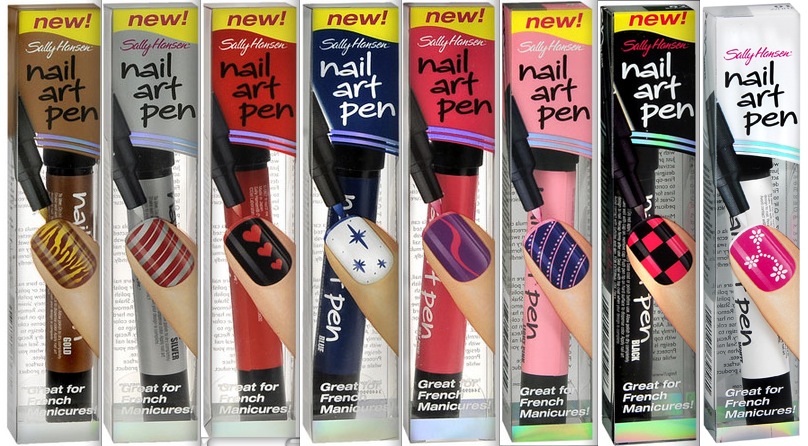
 Nail art com caneta is a technique of using a
nail art pen
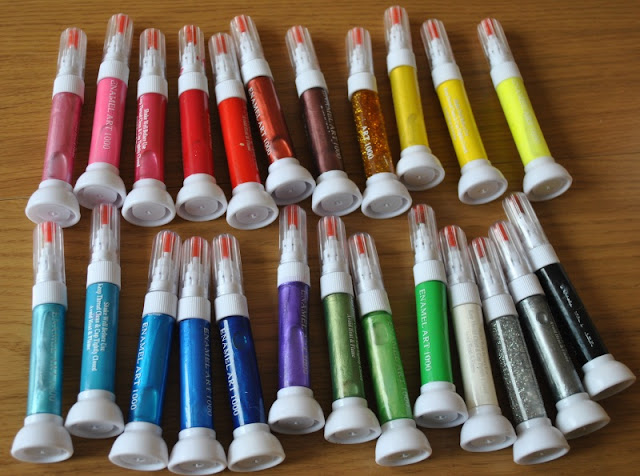
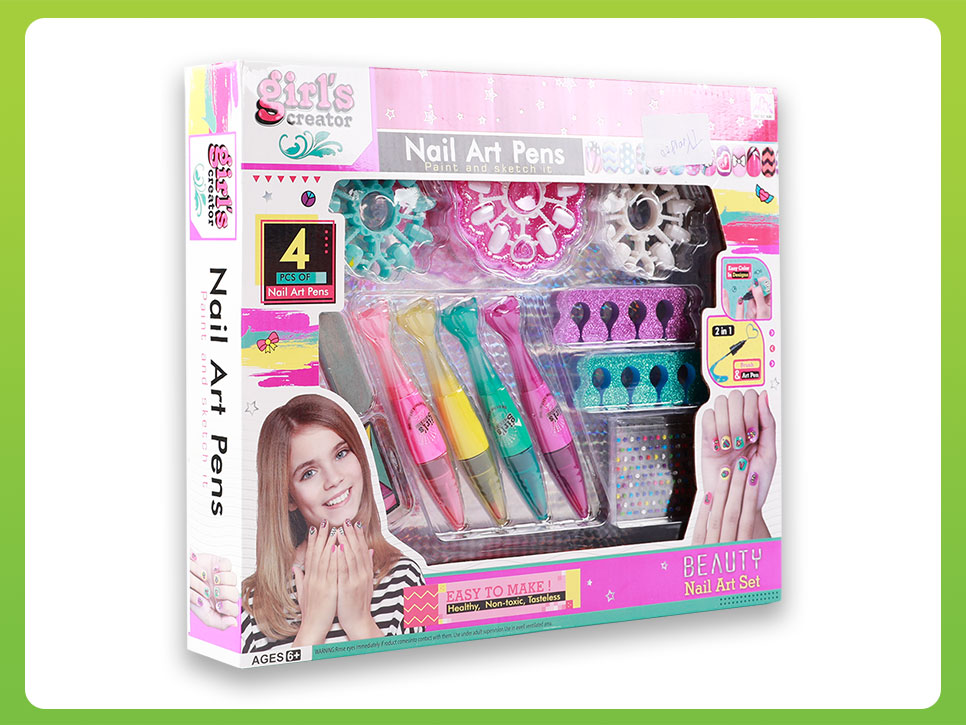
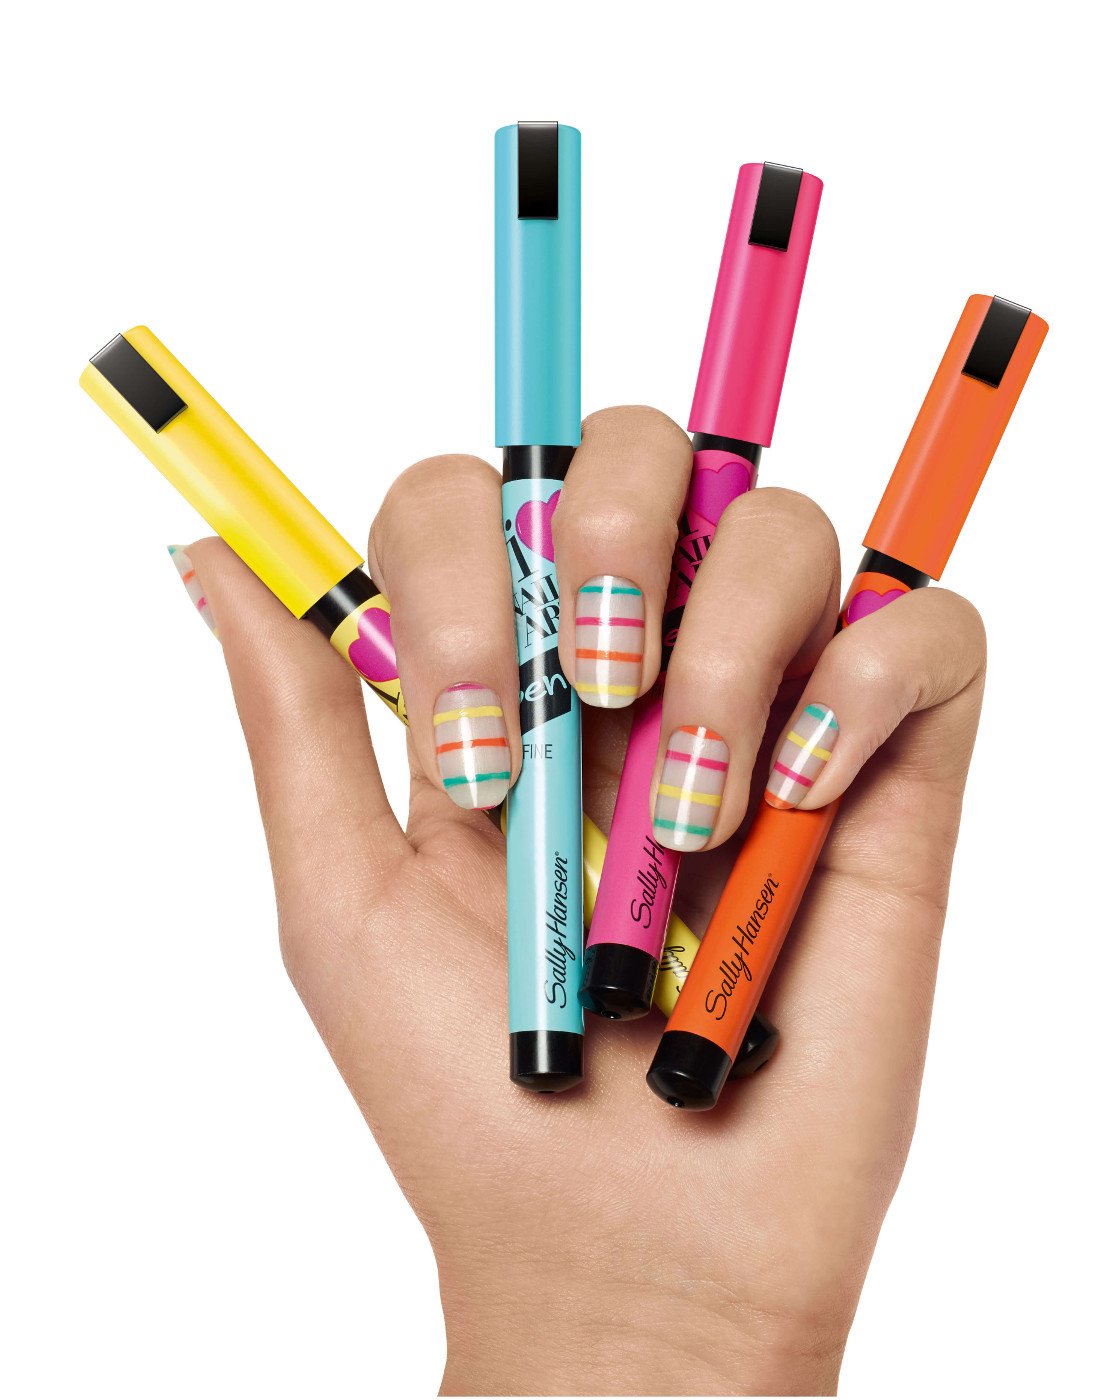
to create designs on your nails. These pens are similar to regular pens, but with a finer and more precise tip, making it easier to draw on your nails. They come in a variety of colors, allowing for endless creativity and customization. You can use them on natural or artificial nails, making it a versatile and accessible option for everyone.
Nail art com caneta is a technique of using a
nail art pen
to create designs on your nails. These pens are similar to regular pens, but with a finer and more precise tip, making it easier to draw on your nails. They come in a variety of colors, allowing for endless creativity and customization. You can use them on natural or artificial nails, making it a versatile and accessible option for everyone.
Why Choose Nail Art with a Pen?
 There are many reasons why nail art with a pen has become so popular. First and foremost, it allows for complete creative control and the ability to create unique designs that are not possible with traditional nail polish. You can
draw intricate patterns, write words or phrases, or even create mini works of art
on your nails. Additionally, it is a budget-friendly option, as you only need one pen to create a variety of designs, saving you money in the long run.
There are many reasons why nail art with a pen has become so popular. First and foremost, it allows for complete creative control and the ability to create unique designs that are not possible with traditional nail polish. You can
draw intricate patterns, write words or phrases, or even create mini works of art
on your nails. Additionally, it is a budget-friendly option, as you only need one pen to create a variety of designs, saving you money in the long run.
How to Get Started
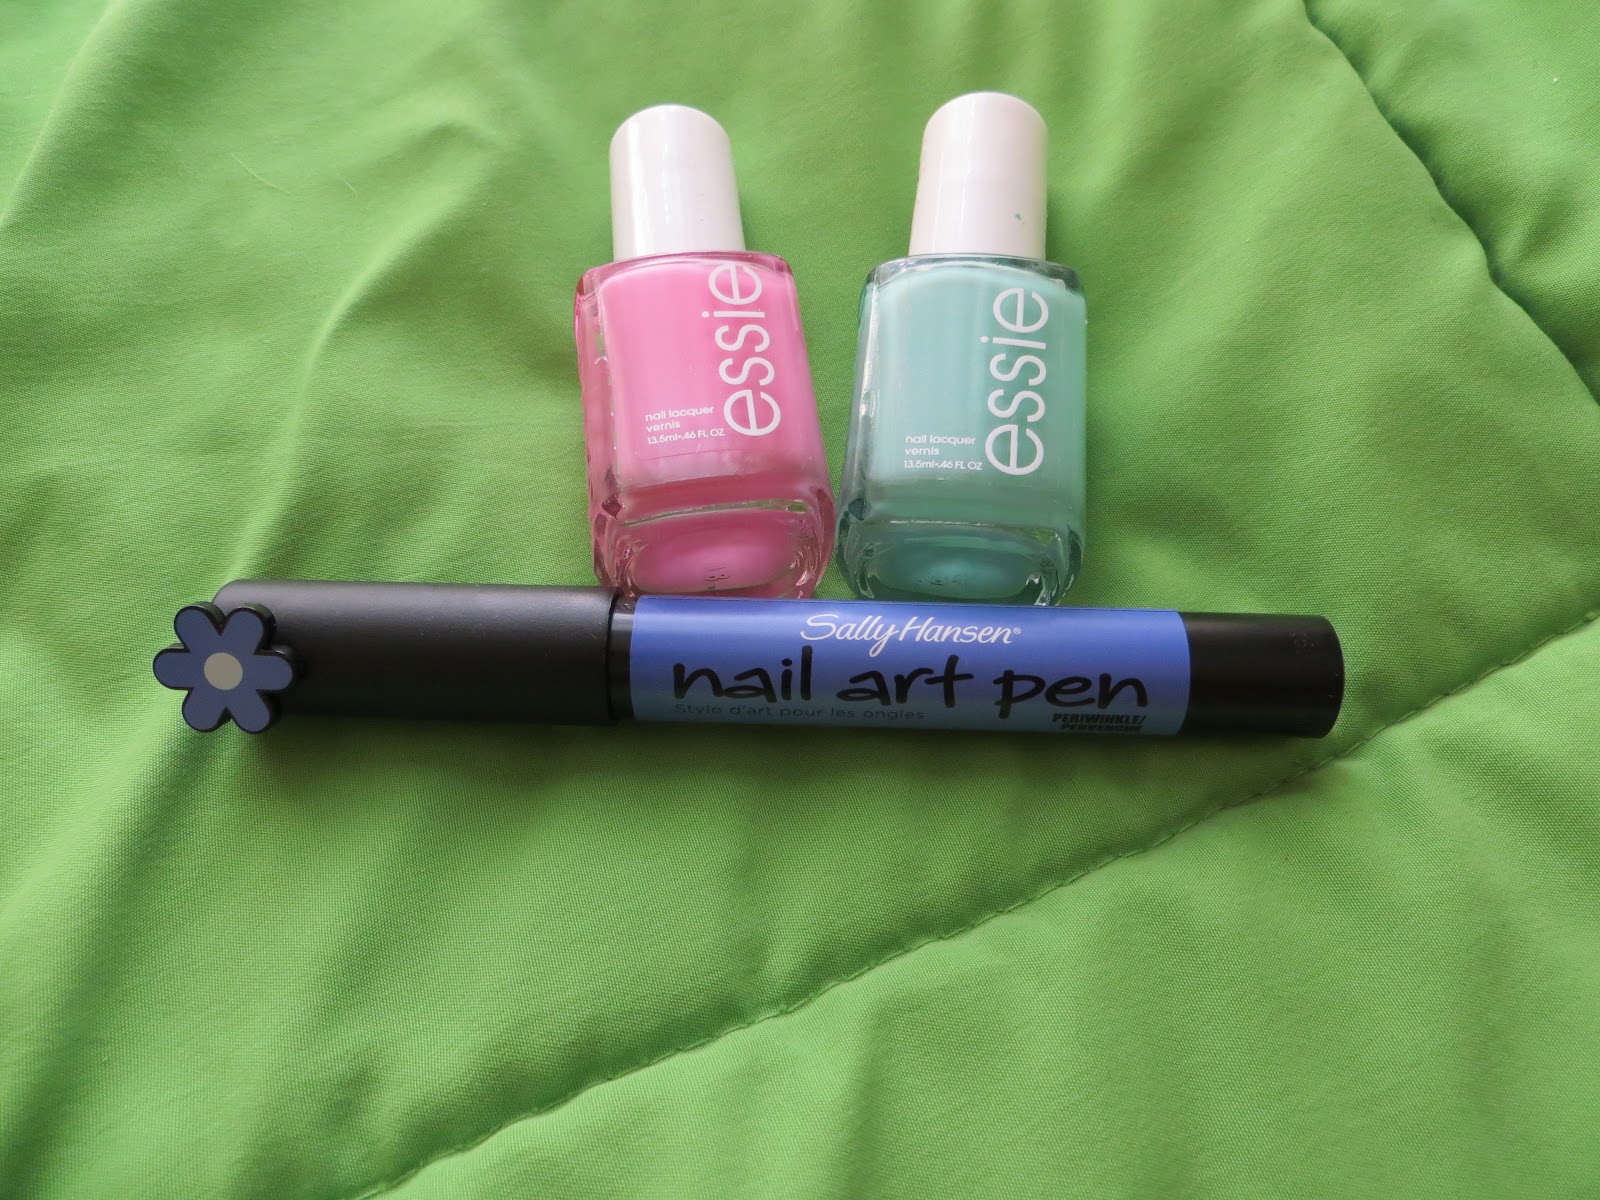
 To get started with nail art com caneta, all you need is a
nail art pen
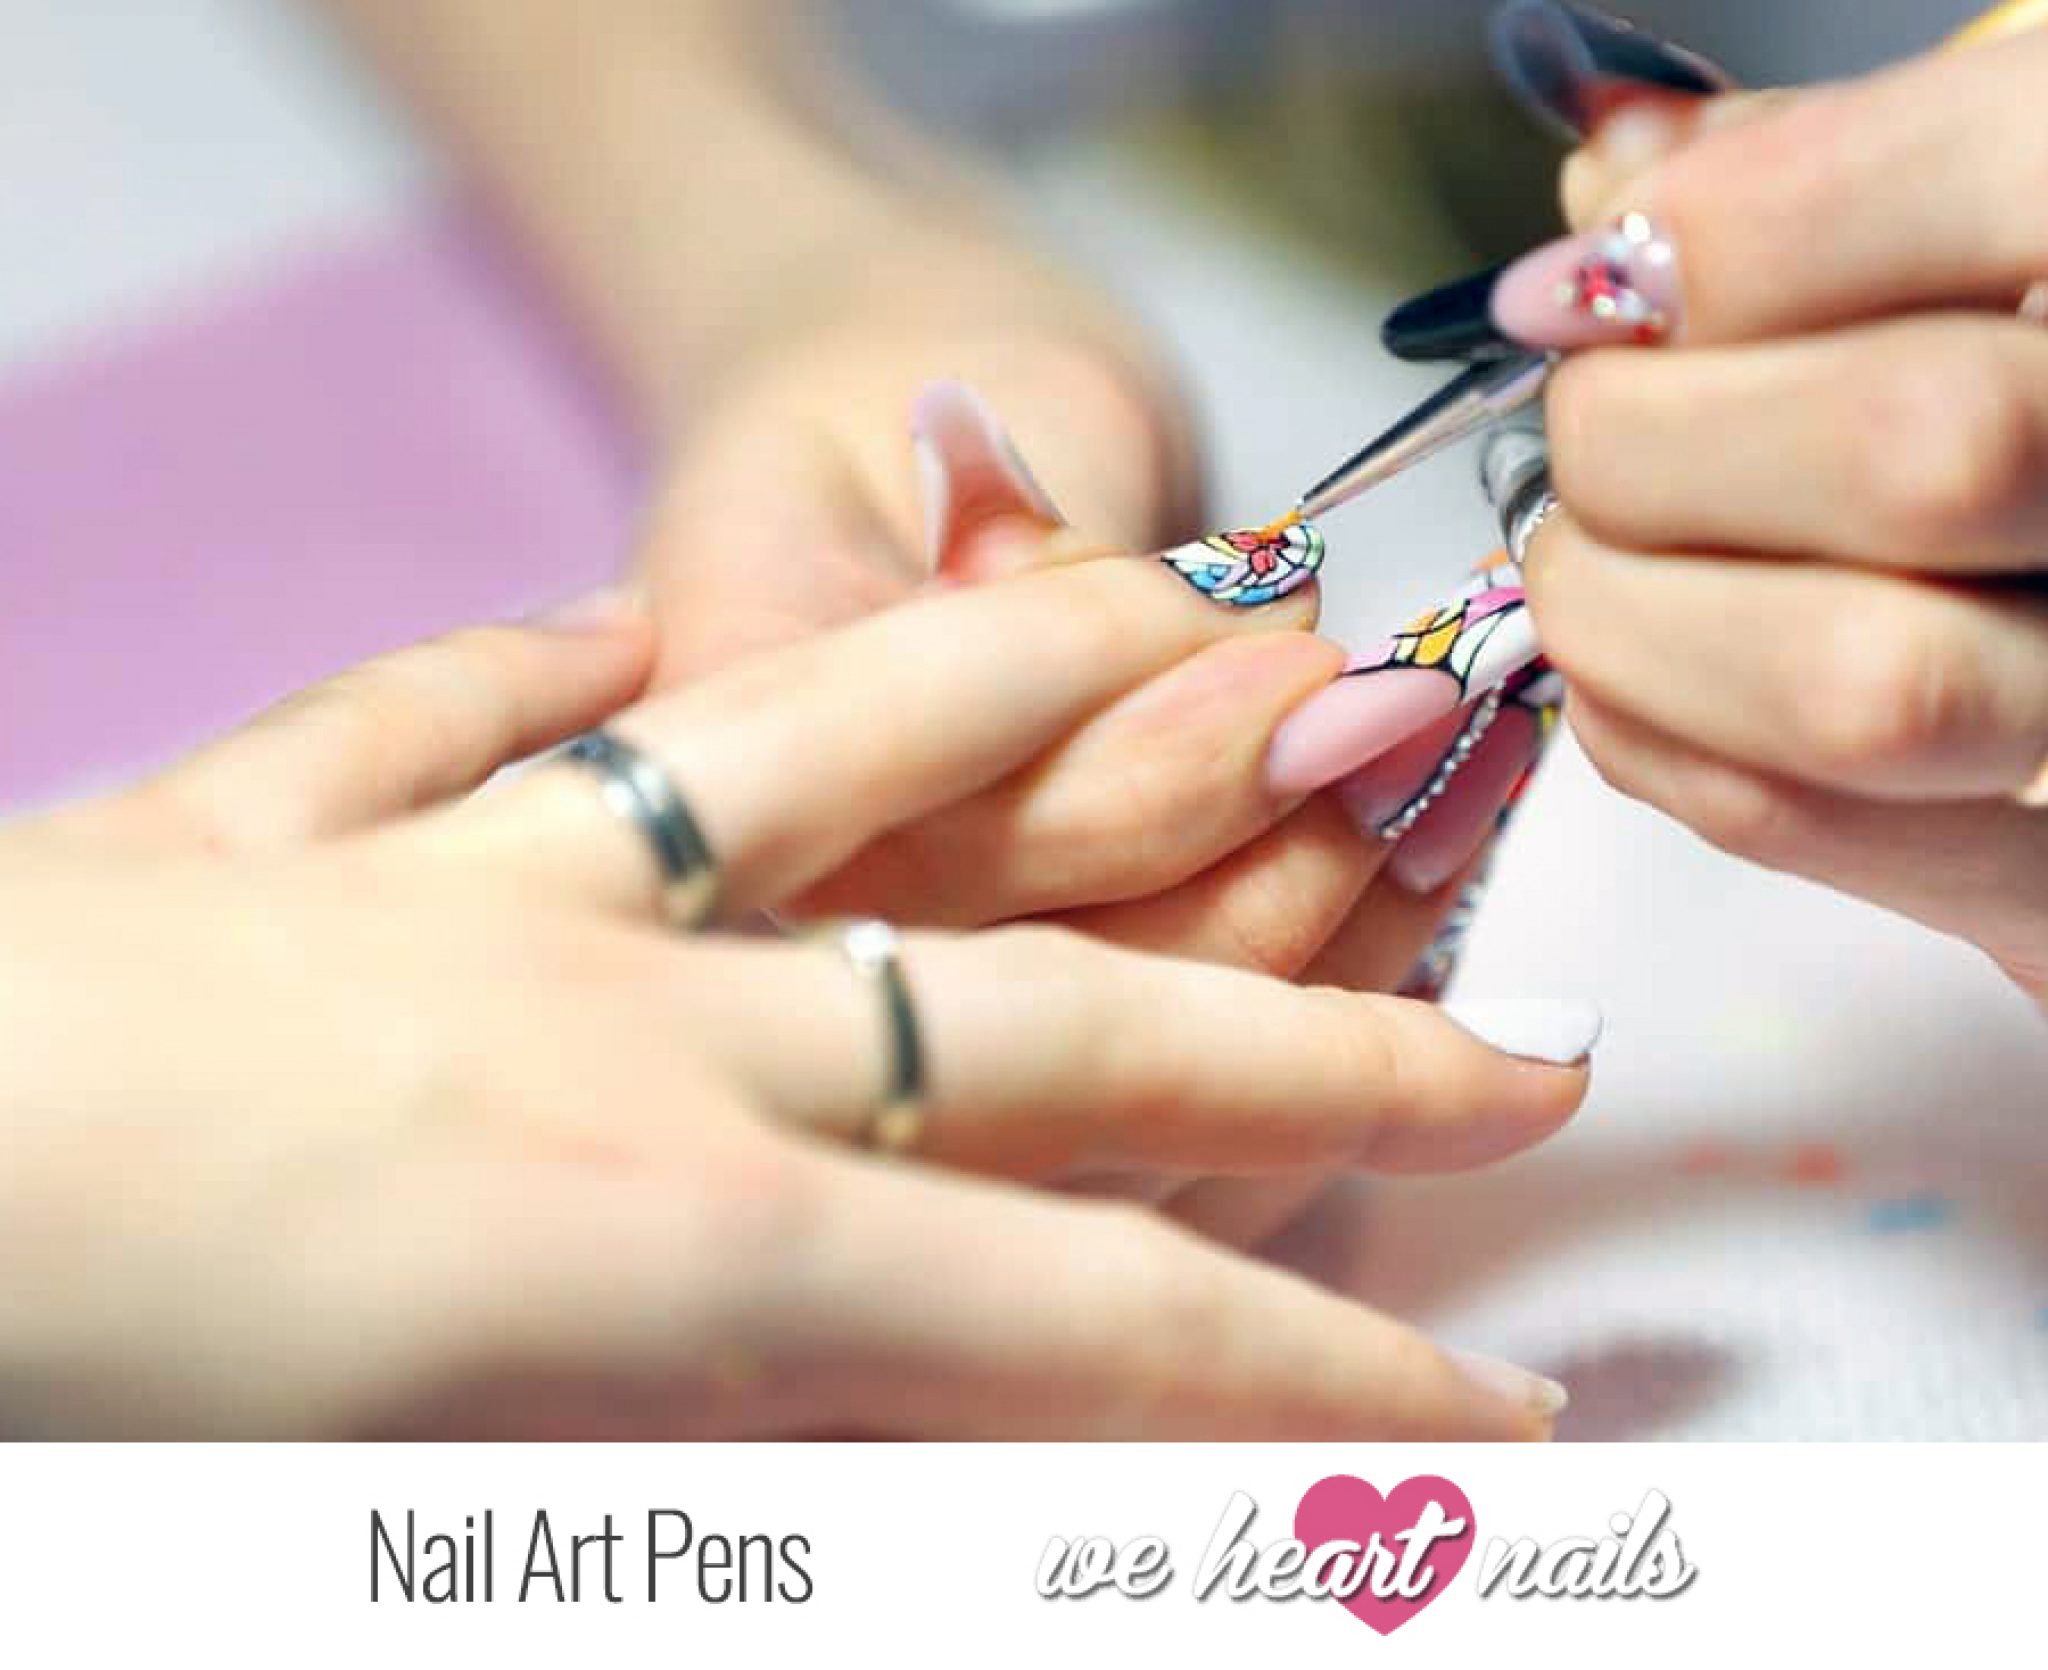
of your choice and some nail polish. Begin by painting your nails with a base color and allowing it to dry completely. Then, using the pen, you can
draw on your nails to create your desired design
. If you make a mistake, don't worry, as you can easily remove it with a cotton swab dipped in nail polish remover. Once you are satisfied with your design, finish off with a top coat to seal in your masterpiece.
To get started with nail art com caneta, all you need is a
nail art pen
of your choice and some nail polish. Begin by painting your nails with a base color and allowing it to dry completely. Then, using the pen, you can
draw on your nails to create your desired design
. If you make a mistake, don't worry, as you can easily remove it with a cotton swab dipped in nail polish remover. Once you are satisfied with your design, finish off with a top coat to seal in your masterpiece.
Conclusion
 In conclusion,
nail art com caneta
is a fun and creative way to elevate your nail game and express your unique style. With just a simple pen, you can create endless designs and make your nails stand out. So why settle for plain and boring nails when you can transform them into a canvas for your creativity? Give nail art with a pen a try and see the amazing results for yourself!
In conclusion,
nail art com caneta
is a fun and creative way to elevate your nail game and express your unique style. With just a simple pen, you can create endless designs and make your nails stand out. So why settle for plain and boring nails when you can transform them into a canvas for your creativity? Give nail art with a pen a try and see the amazing results for yourself!


