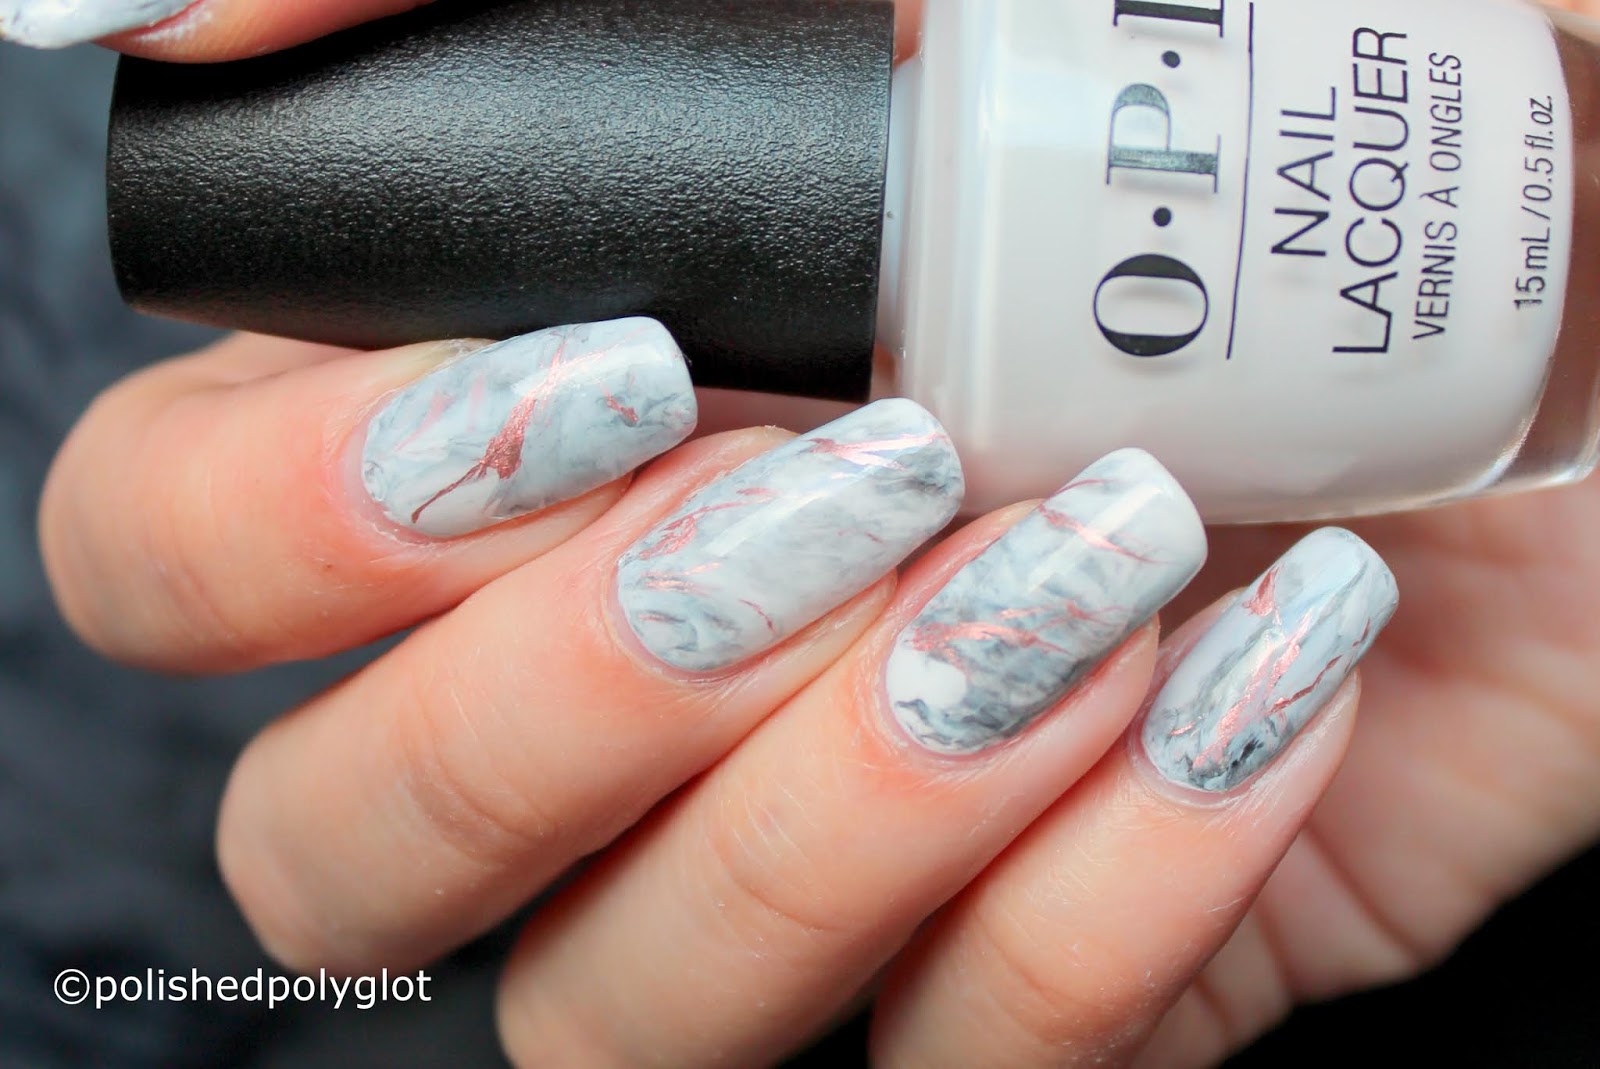
Are you tired of the same plain nail polish colors? Want to amp up your nail game with some fun and unique designs? Look no further than DIY marbled nail art! This technique involves creating swirls of color on your nails, giving them a marbled effect that is sure to make a statement. And the best part? You can easily match the colors to create a cohesive and eye-catching look. Here's a step-by-step guide on how to achieve flawless marbled nail art with matching colors.DIY Marbled Nail Art Tutorial


DIY Marbled Nail Art Tutorial


The key to creating a stunning marbled nail art design is choosing a color palette that complements each other. Start by selecting a few colors that you want to incorporate into your design. These could be shades from the same color family or contrasting colors – it's totally up to you! Pro tip: choose colors that you love and feel confident wearing. Once you have your color palette, gather all the nail polish shades you plan to use. Then, place them on a flat surface in the order you want to apply them. This will make it easier to keep track of the colors and ensure they match perfectly.How to Create a Matching Color Palette for Your Nail Art


How to Create a Matching Color Palette for Your Nail Art


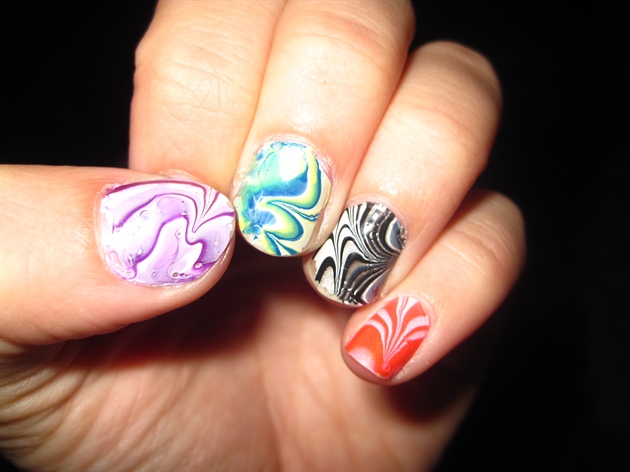


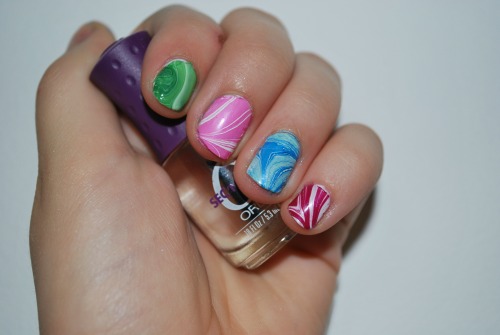
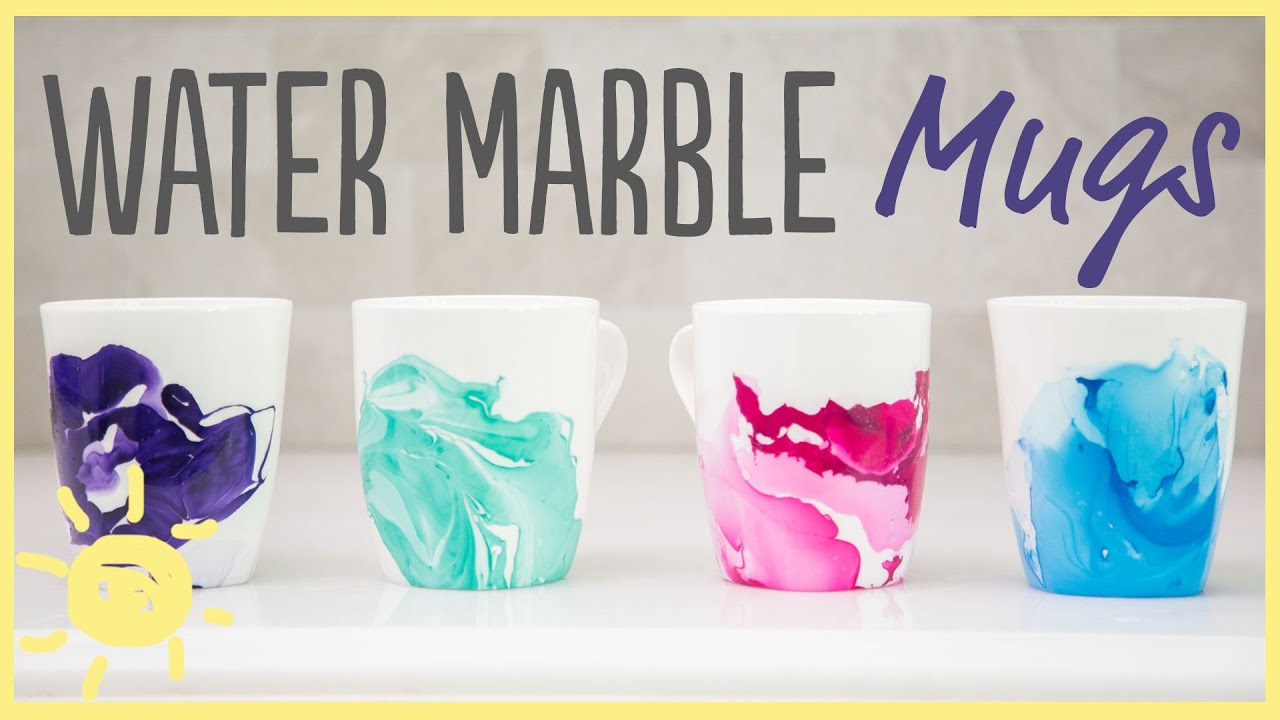
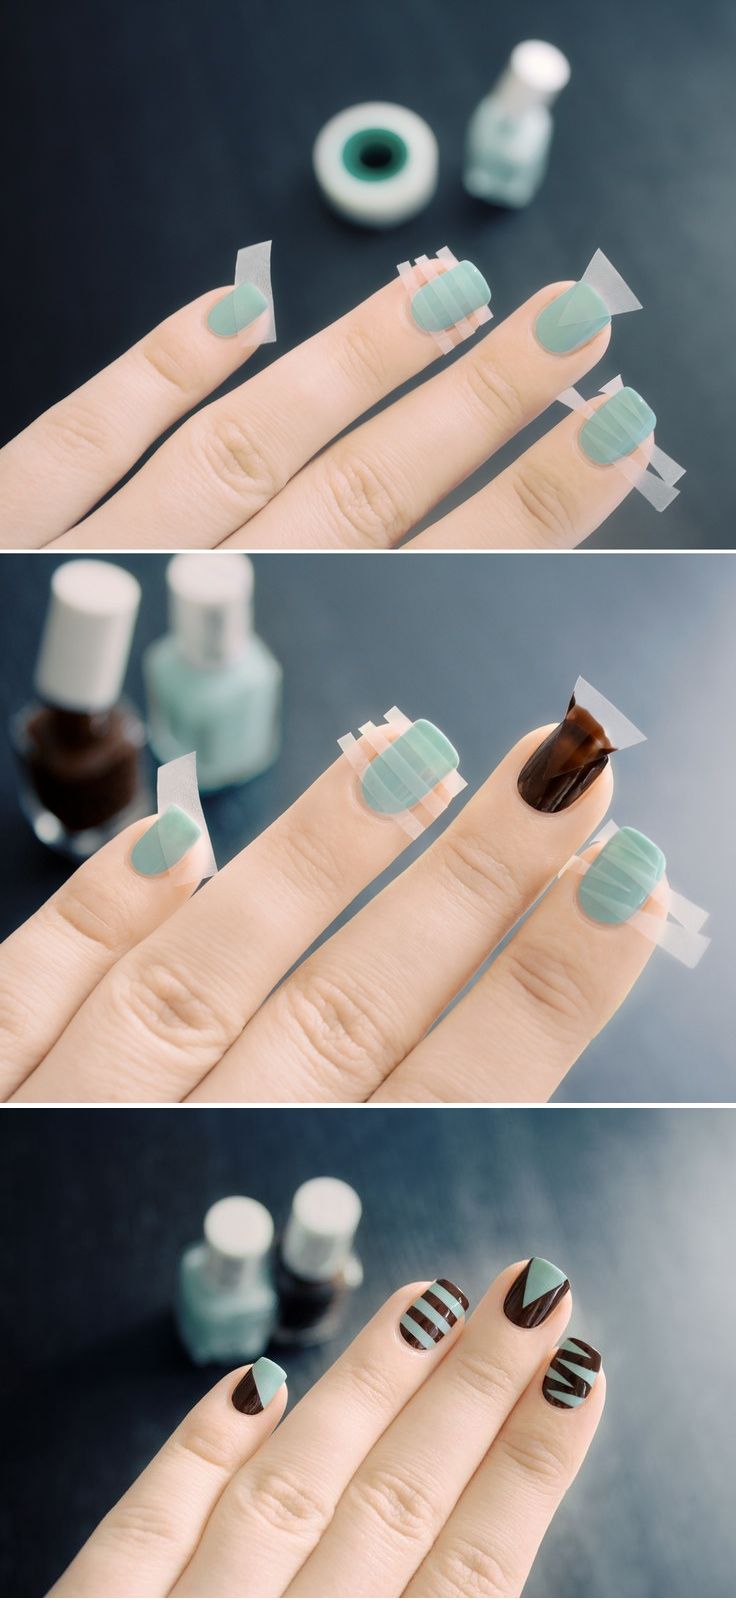
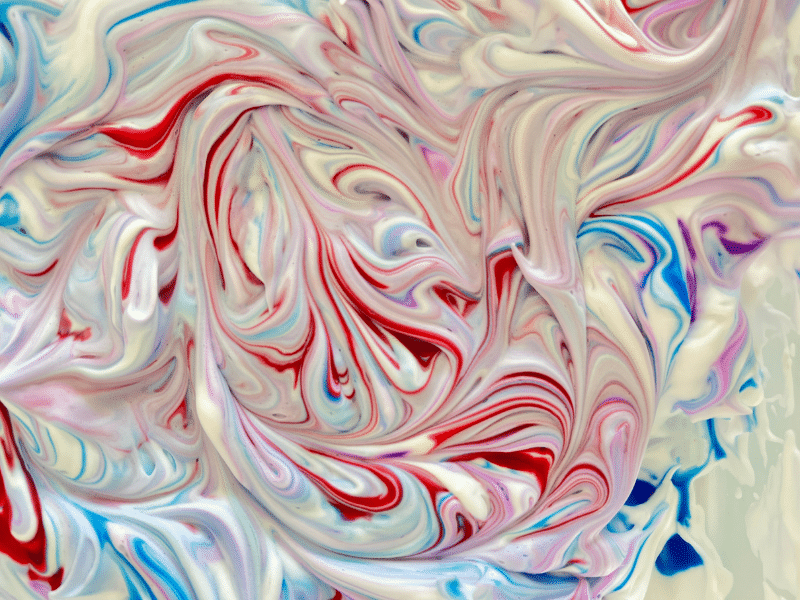
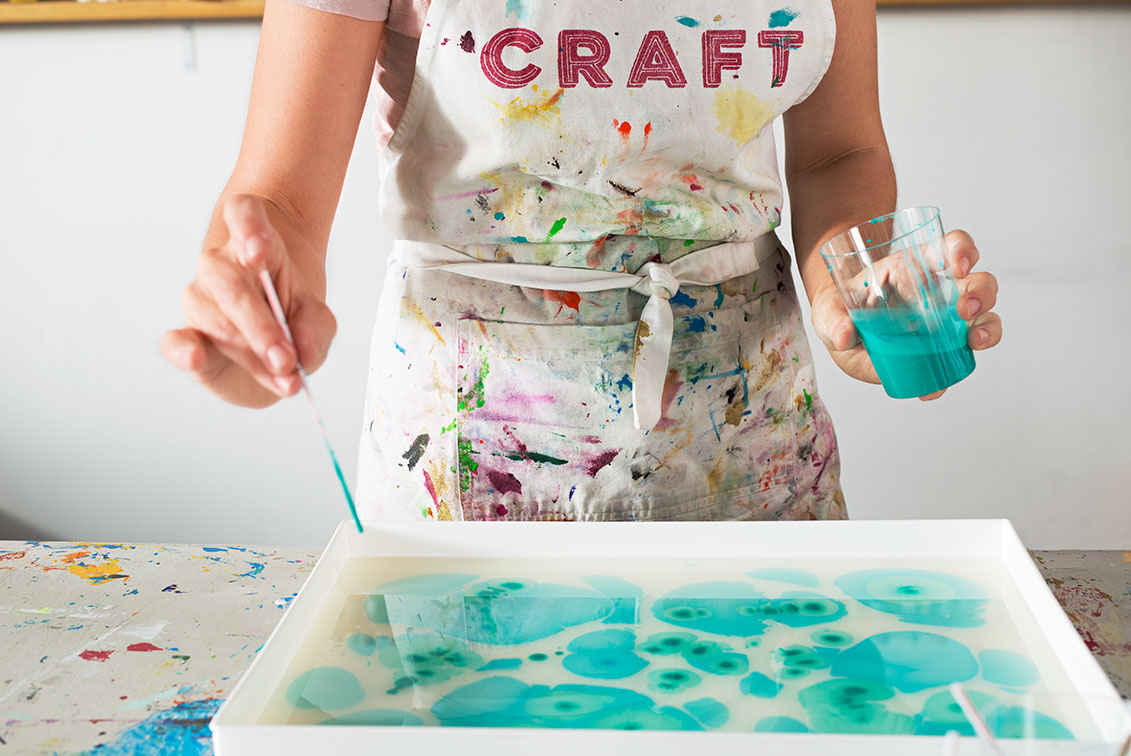
Now that you have your color palette sorted out, it's time to start creating your marbled nail art! Here are a few simple ideas to get you started: 1. Classic Marble: Start by applying a base coat to protect your nails. Then, choose two colors from your palette and add a few drops of each onto a piece of plastic wrap. Use a toothpick or a small brush to swirl the colors together, creating a marble effect. Once done, gently dab the plastic wrap onto your nail, transferring the design. Repeat the process on all nails and finish with a top coat. 2. Ombre Marble: For a more subtle marbled look, go for an ombre effect by using two shades from your color palette. Start by applying the lighter shade as the base color and let it dry. Then, take the darker shade and create a marble effect on the plastic wrap. Dab it onto your nail, starting at the tip and working your way down. Repeat on all nails and seal with a top coat.Easy DIY Nail Art Ideas Using Marbling Techniques


Easy DIY Nail Art Ideas Using Marbling Techniques


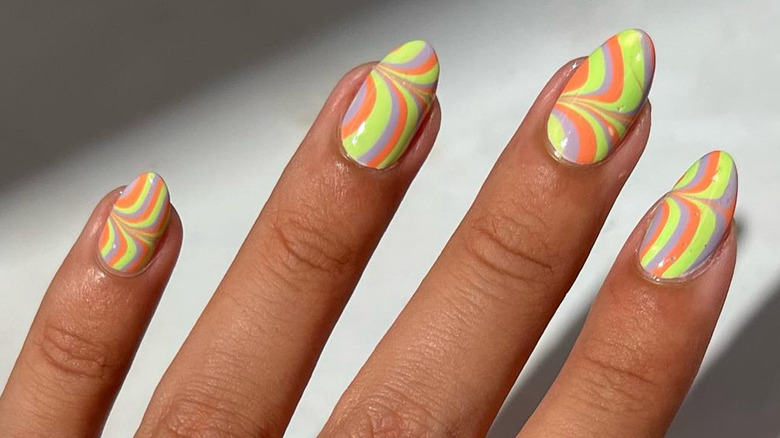
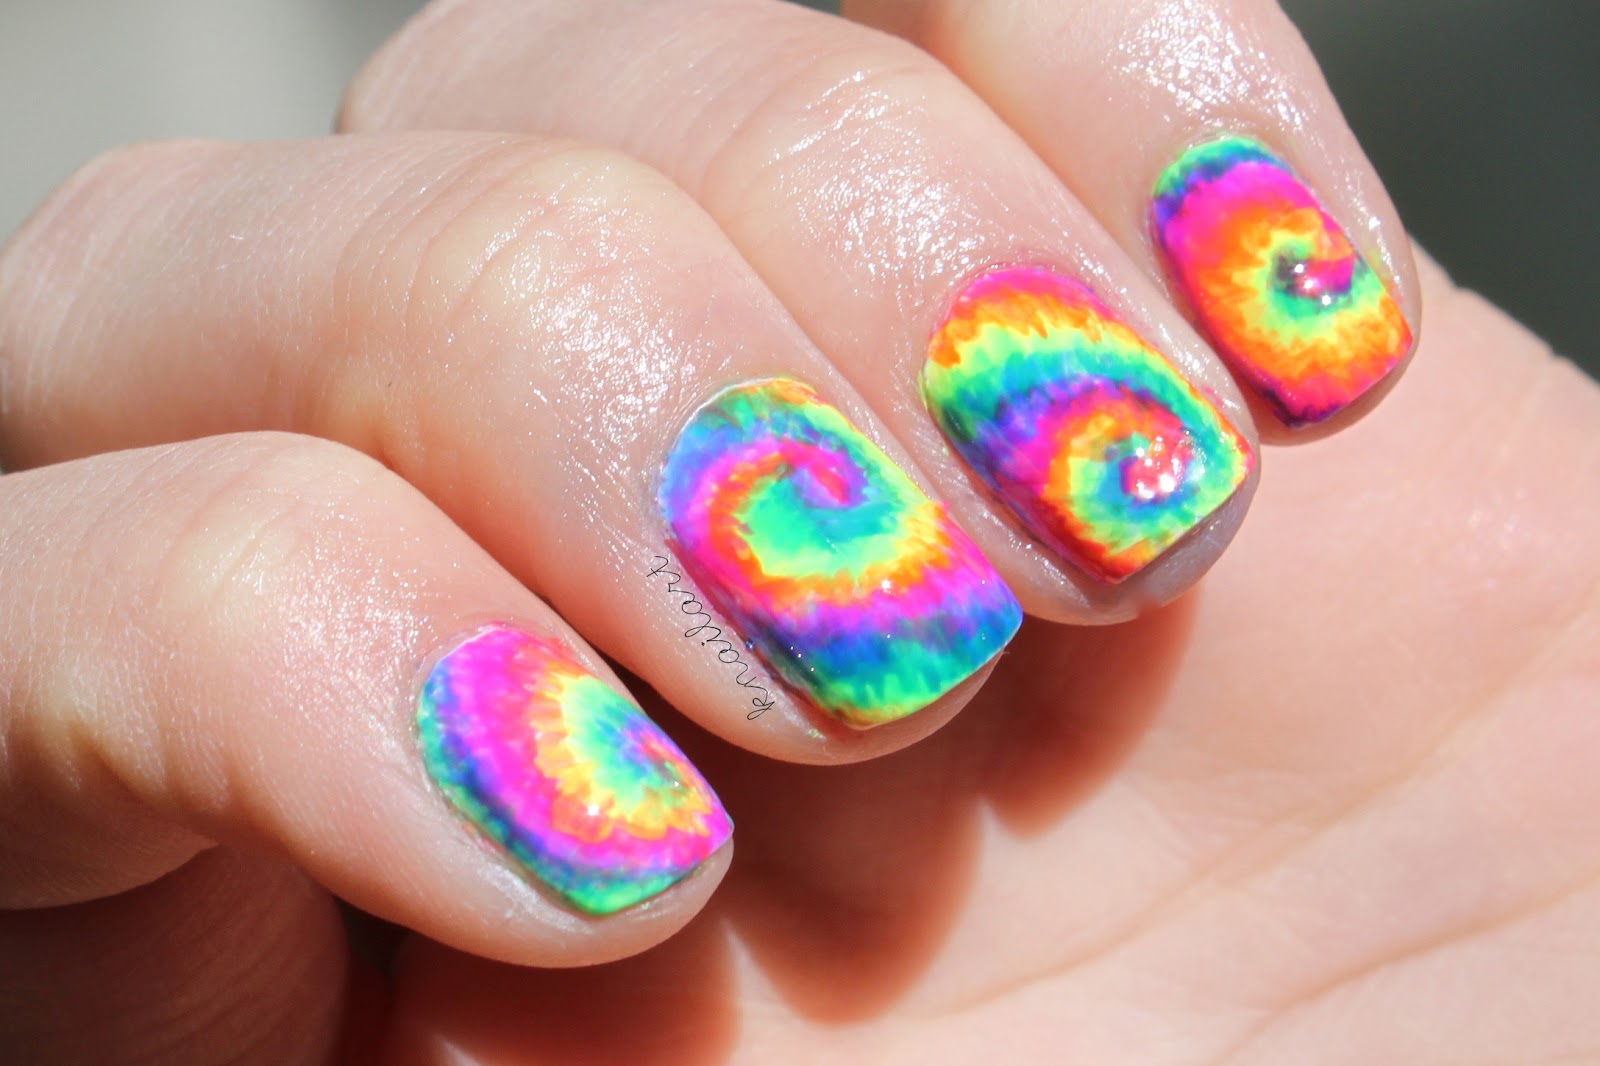
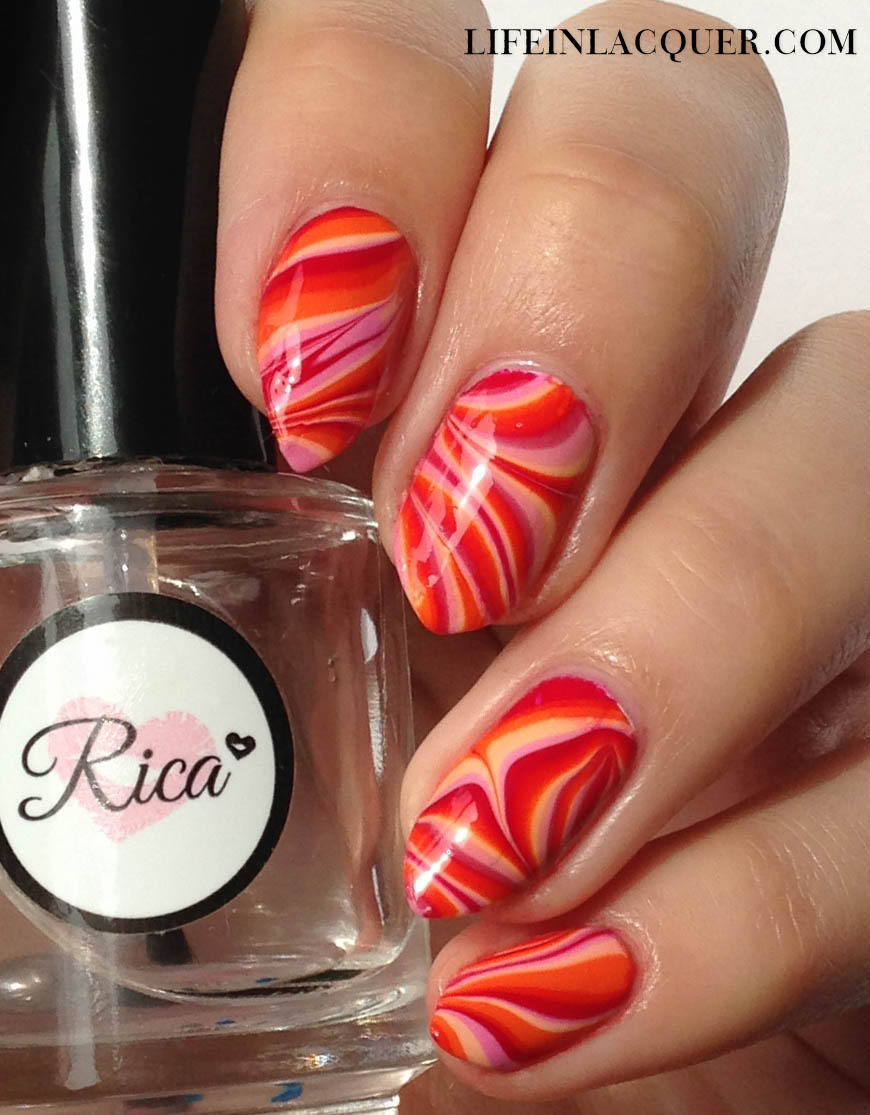
If you're feeling more adventurous, try these colorful marbled nail art designs that are sure to turn heads: 3. Rainbow Marble: Who says you have to stick to just two or three colors? Let your creativity flow and create a rainbow marble effect on your nails. Use a variety of colors from your palette and follow the same steps as the classic marble technique. 4. Neon Marble: Take your marbled nail art to the next level by using neon colors! The bright and bold shades will make your nails stand out, perfect for a night out or a summer party. Just remember to always start with a white base coat to make the neon colors pop.Colorful Marbled Nail Art Designs You Can Do at Home


Colorful Marbled Nail Art Designs You Can Do at Home


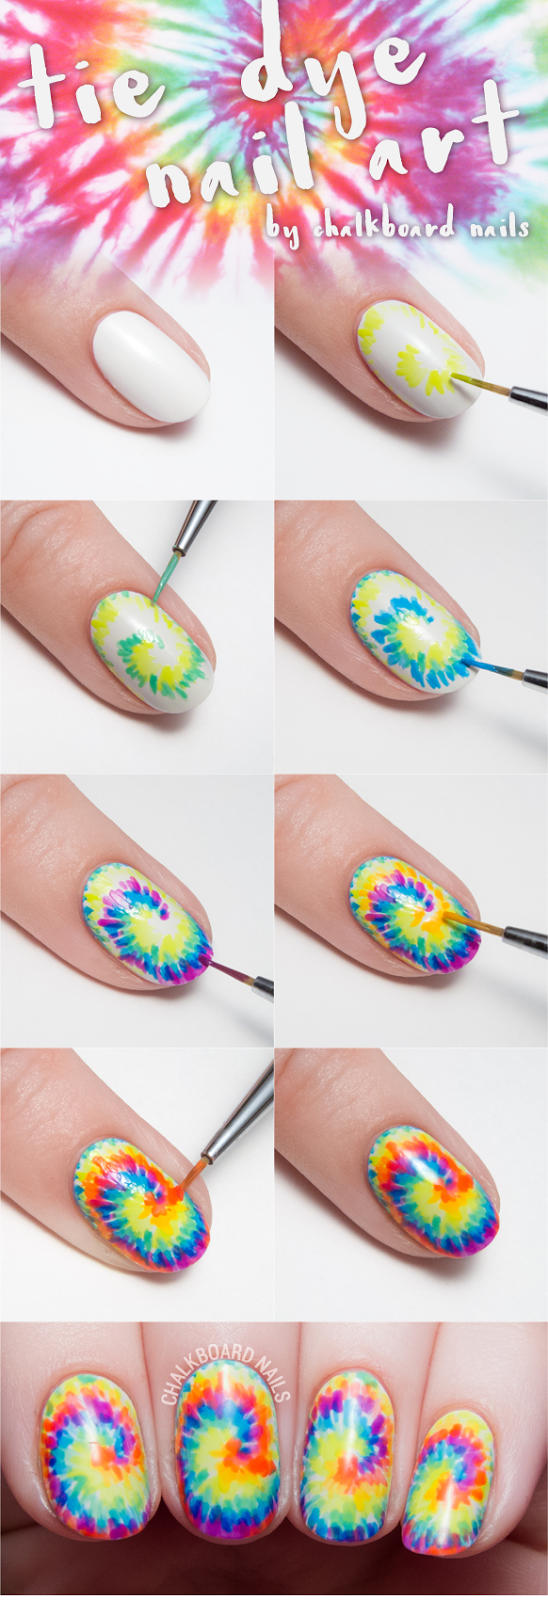
Ready to give marbled nail art a try? Here's a simple step-by-step guide to help you achieve the perfect design: Step 1: Prep your nails by removing any old nail polish and shaping them to your desired length and shape. Step 2: Apply a base coat to protect your nails and allow it to dry completely. Step 3: Choose your color palette and place the nail polish colors in the order you want to use them on a flat surface. Step 4: Protect the skin around your nails by applying a layer of petroleum jelly or liquid latex. Step 5: Take the first two colors from your palette and add a few drops of each onto a piece of plastic wrap. Swirl the colors together using a toothpick or a small brush. Step 6: Gently dab the plastic wrap onto your nail, transferring the design. Repeat the process on all nails. Step 7: Once the design is dry, remove the petroleum jelly or liquid latex and clean up any excess polish around your nails. Step 8: Finish off with a top coat to seal the design and give it a glossy finish.Step-by-Step Guide to DIY Marbled Nail Art with Matching Colors


Step-by-Step Guide to DIY Marbled Nail Art with Matching Colors
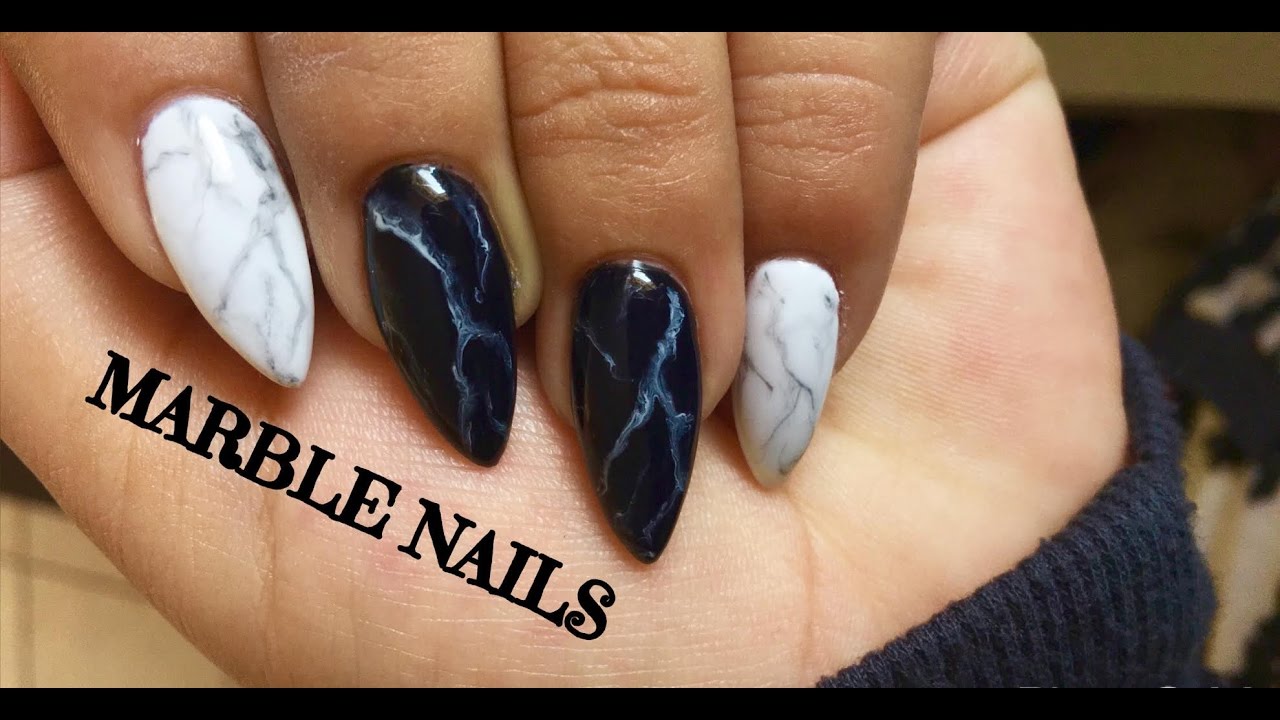
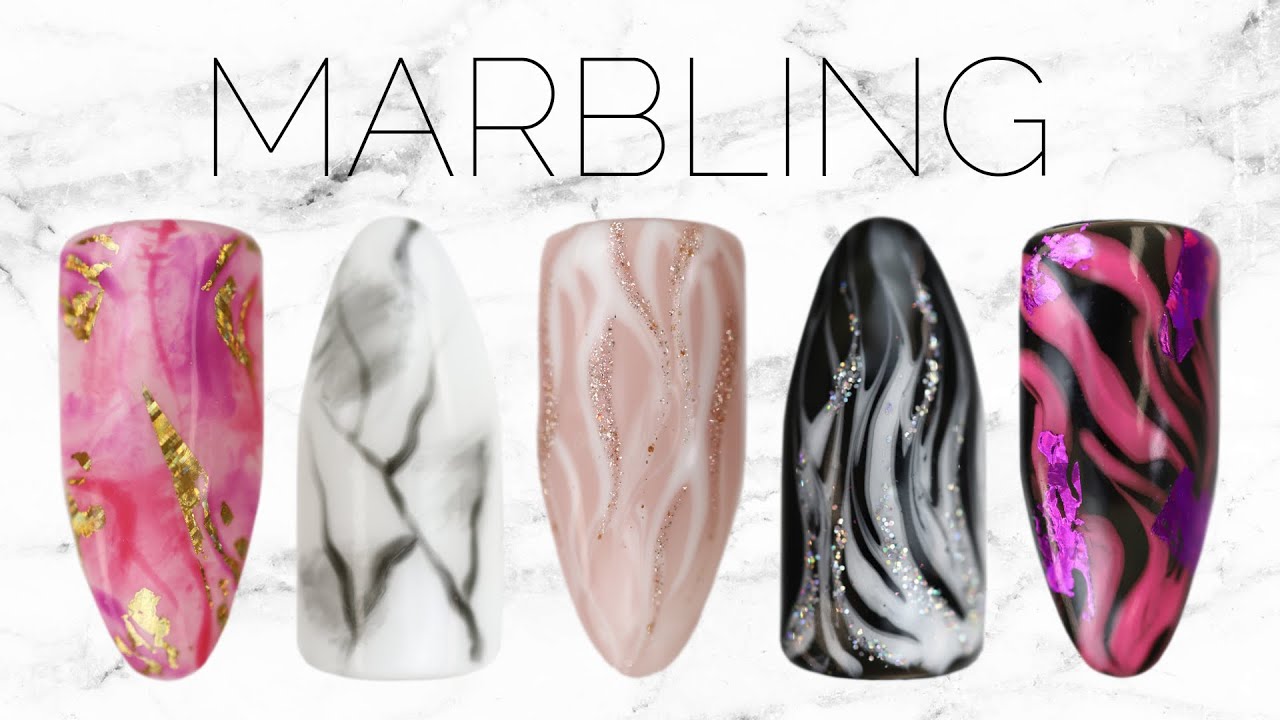

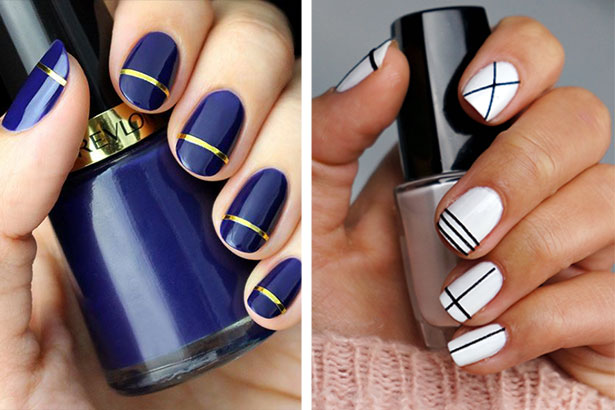
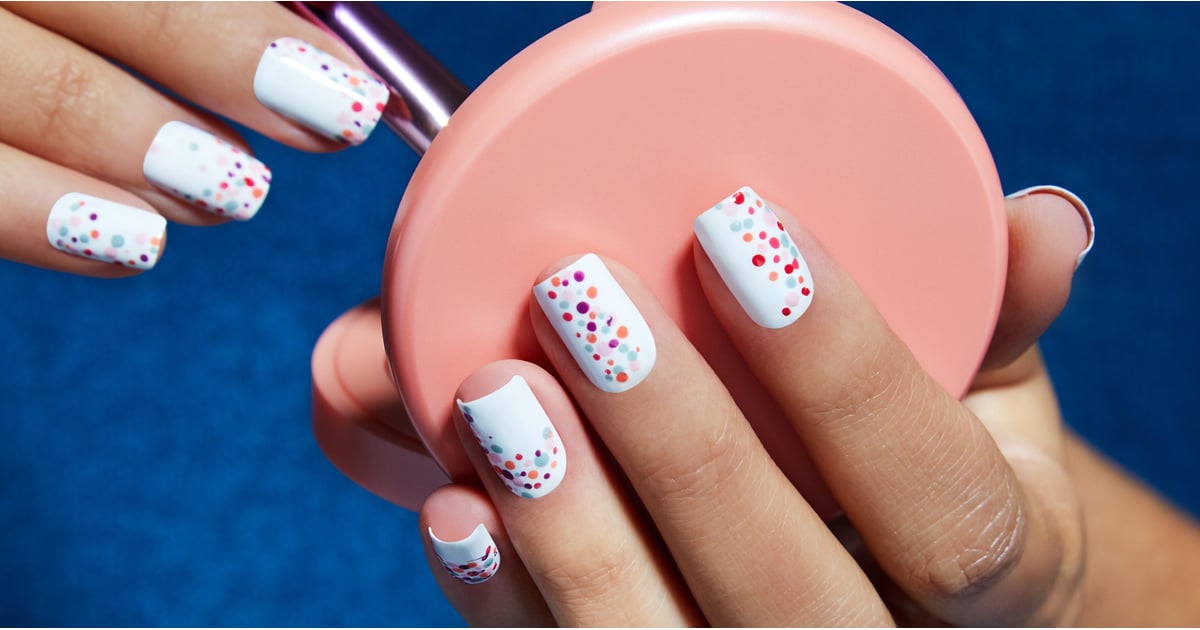
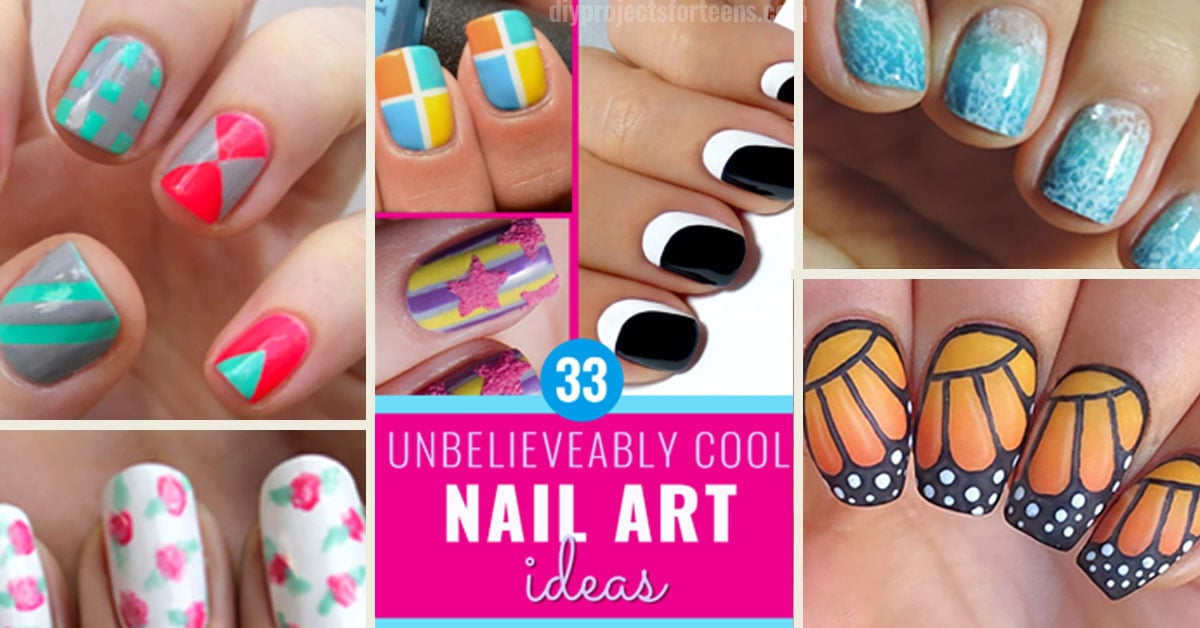
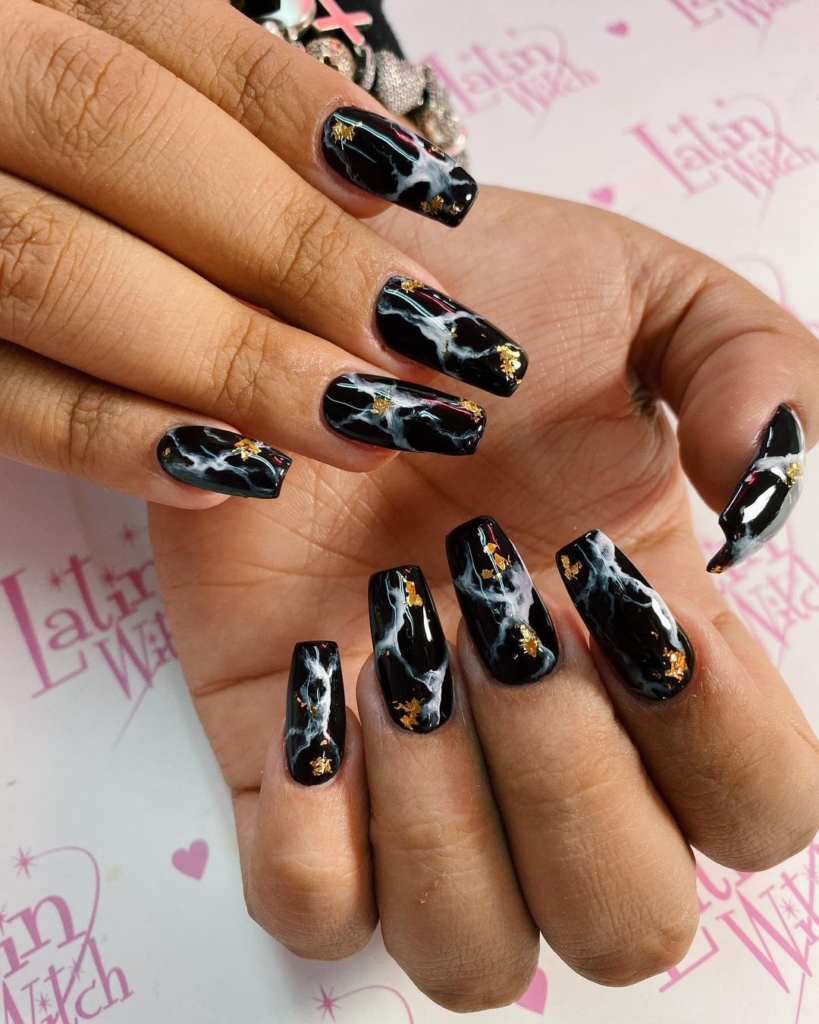
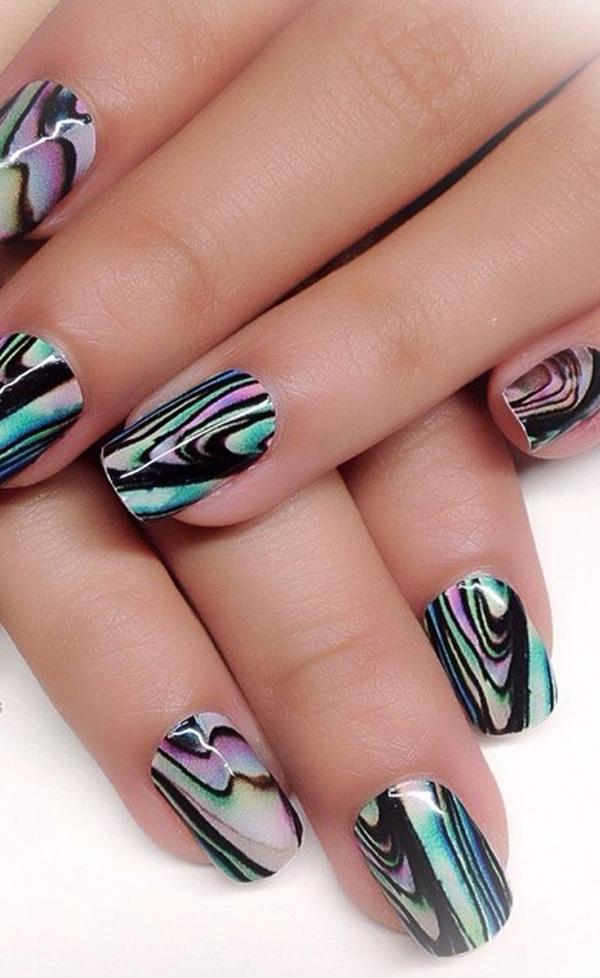
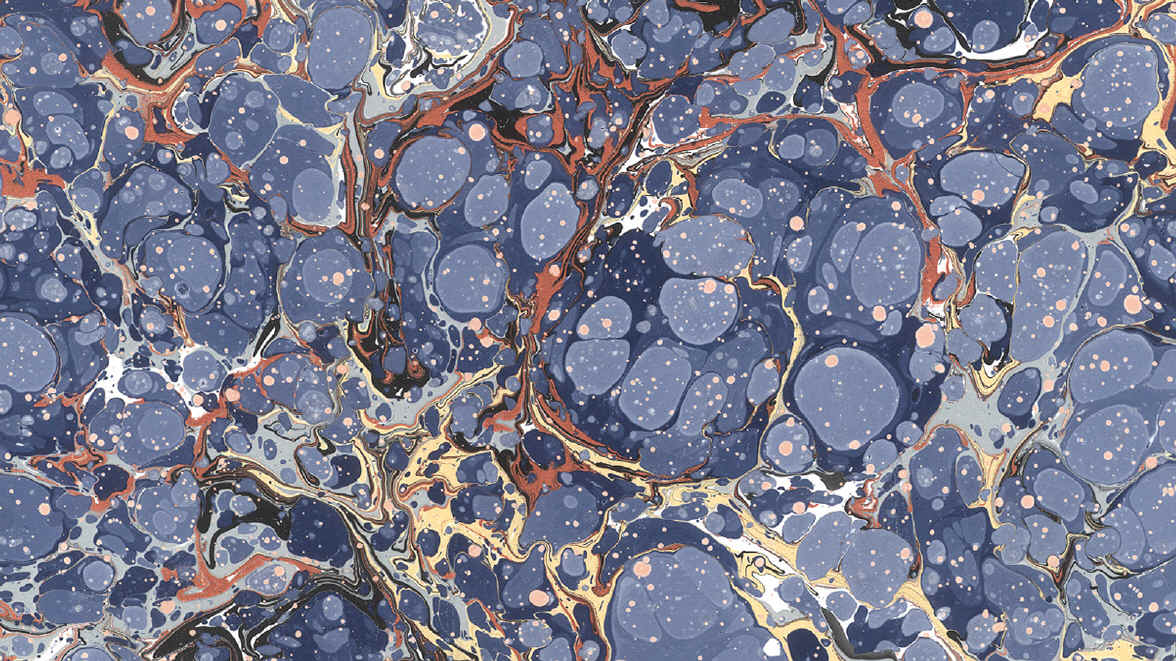
Looking for more inspiration? Here are some creative nail art ideas that incorporate marbling and matching colors: 1. Floral Marbled Nails: Add a floral touch to your marbled nails by using a toothpick or a small brush to create flower designs on top of the marbled base. 2. Glitter Marbled Nails: Take your marbled nails to the next level by adding some glitter into the mix. Simply sprinkle some glitter on top of the wet polish before it dries. 3. Negative Space Marble: Leave some parts of your nails unpainted to create a negative space effect, making the marble design stand out even more. 4. Geometric Marble: After creating the marbled base, use a thin brush to add geometric shapes in a contrasting color on top. 5. French Tip Marble: Give the classic French tip a twist by creating a marbled effect on the tips of your nails. 6. Animal Print Marble: Use a toothpick or a small brush to create animal print designs on top of the marbled base for a wild look. 7. Watercolor Marble: Use a damp brush to smudge the colors together, creating a watercolor effect on your nails. 8. Galaxy Marble: Add some cosmic vibes to your nails by using shades of blue, purple, and black to create a galaxy-inspired marbled design. 9. Striped Marble: After creating the marbled base, use a striping brush to add thin lines in a contrasting color on top. 10. Abstract Marble: Let your creativity flow and create abstract designs on top of the marbled base using different colors and techniques.10 Creative Nail Art Ideas Using Marbling and Matching Colors

10 Creative Nail Art Ideas Using Marbling and Matching Colors

Want to add some extra sparkle and shine to your marbled nail art? Try incorporating matching glitter into your design! Here's how: Step 1: Follow the steps for creating the marbled base, but instead of using plain nail polish, use glitter polish in the same colors. Step 2: Once the base is dry, use a toothpick or a small brush to create a marbled effect on top using a different color of glitter polish. Step 3: Gently dab the glitter polish onto your nails, creating a layered and textured look. Step 4: Finish off with a top coat to seal the design and give it a glossy finish.DIY Marbled Nail Art with a Twist: Adding Matching Glitter

DIY Marbled Nail Art with a Twist: Adding Matching Glitter


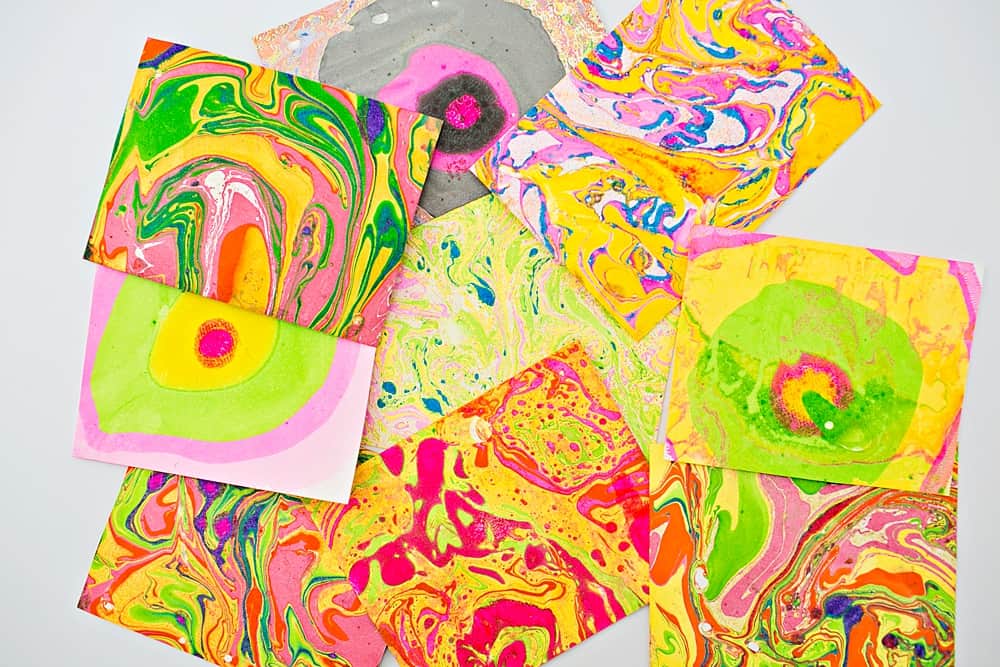
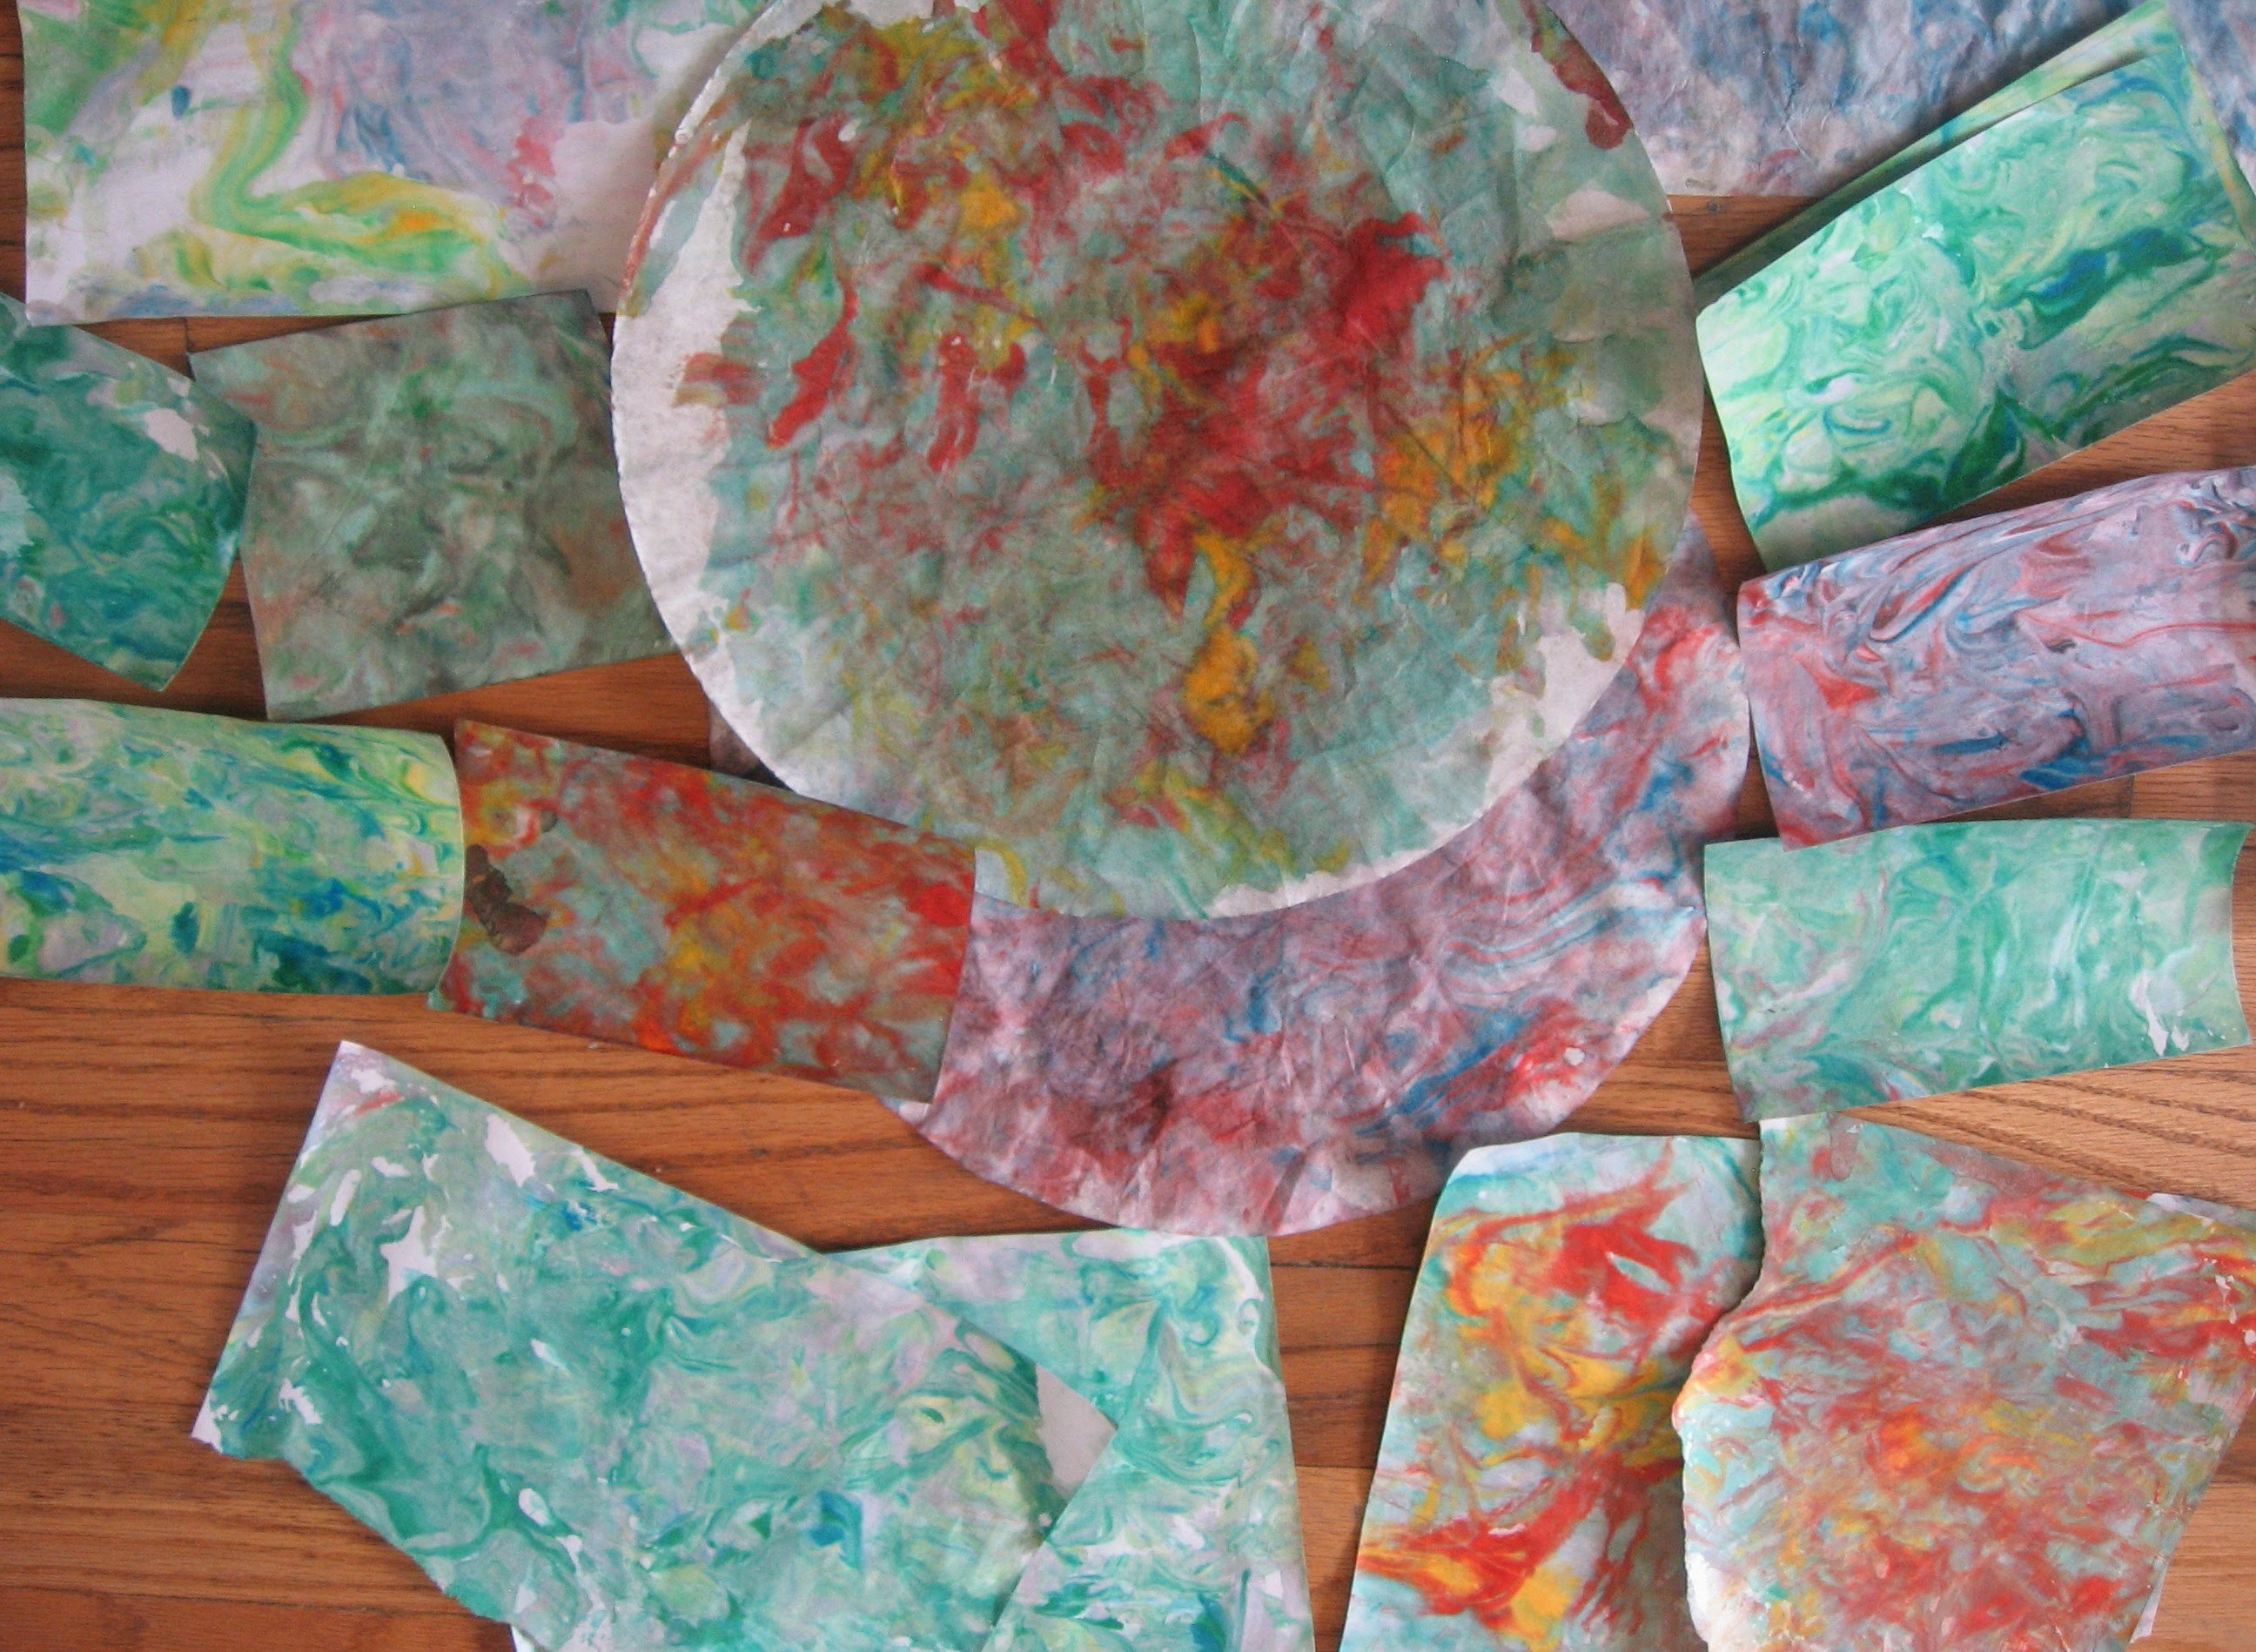
One of the most challenging parts of creating marbled nail art is getting the colors to match perfectly. Here are a few tips to help you achieve a seamless and cohesive color palette: 1. Use nail polish from the same brand: Different nail polish brands may have slightly different shades, even if they have the same name. To ensure a perfect match, stick to one brand for all the colors in your palette. 2. Test the colors: Before starting on your nails, test the colors on a piece of paper or plastic wrap to see how they look together. 3. Stick to similar finishes: Matte and shimmer polishes may look different when mixed together, so it's best to stick to the same finish for all the colors in your palette. 4. Use white as a base: If you're using pastel or light colors, applying a white base coat first will make the colors appear more vibrant and true to their shade.How to Achieve a Perfectly Matching Color Palette for Your DIY Nail Art


How to Achieve a Perfectly Matching Color Palette for Your DIY Nail Art


As you can see, marbling and matching colors are a match made in nail art heaven! With a little bit of practice and experimentation, you can create endless designs and combinations. So, grab your favorite nail polish colors and give DIY marbled nail art a try – your nails will thank you!Marbling and Matching Colors: The Ultimate DIY Nail Art Combo


Marbling and Matching Colors: The Ultimate DIY Nail Art Combo
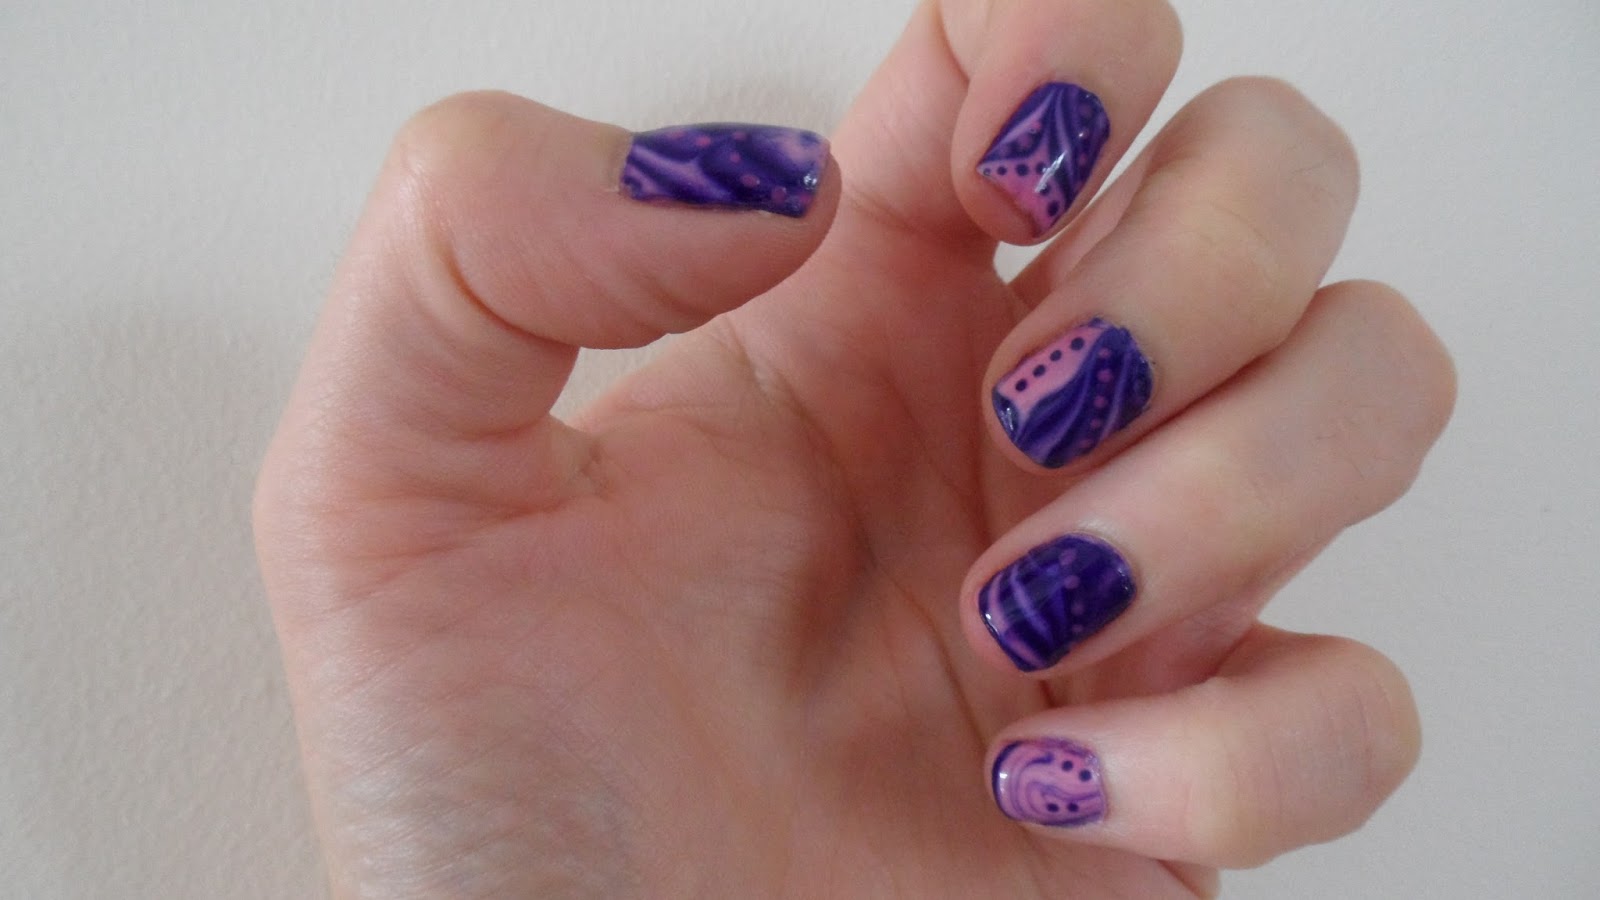
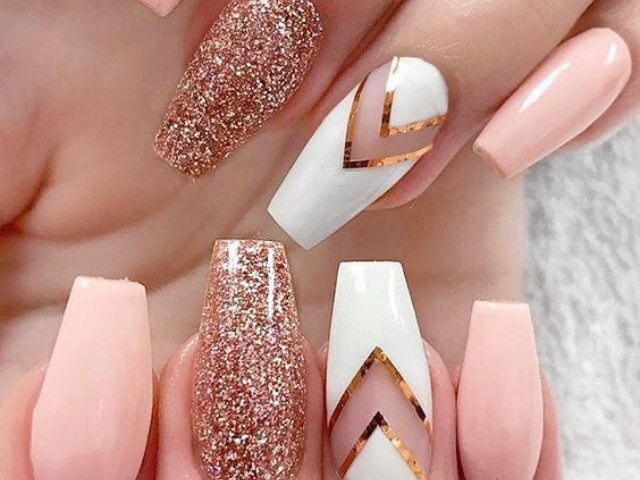
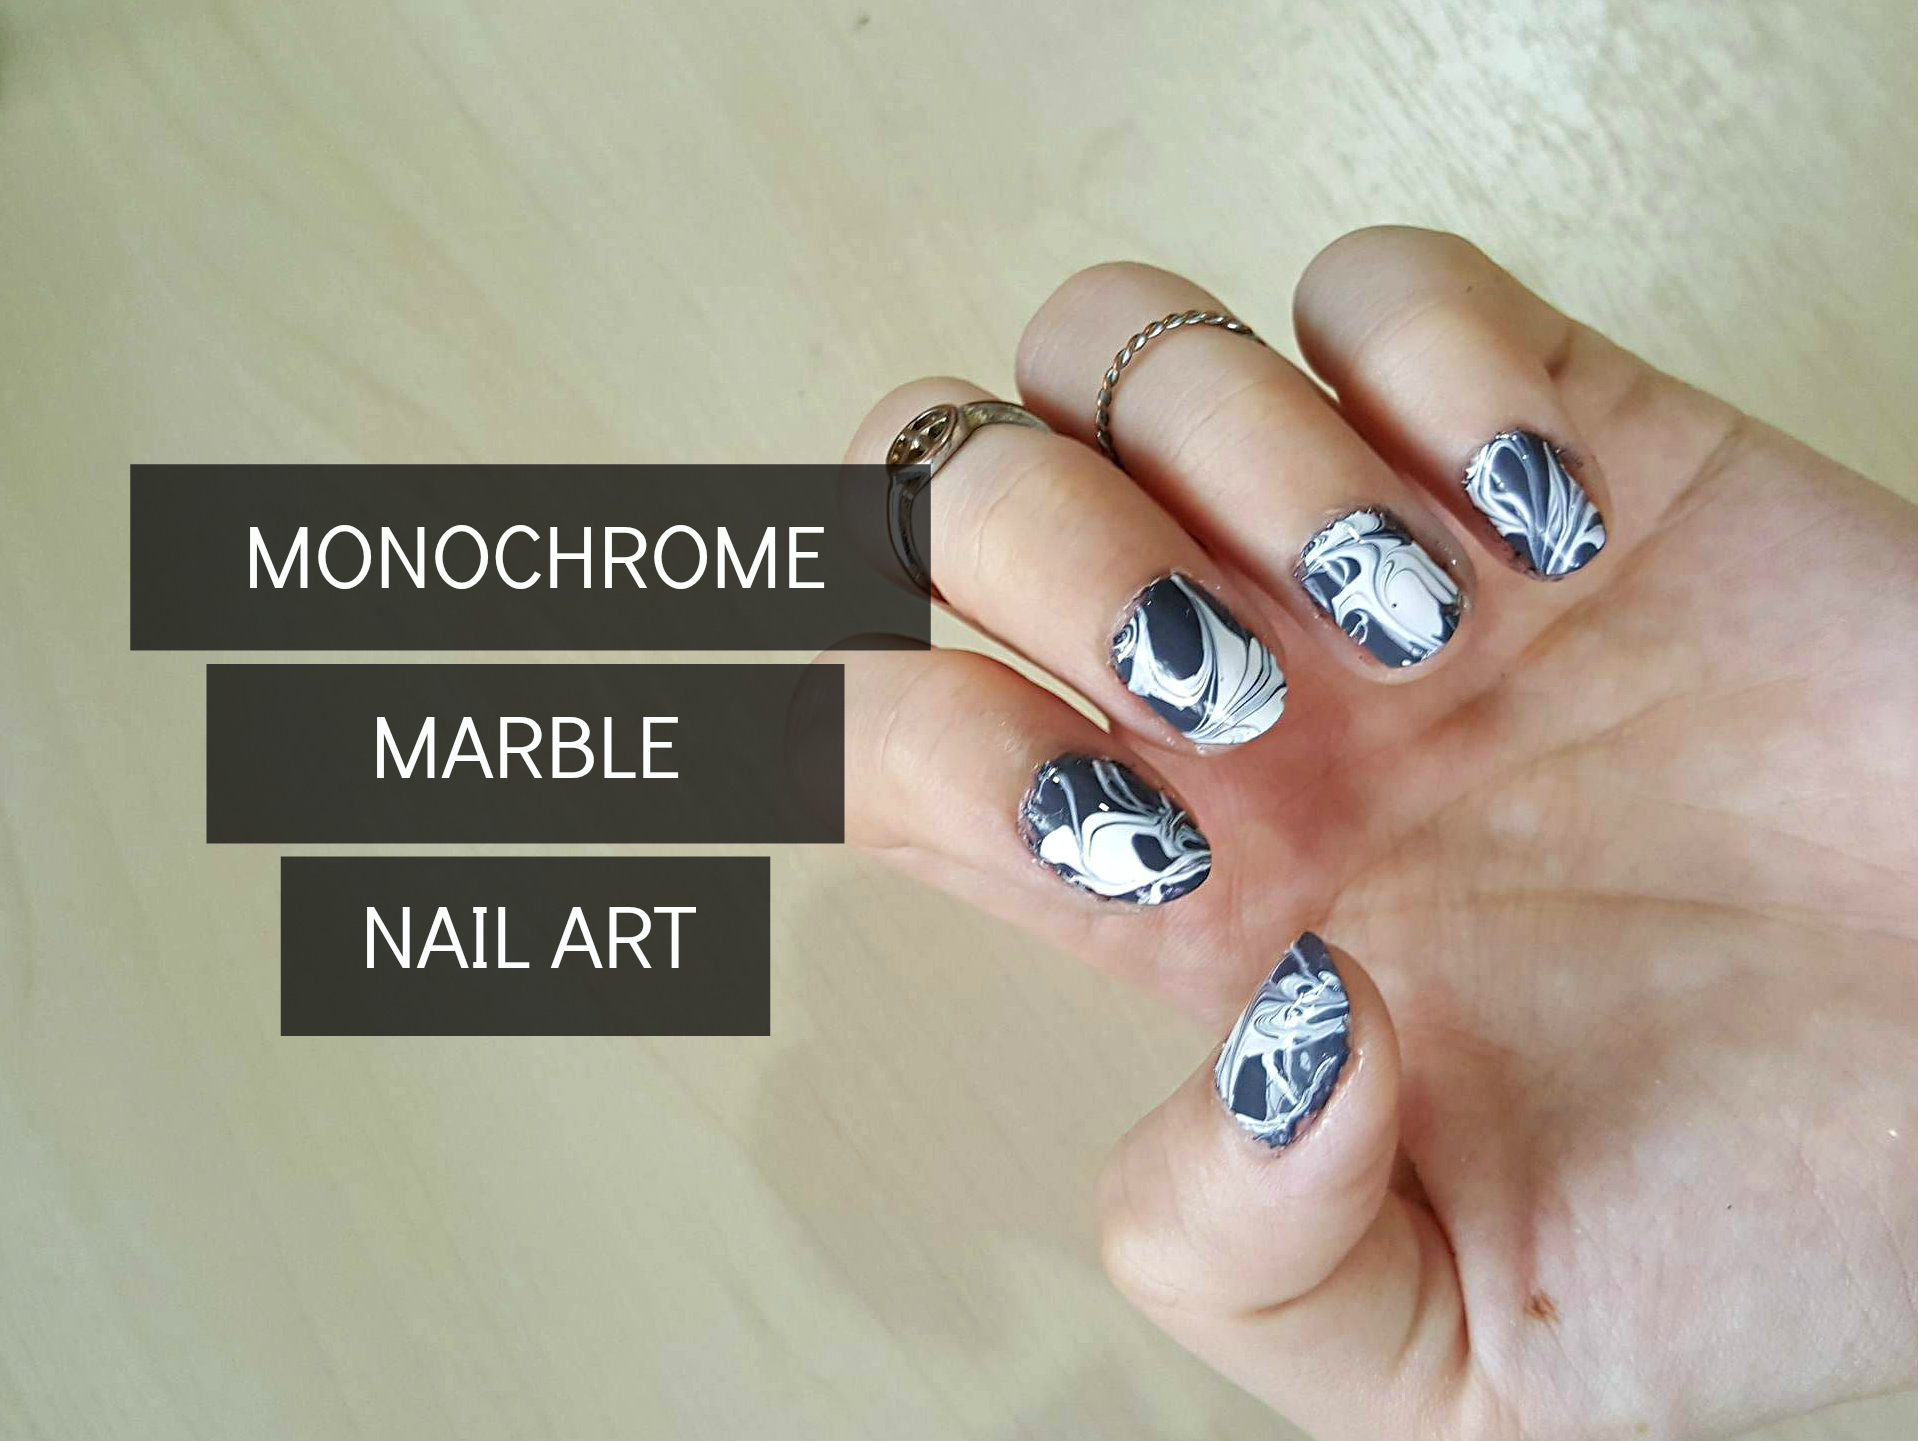
Ready to take your nail art game to the next level? Here are 10 must-try designs that use marbling and matching colors: 1. Sunset Ombre Marble: Create a gradient effect using warm colors to mimic a stunning sunset on your nails. 2. Candy Swirl Marble: Use bright and vibrant colors to create a swirl design that looks good enough to eat. 3. Beachy Waves Marble: Get beachy vibes with a marbled design using shades of blue, green, and white. 4. Cherry Blossom Marble: Add a touch of spring to your nails with a soft pink and white marbled design, topped with delicate cherry blossom flowers. 5. Monochromatic Marble: Stick to shades of one color to create a monochromatic look that is elegant and chic. 6. Tribal Print Marble: Use earthy tones and geometric shapes to create a bold tribal-inspired design. 7. Glitter Drip Marble: Create a dripping effect using glitter polish on top of a marbled base for a fun and unique design. 8. Neon Zebra Marble: Combine neon colors and zebra print for a bold and eye-catching look. 9. Peacock Feather Marble: Use jewel-toned colors and feather designs to create a stunning peacock-inspired look. 10. Metallic Marble: Add some shine and glamour to your nails with a metallic marbled design using shades of silver, gold, and bronze.10 Must-Try DIY Nail Art Designs Using Marbling and Matching Colors

10 Must-Try DIY Nail Art Designs Using Marbling and Matching Colors


Create Stunning Nail Art with DIY Marbling Techniques and Matching Colors

Elevate Your House Design with Unique and Customized Nail Art
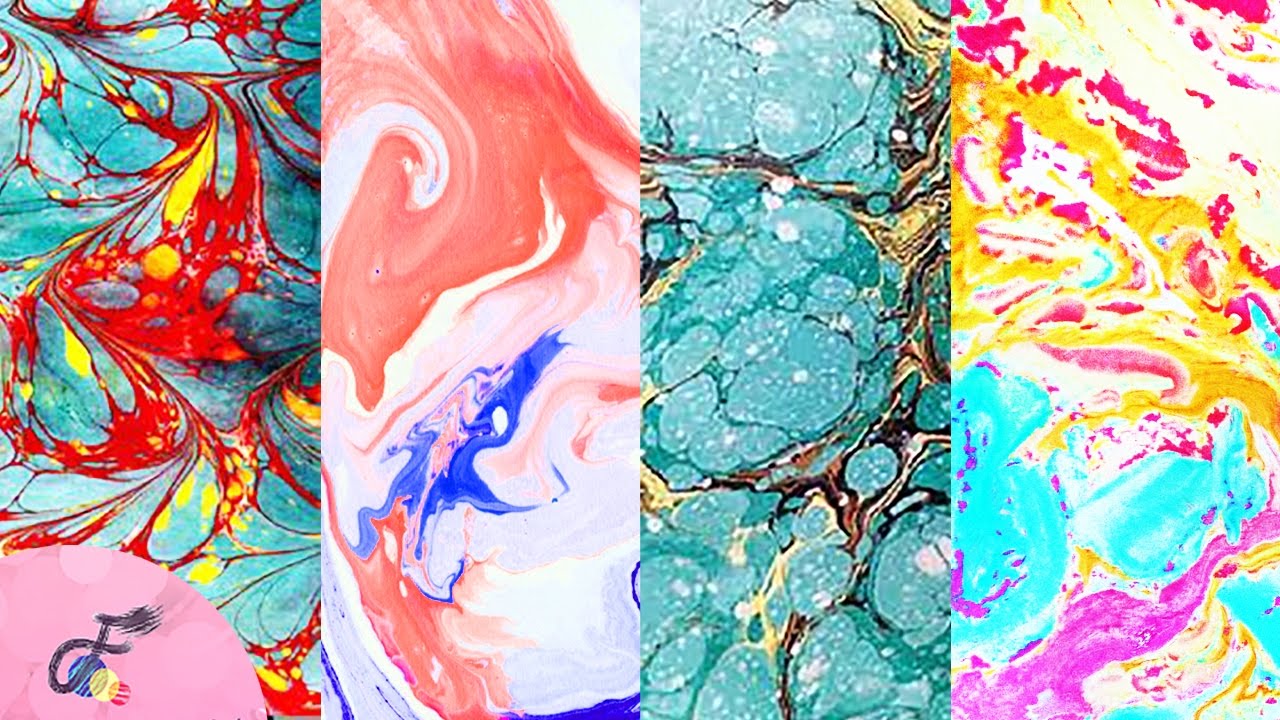
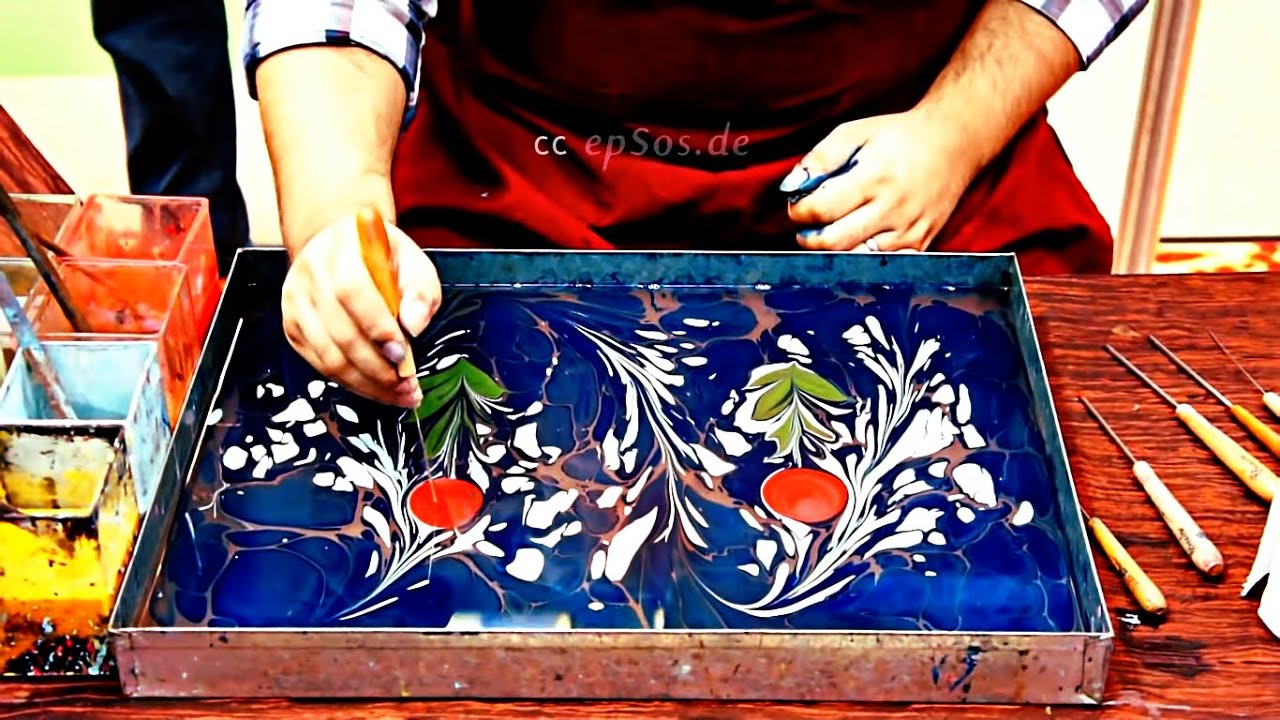
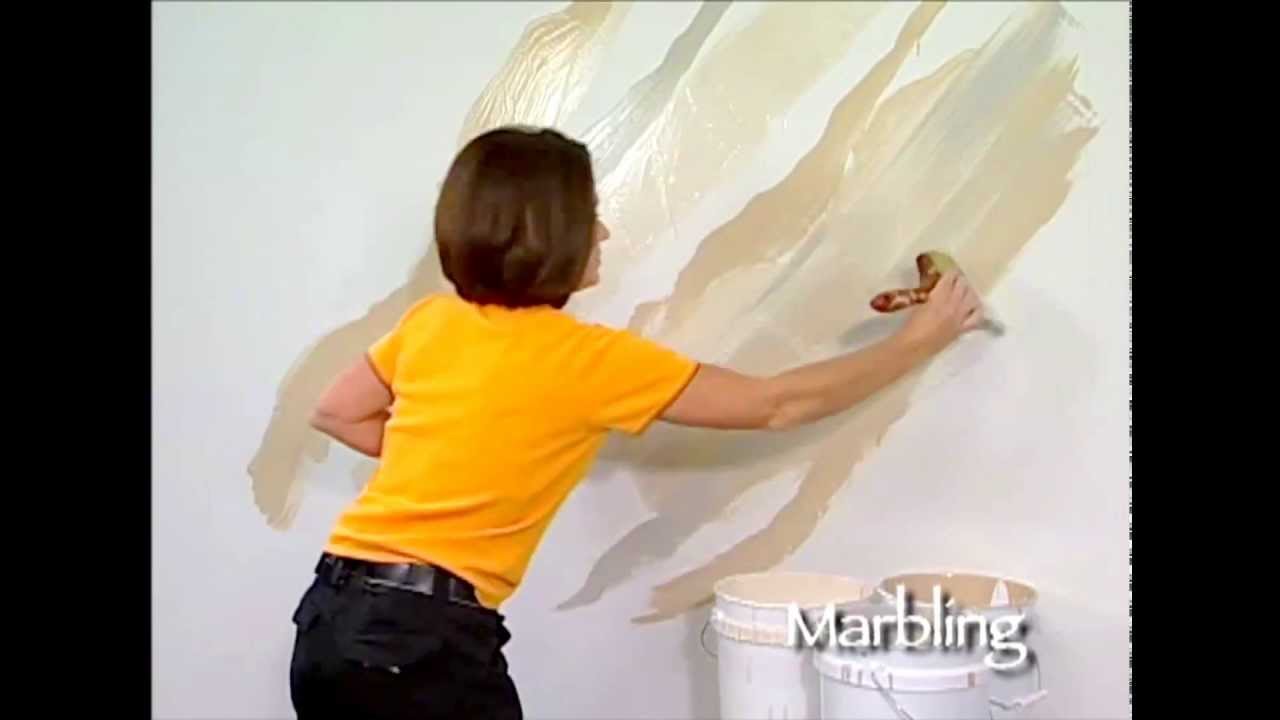
 Nail art has become a popular trend for those looking to express their creativity and add a unique touch to their appearance. With the rise of do-it-yourself (DIY) techniques, creating stunning nail designs has become more accessible than ever. One technique that has been gaining popularity is marbling, which involves creating intricate patterns on nails using a water-based technique.
DIY marbling allows for endless color combinations and designs, making it the perfect addition to any house design.
Nail art has become a popular trend for those looking to express their creativity and add a unique touch to their appearance. With the rise of do-it-yourself (DIY) techniques, creating stunning nail designs has become more accessible than ever. One technique that has been gaining popularity is marbling, which involves creating intricate patterns on nails using a water-based technique.
DIY marbling allows for endless color combinations and designs, making it the perfect addition to any house design.
Unlock Your Creative Potential with DIY Marbling
 Whether you're a beginner or a seasoned nail artist, DIY marbling is a technique that anyone can master. All you need is a few simple supplies like nail polish, water, and a toothpick or needle to create stunning designs. The best part? You can easily match the colors of your nail art to your house design, creating a cohesive and personalized look.
Colors play a crucial role in house design as they can evoke certain emotions and set the tone for a space.
With DIY marbling, you have the freedom to mix and match colors to create a design that reflects your personal style and complements your home. Whether you prefer bold and bright colors or soft and muted tones, there are endless possibilities with DIY marbling.
Whether you're a beginner or a seasoned nail artist, DIY marbling is a technique that anyone can master. All you need is a few simple supplies like nail polish, water, and a toothpick or needle to create stunning designs. The best part? You can easily match the colors of your nail art to your house design, creating a cohesive and personalized look.
Colors play a crucial role in house design as they can evoke certain emotions and set the tone for a space.
With DIY marbling, you have the freedom to mix and match colors to create a design that reflects your personal style and complements your home. Whether you prefer bold and bright colors or soft and muted tones, there are endless possibilities with DIY marbling.
Complement Your House Design with Matching Nail Art
 When it comes to house design, every detail matters.
Matching your nail art to your home decor can add a unique and personalized touch to your space.
For example, if you have a bohemian-inspired living room with earthy tones and patterns, you can recreate the same patterns and colors on your nails for a cohesive and stylish look.
Moreover, DIY marbling is not limited to just nails. You can also use this technique to create matching accessories like coasters, phone cases, or even wall art to tie in with your house design. This will add a unique and personalized touch to your home and make it truly one-of-a-kind.
When it comes to house design, every detail matters.
Matching your nail art to your home decor can add a unique and personalized touch to your space.
For example, if you have a bohemian-inspired living room with earthy tones and patterns, you can recreate the same patterns and colors on your nails for a cohesive and stylish look.
Moreover, DIY marbling is not limited to just nails. You can also use this technique to create matching accessories like coasters, phone cases, or even wall art to tie in with your house design. This will add a unique and personalized touch to your home and make it truly one-of-a-kind.
Final Thoughts
 Incorporating DIY marbling and matching colors into your nail art is an excellent way to elevate your house design and express your creativity. With endless color combinations and design options, this technique allows you to add a personalized touch to your home and make it truly your own. So why not give it a try and see how DIY marbling can transform your house design?


