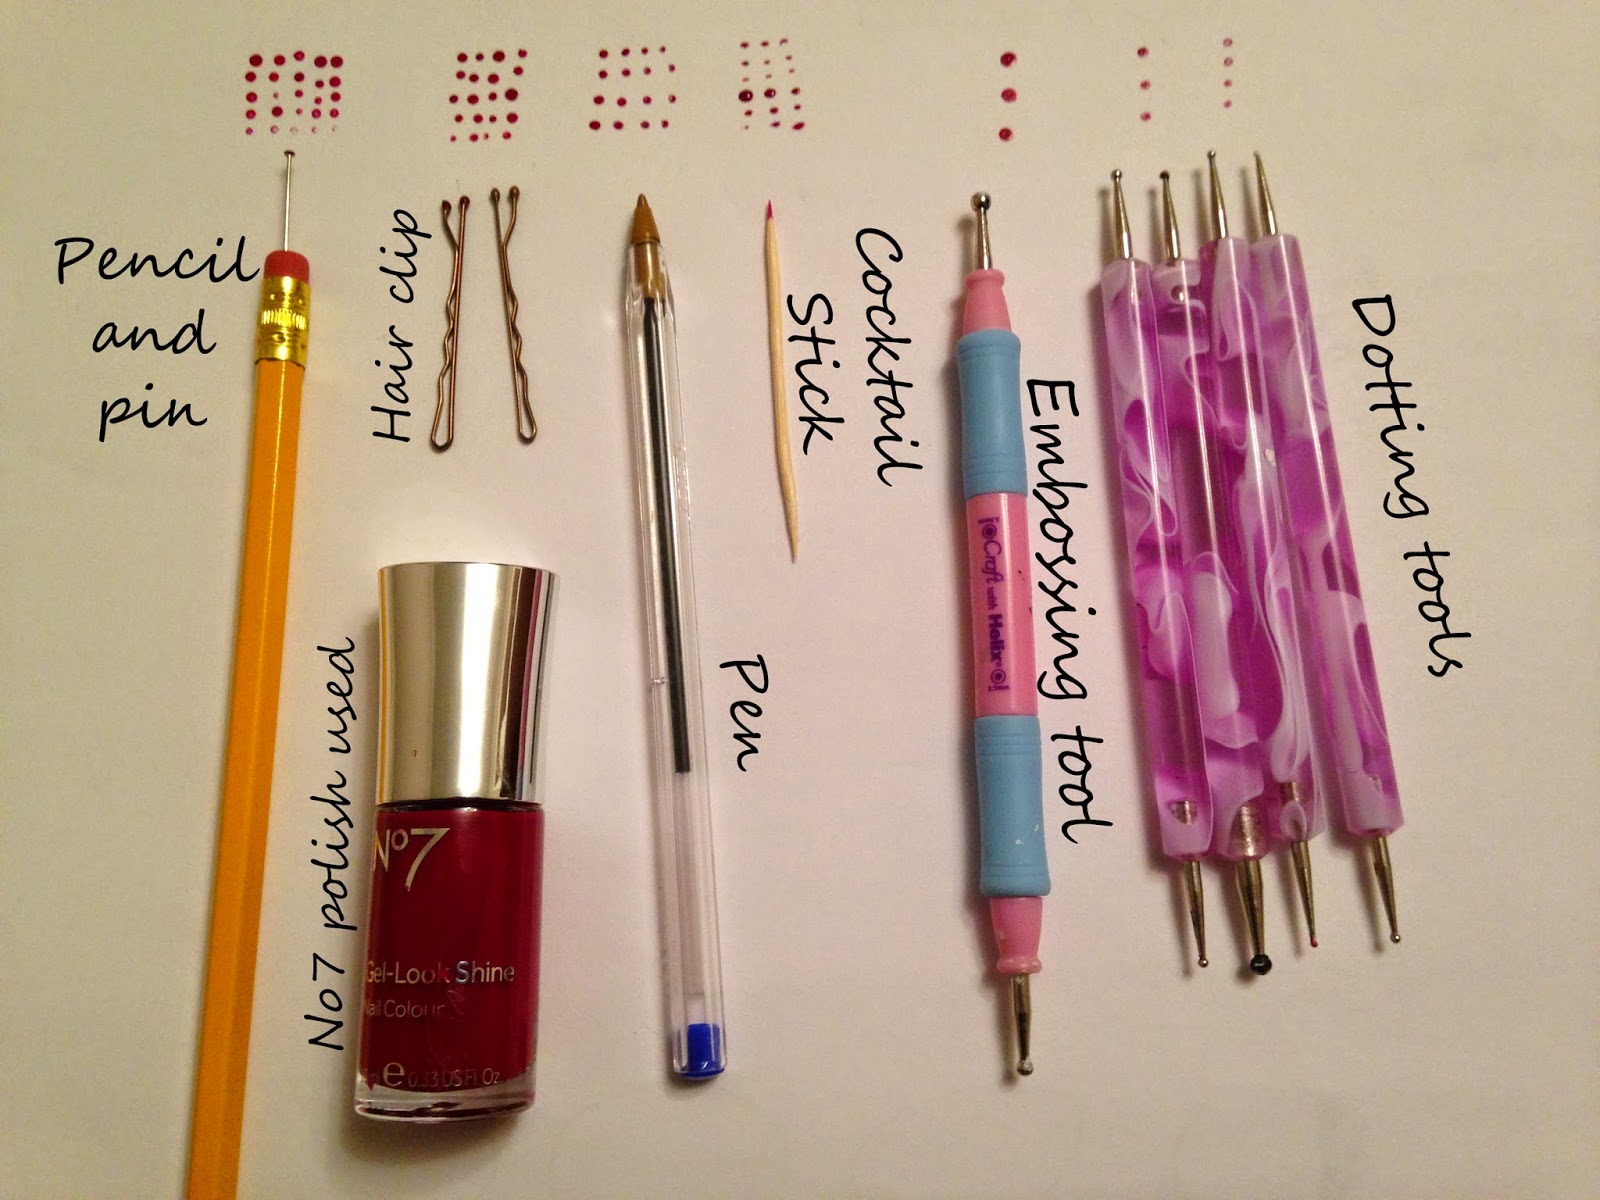
If you're a fan of nail art, you know that having the right tools is crucial for creating beautiful and intricate designs. One of the most useful tools for nail art is a dotting tool, which allows you to create perfect dots of different sizes on your nails. But what if you don't have a dotting tool at hand? Don't worry, you can easily make your own DIY nail art dotting tool at home! There are many household items that can be repurposed as a dotting tool, such as bobby pins, toothpicks, and even the end of a pen. Simply choose the object that best suits your needs and get creative with your designs. Featured keyword: DIY nail art dotting tool1. DIY Nail Art Dotting Tool at Home


1. DIY Nail Art Dotting Tool at Home


If you're looking for a more permanent solution, you can also make your own dotting tool using materials that are easily available at home. All you need is a pen, a sewing needle, and some super glue. Start by taking apart the pen and removing the ink cartridge. Then, carefully insert the needle into the empty pen tube and secure it with the super glue. Voila, you now have a homemade dotting tool that is perfect for creating intricate nail art designs! Featured keyword: Make your own nail art dotting tool2. How to Make Your Own Nail Art Dotting Tool at Home


2. How to Make Your Own Nail Art Dotting Tool at Home


If you're a beginner in the world of nail art, using a dotting tool can seem intimidating. But don't worry, there are some easy hacks that can help you achieve professional-looking designs at home. One trick is to use the end of a makeup brush as a dotting tool. The bristles of the brush will give you more control and precision when creating dots. Another hack is to use a pencil eraser as a dotting tool. Simply dip the eraser in your nail polish and use it to create dots on your nails. Featured keyword: Easy nail art dotting tool hacks3. Easy Nail Art Dotting Tool Hacks for At-Home Manicures


3. Easy Nail Art Dotting Tool Hacks for At-Home Manicures

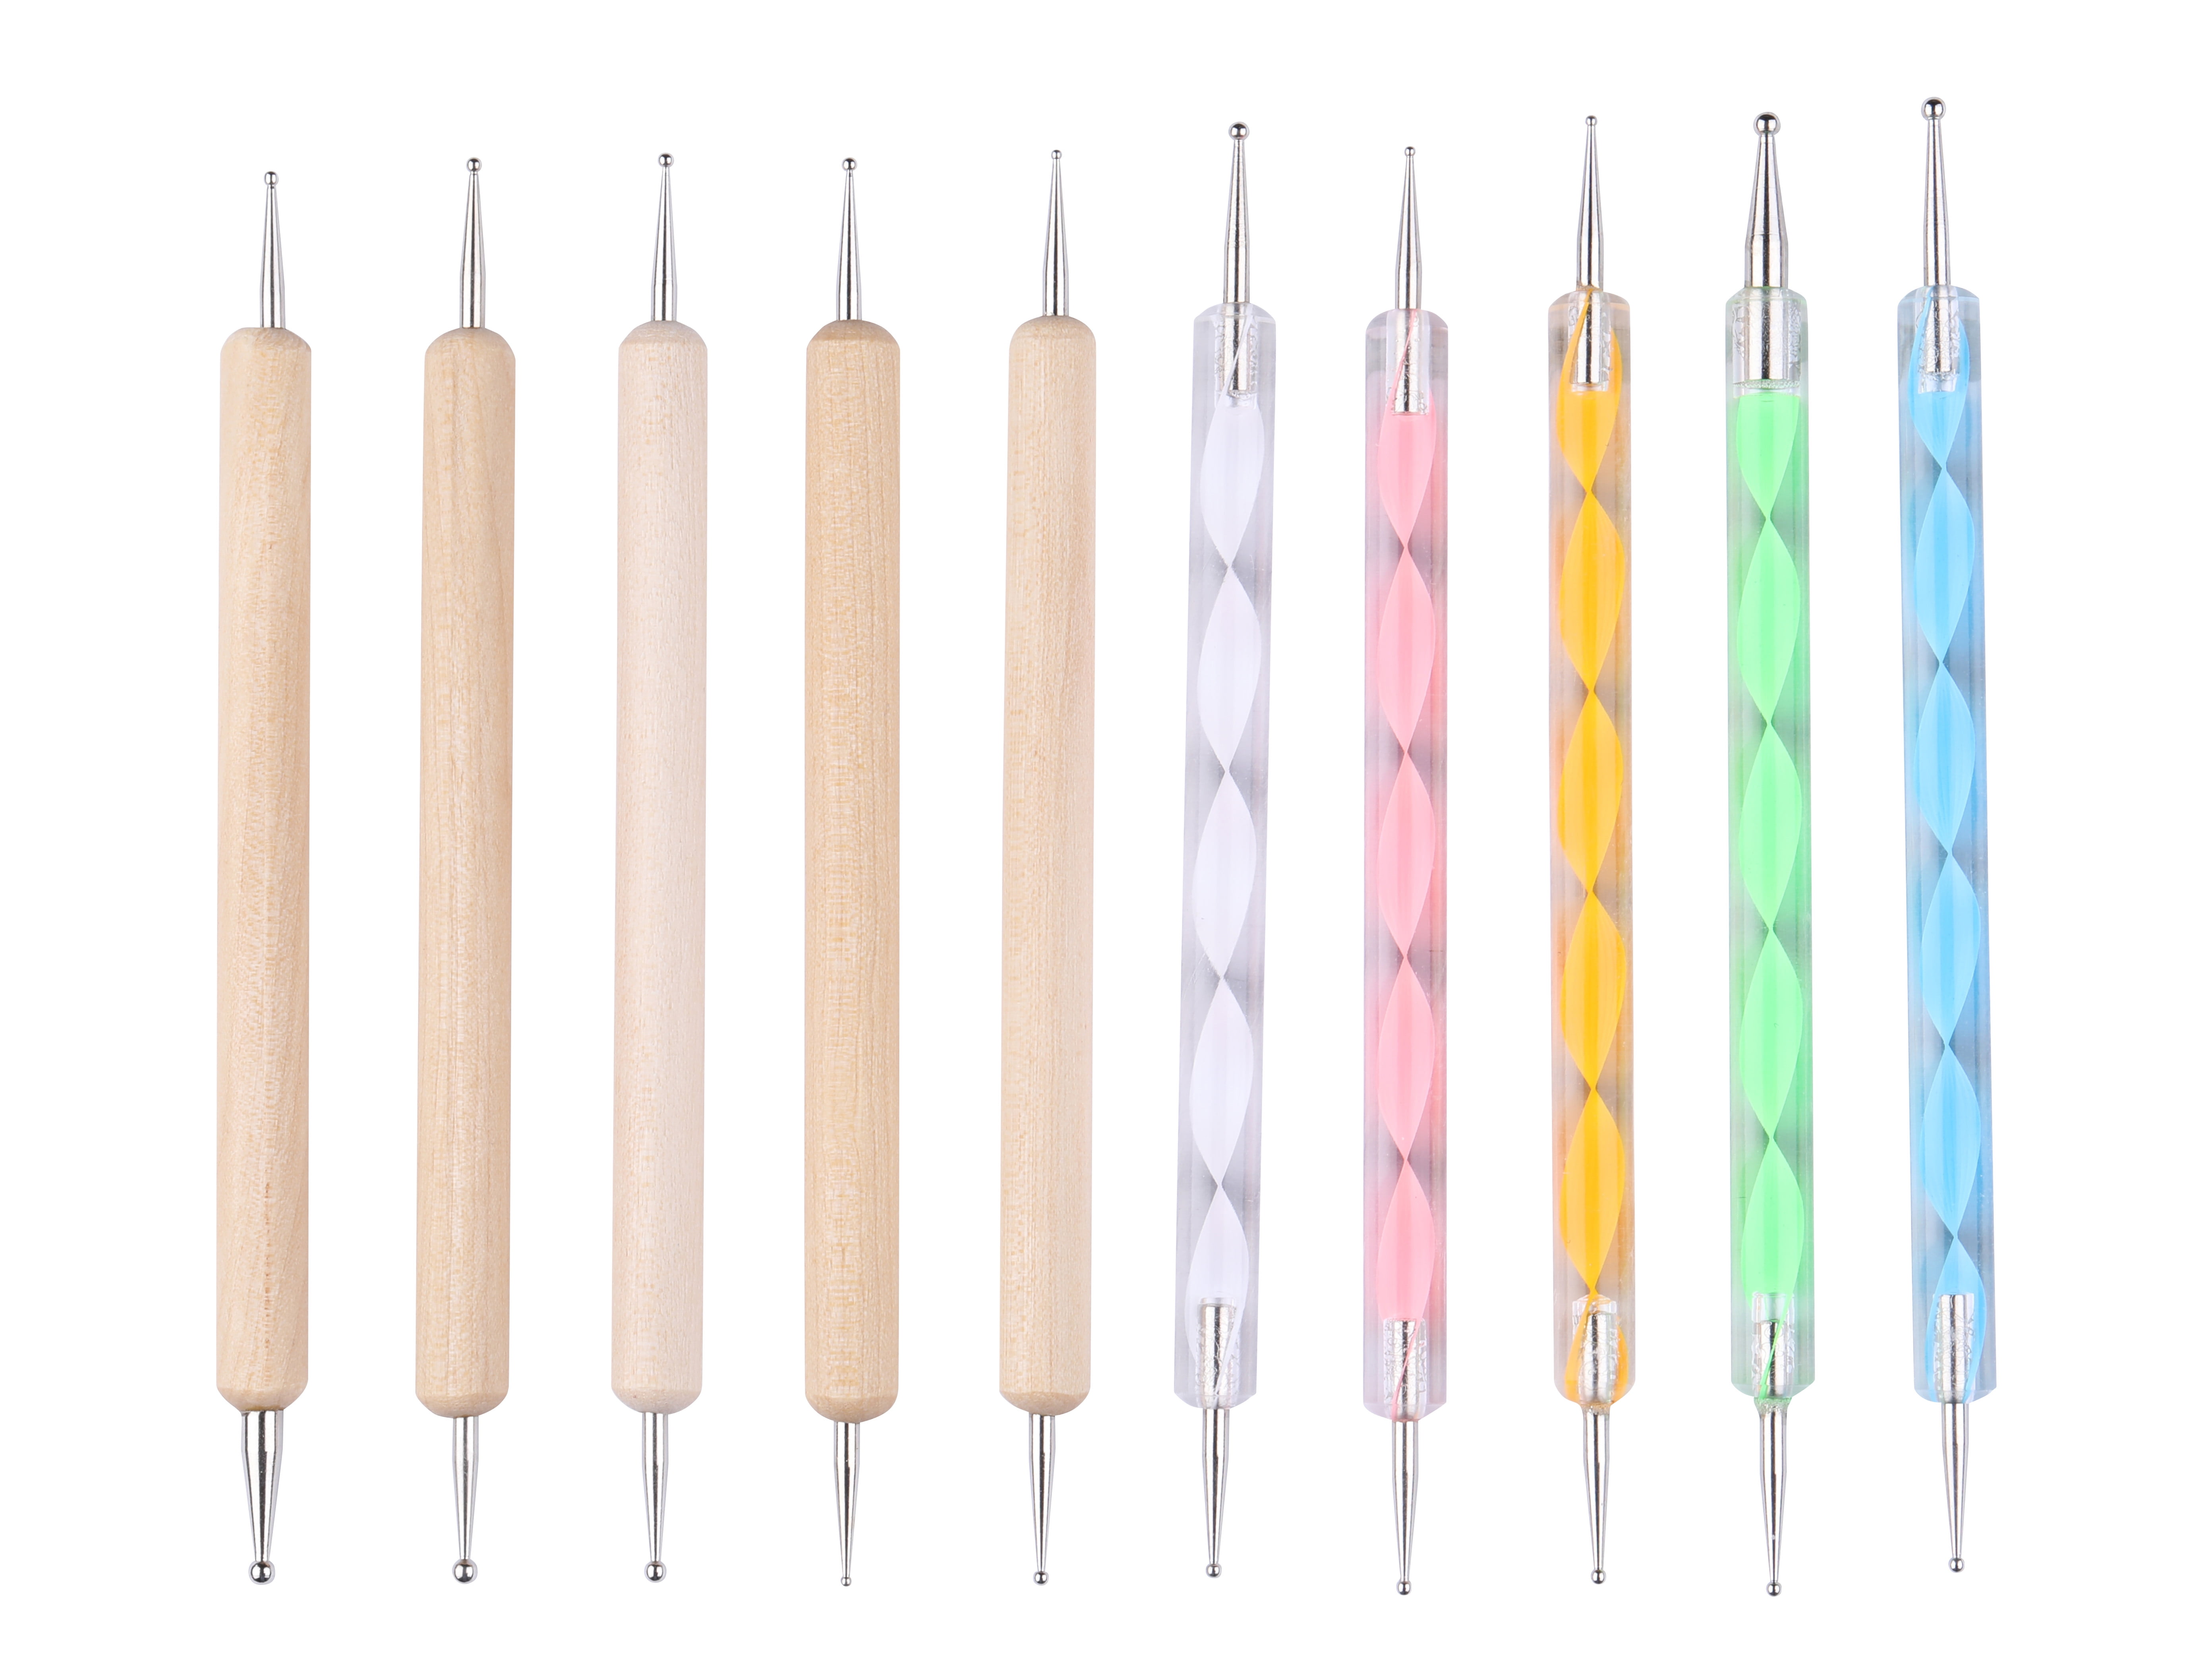
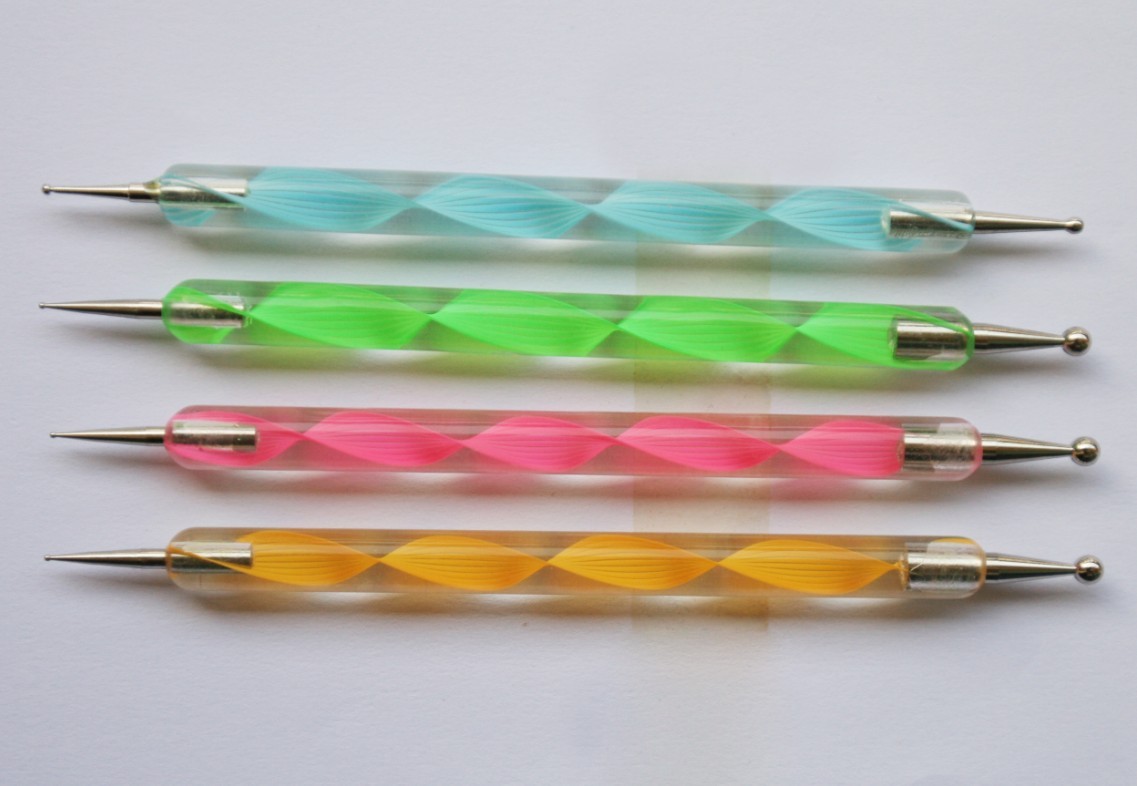
While making your own dotting tool at home can be fun and budget-friendly, investing in a high-quality dotting tool can make a significant difference in your nail art designs. There are many options available in the market, but some of the best nail art dotting tools for at-home use are those with double-ended tips. These tools usually have different-sized tips on each end, allowing you to create dots of varying sizes with ease. They also often come in a set with other nail art tools, making them a great value for money. Featured keyword: Best nail art dotting tools4. Best Nail Art Dotting Tools for At-Home Use


4. Best Nail Art Dotting Tools for At-Home Use


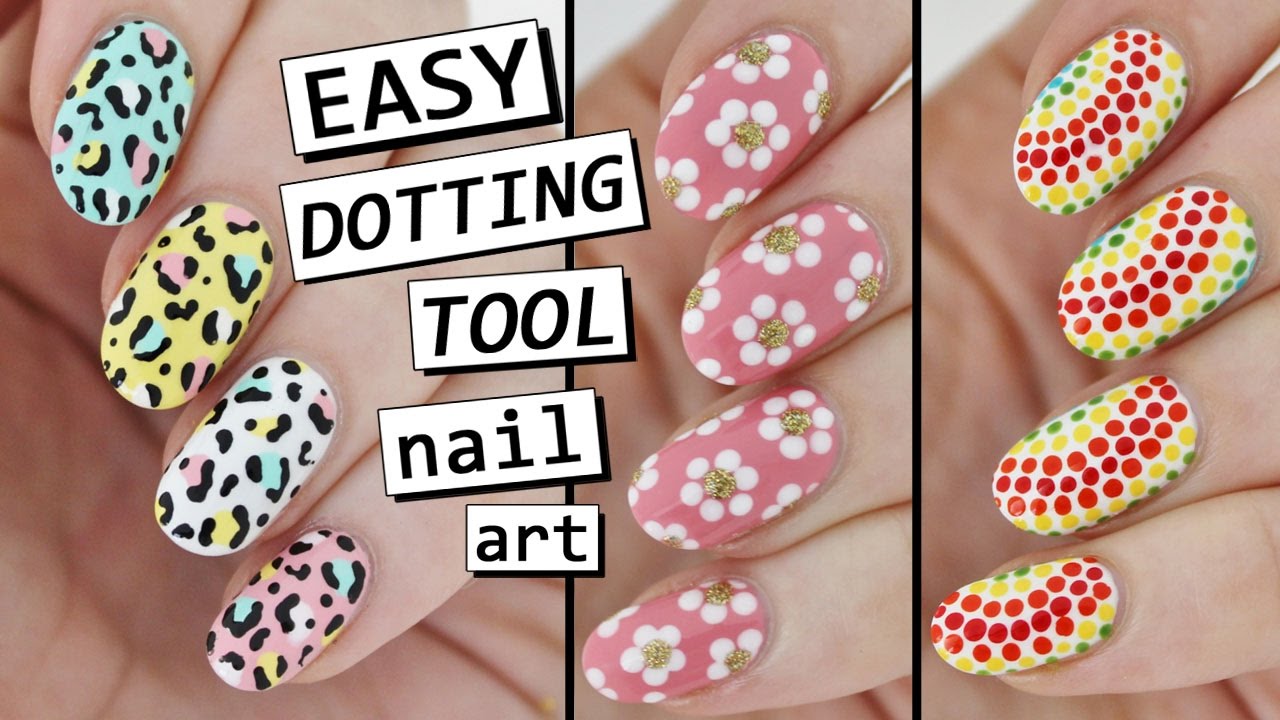
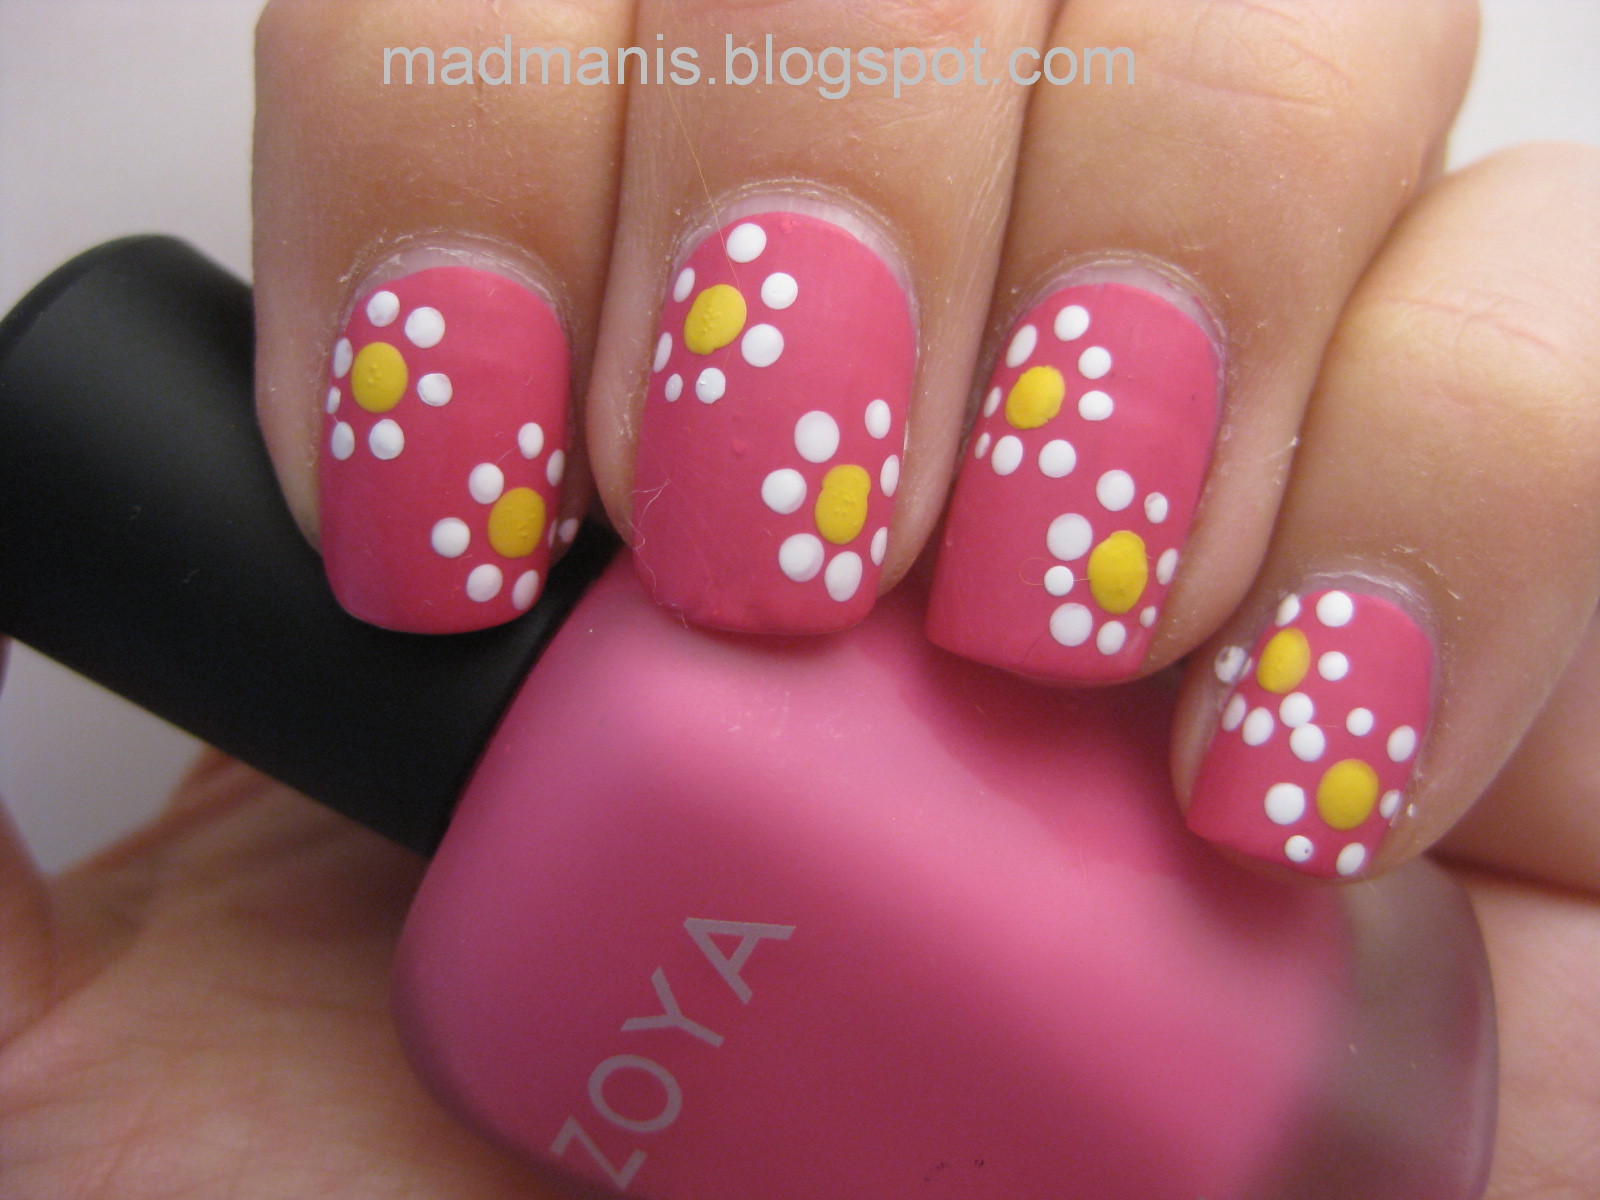
Now that you have your dotting tool ready, it's time to use it to create beautiful nail art designs. The key to using a dotting tool is to have a light hand and to start with smaller dots, gradually increasing the size as needed. You can also use the dotting tool to create other designs such as hearts, flowers, and even stripes. Experiment with different techniques and have fun with your designs! Featured keyword: How to use a nail art dotting tool5. How to Use a Nail Art Dotting Tool at Home


5. How to Use a Nail Art Dotting Tool at Home
If you're on a budget but still want to create stunning nail art, don't worry, there are plenty of affordable dotting tools available in the market. Some drugstore brands offer dotting tools at a fraction of the cost of high-end ones. You can also find affordable dotting tools online, or even repurpose household items as mentioned earlier. Don't let a tight budget stop you from creating beautiful nail art designs! Featured keyword: Affordable nail art dotting tools6. Affordable Nail Art Dotting Tools for At-Home Manicures


6. Affordable Nail Art Dotting Tools for At-Home Manicures

If you don't have access to a dotting tool, there are still plenty of alternatives you can find at home to achieve similar results. As mentioned earlier, bobby pins, toothpicks, and pencil erasers can all be used as dotting tools. You can also use the end of a Q-tip or the tip of a mechanical pencil for smaller dots. Get creative and look around your house for items that can be repurposed as a dotting tool! Featured keyword: Nail art dotting tool alternatives7. Nail Art Dotting Tool Alternatives You Can Find at Home


7. Nail Art Dotting Tool Alternatives You Can Find at Home


If you're new to nail art and want to learn how to create designs using a dotting tool, here's a step-by-step guide to help you out: Step 1: Choose your base color and apply it to your nails. Let it dry completely. Step 2: Choose your dotting tool and dip it into your desired nail polish color. Step 3: Gently press the dotting tool onto your nail to create the first dot. Step 4: Repeat with different colors and sizes until you're satisfied with the design. Step 5: Finish with a top coat to seal in your design and add shine. Featured keyword: Step-by-step guide to nail art with a dotting tool8. Step-by-Step Guide to Creating Nail Art with a Dotting Tool at Home
8. Step-by-Step Guide to Creating Nail Art with a Dotting Tool at Home


If you're serious about nail art, you'll want to invest in some must-have dotting tools for your at-home manicures. In addition to a double-ended dotting tool, you may also want to consider a striping brush, a fan brush, and a detail brush for more intricate designs. These tools may come in handy for creating lines, filling in larger areas, and adding details to your designs. With the right tools at hand, the sky's the limit for your nail art creations! Featured keyword: Must-have nail art dotting tools9. Must-Have Nail Art Dotting Tools for At-Home Nail Art


9. Must-Have Nail Art Dotting Tools for At-Home Nail Art
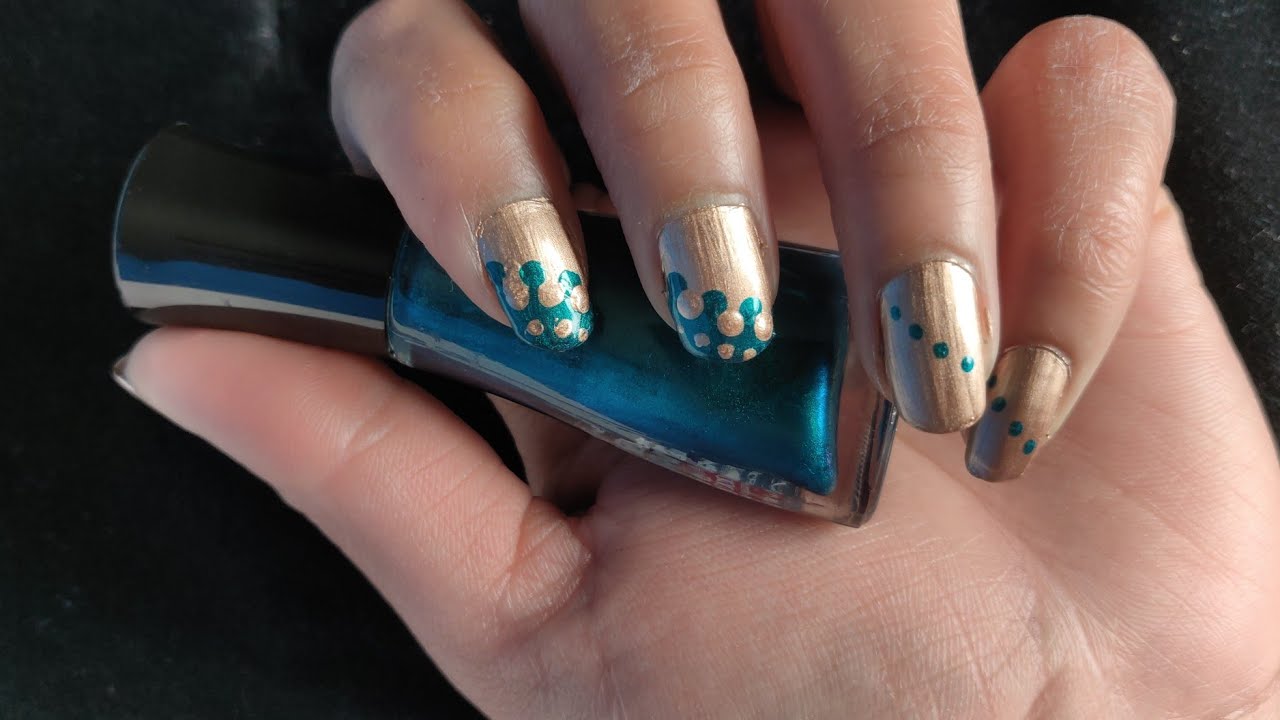
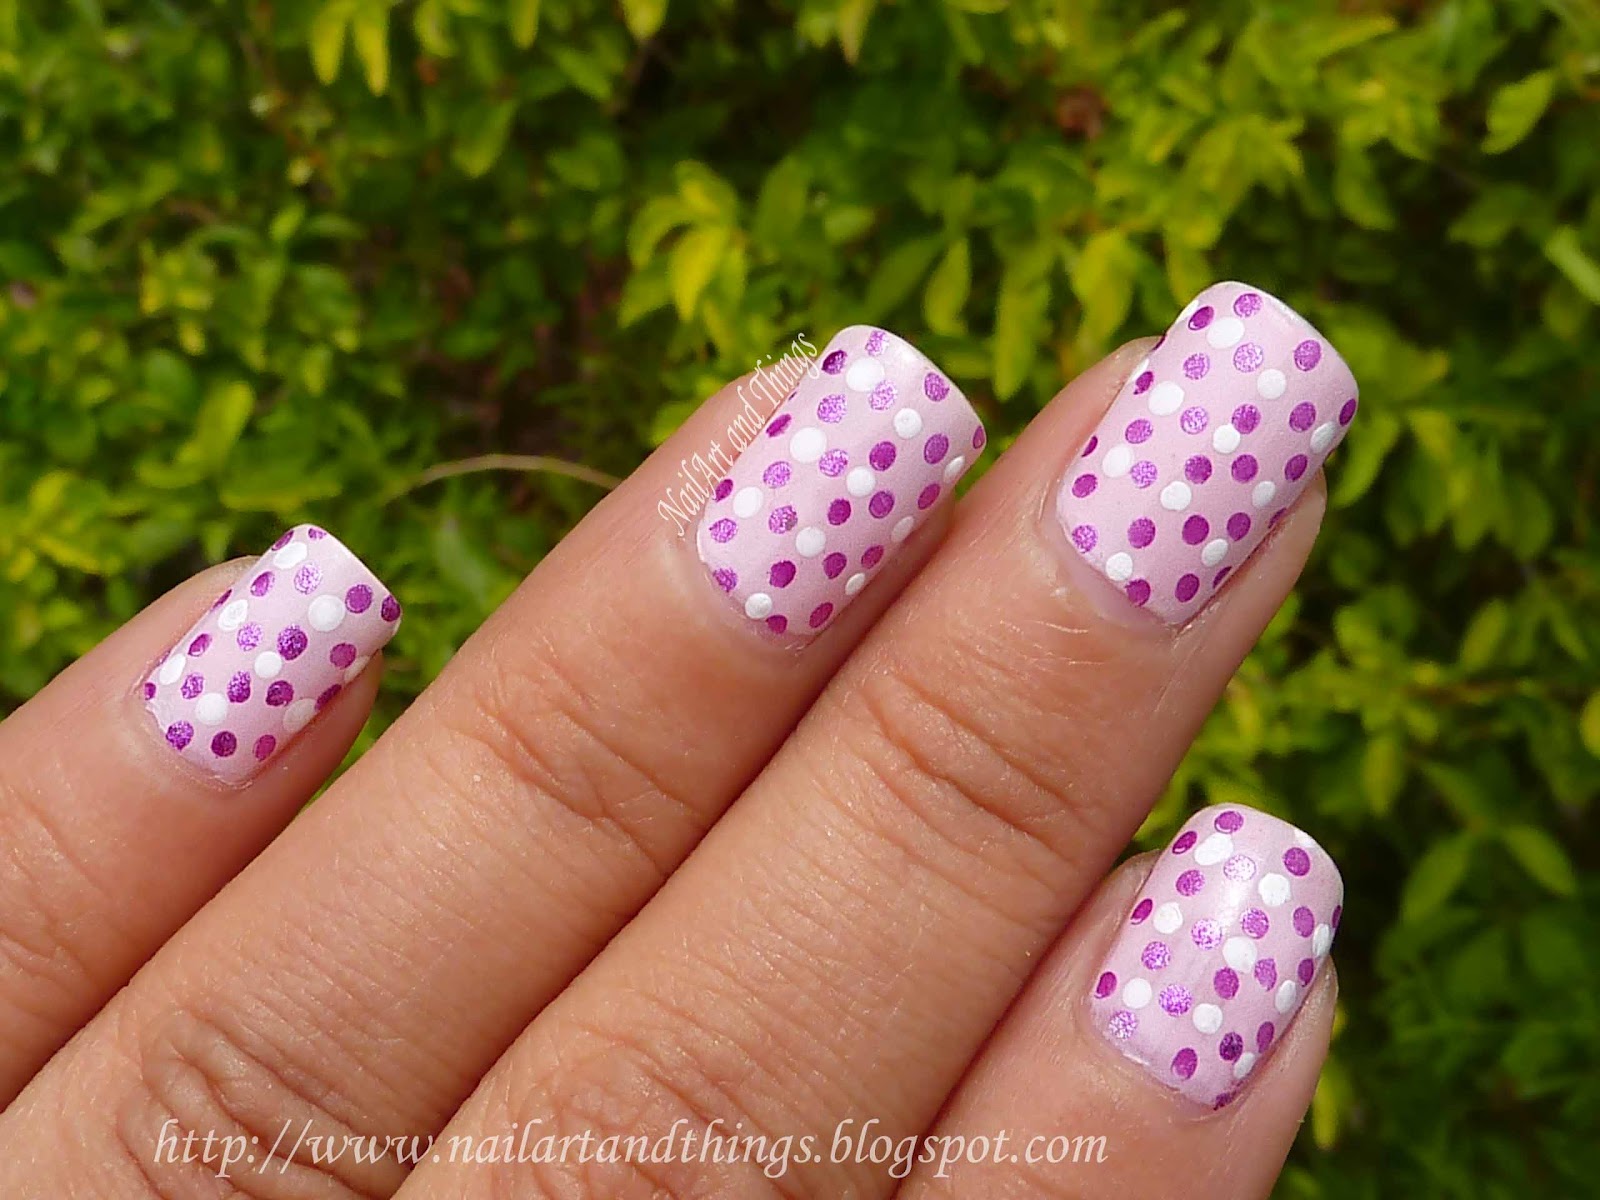
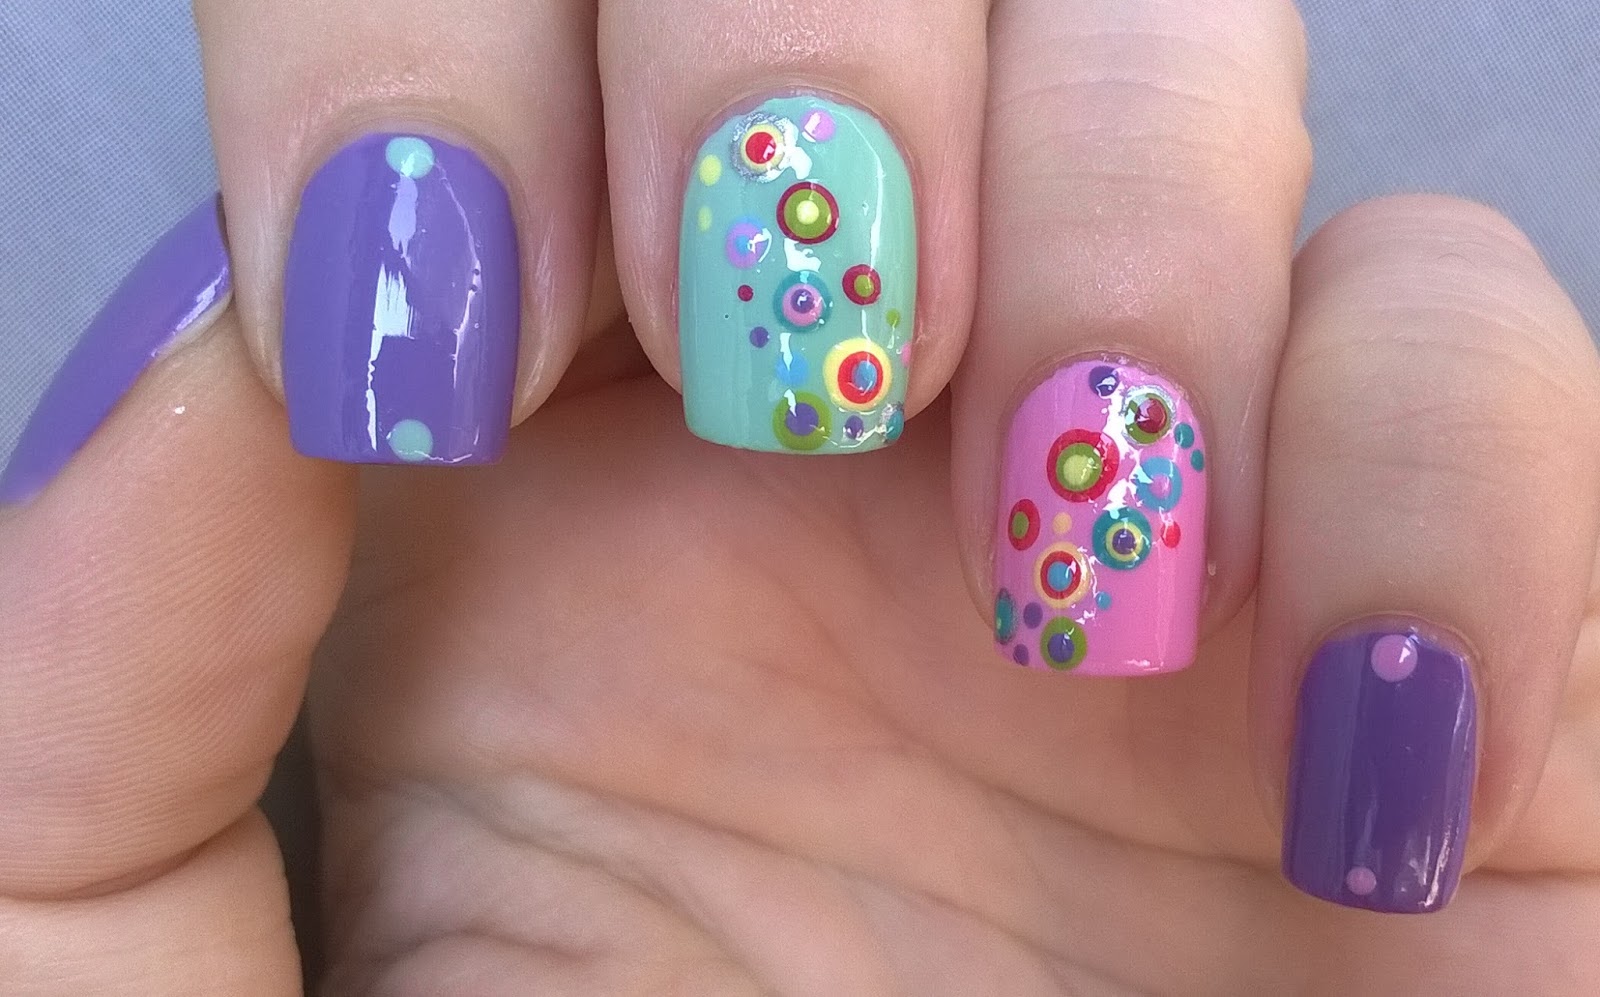
Last but not least, let's talk about some nail art dotting tool techniques that you can try at home. One popular technique is the gradient dotting, where you create a gradient effect by using different shades of the same color in a dotting pattern. Another technique is the negative space dotting, where you leave some areas of your nails unpainted to create a unique design. You can also use the dotting tool to create a dotted French tip or to create a pattern on top of a solid color. The possibilities are endless! Featured keyword: Nail art dotting tool techniques10. Nail Art Dotting Tool Techniques for At-Home Manicures


10. Nail Art Dotting Tool Techniques for At-Home Manicures
How to Create Stunning Nail Art with a Dotting Tool at Home

Unleash Your Creativity with Nail Art
 Nail art has become a popular trend in recent years, with people using their nails as a canvas to express their style and personality. From simple designs to intricate masterpieces, there are endless possibilities when it comes to nail art. And with the right tools and techniques, you can achieve professional-looking designs in the comfort of your own home. One must-have tool for any nail art enthusiast is a
nail art dotting tool
. In this article, we will show you how to use this tool to create stunning nail art that will make your nails stand out.
Nail art has become a popular trend in recent years, with people using their nails as a canvas to express their style and personality. From simple designs to intricate masterpieces, there are endless possibilities when it comes to nail art. And with the right tools and techniques, you can achieve professional-looking designs in the comfort of your own home. One must-have tool for any nail art enthusiast is a
nail art dotting tool
. In this article, we will show you how to use this tool to create stunning nail art that will make your nails stand out.
The Versatility of a Nail Art Dotting Tool
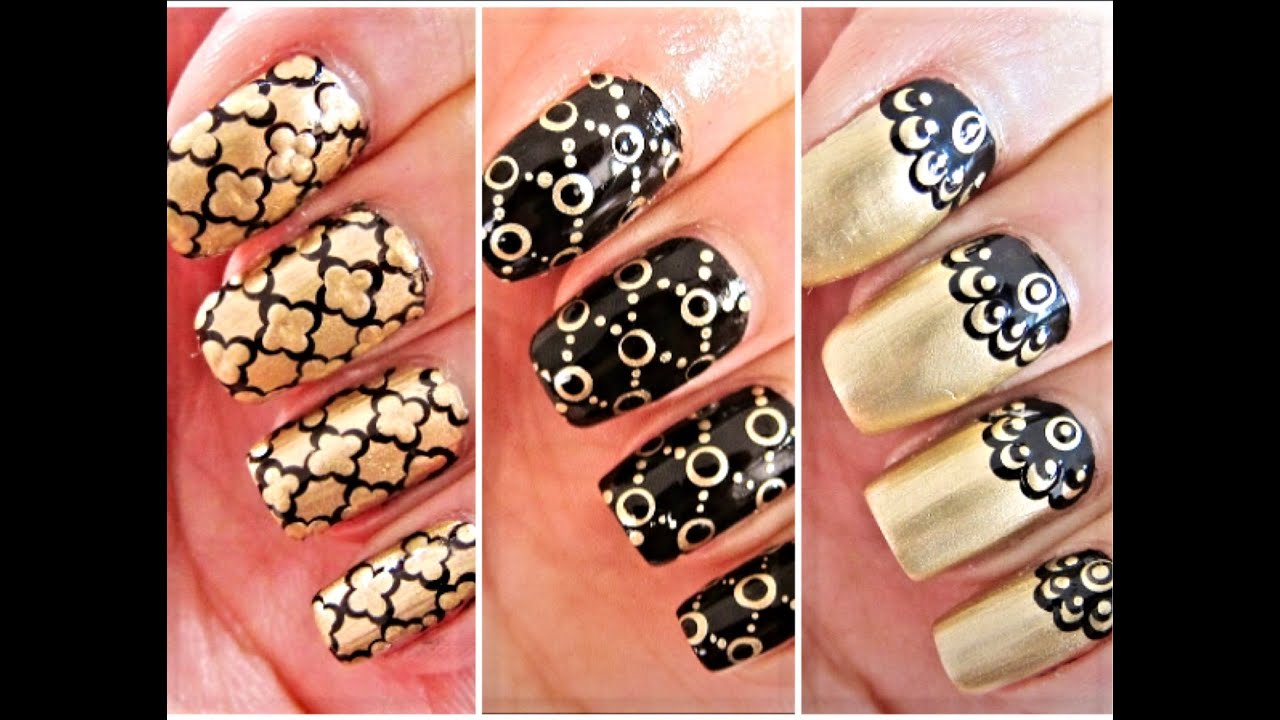
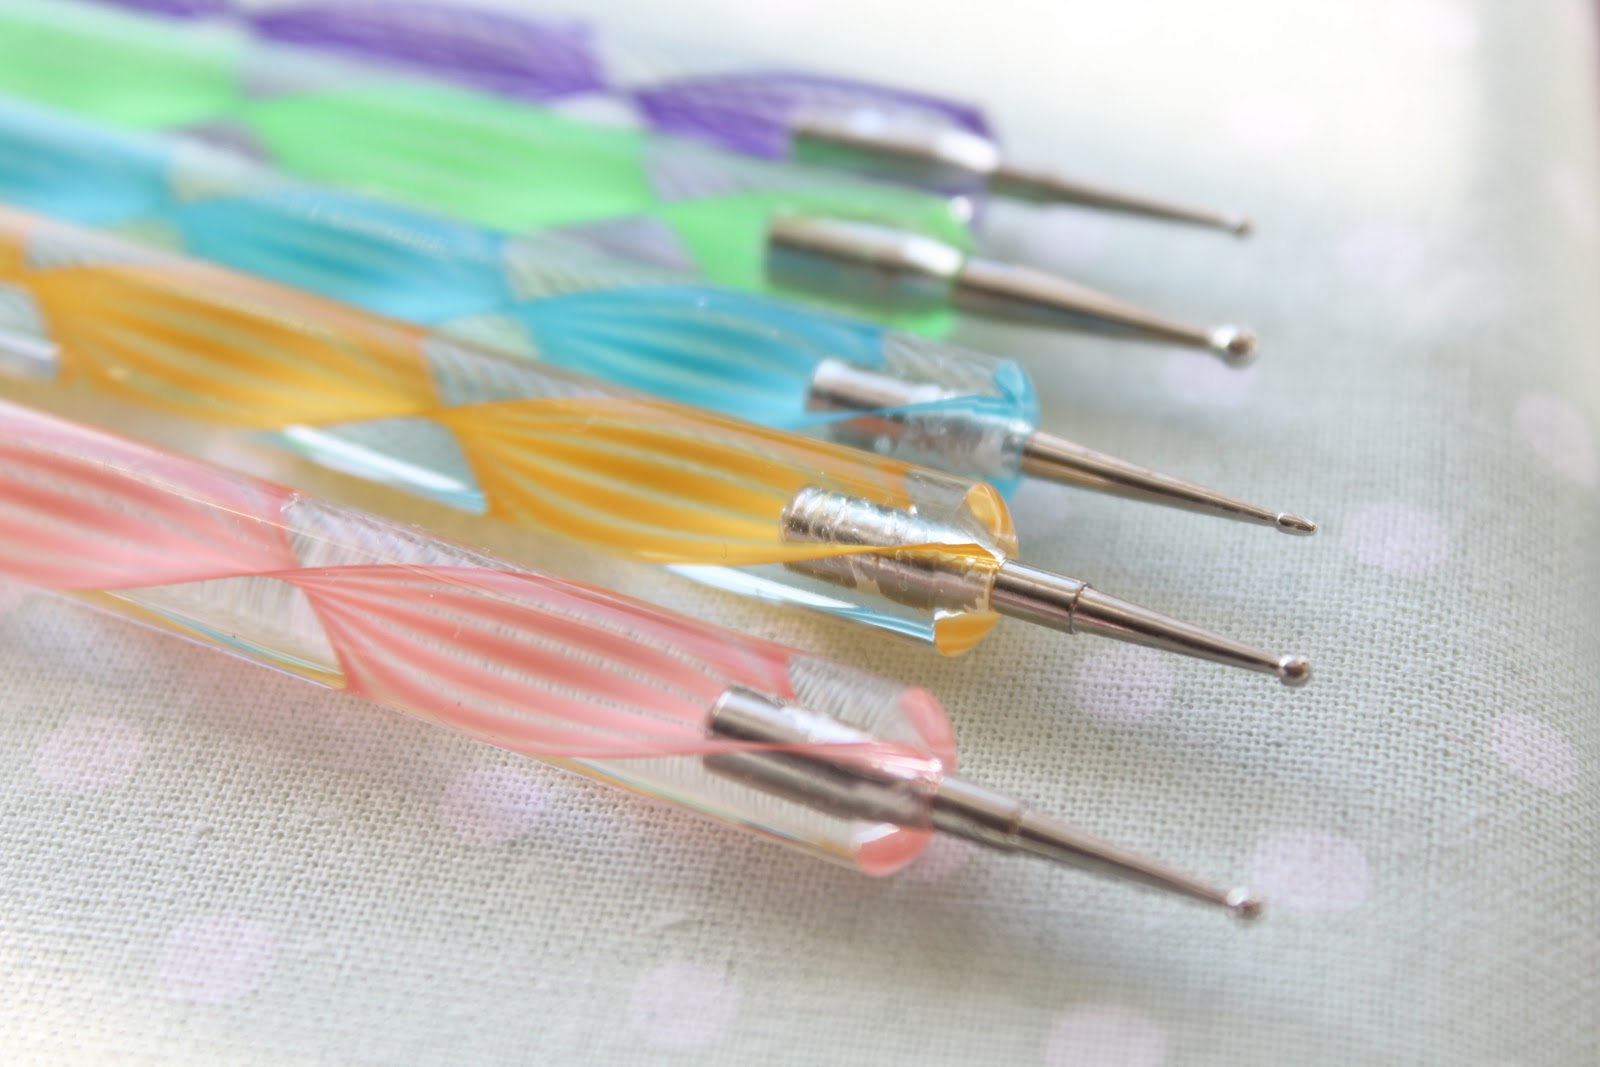
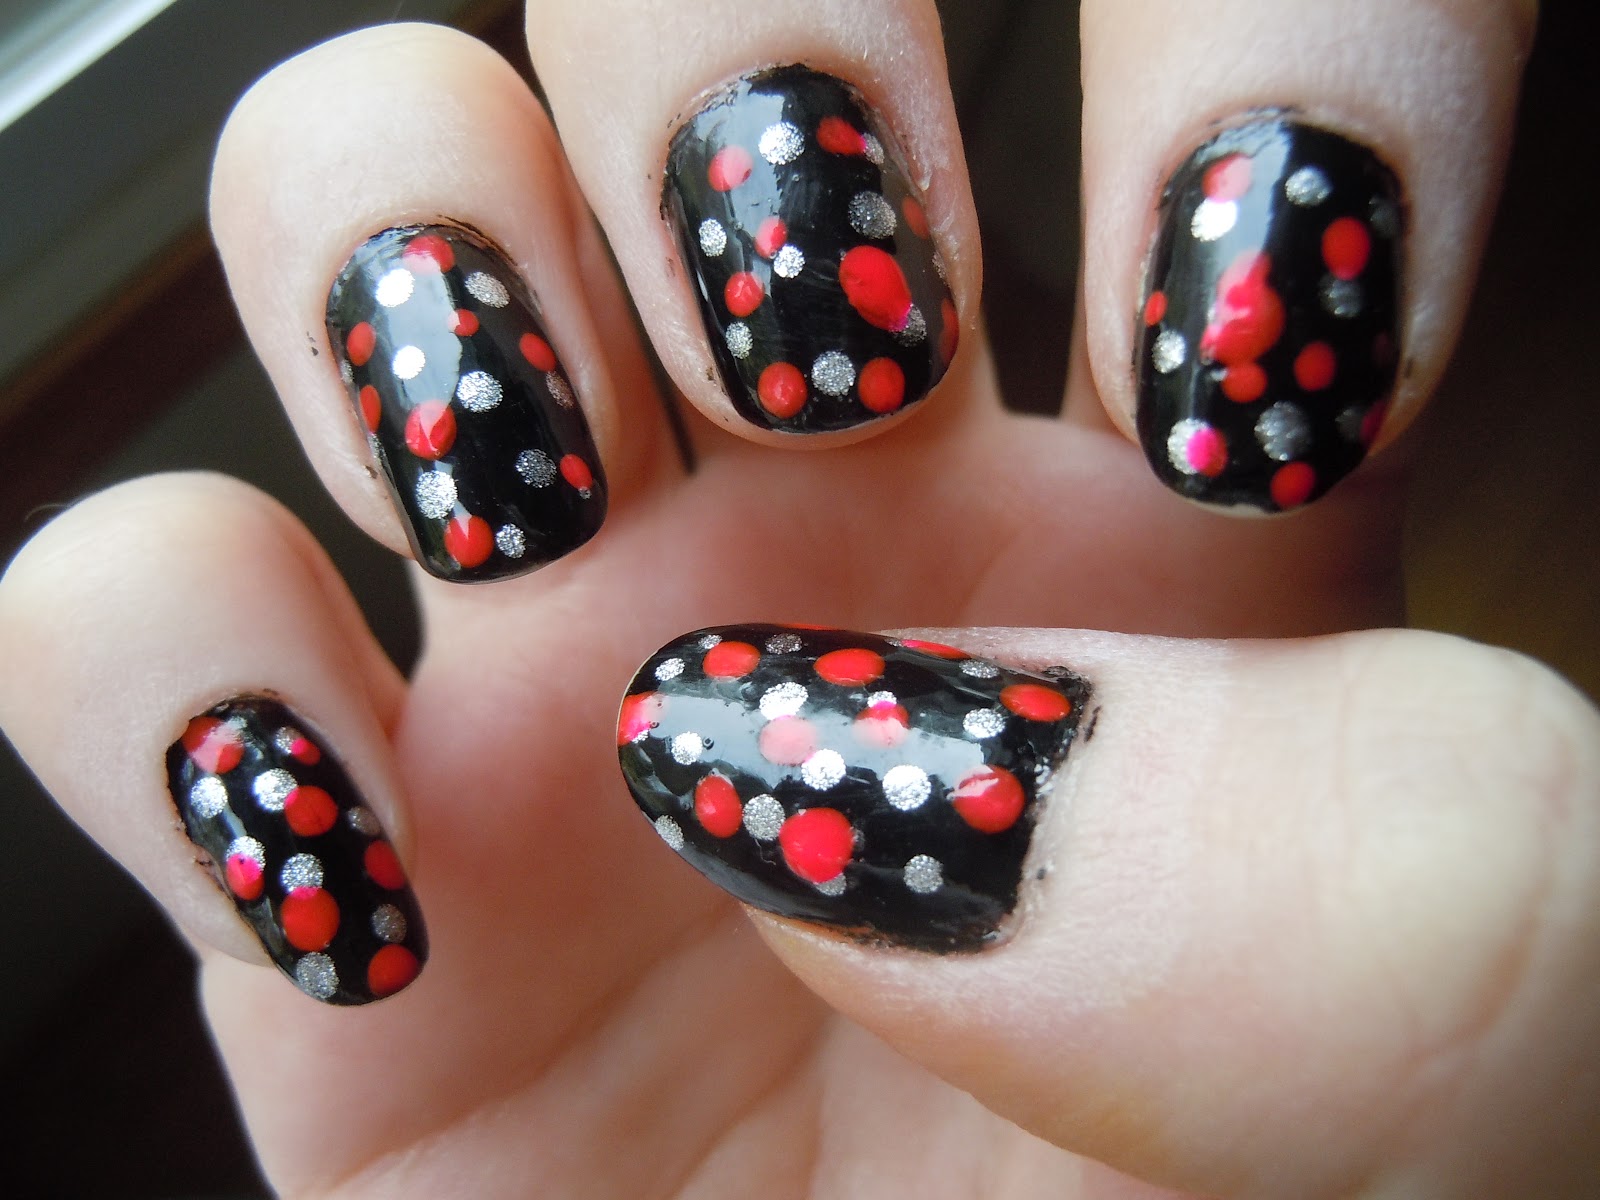
 A nail art dotting tool is a small, double-ended tool with a rounded tip on one end and a pointed tip on the other. It may seem like a simple tool, but it can create a variety of designs with just a few simple techniques. The rounded tip is perfect for creating
polka dots
, while the pointed tip can be used for creating
lines, hearts, flowers, and other intricate designs
. You can also use different sized dotting tools to add dimension and variation to your designs.
A nail art dotting tool is a small, double-ended tool with a rounded tip on one end and a pointed tip on the other. It may seem like a simple tool, but it can create a variety of designs with just a few simple techniques. The rounded tip is perfect for creating
polka dots
, while the pointed tip can be used for creating
lines, hearts, flowers, and other intricate designs
. You can also use different sized dotting tools to add dimension and variation to your designs.
Step-by-Step Guide to Using a Nail Art Dotting Tool
 Now that you know the potential of a nail art dotting tool, let's dive into how you can use it to create beautiful designs on your nails.
Step 1: Prepare Your Nails
Start by prepping your nails, just like you would for a regular manicure. Trim and file your nails to your desired length and shape. Then, apply a base coat to protect your nails and create a smooth surface for the nail polish to adhere to.
Step 2: Choose Your Colors
Select your desired nail polish colors for your design. You can use one color for a simple look, or multiple colors for a more complex design. Make sure to have a paper towel or tissue nearby to wipe off excess polish from the dotting tool.
Step 3: Dip and Dab
Take your nail polish and unscrew the cap. Dip the rounded end of the dotting tool into the polish, making sure to cover the entire tip. Then, gently dab the tool onto your nail to create a dot. You can vary the pressure and angle to create different sized dots.
Step 4: Create Your Design
Now it's time to let your creativity flow. Use the dotting tool to create your desired design, whether it's a simple polka dot pattern or a more intricate design. You can use the pointed end of the tool to create lines and other shapes. Don't be afraid to experiment and have fun with it!
Step 5: Finish with Top Coat
Once you are satisfied with your design, let it dry for a few minutes before applying a top coat to seal in your design and add shine to your nails.
Now that you know the potential of a nail art dotting tool, let's dive into how you can use it to create beautiful designs on your nails.
Step 1: Prepare Your Nails
Start by prepping your nails, just like you would for a regular manicure. Trim and file your nails to your desired length and shape. Then, apply a base coat to protect your nails and create a smooth surface for the nail polish to adhere to.
Step 2: Choose Your Colors
Select your desired nail polish colors for your design. You can use one color for a simple look, or multiple colors for a more complex design. Make sure to have a paper towel or tissue nearby to wipe off excess polish from the dotting tool.
Step 3: Dip and Dab
Take your nail polish and unscrew the cap. Dip the rounded end of the dotting tool into the polish, making sure to cover the entire tip. Then, gently dab the tool onto your nail to create a dot. You can vary the pressure and angle to create different sized dots.
Step 4: Create Your Design
Now it's time to let your creativity flow. Use the dotting tool to create your desired design, whether it's a simple polka dot pattern or a more intricate design. You can use the pointed end of the tool to create lines and other shapes. Don't be afraid to experiment and have fun with it!
Step 5: Finish with Top Coat
Once you are satisfied with your design, let it dry for a few minutes before applying a top coat to seal in your design and add shine to your nails.
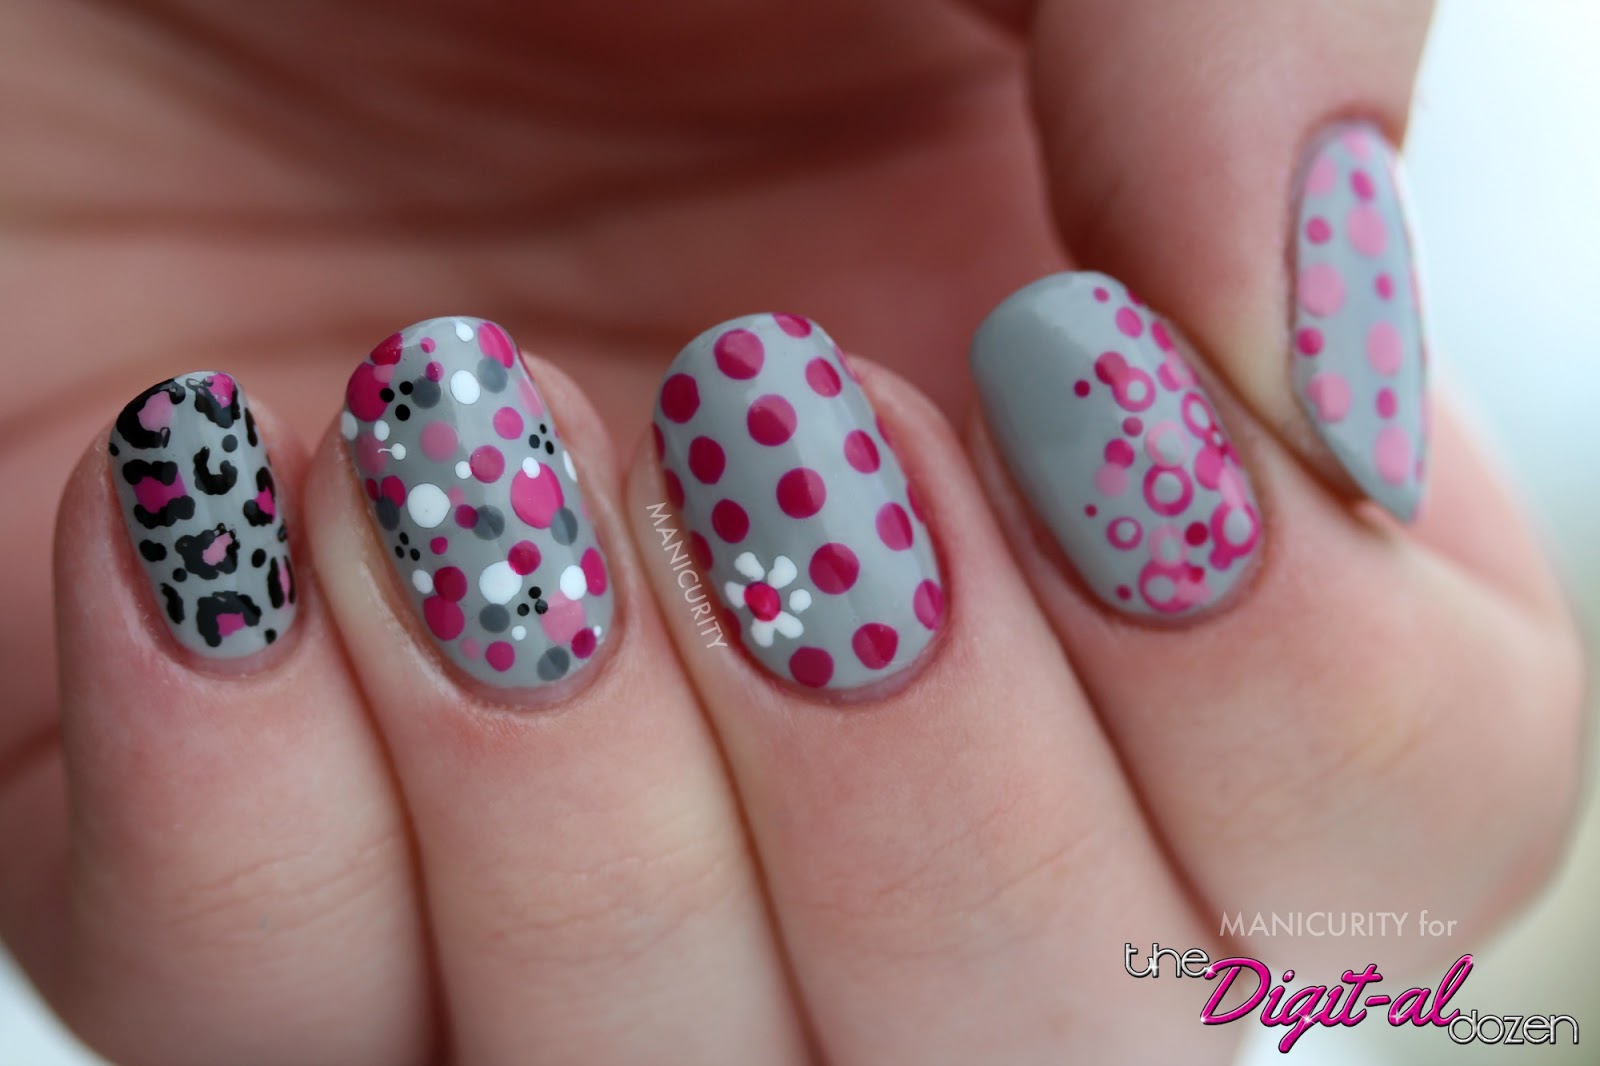
Get Creative with Nail Art Dotting Tool
 With a nail art dotting tool, the possibilities of nail art designs are endless. From classic polka dots to intricate designs, you can achieve professional-looking nail art at home with this versatile tool. So go ahead and unleash your creativity to create stunning nail art that will make your nails the talk of the town.


