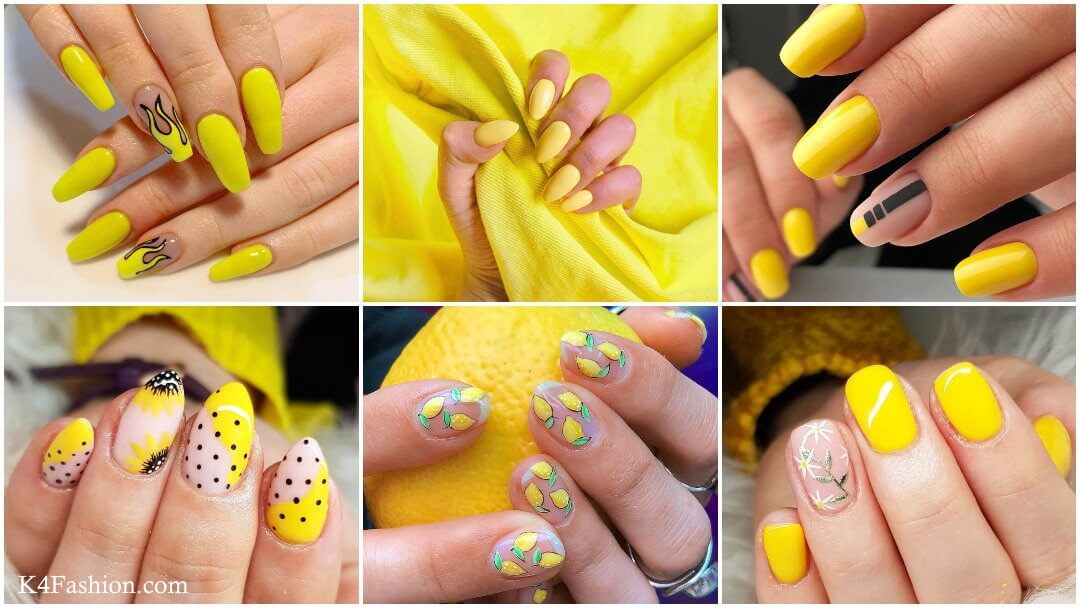
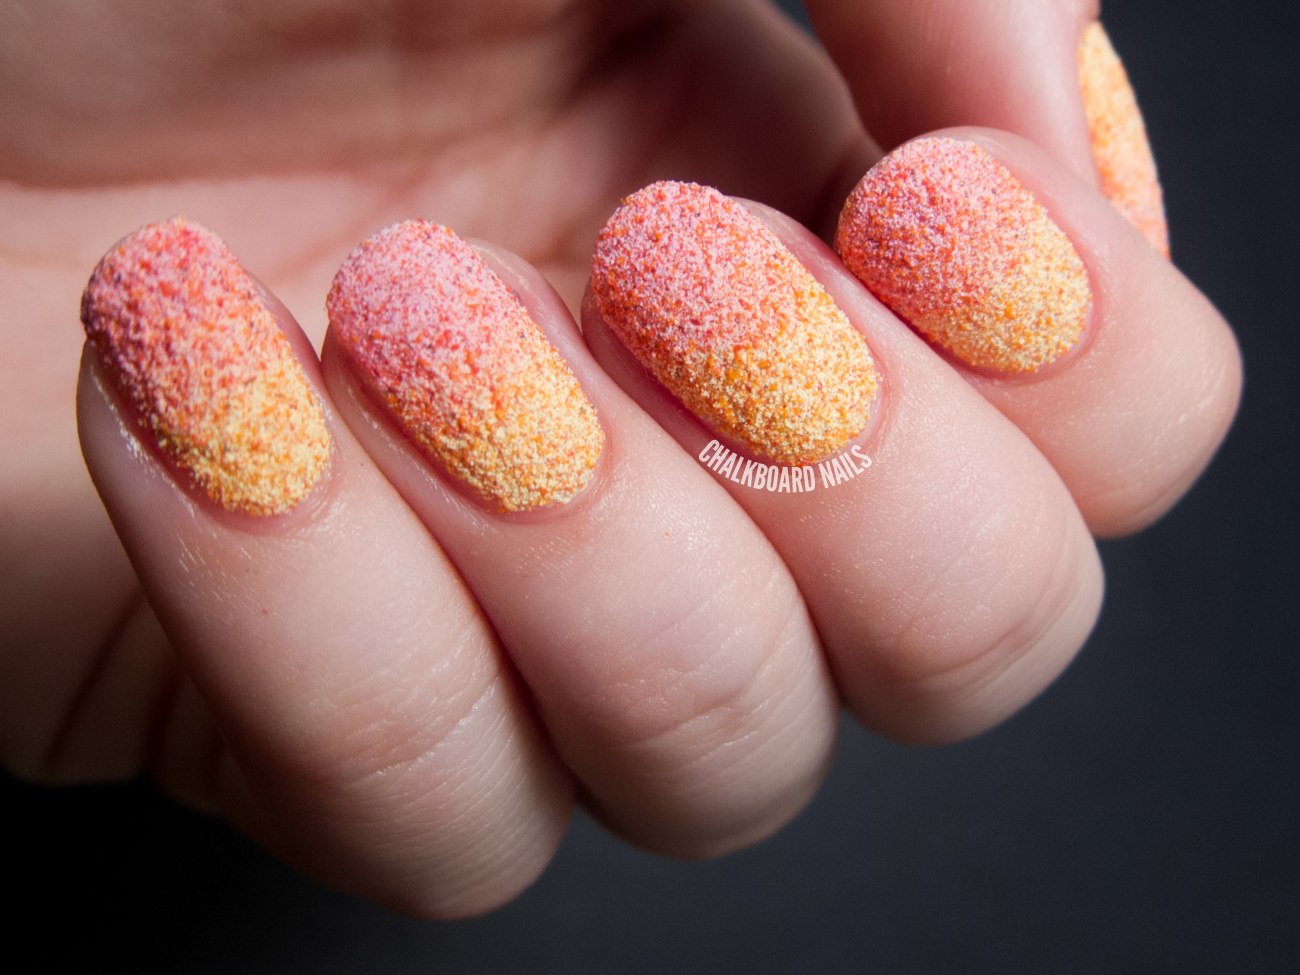
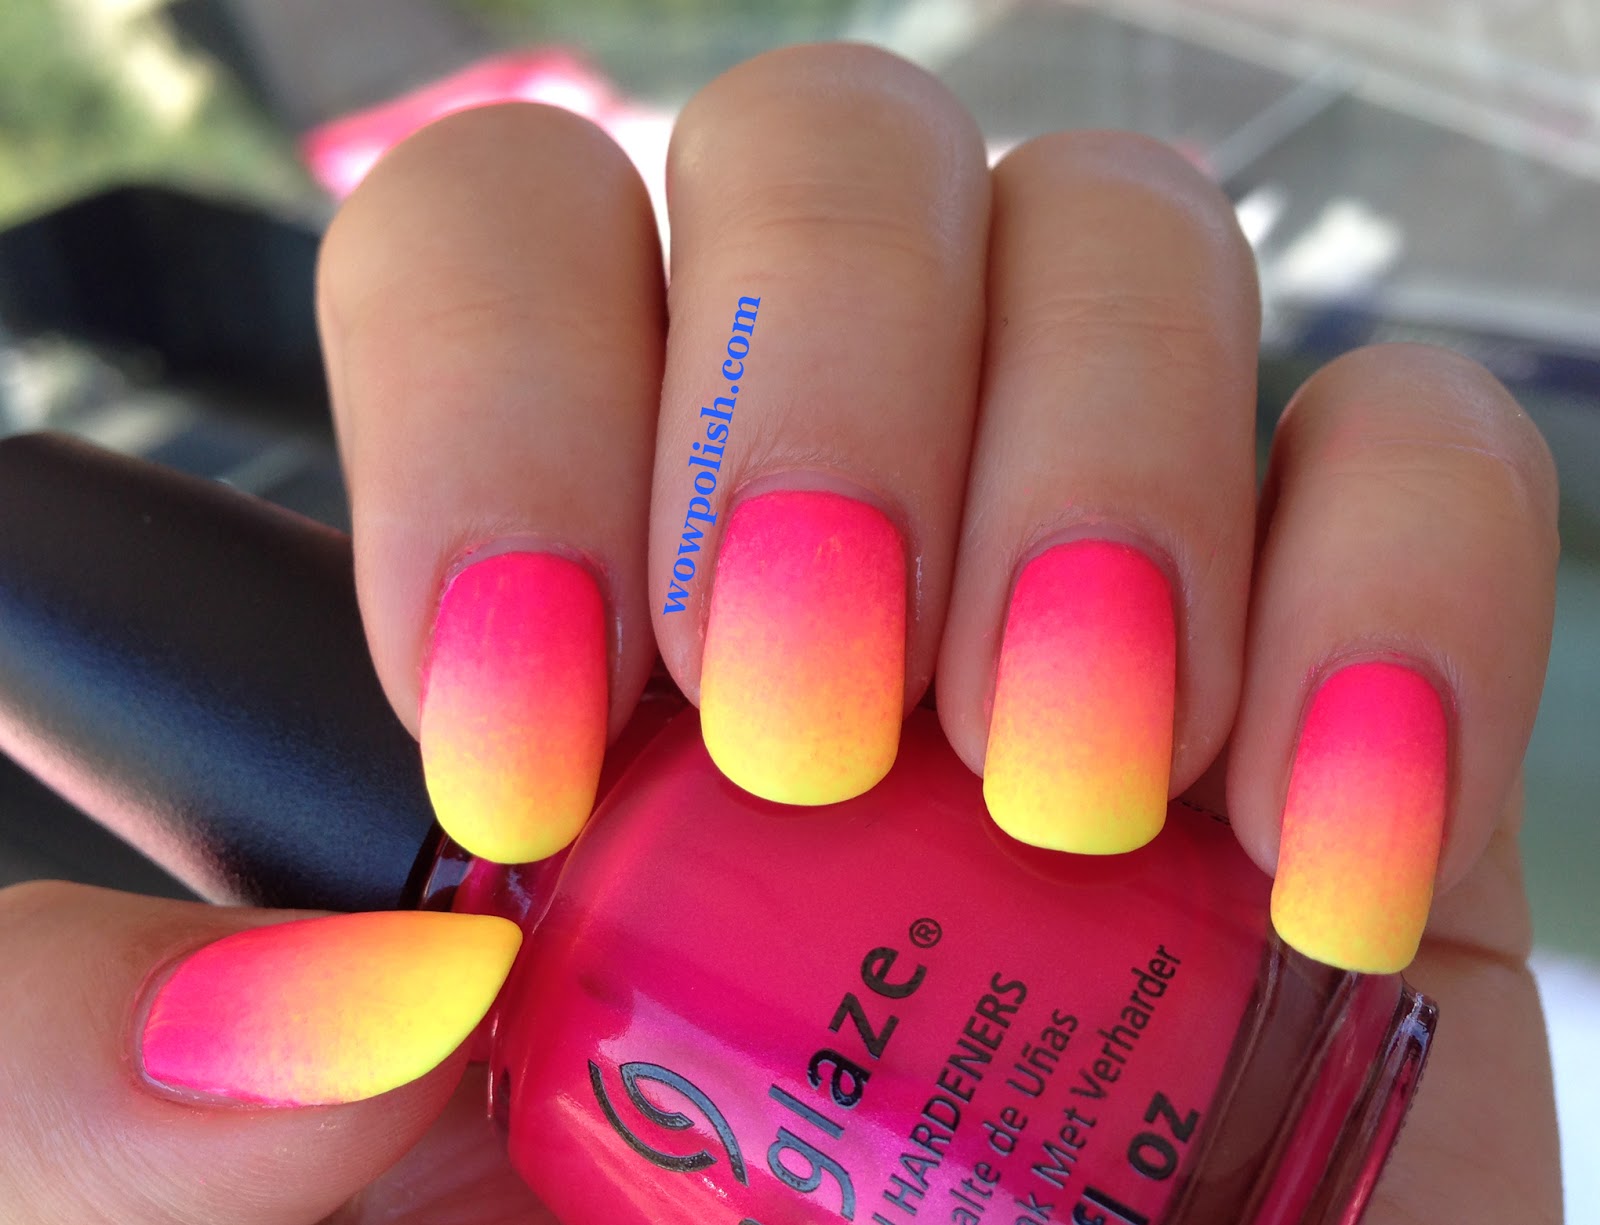
If you're looking for a bold and eye-catching nail art design, why not try a red and yellow gradient? This combination is perfect for adding a pop of color to your nails and is surprisingly easy to achieve. In this tutorial, we'll show you how to create a stunning red and yellow gradient nail art design that is sure to turn heads.Red and Yellow Gradient Nail Art Tutorial


Red and Yellow Gradient Nail Art Tutorial

To create this vibrant and striking gradient, you'll need a few key tools and products. Make sure you have a red and yellow nail polish, a makeup sponge, a top coat, and a small brush or toothpick for any touch-ups. Step 1: Start by painting your nails with a base coat to protect them and create a smooth canvas for your gradient. Step 2: Take your red nail polish and paint the entire nail, making sure to cover the entire surface. Let it dry completely before moving on to the next step. Step 3: On a piece of paper or a plastic surface, apply a few drops of your red and yellow nail polishes side by side, leaving a small gap between them. Step 4: Take your makeup sponge and gently press it onto the polishes, transferring the colors onto the sponge. Step 5: Gently dab the sponge onto your nail, starting from the tip and working your way down towards the cuticle. Repeat this step until the desired gradient effect is achieved. Step 6: If needed, use a small brush or toothpick to clean up any excess polish around the nail or cuticle. Step 7: Let the gradient dry completely before finishing with a top coat to seal in the design and give it a glossy finish.How to Create a Stunning Red and Yellow Gradient Nail Art Design


How to Create a Stunning Red and Yellow Gradient Nail Art Design

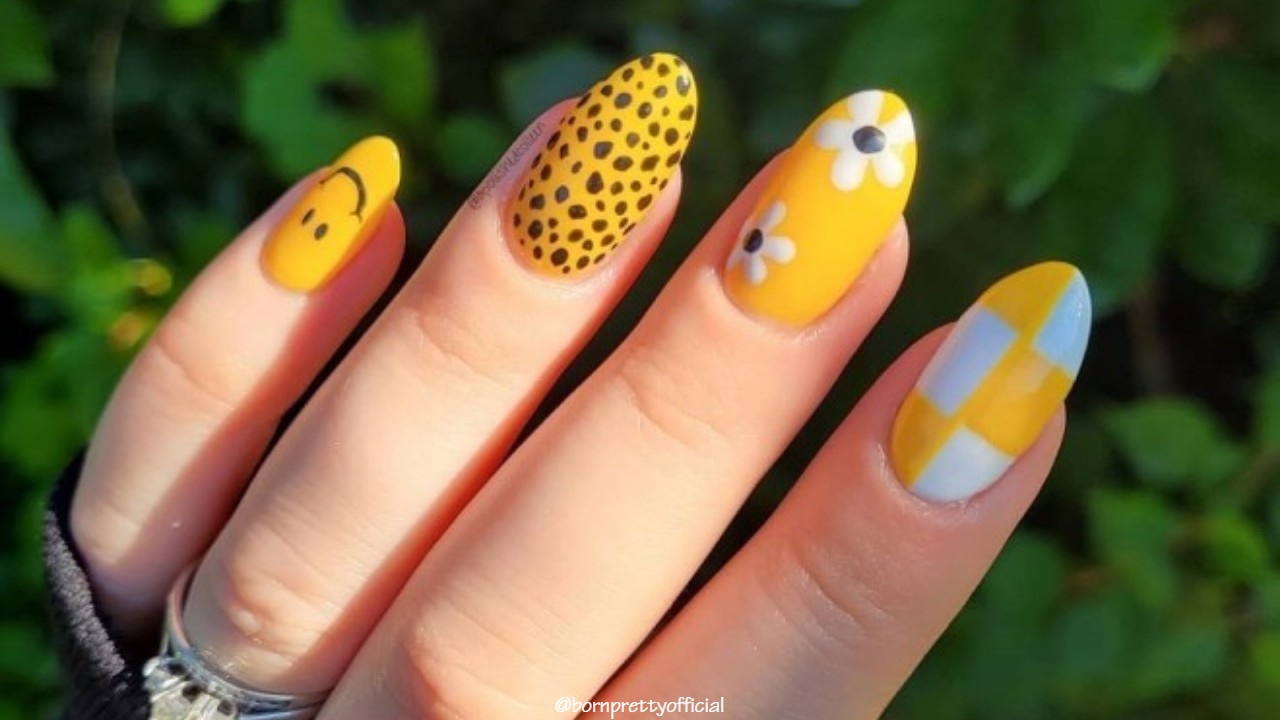

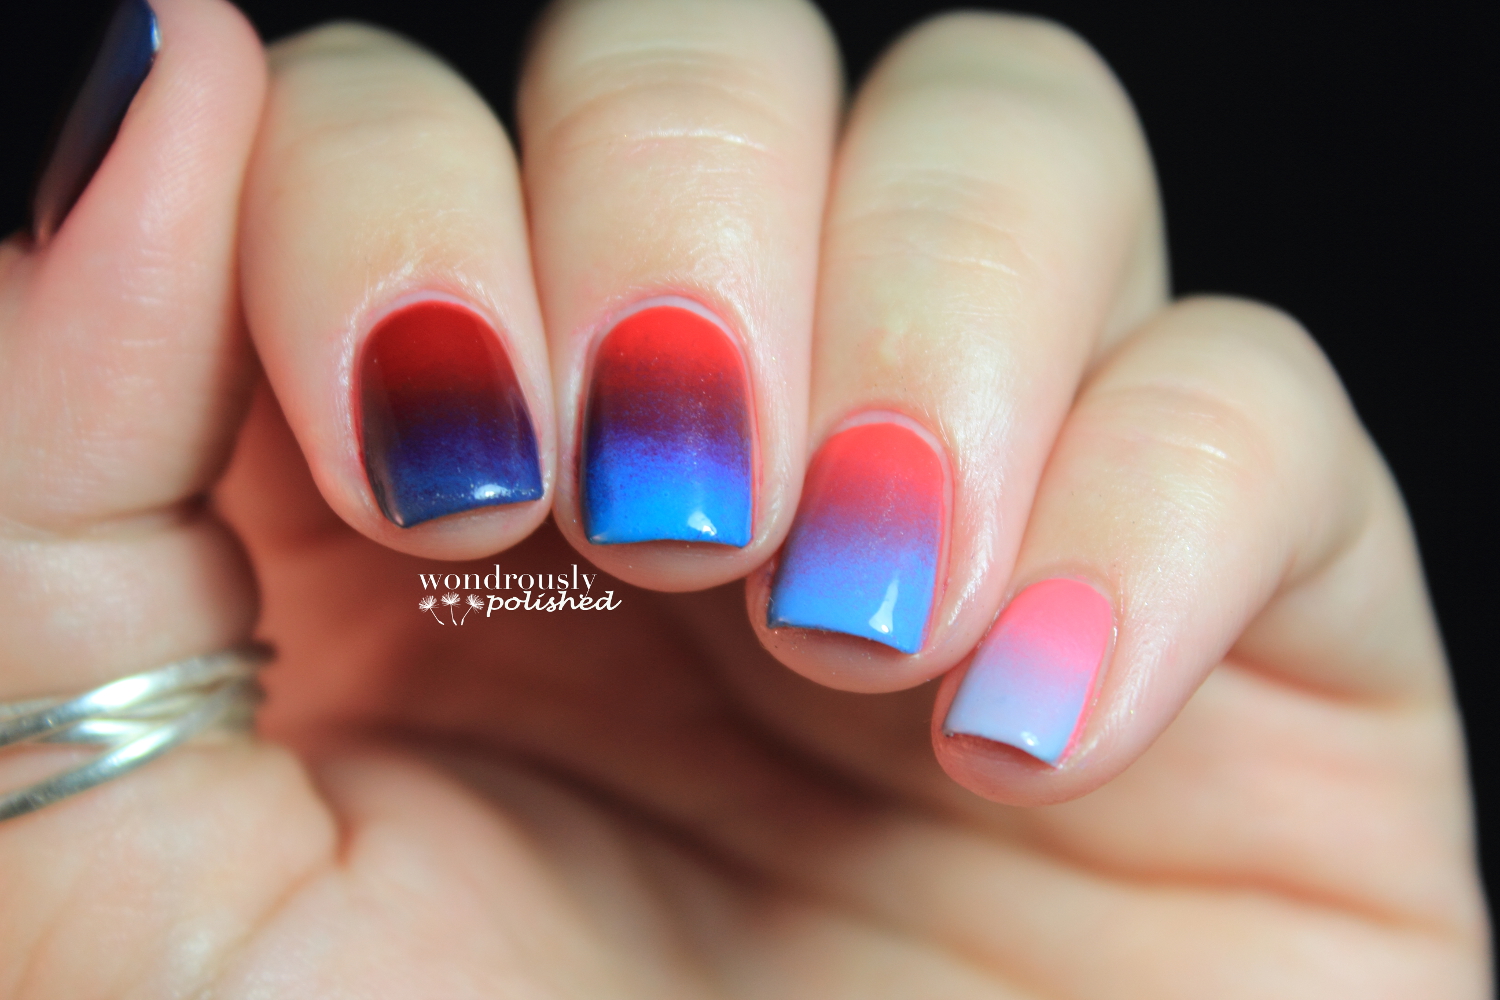
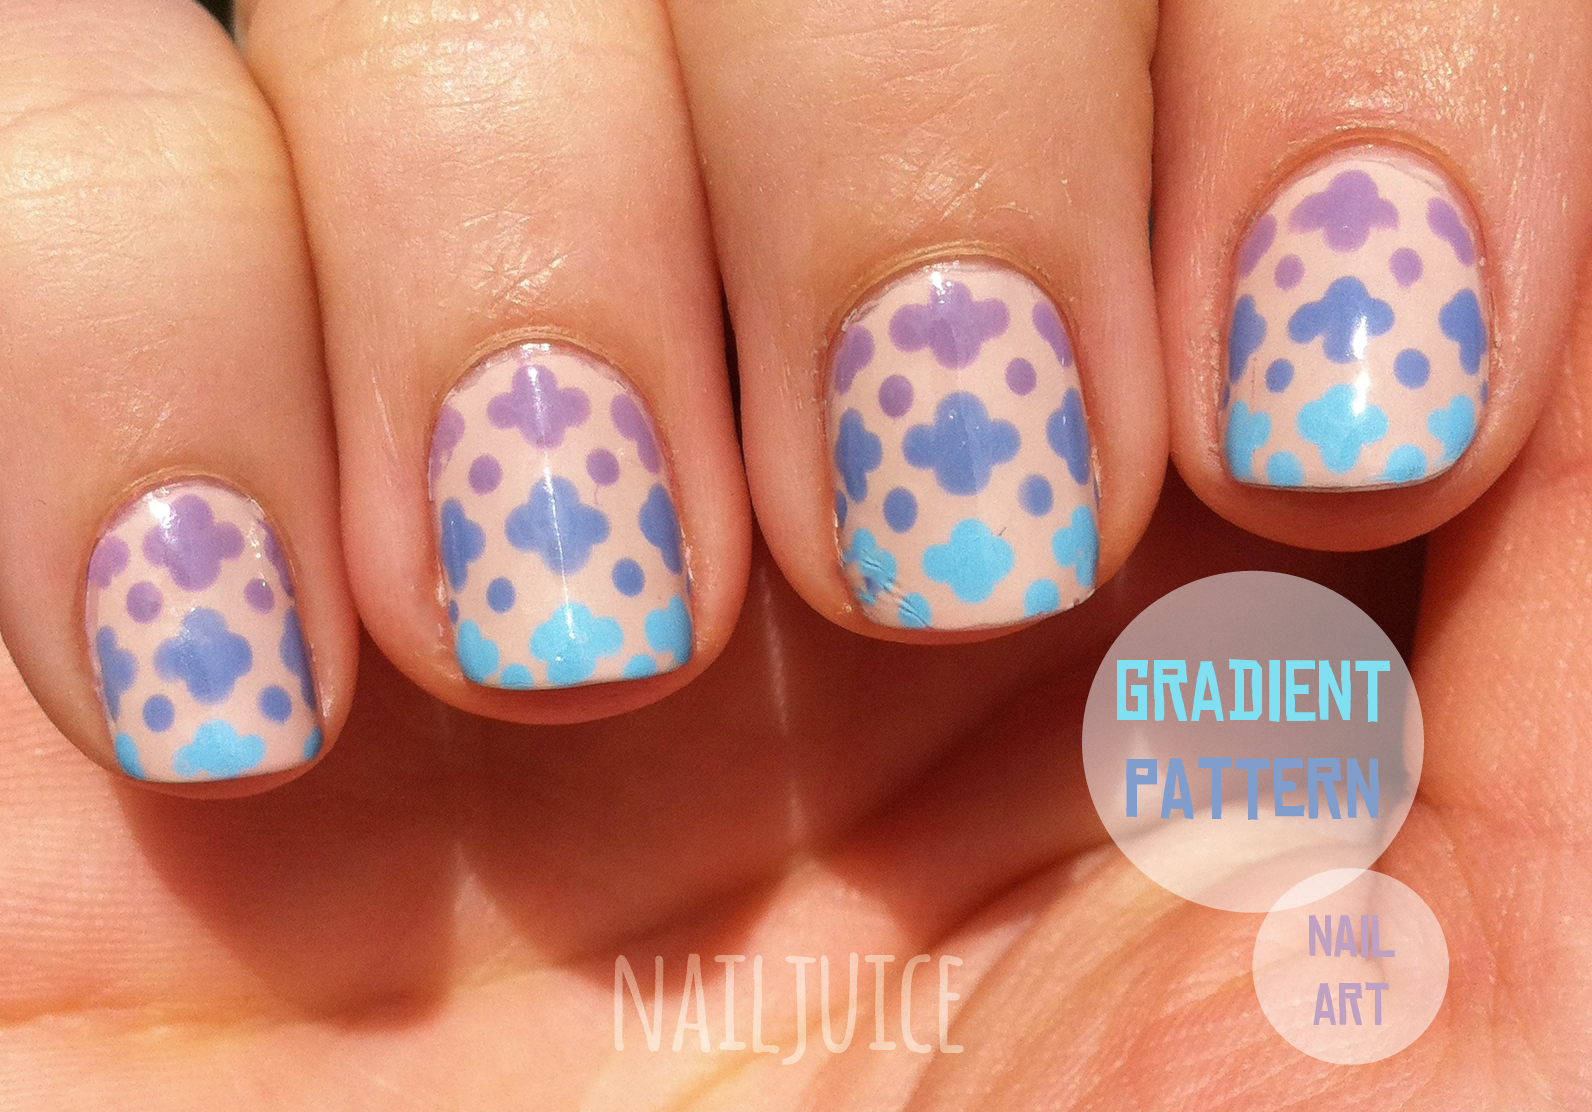
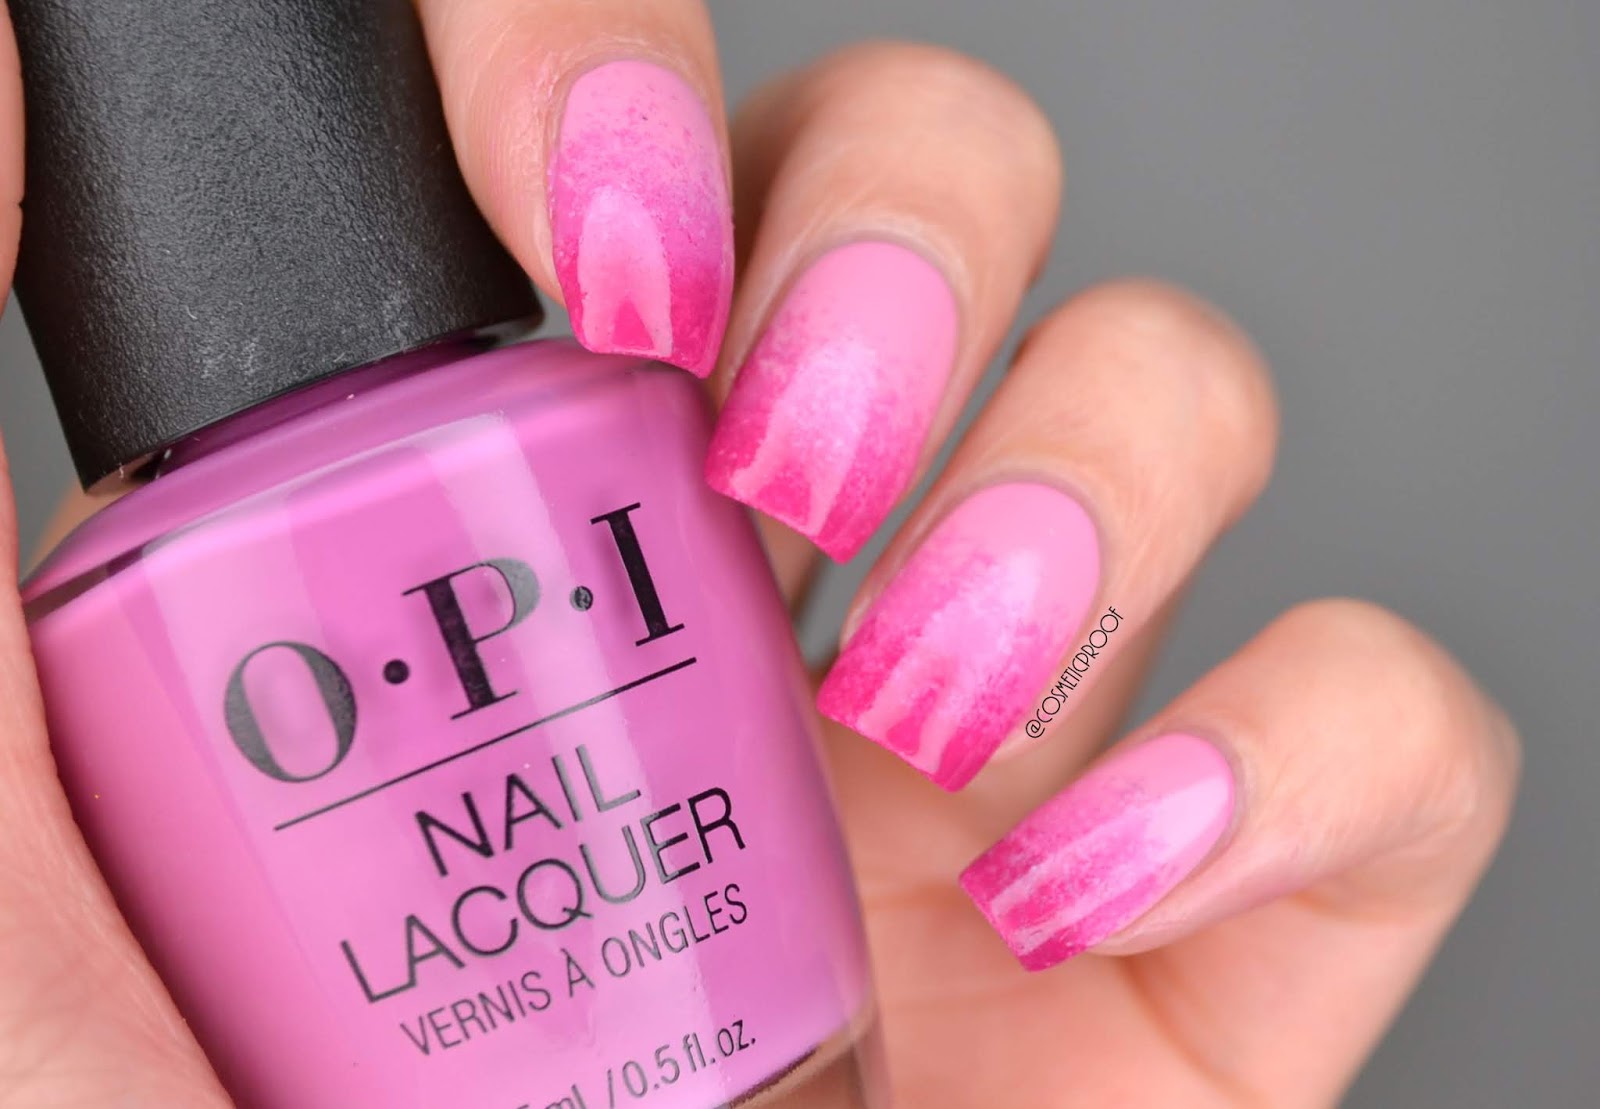
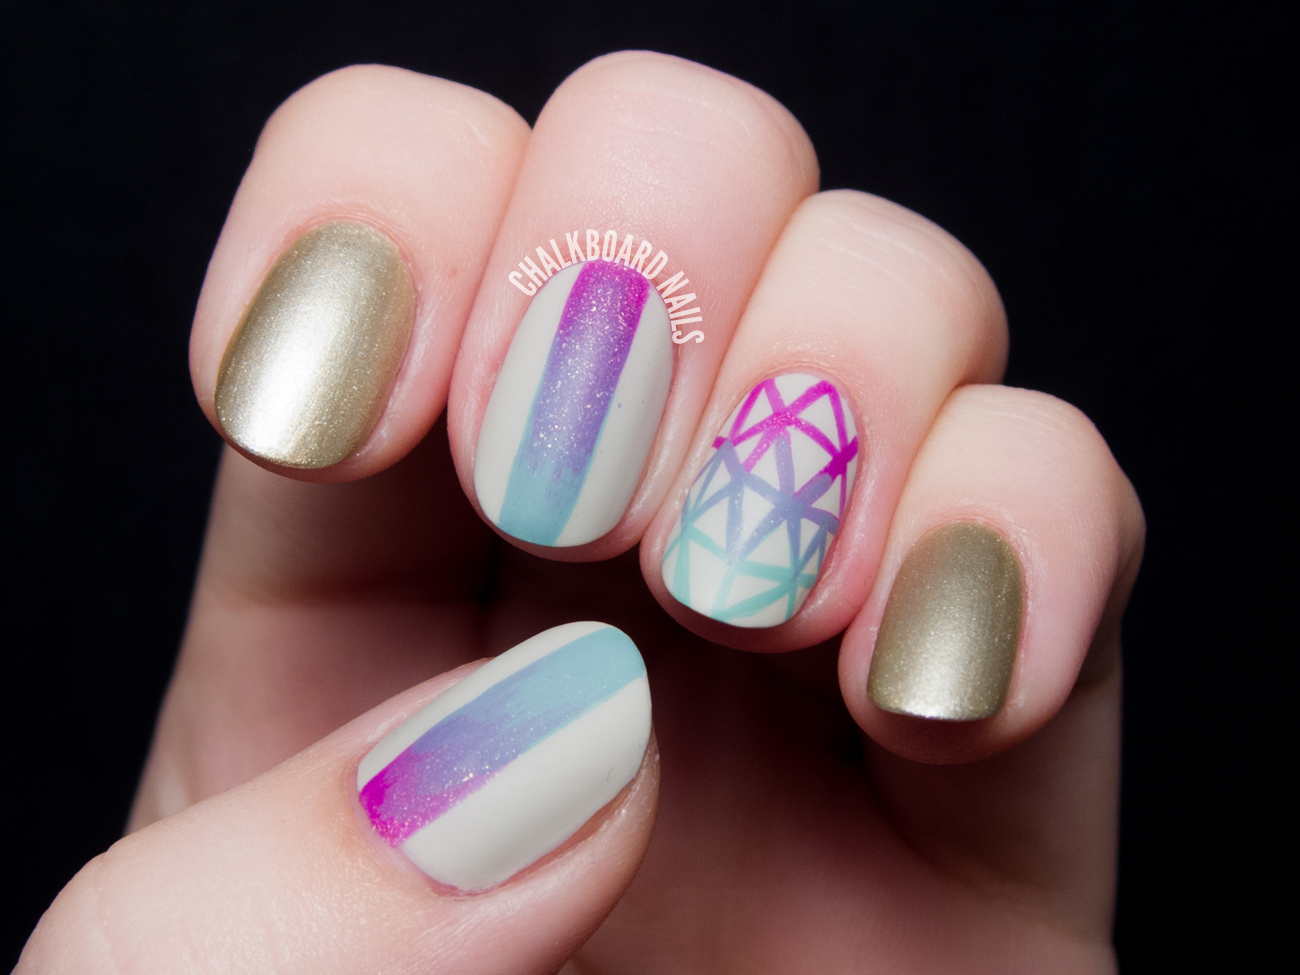
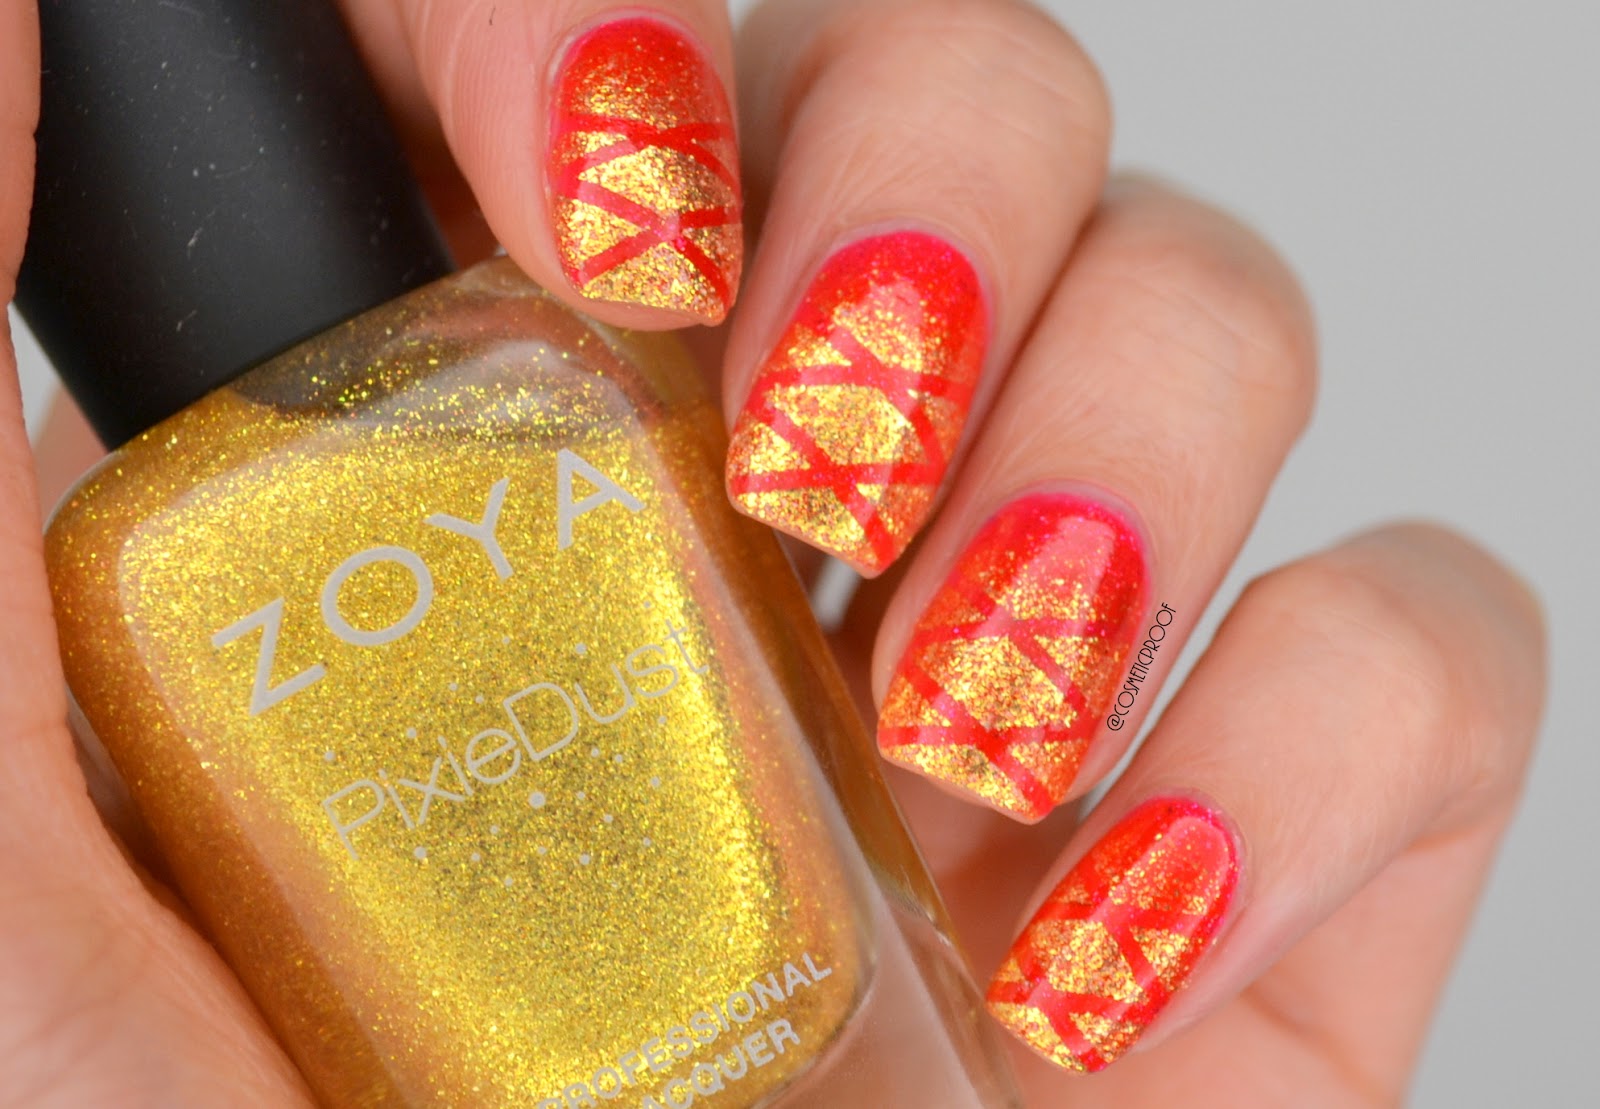
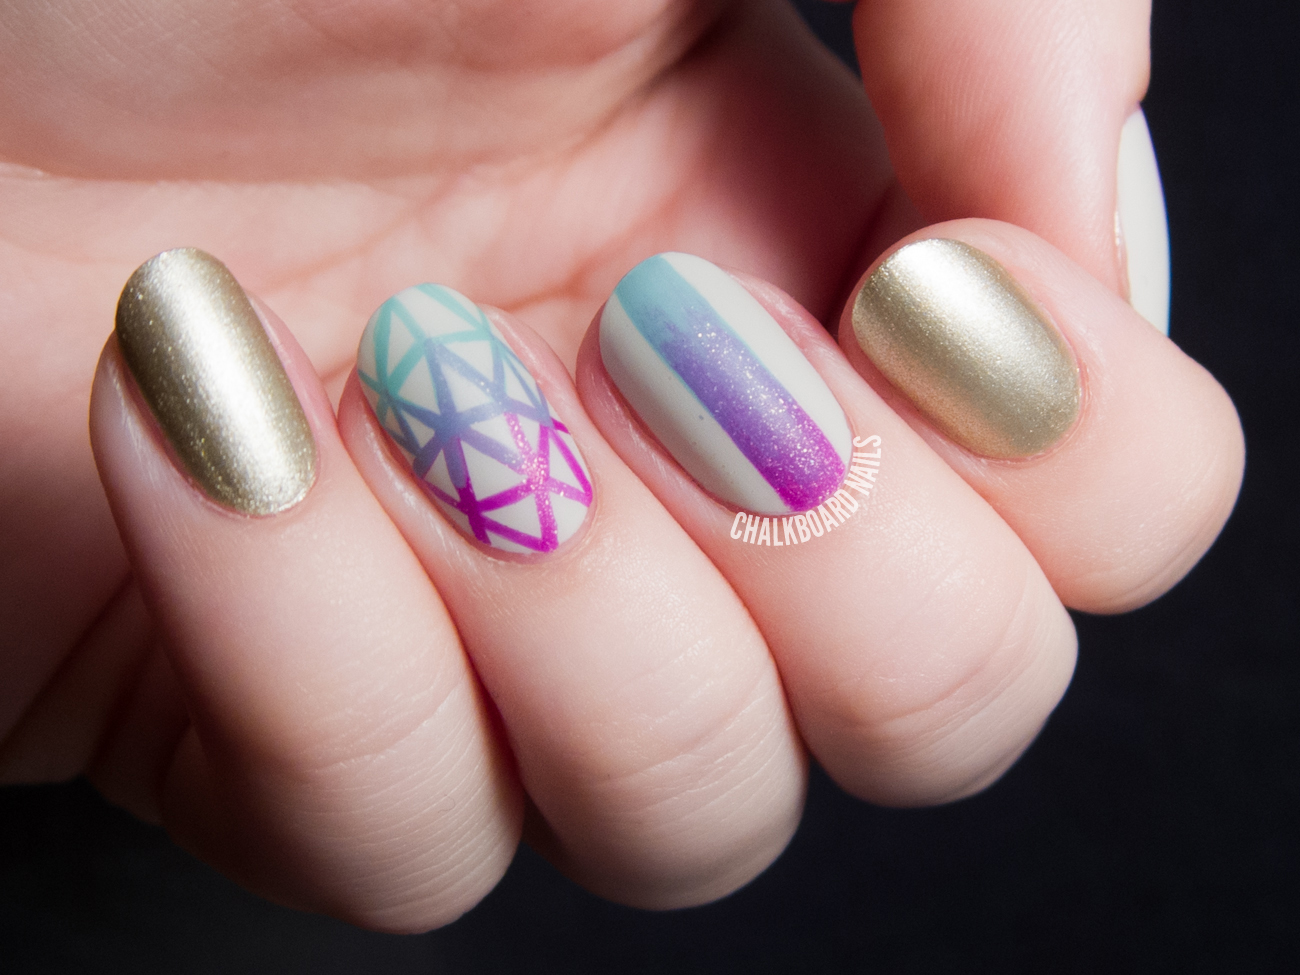
If you're feeling stuck on how to incorporate this stunning gradient into your nail art, don't worry – we've got you covered. Here are 10 red and yellow gradient nail art ideas to inspire your next manicure: 1. Sunset-inspired: Use the gradient as a base and add palm tree silhouettes or other tropical designs for a sunset-inspired look. 2. Geometric: Create a geometric design by using striping tape to section off different parts of the nail and painting each section with the gradient. 3. Dotted gradient: Use a dotting tool to create a gradient effect with polka dots on your nails. 4. Gradient French tips: Instead of a solid color, use the gradient for your French tips for a unique twist on a classic look. 5. Glitter accents: Add some sparkle by using a glitter top coat over your red and yellow gradient nails. 6. Negative space: Leave parts of your nail bare to create a negative space design with the gradient as the focal point. 7. Abstract art: Use the gradient as a base and add abstract designs with black or white nail polish for a modern and artistic look. 8. Floral accents: Add some flowers or other floral designs on top of your gradient for a feminine and delicate touch. 9. Polka dots and stripes: Combine polka dots and stripes with your gradient for a fun and playful nail art design. 10. Color block: Use your red and yellow gradient as a base and add blocks of black or white for a bold and graphic look.10 Red and Yellow Gradient Nail Art Ideas


10 Red and Yellow Gradient Nail Art Ideas
If you're new to the world of gradient nail art, don't worry – we've got you covered with this step-by-step guide to achieving a perfect red and yellow gradient nail art design: Step 1: Start by prepping your nails with a base coat to protect them and create a smooth canvas for your gradient. Step 2: Apply a base color, such as white or nude, and let it dry completely. Step 3: Follow the tutorial above to create your red and yellow gradient on a makeup sponge. Step 4: Gently dab the sponge onto your nail, starting from the tip and working your way down towards the cuticle. Repeat this step until the desired gradient effect is achieved. Step 5: Use a small brush or toothpick to clean up any excess polish around the nail or cuticle. Step 6: Let the gradient dry completely before finishing with a top coat to seal in the design and give it a glossy finish.Step-by-Step Guide to Achieving a Perfect Red and Yellow Gradient Nail Art


Step-by-Step Guide to Achieving a Perfect Red and Yellow Gradient Nail Art
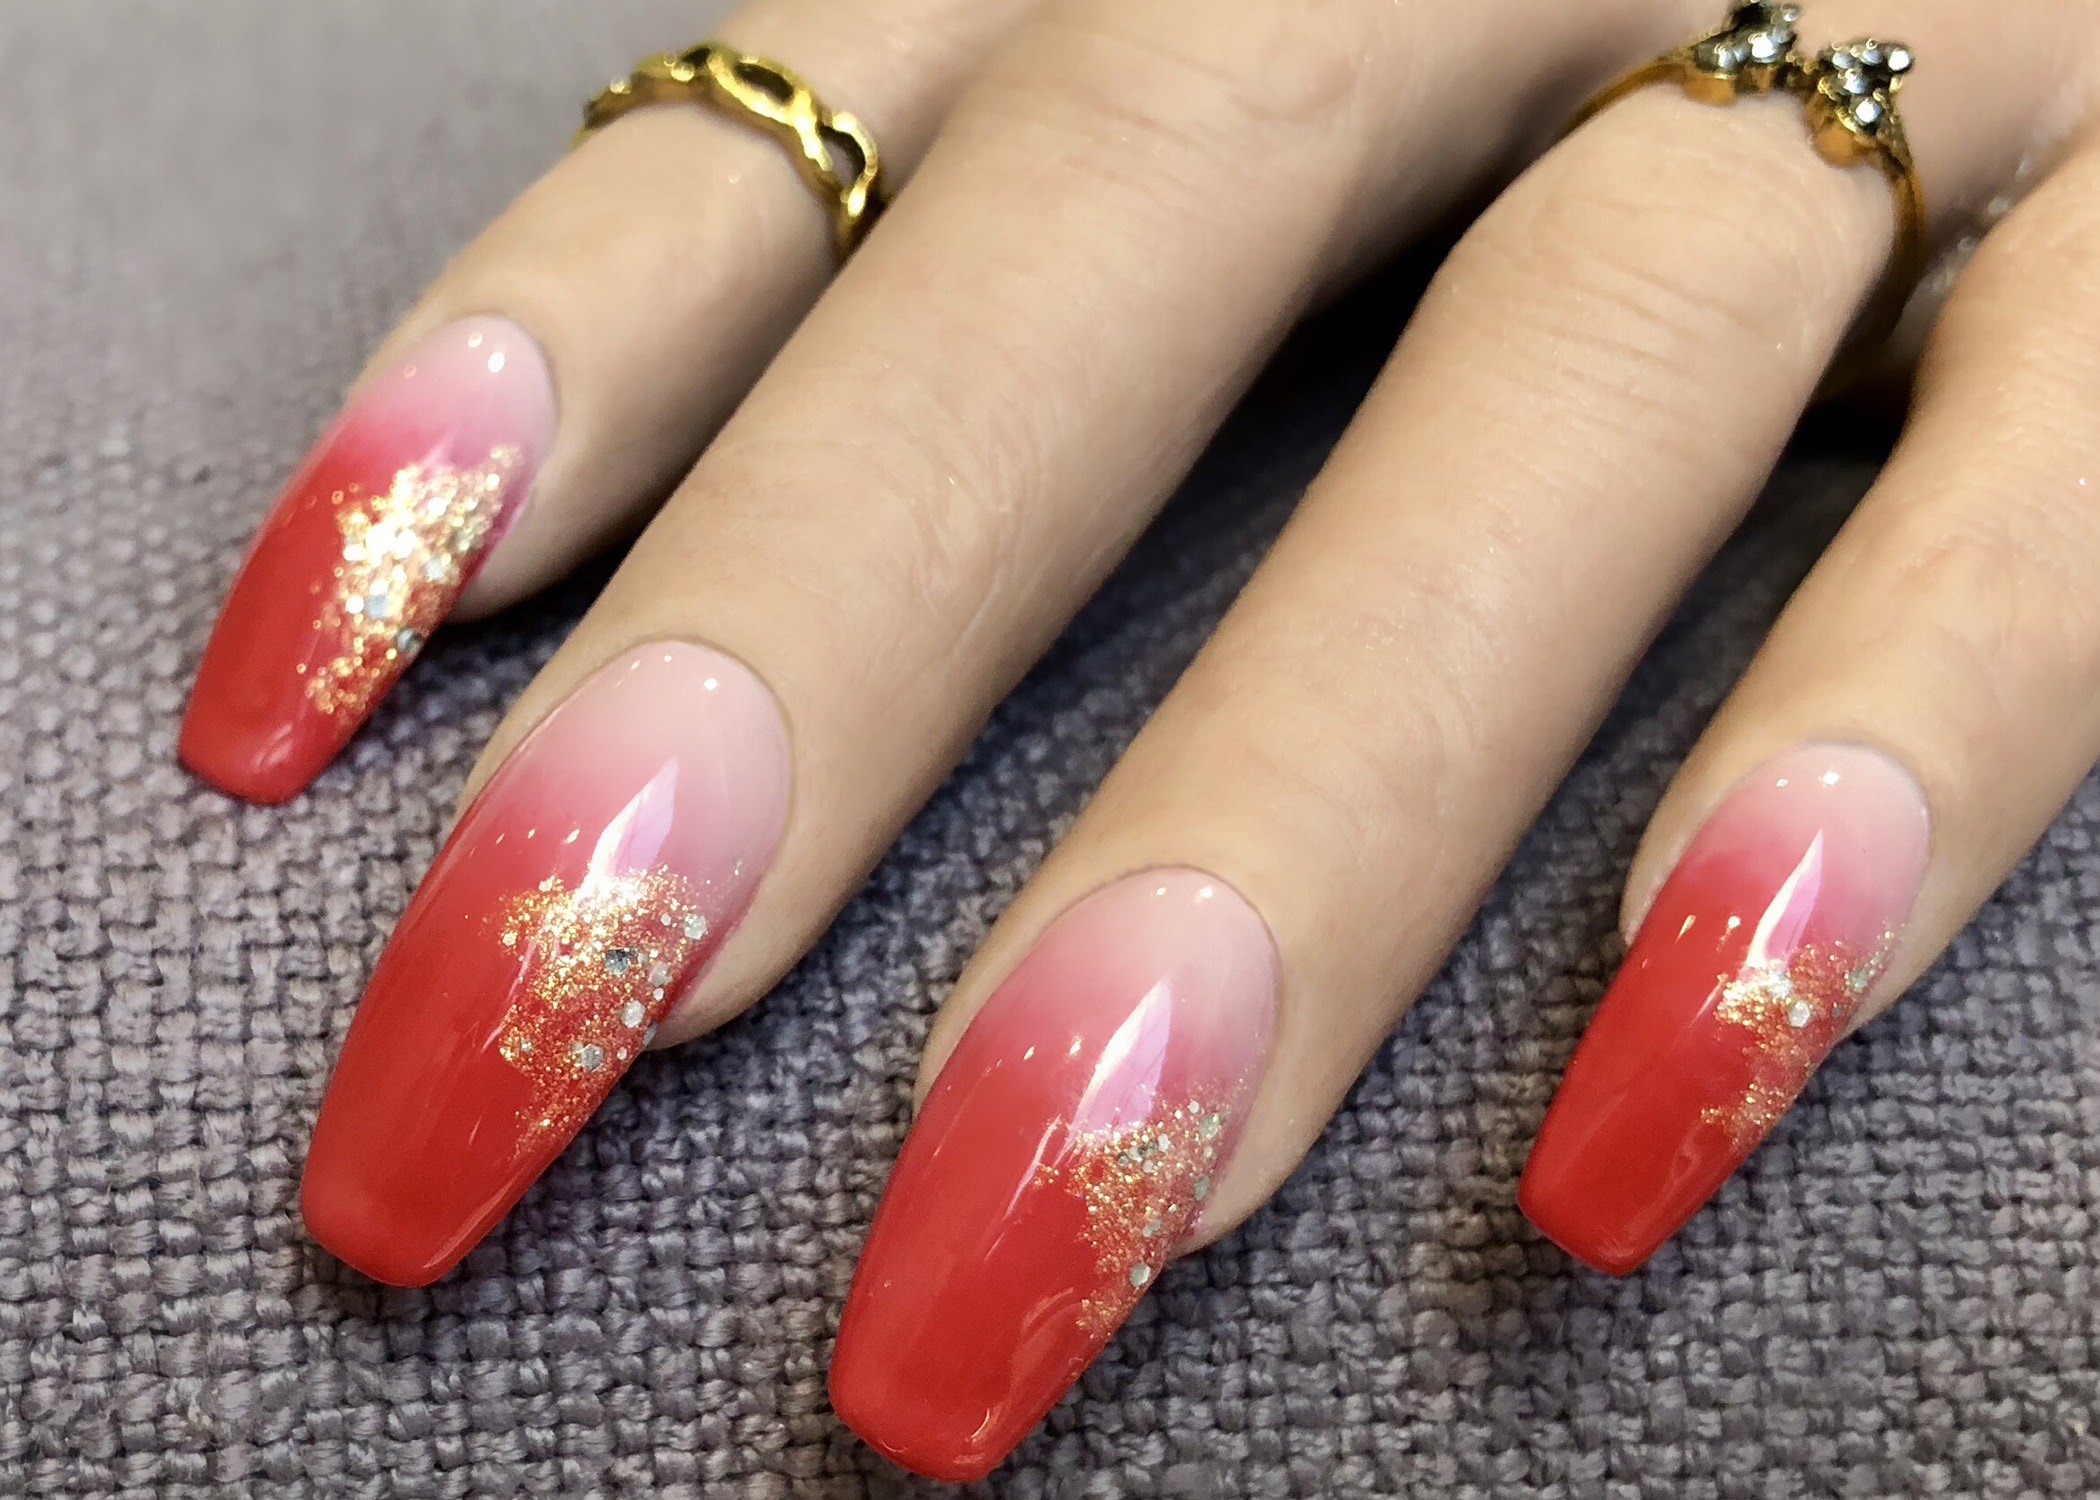
If you want to take your red and yellow gradient to the next level, try adding some glitter accents for a show-stopping ombre nail art design. Here's how to achieve this look: Step 1: Start by painting your nails with a base coat to protect them and create a smooth canvas for your gradient. Step 2: Take your red and yellow nail polishes and paint each nail with a different color, leaving a small gap in the middle for the ombre effect. Step 3: Use a makeup sponge to create a gradient effect in the gap between the two colors. Step 4: Once the gradient is dry, add a layer of glitter top coat over the entire nail, focusing on the ombre area. Step 5: Finish with a top coat to seal in the design and give it a glossy finish.Red and Yellow Ombre Nail Art with Glitter Accents


Red and Yellow Ombre Nail Art with Glitter Accents


If you're a fan of gel polish, you can still achieve a stunning red and yellow gradient nail art design. Here's how: Step 1: Start by prepping your nails with a base coat to protect them and create a smooth canvas for your gradient. Step 2: Apply a base color, such as white or nude, and cure it under a UV or LED lamp as directed by the gel polish instructions. Step 3: Follow the tutorial above to create your red and yellow gradient on a makeup sponge. Step 4: Gently dab the sponge onto your nail, starting from the tip and working your way down towards the cuticle. Repeat this step until the desired gradient effect is achieved. Step 5: Cure the polish under the lamp as directed by the instructions. Step 6: Use a small brush or toothpick to clean up any excess polish around the nail or cuticle. Step 7: Finish with a top coat and cure it under the lamp as directed.Gradient Nail Art Using Red and Yellow Gel Polish

Gradient Nail Art Using Red and Yellow Gel Polish


For a feminine and romantic look, try adding some floral accents to your red and yellow gradient nails. Here's how to achieve this design: Step 1: Start by prepping your nails with a base coat to protect them and create a smooth canvas for your gradient. Step 2: Use a white or nude nail polish as a base color and let it dry completely. Step 3: Follow the tutorial above to create your red and yellow gradient on a makeup sponge. Step 4: Gently dab the sponge onto your nail, starting from the tip and working your way down towards the cuticle. Repeat this step until the desired gradient effect is achieved. Step 5: Use a small brush or toothpick to clean up any excess polish around the nail or cuticle. Step 6: Once the gradient is dry, add some floral designs using a small brush or nail art pen. You can also use nail stickers or decals for an easier option. Step 7: Finish with a top coat to seal in the design and give it a glossy finish.Red and Yellow Gradient Nail Art with Floral Accents
Red and Yellow Gradient Nail Art with Floral Accents
If you're new to nail art or just want a quick and easy design, this simple red and yellow gradient is perfect for you. Here's how to achieve this look: Step 1: Start by prepping your nails with a base coat to protect them and create a smooth canvas for your gradient. Step 2: Use a white or nude nail polish as a base color and let it dry completely. Step 3: Follow the tutorial above to create your red and yellow gradient on a makeup sponge. Step 4: Gently dab the sponge onto your nail, starting from the tip and working your way down towards the cuticle. Repeat this step until the desired gradient effect is achieved. Step 5: Use a small brush or toothpick to clean up any excess polish around the nail or cuticle. Step 6: Finish with a top coat to seal in the design and give it a glossy finish.Easy Red and Yellow Gradient Nail Art for Beginners

Easy Red and Yellow Gradient Nail Art for Beginners


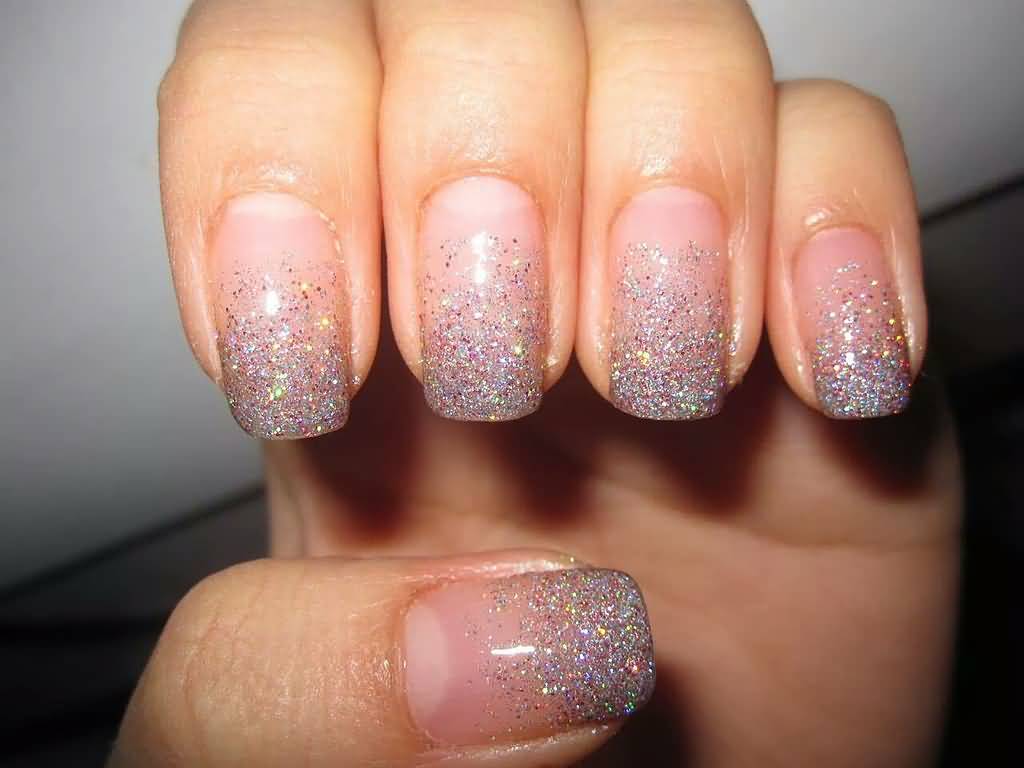
For a touch of glamour and sparkle, try adding some rhinestone accents to your red and yellow gradient nails. Here's how to achieve this look: Step 1: Start by prepping your nails with a base coat to protect them and create a smooth canvas for your gradient. Step 2: Use a white or nude nail polish as a base color and let it dry completely. Step 3: Follow the tutorial above to create your red and yellow gradient on a makeup sponge. Step 4: Gently dab the sponge onto your nail, starting from the tip and working your way down towards the cuticle. Repeat this step until the desired gradient effect is achieved. Step 5: Use a small brush or toothpick to clean up any excess polish around the nail or cuticle. Step 6: Once the gradient is dry, add some rhinestones using a small amount of clear nail polish as glue. You can also use nail glue for a stronger hold. Step 7: Finish with a top coat to seal in the design and give it a glossy finish.Red and Yellow Gradient Nail Art with Rhinestone Accents


Red and Yellow Gradient Nail Art with Rhinestone Accents
If you don't have red and yellow nail polish, you can still achieve a stunning gradient with acrylic paint. Here's how: Step 1: Start by prepping your nails with a base coat to protect them and create a smooth canvas for your gradient. Step 2: Use a white or nude nail polish as a base color and let it dry completely. Step 3: On a piece of paper or a plastic surface, mix your red and yellow acrylic paints together to create an orange shade. Step 4: Follow the tutorial above to create your red and yellow gradient on a makeup sponge. Step 5: Gently dab the sponge onto your nail, starting from the tip and working your way down towards the cuticle. Repeat this step until the desired gradient effect is achieved. Step 6: Use a small brush or toothpick to clean up any excess paint around the nail or cuticle. Step 7: Once the gradient is dry, finish with a top coat to seal in the design and give it a glossy finish. With these 10 body of 10 heading 2, you now have all the inspiration and guidance you need to create a stunning red and yellow gradient nail art design. Whether you're a beginner or a nail art pro, this bold and vibrant combination is sure to make a statement on your fingertips. Have fun experimenting with different designs and techniques, and don't be afraid to add your own personal touch to make it unique. Happy painting!How to Create a Gradient Nail Art Design with Red and Yellow Acrylic Paint
How to Create a Gradient Nail Art Design with Red and Yellow Acrylic Paint
The Beauty of Nail Art Gradient Red and Yellow
A Stunning Combination
 Nail art has become increasingly popular in recent years, with new trends and designs constantly emerging. One of the most eye-catching and beautiful styles is the nail art gradient in red and yellow. This combination creates a stunning and vibrant look that is sure to make a statement. It's a perfect way to add a pop of color to your overall style or to match with a specific outfit. Let's take a closer look at this unique and creative design.
How to Create the Gradient Effect
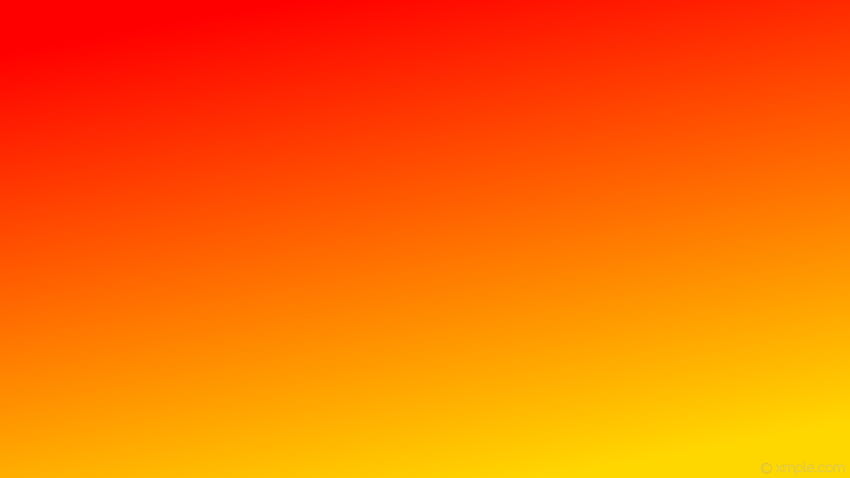
 Creating the perfect gradient effect may seem daunting, but with the right tools and techniques, it can be achieved at home. Start by choosing two shades of red and yellow that complement each other. It's important to choose colors that are similar in tone to achieve a smooth transition. Next, apply the lighter shade of red to the entire nail as the base color. Then, using a makeup sponge, dab the darker shade of red at the tip of the nail. Repeat this process with the yellow shade, slightly overlapping the red to create a gradient effect. Finish off with a top coat for a glossy finish.
Adding a Personal Touch
 The beauty of nail art is the ability to personalize it according to your taste and style. There are many ways to add your own touch to the red and yellow gradient design. You can add a glitter or metallic top coat, use nail stickers or stamps, or even experiment with different shapes and patterns. The possibilities are endless and allow for creativity and individuality.
Making a Statement
 Nail art gradient red and yellow is a bold and eye-catching design that is sure to make a statement. It's perfect for a night out, a special occasion, or even just to add some fun to your everyday look. With its vibrant colors and unique design, it's bound to turn heads and receive compliments.
In Conclusion
 Nail art gradient red and yellow is a beautiful and creative way to enhance your nail game. It's a simple yet stunning design that can be achieved at home with just a few tools and techniques. So why not give it a try and add some color to your nails? You won't be disappointed.


