Nail art has become a popular way to express one's creativity and style. And one of the latest trends in the nail art world is the gradient sky design. This beautiful and dreamy look mimics the colors of a sunset or sunrise, creating a gradient effect on the nails. If you want to try this stunning nail art design, follow our step-by-step tutorial below.Gradient Sky Nail Art Tutorial


Gradient Sky Nail Art Tutorial


To achieve the perfect gradient sky nail art, you will need a few essential tools and products. These include a base coat, top coat, white nail polish, and 3-4 different shades of nail polish in the colors of your choice. You will also need a makeup sponge, a small brush, and nail polish remover for any mistakes.How to Create a Gradient Sky Nail Art Design


How to Create a Gradient Sky Nail Art Design


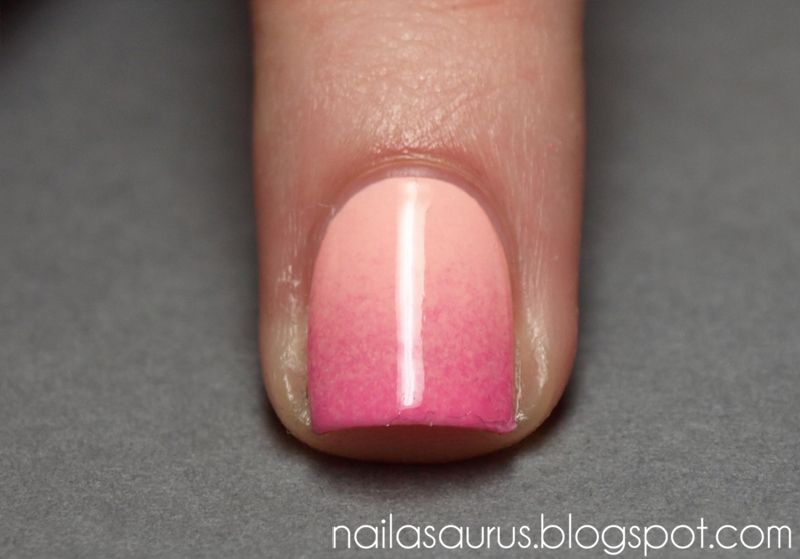
Step 1: Start by applying a base coat to your nails to protect them and help the nail polish last longer. Step 2: Once the base coat is dry, apply a layer of white nail polish to all your nails. This will act as the base color for the gradient sky design. Step 3: Take your makeup sponge and apply a few drops of your chosen nail polish colors in a line, slightly overlapping each other. Step 4: Dab the sponge onto your nails, starting from the tip and working your way towards the cuticle. You may need to do this a few times to build up the colors and create a gradient effect. Step 5: Use a small brush and nail polish remover to clean up any excess polish around your nails. Step 6: Repeat this process on all your nails, using different colors or shades to create a unique gradient sky look. Step 7: Once the polish is dry, apply a top coat to seal in the design and add a glossy finish.Step-by-Step Guide for Nail Art Gradient Sky


Step-by-Step Guide for Nail Art Gradient Sky

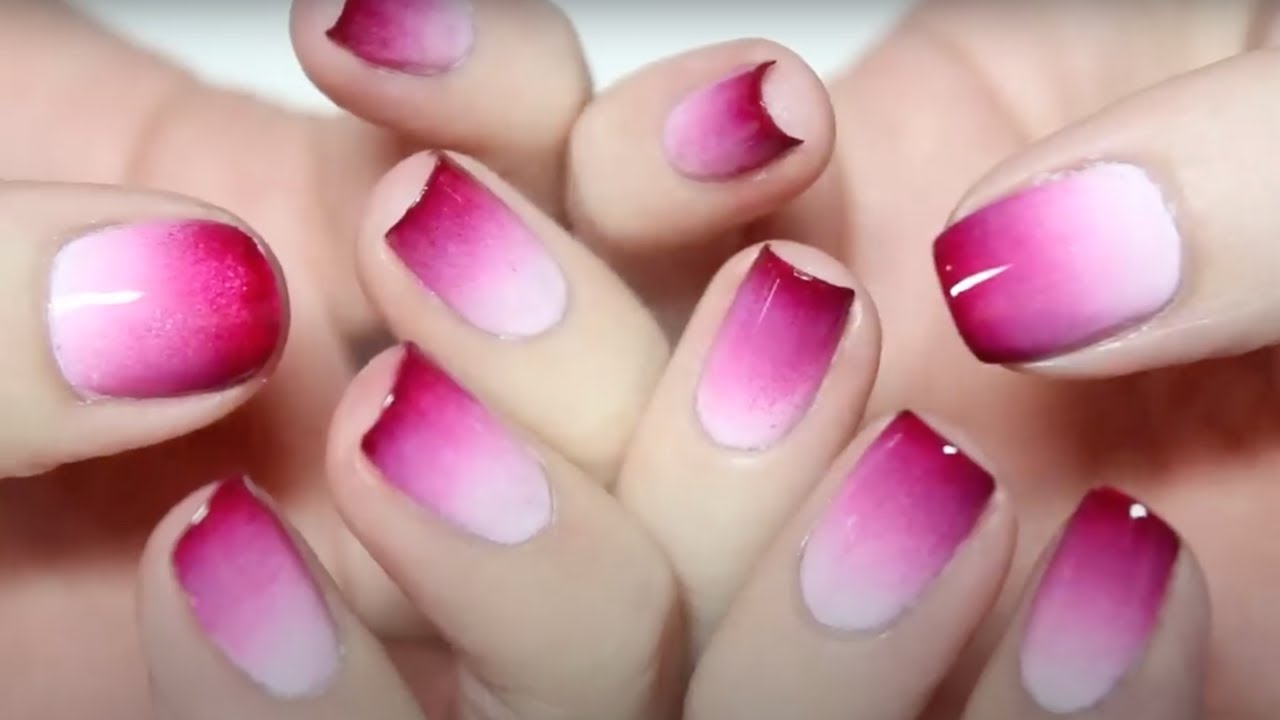


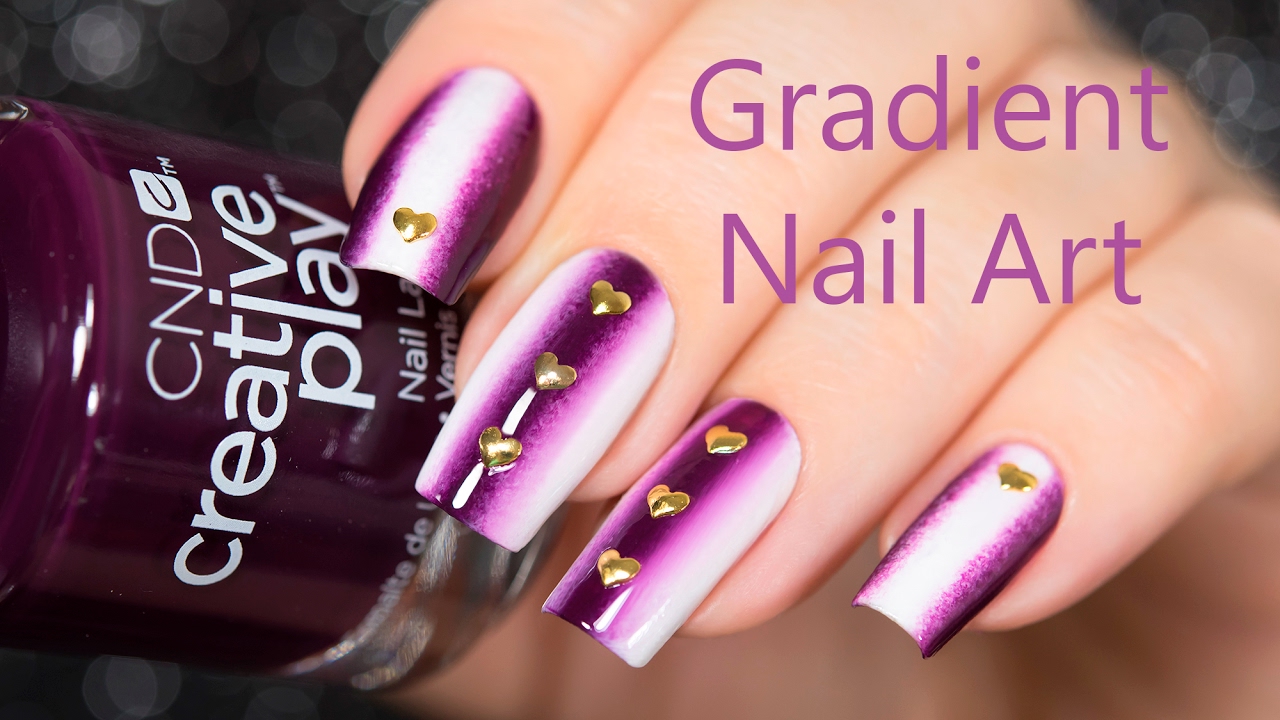
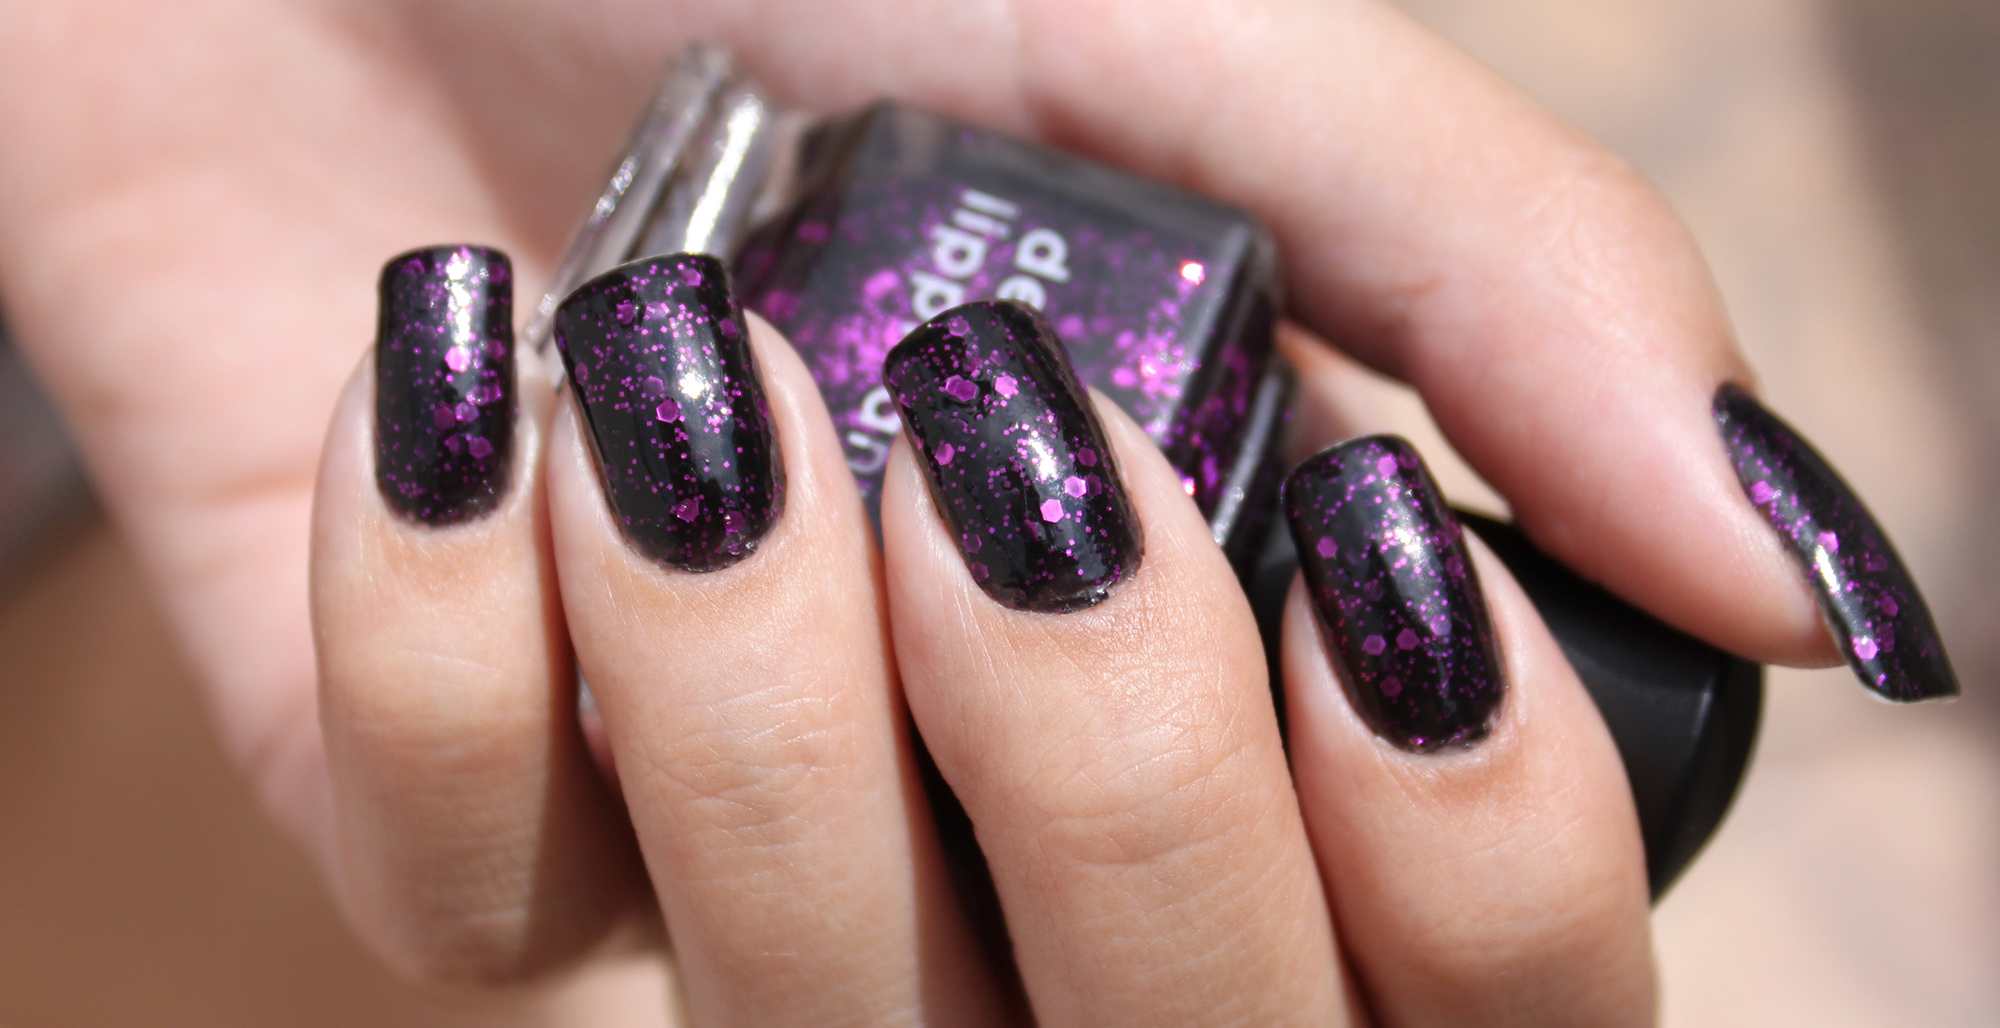
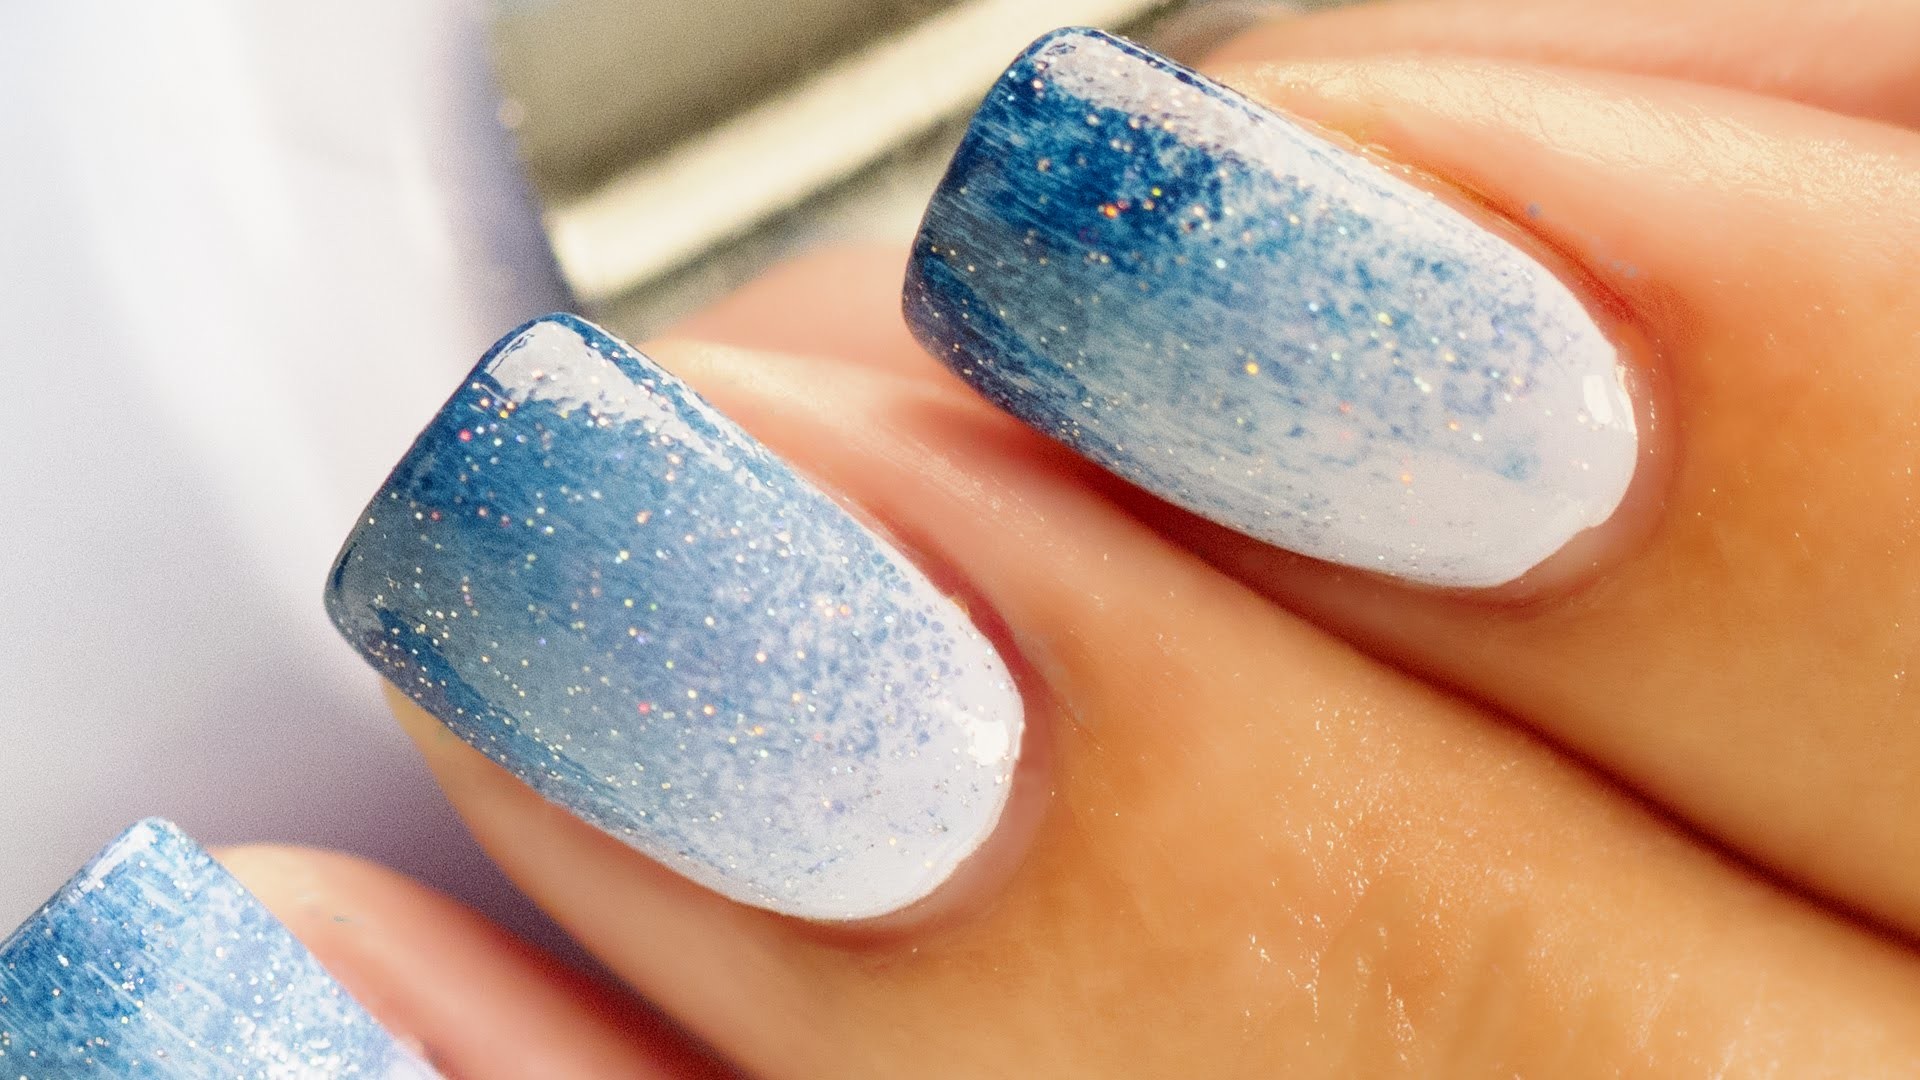
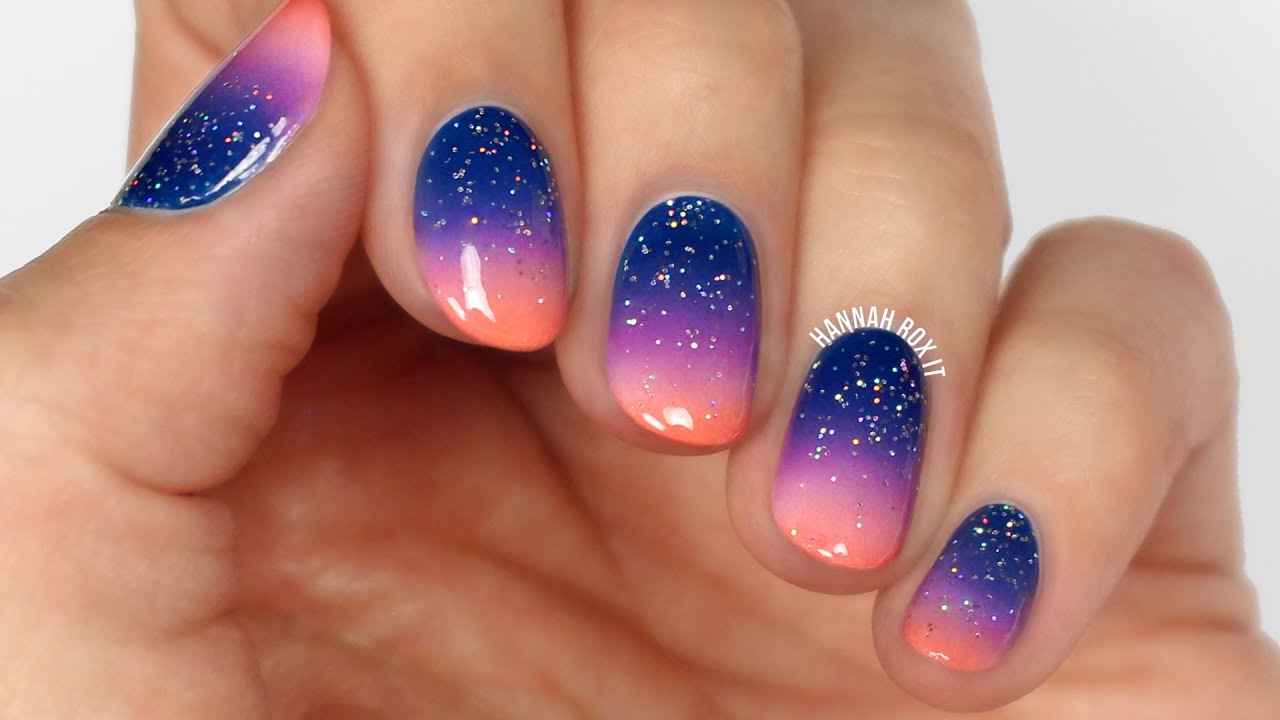
When it comes to creating a gradient sky nail art, the key is to choose nail polishes with similar tones that blend well together. Some of the best colors to use for this design include shades of blue, pink, purple, and orange. You can also add a touch of glitter for some extra sparkle.Best Nail Polishes for a Gradient Sky Nail Art Look


Best Nail Polishes for a Gradient Sky Nail Art Look


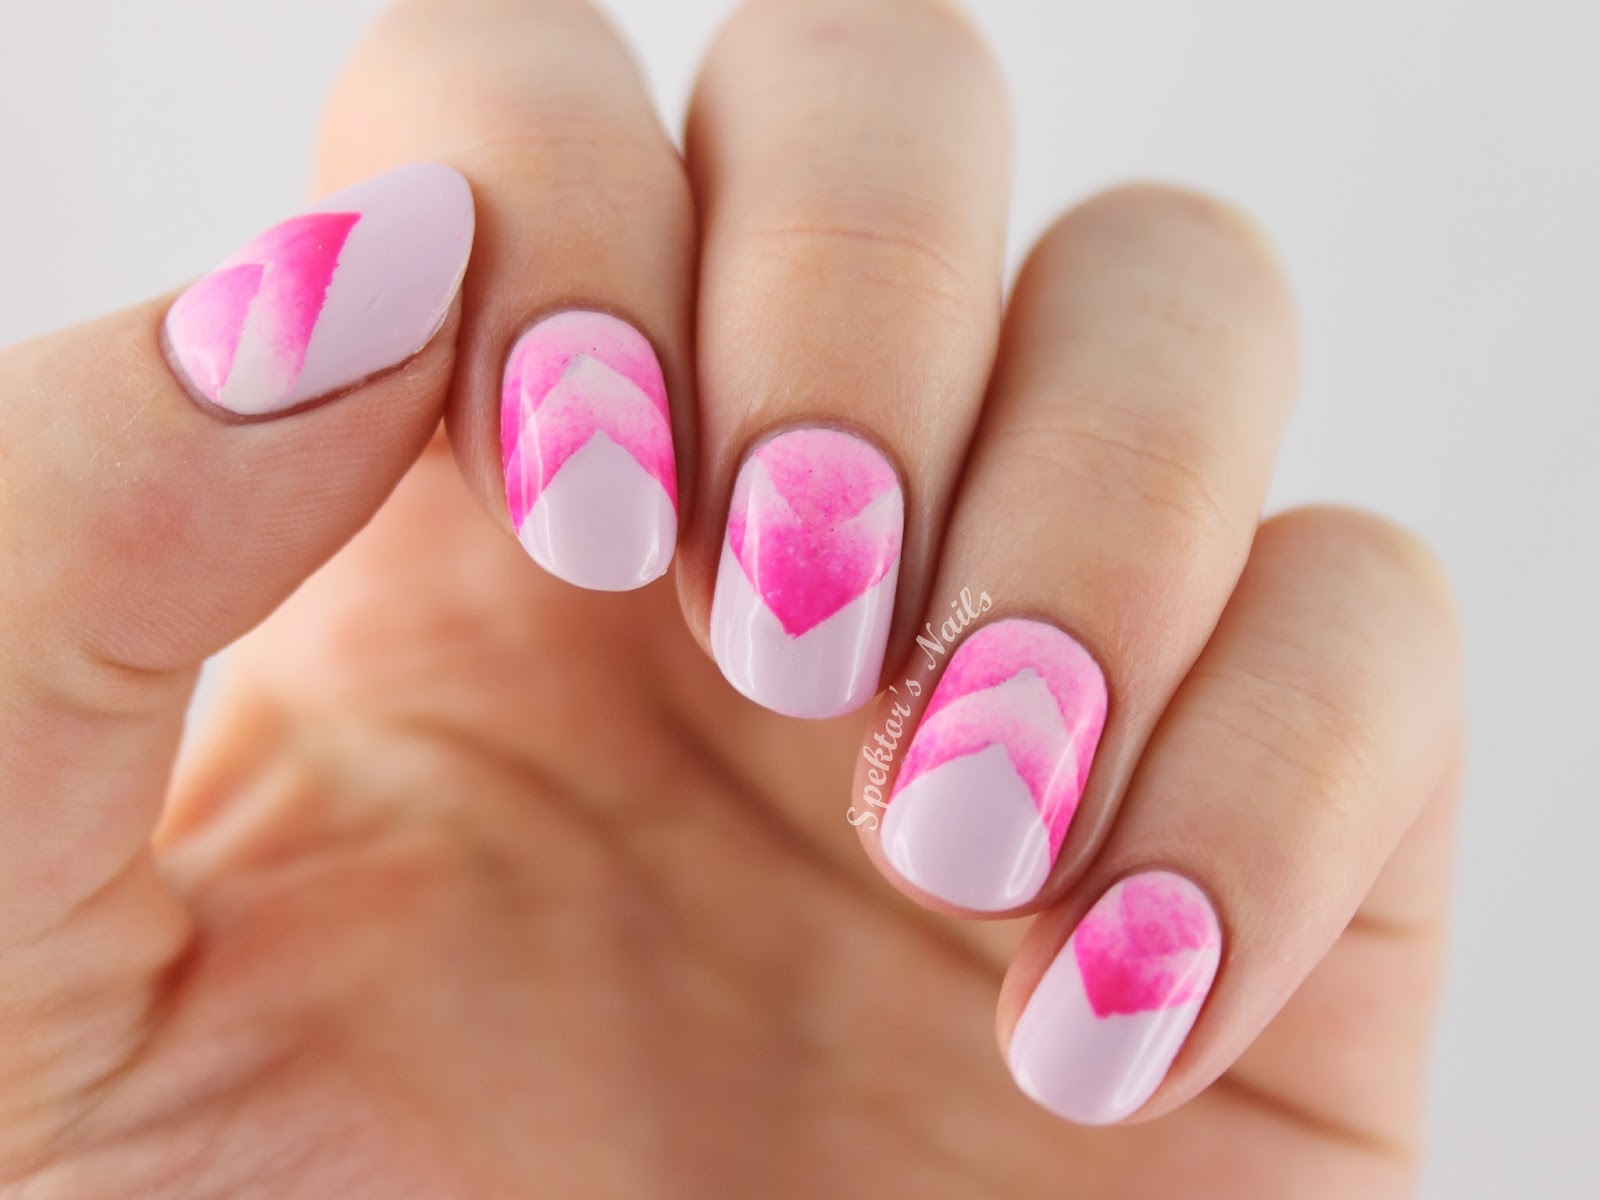
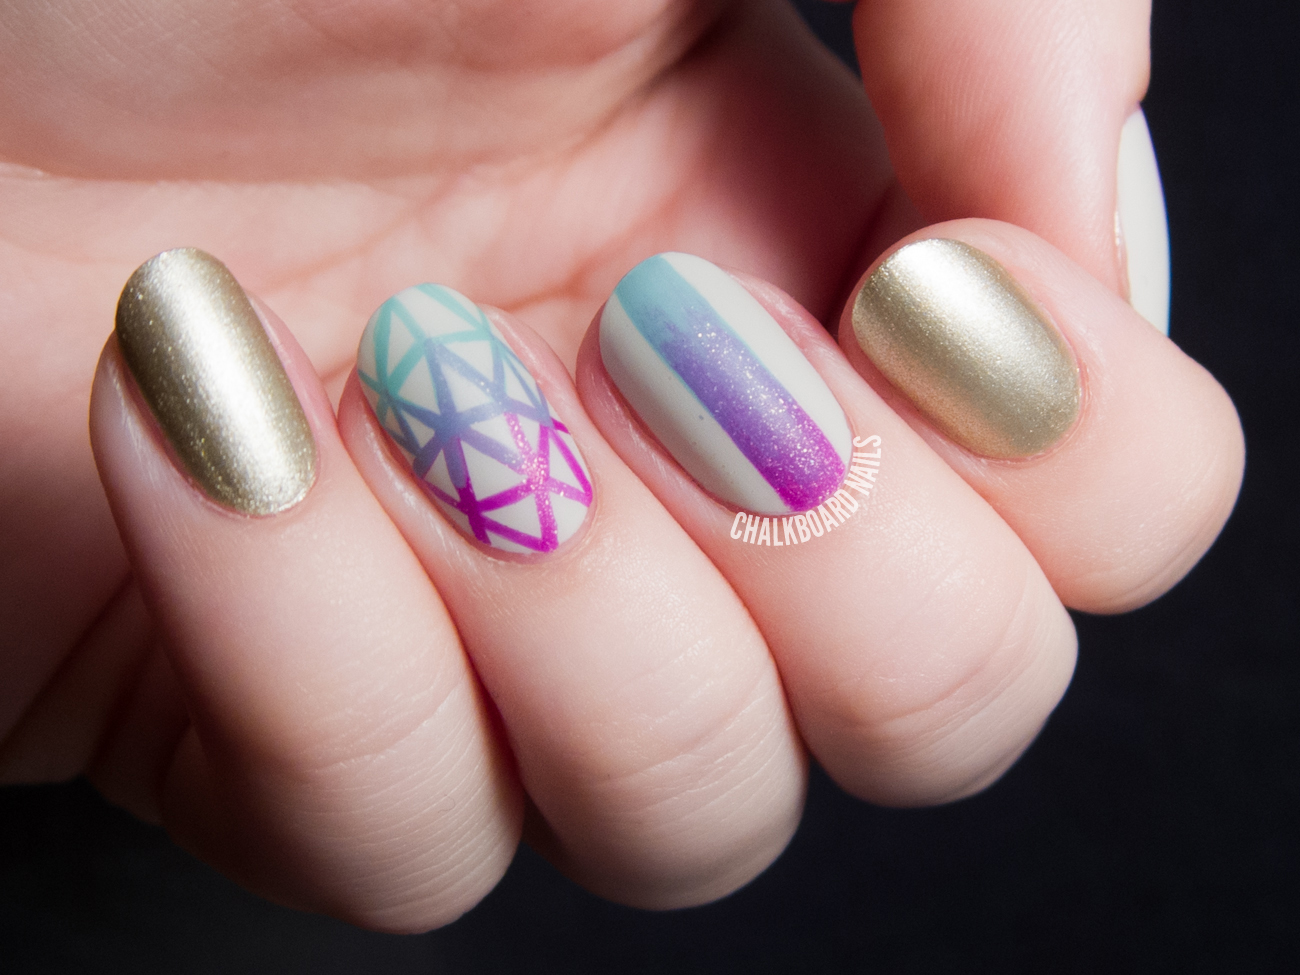
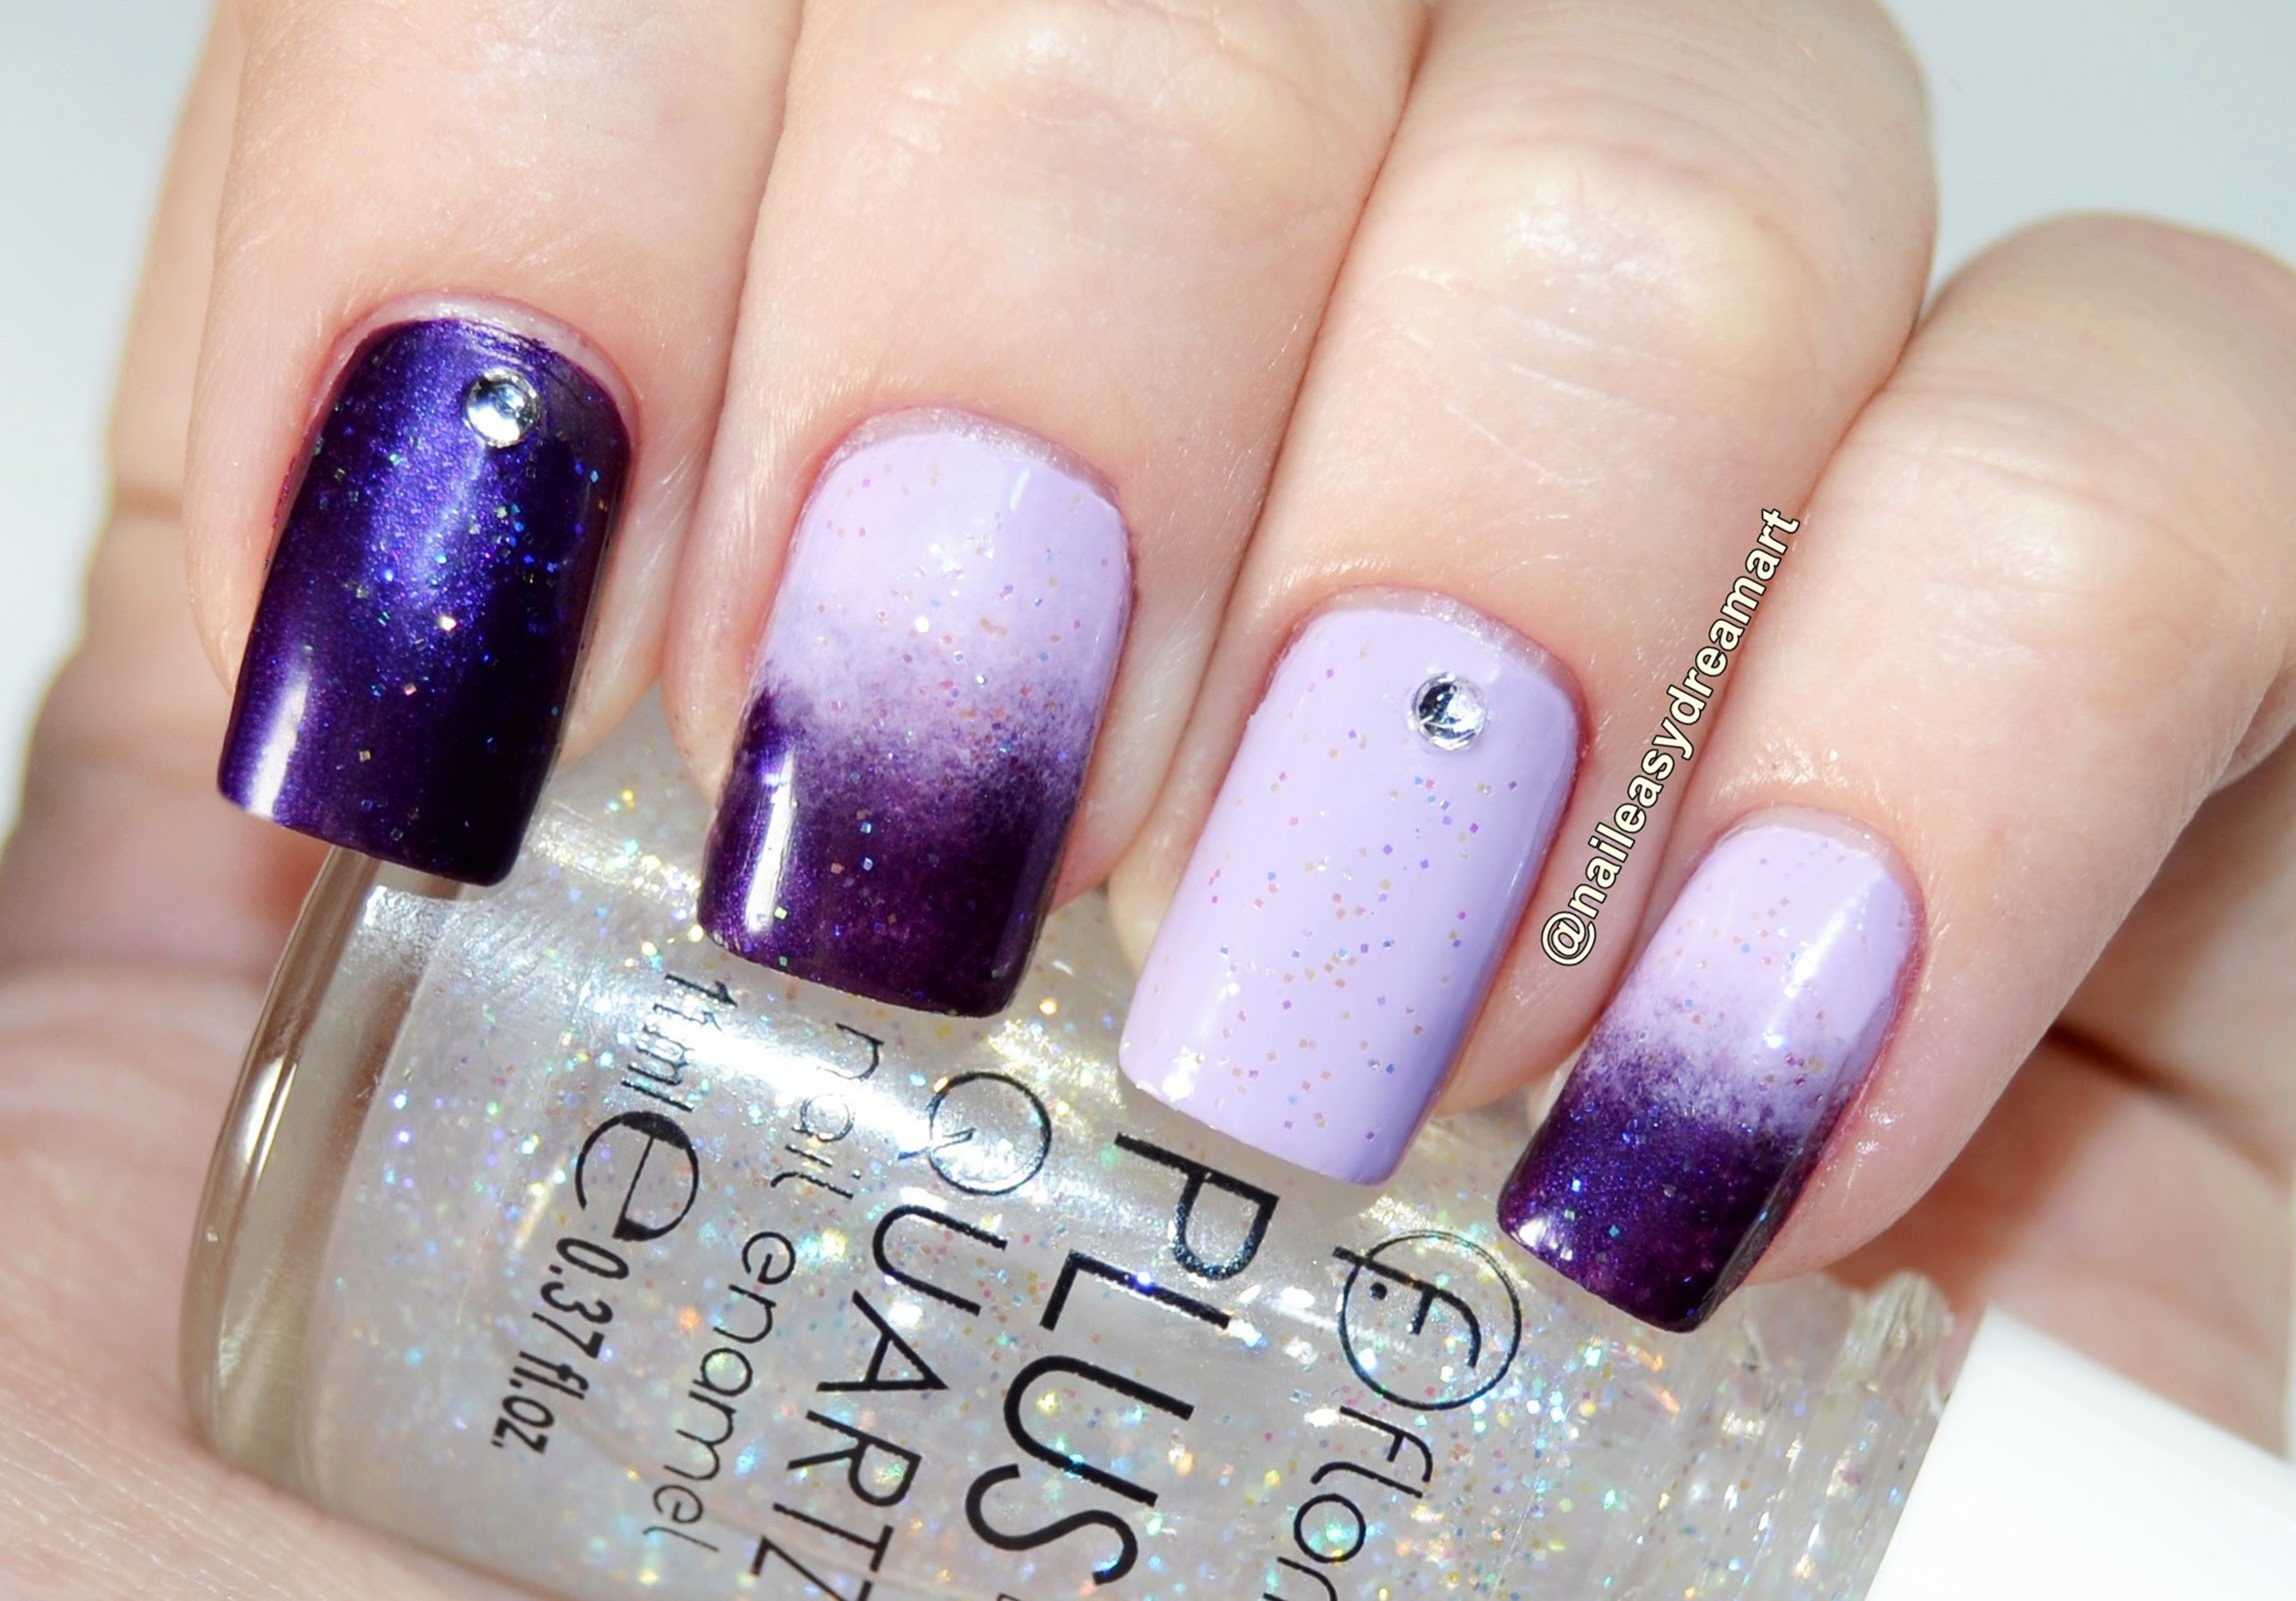
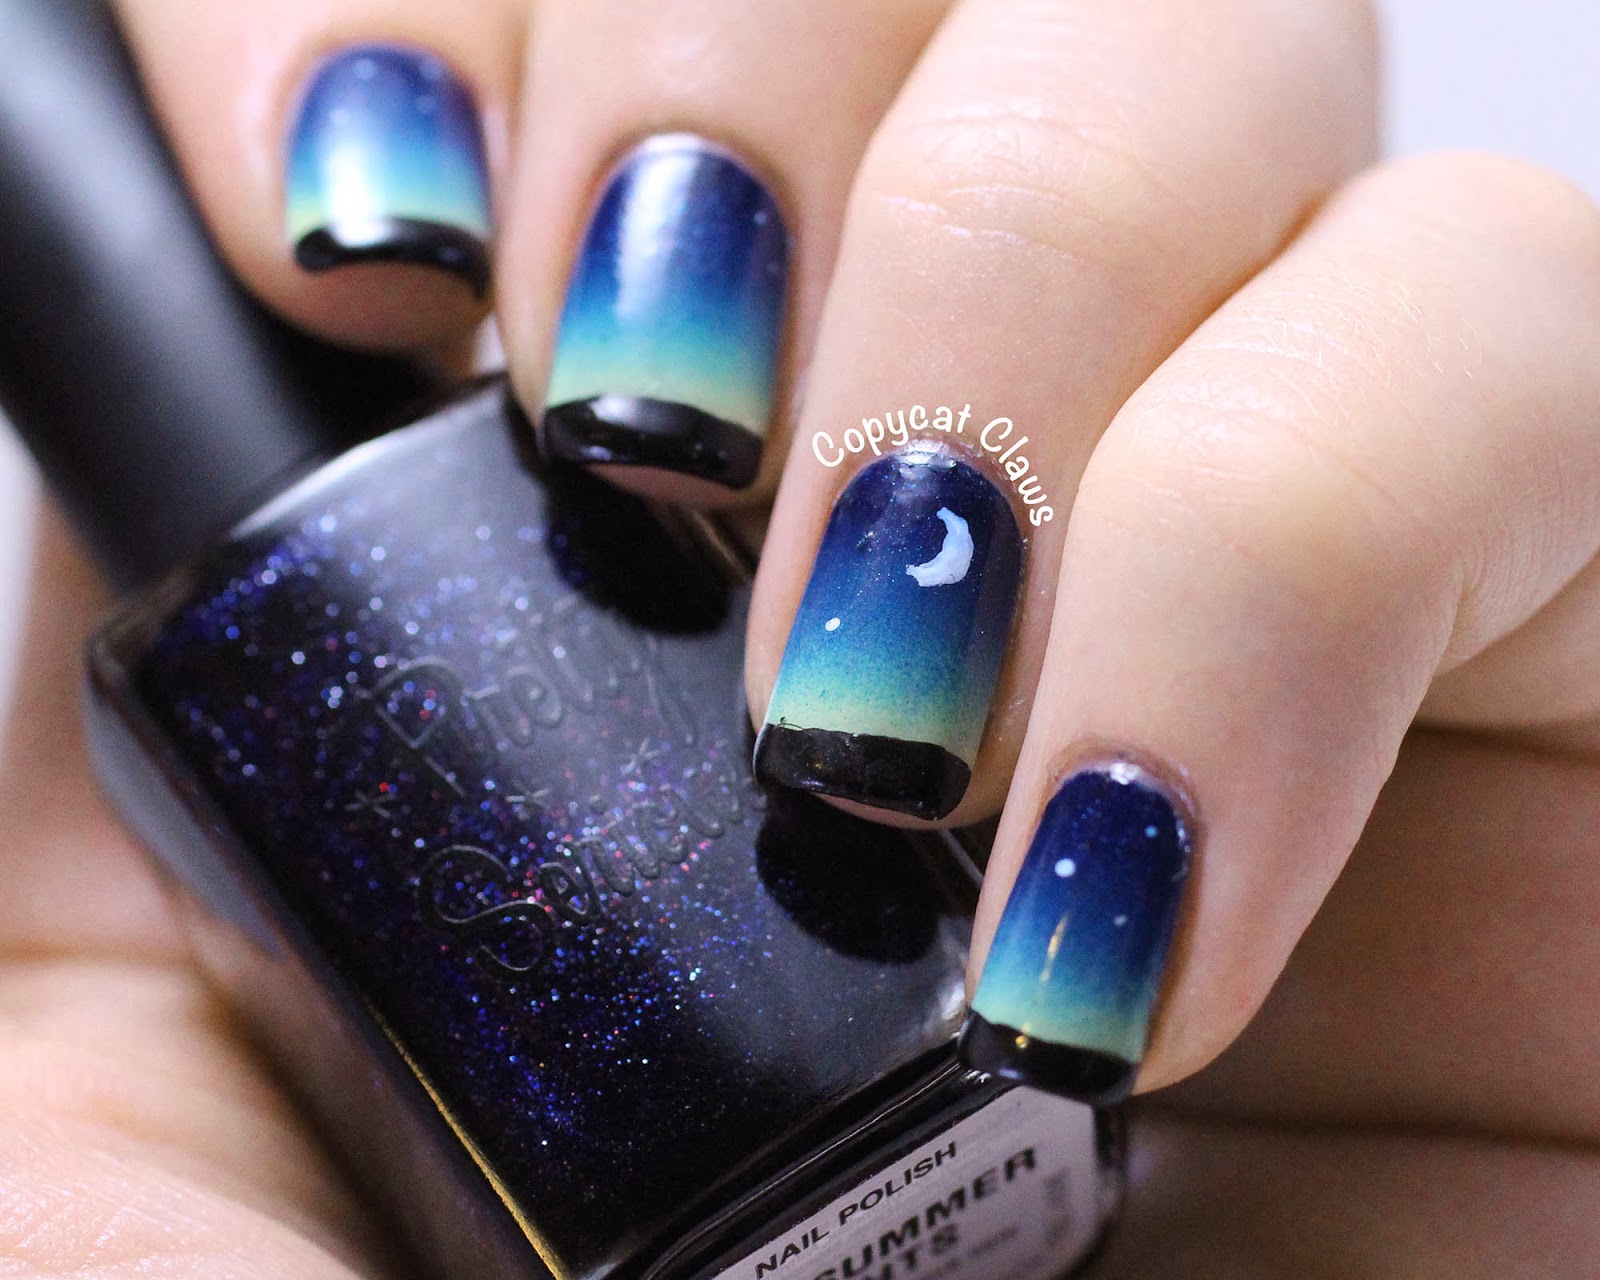
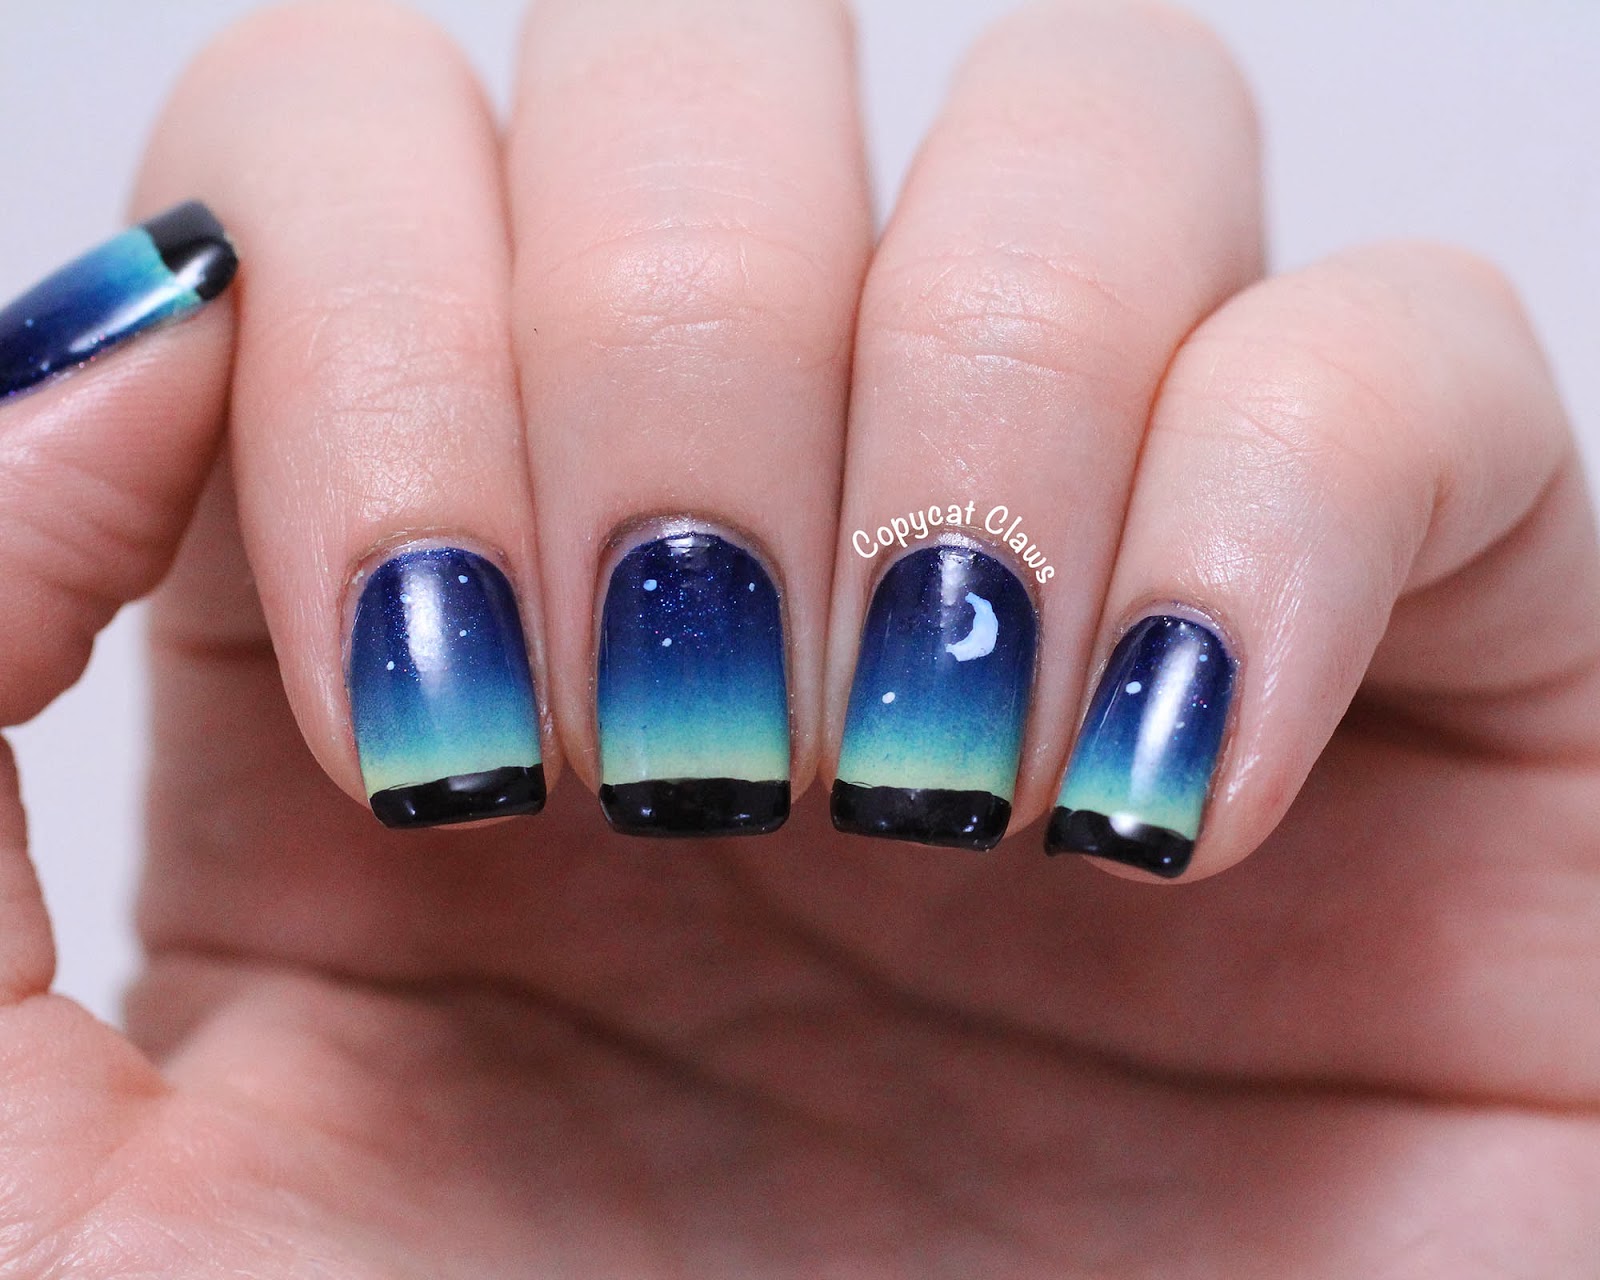
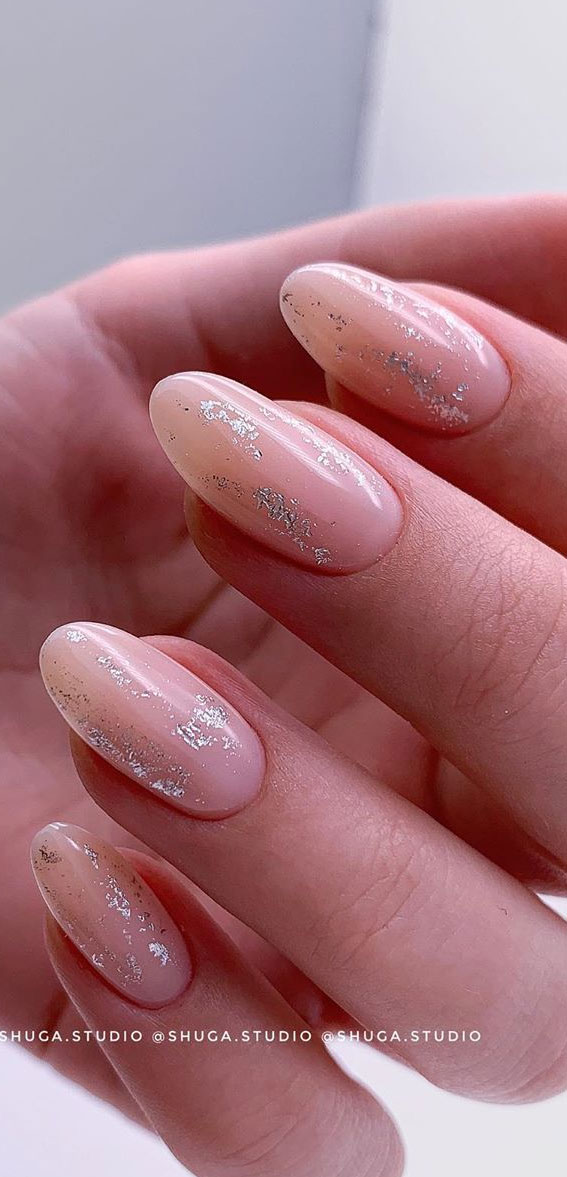
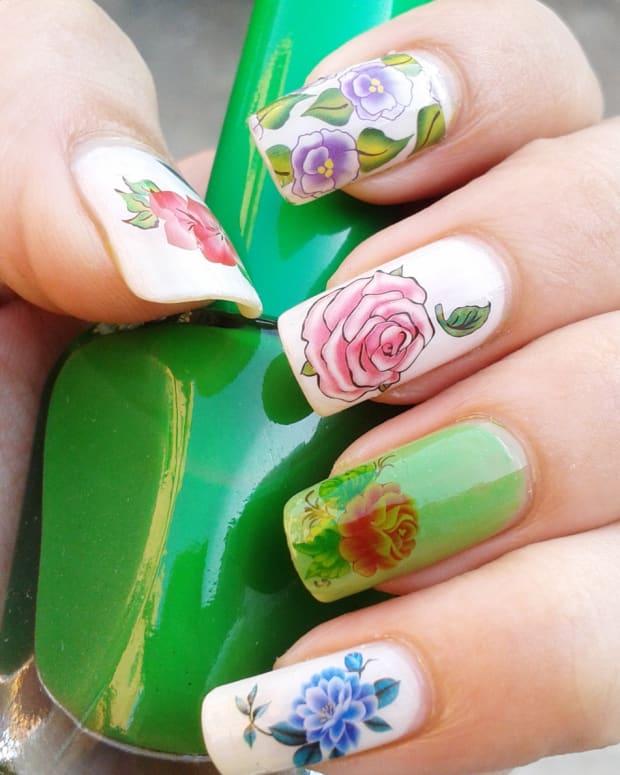
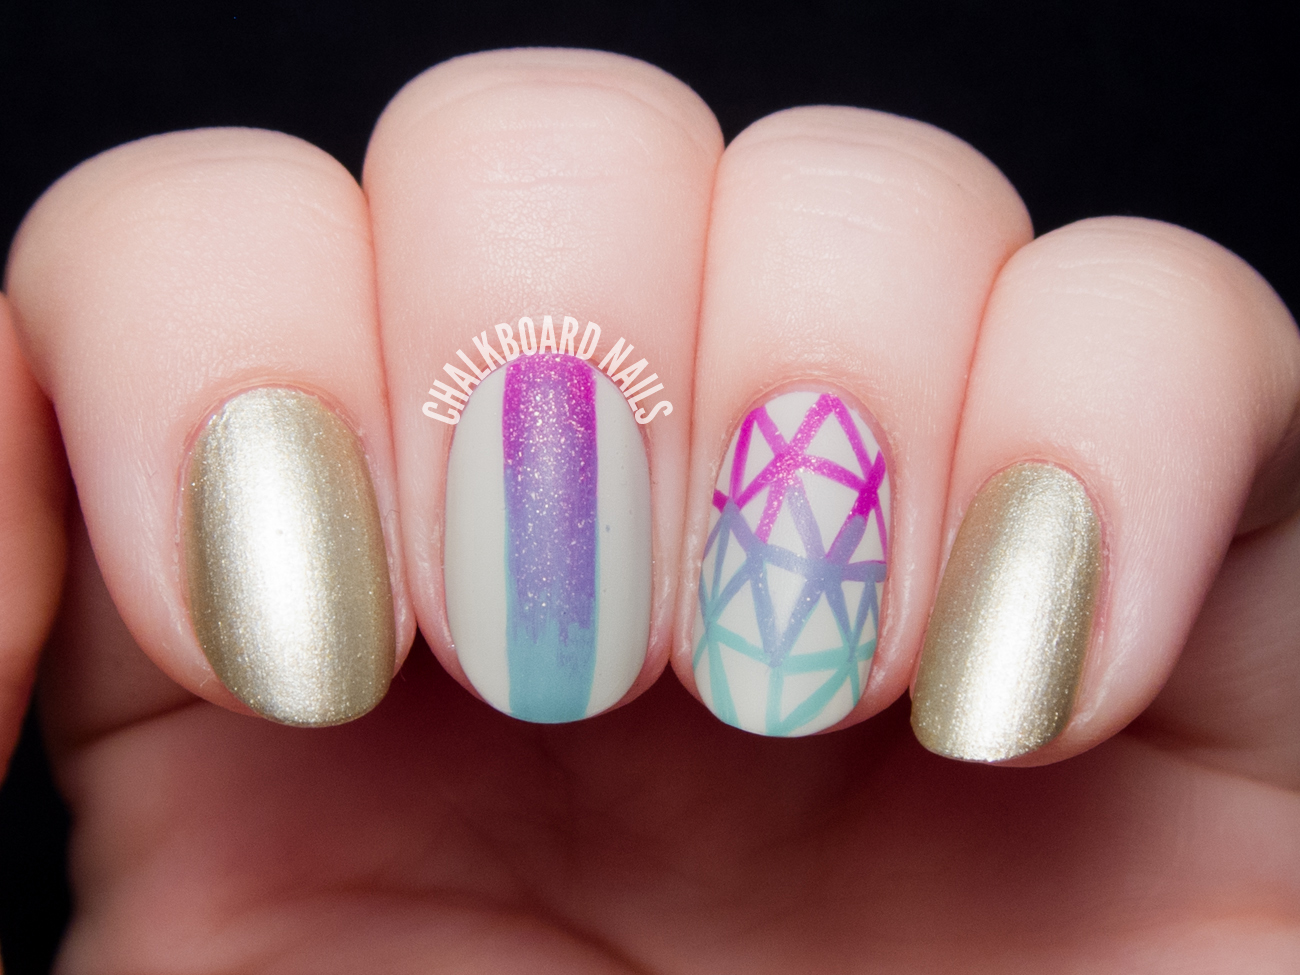
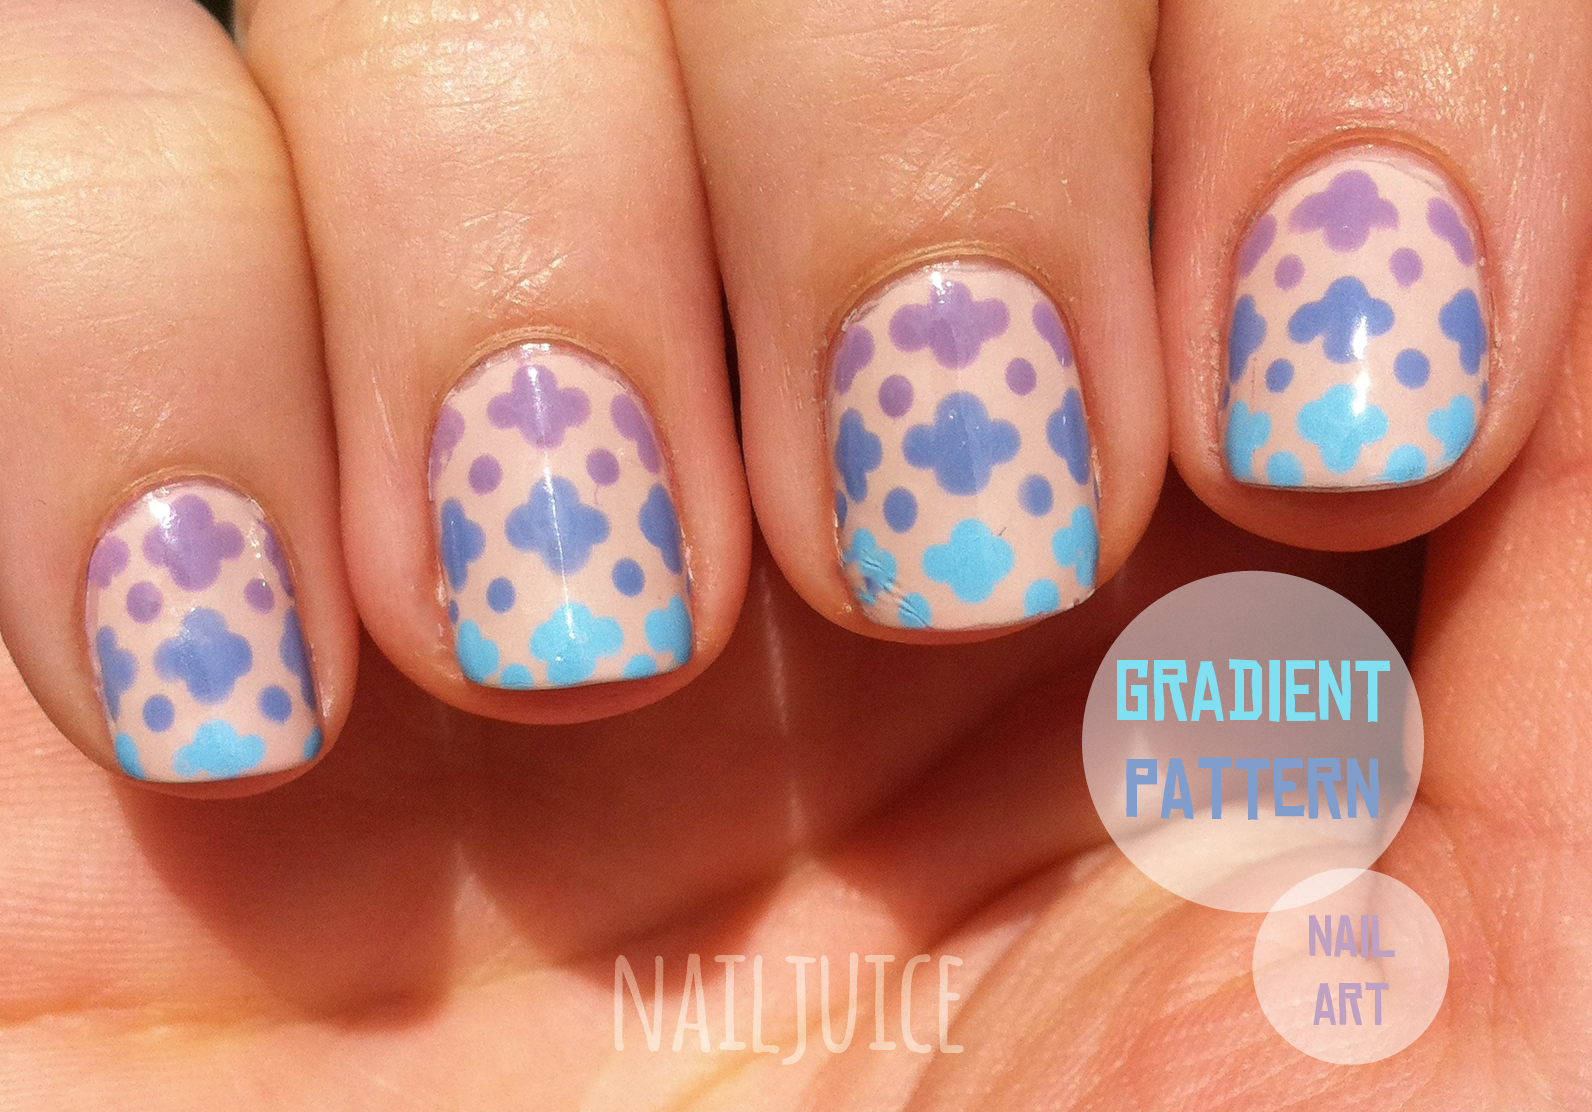
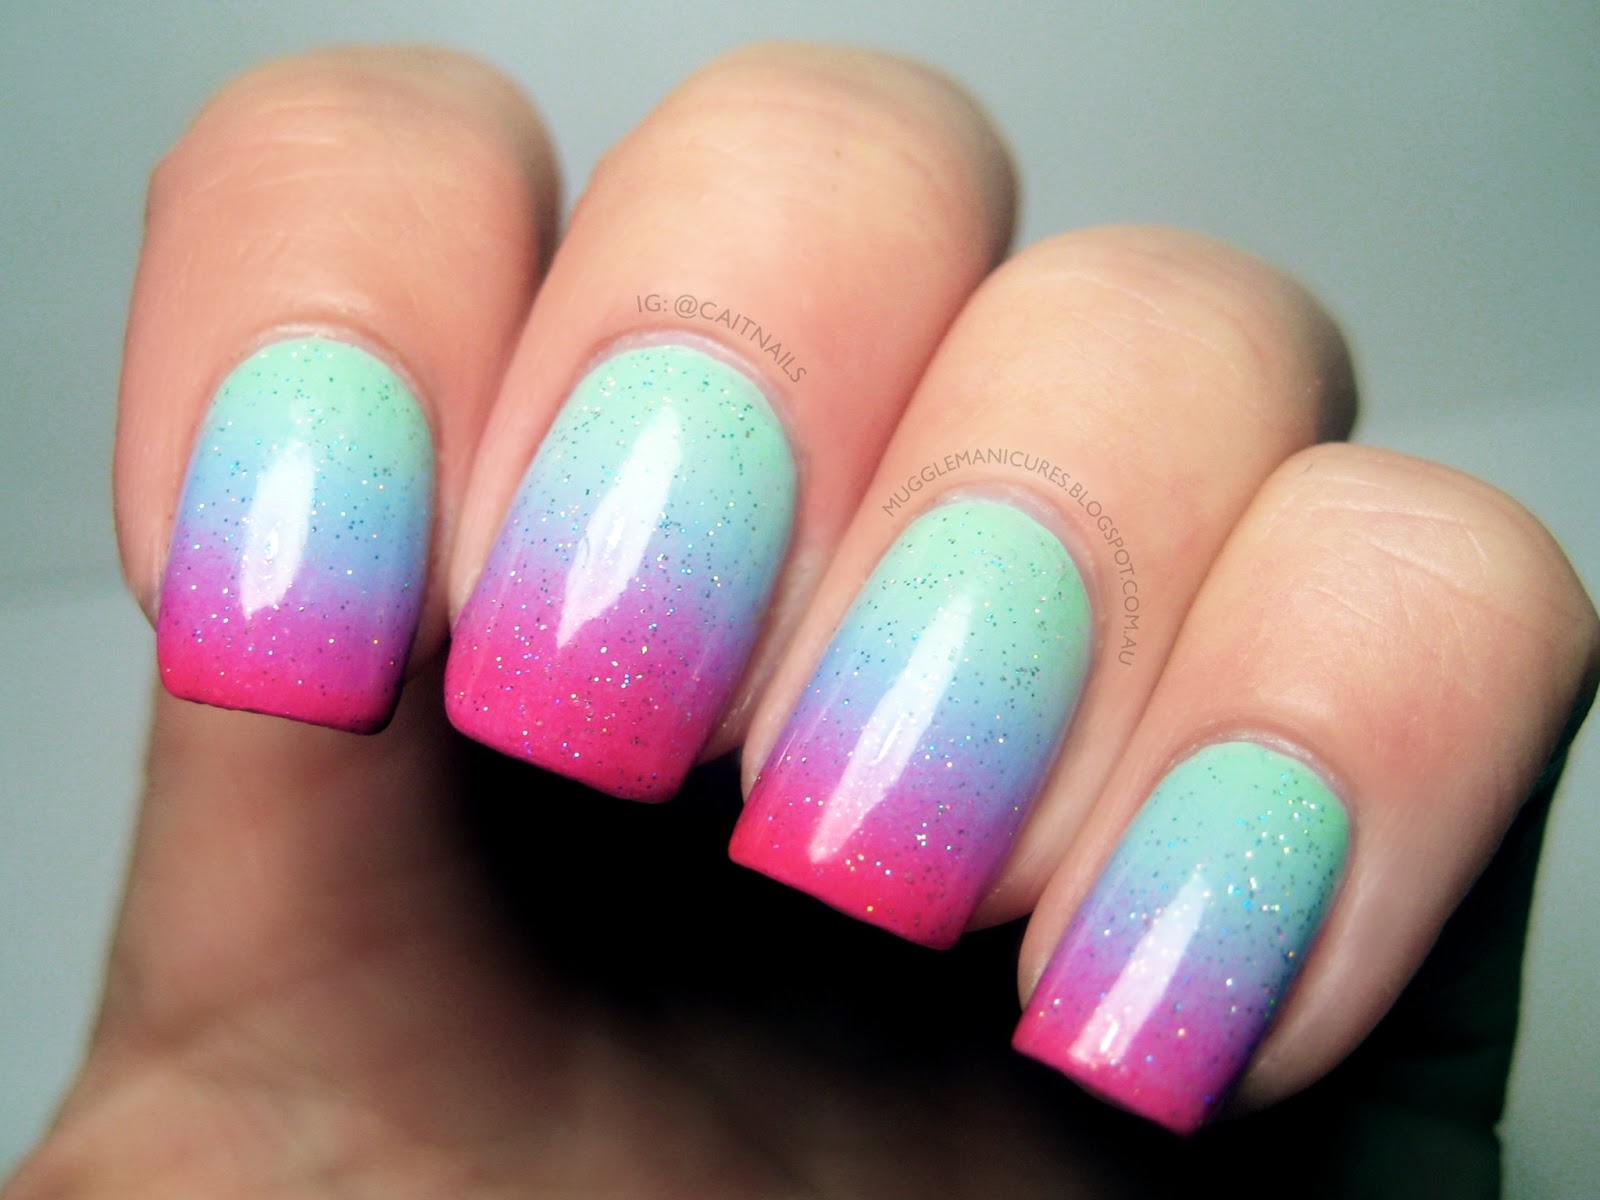
If you're looking for some inspiration for your gradient sky nail art, look no further! There are endless possibilities when it comes to this design, from soft pastel hues to bold and vibrant colors. You can also play around with different techniques, such as adding clouds or using a dry brush to create a textured look.Nail Art Inspiration: Gradient Sky Designs


Nail Art Inspiration: Gradient Sky Designs
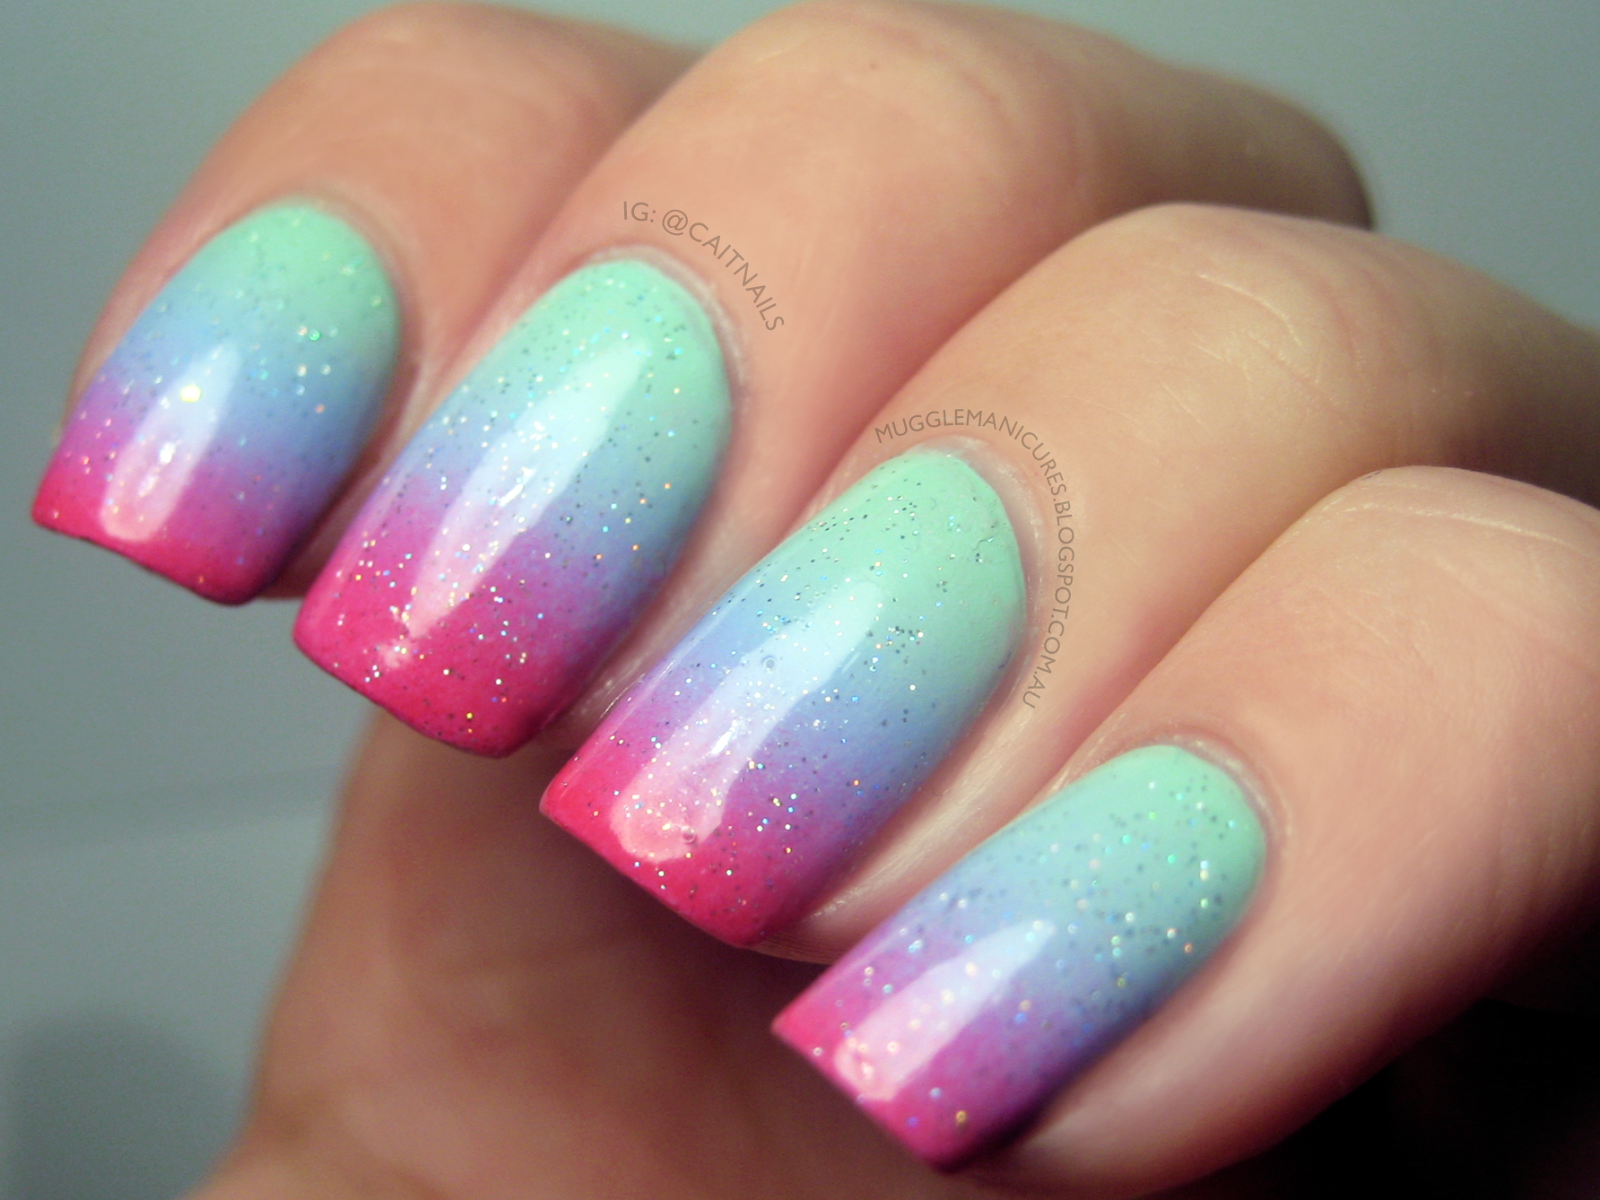


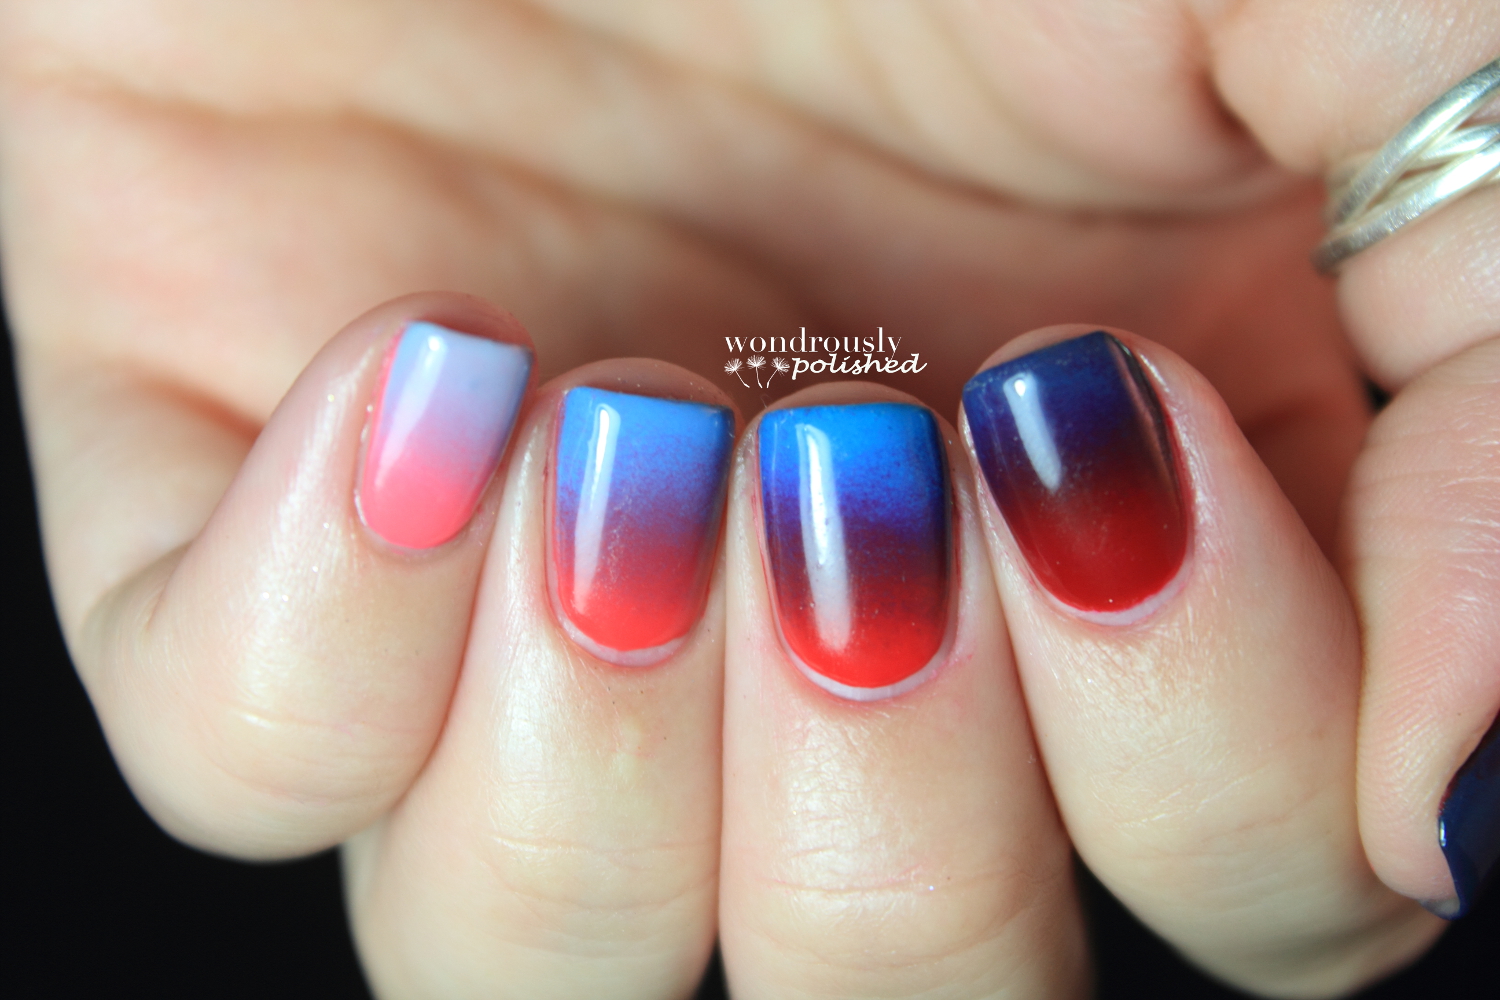
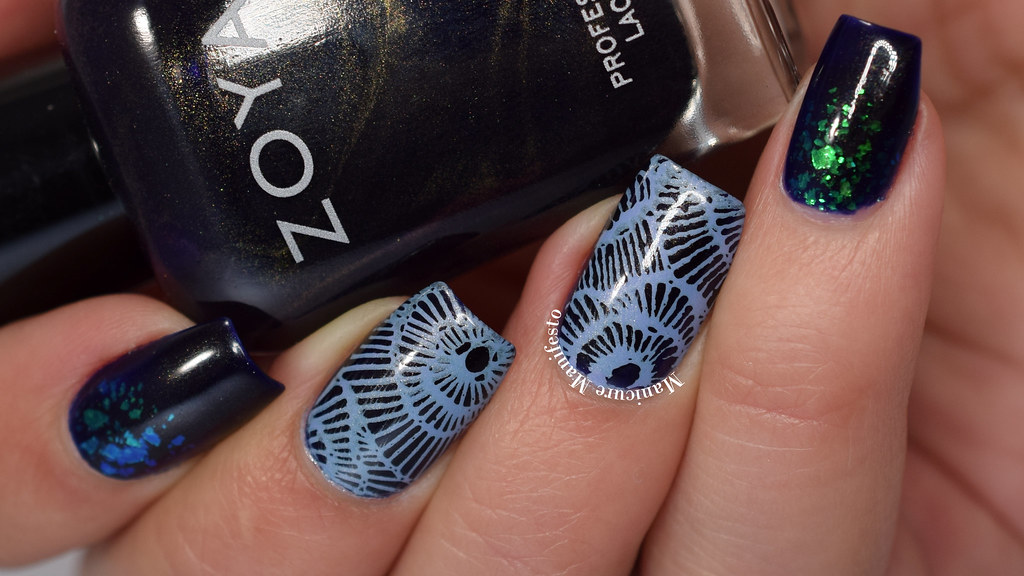
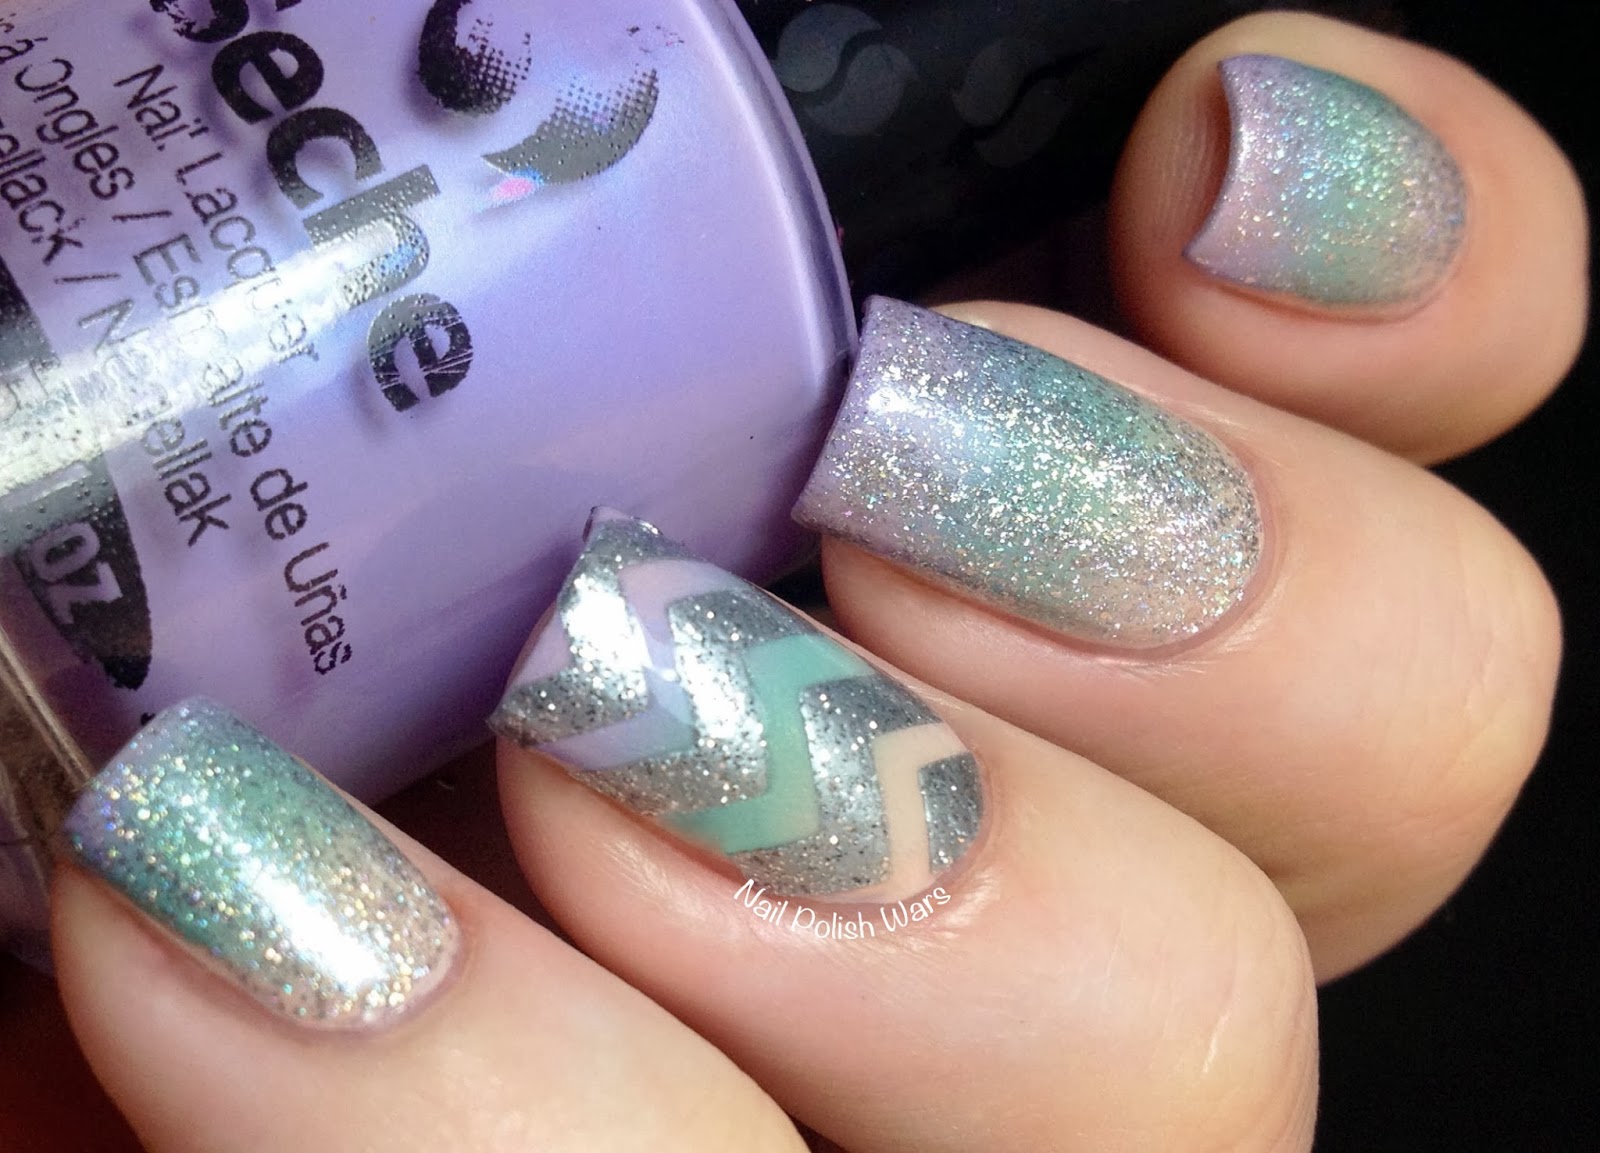
1. Sunset Gradient: Create a gradient effect using warm shades of orange, pink, and purple for a stunning sunset-inspired look. 2. Ocean Breeze: Use shades of blue and green to create a gradient that resembles the colors of the ocean. 3. Rainbow Skies: Add a pop of color to your nails by using a different color for each nail, creating a beautiful rainbow gradient. 4. Glittery Twilight: Add some sparkle to your gradient sky design by using a glitter nail polish as one of the colors. 5. Cloudy Day: Create a dreamy and whimsical look by adding white clouds on top of your gradient sky design. 6. Bold and Bright: Make a statement with a gradient sky design using bold and vibrant colors like hot pink, electric blue, and neon yellow. 7. Pastel Perfection: For a softer and more delicate look, opt for pastel shades in your gradient sky design. 8. Ombre Sunset: Blend shades of orange, pink, and purple to create a seamless ombre effect on your nails. 9. Golden Hour: Add a touch of glamour to your gradient sky design by using a metallic gold or bronze shade. 10. Sunrise Surprise: Create a gradient sky design with warm shades of yellow, orange, and pink to mimic a beautiful sunrise.10 Stunning Gradient Sky Nail Art Ideas

10 Stunning Gradient Sky Nail Art Ideas


:max_bytes(150000):strip_icc()/121020-red-art-nail-designs-lead-2000-d0787e7365f44dfeaa27972ae713d448.jpg)
If you're new to nail art, creating a gradient sky design may seem daunting. But don't worry, with a little practice and patience, anyone can achieve this look. Some helpful techniques for beginners include using a makeup sponge to apply the polish, using a white base coat to make the colors pop, and using a small brush to clean up any mistakes.Gradient Sky Nail Art Techniques for Beginners


Gradient Sky Nail Art Techniques for Beginners


To achieve a flawless gradient sky nail art, make sure to use thin layers of polish and blend the colors well using the sponge. You can also use a top coat with a slightly tinted color to help blend the colors even more. And remember, practice makes perfect!How to Achieve a Perfect Gradient Sky Nail Art Look


How to Achieve a Perfect Gradient Sky Nail Art Look
Here are some essential products and tools you will need to create a gradient sky nail art: - Base coat - Top coat - White nail polish - 3-4 different shades of nail polish - Makeup sponge - Small brush - Nail polish removerGradient Sky Nail Art Products and Tools You Need


Gradient Sky Nail Art Products and Tools You Need
1. Choose colors that blend well together and have a similar tone. 2. Use a white base coat to make the colors pop. 3. Apply thin layers of polish and blend well using a sponge. 4. Use a top coat with a slightly tinted color to help blend the colors even more. 5. Have fun and experiment with different colors and techniques!Top Tips for Creating a Gradient Sky Nail Art Design

Top Tips for Creating a Gradient Sky Nail Art Design


The Beauty of Nail Art Gradient Sky

Transforming Your Nails into a Work of Art
 Nail art has become a popular trend in recent years, with more and more people looking for creative ways to express themselves through their nails. From intricate designs to bold colors, there are endless possibilities when it comes to nail art. One particular style that has gained popularity is the nail art gradient sky. This stunning design mimics the beautiful hues of the sky, creating a mesmerizing and dreamy look on your nails. Let's take a closer look at how you can achieve this beautiful and unique design.
A Step-by-Step Guide to Creating a Nail Art Gradient Sky
 To achieve the perfect gradient sky on your nails, you will need a few key tools and products. First, you will need a base coat, a top coat, and at least three nail polish colors in different shades. It's important to choose colors that blend well together, such as shades of blue, pink, and purple, to create the desired effect. You will also need a makeup sponge and a small brush for cleanup.
To begin, apply a layer of base coat to your nails and let it dry completely. This will help protect your nails and ensure your design lasts longer. Next, apply a white base color on your nails and let it dry. This will serve as the base for your gradient sky.
Once the white base is dry, take your makeup sponge and paint a thin layer of your first color onto the sponge. Gently dab the sponge onto your nails, starting at the tip and working your way towards the cuticle. Make sure to blend the colors well to create a seamless gradient effect. Repeat this step with your second and third colors, making sure to clean the sponge in between each color.
To achieve the perfect gradient sky on your nails, you will need a few key tools and products. First, you will need a base coat, a top coat, and at least three nail polish colors in different shades. It's important to choose colors that blend well together, such as shades of blue, pink, and purple, to create the desired effect. You will also need a makeup sponge and a small brush for cleanup.
To begin, apply a layer of base coat to your nails and let it dry completely. This will help protect your nails and ensure your design lasts longer. Next, apply a white base color on your nails and let it dry. This will serve as the base for your gradient sky.
Once the white base is dry, take your makeup sponge and paint a thin layer of your first color onto the sponge. Gently dab the sponge onto your nails, starting at the tip and working your way towards the cuticle. Make sure to blend the colors well to create a seamless gradient effect. Repeat this step with your second and third colors, making sure to clean the sponge in between each color.
Finishing Touches and Tips for a Flawless Gradient Sky
 After the gradient sky is complete, let it dry for a few minutes before adding a layer of top coat to seal in the design. This will also help create a smooth and glossy finish. If you notice any excess polish on your skin, use a small brush dipped in nail polish remover to clean it up.
To add a more realistic touch to your gradient sky, you can also use a small brush to create wispy clouds on your nails using white polish. This will give your design a 3D effect and make it look like a true work of art.
In conclusion, nail art gradient sky is a beautiful and unique way to express yourself through your nails. With the right tools and a little bit of patience, you can achieve this stunning design and make your nails stand out in any crowd. So why not give it a try and add a touch of the sky to your next manicure?
After the gradient sky is complete, let it dry for a few minutes before adding a layer of top coat to seal in the design. This will also help create a smooth and glossy finish. If you notice any excess polish on your skin, use a small brush dipped in nail polish remover to clean it up.
To add a more realistic touch to your gradient sky, you can also use a small brush to create wispy clouds on your nails using white polish. This will give your design a 3D effect and make it look like a true work of art.
In conclusion, nail art gradient sky is a beautiful and unique way to express yourself through your nails. With the right tools and a little bit of patience, you can achieve this stunning design and make your nails stand out in any crowd. So why not give it a try and add a touch of the sky to your next manicure?


