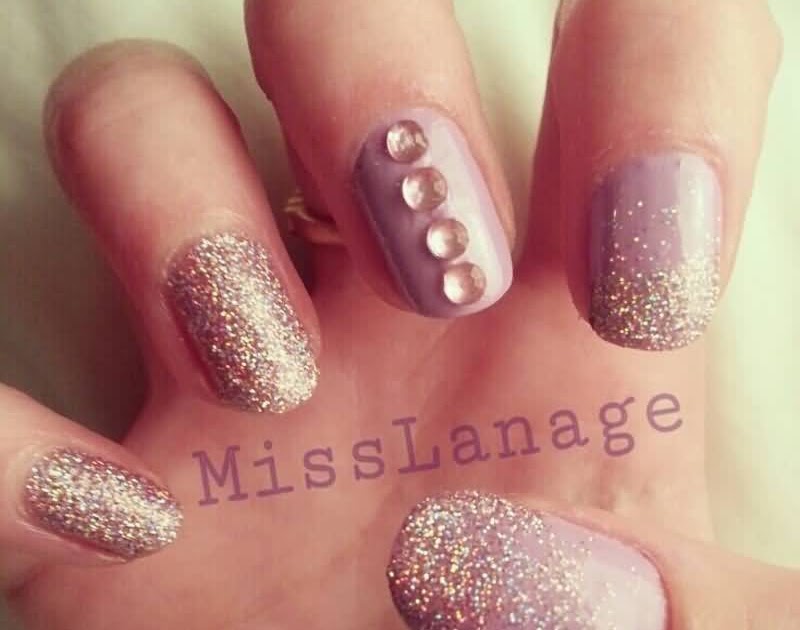
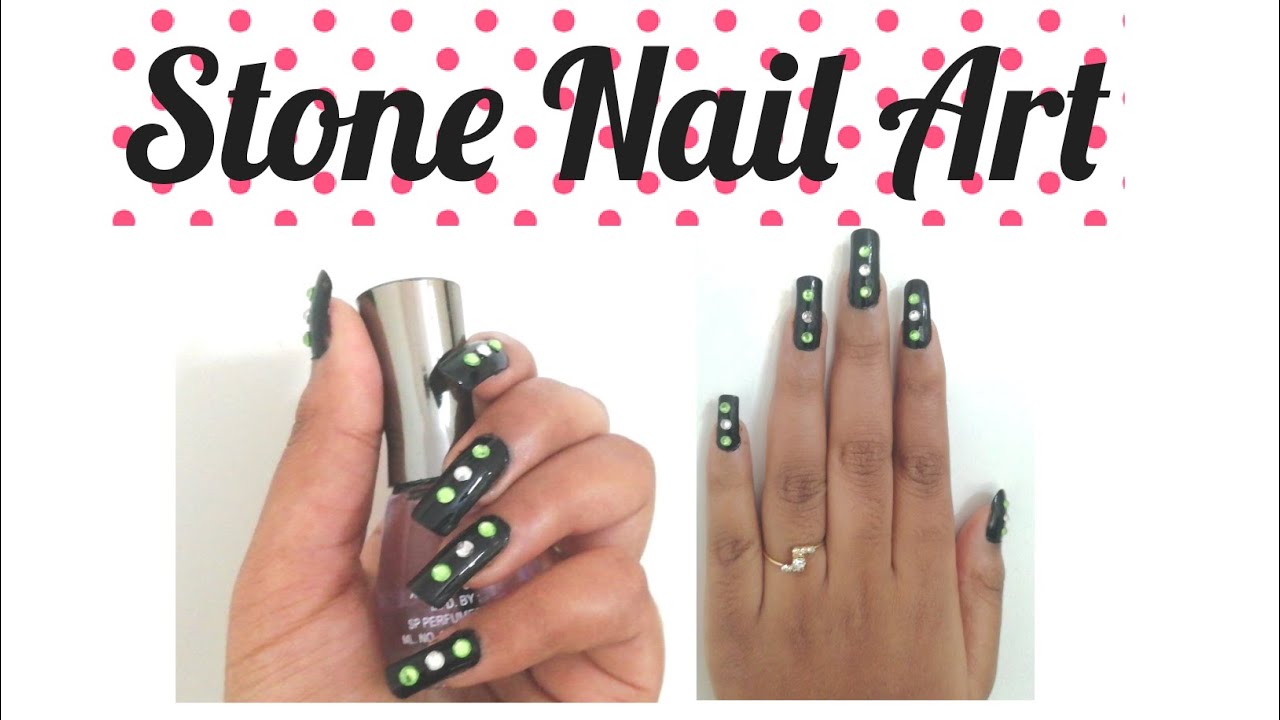
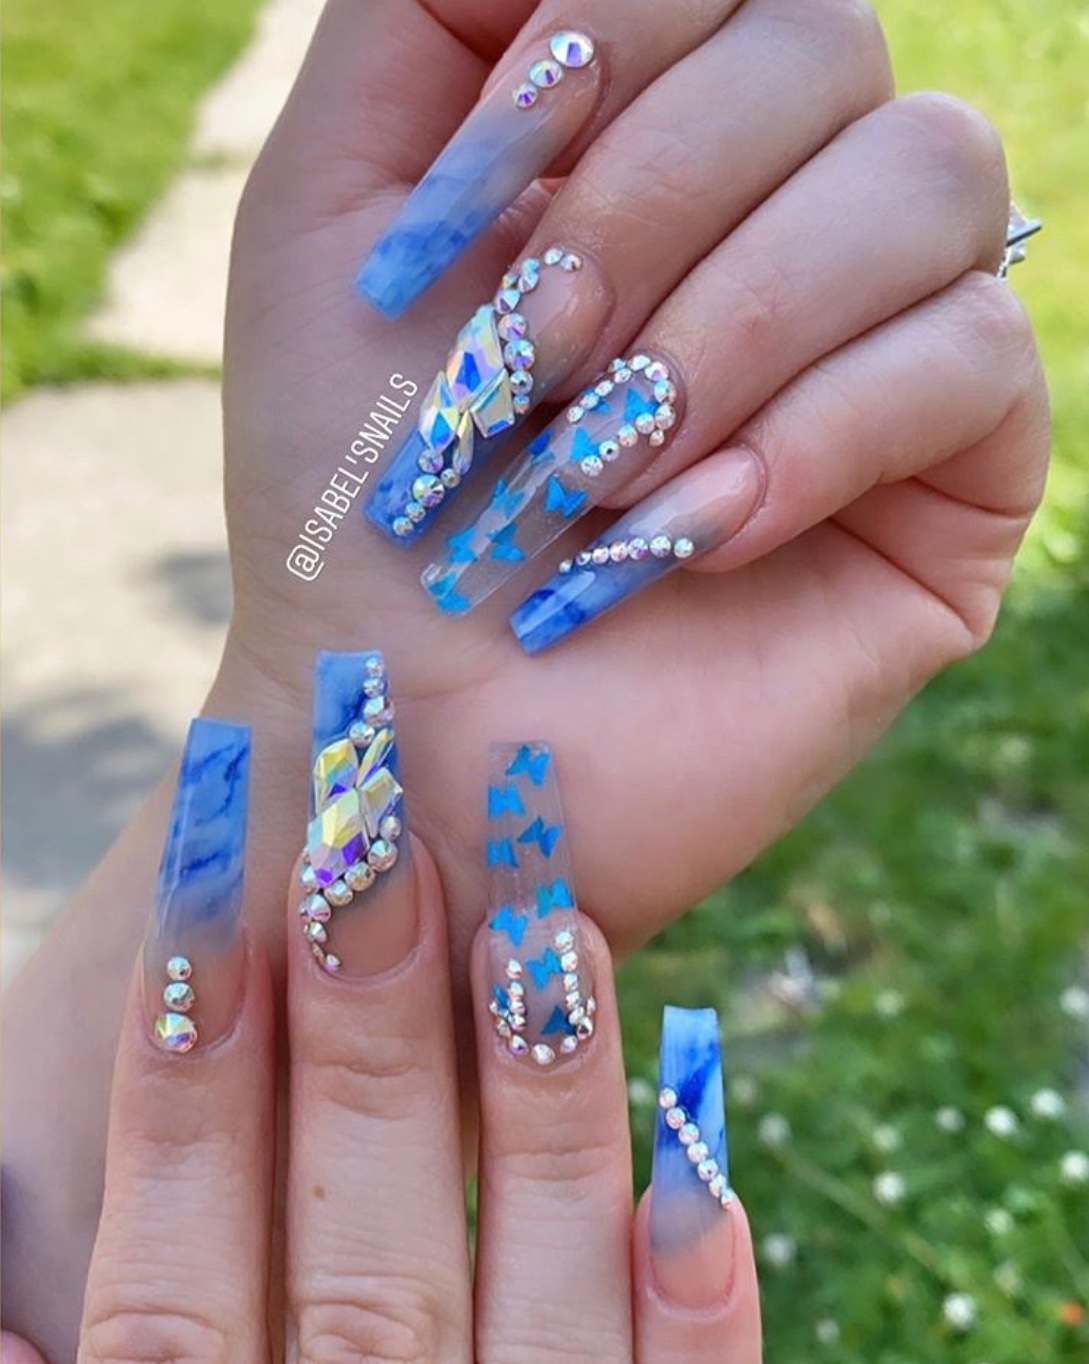
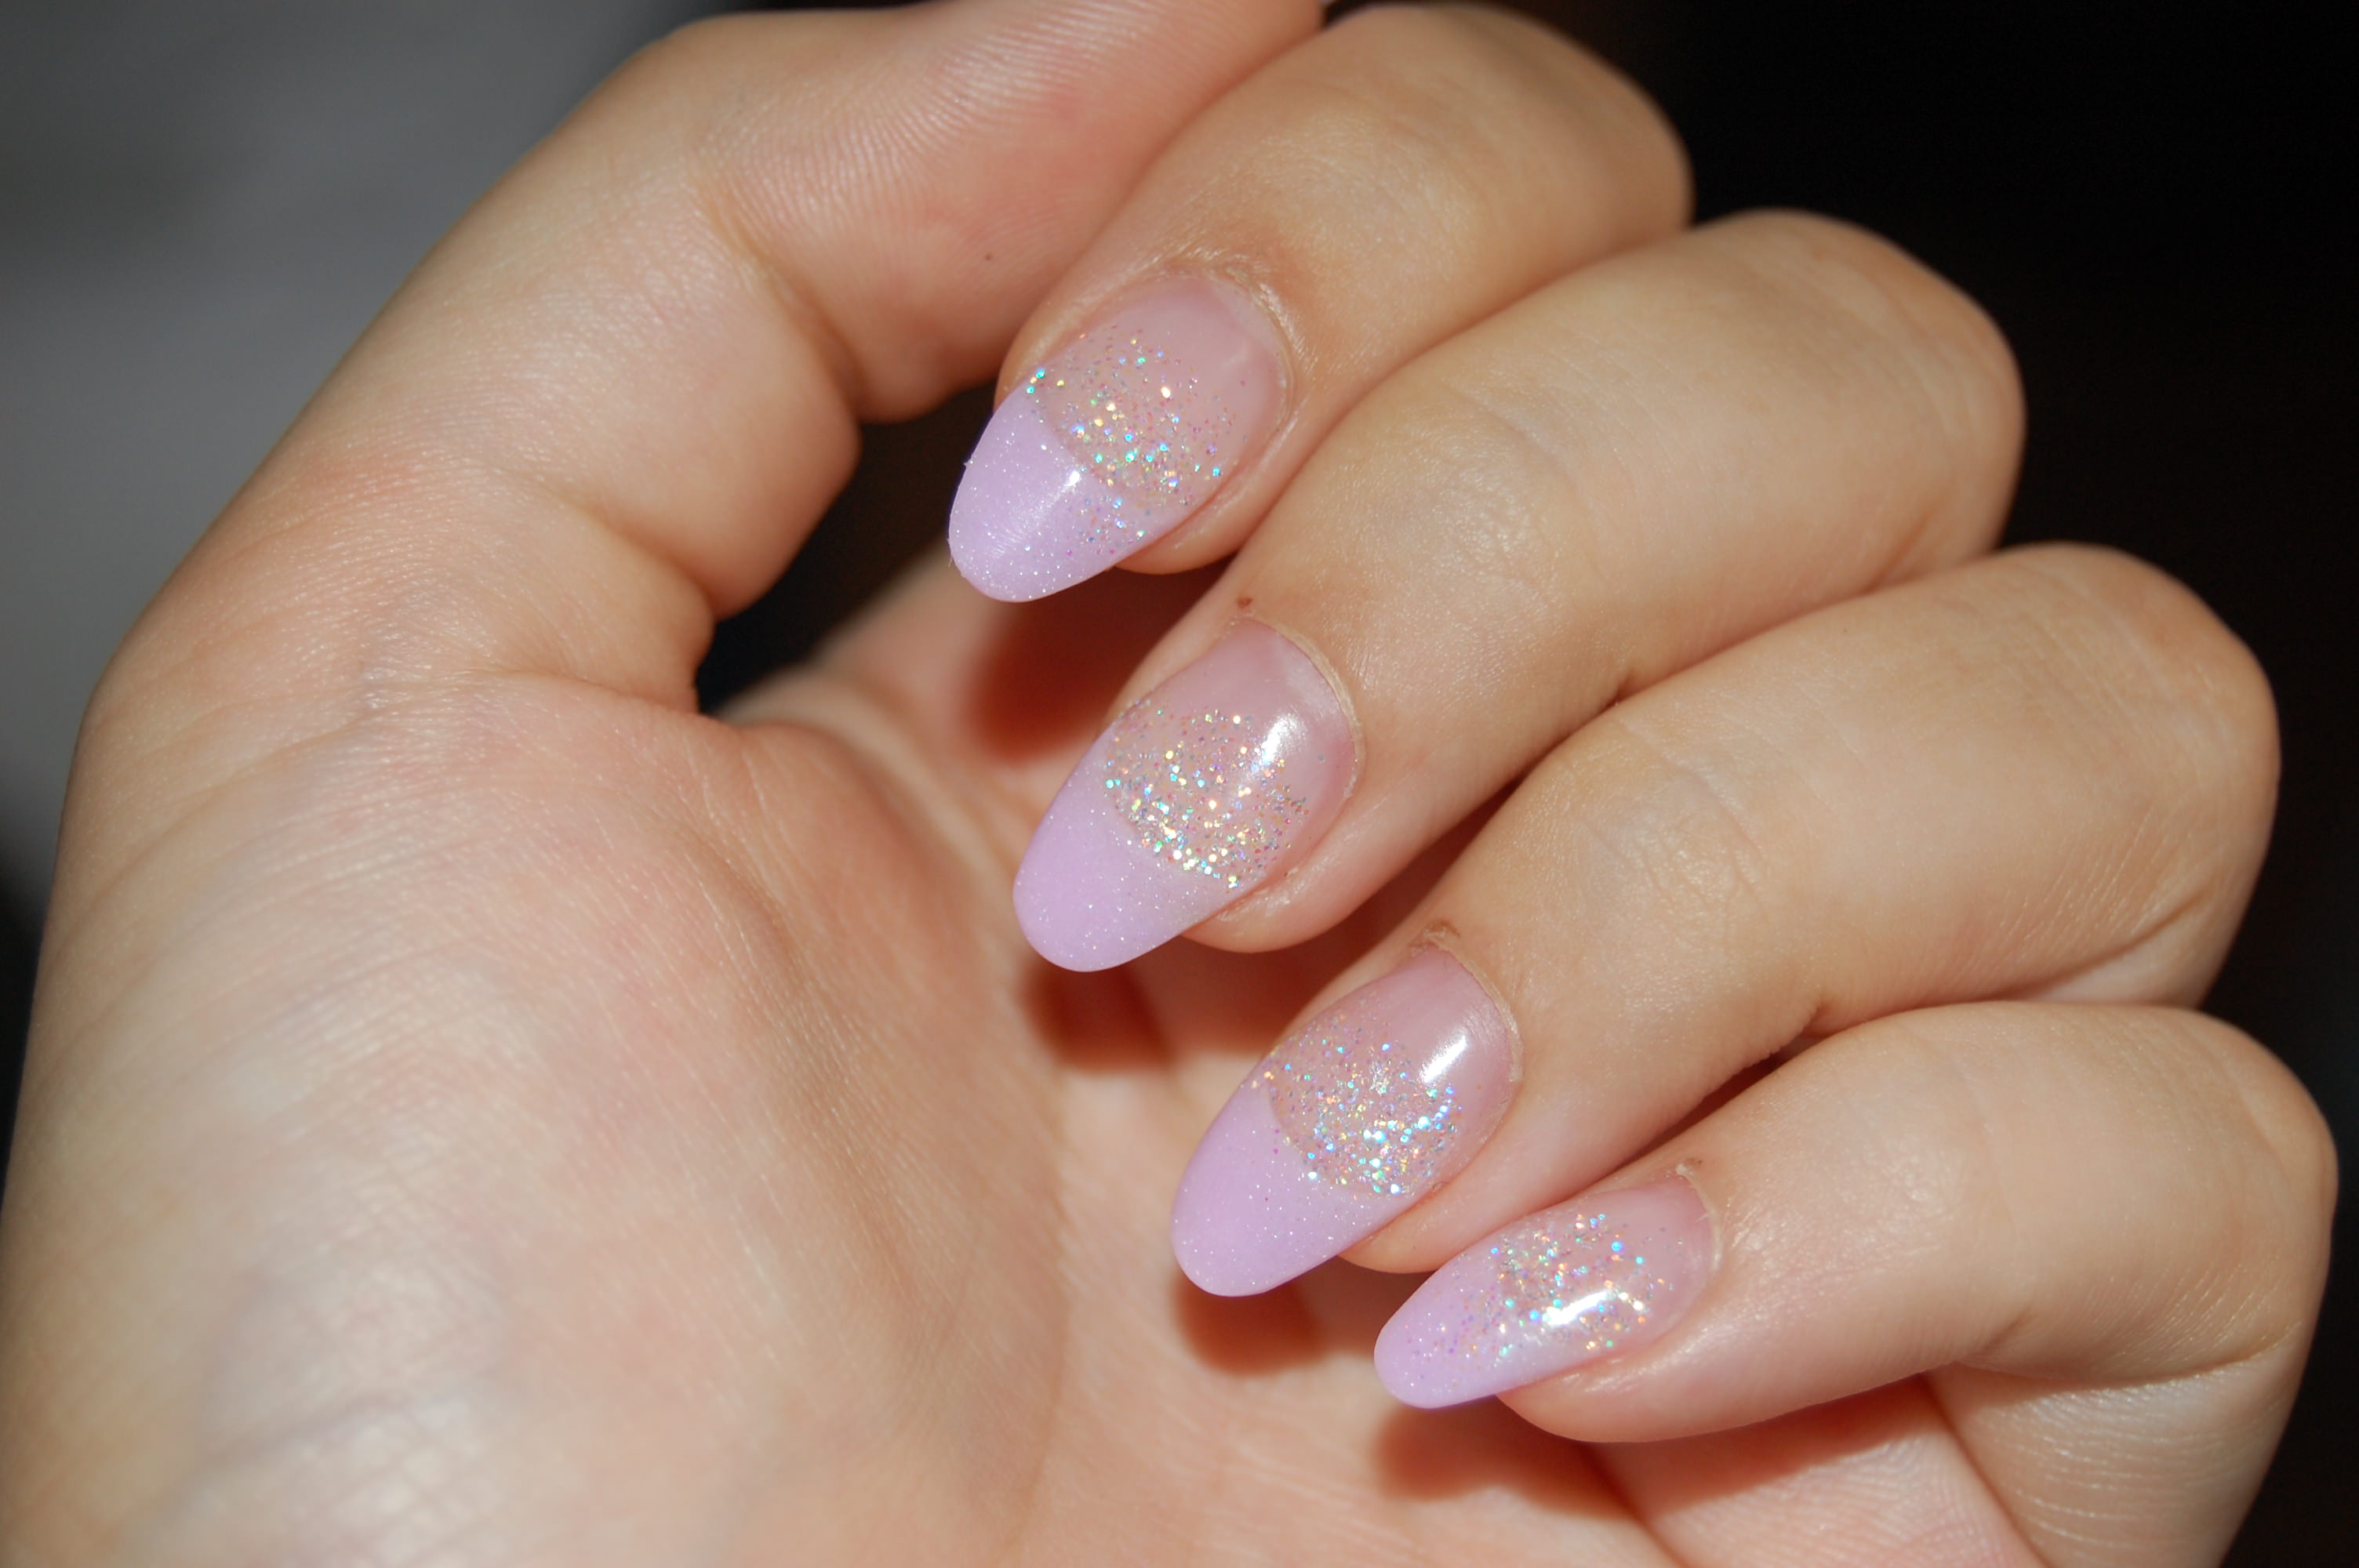
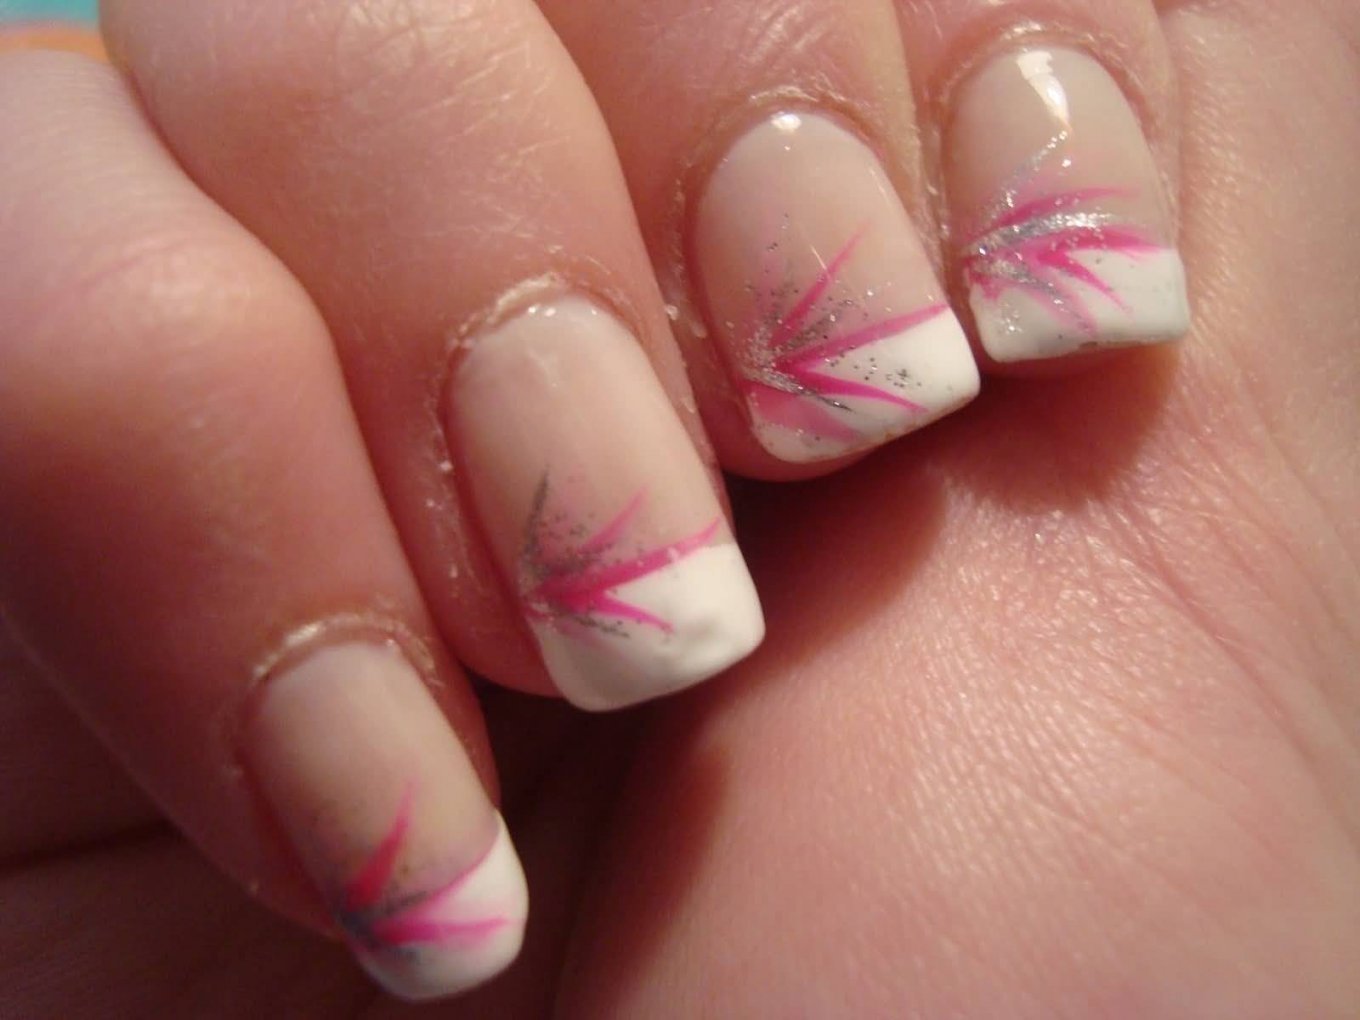
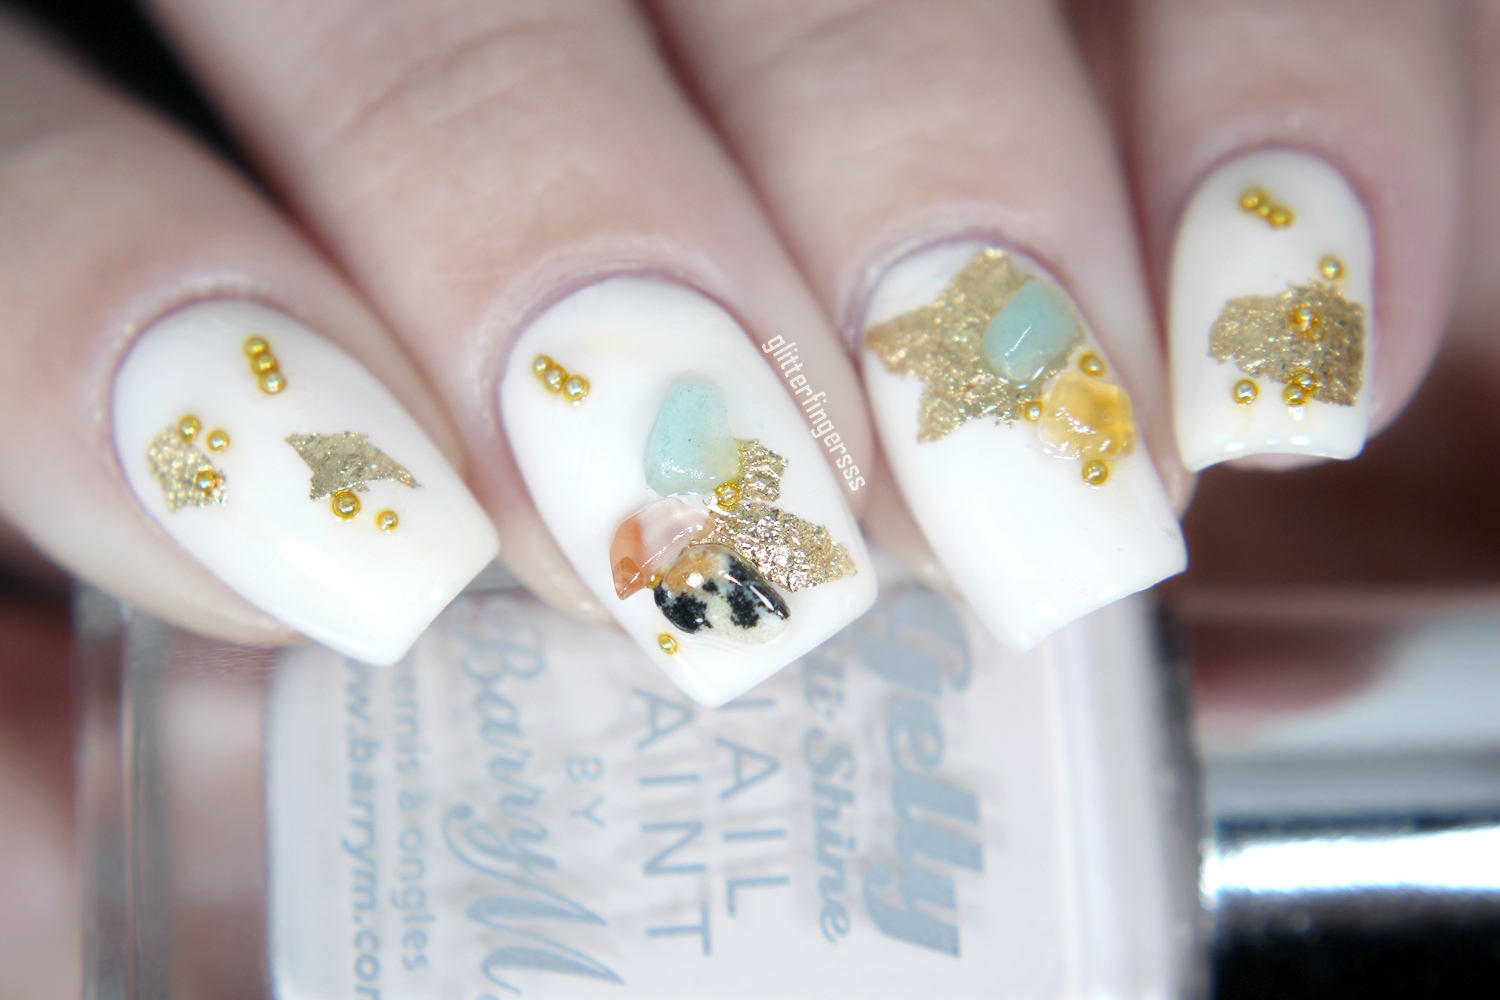
Looking for a glamorous and eye-catching nail art design? Look no further than glittery stone nail art! This trend combines the sparkle of glitter with the elegance of stones to create a stunning manicure that will make your nails stand out. To achieve this look, start by applying a base coat to protect your nails. Then, apply two coats of your desired glitter nail polish and let it dry completely. Next, take a small amount of nail glue and carefully place individual stones or a pre-made stone design onto your nails. You can use a toothpick or a dotting tool to help with precision. Once the stones are in place, seal them with a top coat to ensure they stay in place. For a more subtle look, you can also add a few stones onto an accent nail while leaving the rest of your nails with just glitter. This will add a touch of sparkle without being too overwhelming.1. Glittery Stone Nail Art


1. Glittery Stone Nail Art
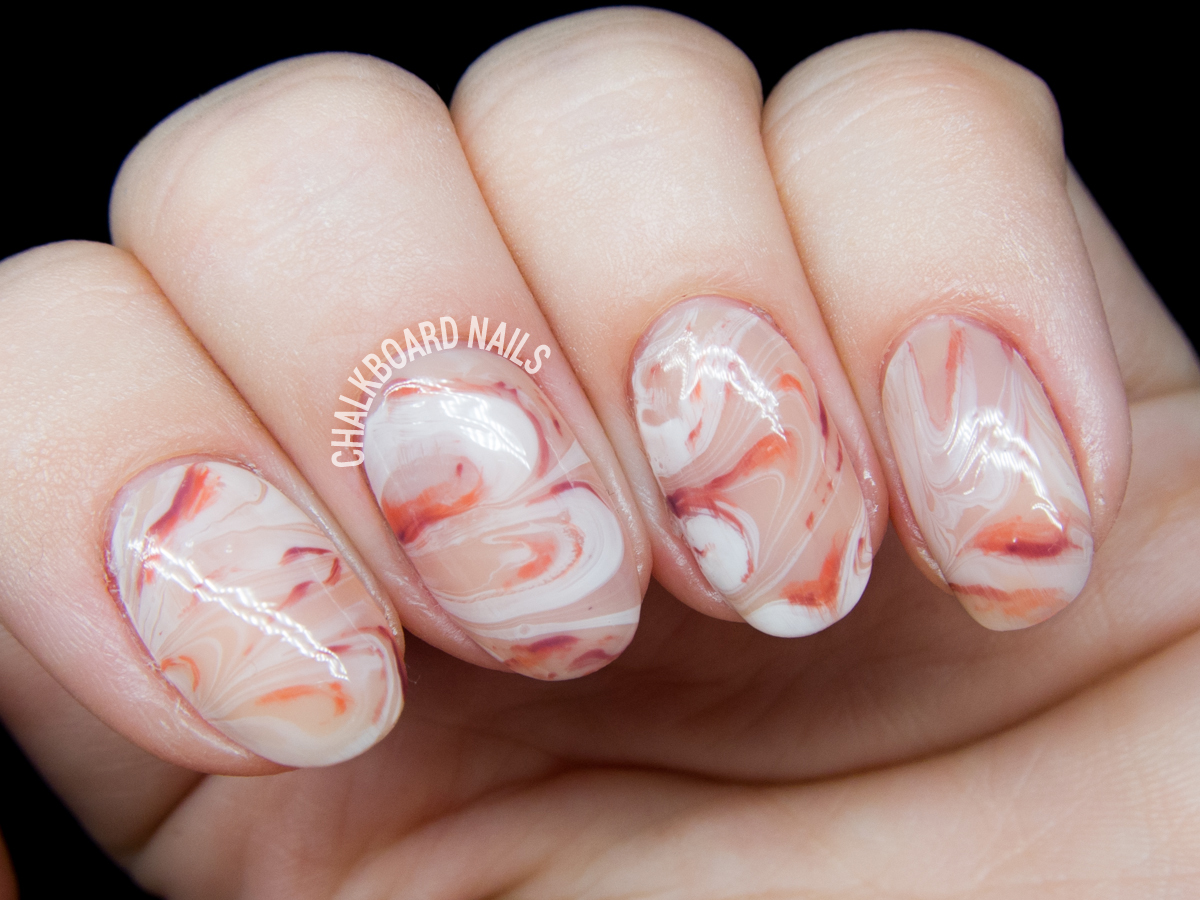


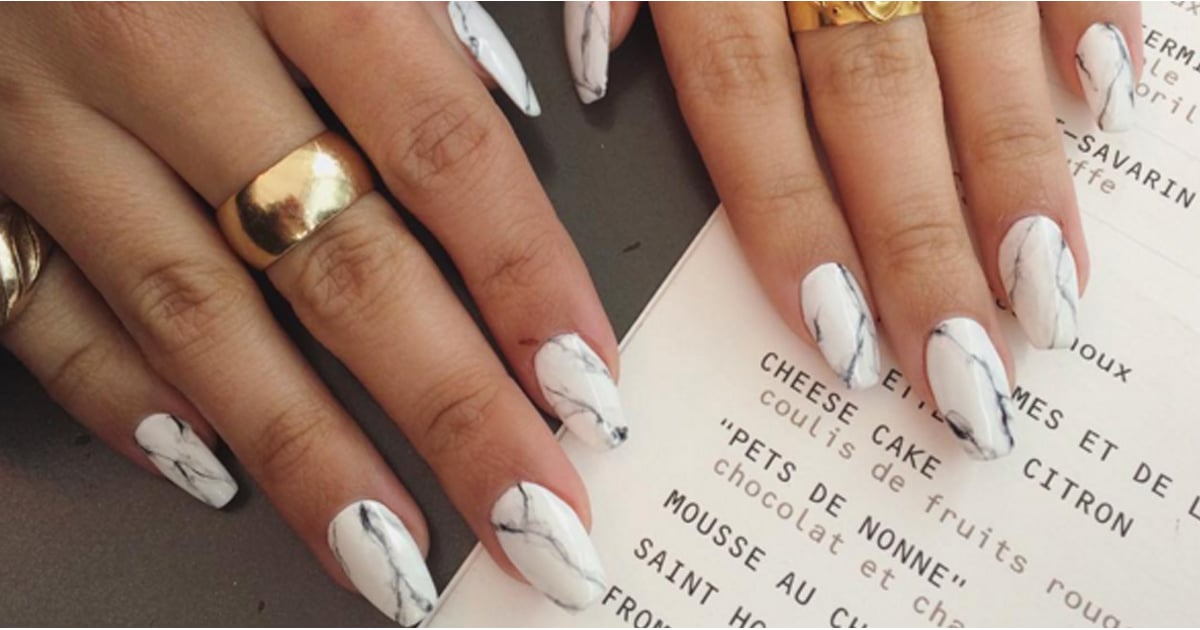


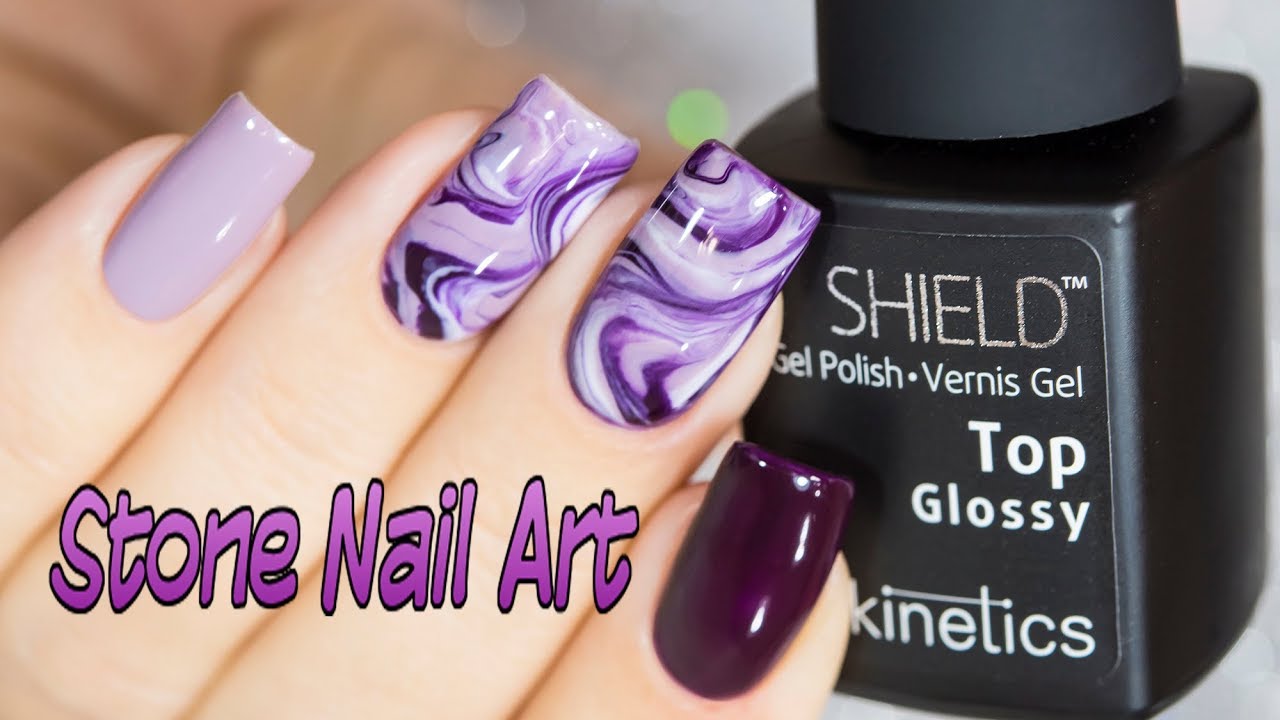
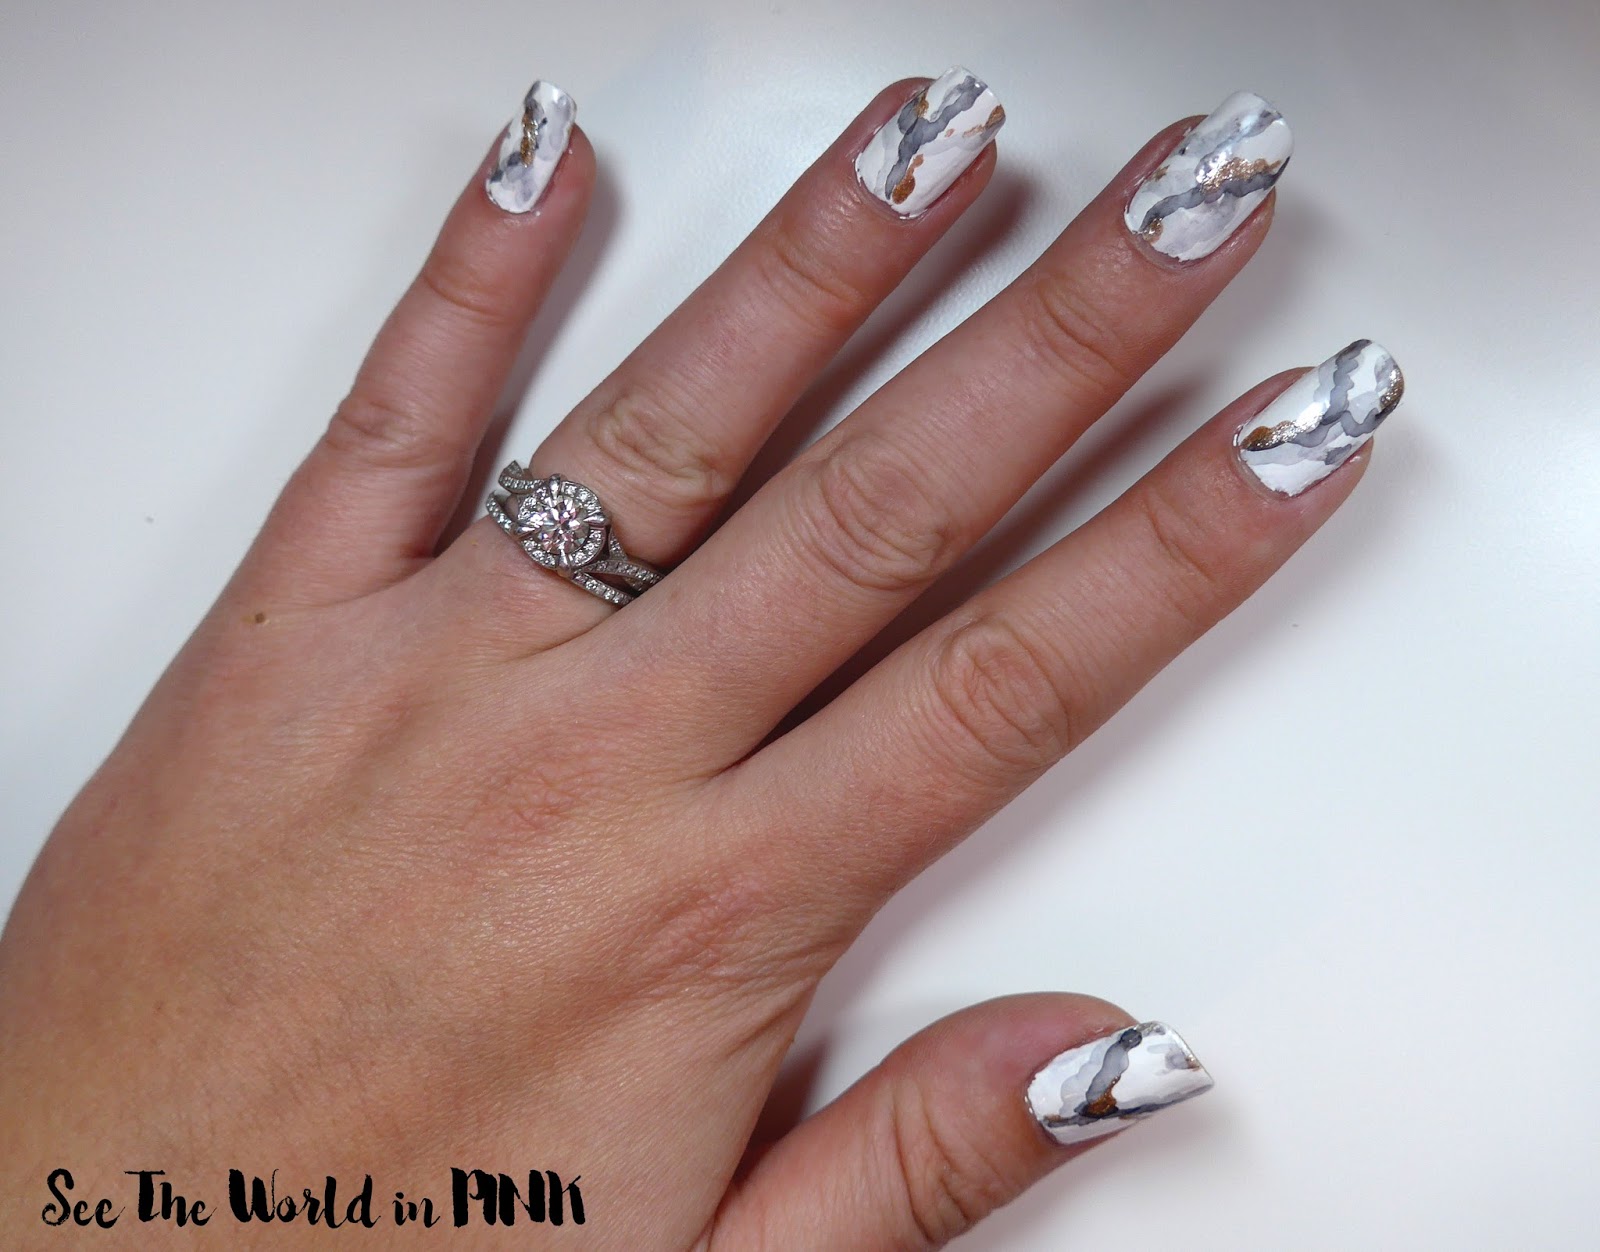
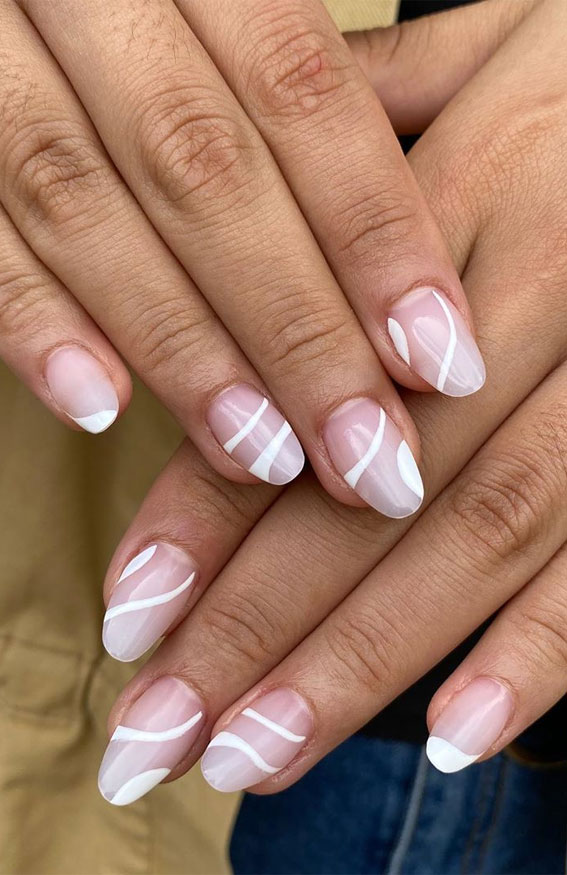
Marble stone nail designs have been gaining popularity in the nail art world. This design mimics the natural swirls and patterns of marble, creating a chic and unique look on your nails. To achieve this design, start by applying a base coat and a light-colored nail polish as the base. Then, take a small piece of plastic wrap or a sponge and dab it into a darker shade of nail polish. Lightly dab the plastic wrap or sponge onto your nails to create a marbled effect. You can also use a small brush to blend the colors together for a more seamless look. Once the base is dry, take a thin nail art brush and create thin lines with white nail polish to mimic the veins of marble. You can also add gold or silver accents to add a touch of luxury to the design. Finish with a top coat to seal in the design.2. Marble Stone Nail Design

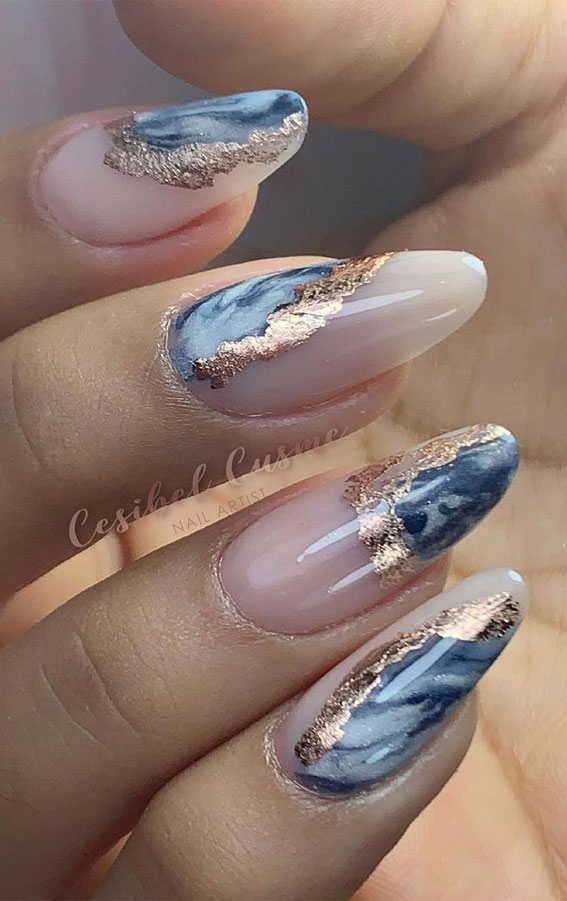
2. Marble Stone Nail Design
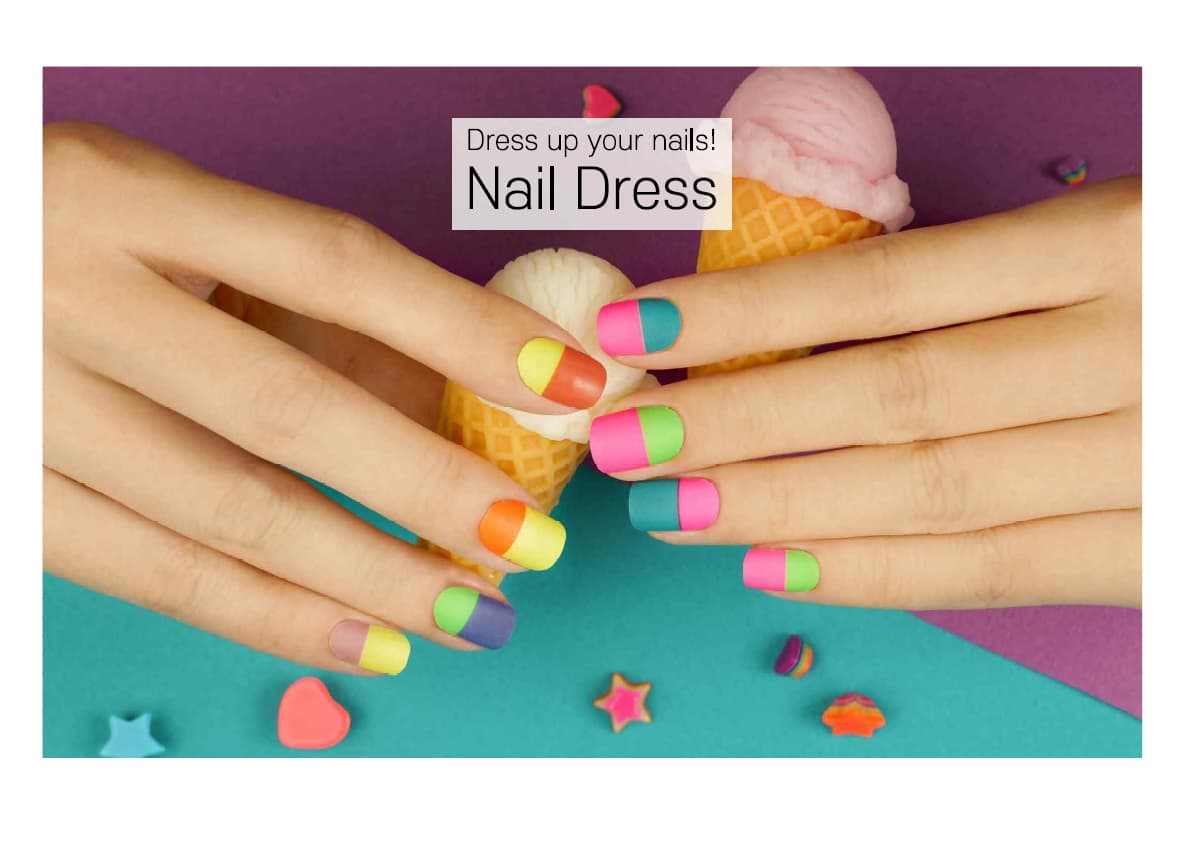


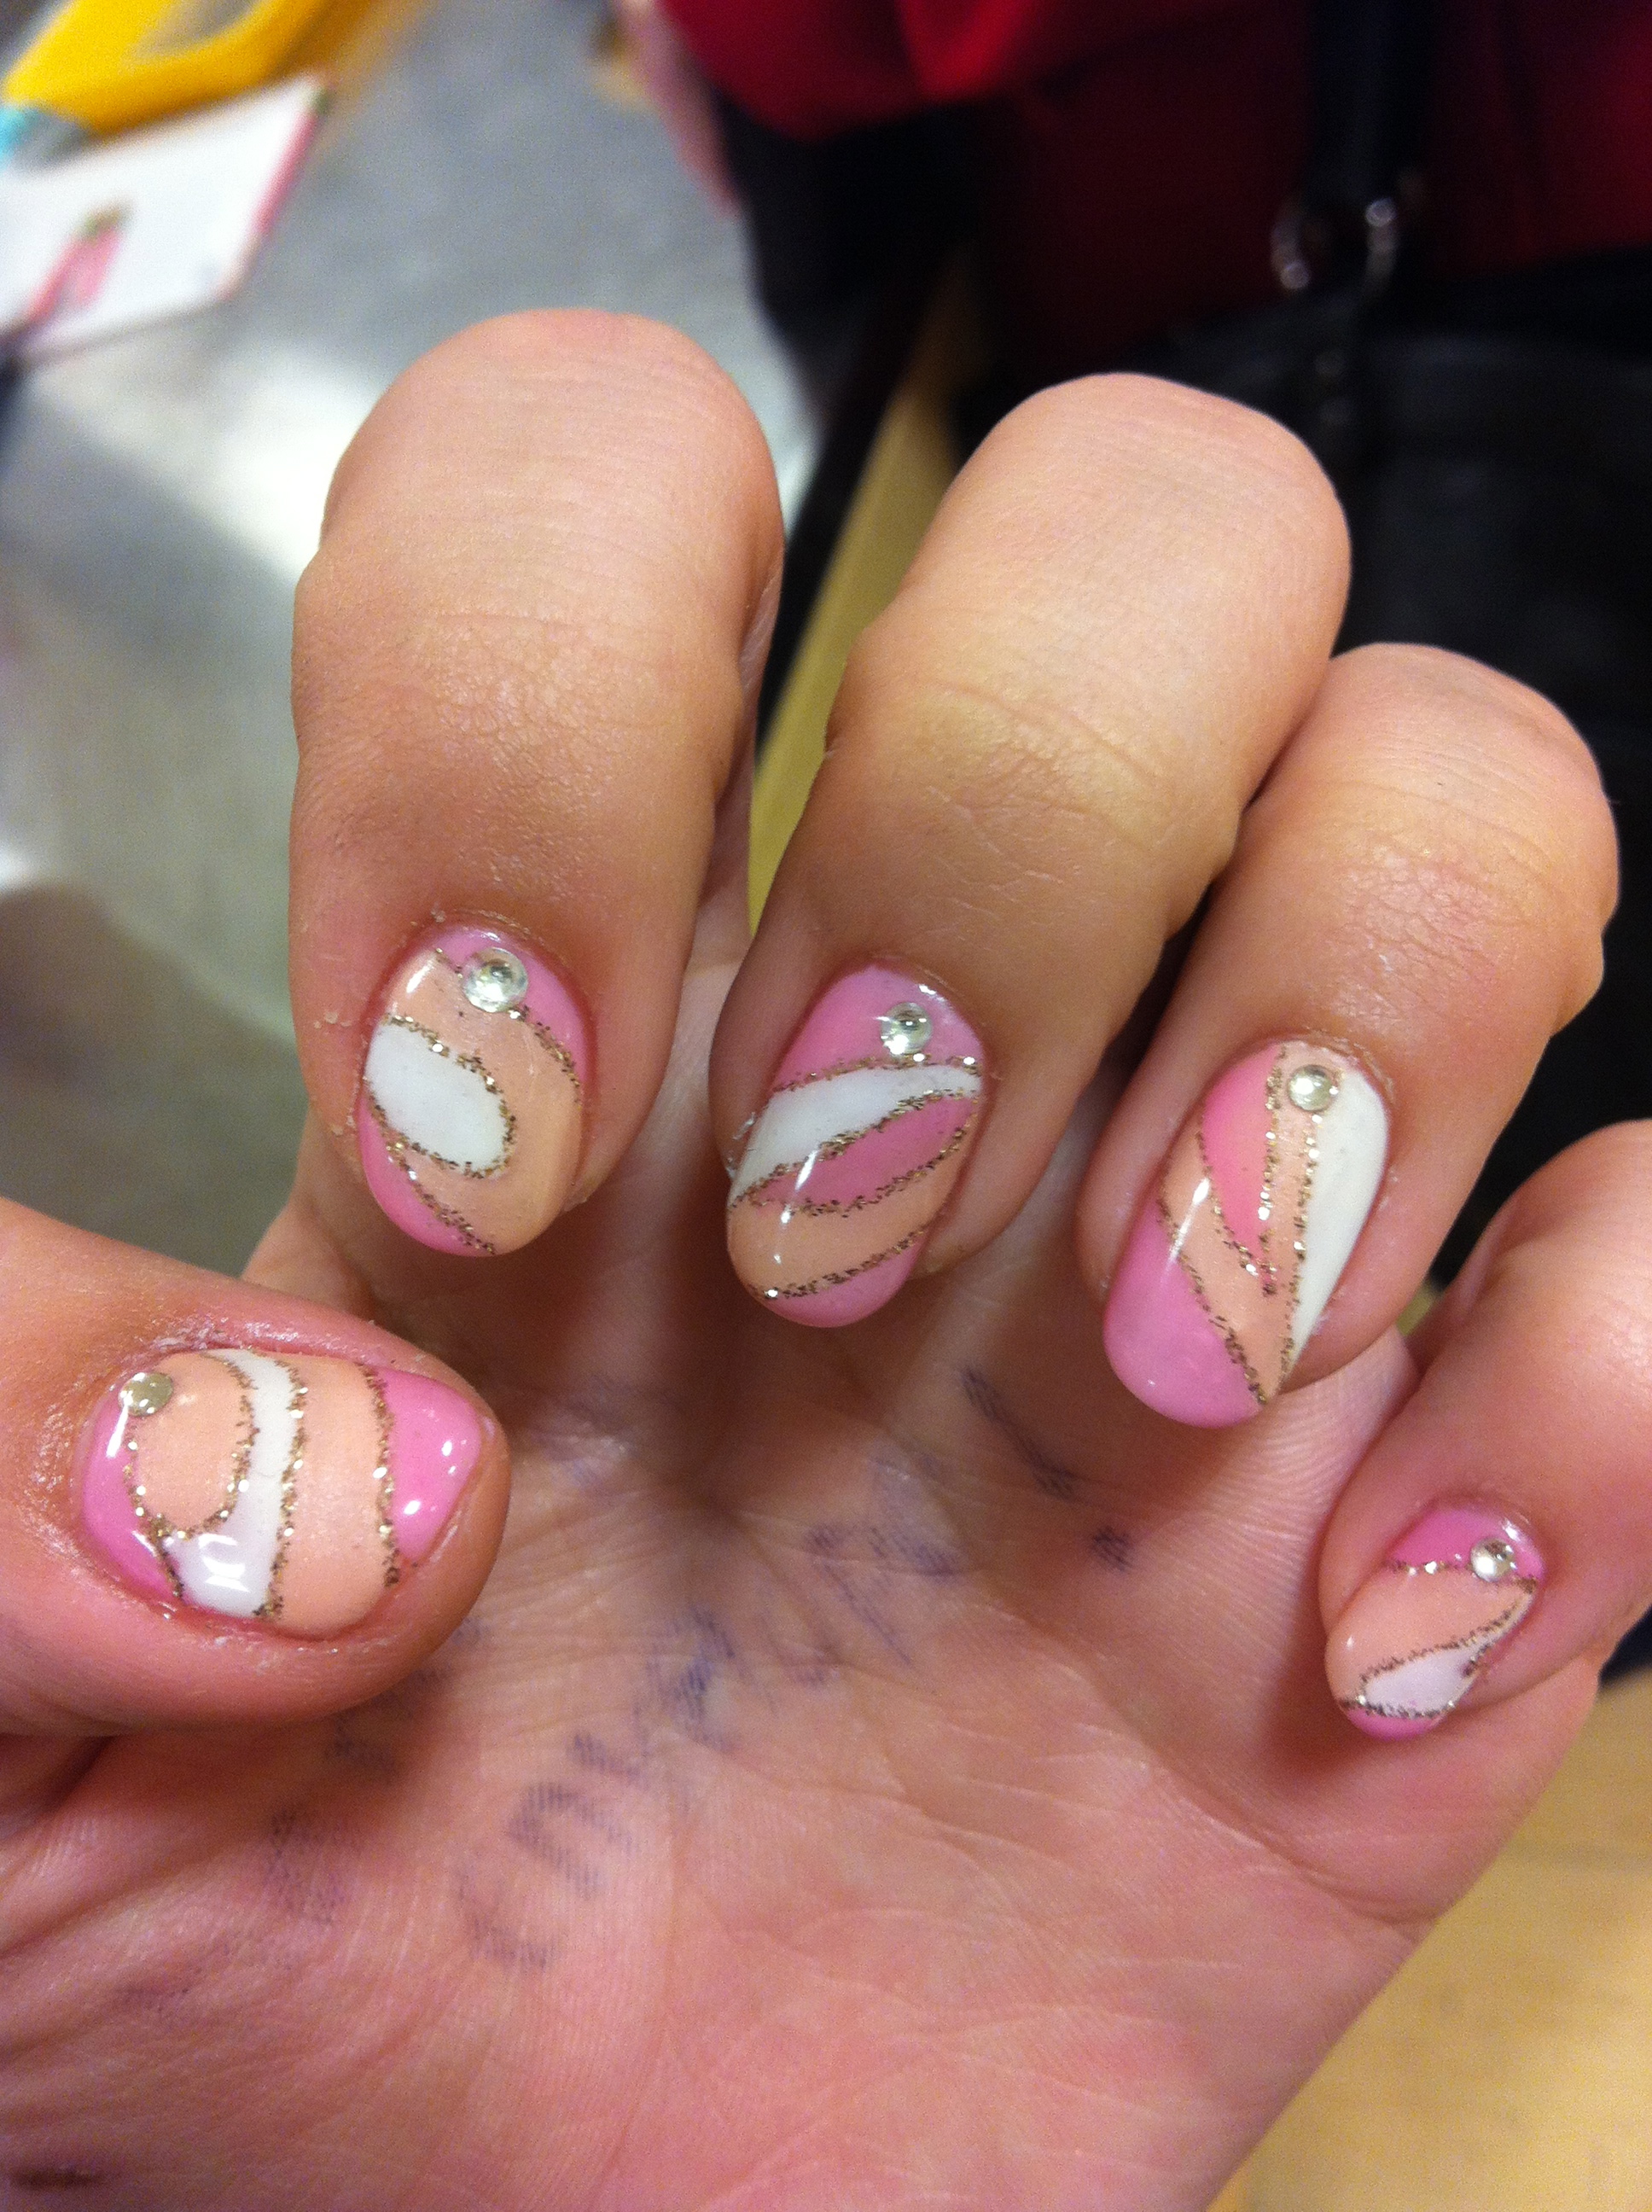
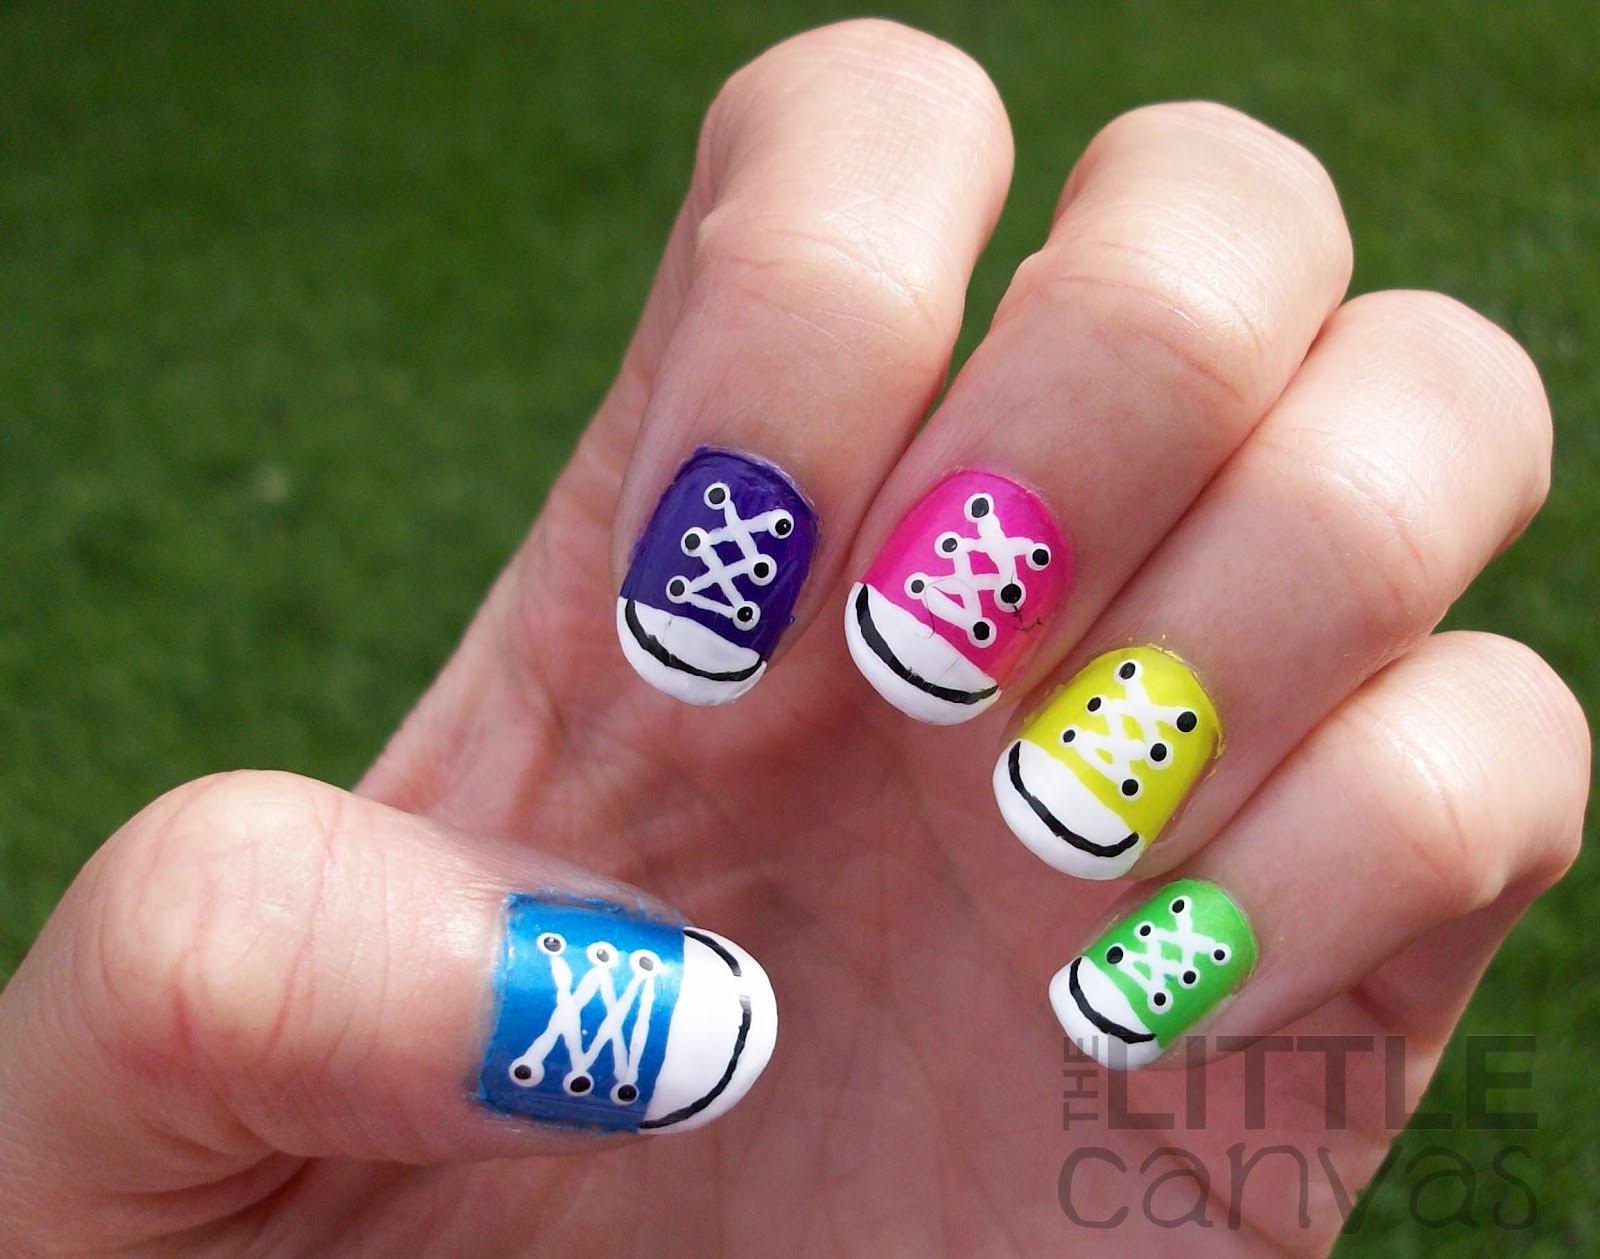
For a modern and edgy look, try out a geometric stone nail art design. This trend combines symmetrical shapes and stones to create a unique and eye-catching manicure. Start by applying a base coat and a neutral-colored nail polish as the base. Then, use striping tape or nail vinyls to create geometric shapes on your nails. You can paint over the tape/vinyls with a contrasting color or leave them as is for a negative space effect. Next, place individual stones or a stone cluster on top of the geometric shapes. You can also add a few stones on the rest of your nails to tie the design together. Once the stones are in place, seal them with a top coat.3. Geometric Stone Nail Art


3. Geometric Stone Nail Art


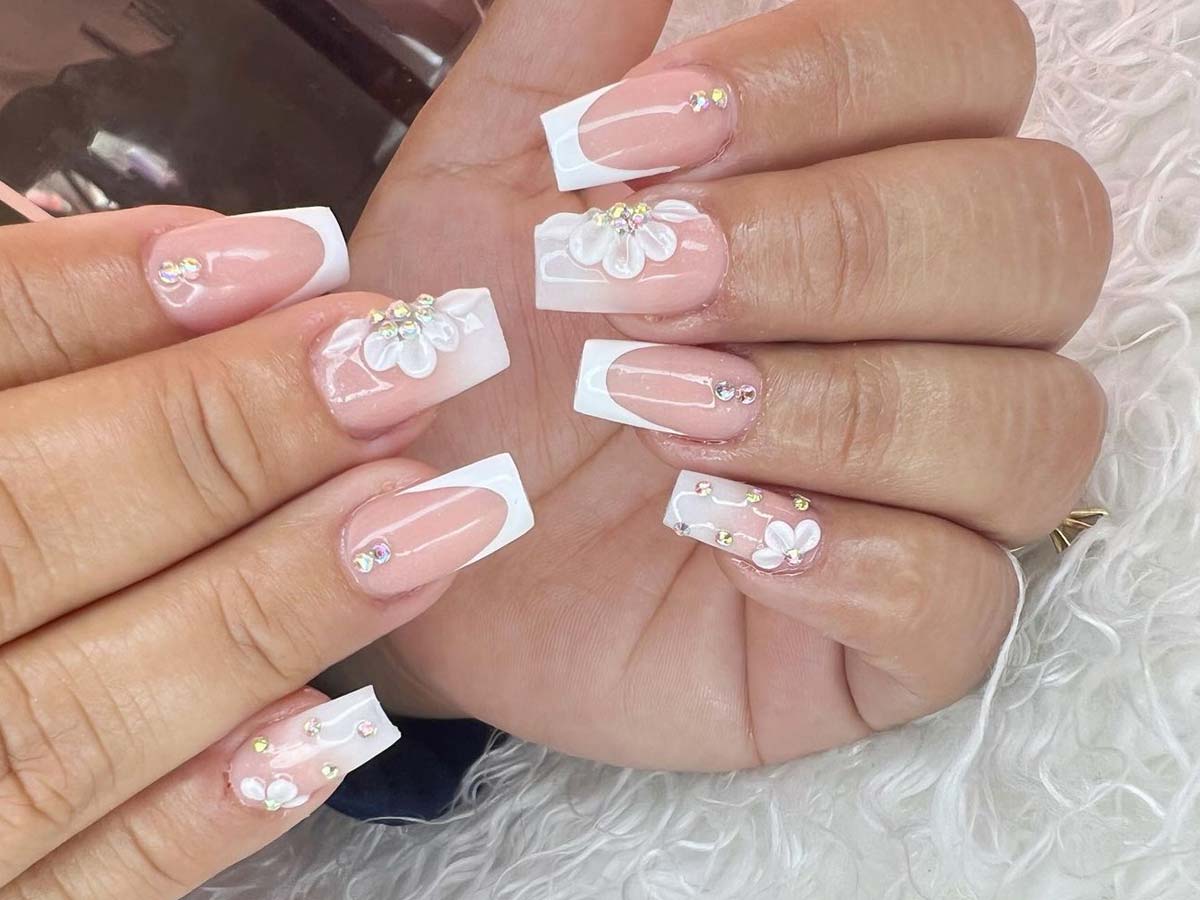
Combine the beauty of flowers with the sparkle of stones in a floral stone nail design. This design is perfect for spring and summer and adds a touch of femininity to your nails. To achieve this look, start by applying a base coat and a pastel-colored nail polish as the base. Then, create small flowers with a dotting tool using white or bright-colored nail polish. You can also use a thin nail art brush to create flower stems and leaves. Once the flowers are dry, add stones to the center of the flowers for a touch of sparkle. You can also add smaller stones on the flower stems for a more cohesive look. Finish with a top coat to seal in the design.4. Floral Stone Nail Design

4. Floral Stone Nail Design


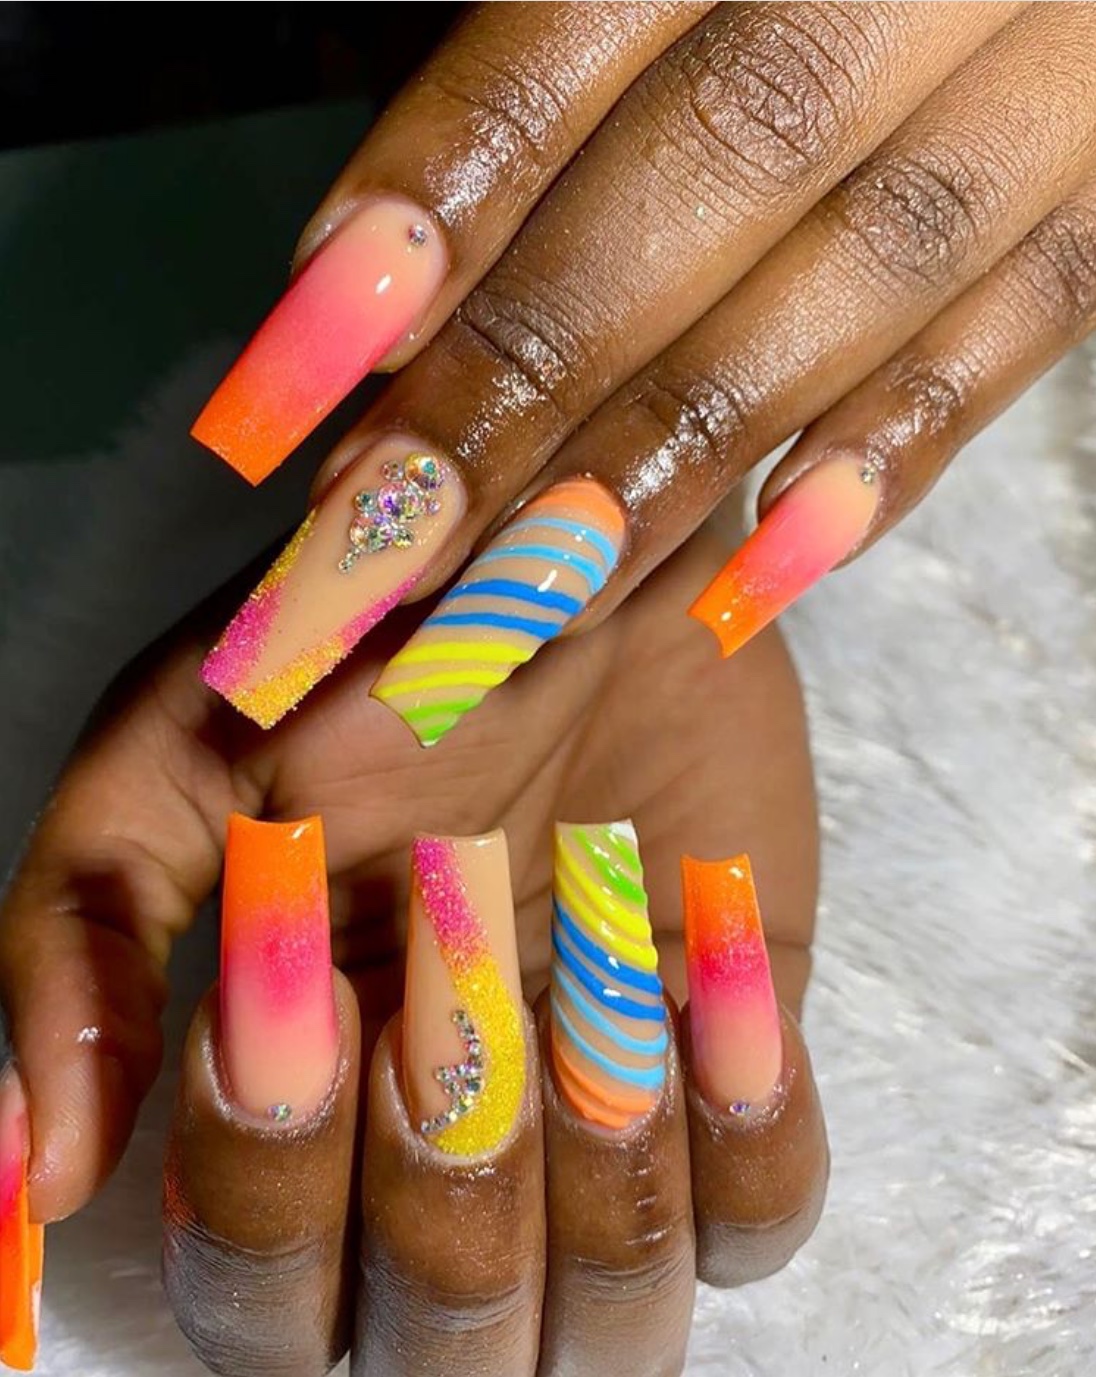
Ombre hair has been a trend for a while, but now it's making its way into the nail art world. Ombre stone nail art combines the gradient effect with the elegance of stones for a sophisticated and trendy look. To achieve this design, start by applying a base coat and a light-colored nail polish as the base. Then, use a makeup sponge to create a gradient effect with two or more colors. You can also use a small brush to blend the colors together for a seamless look. Once the ombre effect is dry, add stones onto the lighter portion of your nails. You can also create a stone line where the two colors meet for a more defined look. Finish with a top coat to seal in the design.5. Ombre Stone Nail Art


5. Ombre Stone Nail Art


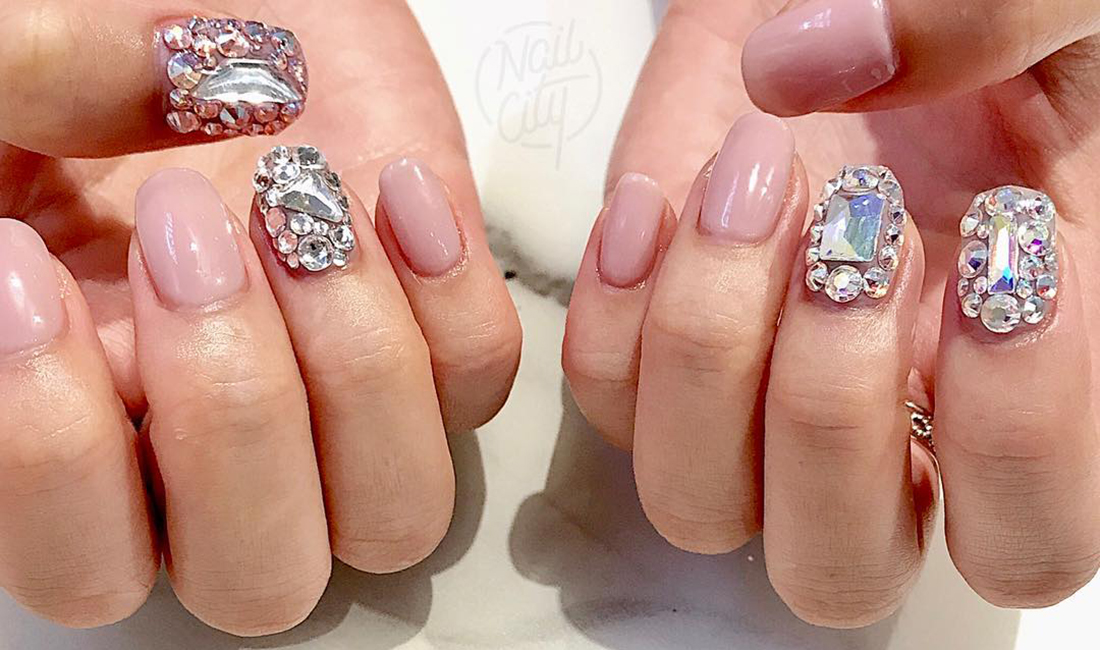
If you want a simple yet elegant nail art design, a crystal accent nail is the way to go. This design adds a touch of glamour to your nails without being too over the top. To achieve this look, start by applying a base coat and a soft-colored nail polish as the base. Then, place a single large crystal or a few smaller crystals on one nail as an accent. You can also create a line of smaller crystals on one side of your nail for a more subtle look. For a more dramatic look, you can add crystals to all of your nails or create a design with crystals on multiple nails. Just make sure to seal the crystals with a top coat to ensure they stay in place.6. Crystal Accent Nail Design


6. Crystal Accent Nail Design

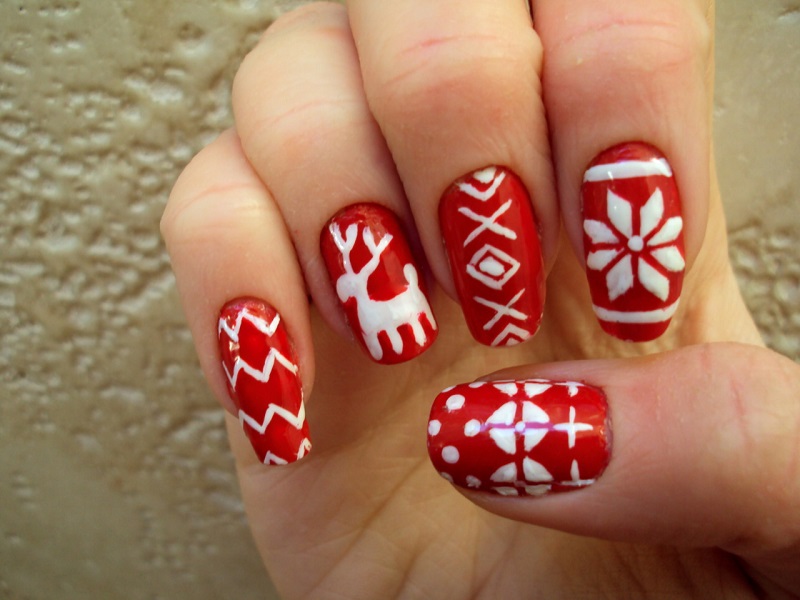
Get in touch with your inner bohemian with a tribal stone nail art design. This trend combines tribal-inspired patterns with the elegance of stones for a unique and bold look. To achieve this design, start by applying a base coat and a neutral-colored nail polish as the base. Then, use a small brush or a nail art pen to create tribal-inspired patterns on your nails. You can also add dots, lines, or other designs to create a more intricate look. Next, place stones onto the patterns to add a touch of sparkle. You can also create a stone cluster on one nail to create a focal point. Finish with a top coat to seal in the design.7. Tribal Stone Nail Art

7. Tribal Stone Nail Art
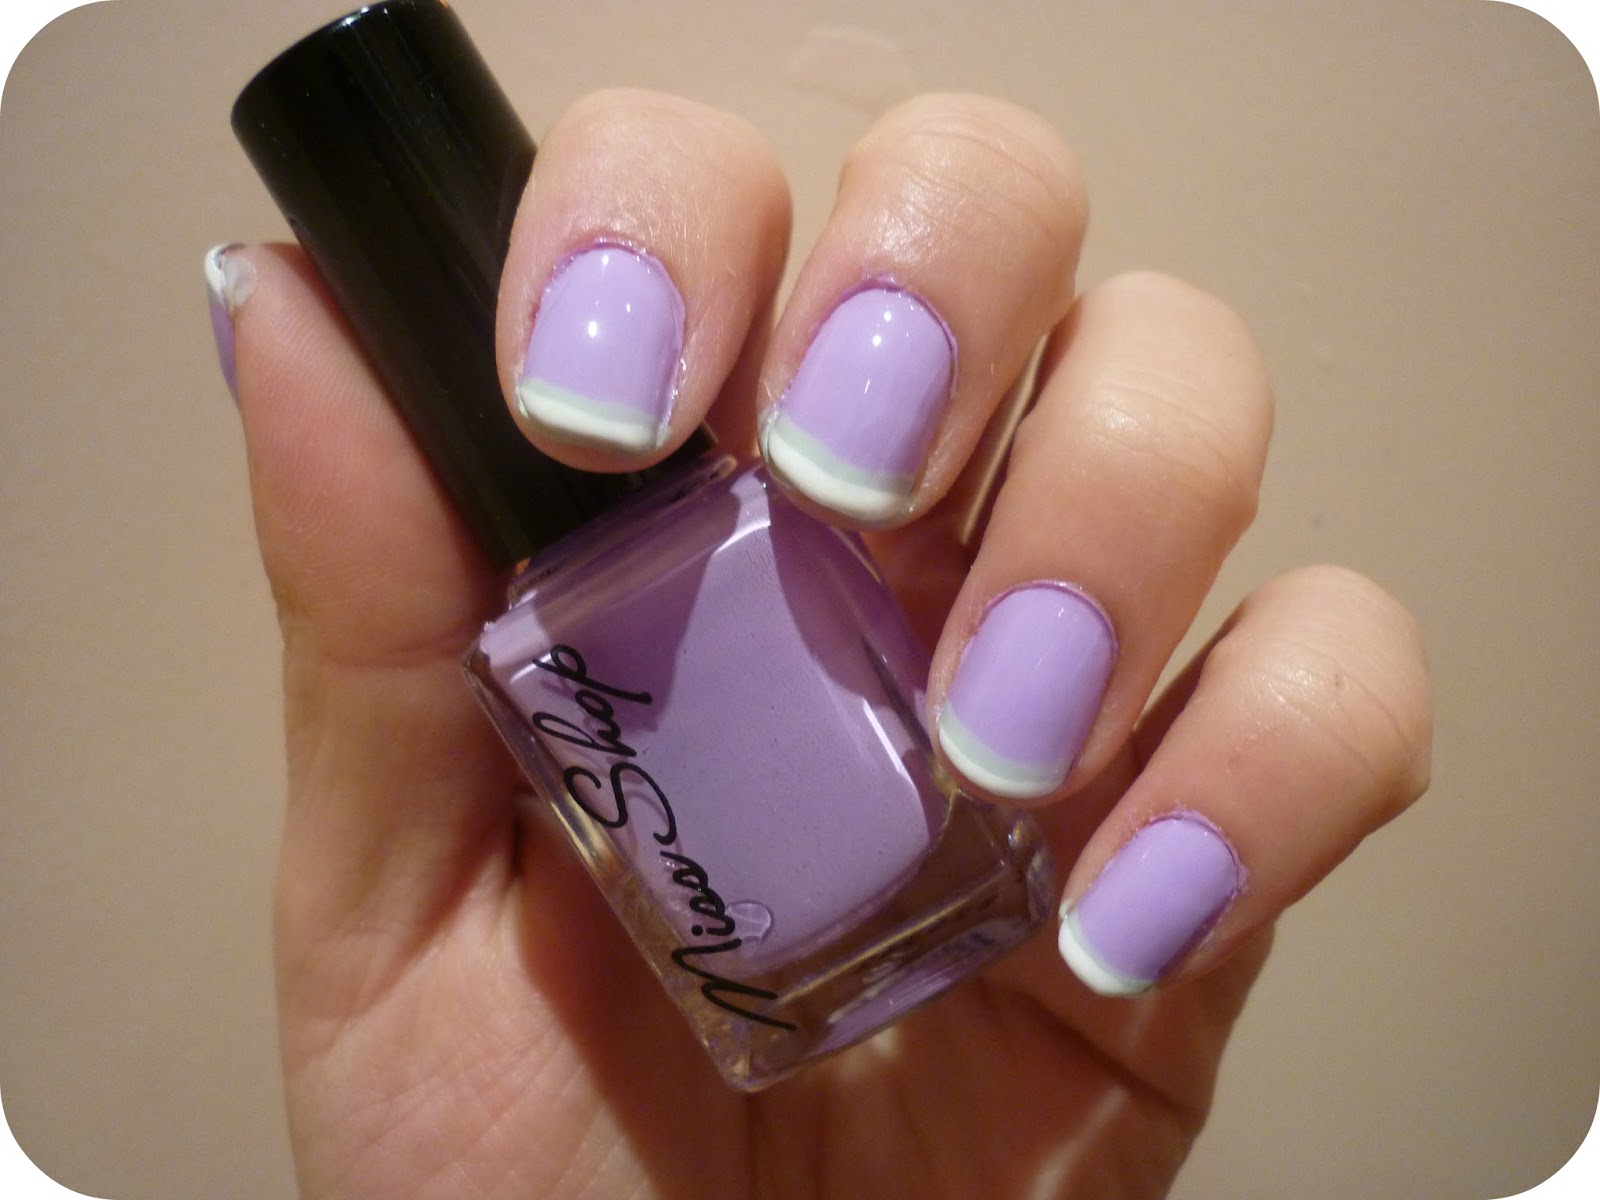
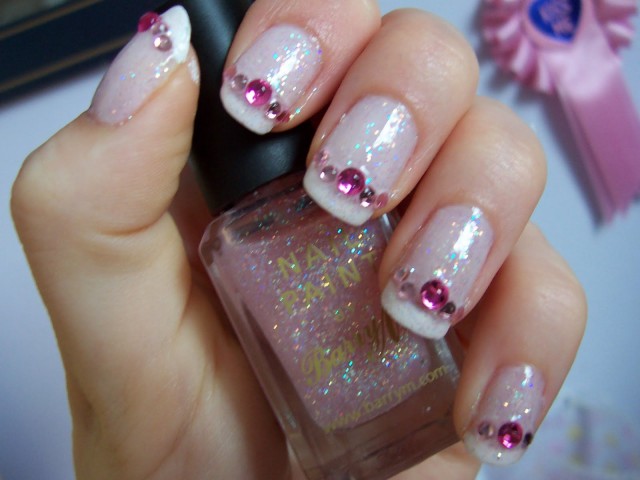
Add a twist to the classic French tip nails by incorporating stones. This design adds a touch of glamour to a simple and timeless look. To achieve this design, start by applying a base coat and a light-colored nail polish as the base. Then, use a nail art brush or a striping tape to create a French tip on your nails. You can also create a diagonal French tip for a more unique look. Once the French tip is dry, add a line of stones along the tip. You can also create a line of stones underneath the French tip for a different look. Finish with a top coat to seal in the design.8. Rhinestone French Tip Nails


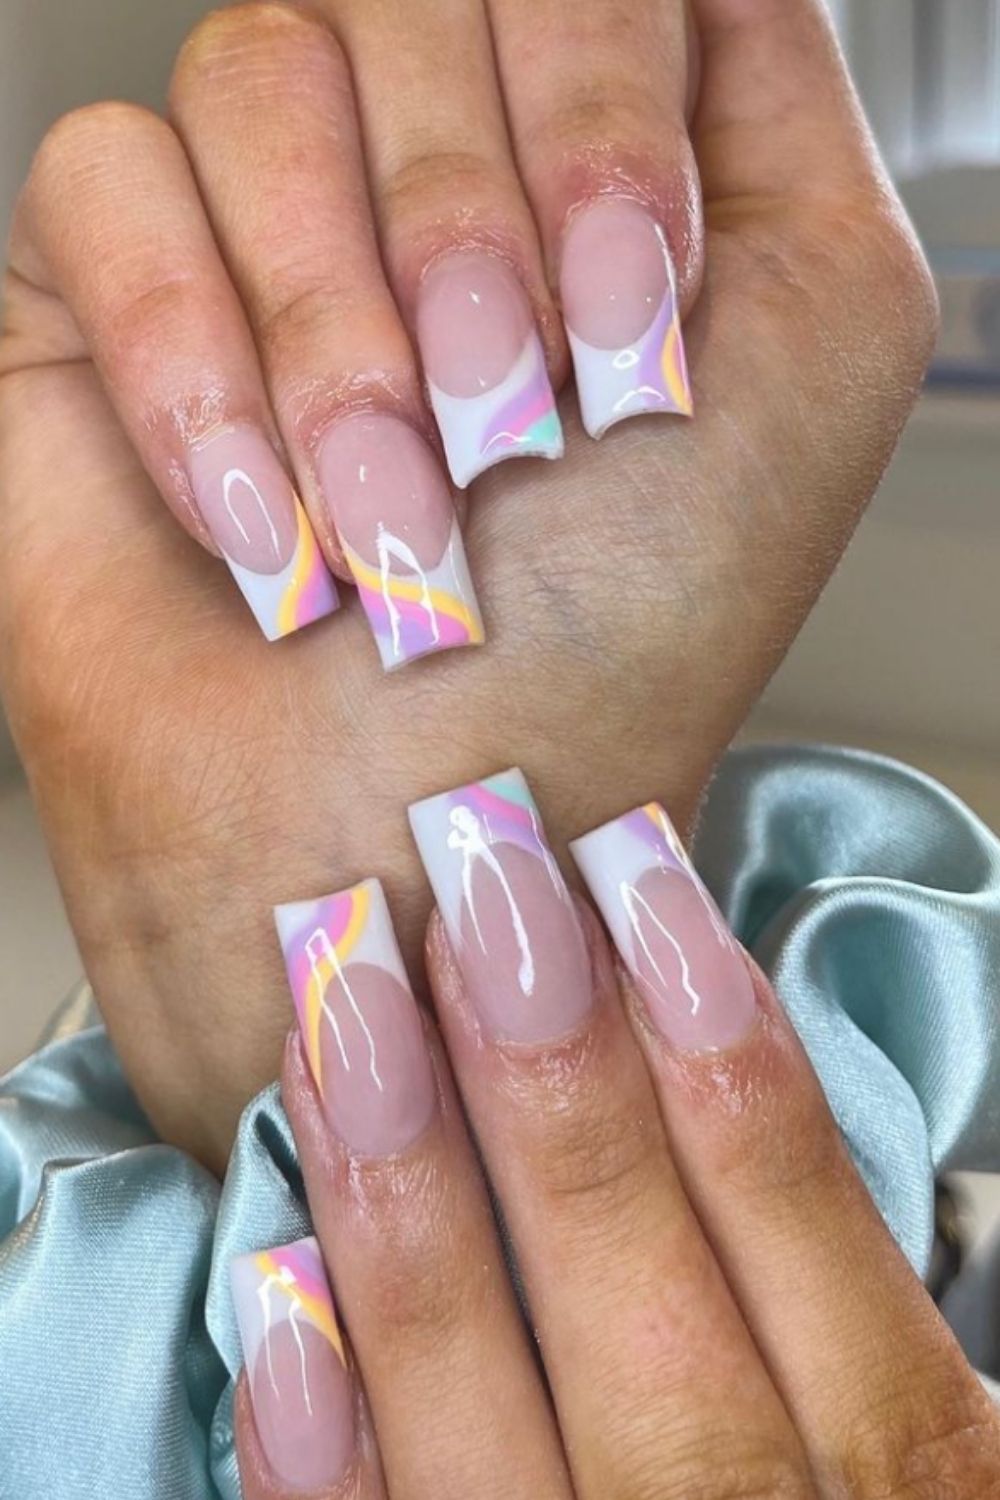
8. Rhinestone French Tip Nails


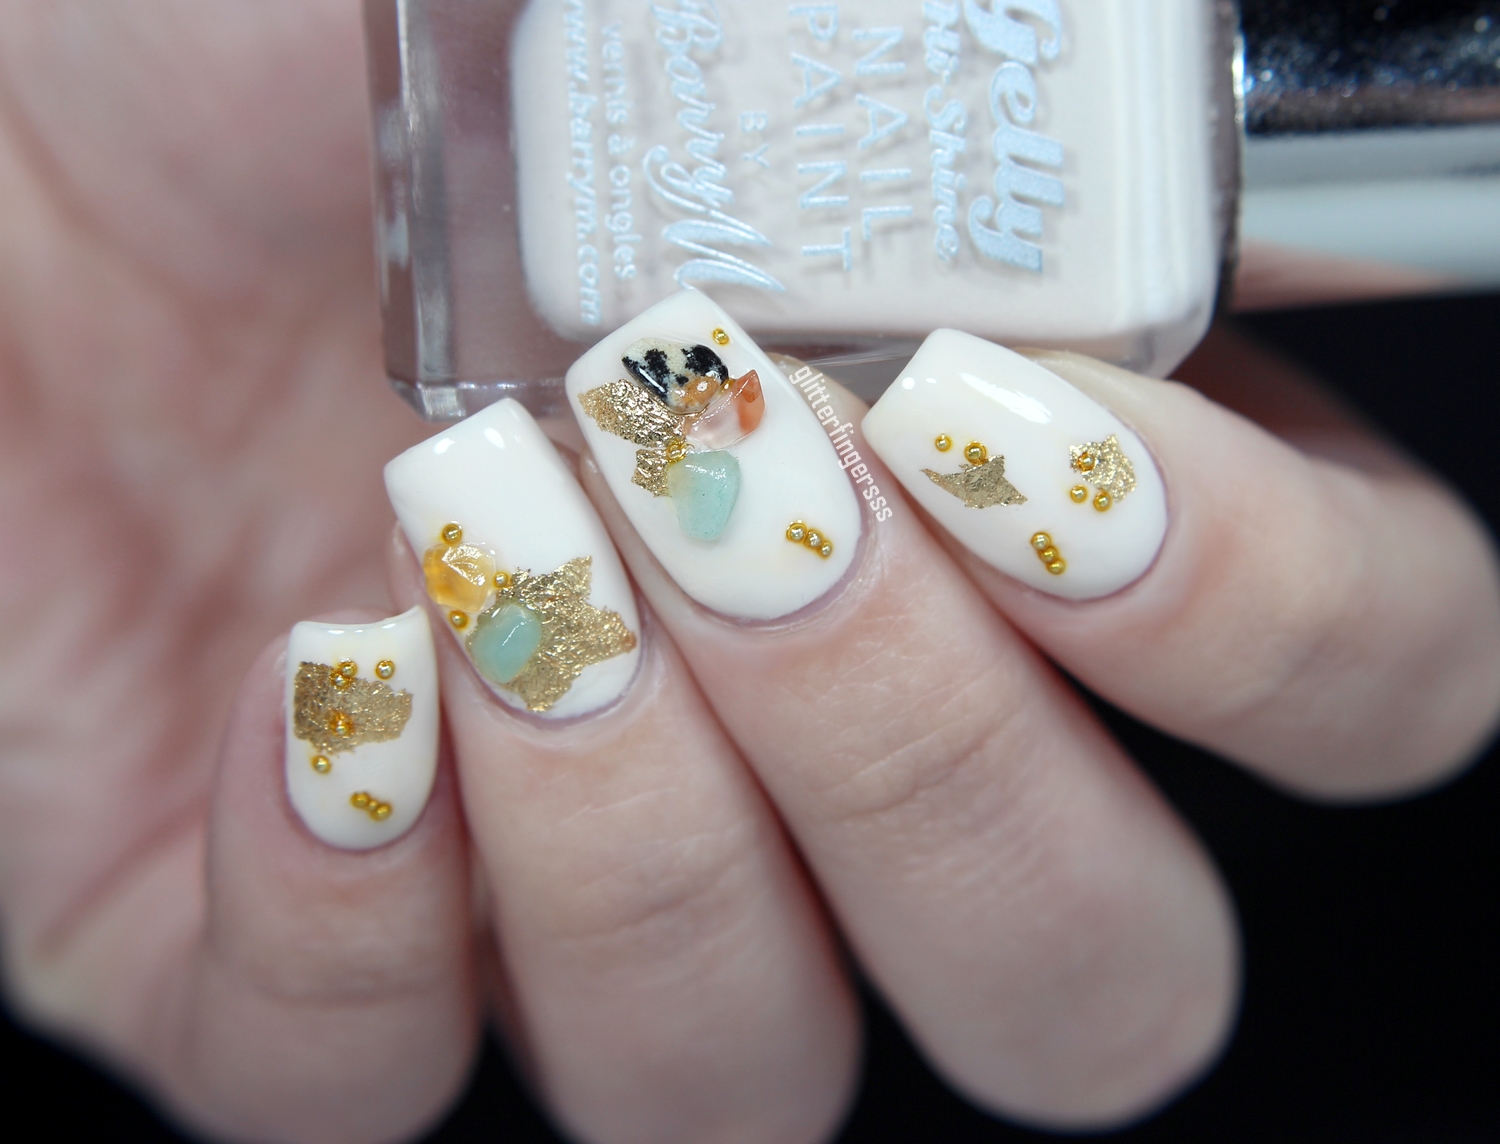
For a more natural and earthy look, try out a gemstone nail design. This trend mimics the patterns and colors of different gemstones for a unique and eye-catching manicure. To achieve this design, start by applying a base coat and a neutral-colored nail polish as the base. Then, use a thin nail art brush or a dotting tool to create patterns and lines on your nails. You can also use multiple colors to mimic the look of gemstones. Once the design is dry, place stones onto the patterns. You can also create a stone cluster on one or more nails for a more dynamic look. Finish with a top coat to seal in the design.9. Gemstone Nail Design


9. Gemstone Nail Design


If you want a bold and statement-making nail art design, try out a stone cluster nail art. This trend combines multiple stones and sizes to create a unique and eye-catching manicure. To achieve this look, start by applying a base coat and a bold-colored nail polish as the base. Then, place multiple stones of different sizes and colors onto your nails. You can also create a gradient effect with the stones, starting with larger stones on one side and gradually getting smaller towards the other side. For a more subtle look, place stones on just one or two nails while leaving the rest with just the base color. This will create a focal point and add a touch of bling to your nails. Finish with a top coat to seal in the design.10. Stone Cluster Nail Art


10. Stone Cluster Nail Art

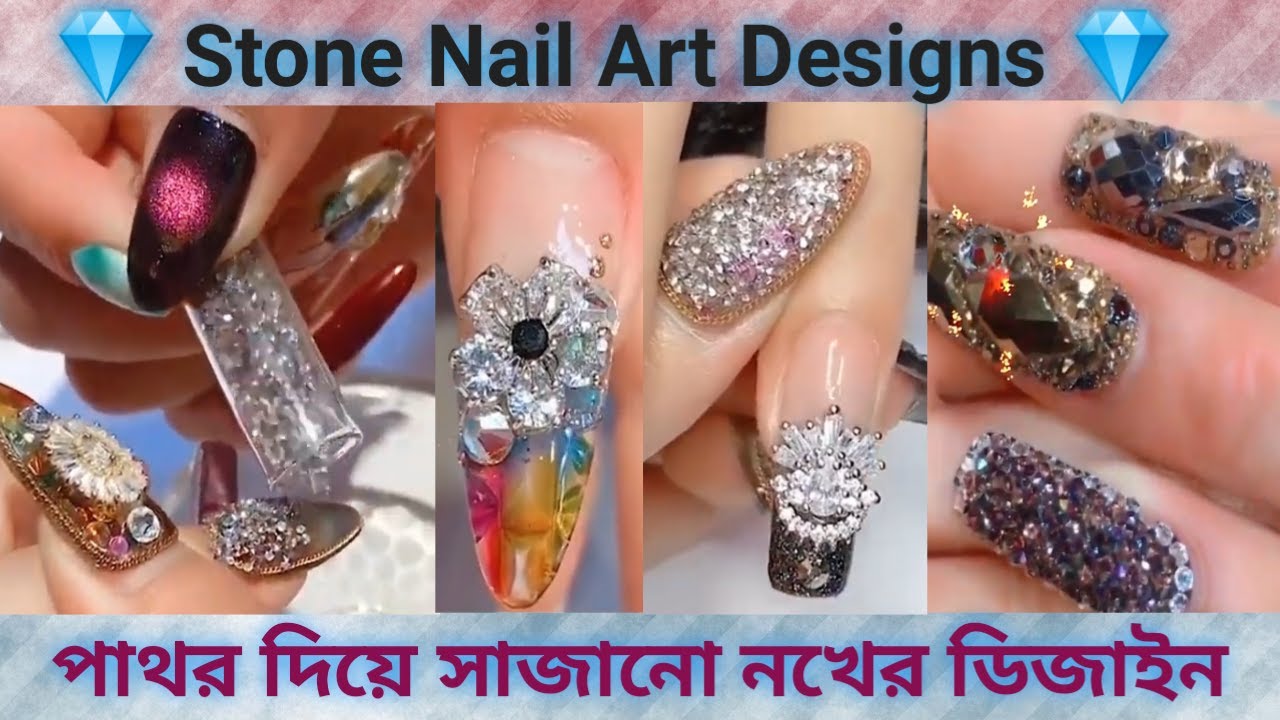
Add Some Sparkle to Your Nails with These Stunning Stone Nail Art Ideas
Why Choose Stone Nail Art?
 When it comes to nail art, there are endless possibilities and designs to choose from. From intricate patterns to bold colors, it can be overwhelming trying to decide on the perfect design. But have you ever considered adding stones to your nails? Stone nail art is a unique and eye-catching way to elevate your manicure. Not only does it add a touch of glamour and sparkle, but it also adds texture and dimension to your nails. With a variety of stones to choose from, you can create a one-of-a-kind look that will have everyone asking where you got your nails done.
How to Incorporate Stones into Your Nail Art
 There are various ways to incorporate stones into your nail art, depending on the look you want to achieve. For a subtle and elegant touch, you can add a few small stones to your accent nails. This can be done by simply applying a clear topcoat and then carefully placing the stones on top before the polish dries. You can also create a statement look by covering your entire nail with stones, creating a glittering mosaic effect. Another popular technique is to create a gradient effect by gradually increasing the size of the stones from the cuticle to the tip of the nail. Whichever method you choose, adding stones to your nail art will instantly elevate your manicure.
Types of Stones to Use
 When it comes to stone nail art, the possibilities are endless. You can choose from a variety of stones such as rhinestones, crystals, pearls, or even natural stones like amethyst or turquoise. The key is to choose stones that complement your nail color and overall design. For a classic and elegant look, opt for clear or white stones. If you want to add a pop of color, choose stones in shades that contrast with your nail polish. You can also mix and match different sizes and shapes of stones to create a unique and personalized look.
Tips for Maintaining Your Stone Nail Art
 To ensure your stone nail art stays intact and lasts as long as possible, here are a few tips to keep in mind. Firstly, make sure to apply a good base coat to your nails before adding the stones. This will create a smooth surface for the stones to adhere to. Secondly, seal in your design with a topcoat to prevent the stones from falling off or catching on clothing. Lastly, avoid using your nails as tools and be gentle when doing everyday tasks to avoid damaging the stones.
Incorporating stones into your nail art is a great way to add some sparkle and glamour to your manicure. With the variety of stones and techniques available, you can create a unique and eye-catching design that will make your nails stand out. So why settle for a simple manicure when you can add some flair with stunning stone nail art?
To ensure your stone nail art stays intact and lasts as long as possible, here are a few tips to keep in mind. Firstly, make sure to apply a good base coat to your nails before adding the stones. This will create a smooth surface for the stones to adhere to. Secondly, seal in your design with a topcoat to prevent the stones from falling off or catching on clothing. Lastly, avoid using your nails as tools and be gentle when doing everyday tasks to avoid damaging the stones.
Incorporating stones into your nail art is a great way to add some sparkle and glamour to your manicure. With the variety of stones and techniques available, you can create a unique and eye-catching design that will make your nails stand out. So why settle for a simple manicure when you can add some flair with stunning stone nail art?


