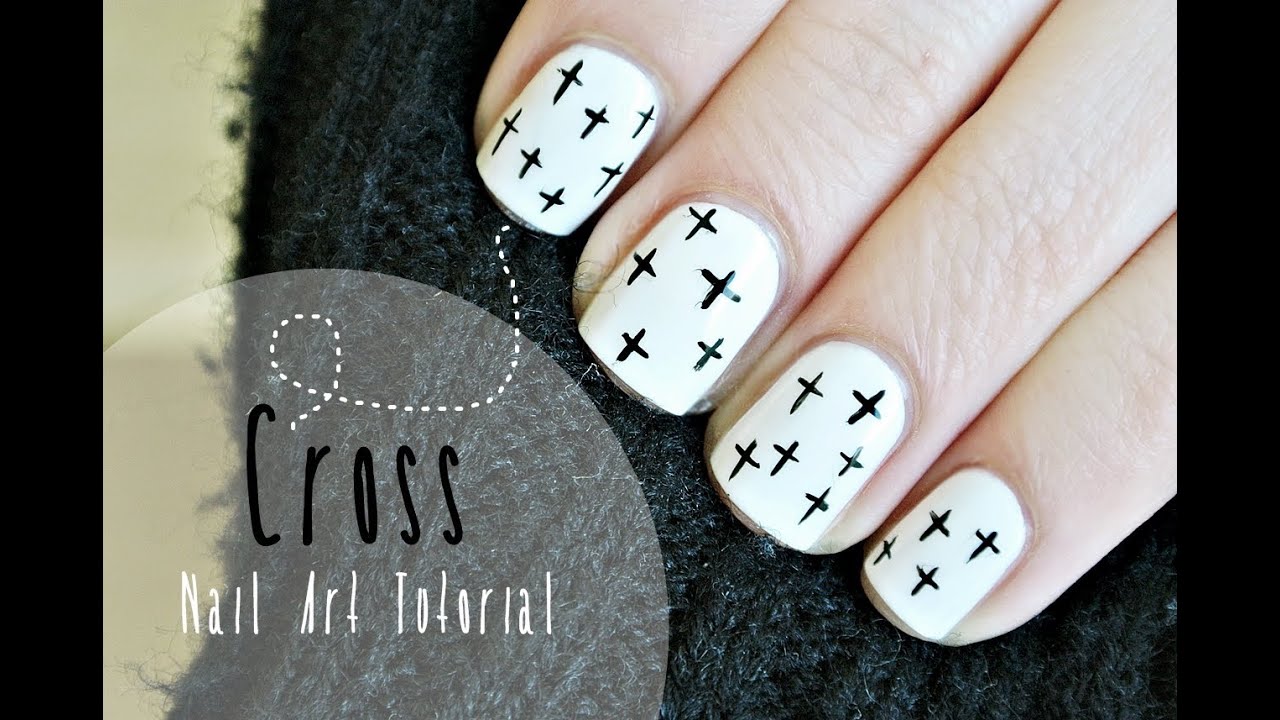
Looking for a bold and edgy nail design? Look no further than the iron cross nail art! This design may seem intimidating at first, but with our step-by-step tutorial, you'll be able to create stunning iron cross nails in no time. So, grab your nail polishes and let's get started!Iron Cross Nail Art Tutorial


Iron Cross Nail Art Tutorial


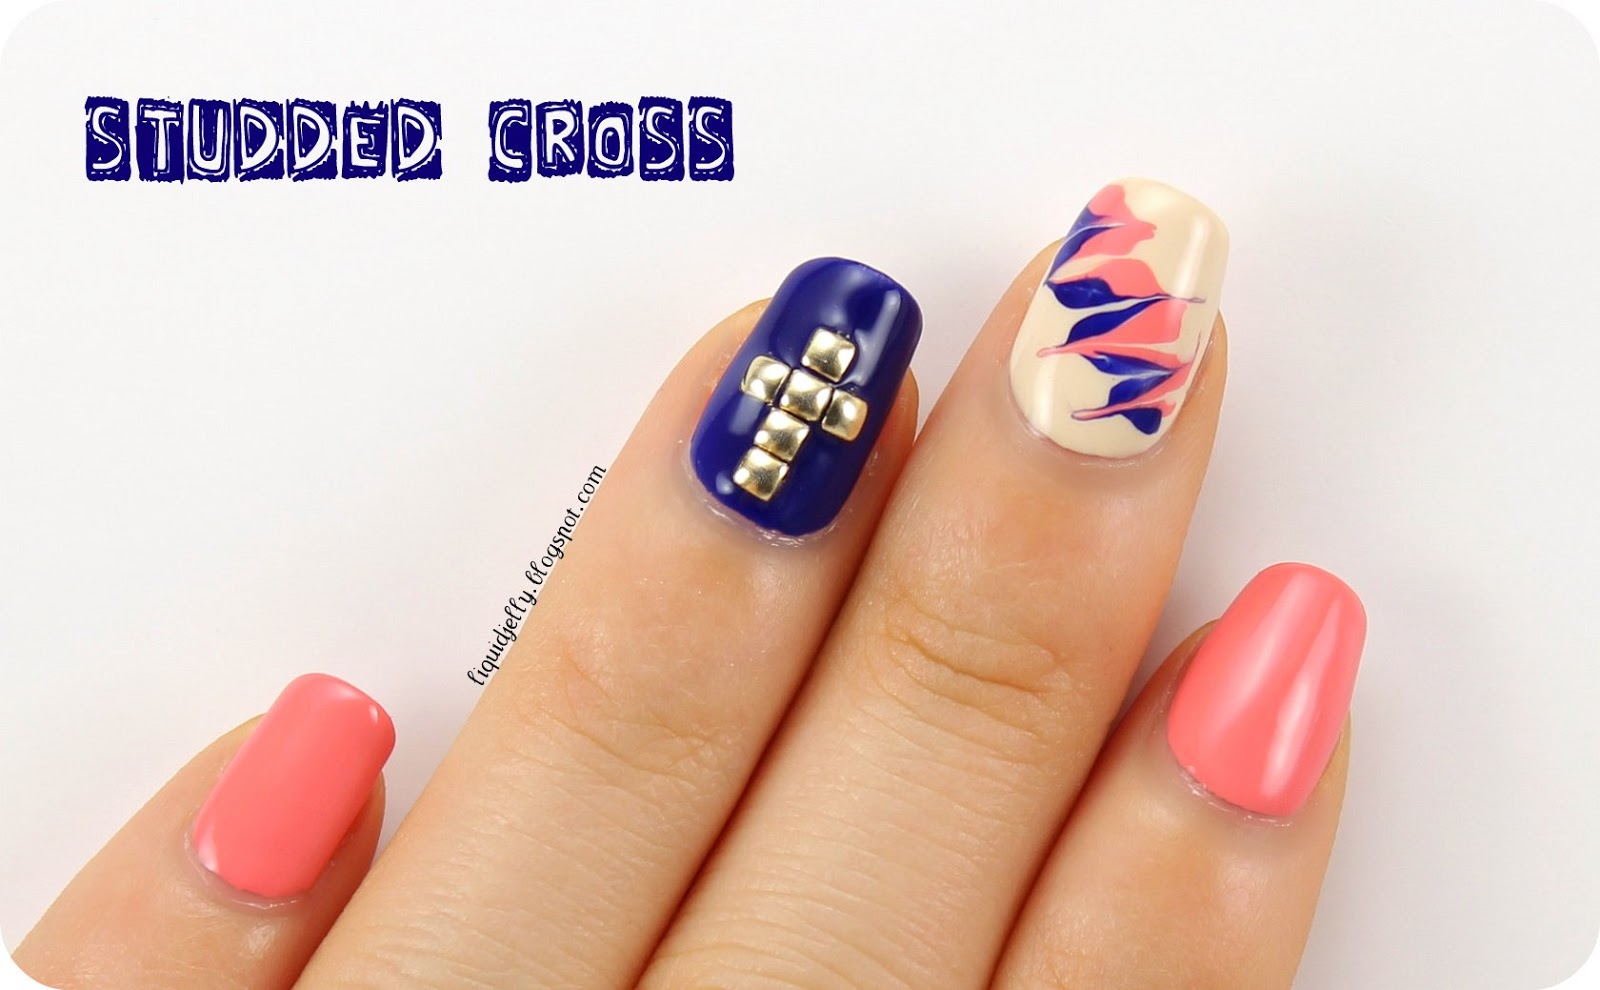


To create an iron cross design on your nails, you'll need a few key tools and products. First, you'll need a base coat, your choice of nail polish colors, a thin nail art brush, and a top coat. It's also helpful to have a dotting tool or toothpick on hand for any small details. Start by applying a base coat to protect your nails and help your design last longer. Then, choose your base color and apply two coats for a solid base. Let it dry completely before moving on to the next step. Next, using a thin nail art brush, create a cross shape on your nail with your second color. Take your time to make sure the lines are straight and even. You can also use a dotting tool or toothpick to create small dots at the end of each line for a more intricate design. Once your cross is dry, you can add additional details or accents with different colors or designs. Get creative and have fun with it! When you're happy with your design, seal it in with a top coat for a long-lasting finish.How to Create an Iron Cross Design on Your Nails

How to Create an Iron Cross Design on Your Nails


If you're new to nail art, don't worry! We've got you covered with this easy-to-follow iron cross nail art tutorial. With just a few simple steps, you can achieve a bold and striking look that will surely turn heads. Start by painting your nails with a base color of your choice. Once dry, use a thin nail art brush to create a cross shape with your second color. Then, add any additional details or accents with different colors or designs. Finish off with a top coat for a professional and polished look.Nail Art Tutorial: Iron Cross Nails


Nail Art Tutorial: Iron Cross Nails


The iron cross design can be interpreted in many different ways, making it a versatile and popular choice for nail art. Some ideas to consider include adding glitter or rhinestones for a touch of sparkle, using metallic or neon colors for a bold and modern look, or incorporating other designs such as stripes or geometric shapes into the cross. Don't be afraid to experiment and make the iron cross design your own. With so many possibilities, the options are endless!Iron Cross Nail Art Ideas


Iron Cross Nail Art Ideas


If you need a more detailed guide for creating iron cross nails, we've got you covered. Follow these step-by-step instructions for a foolproof and flawless design: Step 1: Apply a base coat to protect your nails and help your design last longer. Step 2: Choose your base color and apply two coats for a solid base. Let it dry completely before moving on to the next step. Step 3: Using a thin nail art brush, create a cross shape on your nail with your second color. Take your time to make sure the lines are straight and even. Step 4: Use a dotting tool or toothpick to create small dots at the end of each line for a more intricate design. Step 5: Let your cross dry completely before adding any additional details or accents with different colors or designs. Step 6: Finish off with a top coat for a long-lasting and professional finish.Step-by-Step Iron Cross Nail Art Guide


Step-by-Step Iron Cross Nail Art Guide

If you're new to nail art or just looking for something simple and easy to recreate, there are plenty of iron cross nail art designs that are perfect for beginners. Some ideas include a single iron cross on each nail, a mismatched design with different colors and sizes of crosses on each nail, or a gradient effect with the cross fading from one color to another. Don't be afraid to start with a basic design and then add your own personal touch to make it unique.Iron Cross Nail Art Designs for Beginners

Iron Cross Nail Art Designs for Beginners


Still need some inspiration? Check out these 10 stunning iron cross nail art looks for some ideas: 1. Black base with silver metallic cross and rhinestone accents 2. White base with black outlined cross and red glitter accents 3. Neon pink base with black and white striped cross 4. Gradient purple base with black and white polka dot cross 5. Nude base with gold metallic cross and marble accent nail 6. Blue holographic base with silver metallic cross and star accents 7. Red base with black outlined cross and silver glitter accents 8. Ombre black and gray base with white outlined cross and skull accent nail 9. Green base with gold metallic cross and leaf accents 10. Rainbow base with black outlined cross and colorful rhinestone accents10 Stunning Iron Cross Nail Art Looks

10 Stunning Iron Cross Nail Art Looks

Still not sure how to incorporate the iron cross design into your nail art? Check out social media platforms like Instagram and Pinterest for endless inspiration. You can also search for specific hashtags such as #ironcrossnails or #ironcrossnailart for more specific ideas. Don't be afraid to take inspiration from others, but remember to put your own spin on it to make it unique and true to your personal style.Iron Cross Nail Art Inspiration

Iron Cross Nail Art Inspiration


Looking for the best products to achieve the perfect iron cross nails? Here are some of our top recommendations: 1. OPI Nail Lacquer in "Black Onyx" for a classic black base color 2. Essie Nail Polish in "Penny Talk" for a bold and metallic gold cross 3. Sally Hansen Hard as Nails Xtreme Wear in "White On" for a solid and opaque white base 4. China Glaze Nail Lacquer in "Fairy Dust" for a touch of holographic sparkle 5. Orly Nail Lacquer in "Thrill Seeker" for a vibrant and neon pink base colorBest Iron Cross Nail Art Products

Best Iron Cross Nail Art Products


To achieve the best results with your iron cross nail art, here are a few tips and tricks to keep in mind: 1. Use a thin nail art brush for precise lines and a dotting tool or toothpick for small details. 2. Let each layer of polish dry completely before moving on to the next step. 3. Seal in your design with a top coat for a long-lasting finish. 4. Get creative and have fun with different color combinations and designs. 5. Practice makes perfect, so don't get discouraged if your first attempt isn't perfect. Now that you have all the information and inspiration you need, it's time to try out the iron cross nail art for yourself! Remember to have fun and make it your own. Happy nail art-ing! Iron Cross Nail Art Tips and Tricks
Iron Cross Nail Art Tips and Tricks

The History and Evolution of Nail Art Iron Cross

The Origin of Nail Art Iron Cross
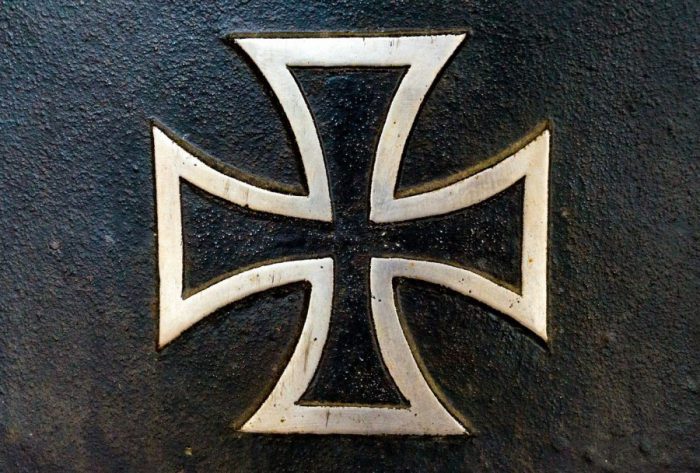
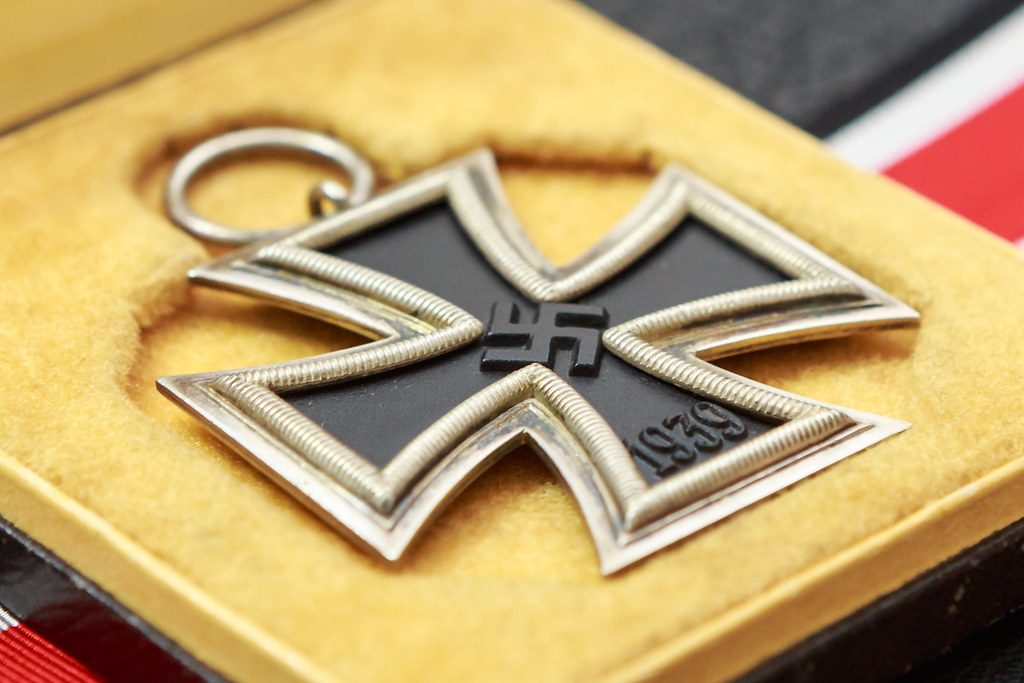
.jpg) Nail art iron cross
has become a popular trend in recent years, but its origins can be traced back to the Gothic era. The iron cross was originally a symbol of strength, courage, and honor in the medieval period. It was often found on shields, armor, and flags of knights and warriors. As time passed, the iron cross became associated with Christianity and was used as a decorative element in churches and cathedrals.
Nail art iron cross
has become a popular trend in recent years, but its origins can be traced back to the Gothic era. The iron cross was originally a symbol of strength, courage, and honor in the medieval period. It was often found on shields, armor, and flags of knights and warriors. As time passed, the iron cross became associated with Christianity and was used as a decorative element in churches and cathedrals.
The Evolution of Nail Art Iron Cross
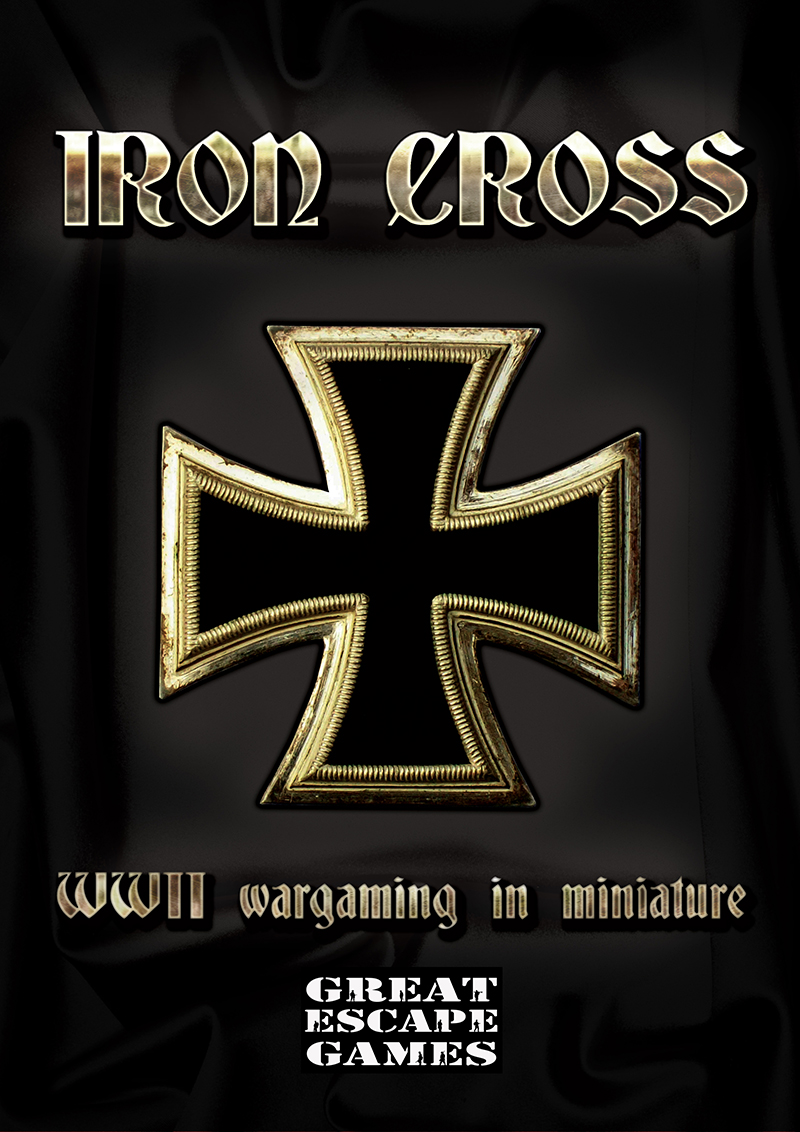
 In the 19th century, the iron cross was adopted as a military decoration in Prussia and later in Germany. It gained even more popularity in the 20th century during World War I and II, where it was awarded to soldiers for bravery and heroism. After the wars, the iron cross continued to be used as a symbol of honor and patriotism.
The Modern Interpretation of Nail Art Iron Cross
 Today, the iron cross has taken on a new form as a design element in
nail art
. It has become a symbol of fashion and self-expression, with many variations and styles. Some choose to keep it simple with a single iron cross on a nail, while others opt for a more elaborate design with multiple crosses and intricate details.
Today, the iron cross has taken on a new form as a design element in
nail art
. It has become a symbol of fashion and self-expression, with many variations and styles. Some choose to keep it simple with a single iron cross on a nail, while others opt for a more elaborate design with multiple crosses and intricate details.
The Meaning Behind Nail Art Iron Cross
 Aside from its historical significance, the iron cross in
nail art
also holds symbolic meanings. It represents strength, power, and courage, making it a popular choice for those who want to make a bold statement with their nails. It can also be seen as a nod to the Gothic subculture, with its dark and edgy aesthetic.
Aside from its historical significance, the iron cross in
nail art
also holds symbolic meanings. It represents strength, power, and courage, making it a popular choice for those who want to make a bold statement with their nails. It can also be seen as a nod to the Gothic subculture, with its dark and edgy aesthetic.
The Versatility of Nail Art Iron Cross
 One of the reasons for the popularity of
nail art iron cross
is its versatility. It can be incorporated into various nail designs, such as French tips, ombre, and even 3D designs. The use of different colors and materials also adds to the creativity and uniqueness of each design.
In conclusion,
nail art iron cross
may have a long and rich history, but it continues to evolve and adapt to modern times. Its versatility and symbolism make it a popular choice among nail art enthusiasts. Whether you want to make a bold statement or pay homage to its historical roots, the iron cross is a timeless design that will always remain in style.
One of the reasons for the popularity of
nail art iron cross
is its versatility. It can be incorporated into various nail designs, such as French tips, ombre, and even 3D designs. The use of different colors and materials also adds to the creativity and uniqueness of each design.
In conclusion,
nail art iron cross
may have a long and rich history, but it continues to evolve and adapt to modern times. Its versatility and symbolism make it a popular choice among nail art enthusiasts. Whether you want to make a bold statement or pay homage to its historical roots, the iron cross is a timeless design that will always remain in style.


