Are you tired of the same old plain nails? Want to add some sparkle and glam to your manicures without breaking the bank? Look no further than this DIY nail art jewelry tutorial! With just a few simple steps, you can create your own unique and stylish nail art jewelry at home. DIY (do-it-yourself) projects have become increasingly popular in recent years, and it's no surprise why. Not only do they allow for personal creativity and expression, but they can also save you money and give you a sense of accomplishment. So why not combine the trend of DIY with the ever-growing popularity of nail art? With this tutorial, you'll be able to create beautiful and eye-catching nail art jewelry that will make your manicures stand out from the rest.1. DIY Nail Art Jewelry Tutorial


1. DIY Nail Art Jewelry Tutorial


If you're new to the world of nail art, don't worry – this tutorial is perfect for beginners! It's a simple and easy process that anyone can master with a little bit of practice. The first step is to gather your materials. You'll need a base coat and top coat, your choice of nail polish colors, a small brush or toothpick, and of course, your nail art jewelry pieces. These can be anything from small rhinestones and studs to mini charms and chains. Once you have your materials, follow the step-by-step instructions and you'll have beautiful and unique nail art jewelry in no time!2. Easy Nail Art Jewelry Tutorial


2. Easy Nail Art Jewelry Tutorial


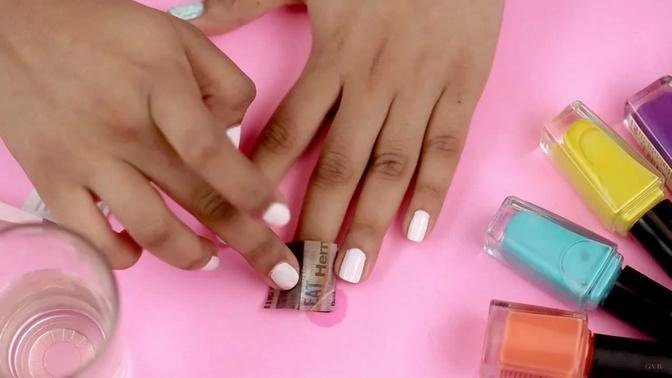
Step 1: Start by painting your nails with your desired base coat. This will help protect your natural nails and make your manicure last longer. Step 2: Choose your nail polish color(s) and paint your nails. You can choose to paint all your nails the same color or mix and match for a more creative look. Step 3: After your nails have dried, it's time to add the nail art jewelry. Using a small brush or toothpick, add a small amount of top coat to the area where you want to place the jewelry. Step 4: Using tweezers or your fingers, carefully place the nail art jewelry onto the top coat. Press down gently to secure it in place. Step 5: Once the top coat has dried, apply another layer of top coat over the entire nail to seal in the nail art jewelry and prevent it from falling off. Step 6: Let your nails dry completely and voila! You now have beautiful and unique nail art jewelry on your fingertips.3. Step-by-Step Nail Art Jewelry Tutorial


3. Step-by-Step Nail Art Jewelry Tutorial

One of the best things about nail art is that the possibilities are endless. You can get as creative as you want and make your manicures truly one-of-a-kind. For this tutorial, think outside the box and experiment with different types of nail art jewelry. You can try using small feathers, dried flowers, or even mini seashells for a beachy look. Don't be afraid to mix and match different shapes, colors, and textures to create a truly unique and creative nail art jewelry design.4. Creative Nail Art Jewelry Tutorial


4. Creative Nail Art Jewelry Tutorial


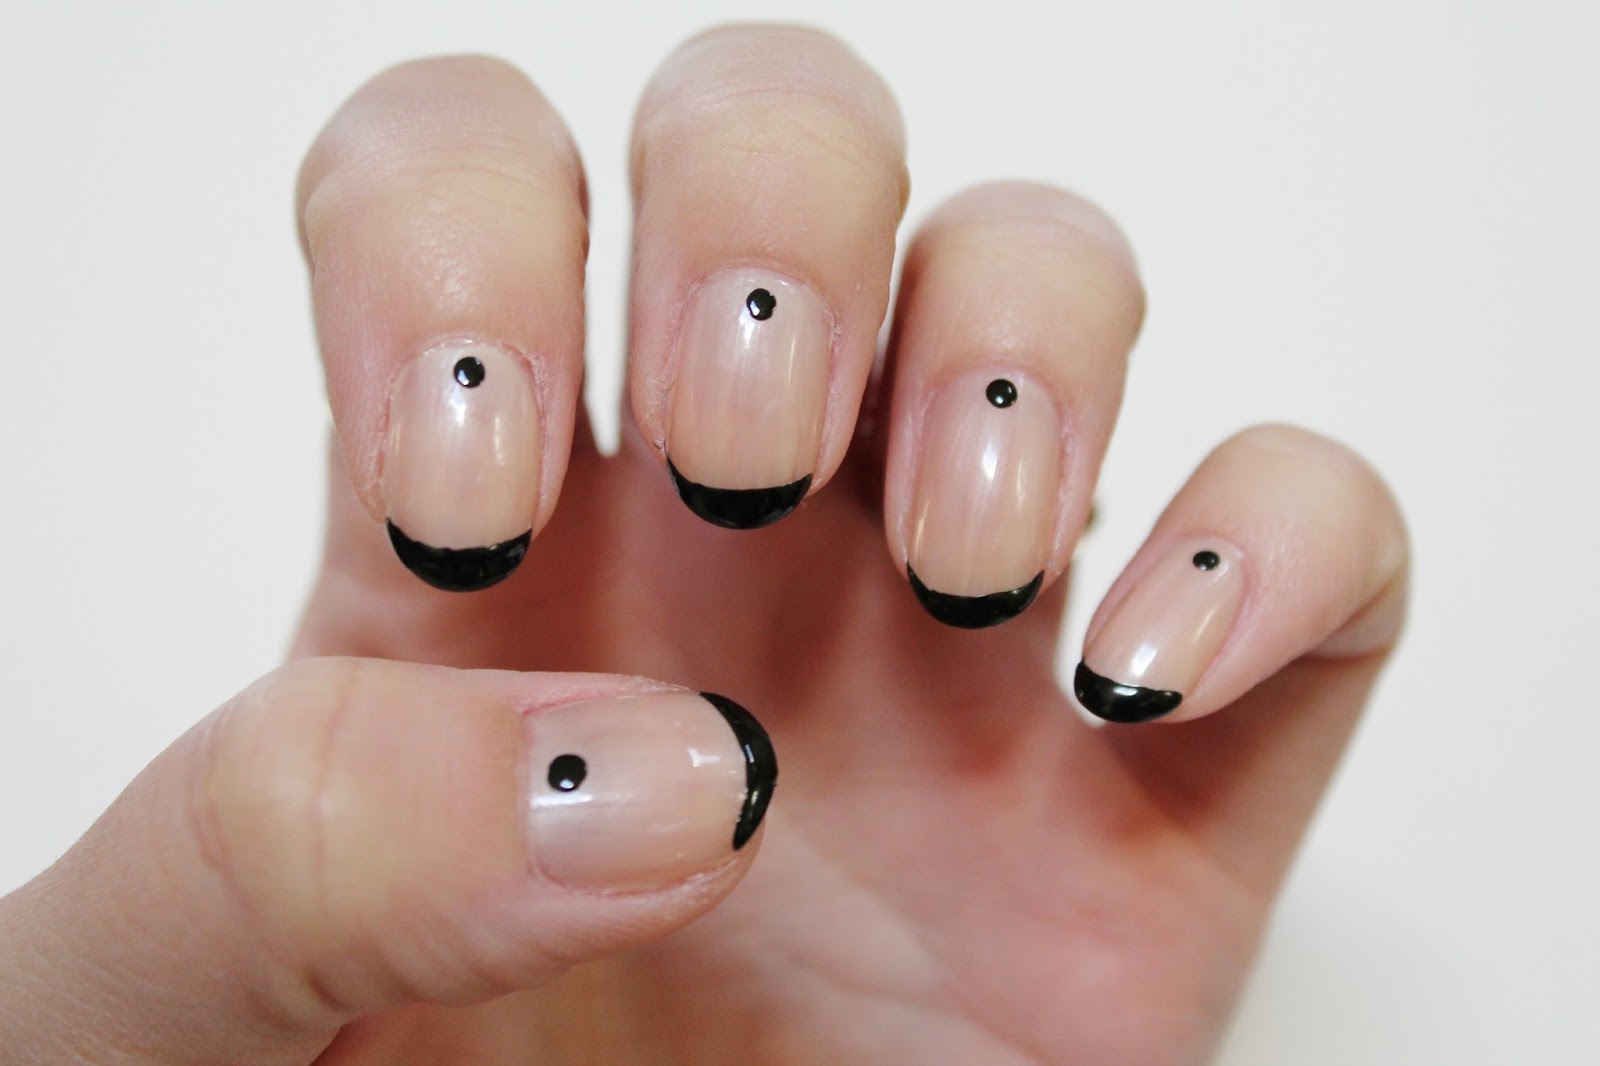
If you're short on time or prefer a more minimalistic look, this simple nail art jewelry tutorial is perfect for you. It only requires a few steps and minimal materials, but still adds a touch of elegance and glamour to your nails. Start by painting your nails with a nude or light-colored nail polish. Once it has dried, add a single nail art jewelry piece to each nail. This can be a small rhinestone or charm placed in the center of the nail or at the base of the nail near the cuticle. Finish off with a layer of top coat to seal in the jewelry and give your nails a glossy finish.5. Simple Nail Art Jewelry Tutorial

5. Simple Nail Art Jewelry Tutorial

If you're new to nail art and want to try your hand at creating your own nail art jewelry, don't be intimidated. This tutorial is perfect for beginners and will guide you through the process step by step. Start by choosing a base color for your nails. Then, using a small brush or toothpick, draw a simple design on each nail. This can be anything from a heart or star to a squiggly line or polka dots. Once your design has dried, add a small nail art jewelry piece on top of it. This will create a 3D effect and make your nails stand out. Finish off with a top coat and admire your beautiful nail art jewelry creation.6. Nail Art Jewelry Tutorial for Beginners

6. Nail Art Jewelry Tutorial for Beginners


Looking for a nail art jewelry tutorial that will make your nails truly stand out? Look no further than this unique tutorial that incorporates unconventional materials. Instead of using traditional nail art jewelry, try using small pieces of lace, mesh fabric, or even tulle to create a textured and unique look on your nails. Simply cut out small pieces of the fabric and place them on your nails using top coat. You can create different designs and patterns for a one-of-a-kind look.7. Unique Nail Art Jewelry Tutorial

7. Unique Nail Art Jewelry Tutorial
You don't necessarily need to purchase expensive nail art jewelry to create beautiful designs on your nails. In fact, you can use common household items to create unique and budget-friendly nail art jewelry. Try using small buttons, bobby pins, or even paper clips to add a touch of creativity to your manicures. You can also use glitter, sequins, and other craft supplies to create your own custom nail art jewelry pieces.8. Nail Art Jewelry Tutorial with Household Items

8. Nail Art Jewelry Tutorial with Household Items


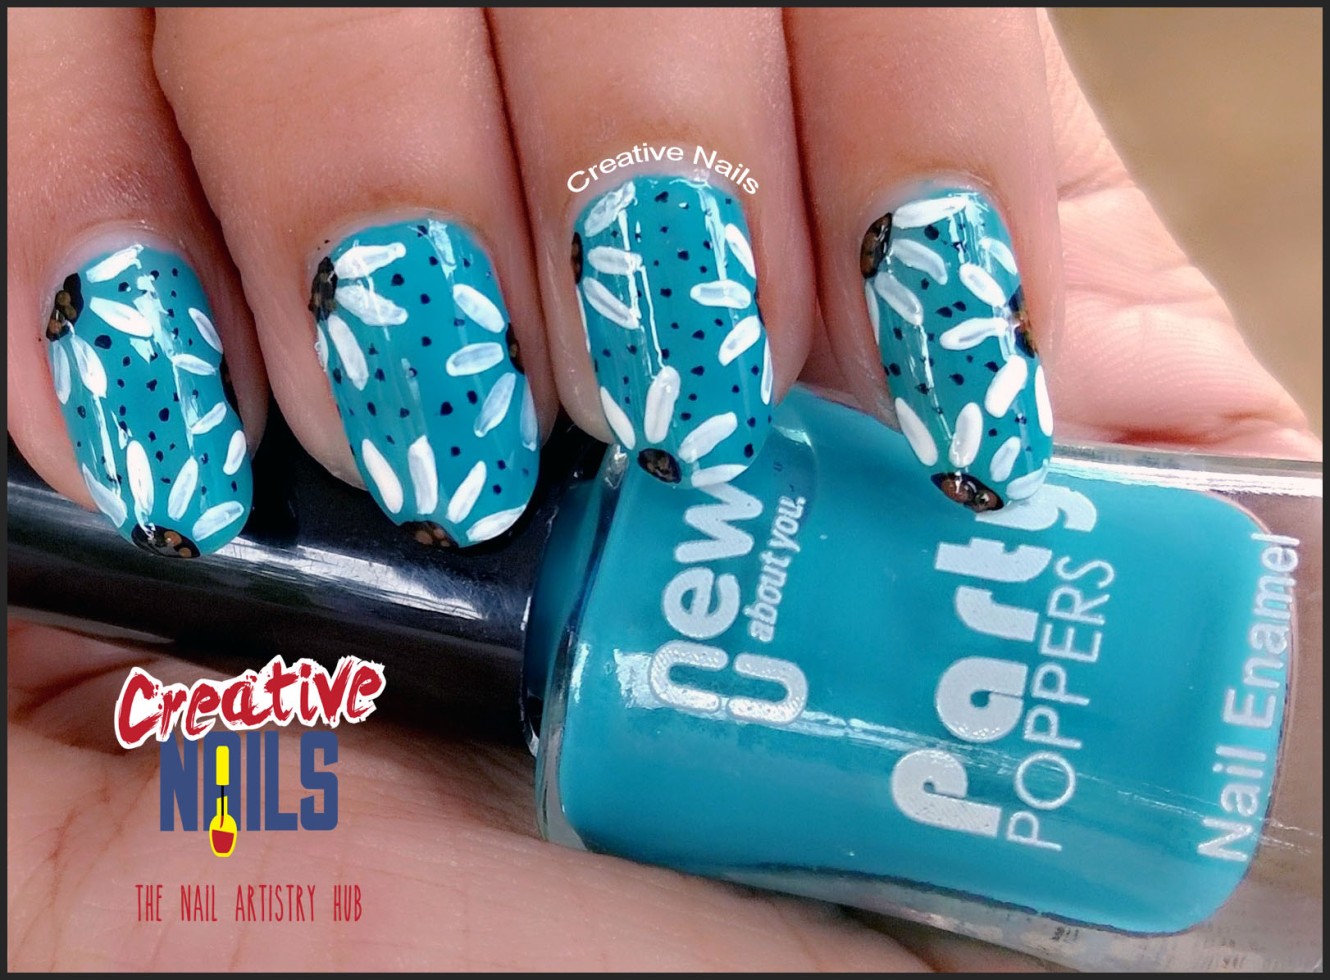
If you love bright and bold colors, this tutorial is perfect for you. It's an easy and fun way to add pops of color to your nails and make a statement. Start by painting your nails with a white or light-colored base coat. Then, using a small brush or toothpick, add dots of different colored nail polish onto your nails. You can also create stripes or other patterns for a more colorful design. Once your nails have dried, add small nail art jewelry pieces in coordinating colors for a cohesive and colorful look.9. Colorful Nail Art Jewelry Tutorial
9. Colorful Nail Art Jewelry Tutorial
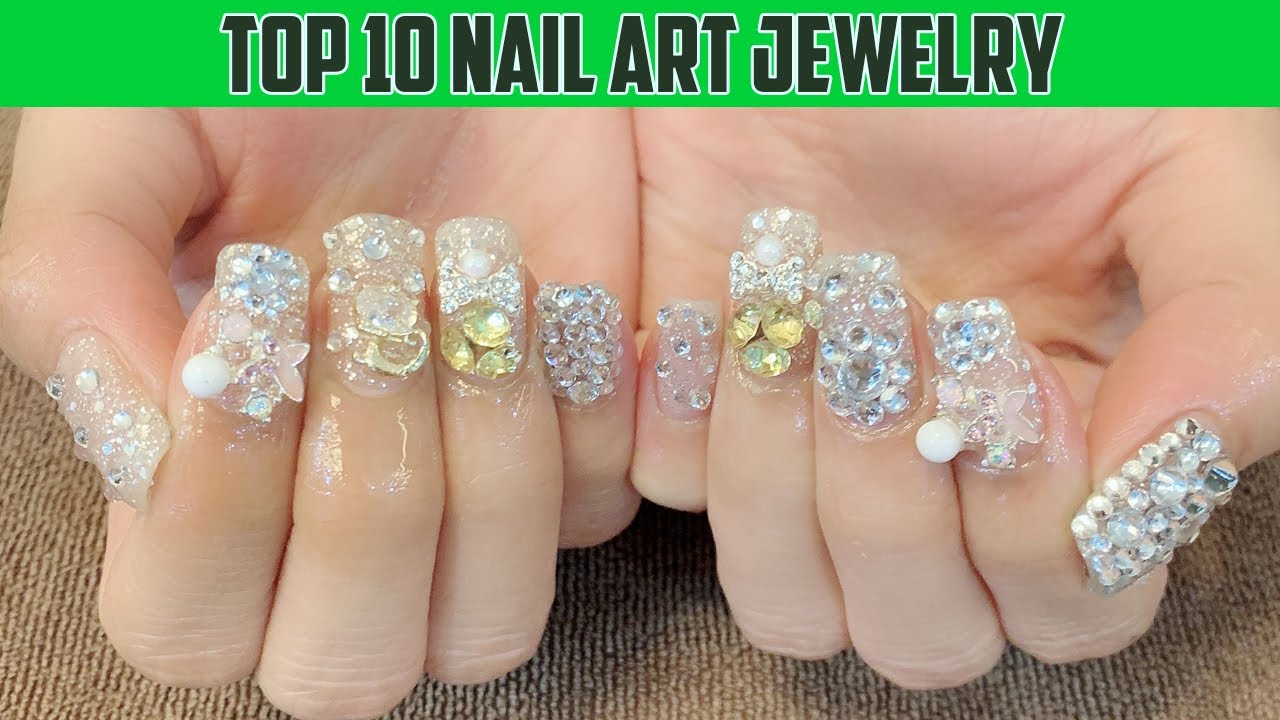
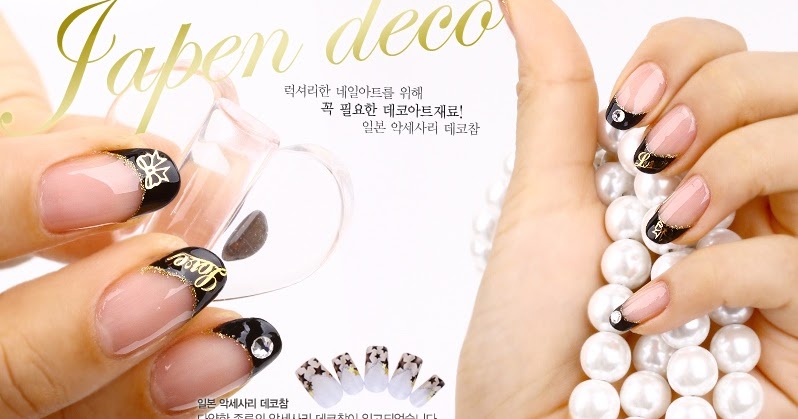
Need a nail art jewelry look for a special occasion? This tutorial is perfect for events like weddings, proms, or other formal events. Start by painting your nails with a soft, neutral color. Then, using a small brush or toothpick, create a delicate and intricate design on your nails using a metallic nail polish. Once your design has dried, add small pearl or diamond nail art jewelry pieces for an elegant and sophisticated look. With these 10 nail art jewelry tutorials, you'll be able to create beautiful and unique designs on your nails without having to spend a fortune at the nail salon. So go ahead and get creative with your manicures – the possibilities are endless!10. Nail Art Jewelry Tutorial for Special Occasions


10. Nail Art Jewelry Tutorial for Special Occasions


Emphasizing Your Style: The Perfect Nail Art Jewelry Tutorial
Transforming Your Nails into Works of Art
 Nail art has become a popular trend, with people using their nails as a canvas to express their creativity and style. And what better way to elevate your nail art game than by incorporating jewelry into your designs? That's right, jewelry isn't just for your fingers, neck, and ears anymore. In this nail art jewelry tutorial, we'll show you how to take your nail art to the next level with the perfect accessories.
Gather Your Supplies
 Before we dive into the tutorial, let's make sure you have all the necessary supplies. You'll need a base coat, top coat, your chosen nail polish colors, nail art tools (such as dotting tools and nail art brushes), and of course, your
nail jewelry
. Make sure to choose jewelry pieces that are flat and not too bulky, so they can easily adhere to your nails.
Before we dive into the tutorial, let's make sure you have all the necessary supplies. You'll need a base coat, top coat, your chosen nail polish colors, nail art tools (such as dotting tools and nail art brushes), and of course, your
nail jewelry
. Make sure to choose jewelry pieces that are flat and not too bulky, so they can easily adhere to your nails.
Step 1: Prep Your Nails
 Start by prepping your nails for the nail art. This includes shaping, filing, and pushing back your cuticles. Apply a base coat to protect your nails and provide a smooth surface for the polish and jewelry to adhere to.
Step 2: Paint Your Nails
 This step is where you can let your creativity shine. Choose your desired nail polish colors and paint your nails as you normally would. You can opt for a simple base color or create a fun pattern using different colors.
Step 3: Adding the Jewelry
 Now comes the fun part – adding the jewelry! You can use a dotting tool to apply a small amount of top coat to the back of your chosen jewelry piece. Carefully place the jewelry onto your nail and press down gently to secure it in place. You can add as many or as few pieces as you'd like, depending on your desired look.
Step 4: Seal It In
 To ensure your nail jewelry stays in place, apply a layer of top coat over your entire nail, including the jewelry. This will seal it in and prevent it from falling off.
Get Creative
 Don't be afraid to experiment with different shapes, colors, and placement of the nail jewelry. You can also try using different types of jewelry, such as rhinestones, charms, or even small chains. The possibilities are endless, and it's a great way to add a unique touch to your nail art.
Final Thoughts
 Nail art jewelry is a fun and creative way to elevate your nail art game. Whether you prefer a simple and elegant look or a bold and colorful design, incorporating jewelry into your nail art is sure to make a statement. So gather your supplies and give this tutorial a try – you'll be amazed at the results!


