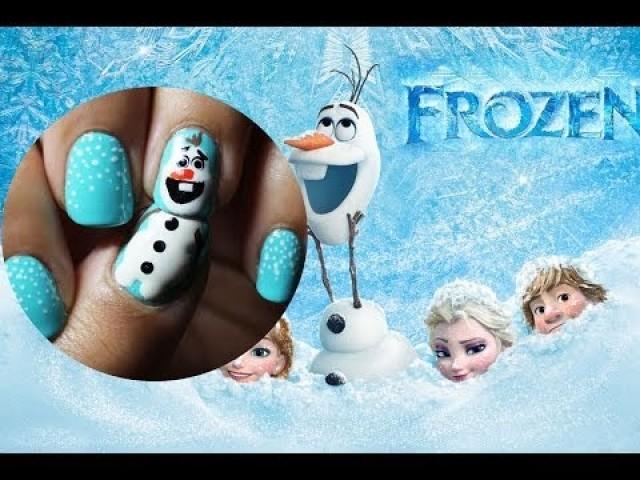
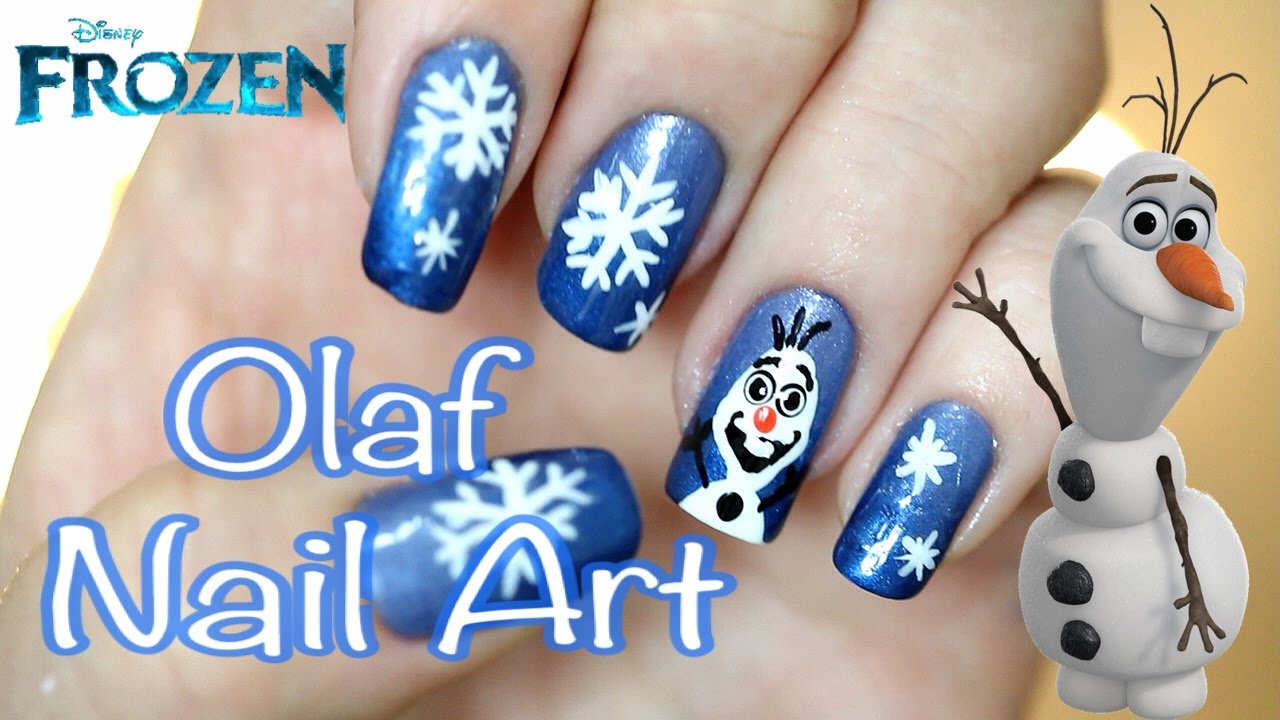
Get ready to channel your inner snow queen with this enchanting Frozen-inspired nail art tutorial featuring everyone's favorite snowman, Olaf. Follow these simple steps to create a magical winter wonderland on your fingertips.1. "Frozen Olaf Nail Art Tutorial"


1. "Frozen Olaf Nail Art Tutorial"


Don't worry if you're not a nail art pro, this Olaf design is beginner-friendly and can be easily recreated at home. All you need is a few basic nail polish colors and some patience to achieve this adorable look.2. "Easy Olaf Nail Art Tutorial"


2. "Easy Olaf Nail Art Tutorial"
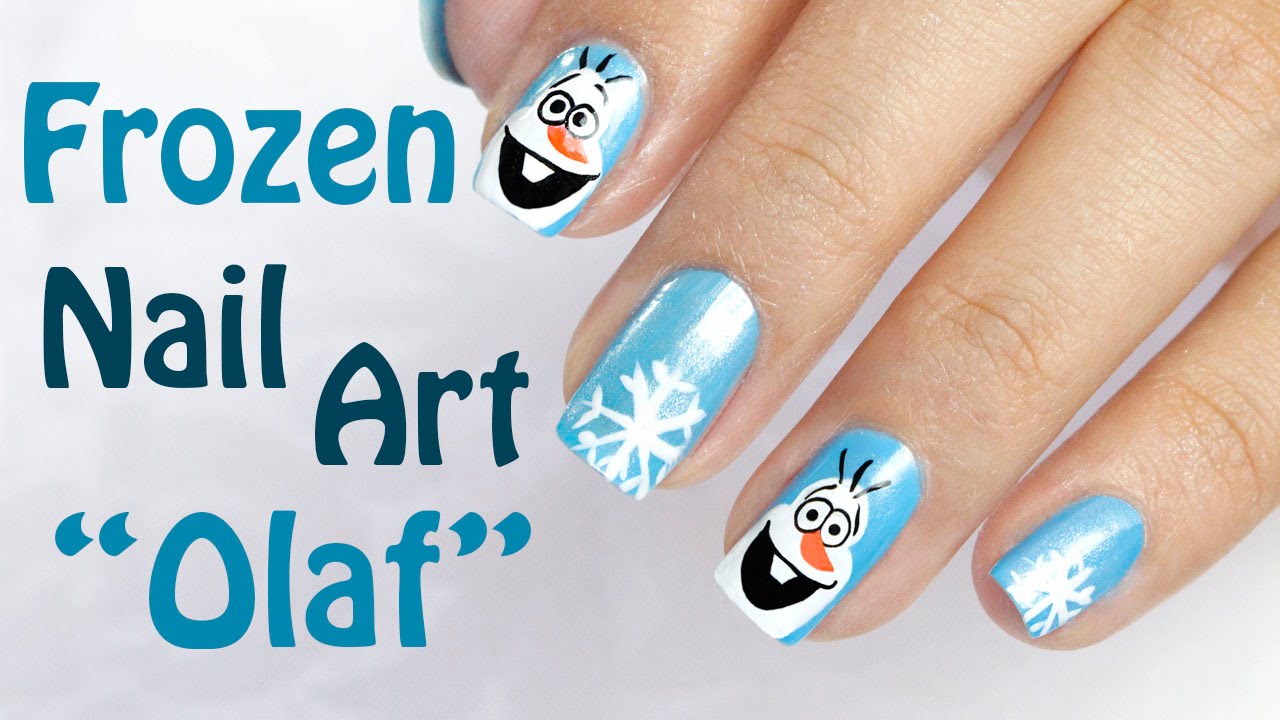
For those who like to follow a step-by-step guide, this tutorial is perfect for you. From prepping your nails to adding the final details, each step is broken down to make it easy for you to recreate this cute Olaf design.3. "Step-by-Step Olaf Nail Art Tutorial"


3. "Step-by-Step Olaf Nail Art Tutorial"


If you're looking for a nail art design that will make you smile every time you look at it, then this cute Olaf tutorial is for you. With his signature carrot nose and big smile, this design is sure to brighten up your day.4. "Cute Olaf Nail Art Tutorial"


4. "Cute Olaf Nail Art Tutorial"

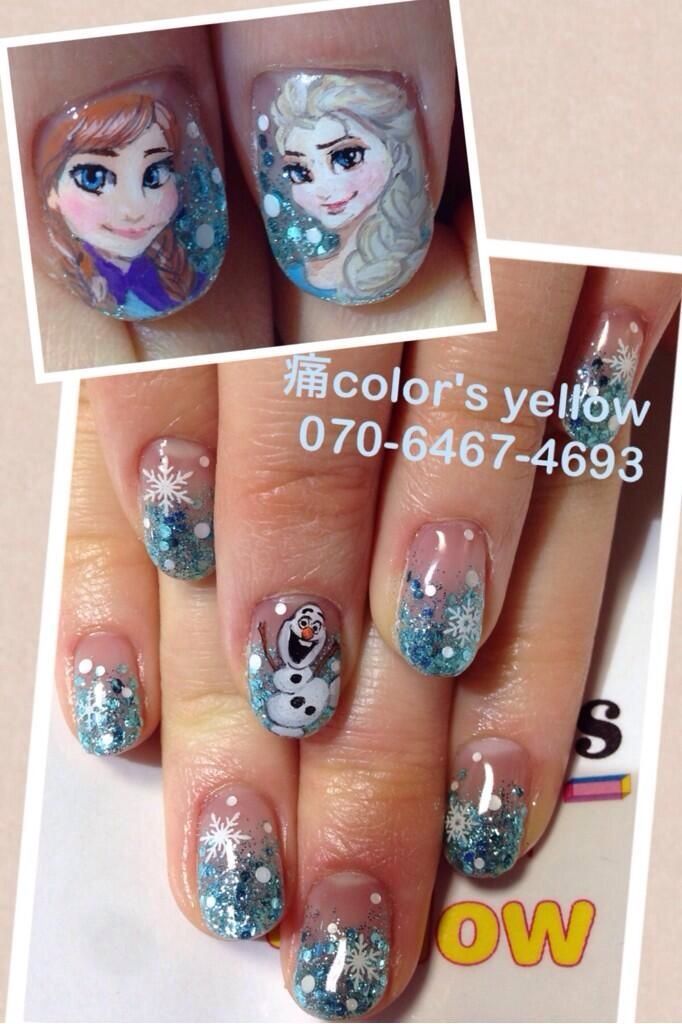
Bring a touch of Disney magic to your manicure with this Olaf nail art tutorial. Whether you're a fan of the movie or just love all things Disney, this design is a must-try for any Disney lover.5. "Disney Olaf Nail Art Tutorial"


5. "Disney Olaf Nail Art Tutorial"
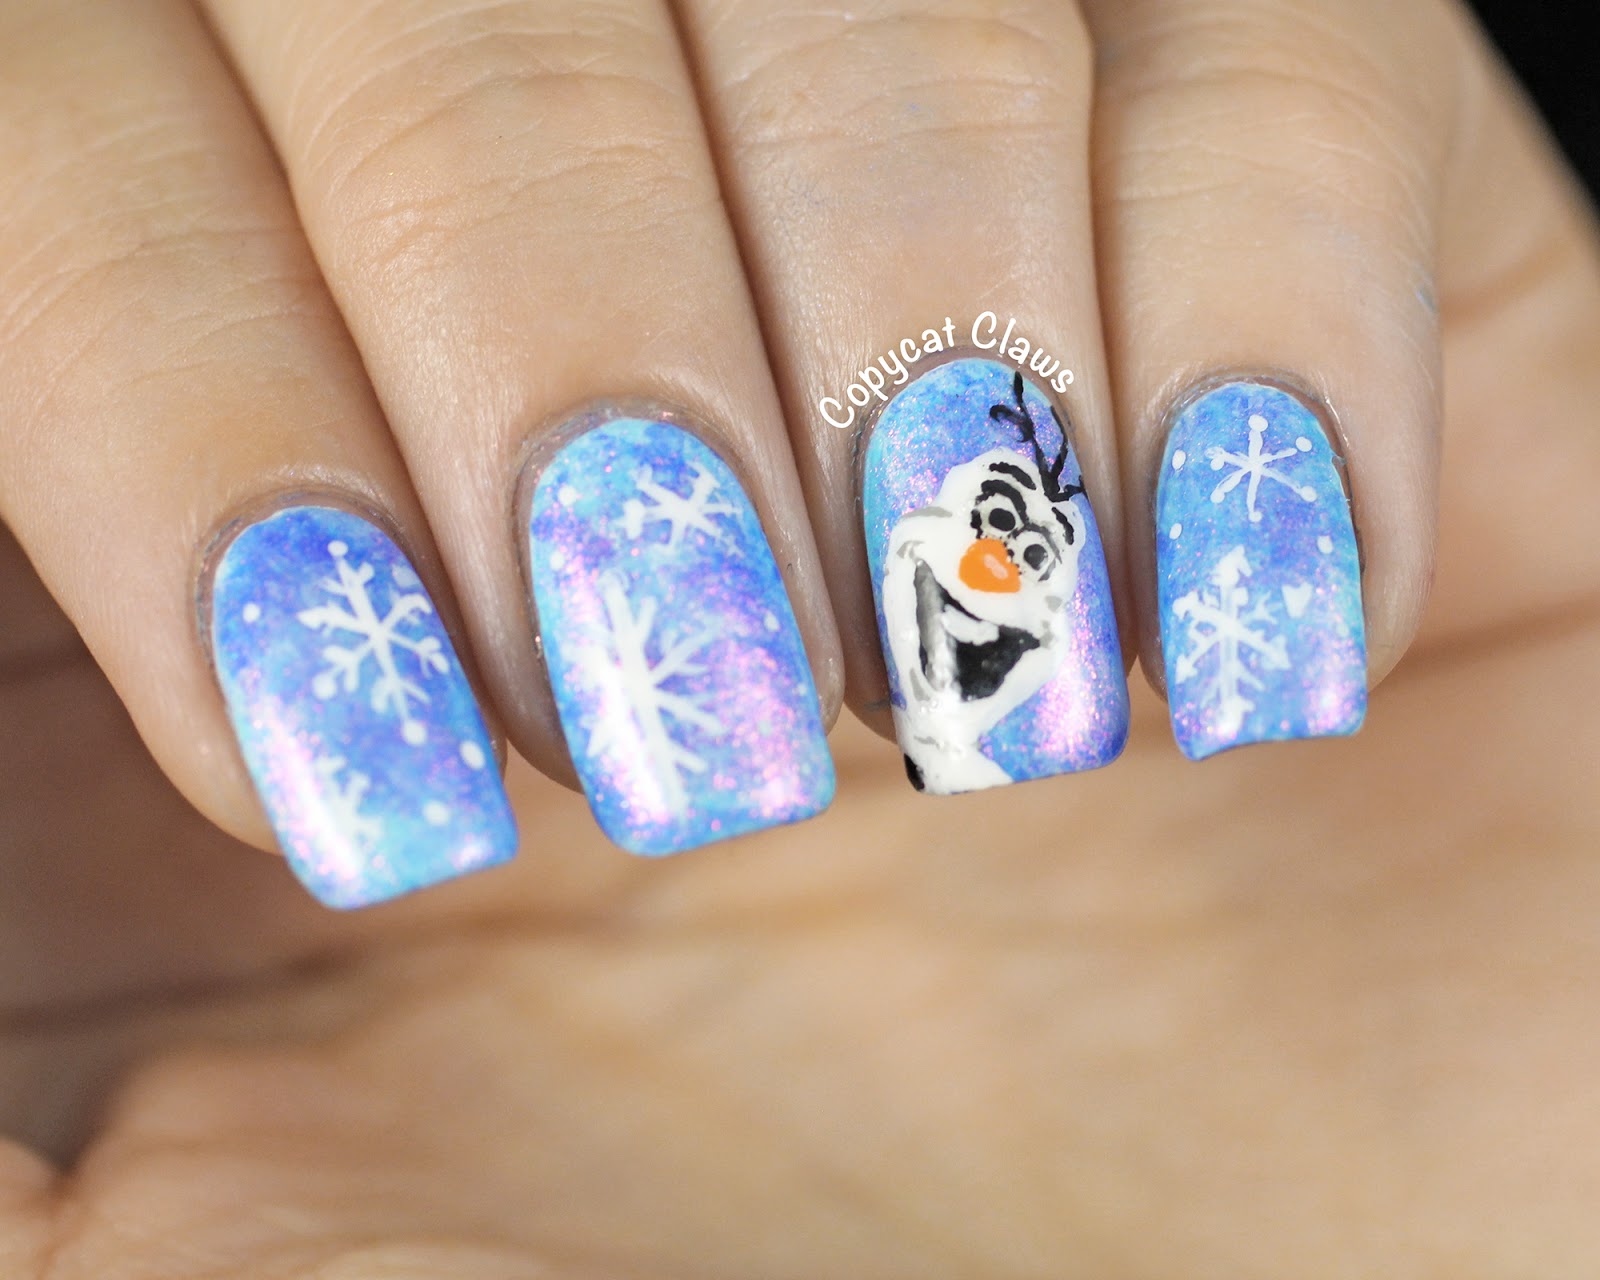
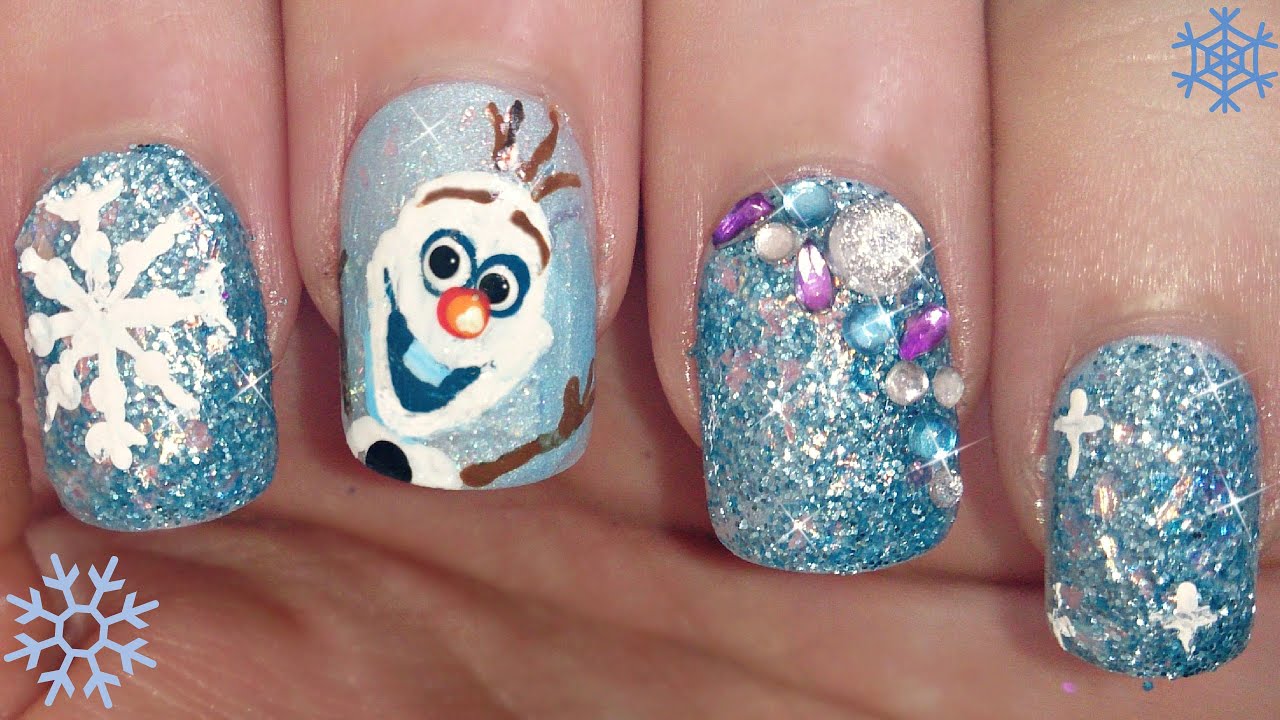
Embrace the winter season with this Olaf nail art tutorial that is perfect for chilly days. With snowflakes and Olaf's cute face, this design captures the essence of winter and will have you feeling cozy and festive.6. "Winter Olaf Nail Art Tutorial"

6. "Winter Olaf Nail Art Tutorial"


If you're a fan of cartoons, then this Olaf nail art tutorial is right up your alley. This design features a fun and cartoonish version of Olaf that will bring a playful and lighthearted touch to your nails.7. "Cartoon Olaf Nail Art Tutorial"
7. "Cartoon Olaf Nail Art Tutorial"


Save some money and show off your creativity by trying out this DIY Olaf nail art tutorial. With a few simple supplies and some imagination, you can create a unique and personalized Olaf design that is all your own.8. "DIY Olaf Nail Art Tutorial"

8. "DIY Olaf Nail Art Tutorial"


Get ready for the release of Frozen 2 with this Olaf nail art tutorial that is sure to get you in the mood for the highly anticipated sequel. Featuring elements from the new movie, this design is a must-try for any Frozen fan.9. "Frozen 2 Olaf Nail Art Tutorial"

9. "Frozen 2 Olaf Nail Art Tutorial"


Looking for a more subtle way to incorporate Olaf into your nail art? This tutorial is the perfect solution. Inspired by Olaf's colors and features, this design is a chic and stylish way to show your love for the lovable snowman.10. "Nail Art Tutorial Inspired by Olaf"


10. "Nail Art Tutorial Inspired by Olaf"

Nail art Olaf tutorial - A fun way to add some Disney magic to your nails

Introduction to nail art and its popularity
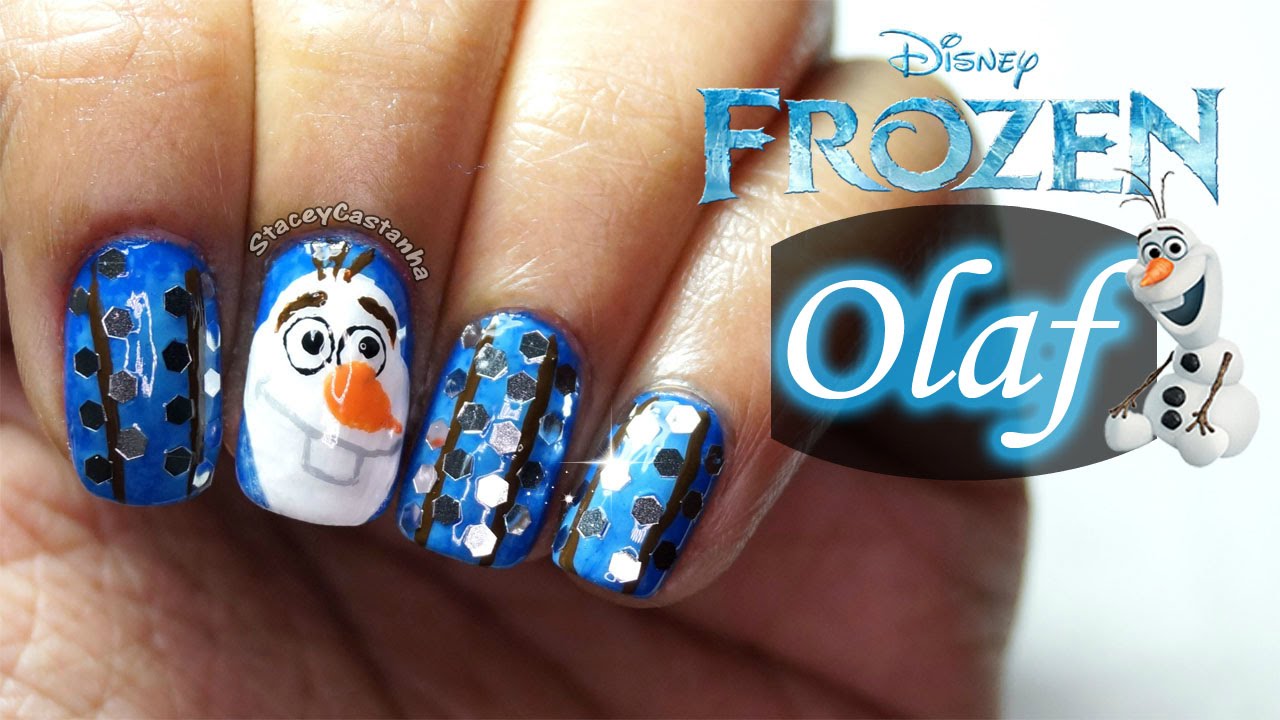
 Nail art has become increasingly popular in recent years, with more and more people embracing the trend of using their nails as a canvas for self-expression. From intricate designs to bold colors, there are endless possibilities when it comes to nail art. And what better way to add some fun and whimsy to your nails than with a nail art Olaf tutorial? Inspired by the beloved snowman from Disney's Frozen, this tutorial will guide you through creating your own Olaf-themed nails.
Gather your materials
 Before you begin, make sure you have all the necessary materials for this tutorial. You will need a base coat, white, black, orange, and brown nail polish, a dotting tool or toothpick, and a top coat. You may also want to have some nail polish remover and cotton pads on hand for any mistakes or clean-up.
Step 1: Apply base coat
 To ensure your nail art lasts longer, start by applying a base coat to your nails. This will also help protect your nails from any staining from the darker colors used in this tutorial.
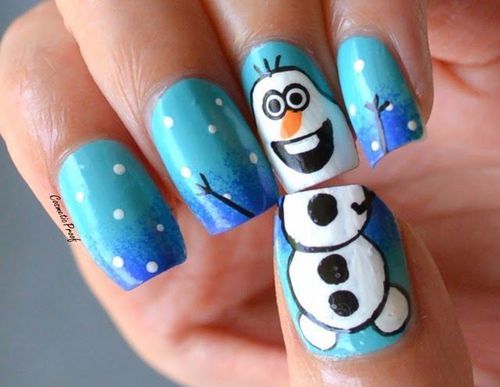
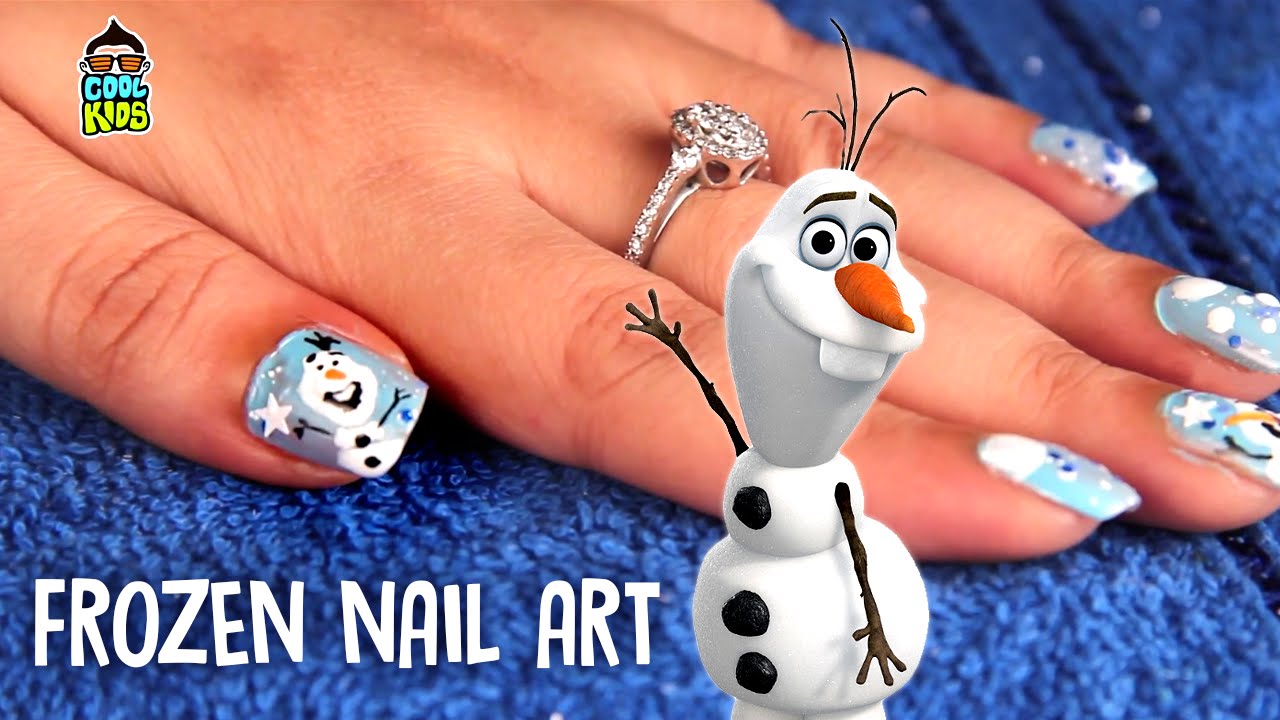
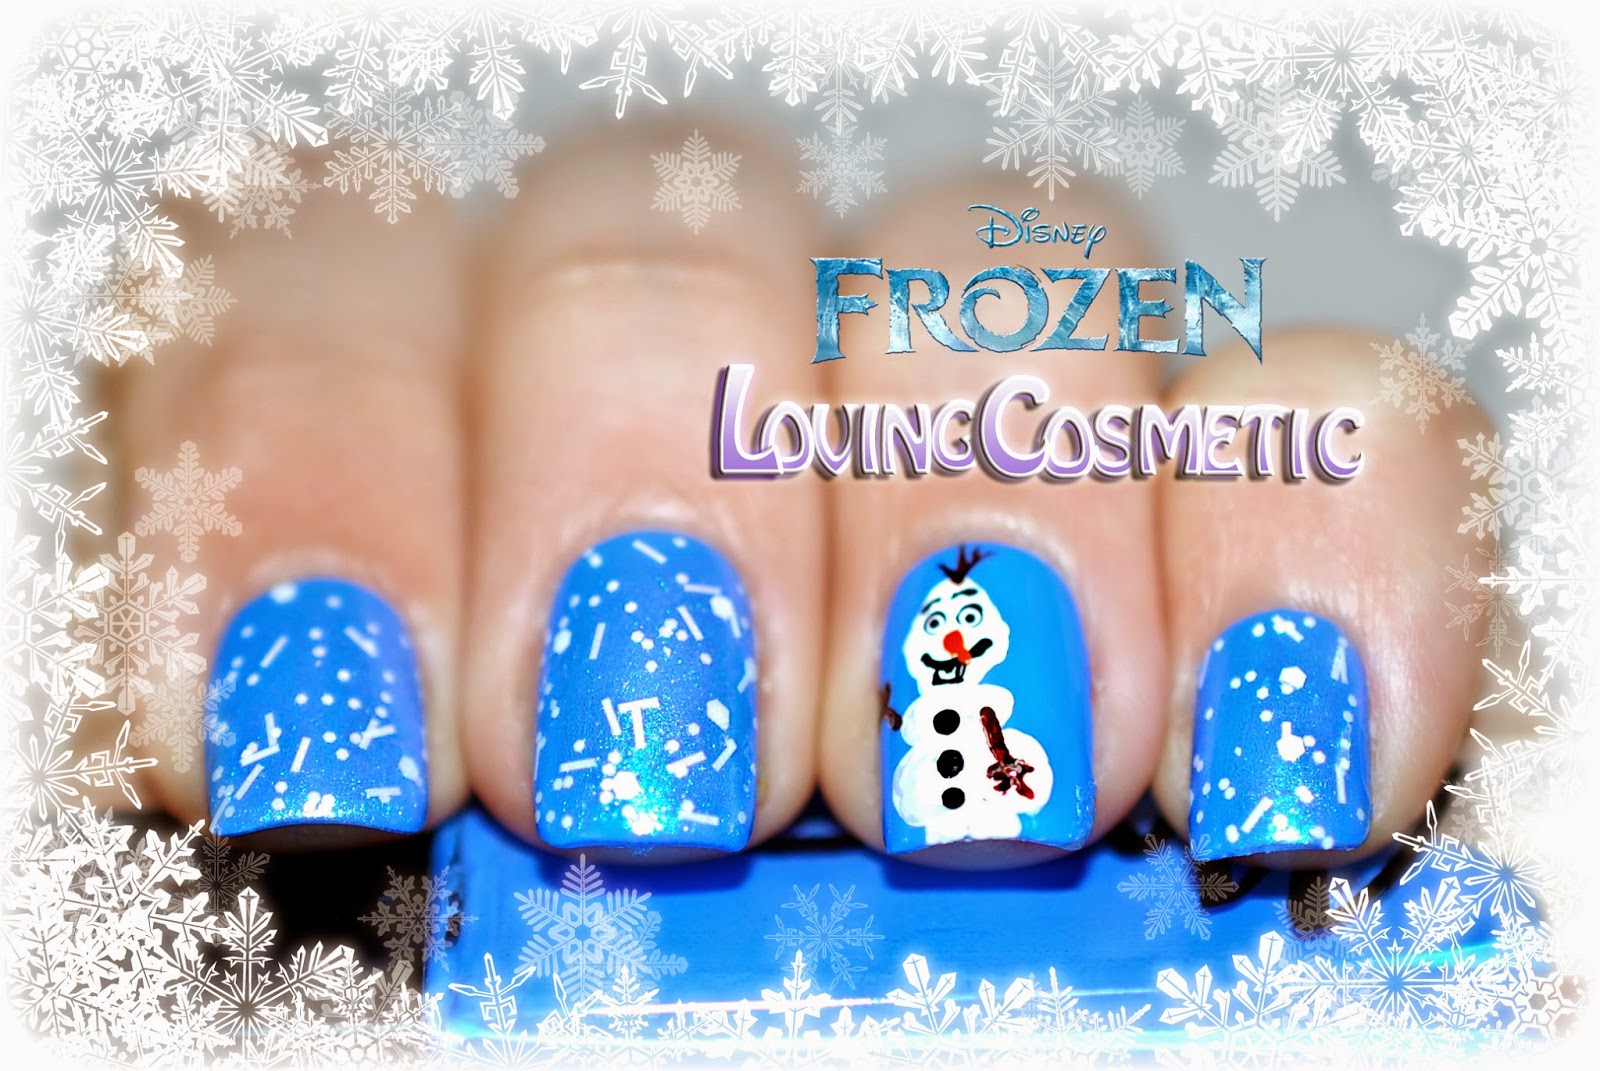
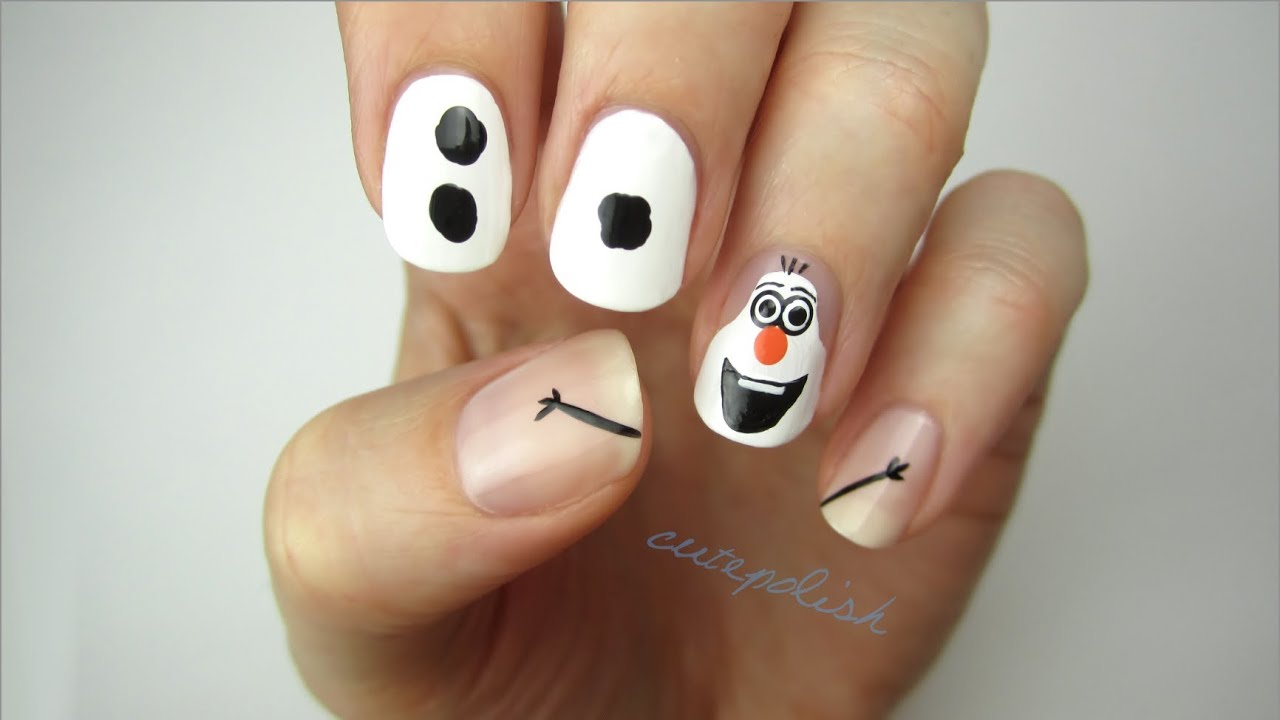
Step 2: Paint your nails white
 Using a white nail polish, paint all your nails except for your ring finger. This will be the base for Olaf's body.
Step 3: Create Olaf's face
 Using a dotting tool or toothpick, create Olaf's face on your ring finger nail. Start with two small dots for his eyes, followed by a larger dot for his nose. Then, using a black nail polish, draw on Olaf's signature eyebrows and smile.
Step 4: Add Olaf's arms
 Using a brown nail polish, create two small lines on either side of Olaf's body for his arms. You can also add some small lines to create his twig fingers.
Step 5: Give Olaf a carrot nose
 Using an orange nail polish, carefully draw a small triangle under Olaf's nose to create his iconic carrot nose.
Step 6: Seal in your design with a top coat
 Once your design is dry, seal it in with a top coat. This will protect your nail art and make it last longer.
Get creative!
 Don't be afraid to experiment with different colors and designs for your Olaf nail art. You can also add some snowflakes or other winter-themed elements to really bring the design to life.
Nail art Olaf tutorial
is a great way to showcase your love for Disney and add some character to your nails. With the right materials and a little bit of creativity, you can easily recreate this fun and
playful
design on your own. So go ahead and have some fun with your nails, and let your inner artist shine!
Don't be afraid to experiment with different colors and designs for your Olaf nail art. You can also add some snowflakes or other winter-themed elements to really bring the design to life.
Nail art Olaf tutorial
is a great way to showcase your love for Disney and add some character to your nails. With the right materials and a little bit of creativity, you can easily recreate this fun and
playful
design on your own. So go ahead and have some fun with your nails, and let your inner artist shine!


